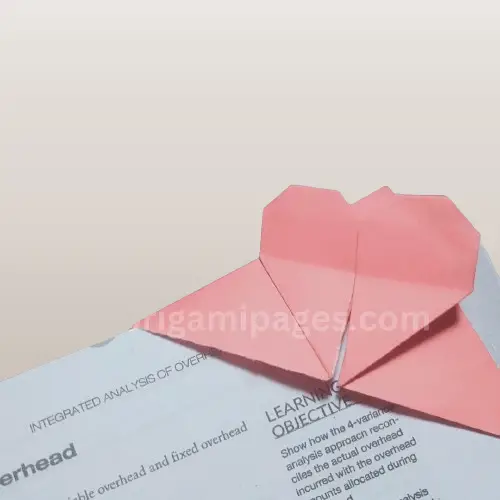
Double Love Origami Bookmark: A Step-by-Step Guide
There’s something truly magical about transforming a simple piece of paper into a work of art. When I first discovered the Double Love Origami Bookmark, I was enchanted by its elegance and functionality. This project, with its charming double heart design, quickly became a favorite of mine.
Creating a DIY Origami Double Heart Bookmark is not only a delightful way to spend your time but also results in a beautiful, handmade item that makes for a perfect gift or personal keepsake. Join me as we explore the steps to craft this enchanting paper bookmark, designed to add a touch of love to your reading adventures.
Materials Needed
Before we begin, gather the following materials:
- A piece of paper (preferably 10″ x 20″)
- A flat, clean surface
- A bone folder (optional, for crisp folds)
Step-by-Step Instructions
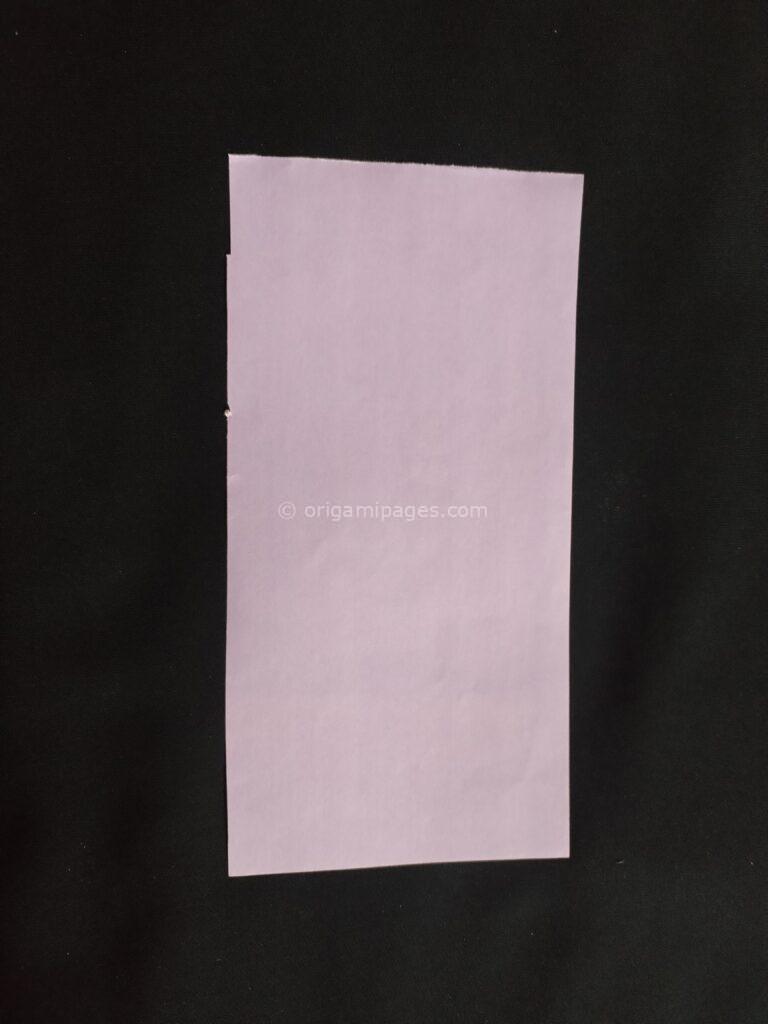
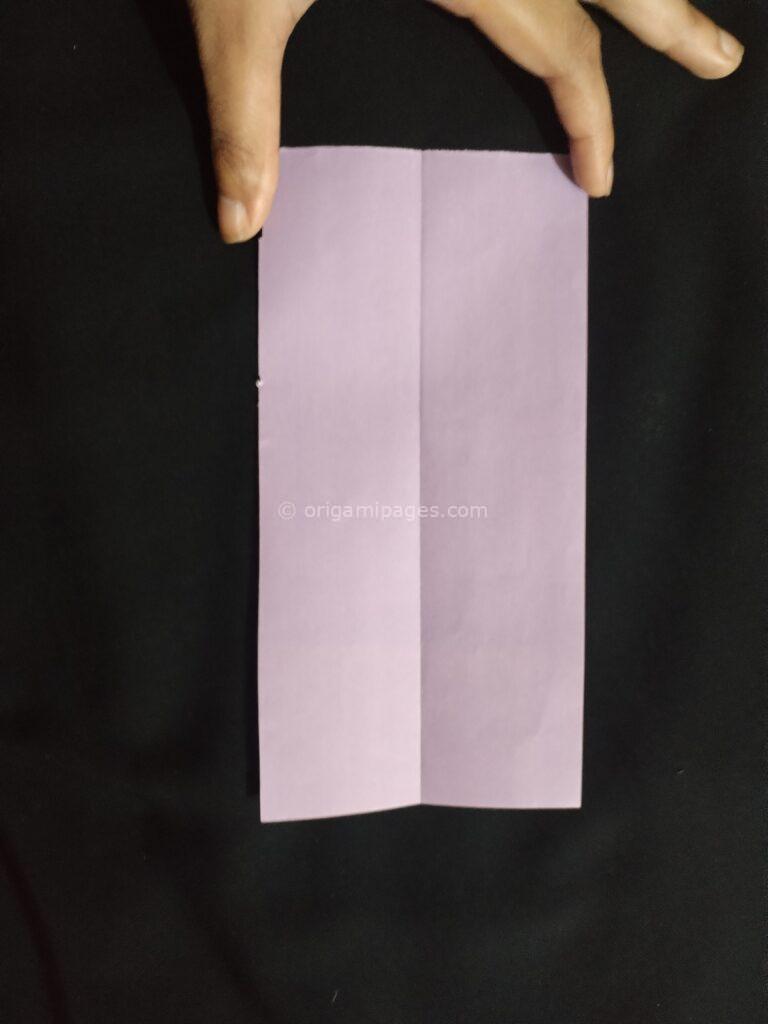
Step 1: Prepare Your Paper
Take a 10″ x 20″ piece of paper. The dimensions are important to ensure that the final bookmark is proportionate and functional.
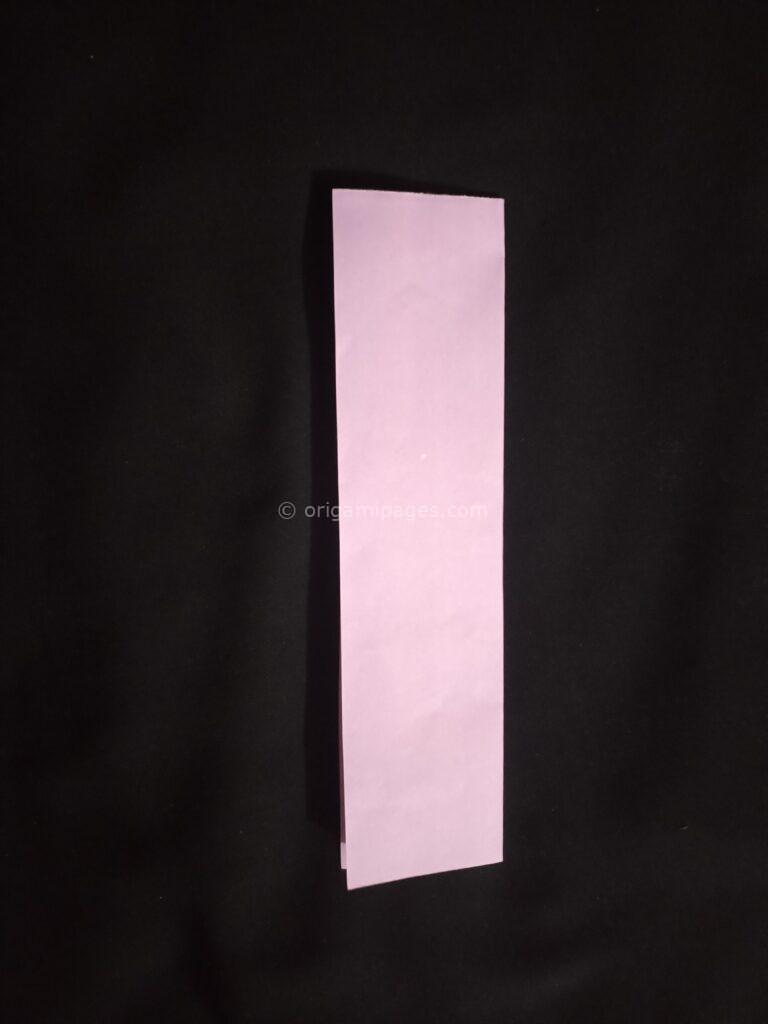
Step 2: First Vertical Fold
Fold the paper vertically in half and then unfold it. This initial fold helps to create a guideline for the subsequent steps.
Step 3: Forming the House Shape
Fold the two top corners inward to meet at the center line, forming a triangle at the top. This shape is often referred to as the “house” shape in origami.
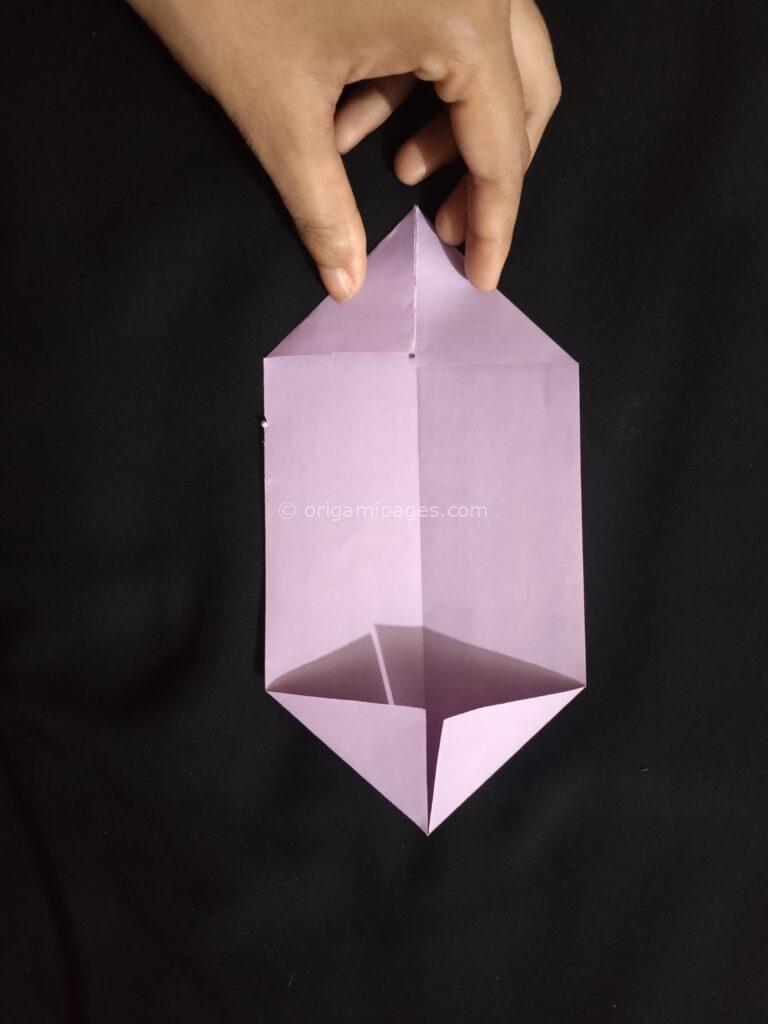
Step 4: Middle Line Folds
Fold both sides of the paper along the middle line you created in step 2. These folds help in creating the structure of the double hearts.
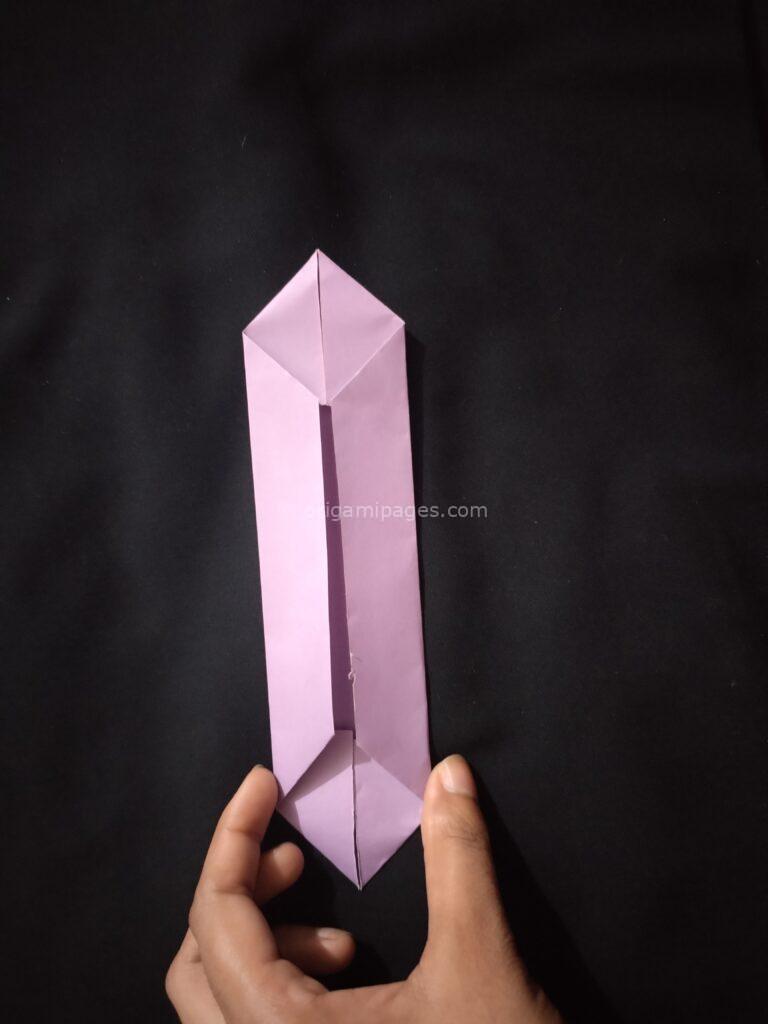
Step 5: Second Vertical Fold
Fold the paper vertically once more and then unfold it. This step further defines the central guideline necessary for the upcoming folds.
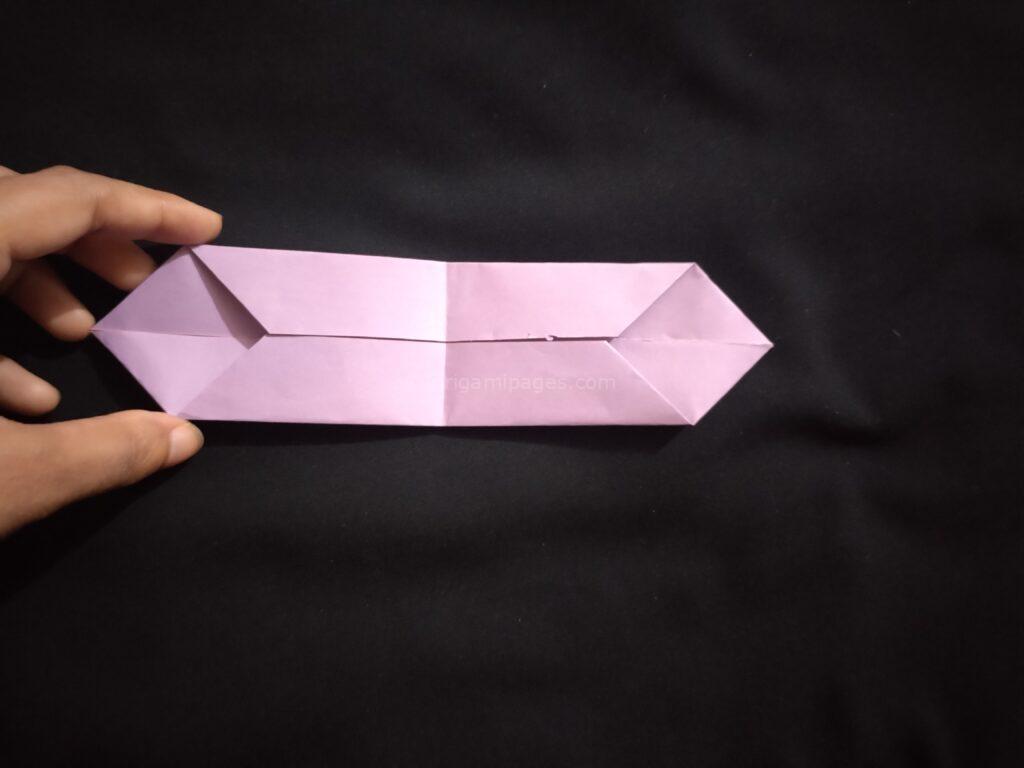
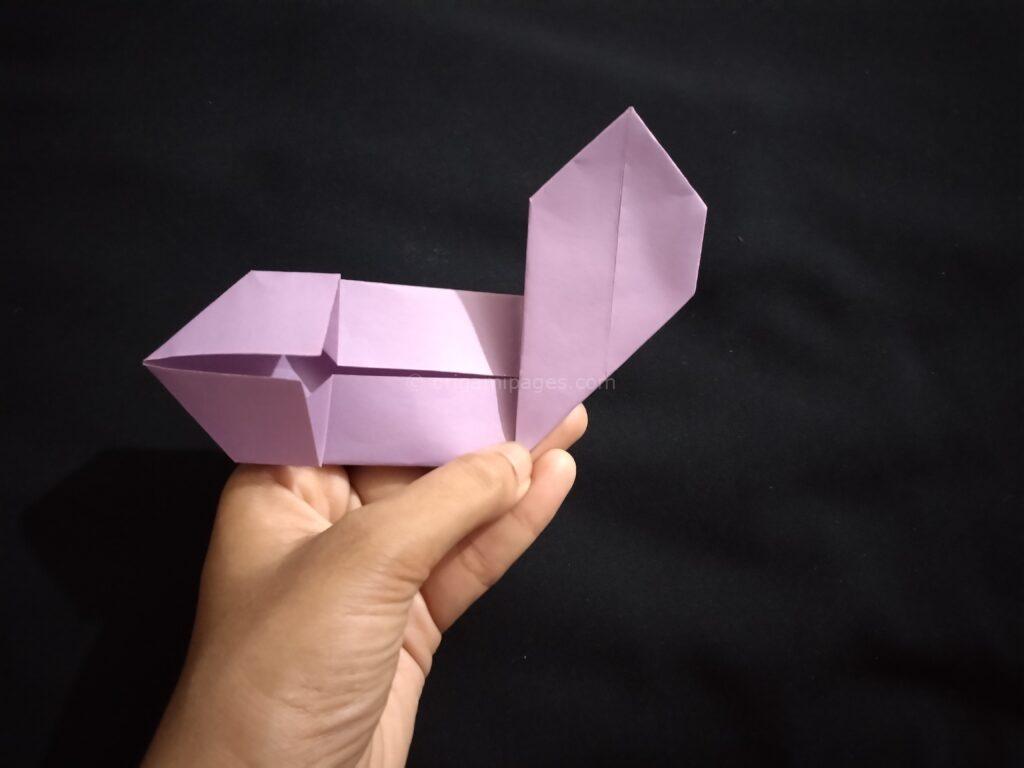
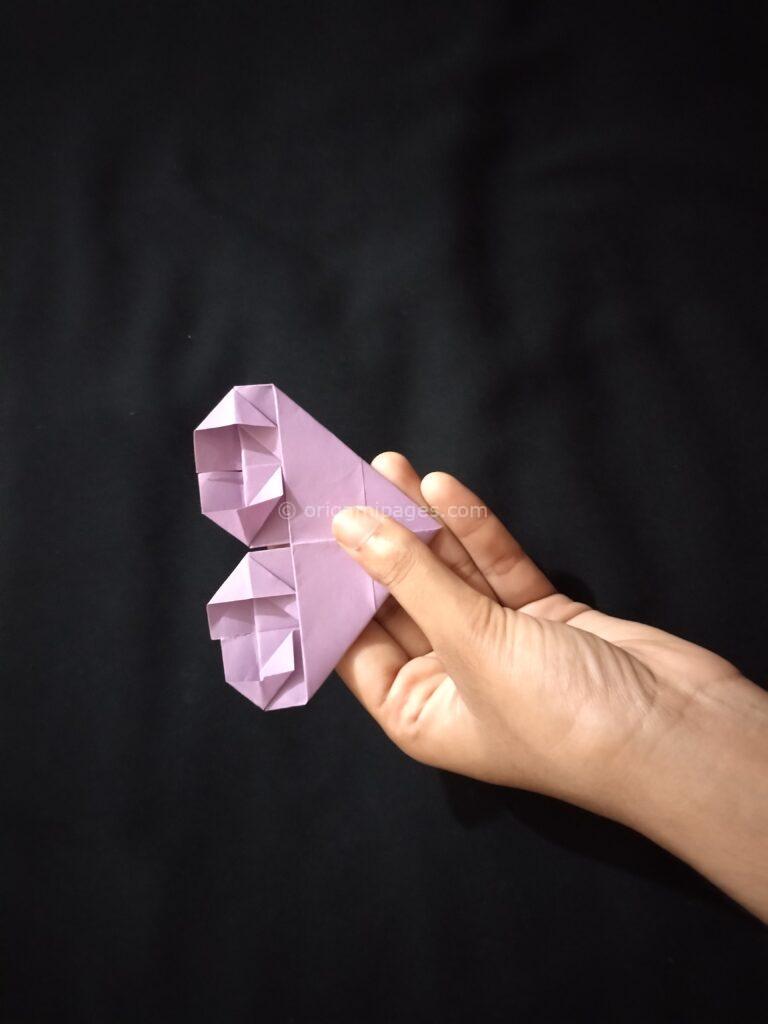
Step 6: Corner Folds
Open one of the corners and fold it as shown in the image below. Repeat this step for all corners. This might be a bit tricky at first, but with patience, you’ll master it.

Step 7: Upward Folds
Fold both sides of the paper upwards along the middle line. This starts to form the base of your hearts.
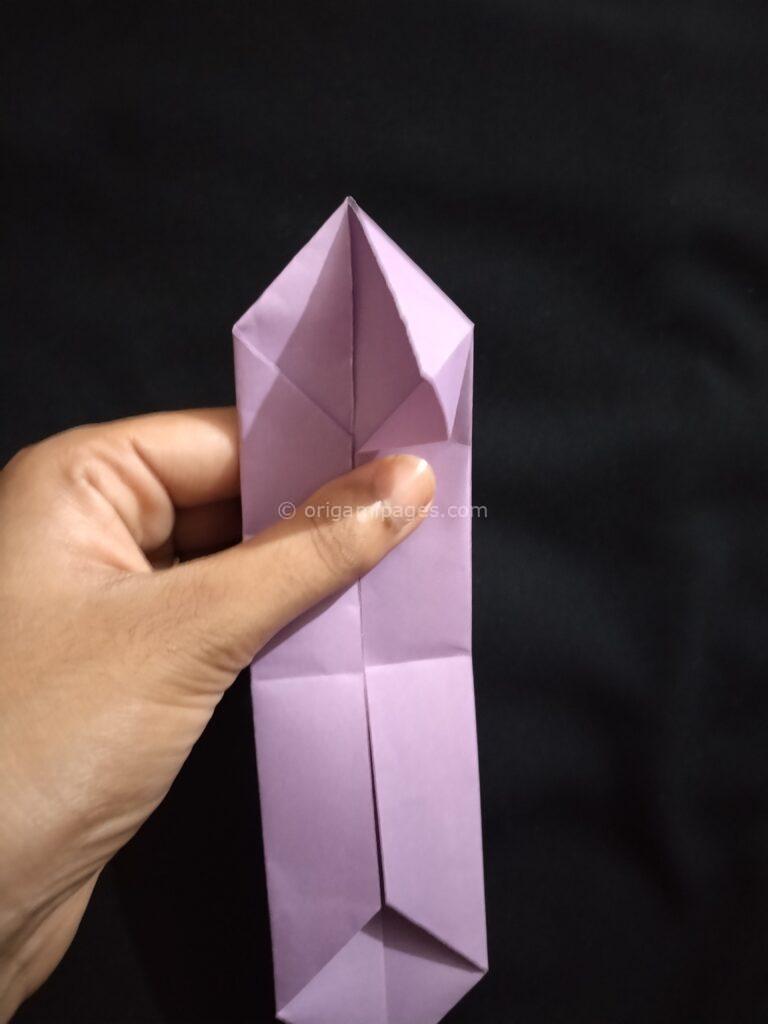
Step 8: Spine Fold
Fold the top part of the paper along the spine and turn the paper upside down. This fold helps in aligning the paper for the final touches.
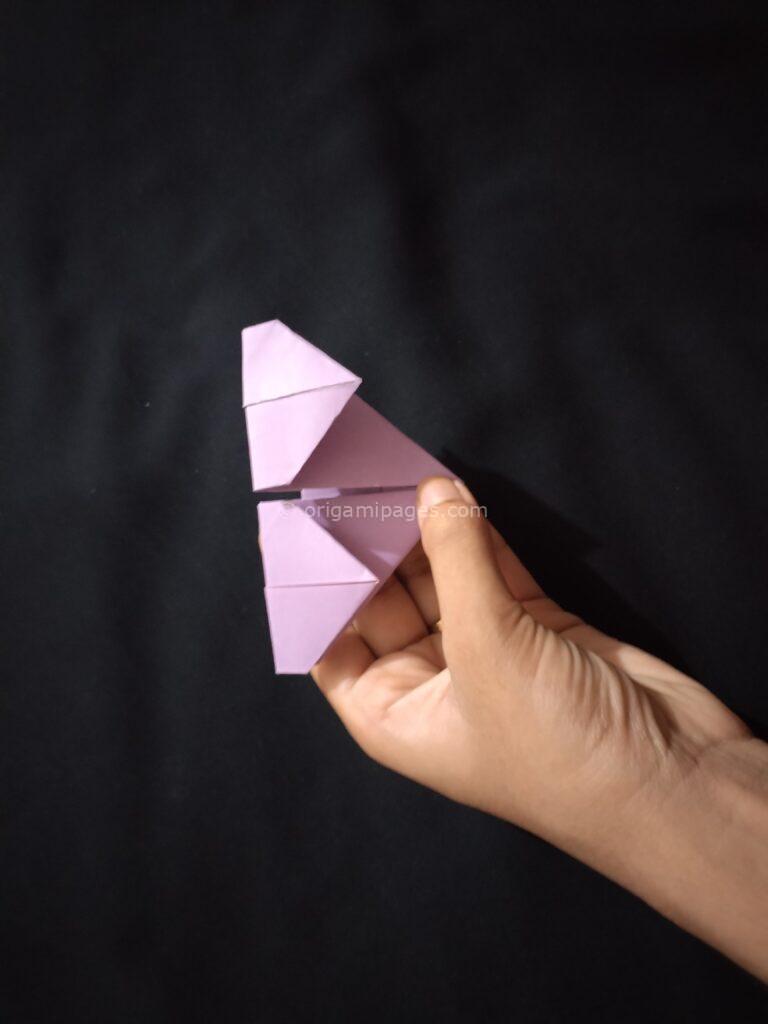
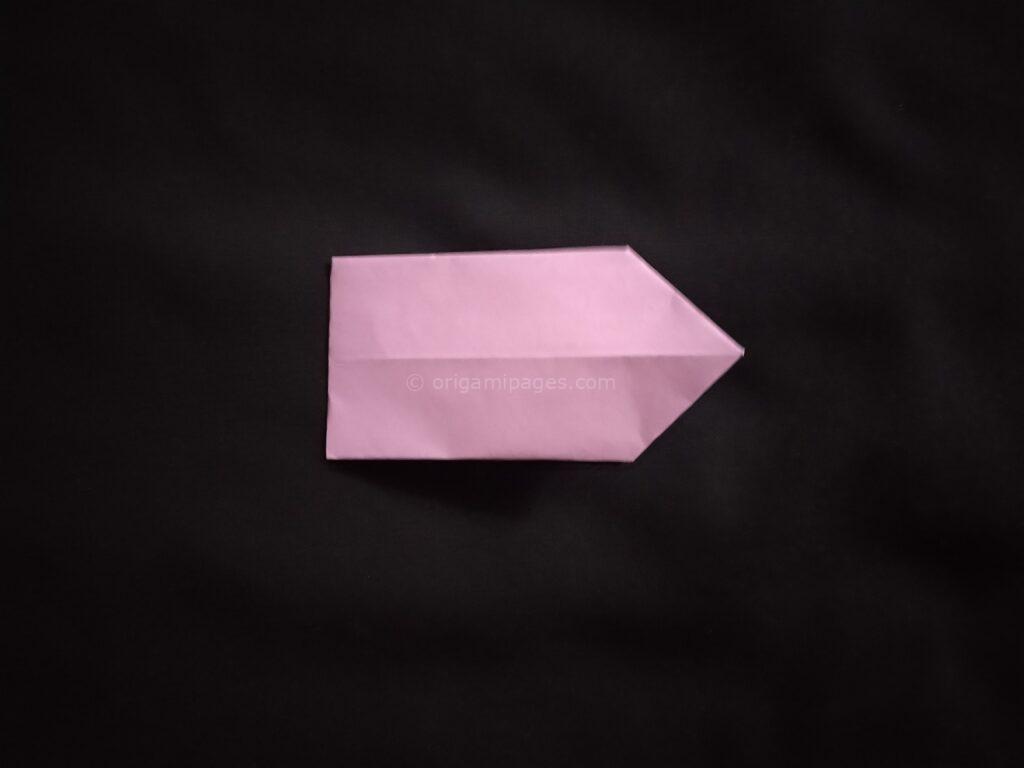
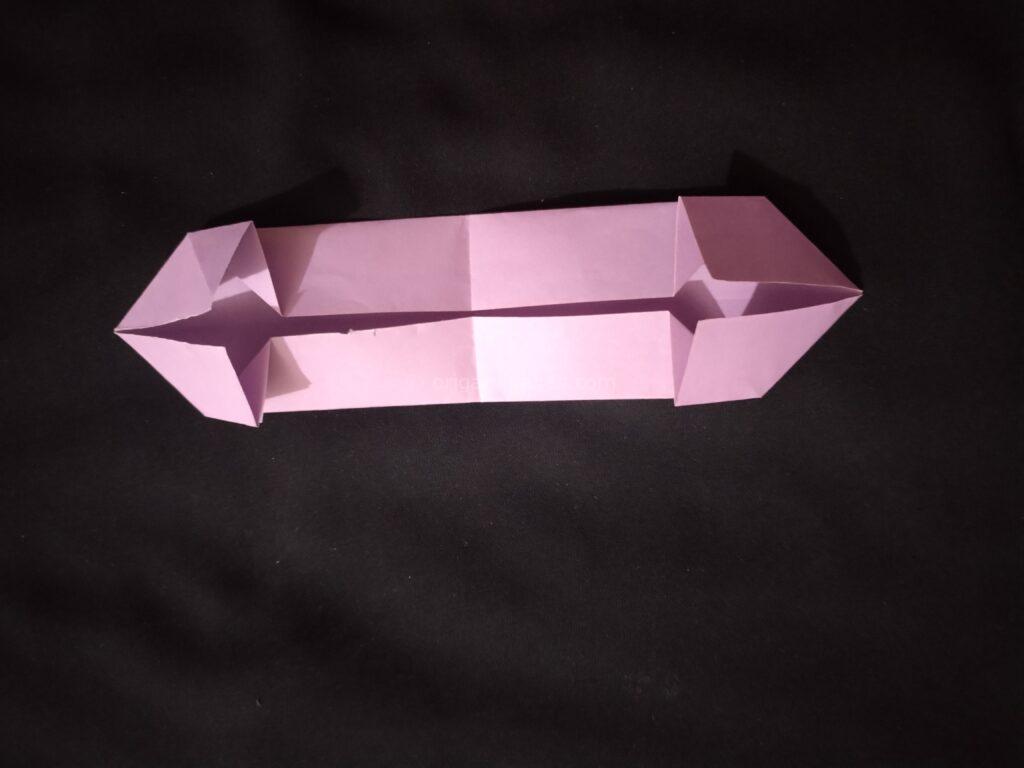
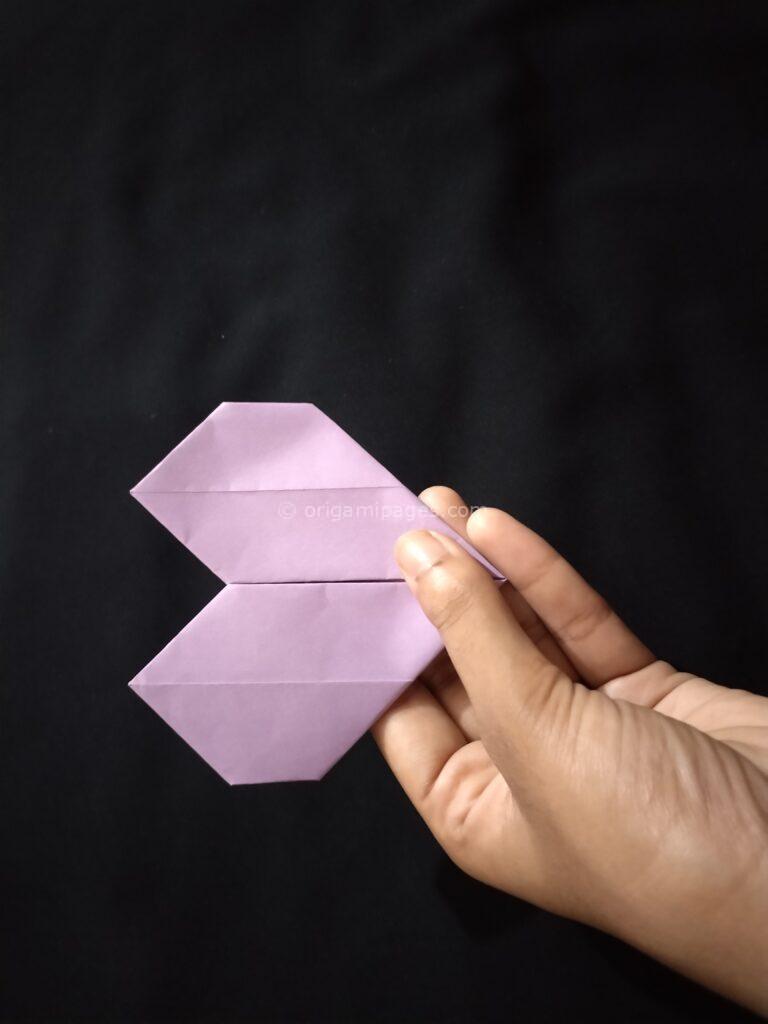
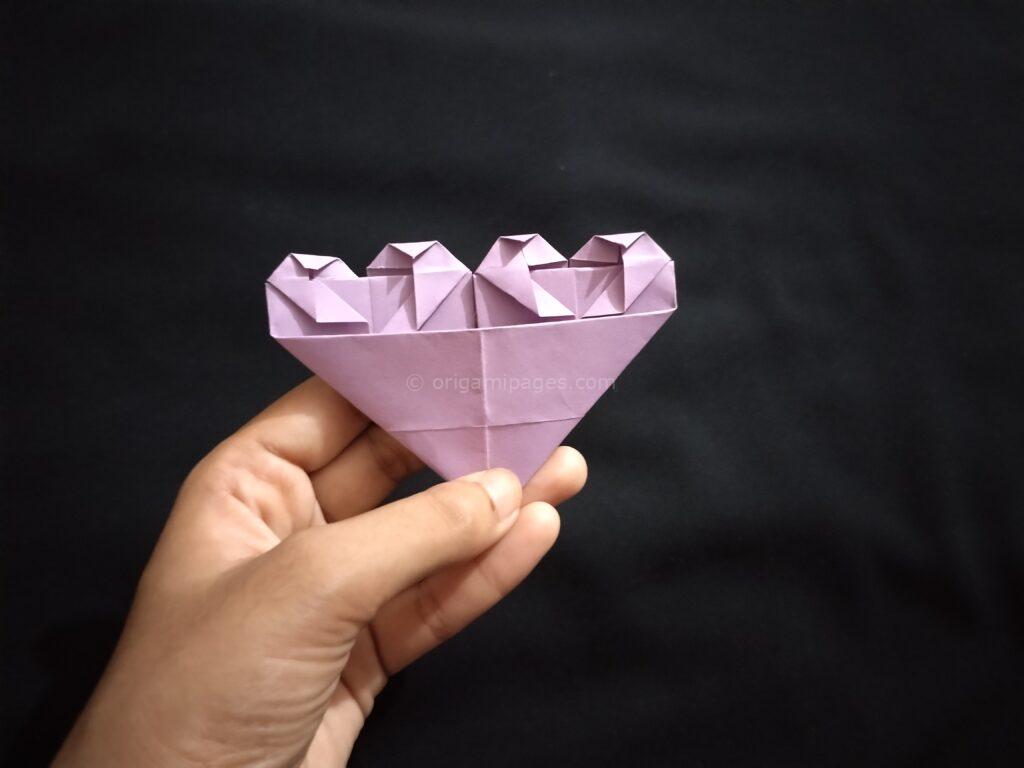
Step 9: Final Heart Folds
Open and fold the papers above as shown. Carefully fold the remaining corners and adjust the upper parts. These folds create the double heart effect that gives the bookmark its name.

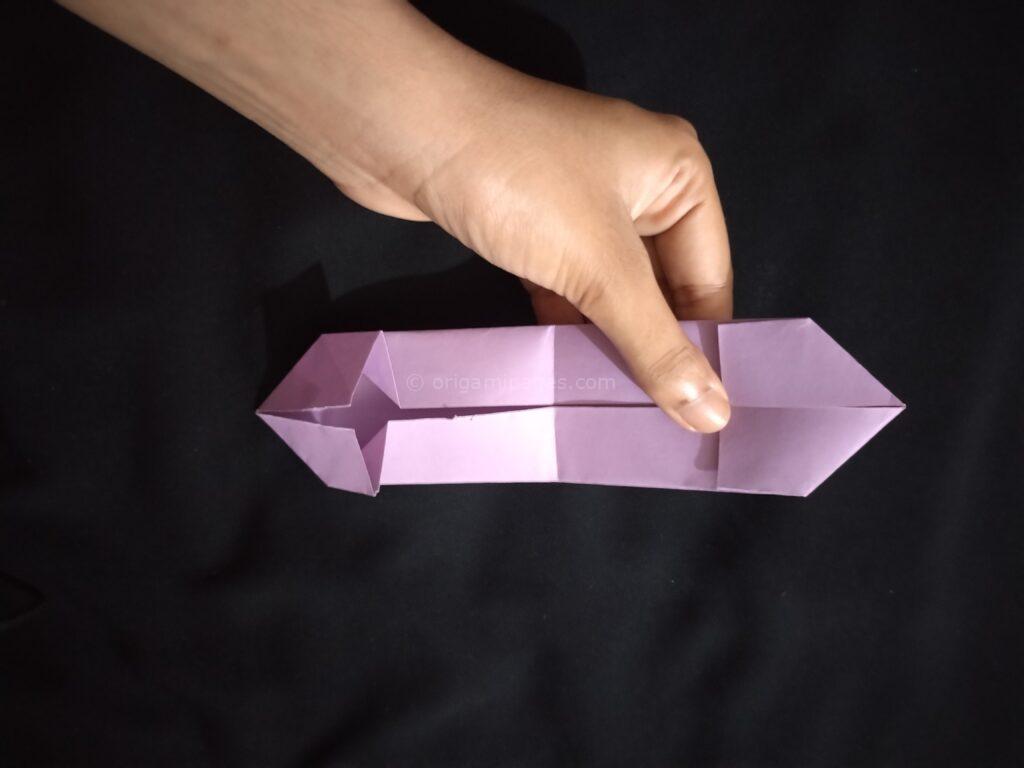
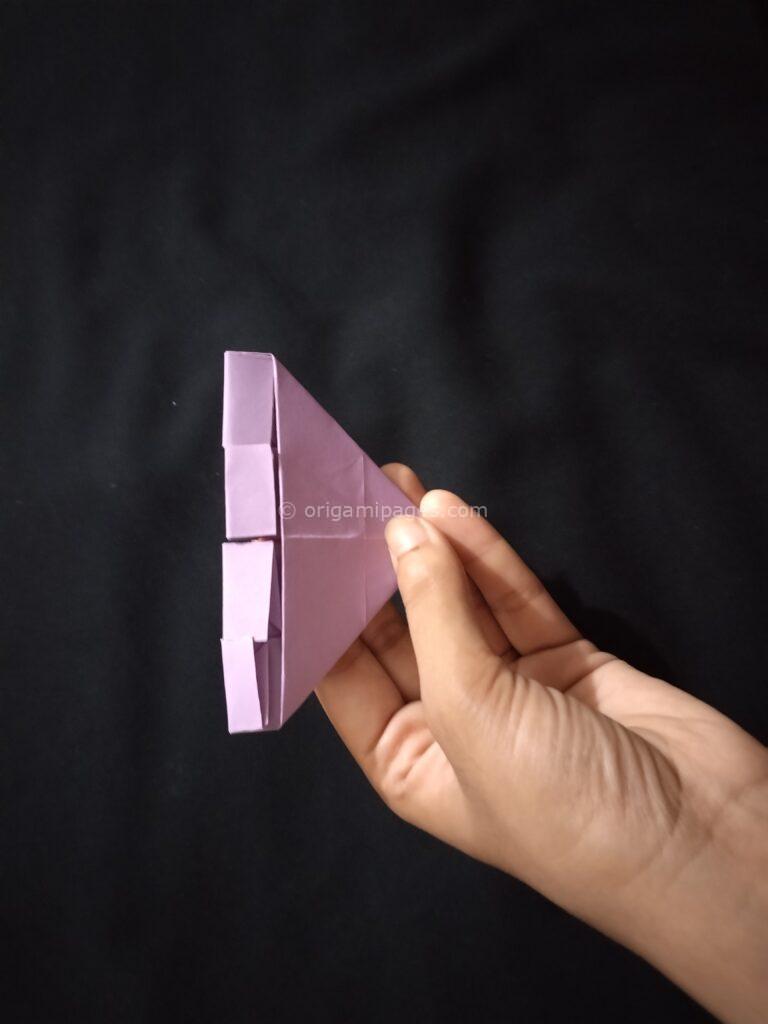
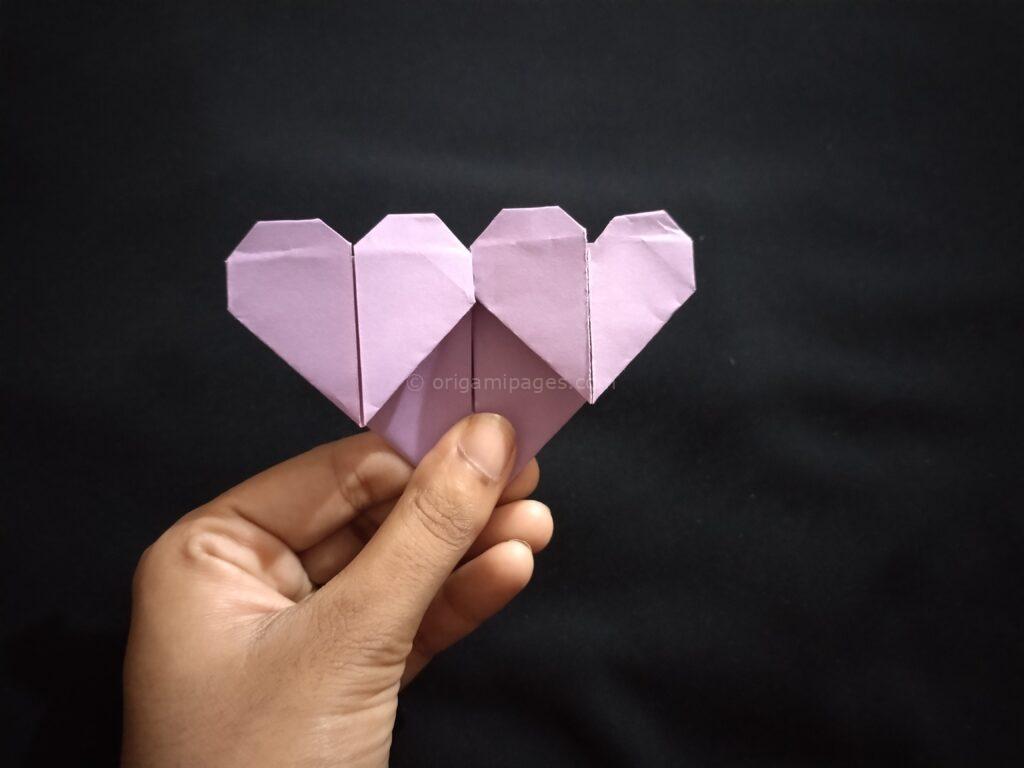
Step 10: Completing the Bookmark
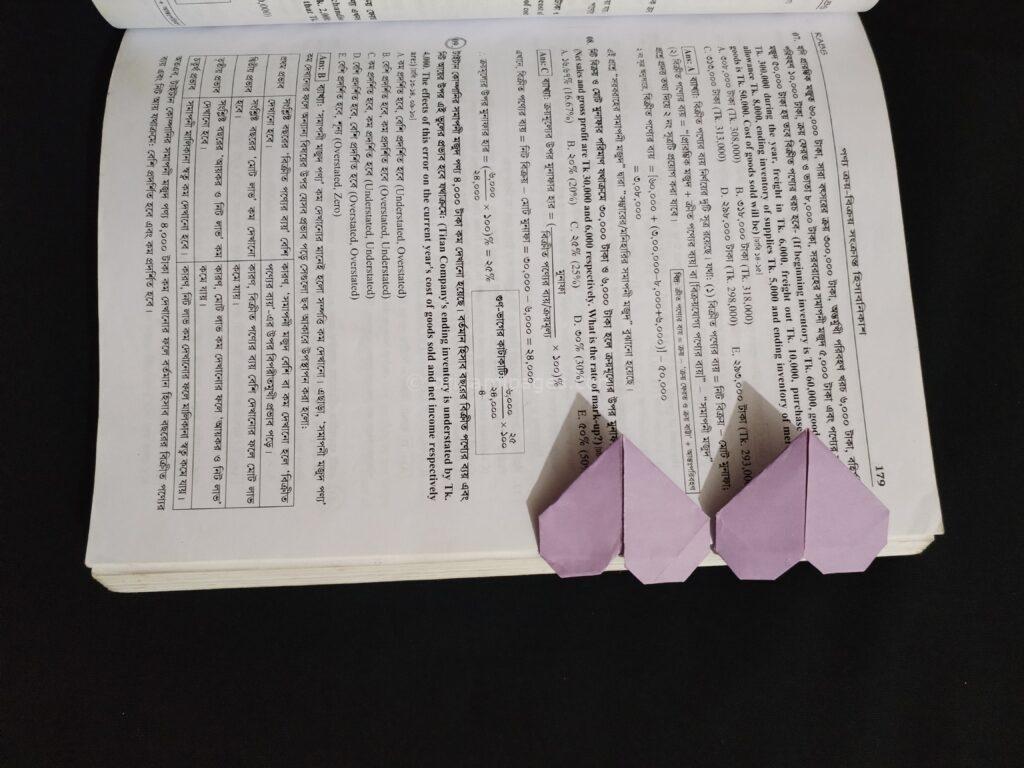
Your Double Love Origami Bookmark is now complete! Take a moment to admire your work. If any folds seem off, gently adjust them until the hearts are symmetrical.
Challenges and Solutions
When I first attempted the Double Love Origami Bookmark, I found the corner folds to be particularly challenging. They require precision and patience. If your paper starts to crinkle, try using a bone folder to smooth out the folds. Additionally, ensure that your initial folds are crisp and well-aligned; this makes the subsequent steps much easier.
Final Thoughts
Creating an origami bookmark with double hearts is a fulfilling project that blends creativity with functionality. It’s a wonderful way to enhance your reading experience or to share a handmade token of affection. I hope you find as much joy in making this DIY Origami Double Heart Bookmark as I did. If you encounter any difficulties or have suggestions for improvement, I would love to hear your feedback.
Happy folding!