Origami Clock Folding Instructions
Have you ever imagined turning a simple piece of paper into a functional and captivating piece of art? Welcome to the world of the Origami Clock, where creativity meets precision. This project is more than just a DIY activity; it’s a journey into the heart of traditional Japanese paper folding, blending meticulous craftsmanship with artistic expression.
Whether you’re an experienced origami artist or a complete beginner, creating an Origami Clock promises a rewarding experience. With step-by-step guidance, you’ll discover the joy of transforming a flat square of paper into a beautifully intricate timepiece. Join me as we delve into this enchanting process, where each fold brings us closer to a masterpiece that not only tells time but also tells a story of patience and skill.

Materials Needed
Before we dive into the origami clock step by step, gather the following materials:
- A square piece of paper (origami paper recommended)
- A flat surface to work on
- Patience and creativity
Step-by-Step Origami Clock Instructions
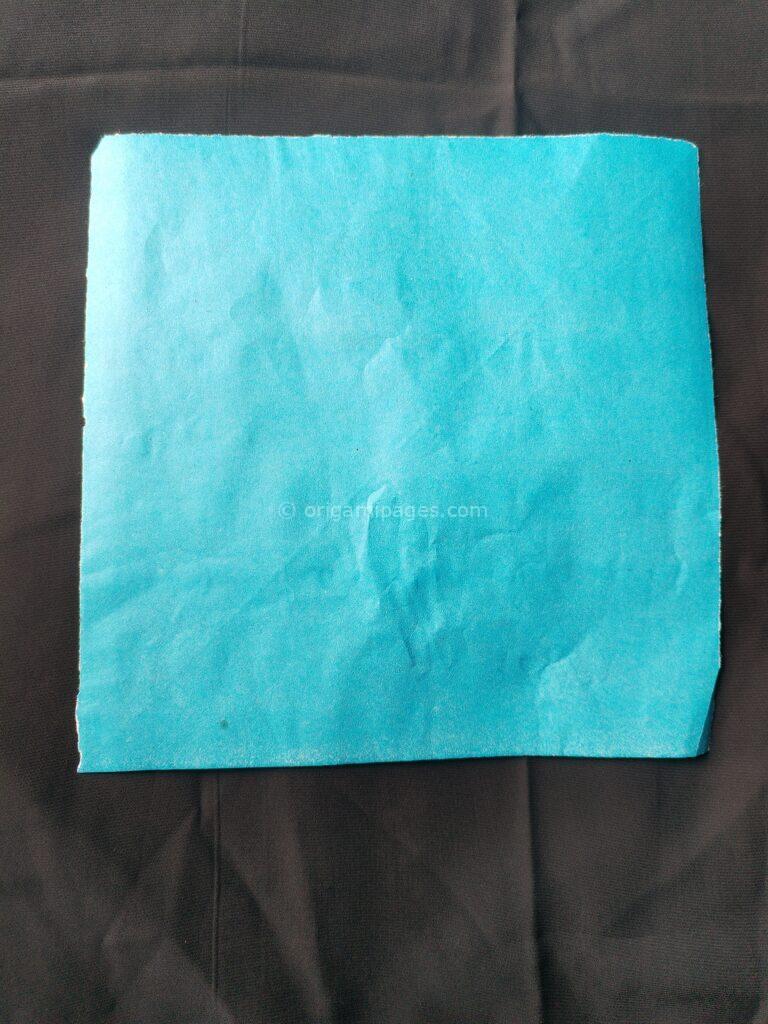
Step 1: Prepare Your Paper
Take a square shape paper. Ensure it is flat and free from any creases or folds.
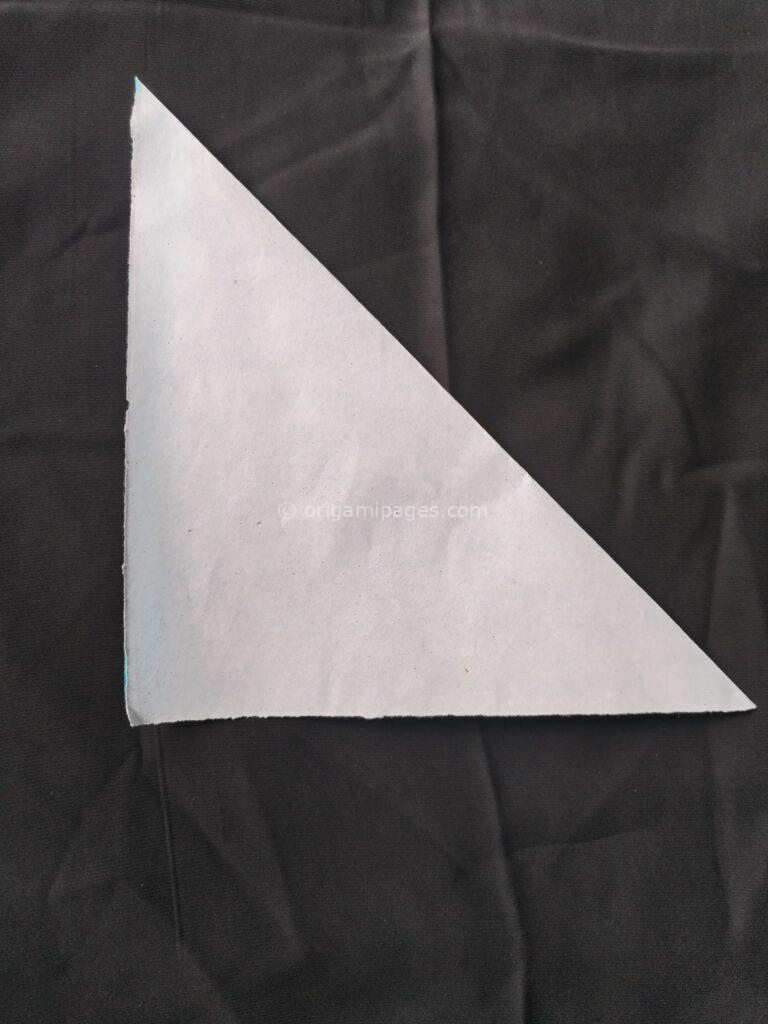
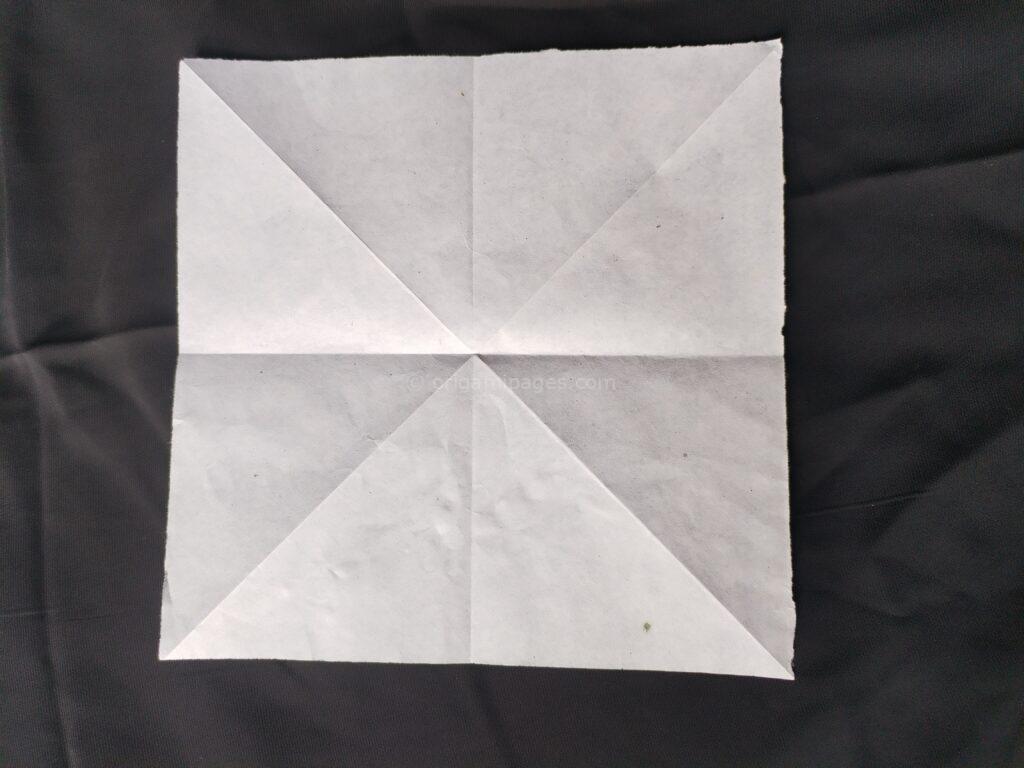
Step 2: Fold the Corners
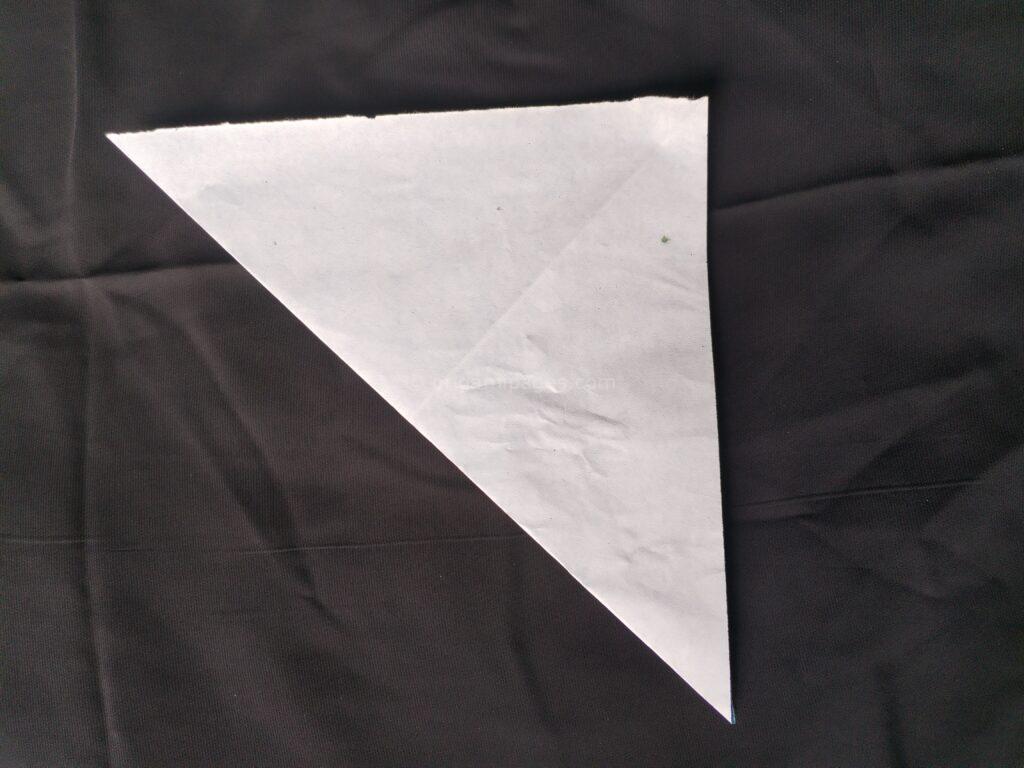
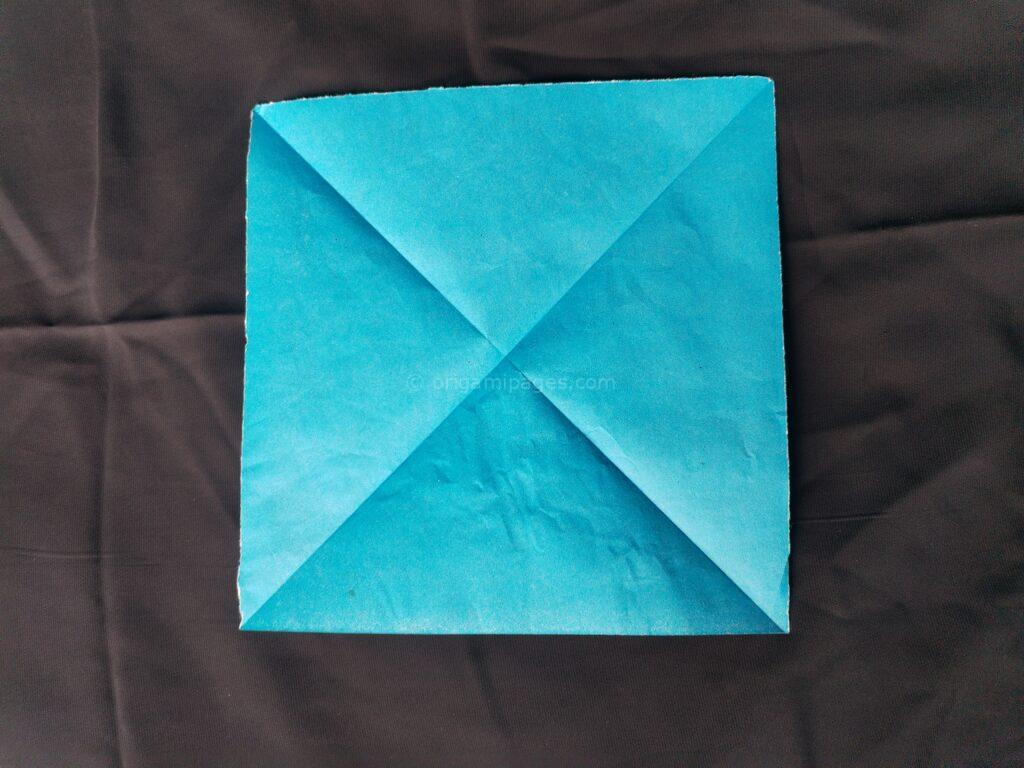
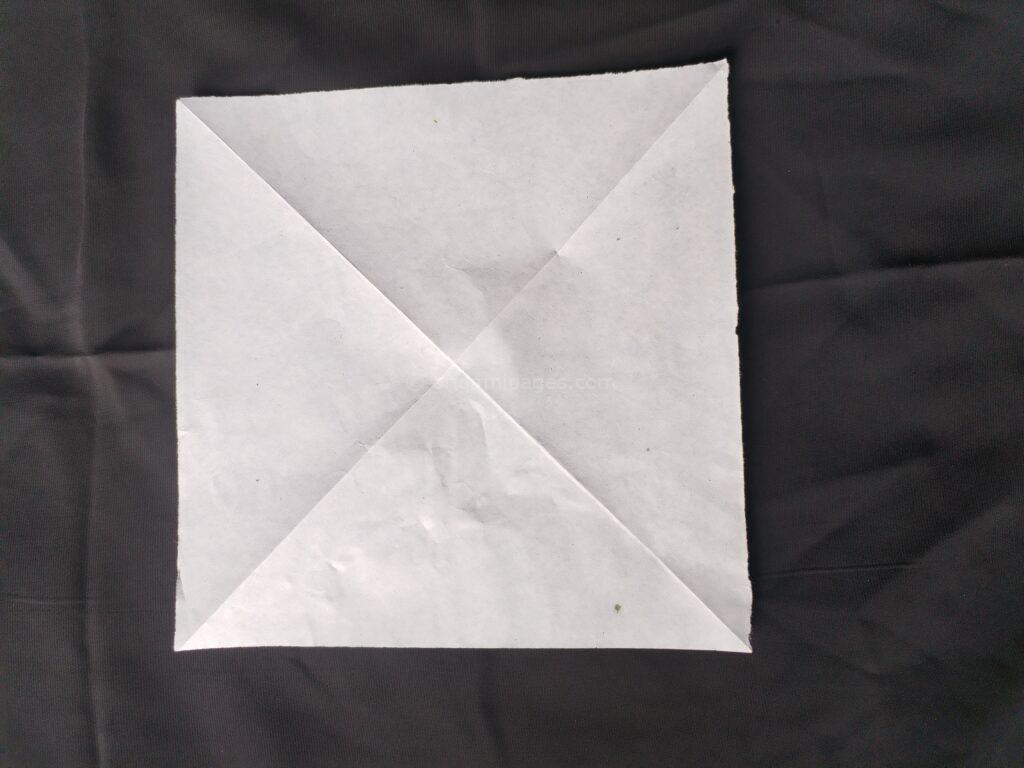
Fold the corners on both sides towards the center and then unfold. This will create diagonal creases.

Step 3: Vertical Fold
Turn the paper upside down and fold it vertically down the middle, then unfold. This crease will serve as a guide for future folds.

Step 4: Horizontal Fold
Fold the paper horizontally down the middle and unfold. You should now have a grid of creases.
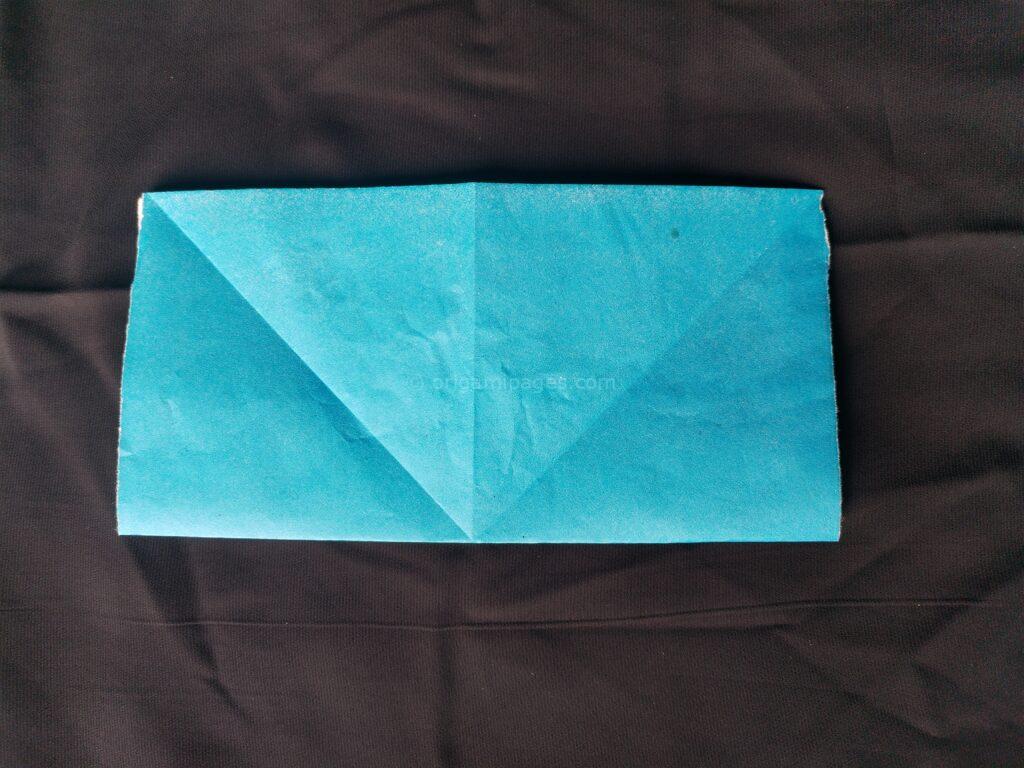
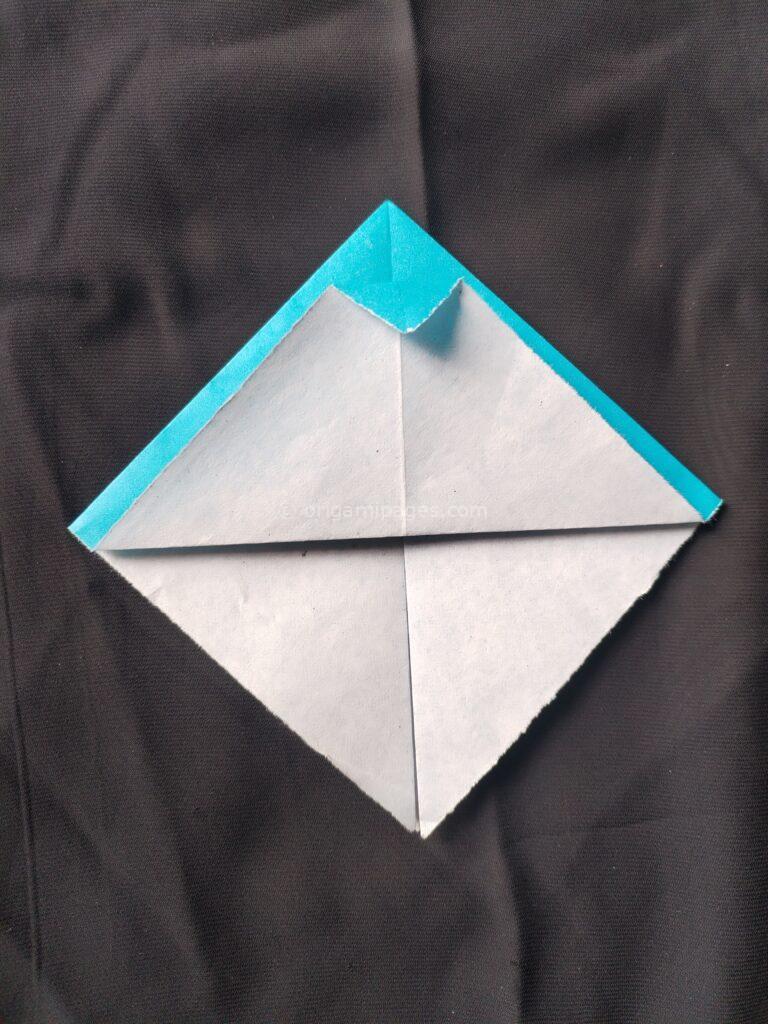
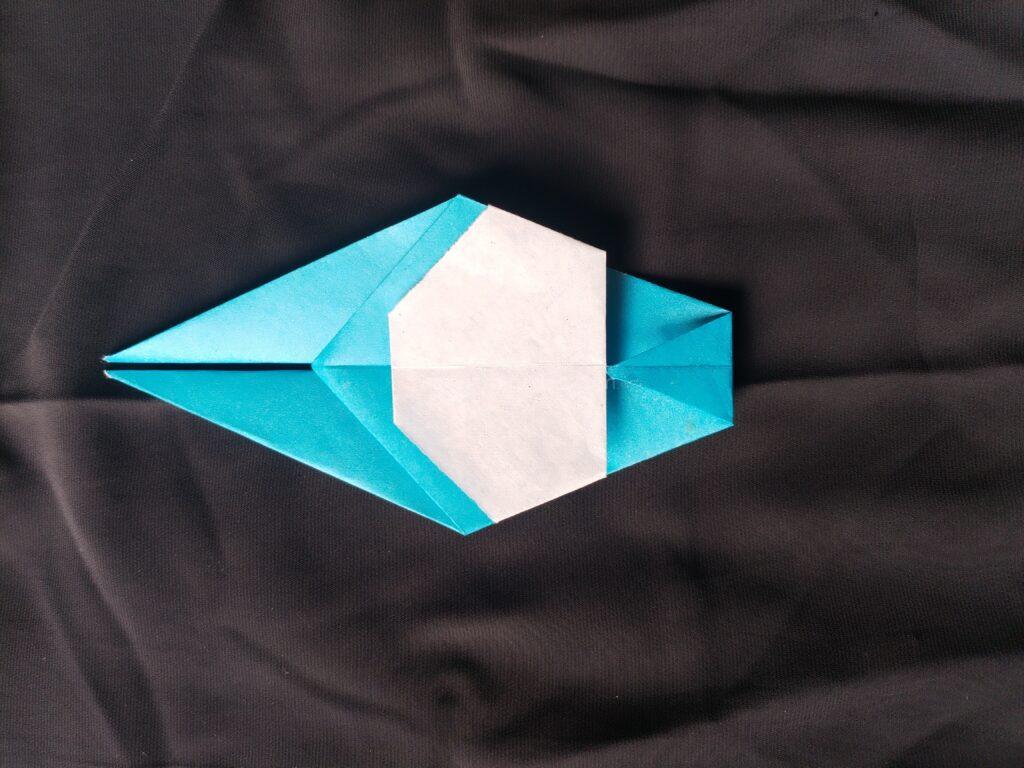
Step 5: Form the Base Shape
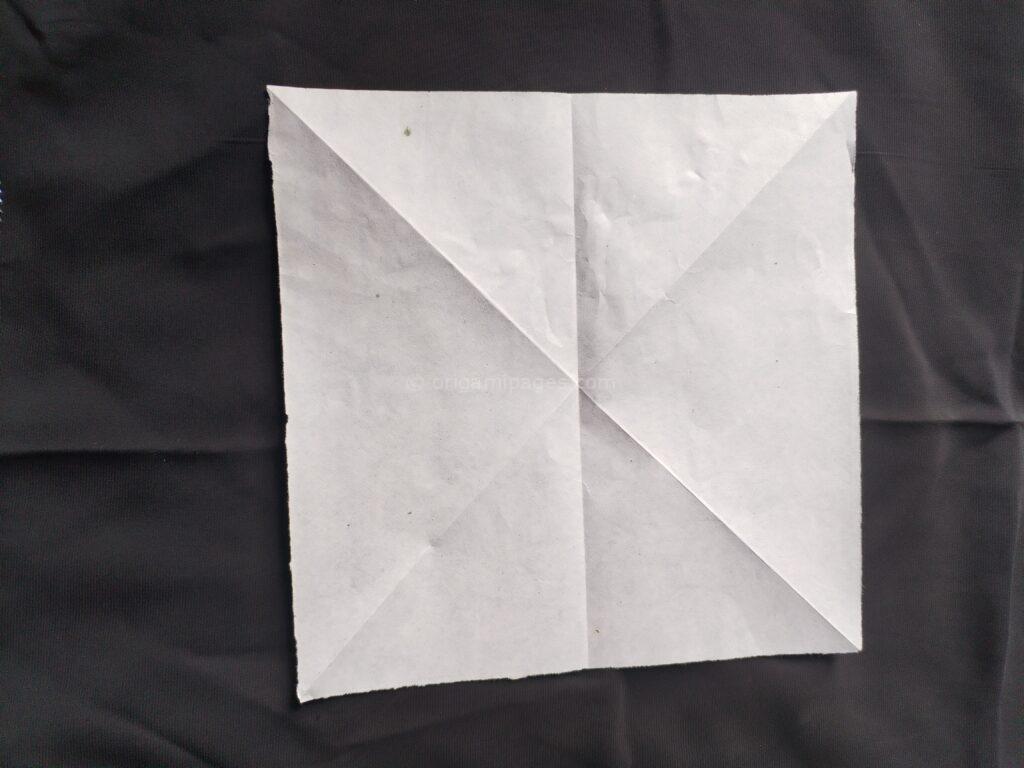
Now fold the paper as shown in the picture and fold one part upwards as shown in the picture.
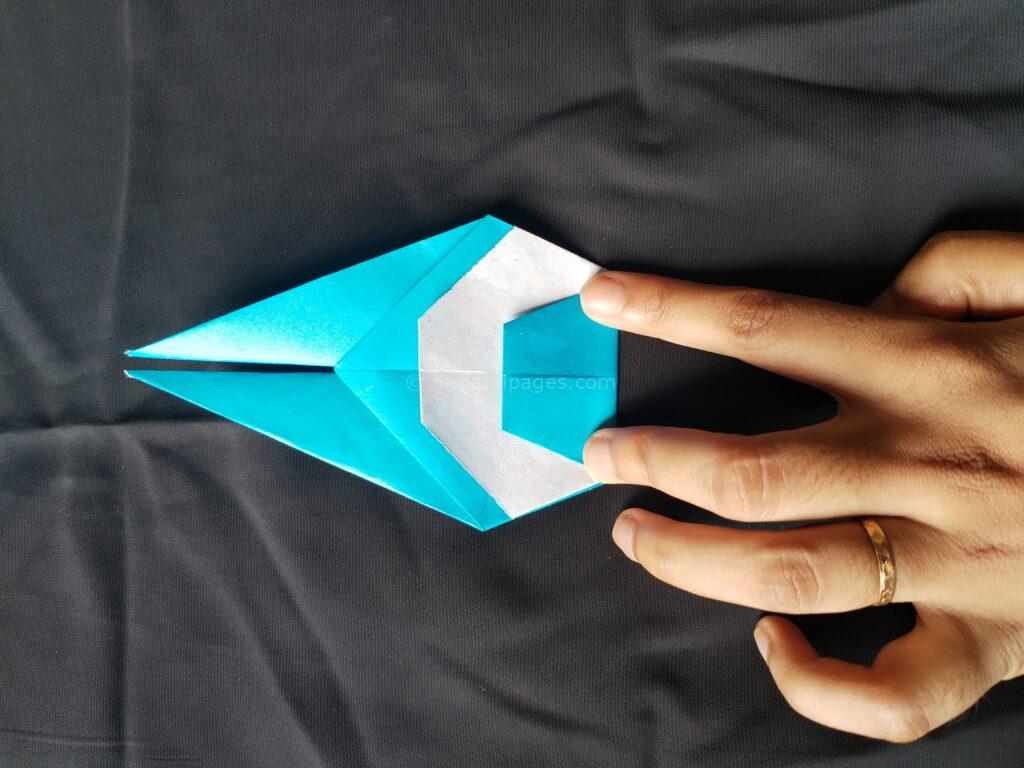
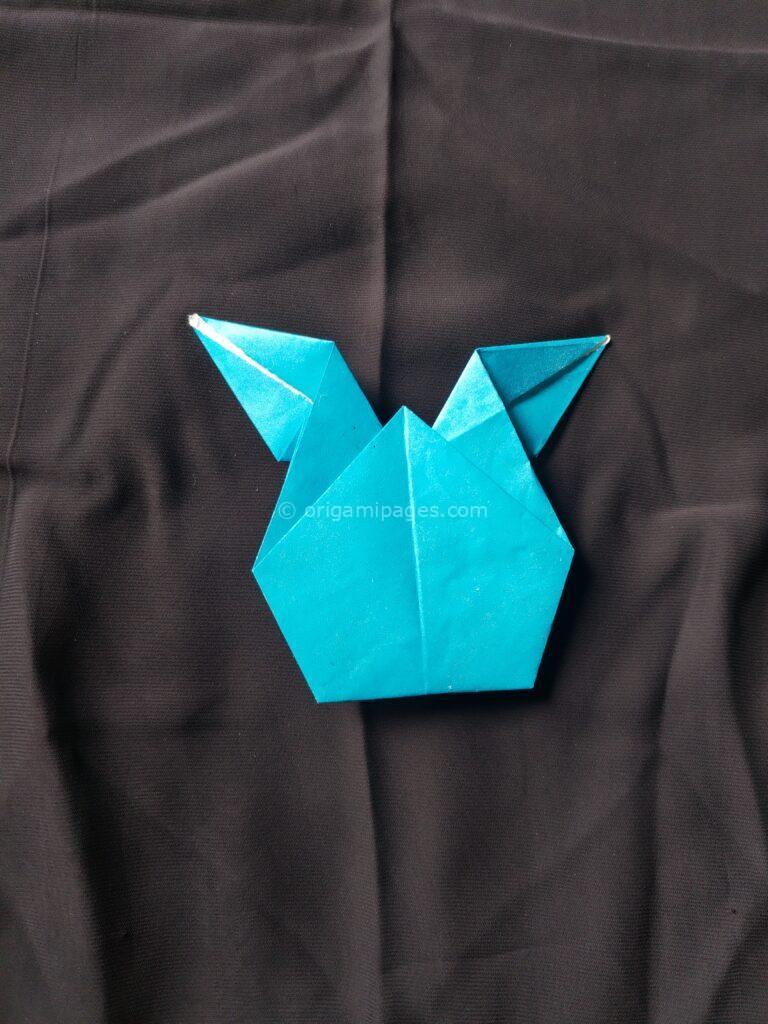
Step 6: Create the Triangle
Make a small fold in the upper part of the triangle and fold the right side part to the left side.

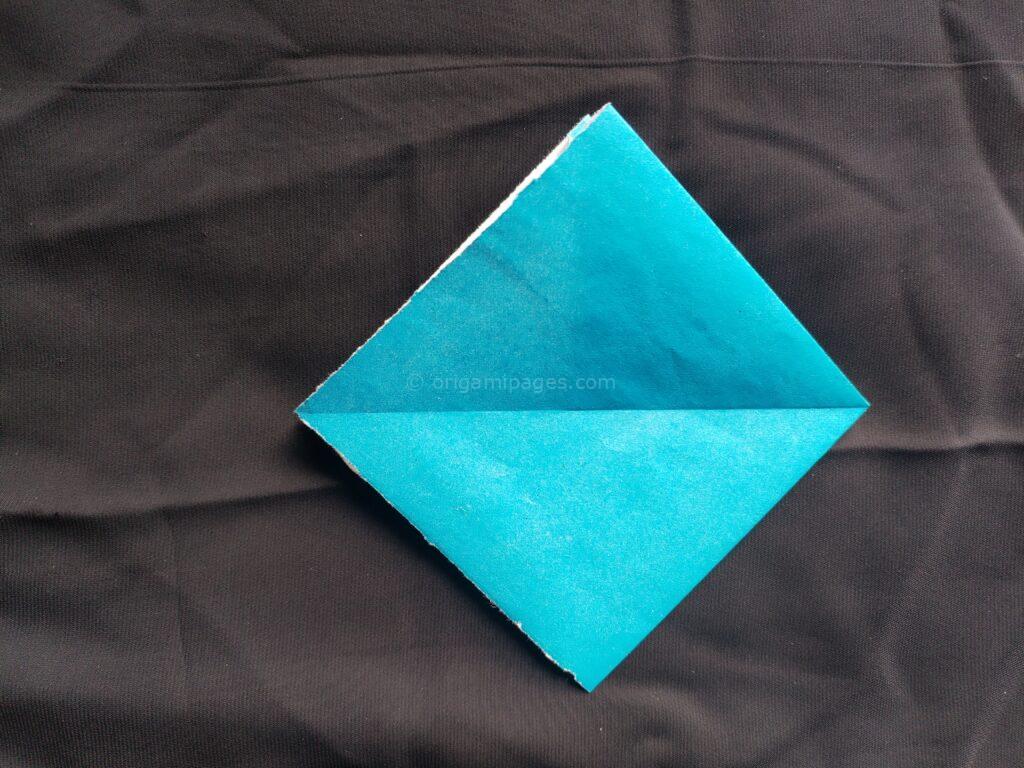
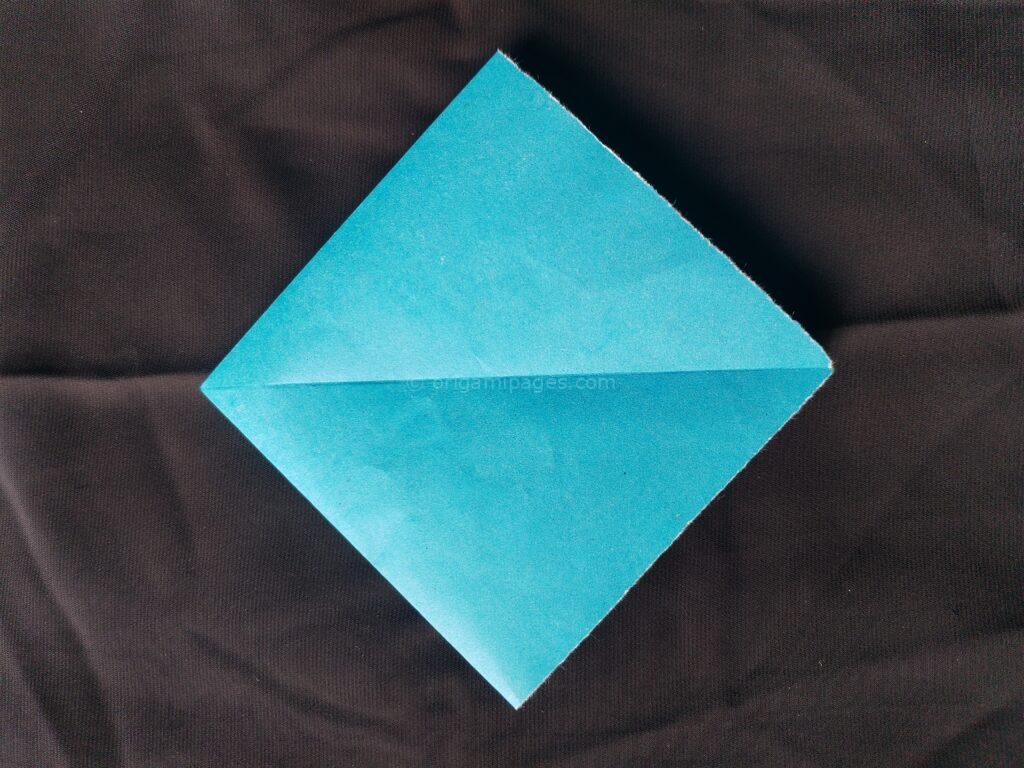
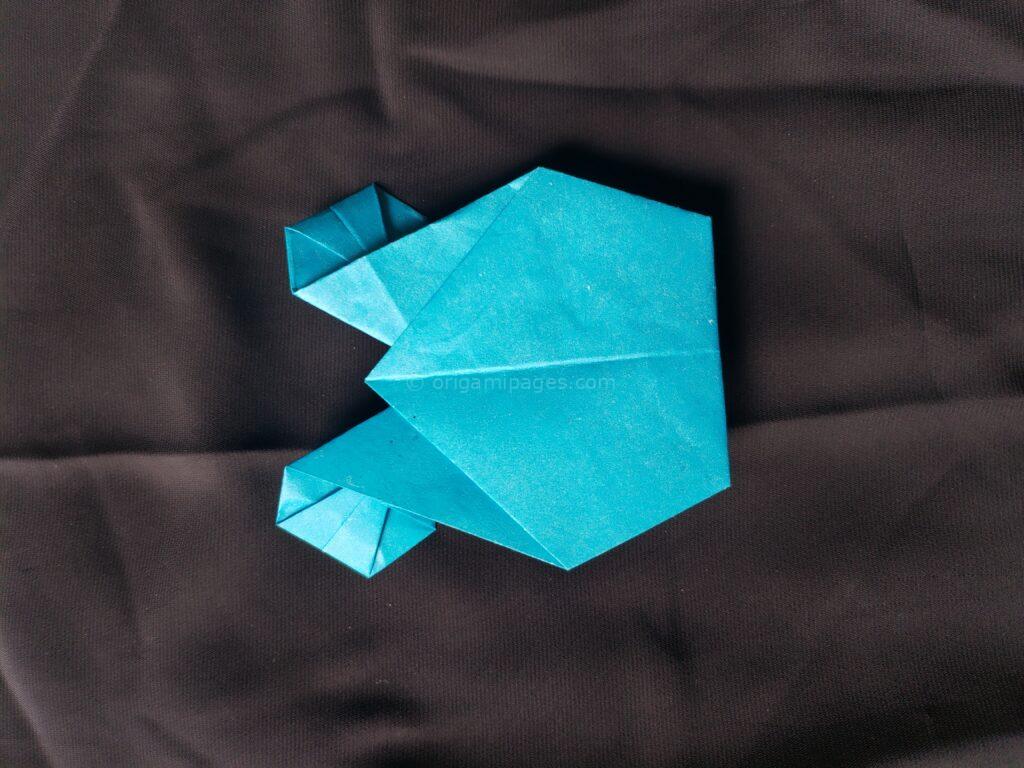
Step 7: Fold Along the Middle Line
Take both sides of the paper and fold it along the middle line, then unfold it.


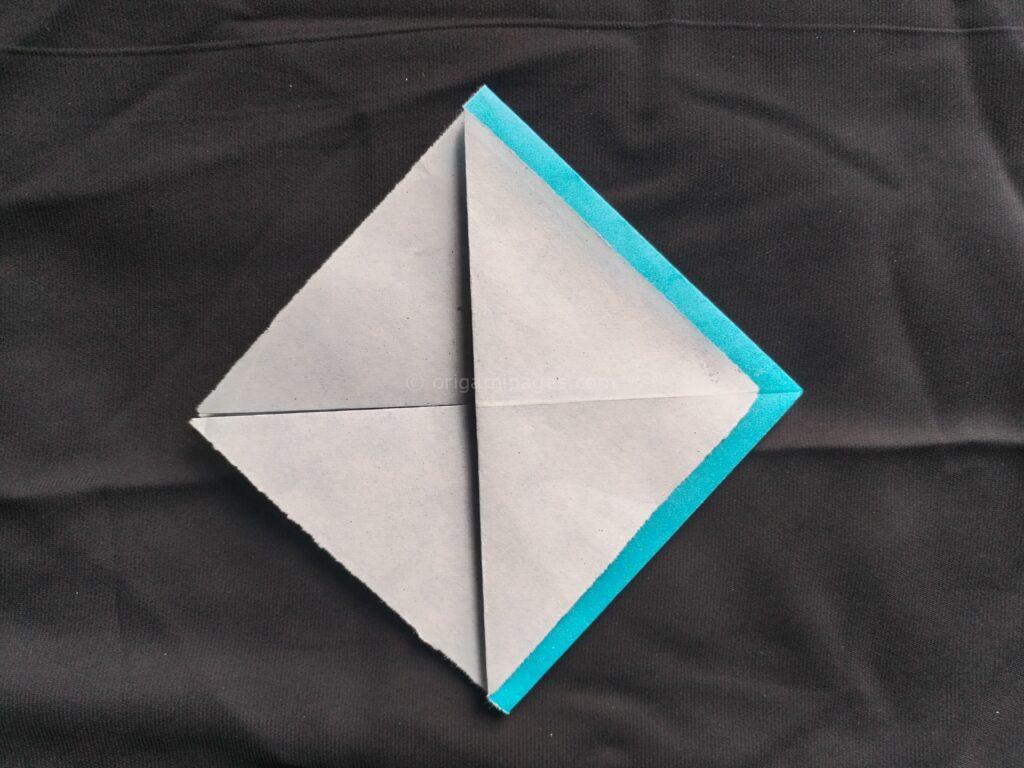
Step 8: Tuck in the Sides
Now put the papers inside, fold the other side in the same way.
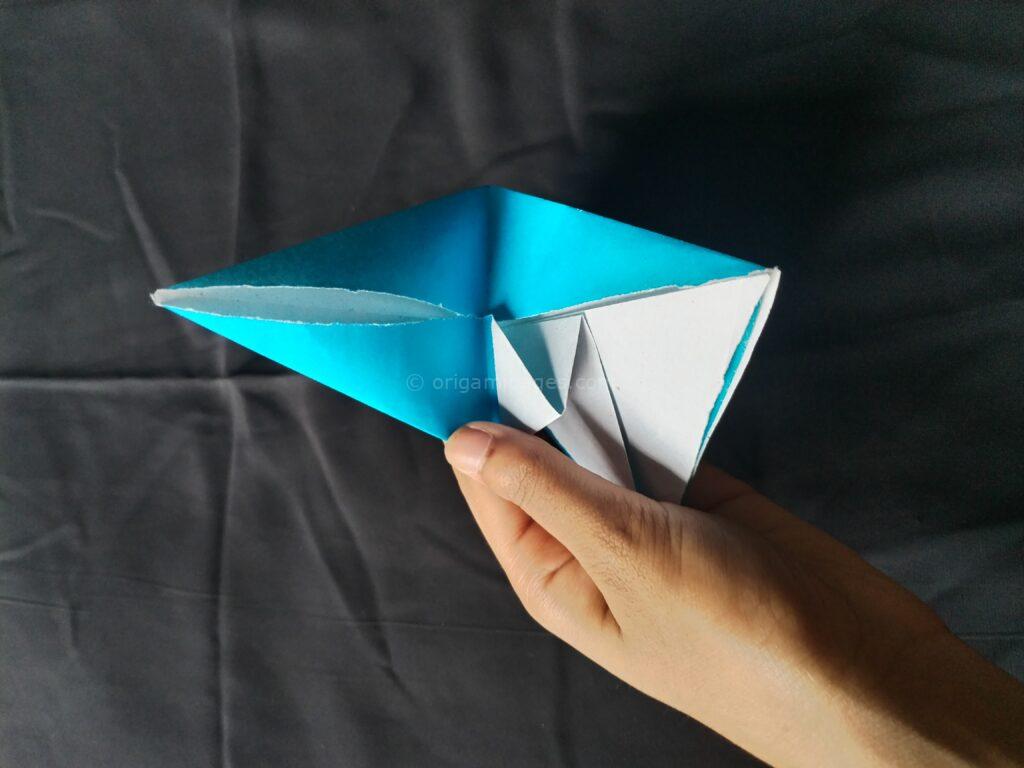


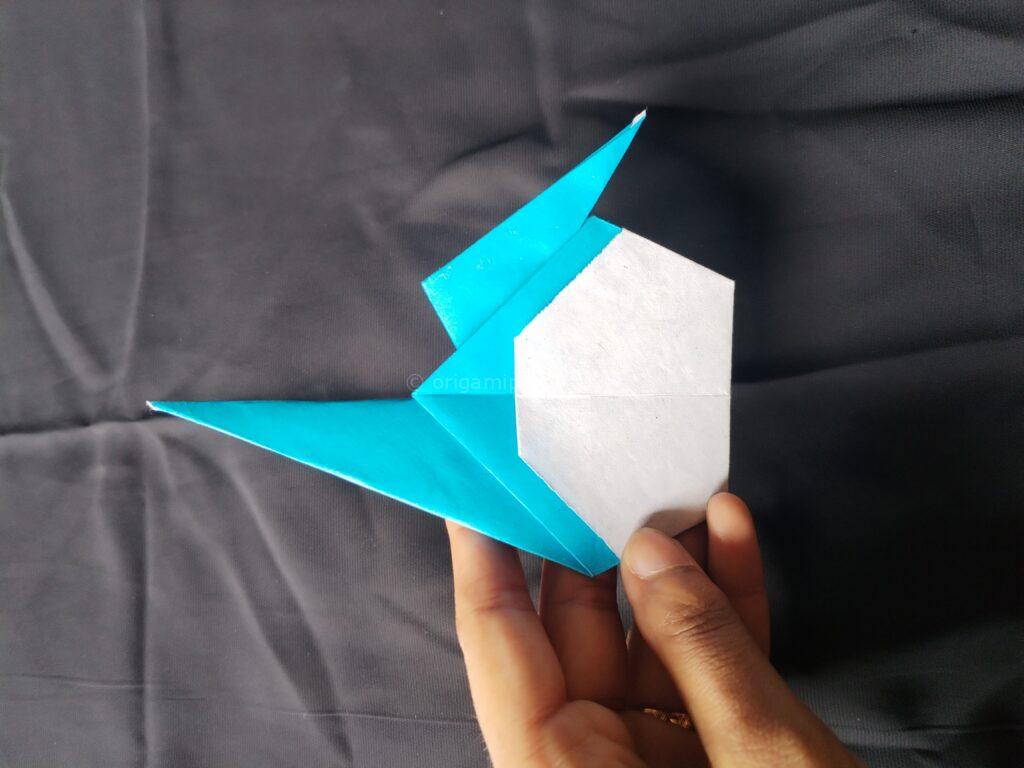
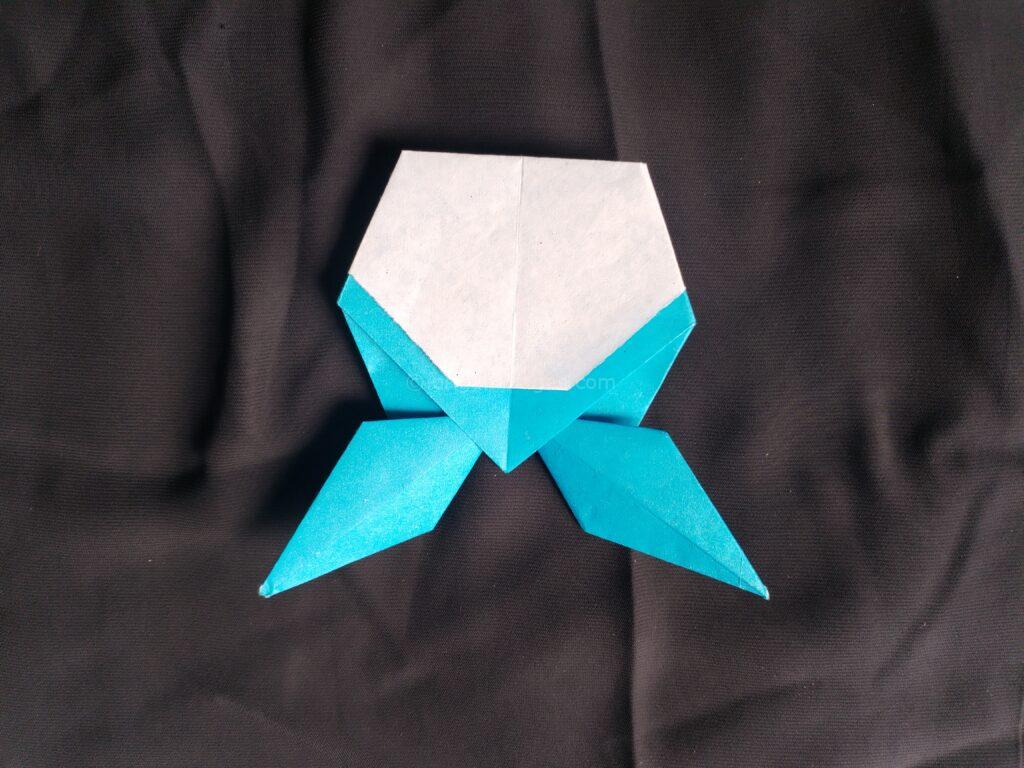
Step 9: Upper Part Fold
Now take the upper part and fold it upwards. Fold the other side like this.


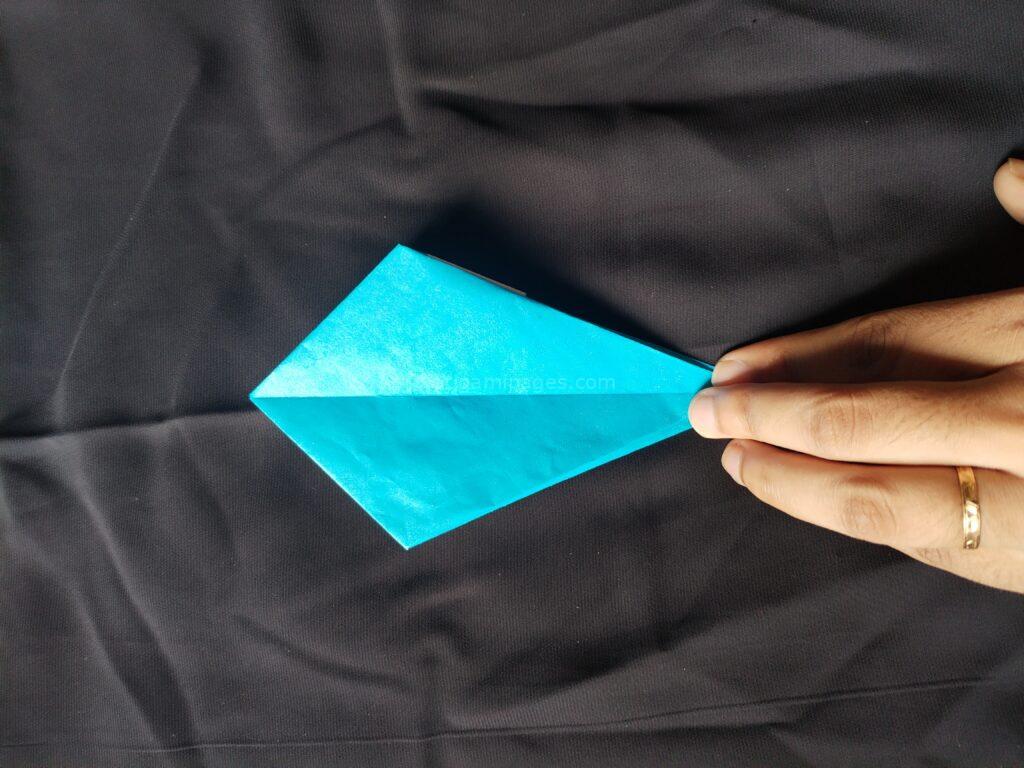
Step 10: Open and Fold
Open the right side and left side folds. Keep the white side in front. Now give a middle fold in the lower part. Fold the white part evenly and put it inside.


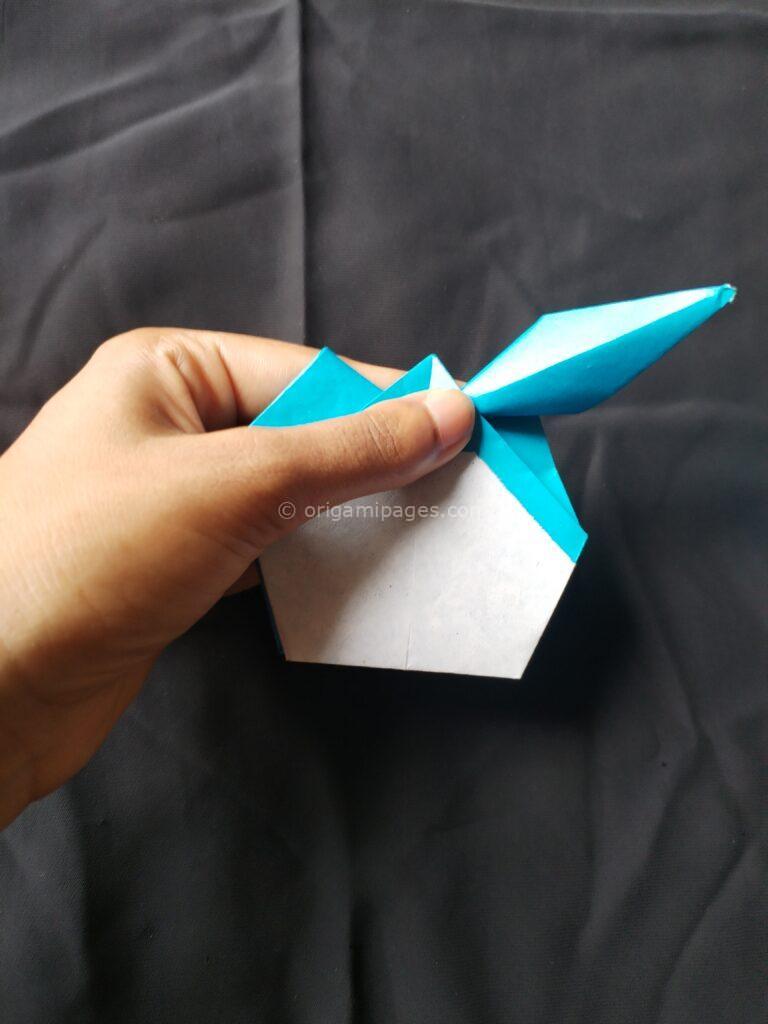
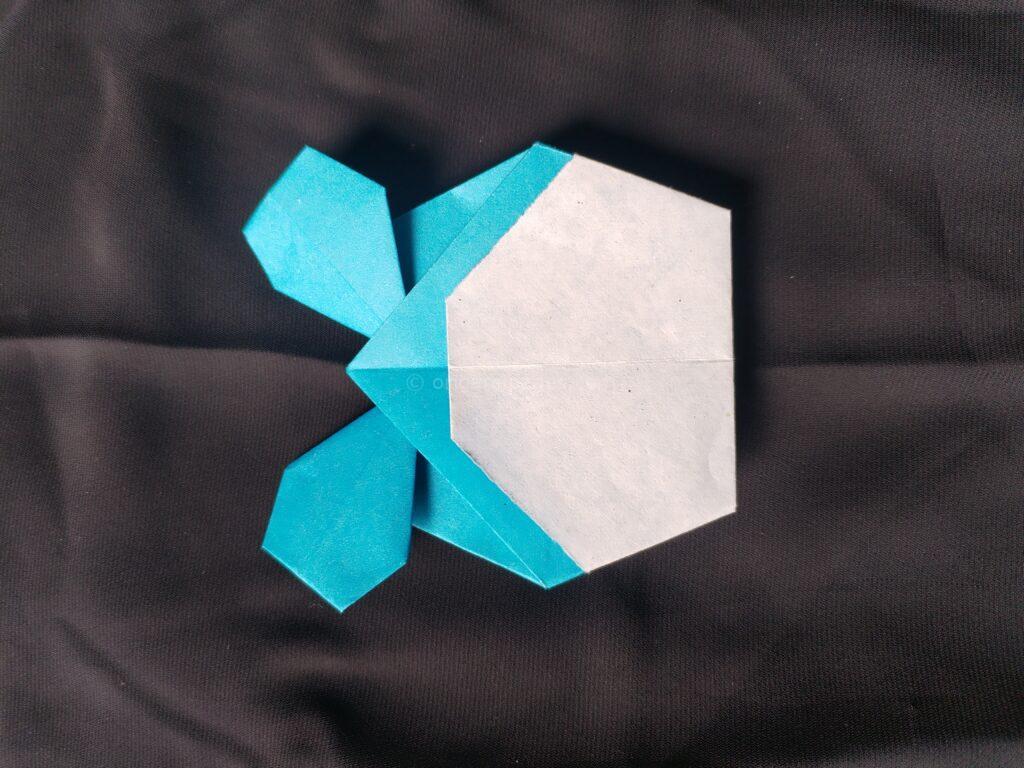
Step 11: Final Folds
Fold the above two parts as shown in the picture and swell the folded part a little, then fold it again.
Step 12: Finishing Touches
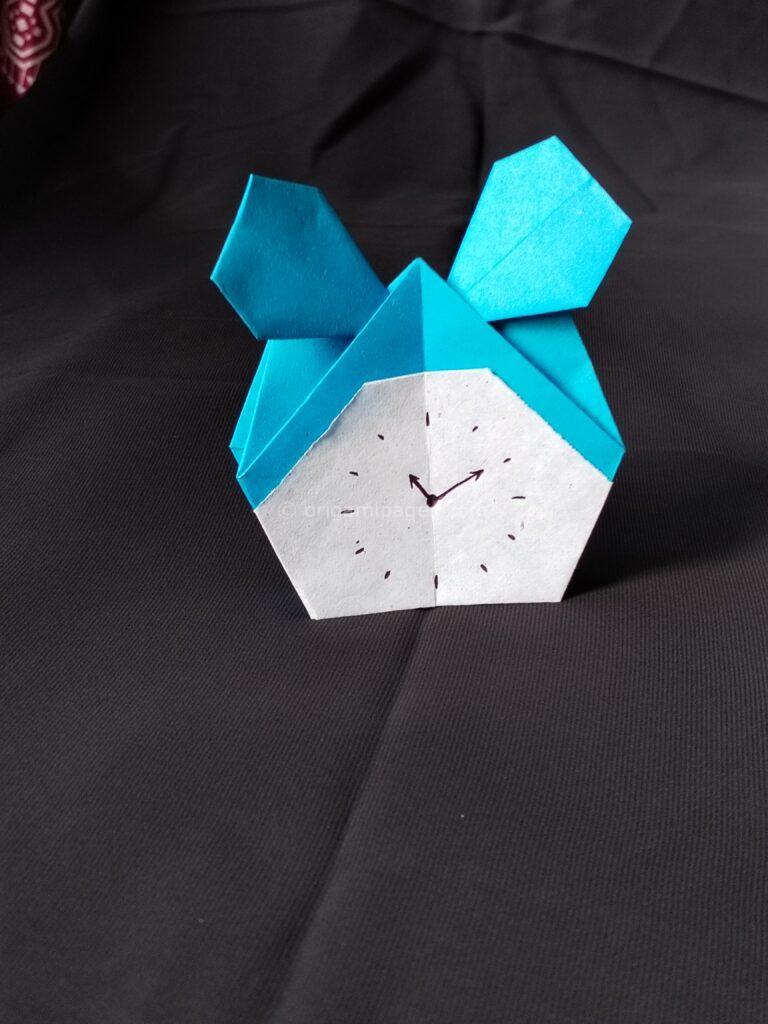
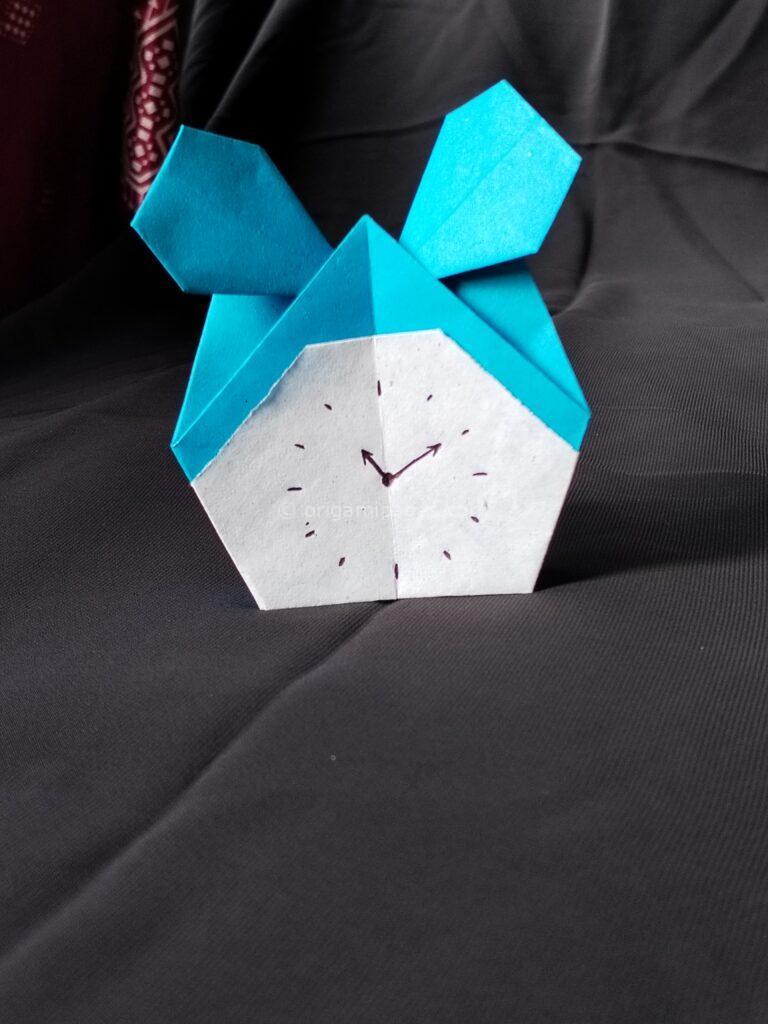
Turn the paper upside down and fold it at the top. Again, do the same front and cut and add the numbers. Your DIY origami clock is now complete!
Tips and Troubleshooting
When I first attempted to make an origami clock, I found the folds requiring precision and patience. Some of the smaller folds, especially in the later steps, can be quite challenging. Make sure to take your time with each step, and don’t hesitate to redo a fold if it doesn’t look right. Using slightly larger paper for your first few attempts can also make the process easier.
Conclusion
Creating a paper origami clock is a fulfilling project that combines creativity with precision. By following these origami clock instructions, even novice origami learners can craft a beautiful and functional piece. Embrace the process, enjoy the art of folding, and share your creations with others. Happy folding!
If you have any questions or feedback, please feel free to share. Your insights help us improve this guide continuously.