Origami Easter Eggs – Easiest Guide To Follow
Origami is a timeless art form with endless possibilities for creative expression. Among its creations, crafting origami Easter eggs is a delightful project perfect for the festive season. In this guide, we’ll walk you through the steps to create simple origami Easter eggs for decoration or gifting. Let’s dive into the world of origami and discover how to make these charming Easter decorations step by step.
Simple Origami Easter Eggs: A Step-by-Step Guide
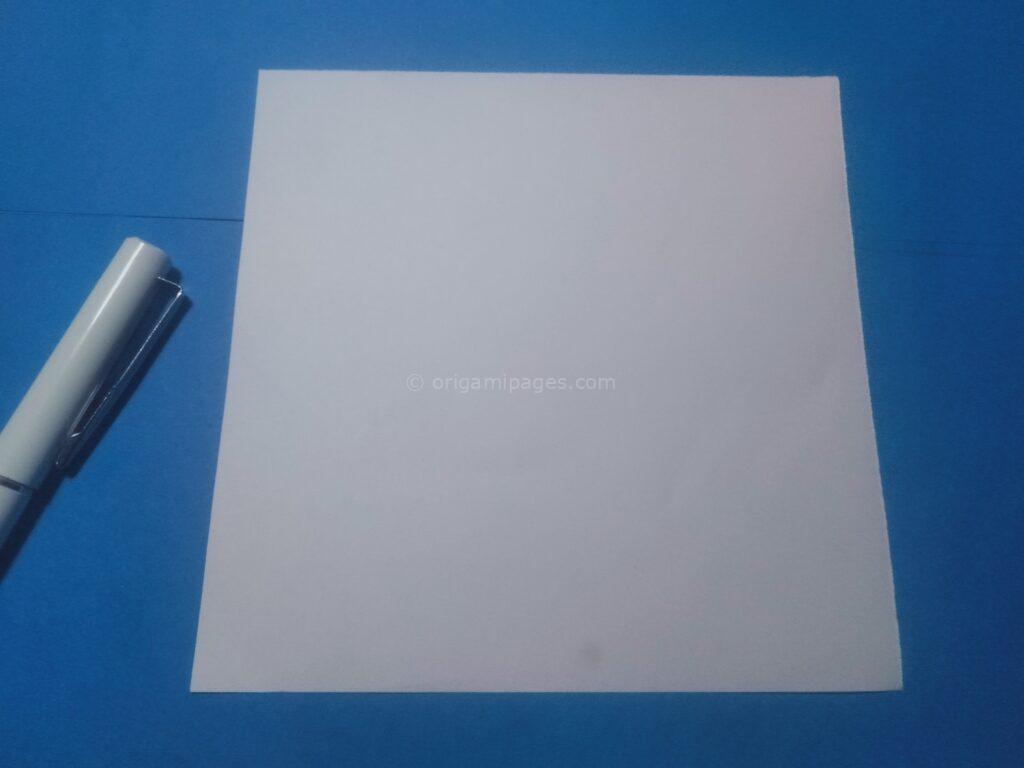
Step 1: Gather Your Materials
Before we dive into the world of origami, let’s ensure we have all the necessary materials at hand. To create our origami Easter eggs, you’ll need a square piece of paper measuring 14cm×14cm. This paper will serve as the canvas for our artistic endeavors, so make sure it’s smooth and free from any tears or creases that might hinder our folding process.
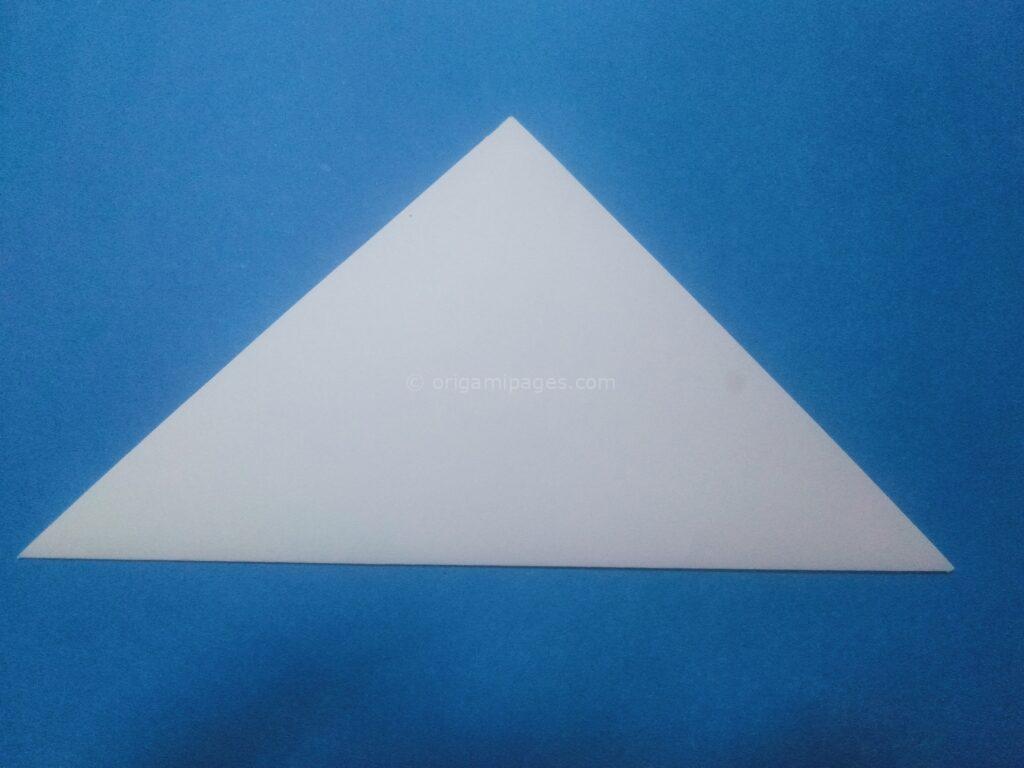
Step 2: Fold the Upper Corner
With our materials in place, it’s time to begin our origami adventure. Take one of the upper corners of the square paper and gently fold it over to meet the opposite corner. This simple yet crucial fold creates a diagonal crease across the paper, dividing it into two triangles and setting the stage for our Easter egg creation.
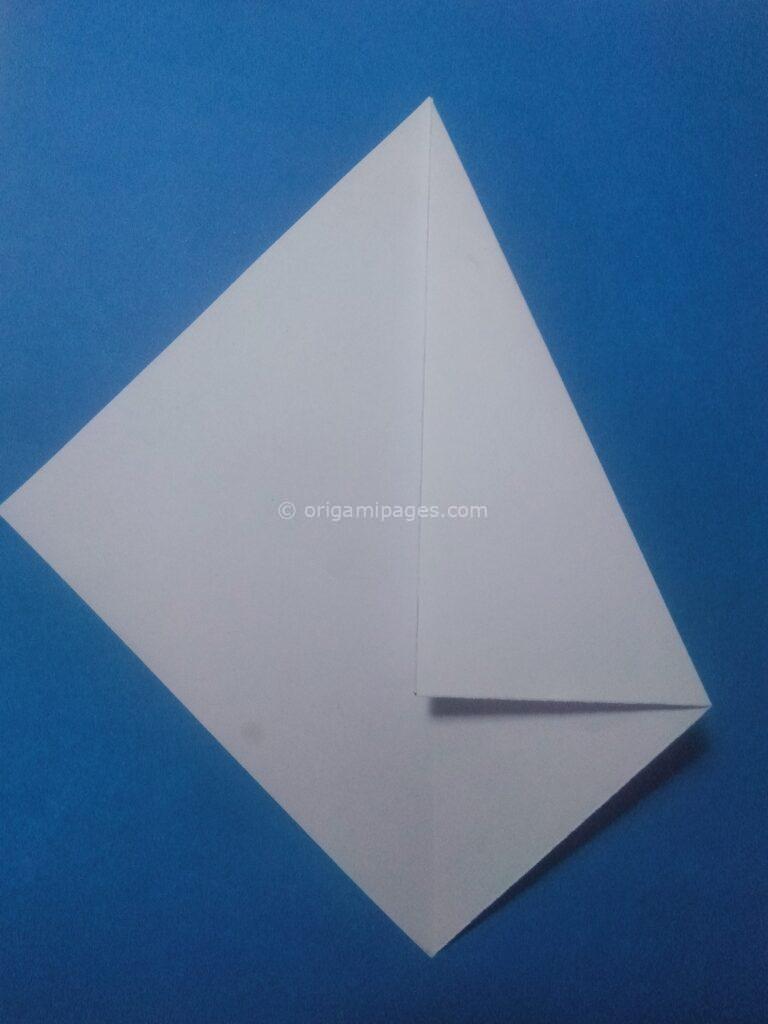
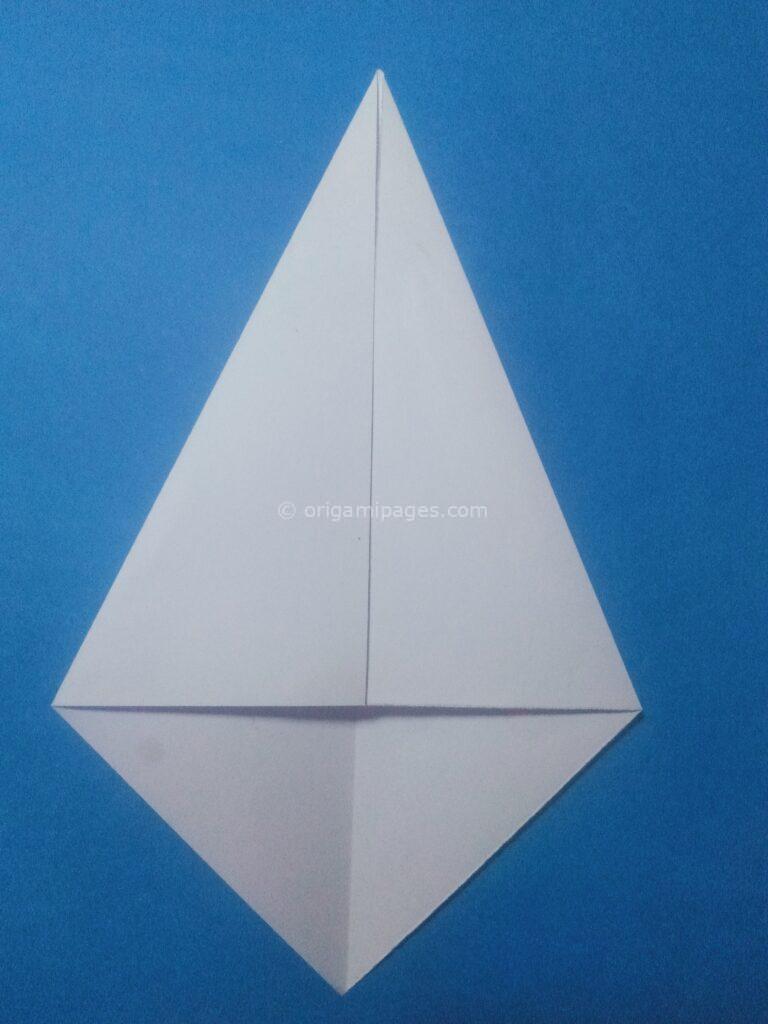
Step 3: Fold Both Sides to the Center
Now, let’s proceed by folding both sides of the paper towards the center crease. As you fold, pay attention to aligning the edges neatly and pressing down firmly to create crisp folds. This action transforms our paper into a diamond shape, laying the foundation for the emergence of our origami Easter egg.
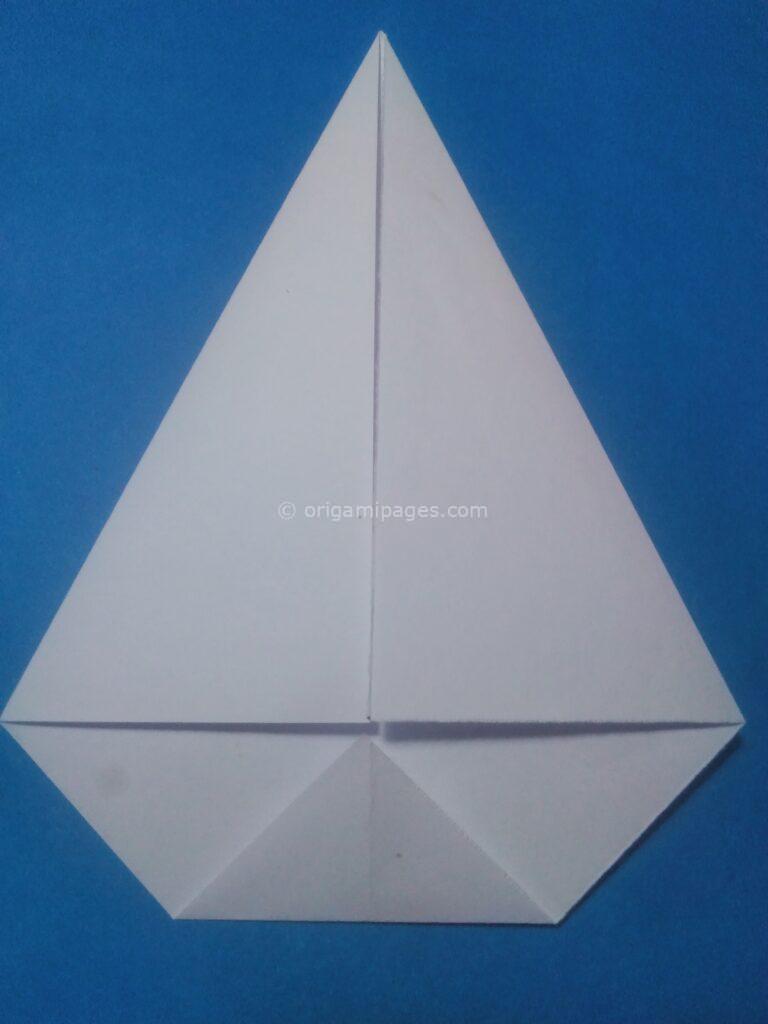
Step 4: Fold the Down Point
With the diamond shape before us, it’s time to add dimension to our origami Easter egg. Take the bottom point of the diamond and fold it upwards towards the upper crease. This fold creates a smaller diamond within the larger one, bringing us one step closer to our final creation.
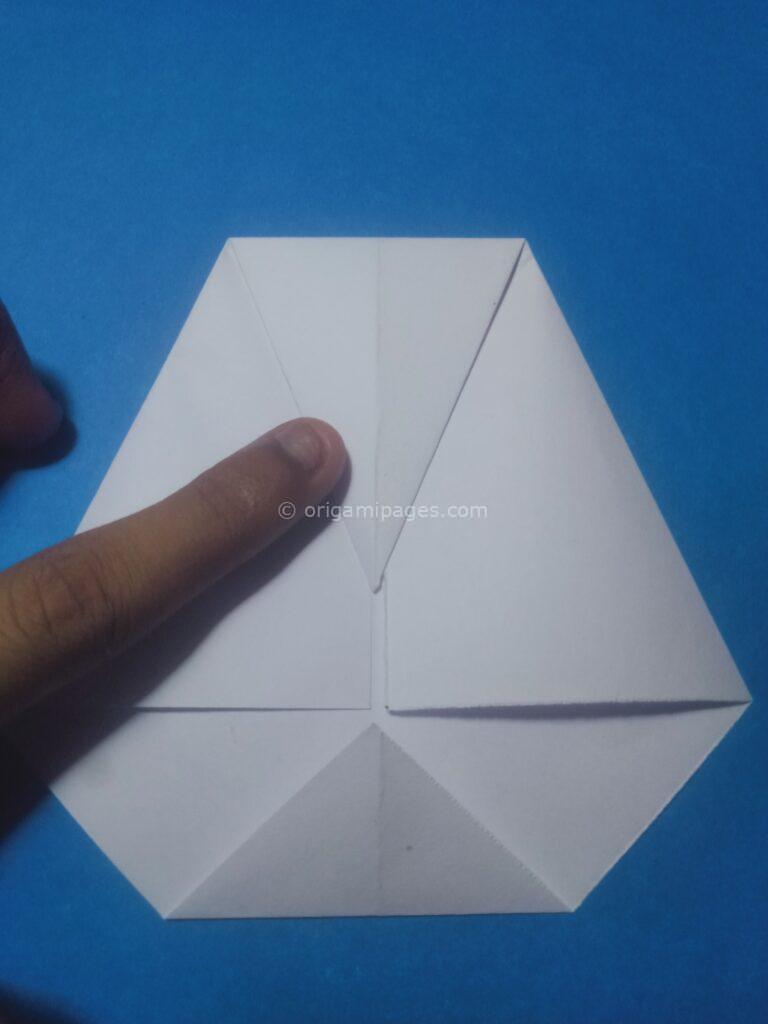
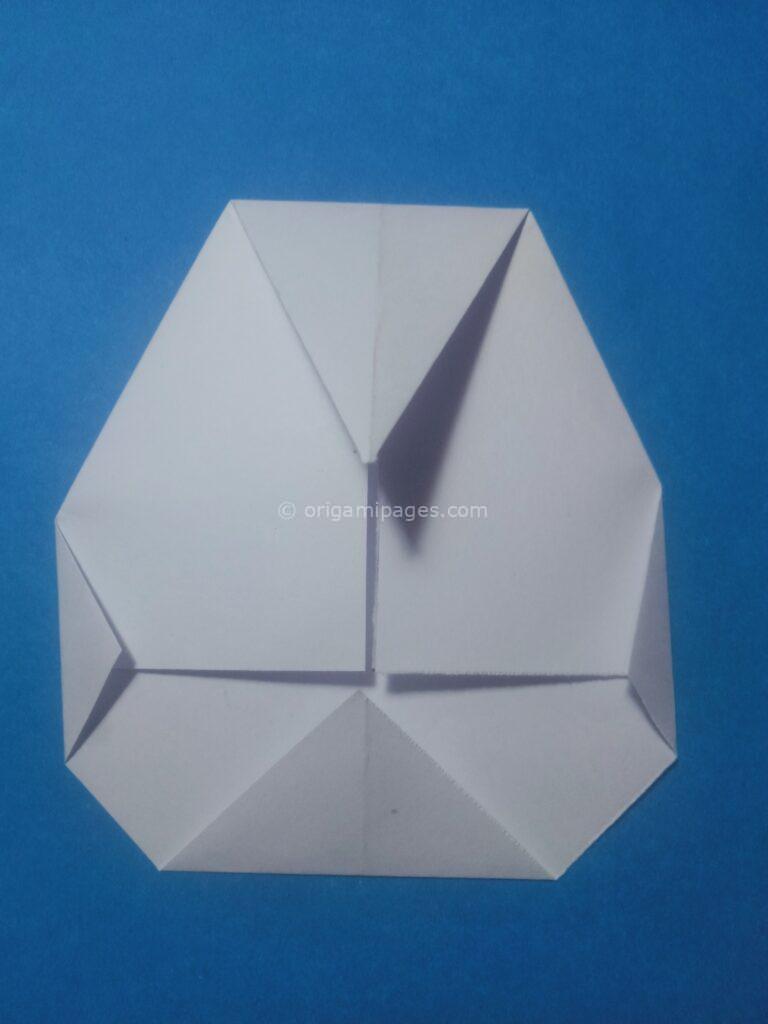
Step 5: Fold the Top Corner
Direct your attention to the top corner of the diamond and fold it downwards towards the bottom point. This fold introduces a triangular element, imparting a distinct Easter egg-like appearance to our creation. With each fold, our origami Easter egg begins to take shape, showcasing the beauty of this ancient art form.
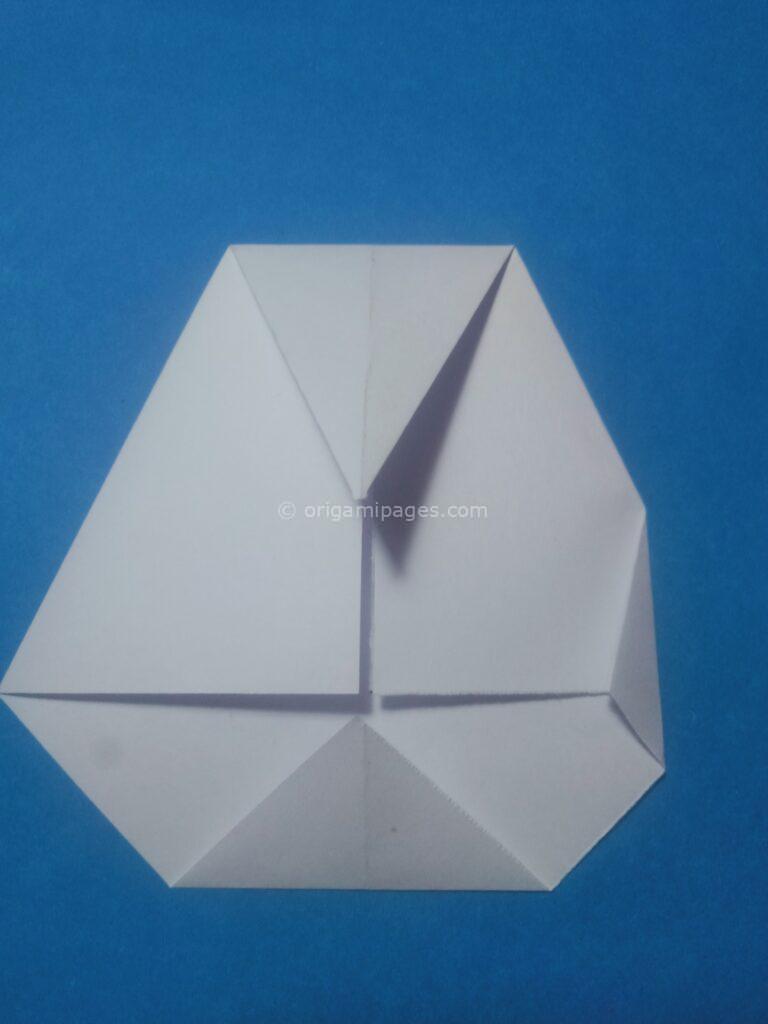
Step 6: Fold the Left and Right Sides
To further refine the shape of our origami Easter egg, gently fold the left and right sides of the paper inwards from the middle. These folds contribute to the egg’s rounded form, enhancing its aesthetic appeal and adding depth to our creation. As we fold, take care to maintain symmetry and balance, ensuring a harmonious outcome.
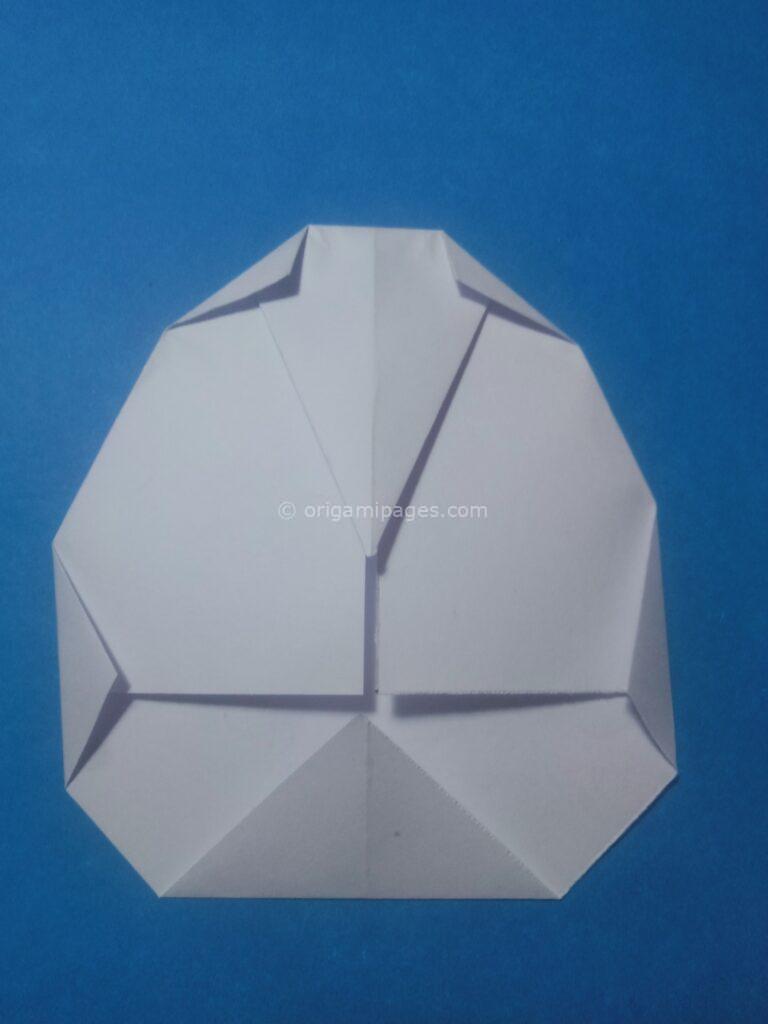
Step 7: Fold Both Sides of the Top
For the final touches, fold both sides of the top of the paper inward towards the center crease. This additional step adds finesse to our origami Easter egg, ensuring a smooth and polished finish. With each fold, we inch closer to completing our masterpiece, ready to adorn any festive display with its charm and elegance.
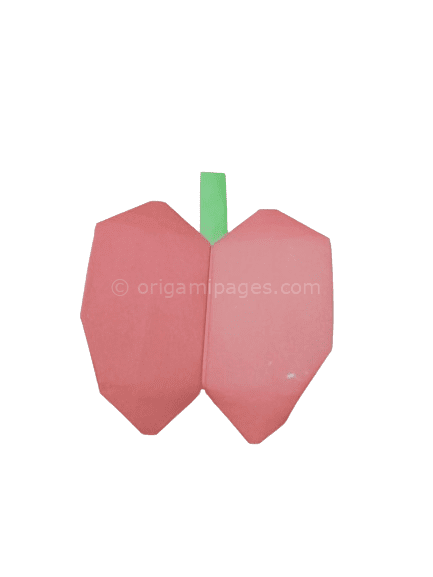
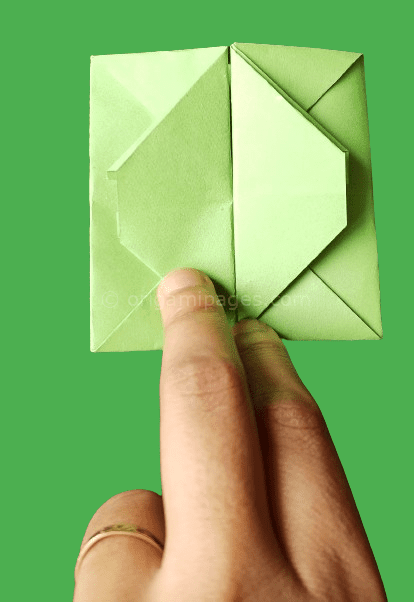
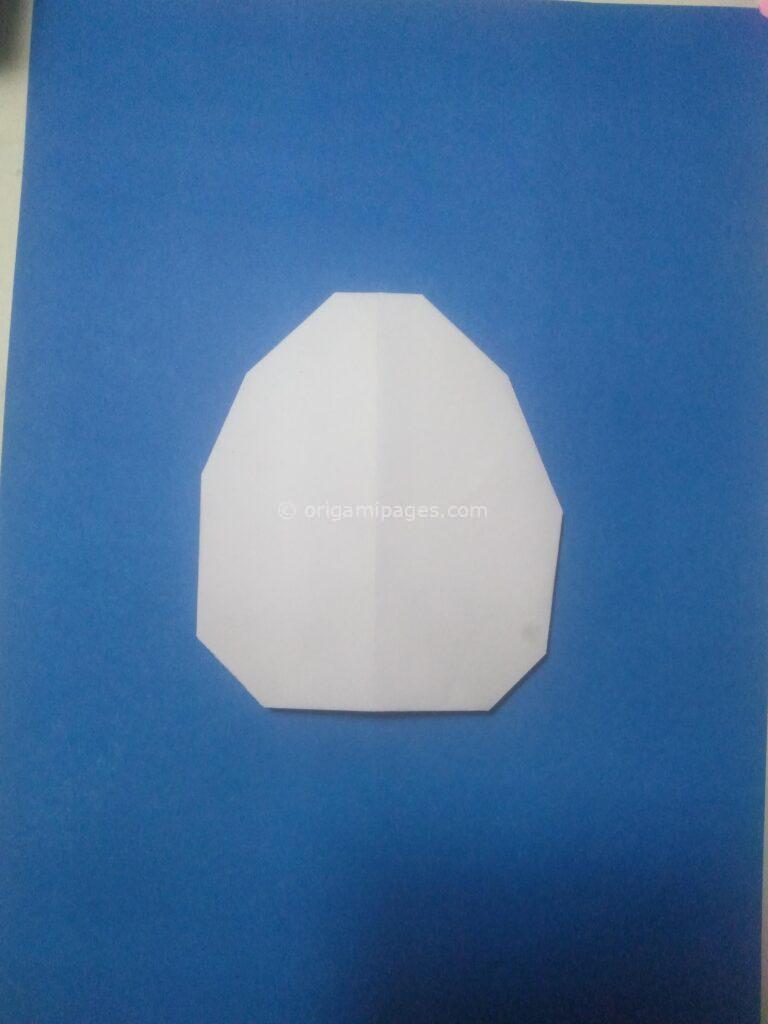
Step 8: Your Origami Easter Egg is Complete!
With the completion of the last fold, behold your masterpiece – a charming origami Easter egg ready to delight and inspire. Whether you choose to display it as a centerpiece on your Easter table or gift it to a loved one, this simple yet beautiful creation is sure to spread joy and cheer wherever it goes.
Conclusion
Origami Easter eggs offer a wonderful opportunity to celebrate the spirit of Easter through the art of paper folding. By following these step-by-step instructions, even beginners can create stunning Easter decorations to cherish and share. So, gather your materials, unleash your creativity, and let the magic of origami elevate your Easter celebrations to new heights. Happy folding!