Origami Heart Envelope: A Step-by-Step Guide
Creating an origami heart envelope is a delightful journey that combines the elegance of paper folding with the charm of personalized, handcrafted gifts. Whether you’re a beginner looking to explore the basics of origami or an experienced artist seeking a new project, the origami heart envelope offers a rewarding experience that culminates in a beautiful, functional piece of art.
In this guide, I’ll walk you through the process of folding an origami heart envelope, sharing tips and insights to help you master this enchanting craft. When I first attempted this project, I faced a few challenges, but the satisfaction of completing it made every moment worthwhile. Let’s dive into the magical world of origami and create something special together.
Materials Needed
Before we start, make sure you have the following materials:
- A4 size paper
Step-by-Step Instructions
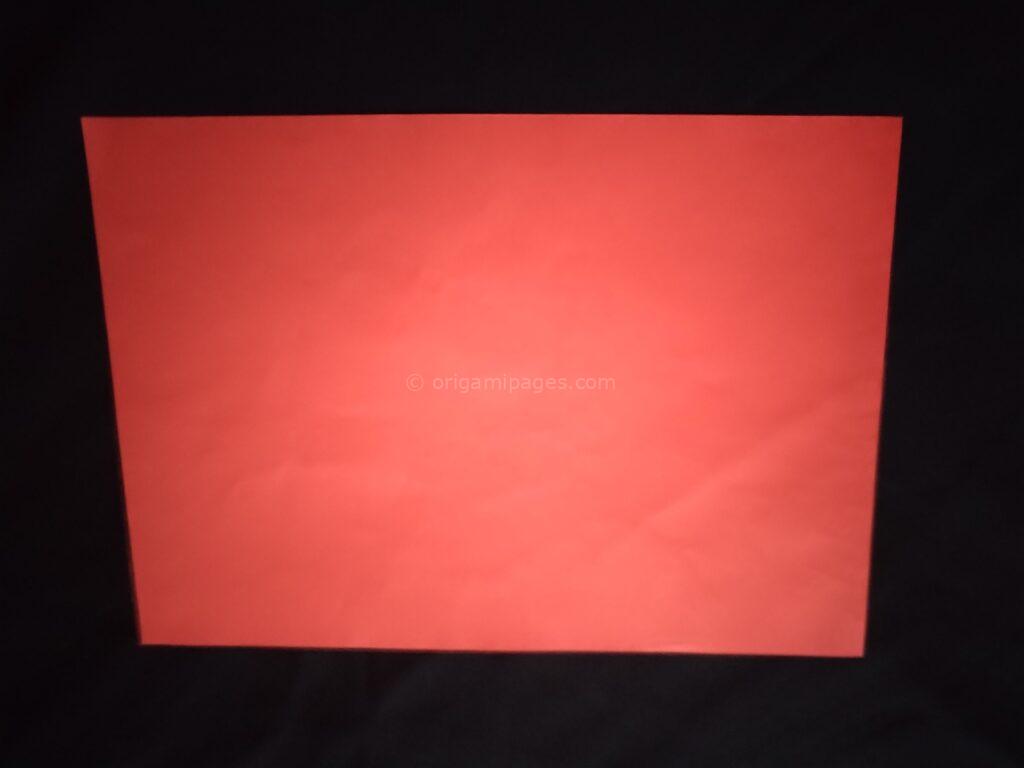
Step 1: Prepare Your Paper
To begin with, you will need a standard A4 size paper. This size is perfect for creating an origami heart envelope that is both functional and aesthetically pleasing.
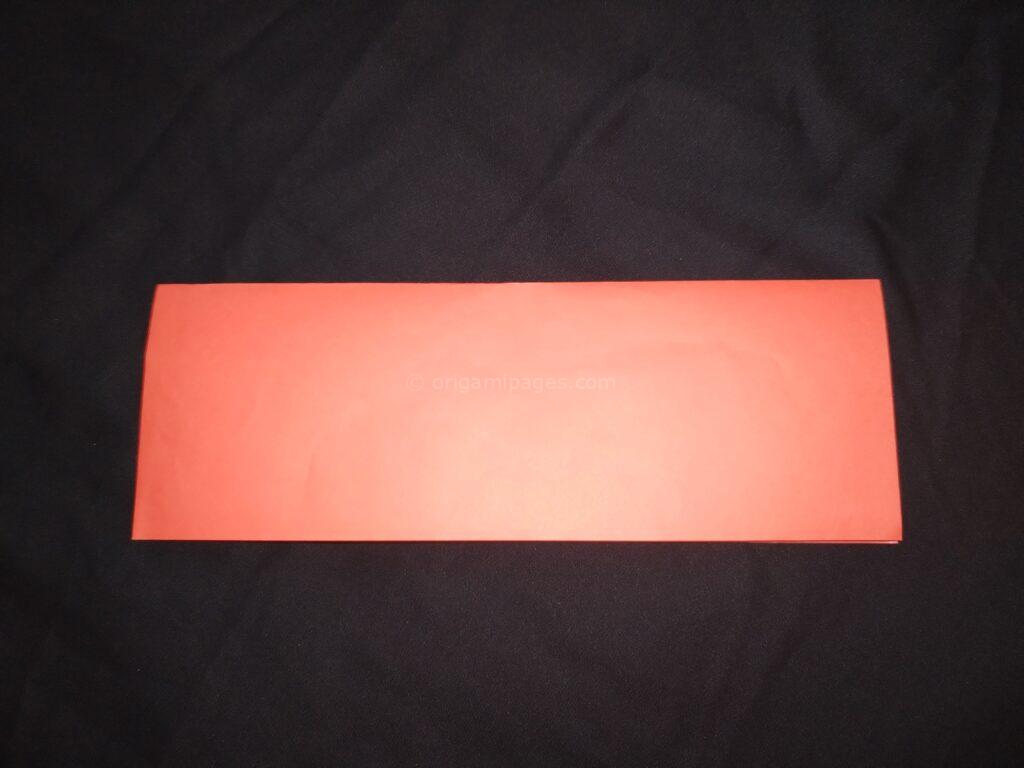
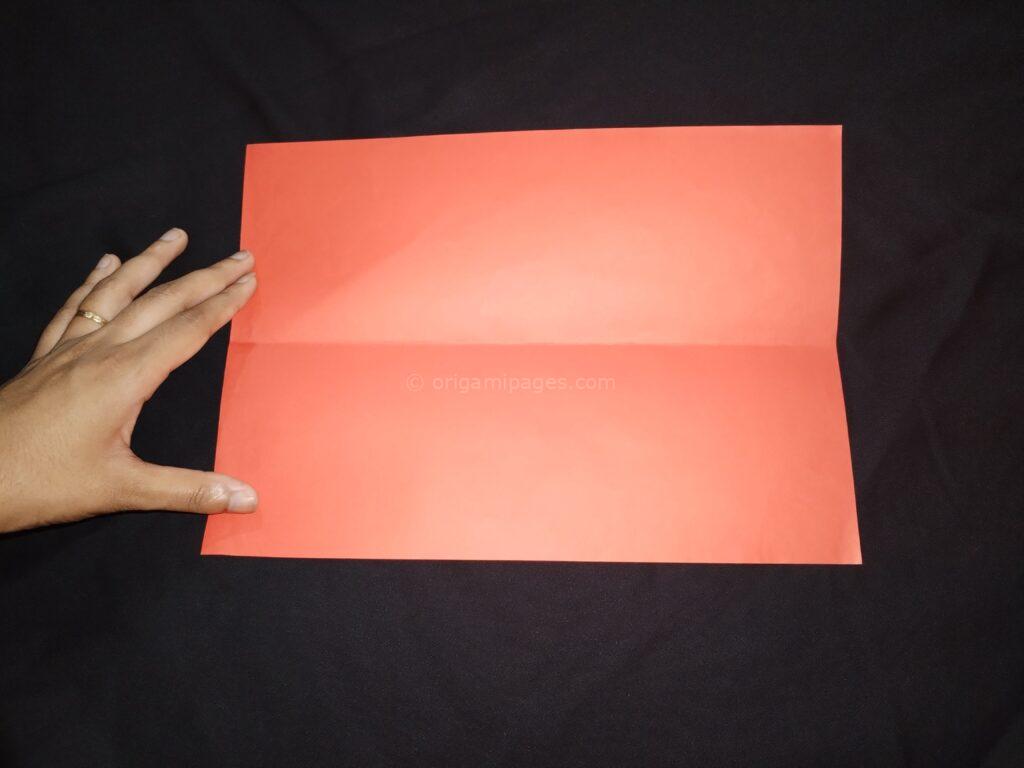
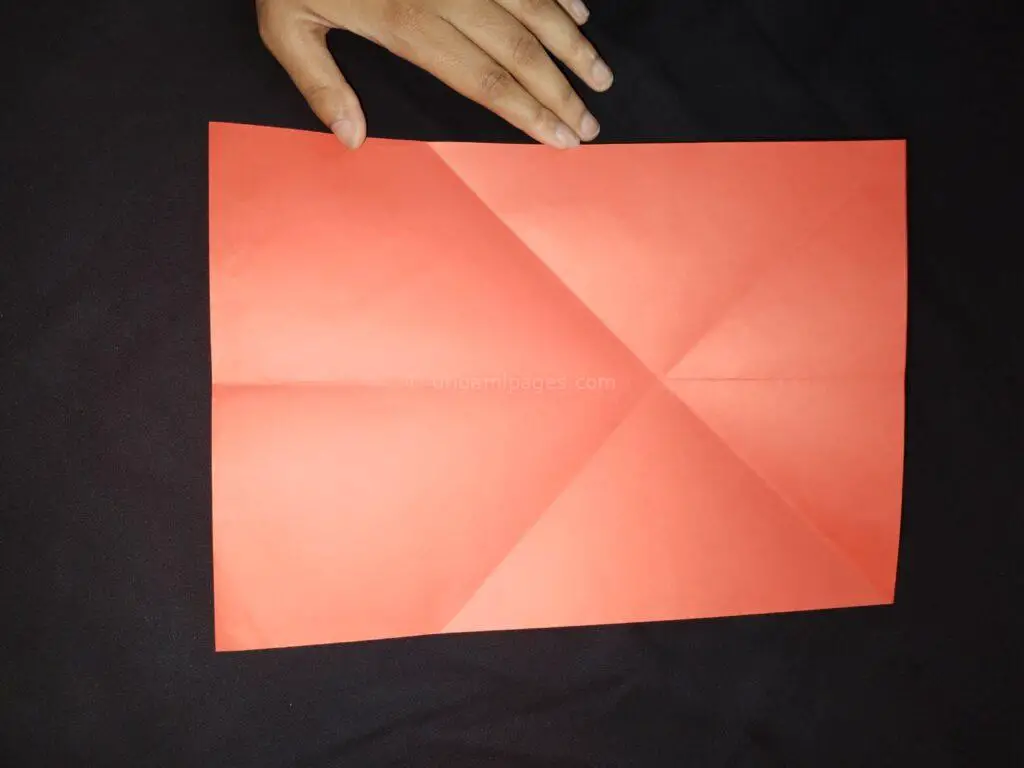
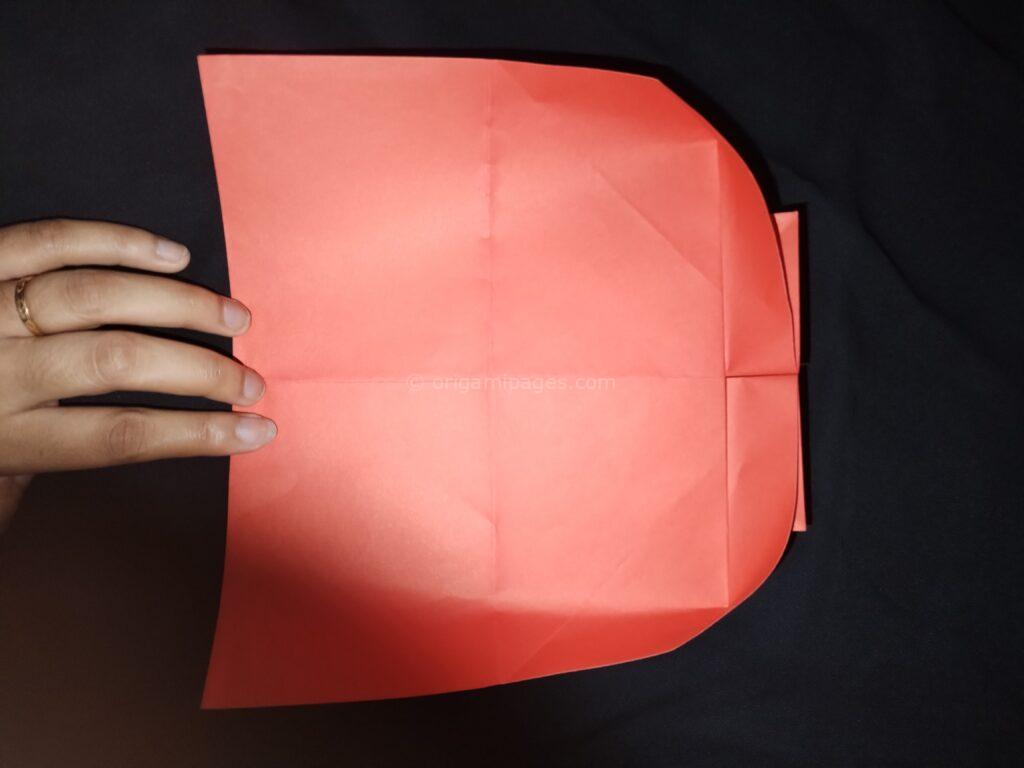
Step 2: Create the Initial Fold
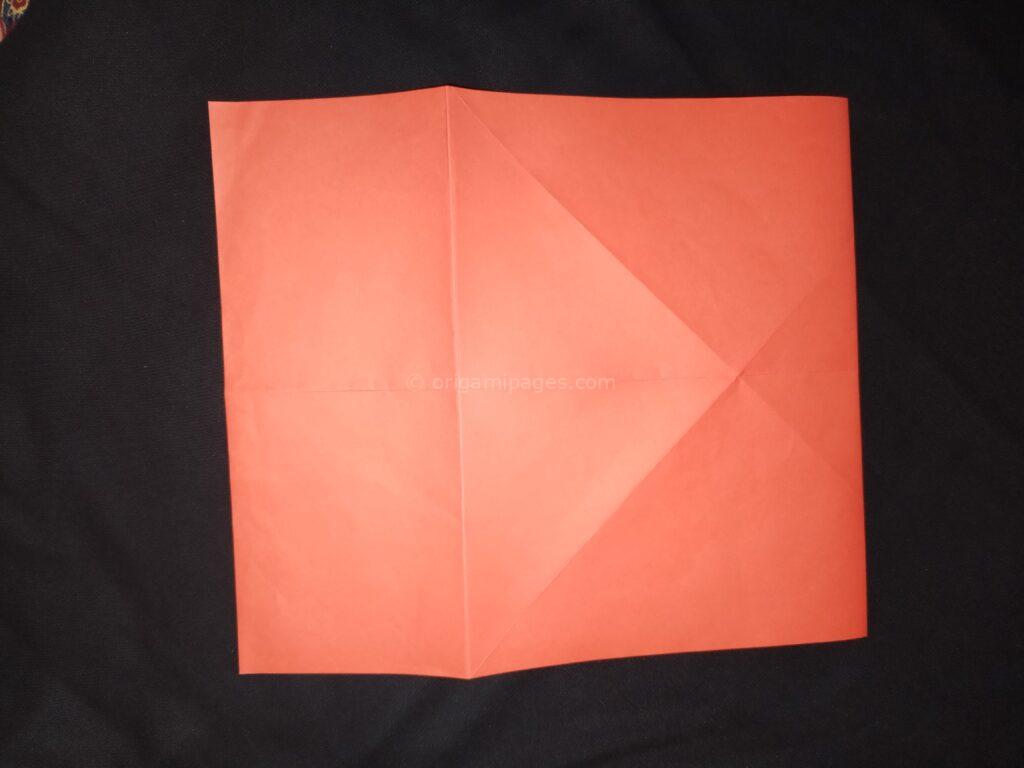
Fold the paper horizontally and then unfold it. This initial fold is crucial as it sets up the base for all subsequent folds.
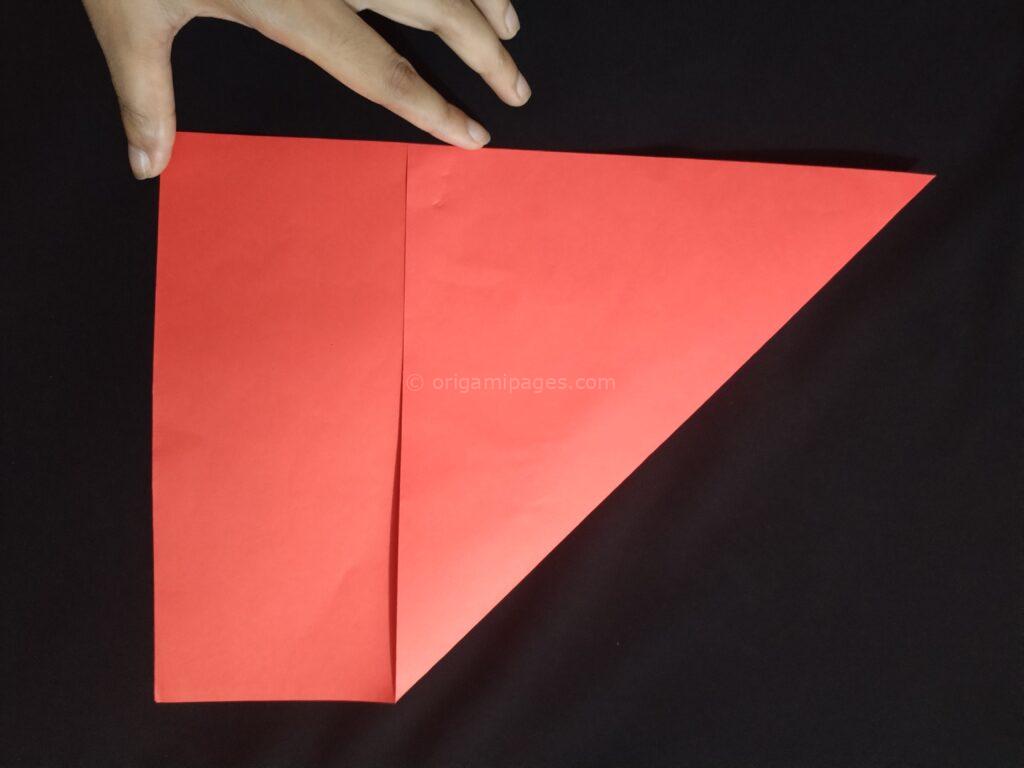
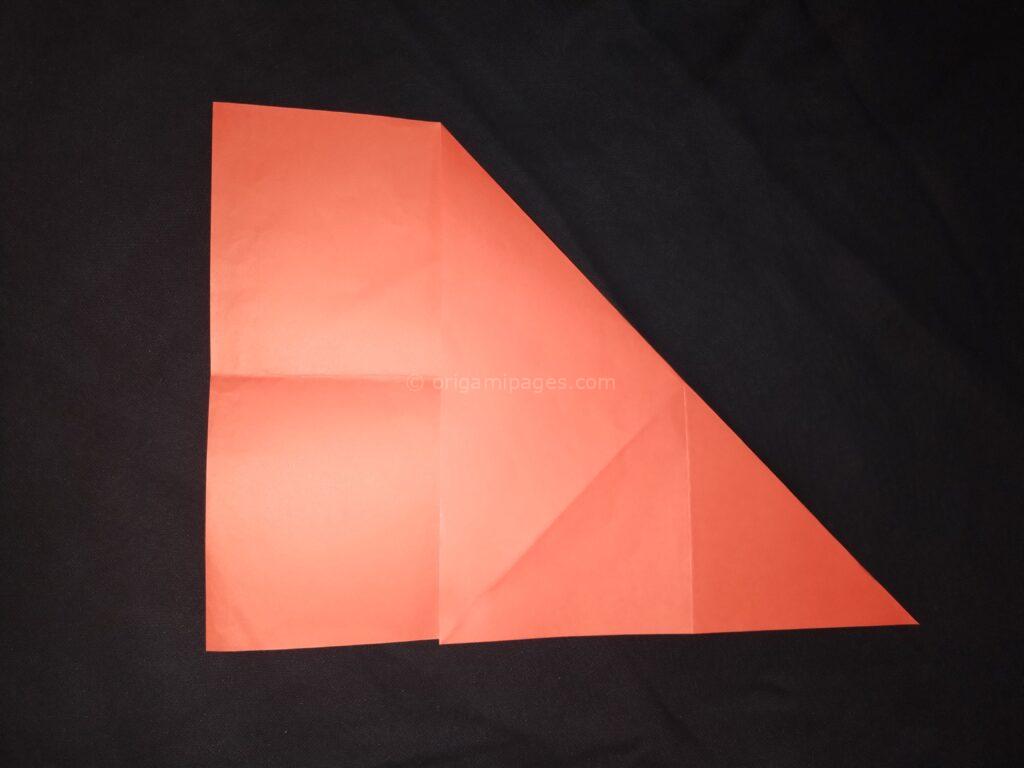
Step 3: Forming the Triangular Shapes
Fold down the right side corner to align with the left side crease, forming a triangular shape. Repeat the same fold on the opposite side and then unfold. This step will create an “X” crease on your paper.

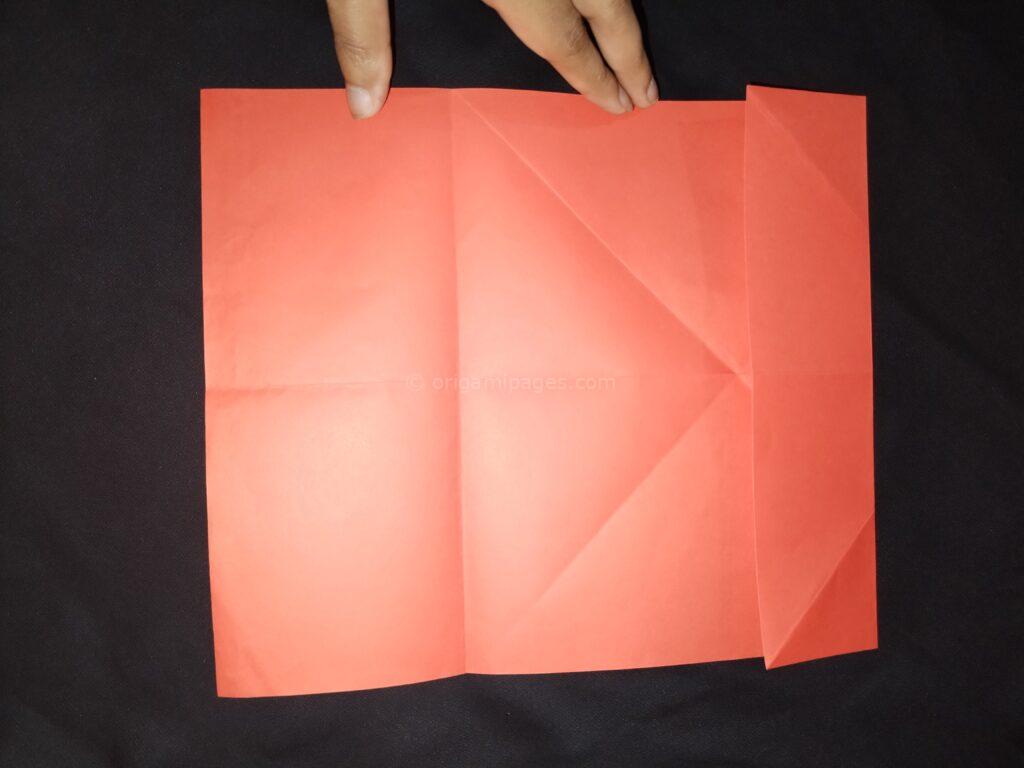
Step 4: Folding the Extra Piece
Next, fold and unfold the extra piece of paper that extends beyond the triangular shapes. This ensures that the paper is properly aligned for the next steps.
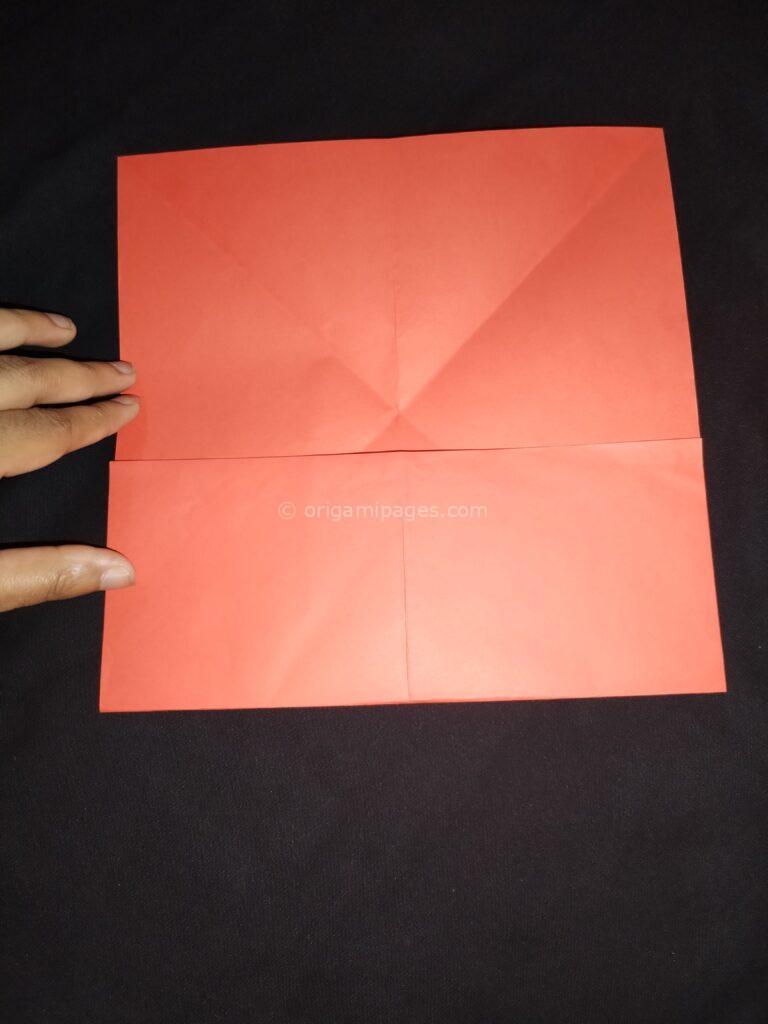
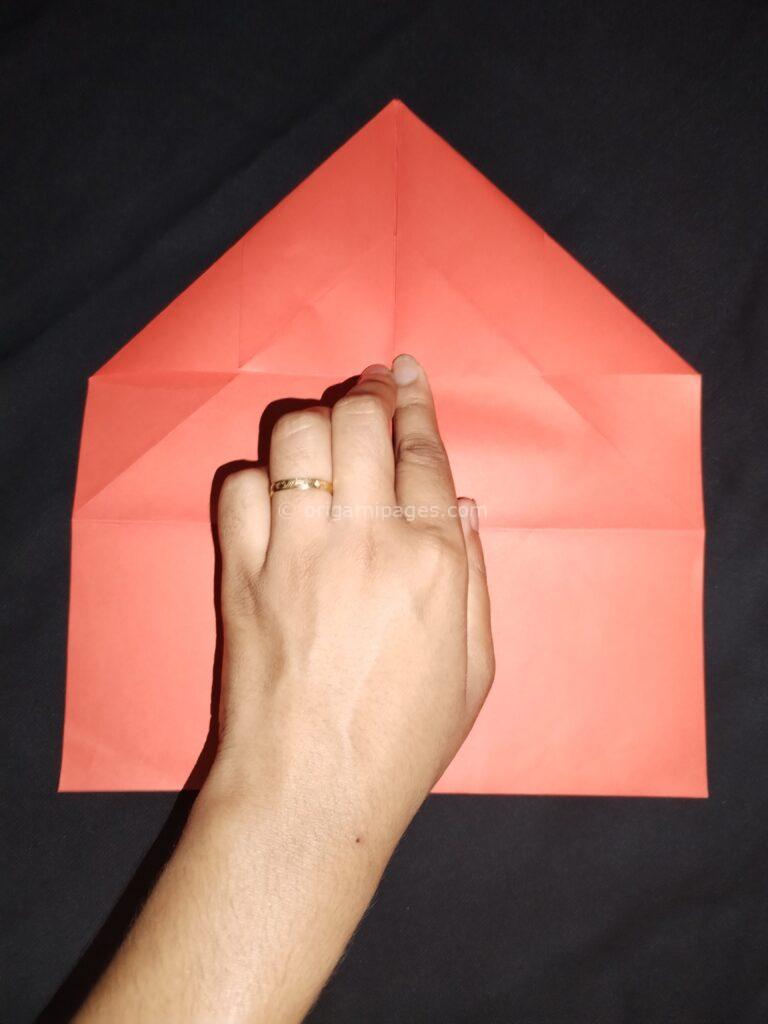
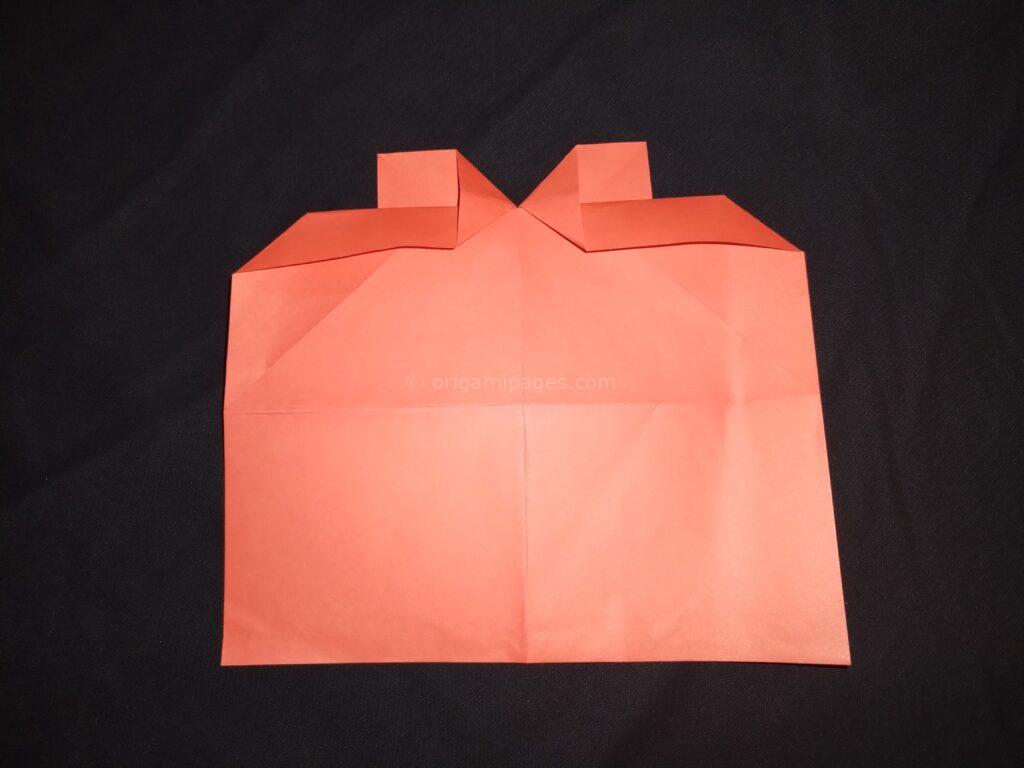
Step 5: Creating the Top Fold
Fold the top part of the paper up to the point where the “X” crease intersects. After making this fold, turn the paper upside down to prepare for the next fold.
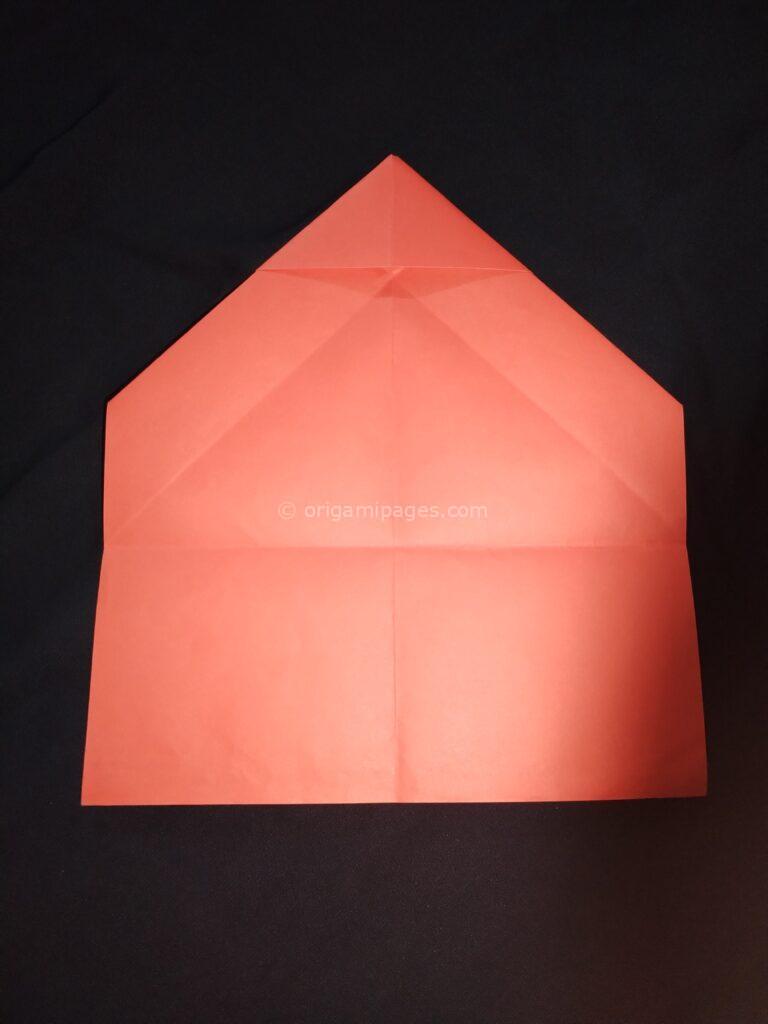
Step 6: Making the House Fold
Now, fold the paper to form a house shape. This is done by aligning the top edges with the bottom line. Once this fold is complete, turn the paper upwards again.
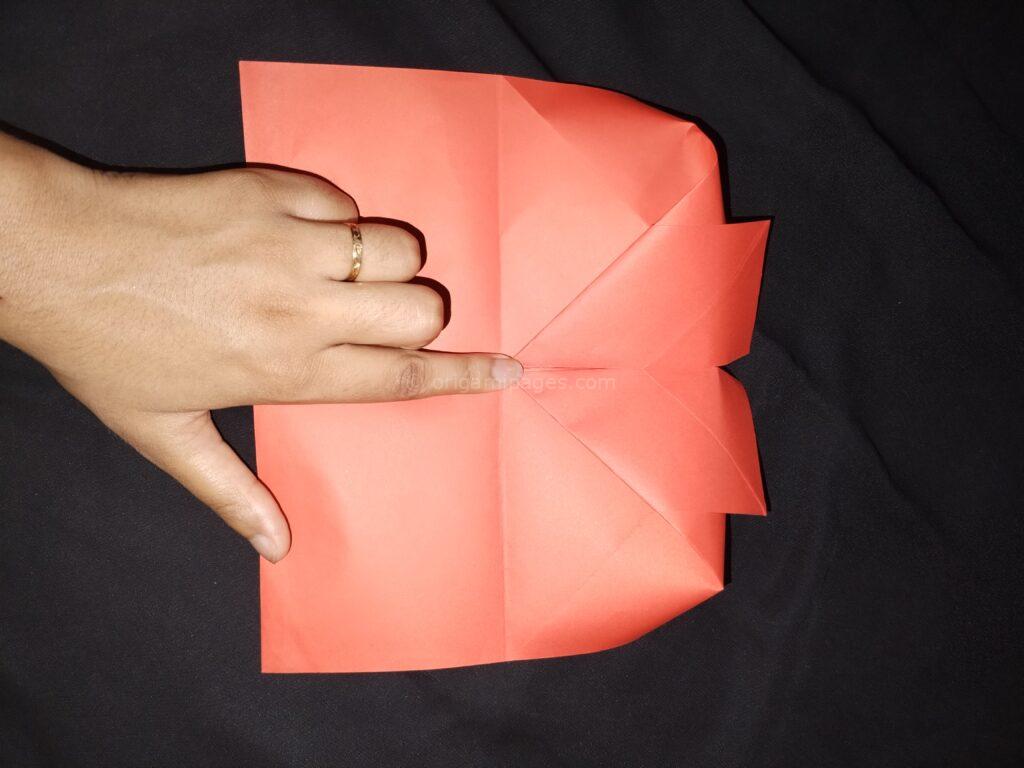
Step 7: Folding the Bottom Line
Fold along the bottom line of the paper. Then, fold the paper on the opposite side, ensuring that it is symmetrical.
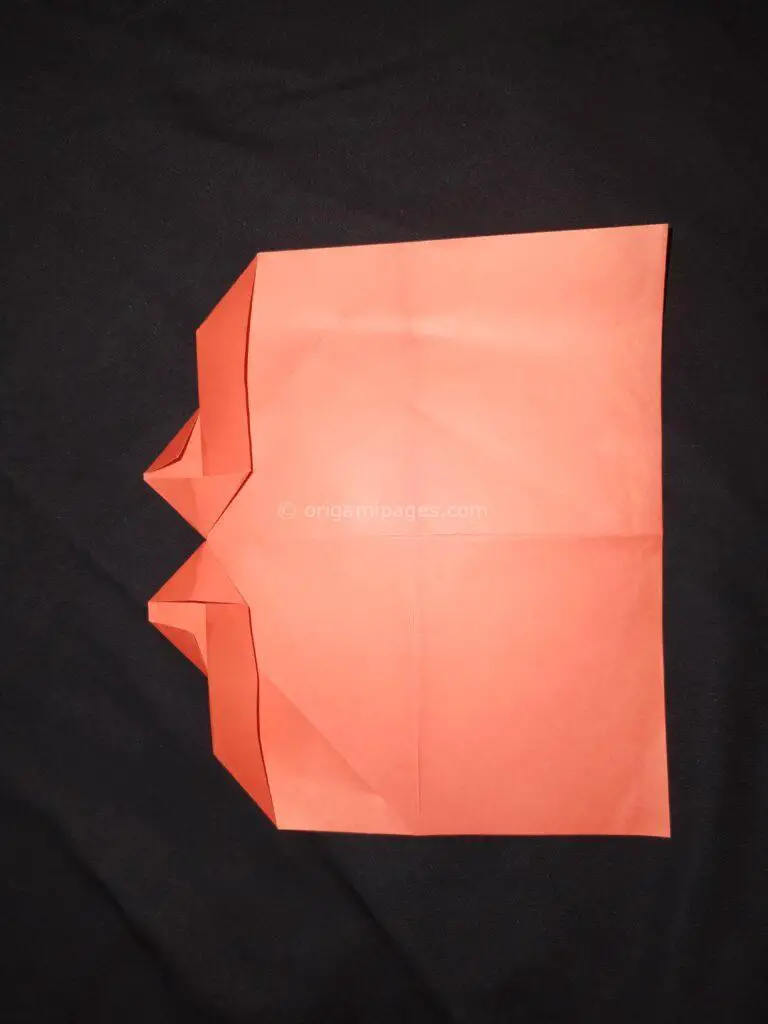

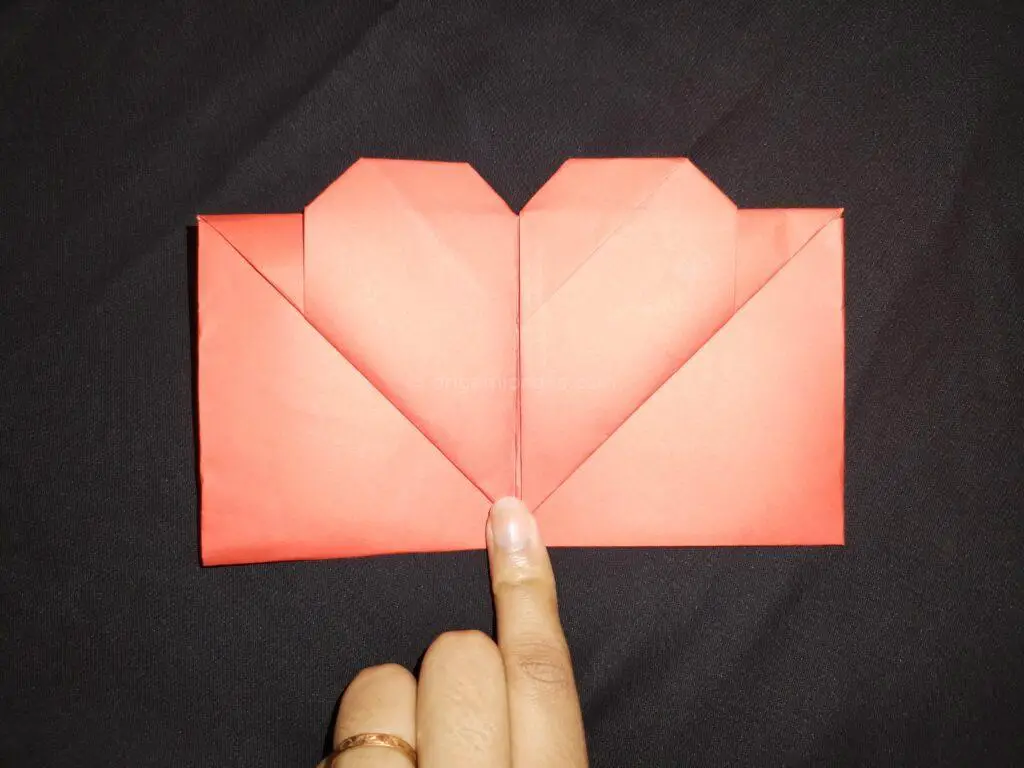
Step 8: Creating the Final Fold
Fold the paper between the two sides to create a compact, envelope-like shape. This final fold will bring your origami heart envelope to life.

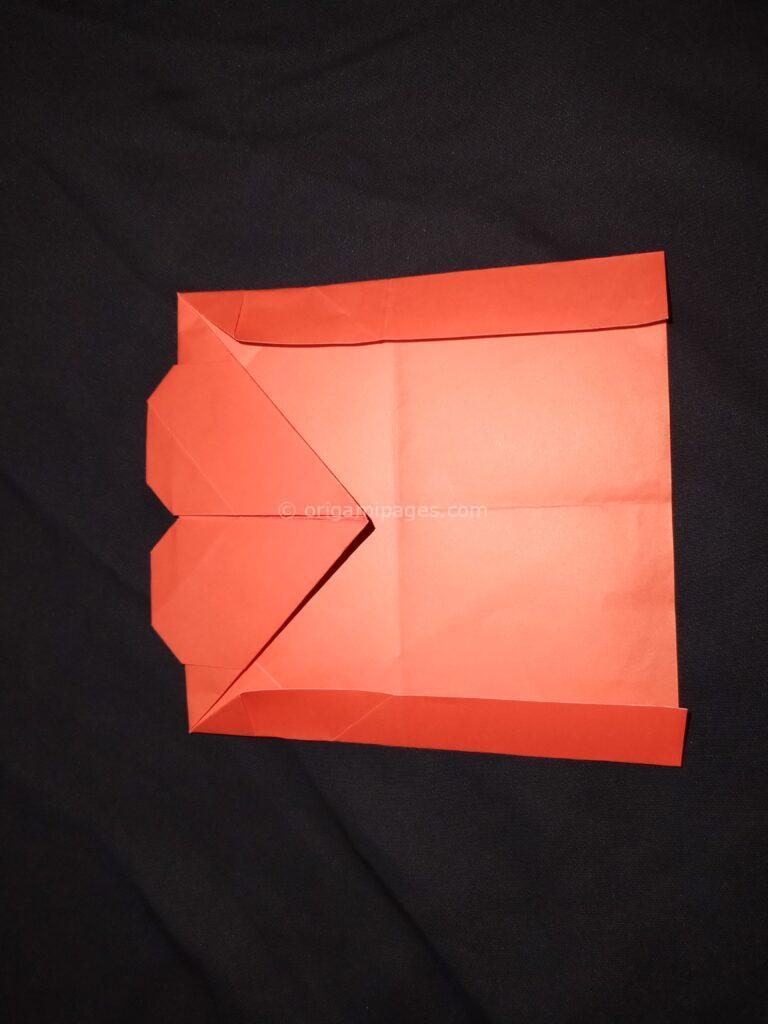
Step 9: Final Touches
Fold the paper in the middle, ensuring all edges are aligned perfectly. Your origami heart envelope is now ready!
Challenges and Tips
When I first tried making an origami heart envelope, I struggled with getting the folds perfectly aligned, especially the “X” crease. Precision is key in origami, and taking the time to ensure each fold is exact will make a significant difference in the final result. Another challenge was maintaining the symmetry of the envelope, which requires careful attention to detail.
Conclusion
Folding an origami heart envelope is a delightful project that offers both challenges and rewards. By following this step-by-step guide, you can create a beautiful and functional envelope that showcases your creativity and craftsmanship. I encourage you to share your feedback and experiences, as it helps continuously improve this resource for everyone. Happy folding!