Origami Koi: A Step-by-Step Guide
In my journey teaching paper folding, I’ve found that origami koi fish captivate both beginners and experts alike. These elegant paper creations swim to life through precise folds and simple techniques, making them perfect for anyone wanting to explore Japanese paper art.
As an origami enthusiast, I can assure you that learning how to make origami koi fish is both rewarding and accessible. Whether you’re folding your first piece or seeking to expand your skills, this step-by-step guide will help you create your own swimming masterpiece.

Essential Materials
- 3″ x 5″ paper (origami or regular paper)
- Flat surface
- 15-20 minutes of time
Simple Koi Fish Step by Step Instructions
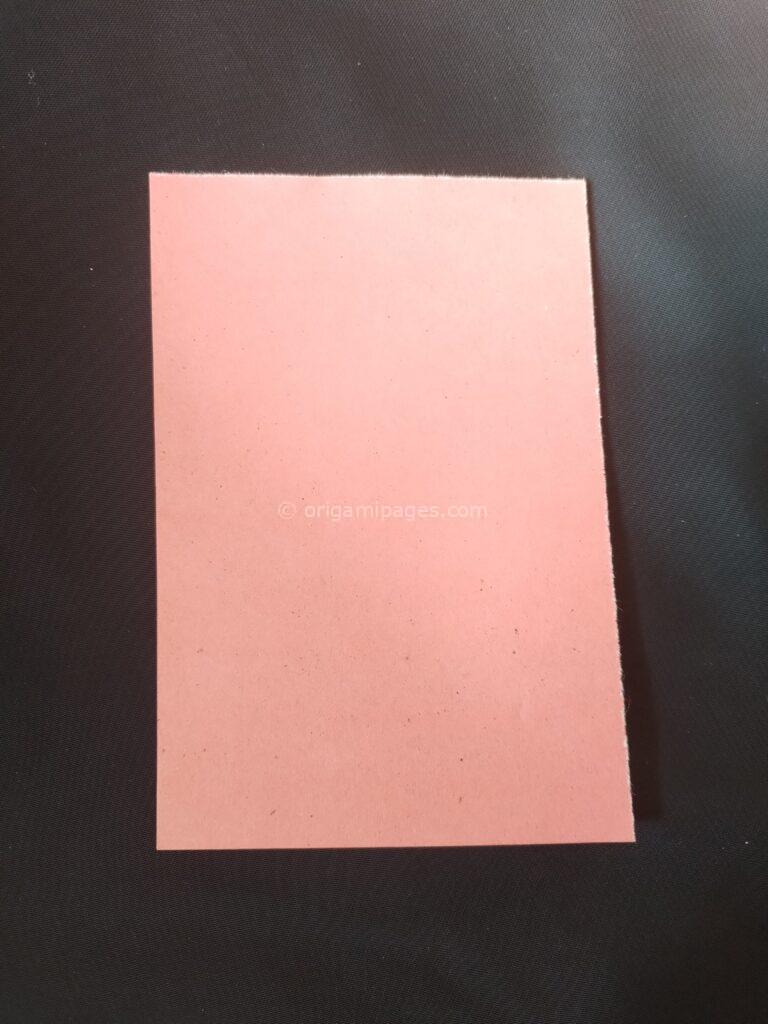
1. Initial Fold
- Take a 3″ x 5″ size paper
- Position horizontally on your work surface
2. Base Creases
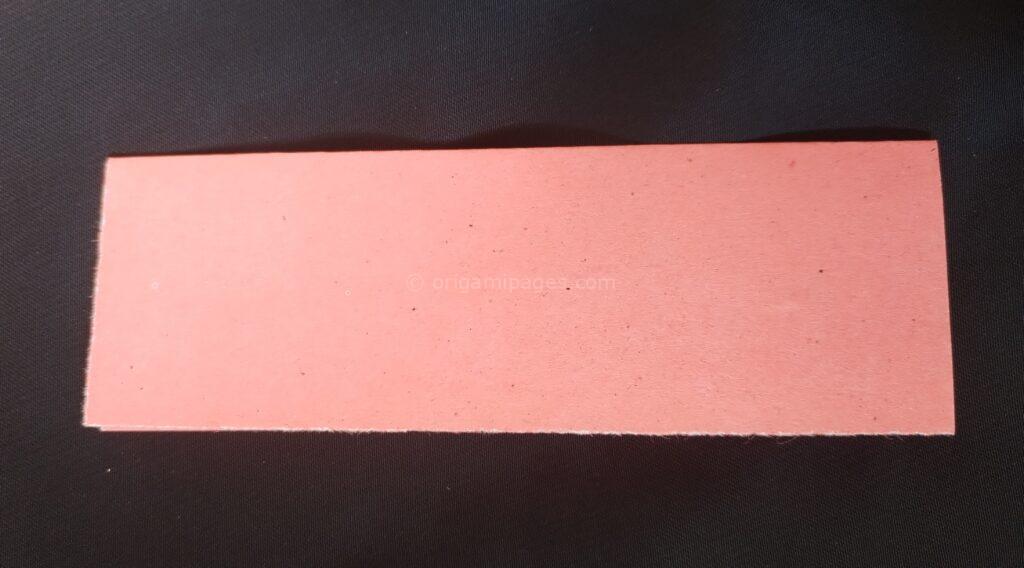
- Fold paper horizontally and unfold
- Fold both sides along the middle line
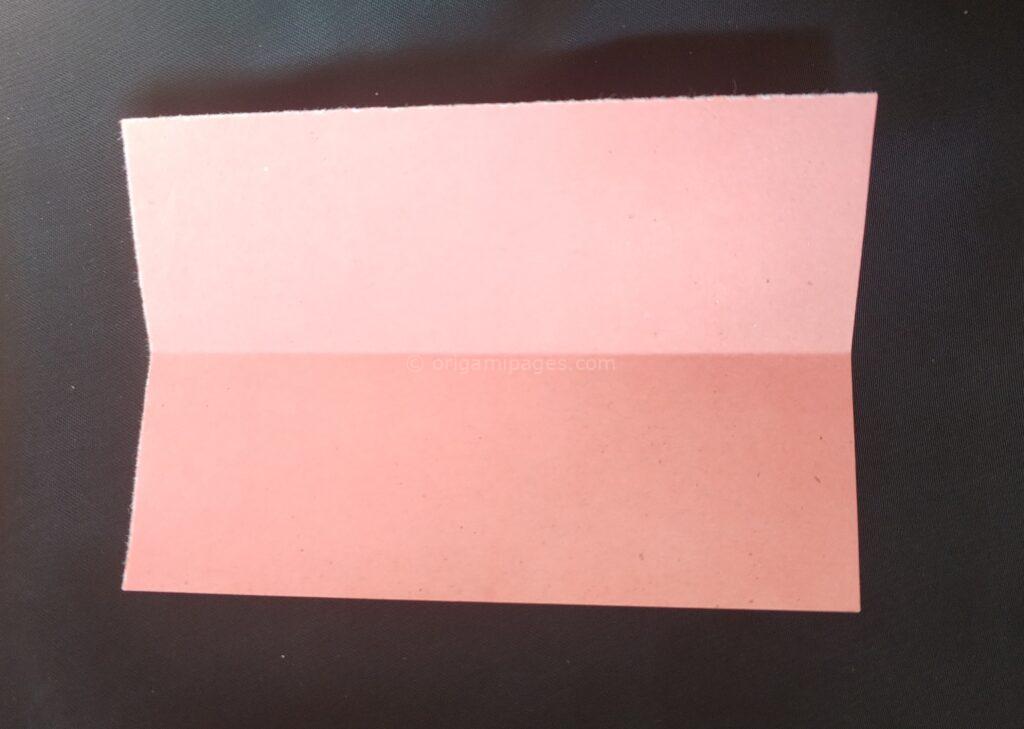
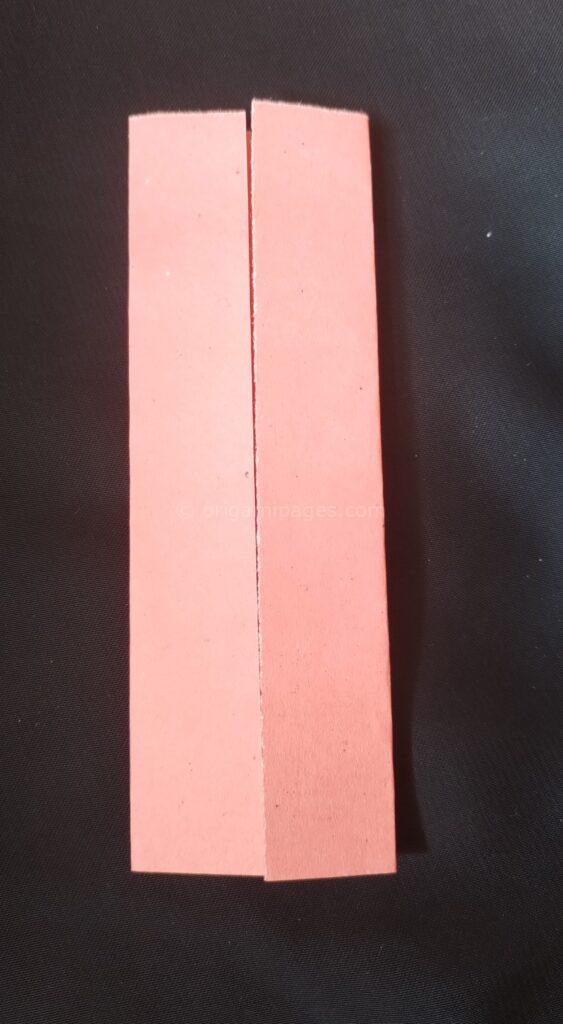
3. Head Formation
- Create the house-shaped fold on one side
- Open the fold and reshape as shown
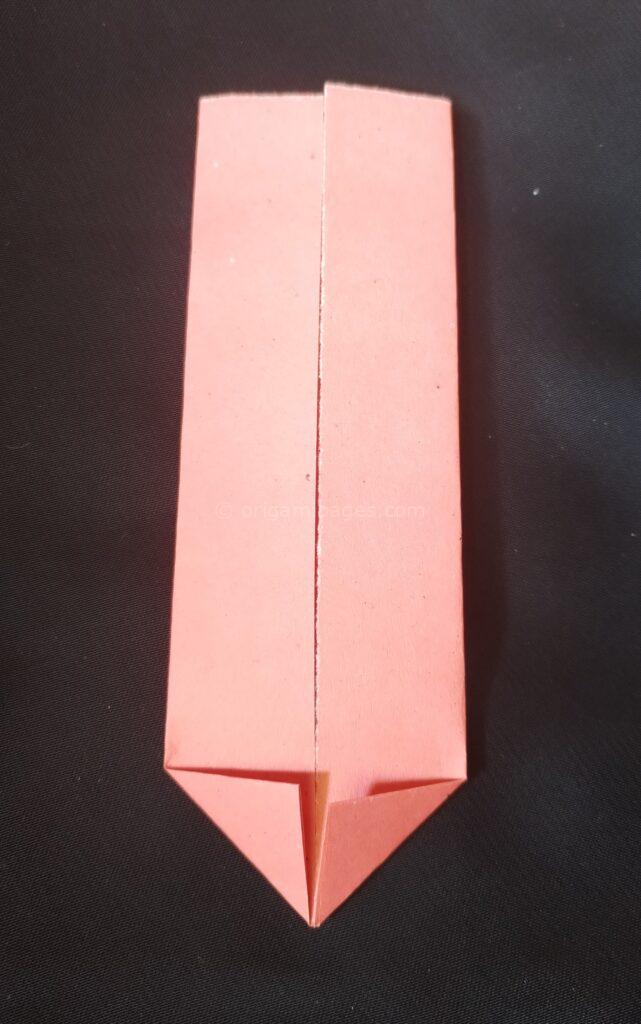
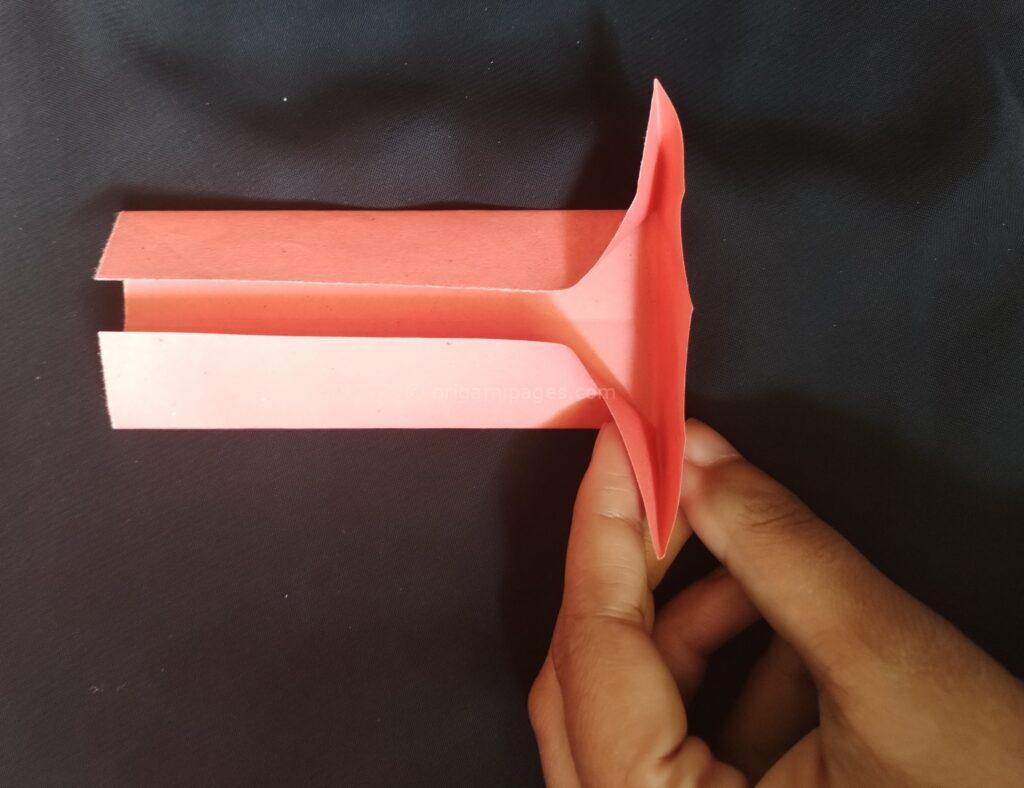
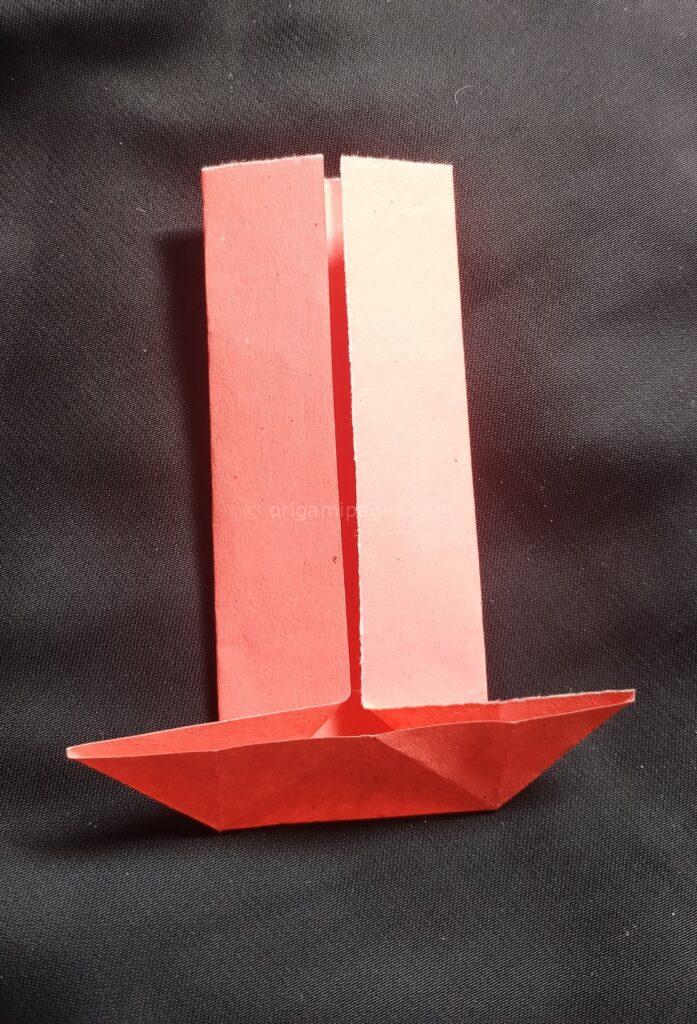
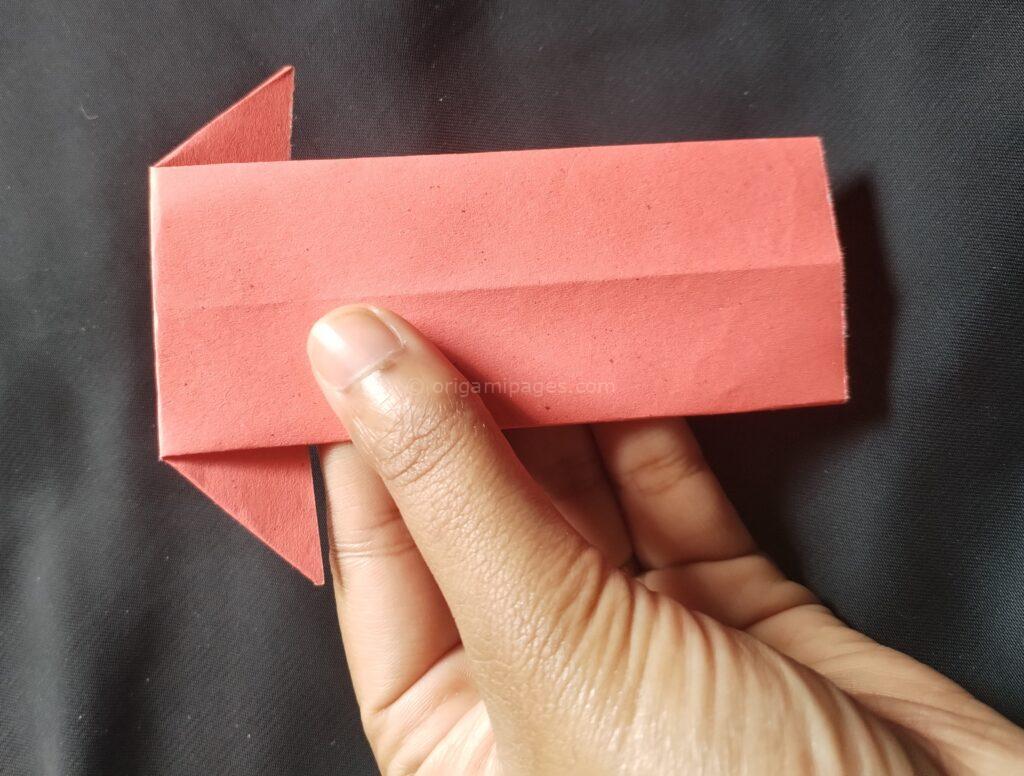
4. Corner Preparation
- Fold the two corners as demonstrated
- Turn the paper upside down
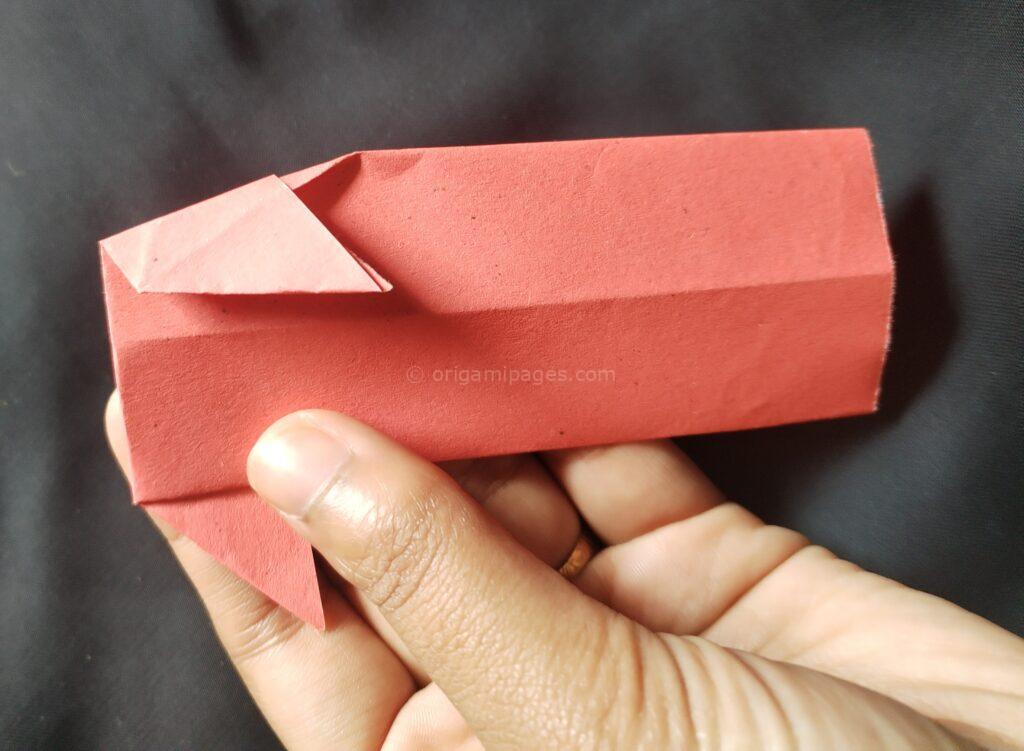
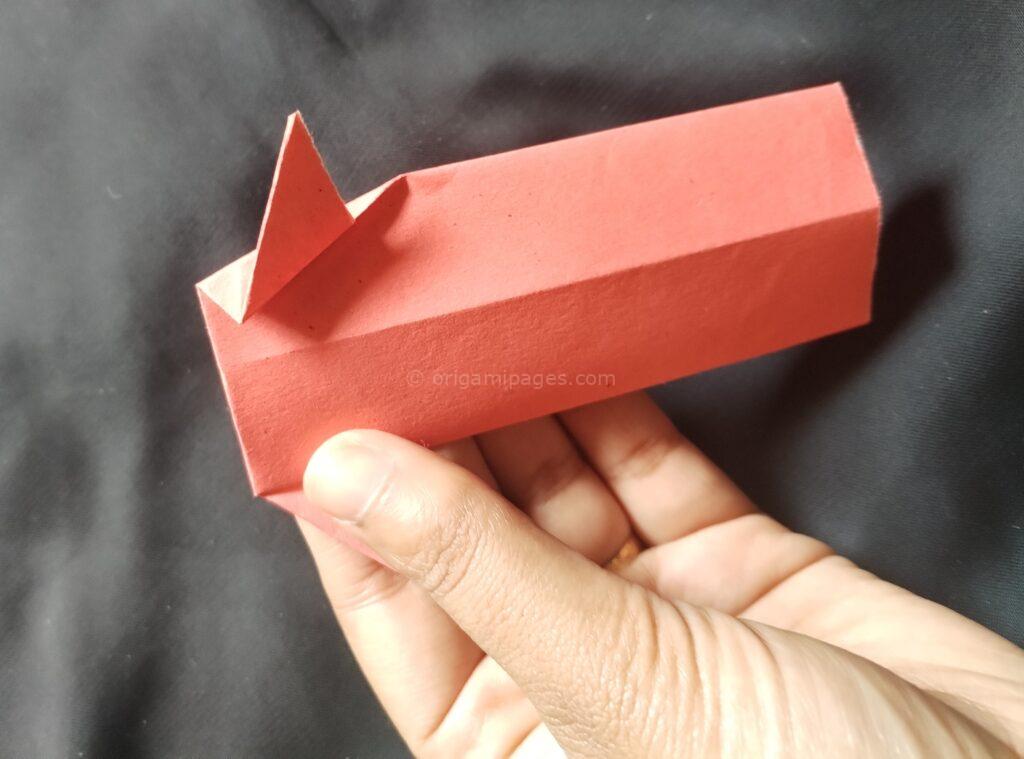
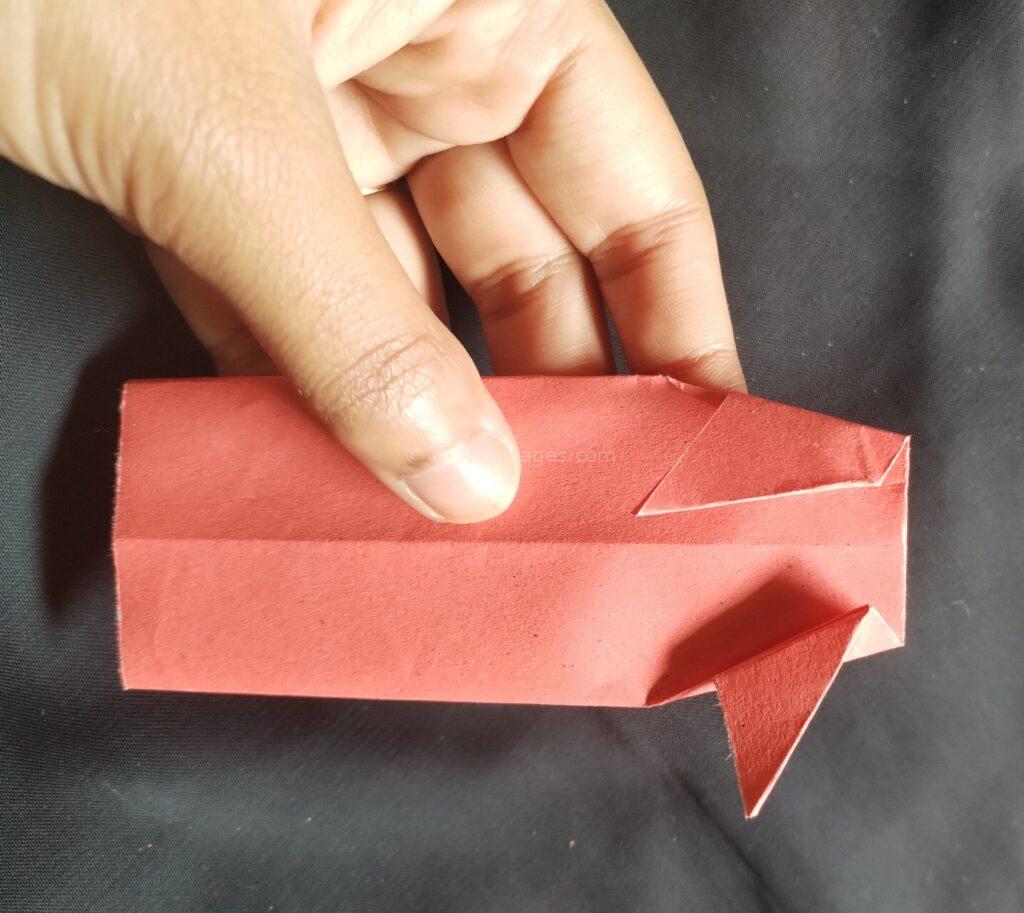
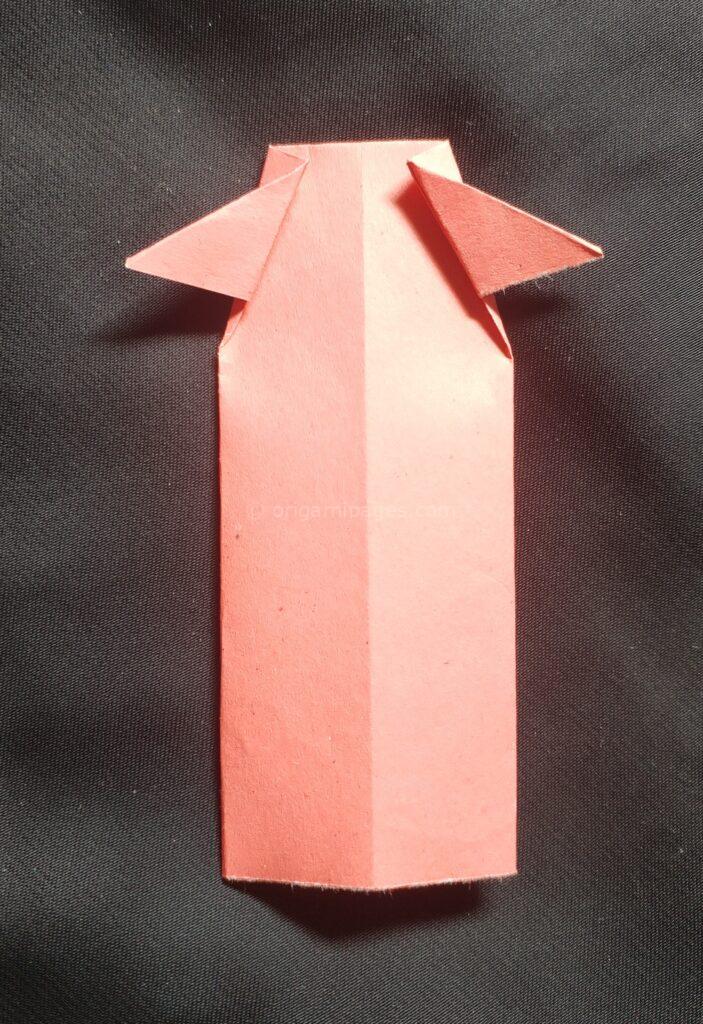
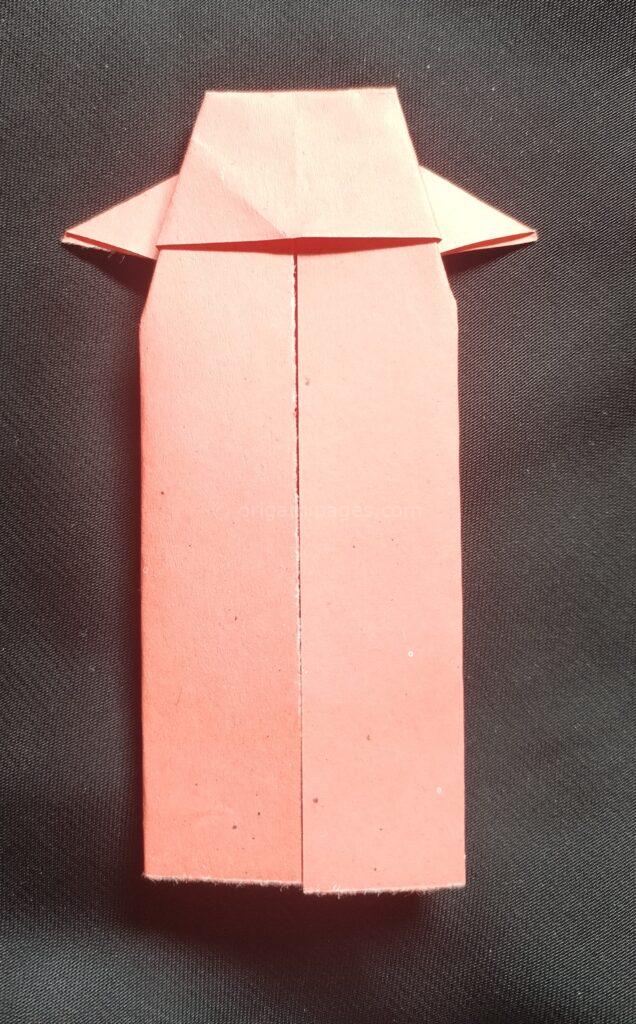
5. Central Crease
- Make a middle fold and unfold
- Create the corner fold as indicated
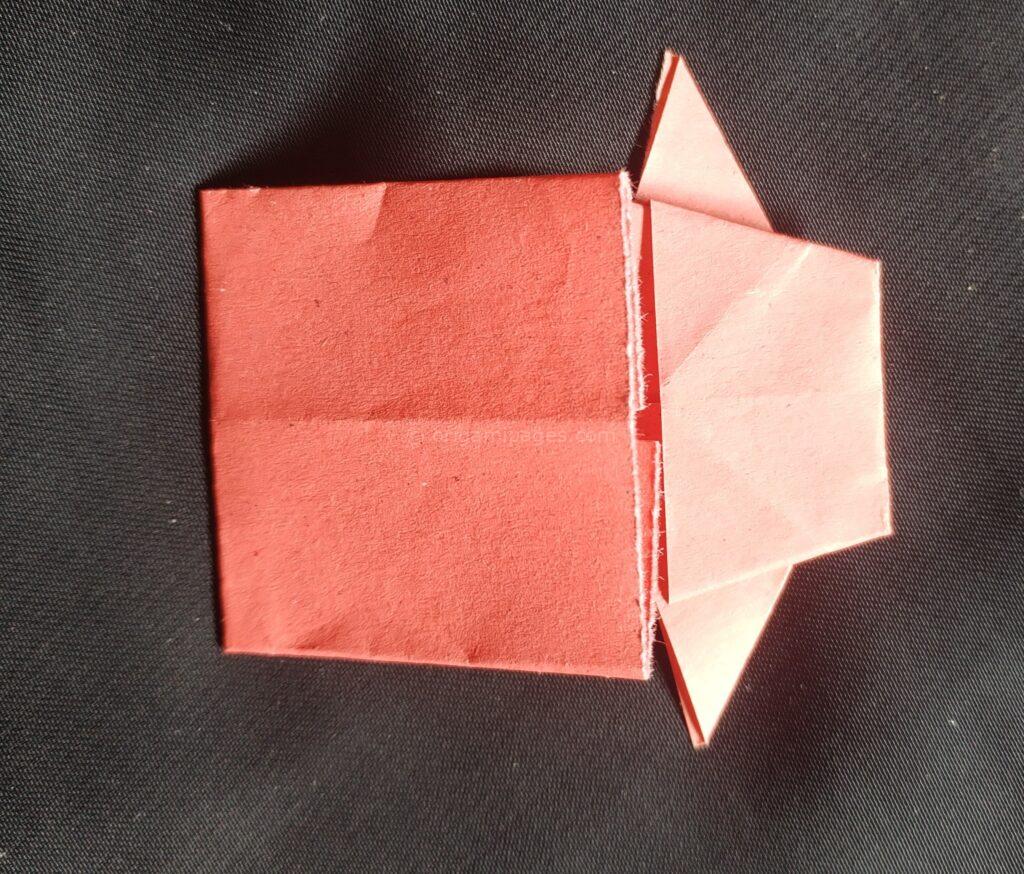
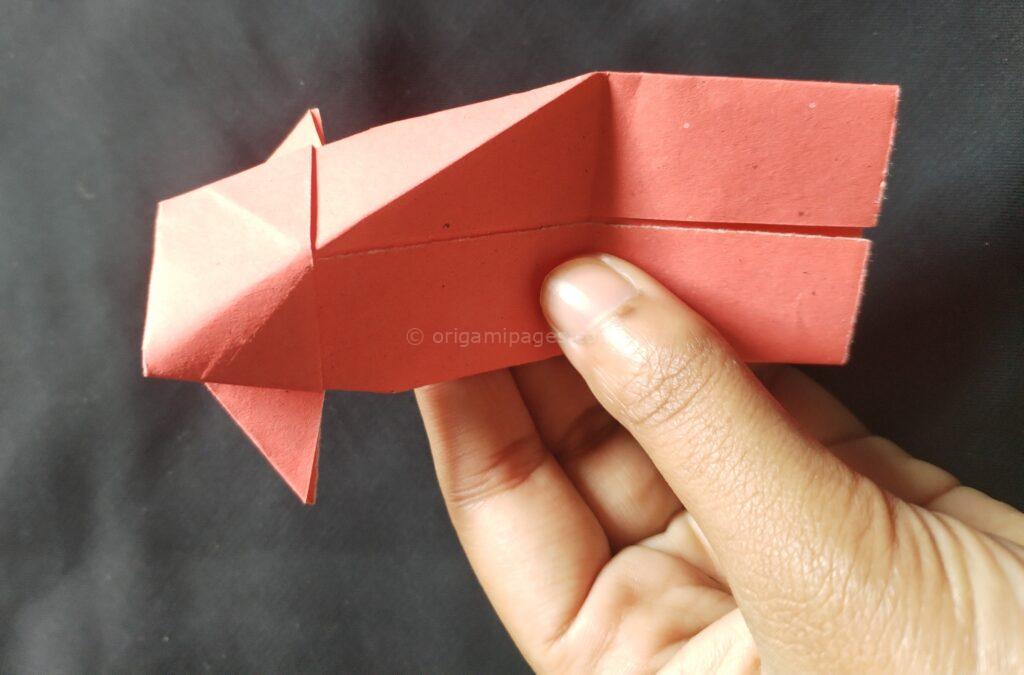
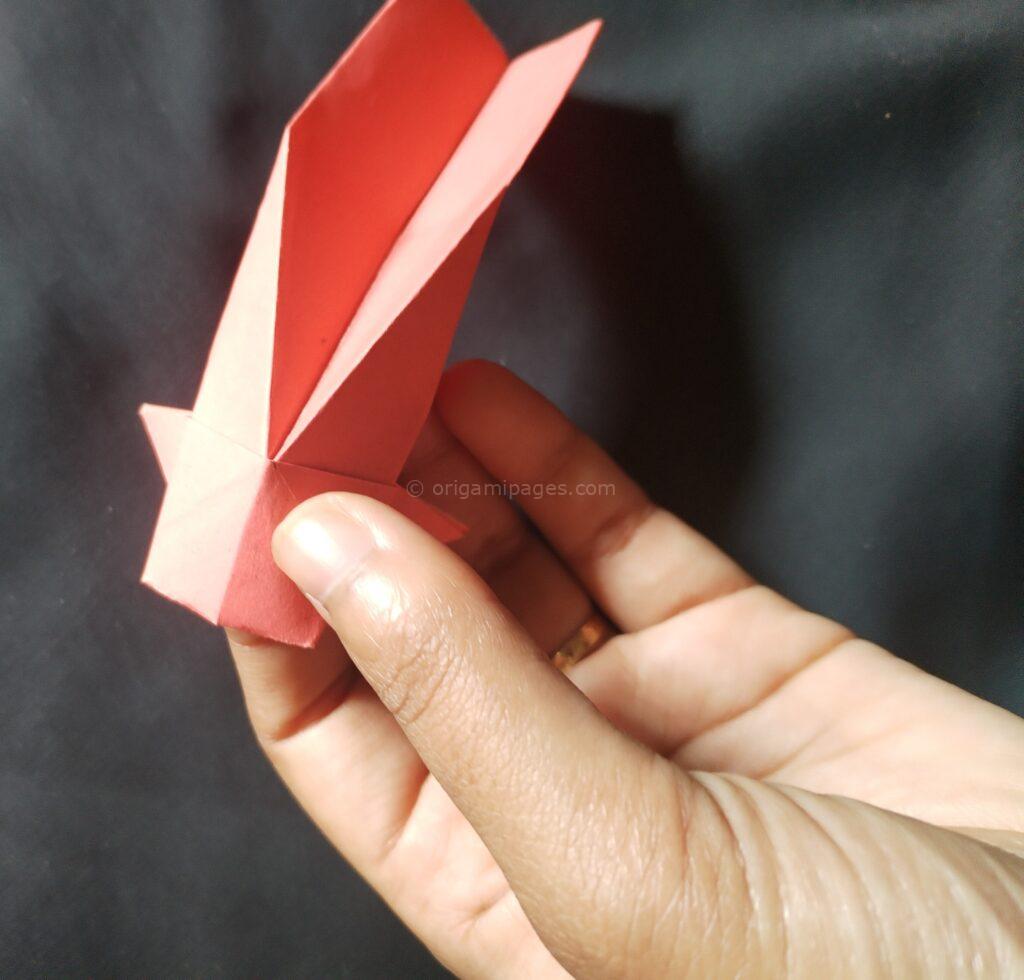
6. Reverse Fold
- Turn paper backwards
- Fold to the top and unfold
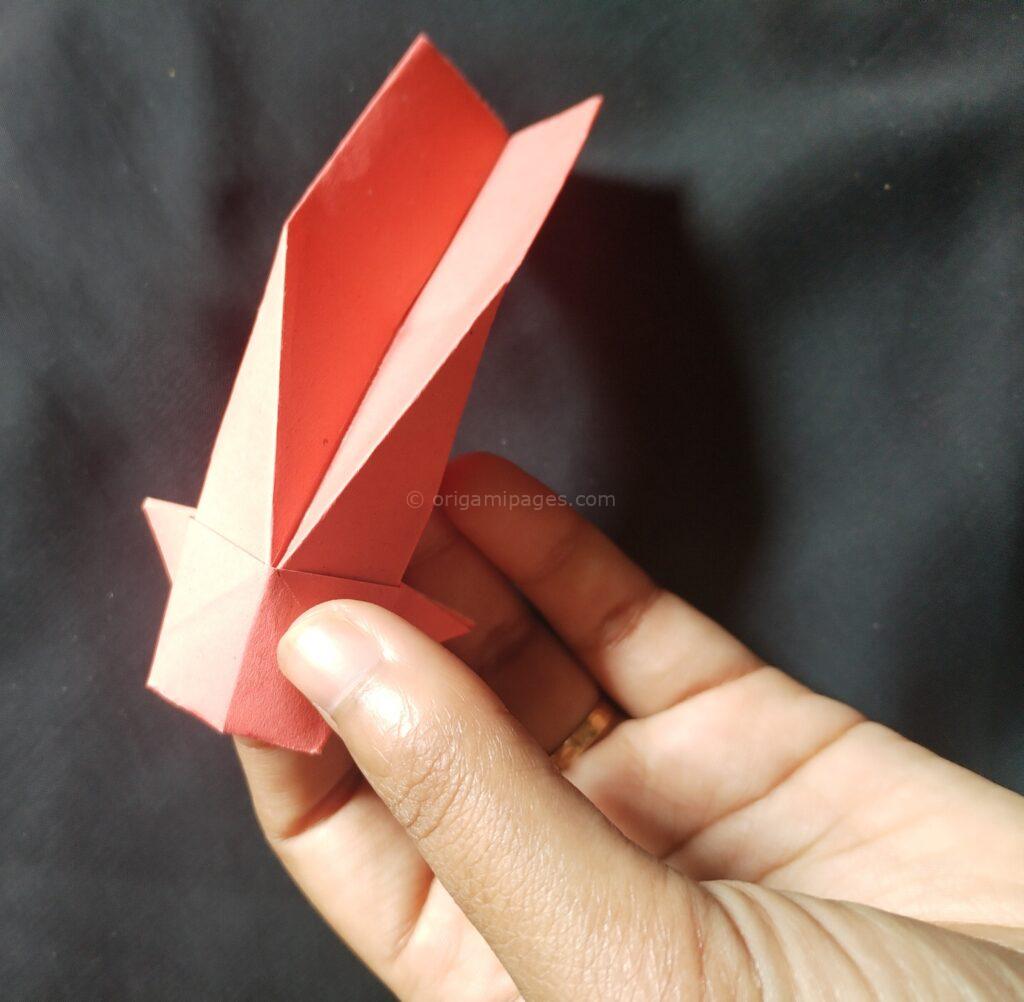
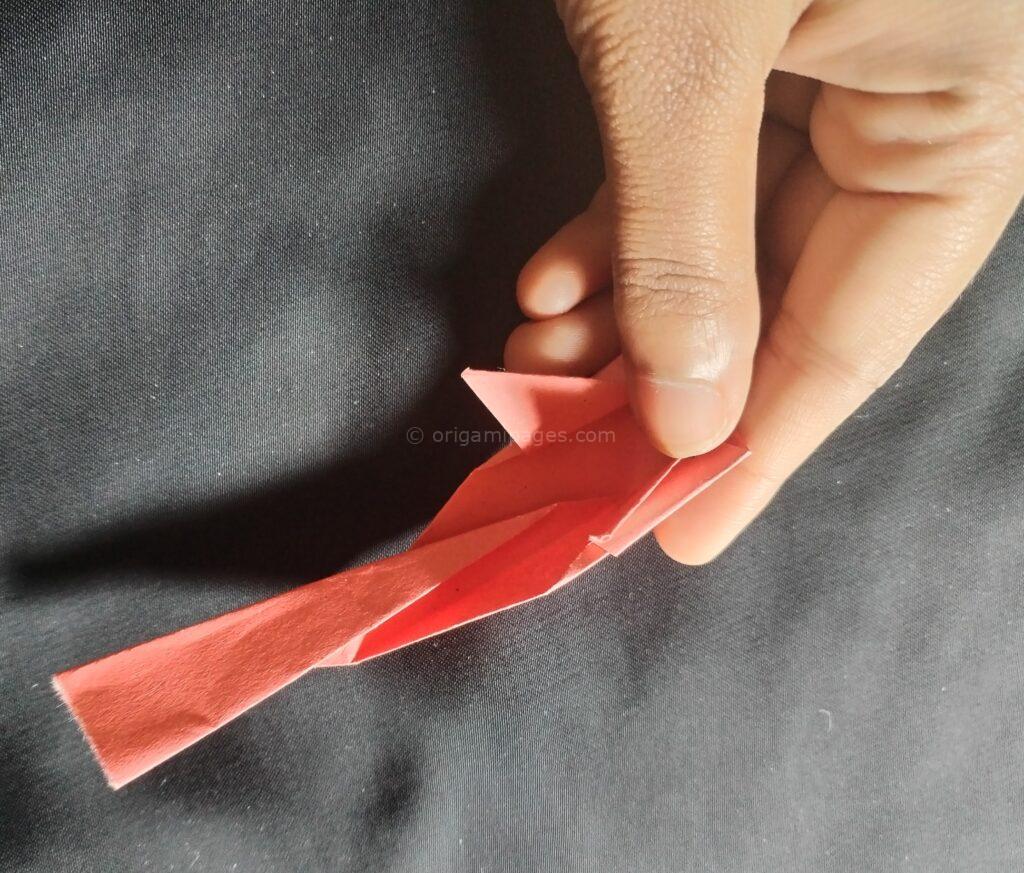
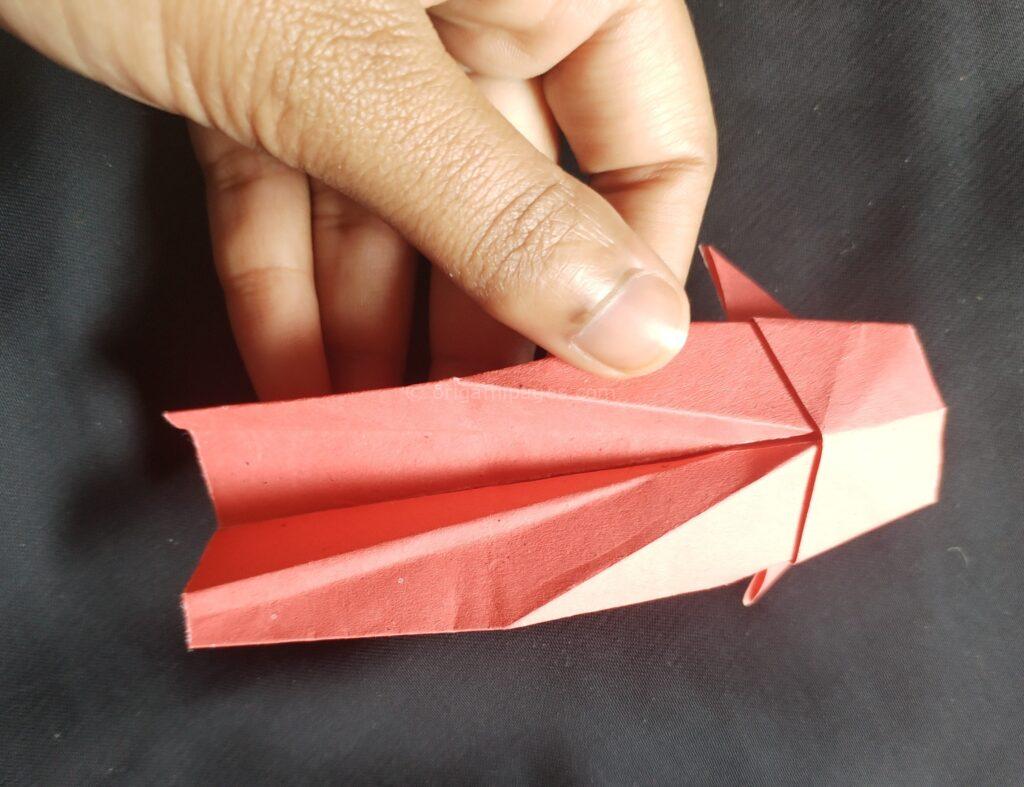
7. Final Shaping
- Turn paper upside down
- Complete the fold as shown
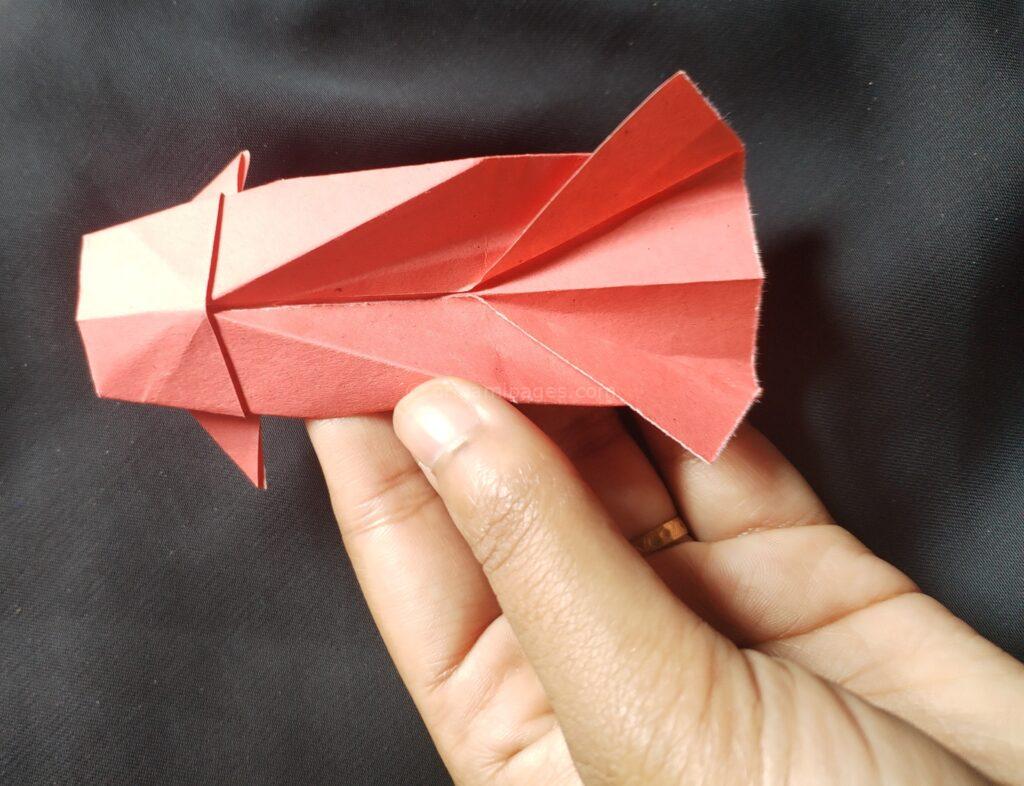
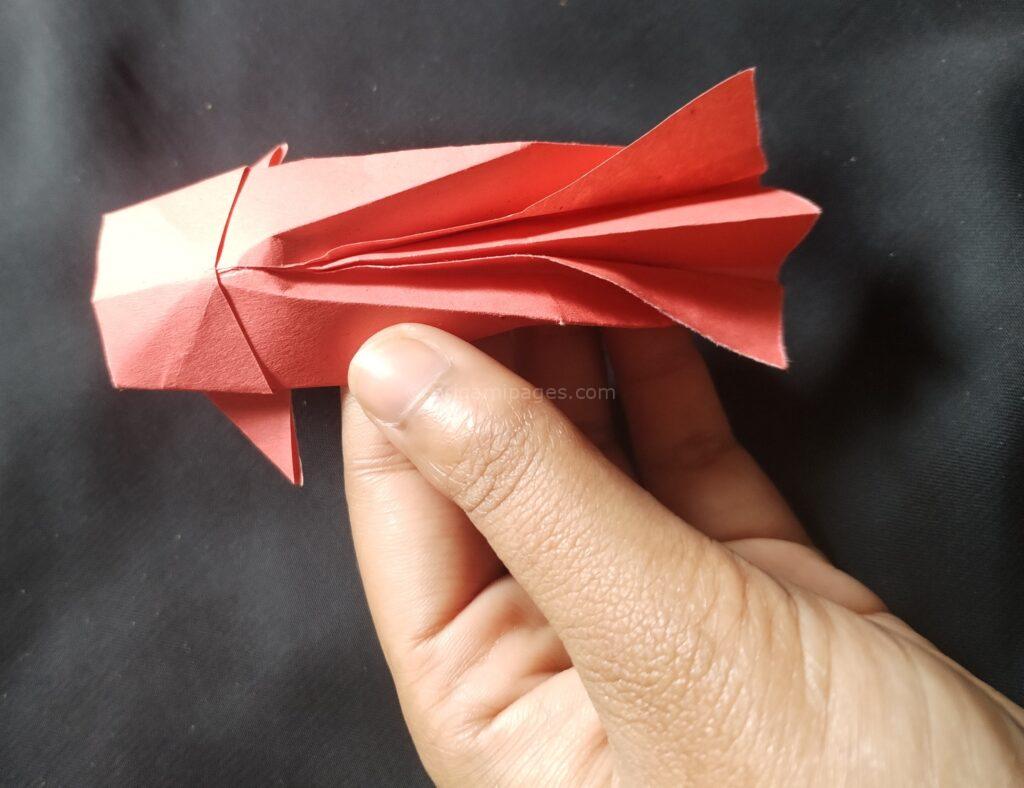
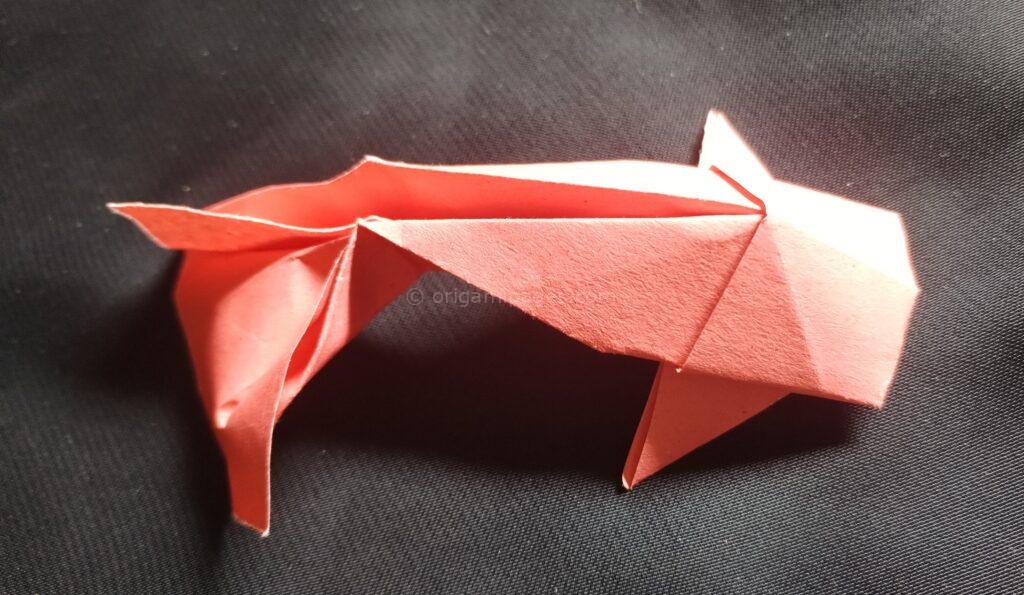
8. Completion
Your origami koi fish is now complete
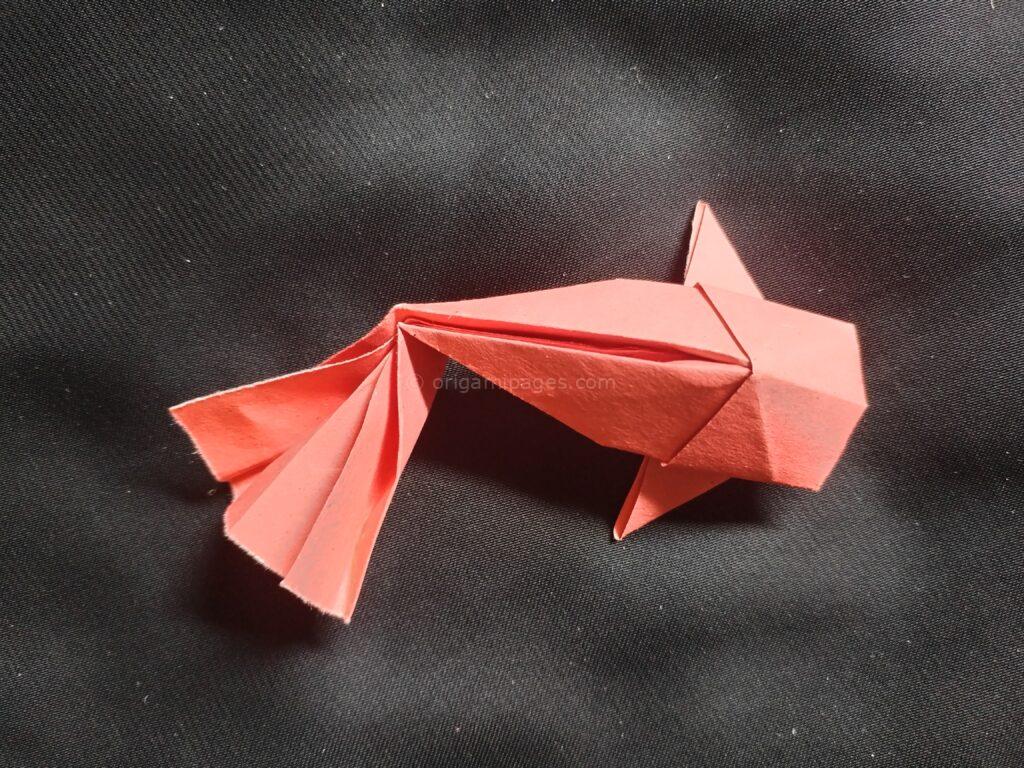
Folding Techniques Reference
| Step | Action | Key Focus | Common Mistakes to Avoid |
| 1-2 | Base preparation | Clean creases | Uneven folds |
| 3-4 | Head shaping | Symmetry | Misaligned corners |
| 5-6 | Body formation | Precise angles | Rushed folds |
| 7-8 | Final details | Smooth finish | Wrinkled paper |
Tips for Success
When following these origami koi fish instructions, remember:
- Press firmly for crisp folds
- Align corners precisely
- Follow each step in order
- Take your time with complex folds
Creative Variations
After mastering this easy origami koi fish design, try:
- Different paper sizes
- Patterned paper
- Color combinations
Conclusion
Creating an origami koi fish brings together precision and creativity in a rewarding project. Through these simple steps, you’ve learned how to transform a flat piece of paper into an elegant swimming creature. Keep practicing these techniques, and you’ll soon master this classic origami design.
Remember, each fold brings you closer to creating your perfect paper koi. Share your creations and continue exploring the wonderful world of origami.


