Origami Moon: A Step-by-Step Guide to Creating Your Own Lunar Masterpiece
Creating an Origami Moon is a delightful project that captivates both beginners and seasoned origami artists alike. The simplicity and elegance of this paper craft project make it an excellent choice for those looking to explore the enchanting world of origami. Whether you’re a parent looking for a fun activity to share with your child, or an enthusiast eager to hone your skills, this guide promises a rewarding experience.
In this article, I will take you through a detailed, easy-to-follow origami tutorial for kids and adults. By the end, you will have a beautiful Origami Moon, made with your own hands, to display proudly. Let’s embark on this paper-folding journey together and discover the magic of creating an Easy Origami Moon.

Materials Needed
Before we begin, gather the following materials:
- A4 size paper
- Scissors
- A flat, clean surface to work on
Step-by-Step Instructions
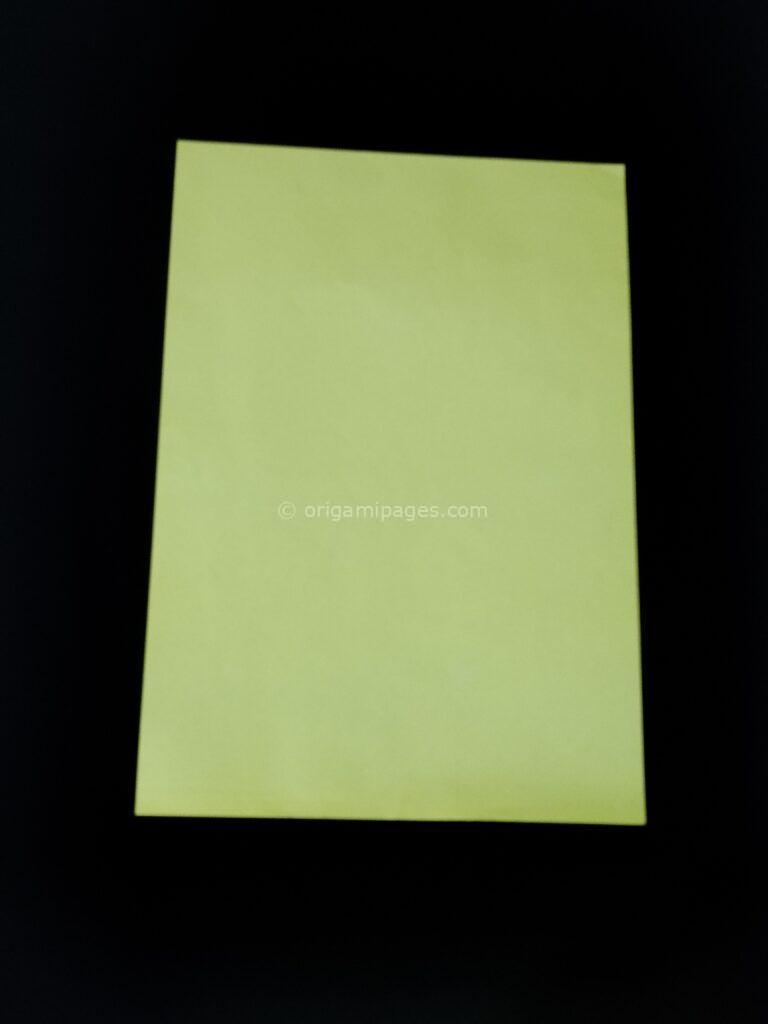
Step 1: Take A4 Size Paper
Start with a standard A4 size paper. This will be the foundation for your Origami Moon.
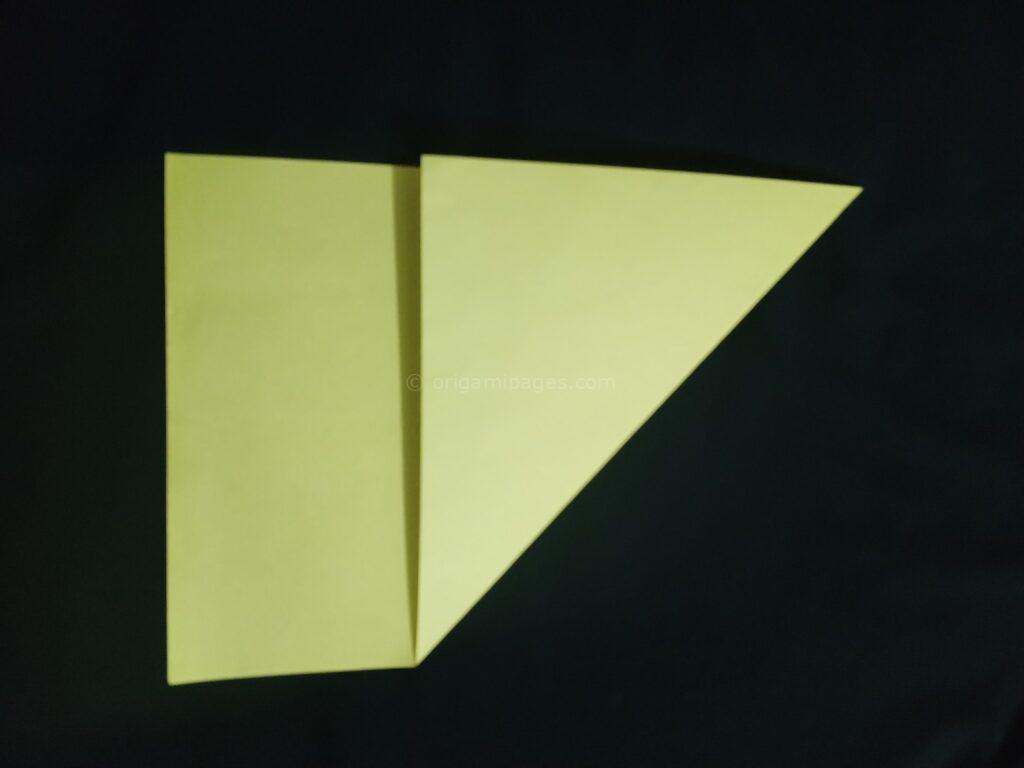
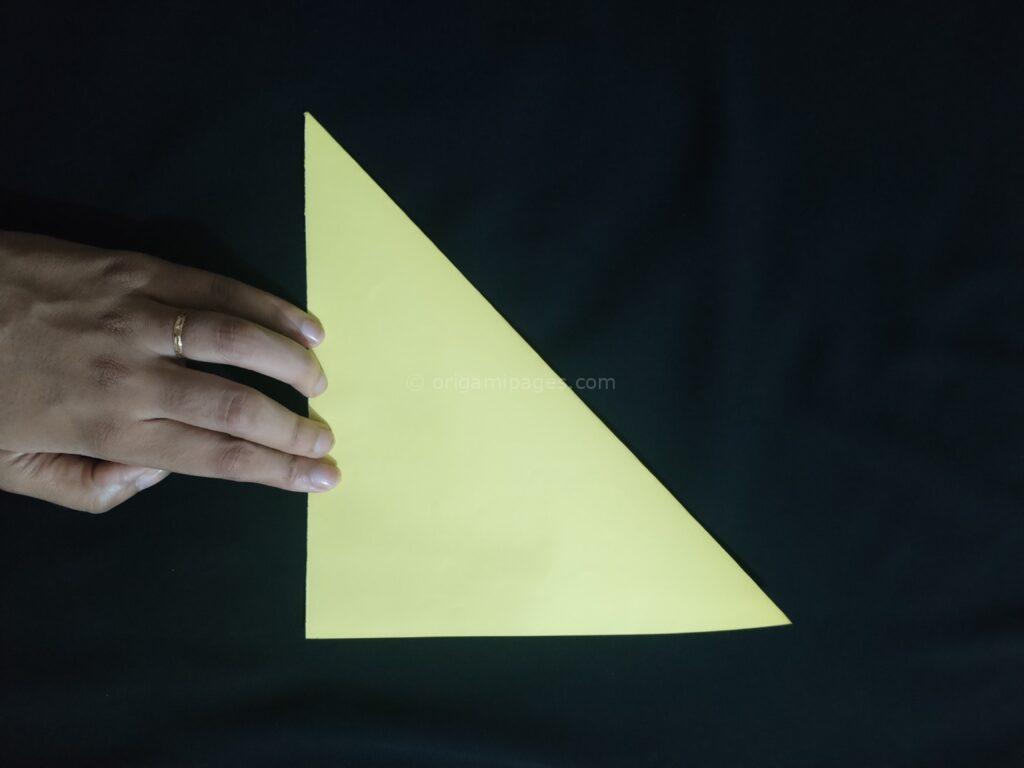
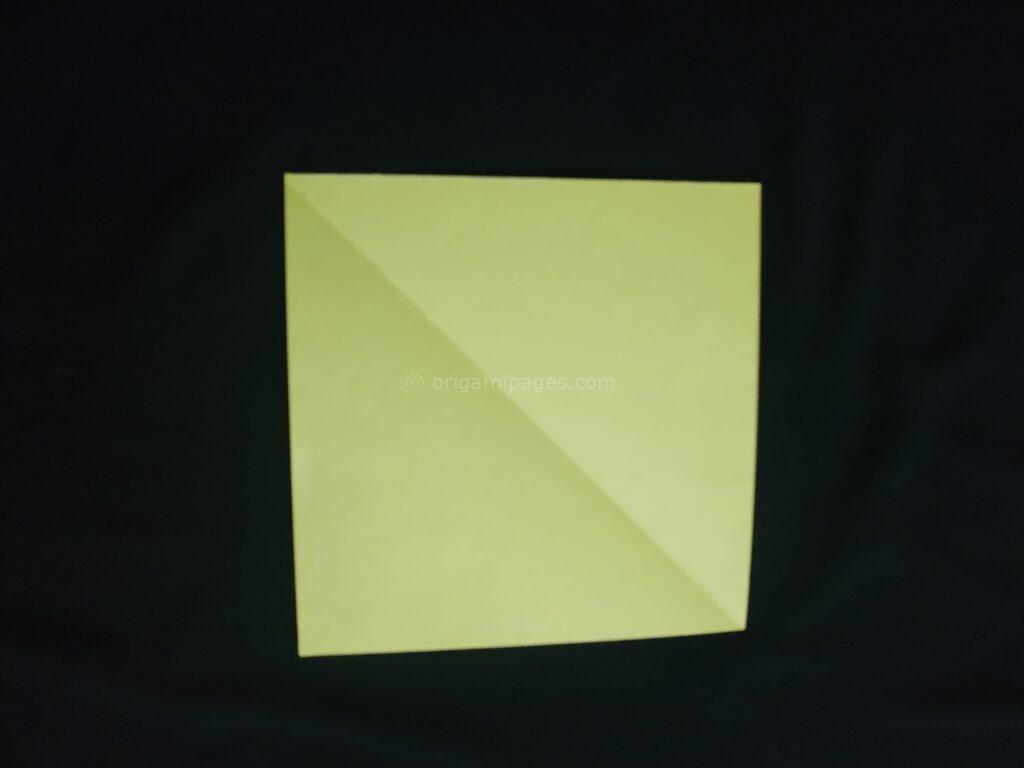
Step 2: Cut the Square with Corner Folds
Fold one corner of the A4 paper diagonally to the opposite edge, creating a triangle. Cut off the excess strip of paper to leave you with a perfect square.
Step 3: Fold the Two Corner Paper Along the Middle Line
Fold the two opposite corners of the square along the middle line, ensuring that the edges meet neatly at the center. This will help create the necessary creases for subsequent steps.
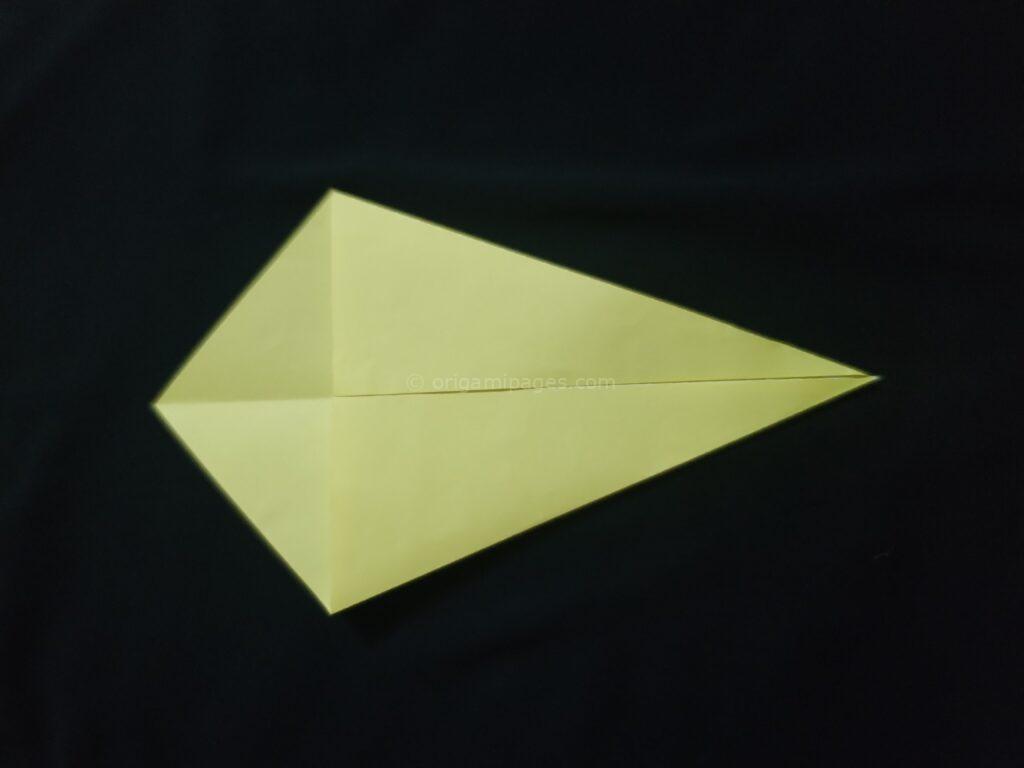
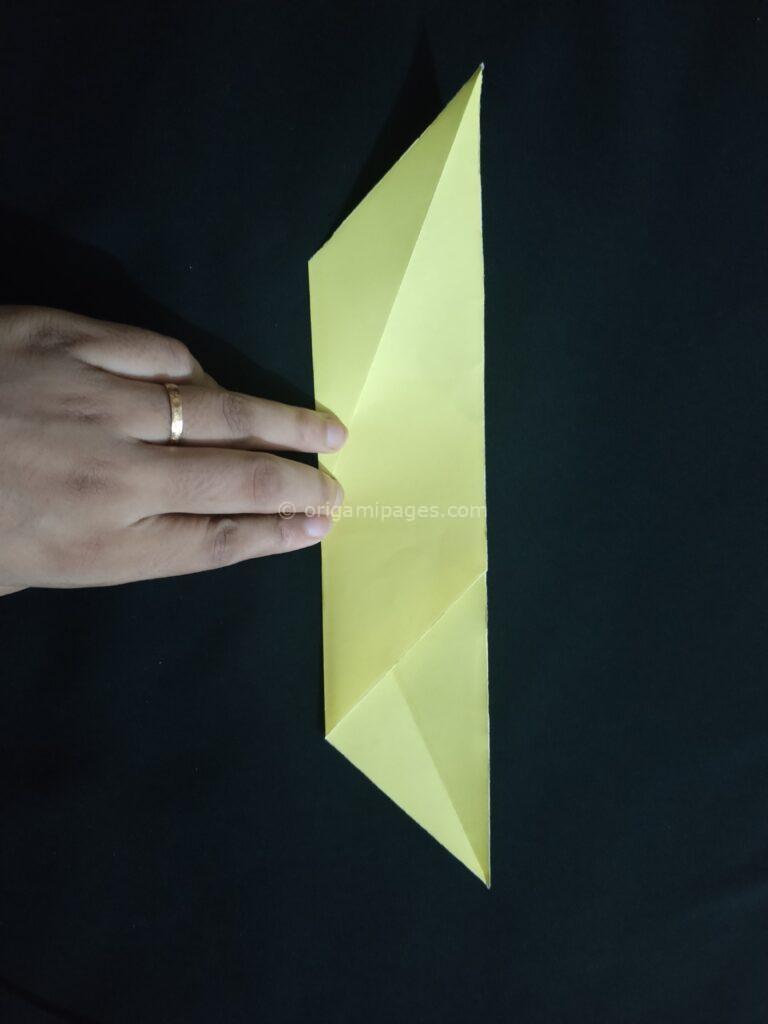
Step 4: Fold the Upper Part Along the Middle Line and Cut
In the upper part of the paper, fold it along the middle line. Now, cut the paper along this fold. This step helps in forming the structure of the moon.
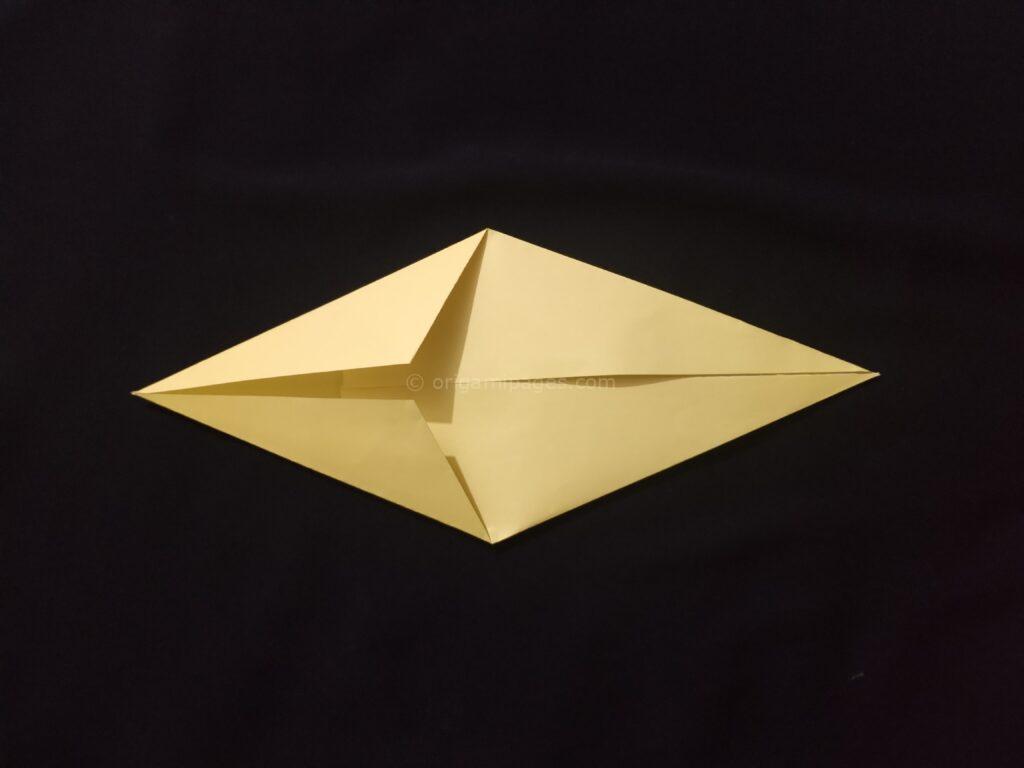
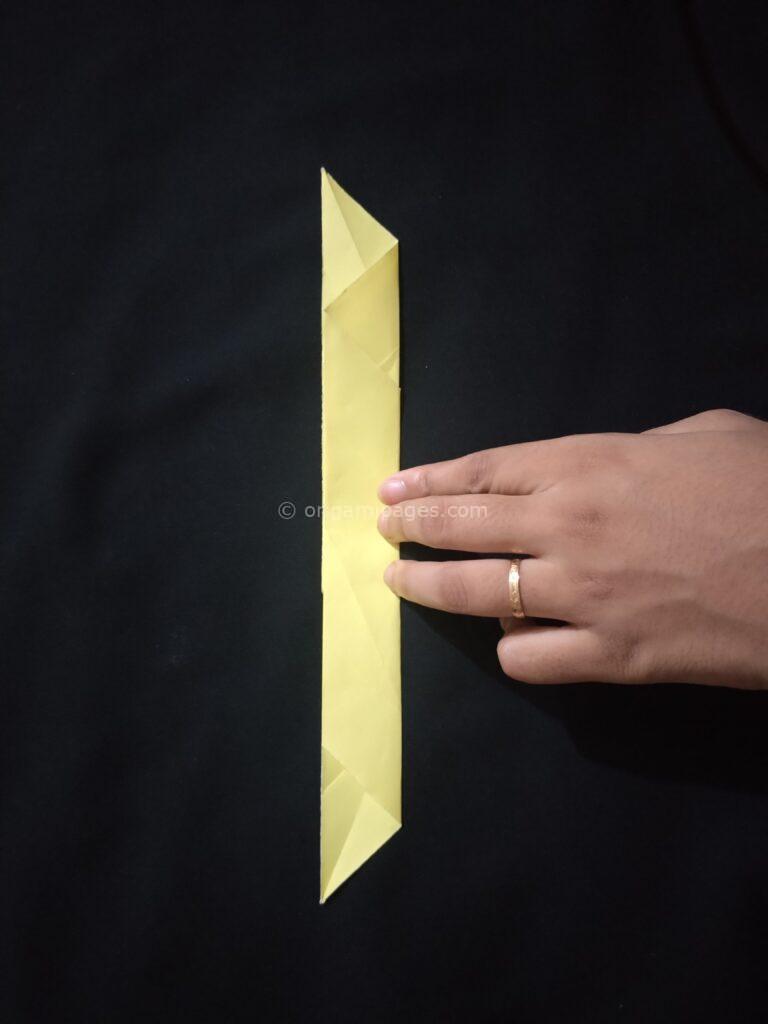
Step 5: Fold in the Middle, Then Fold Again and Unfold
Fold the paper in the middle to create a strong crease. Then, fold it again along the same line and unfold. This process strengthens the paper and prepares it for the final steps.
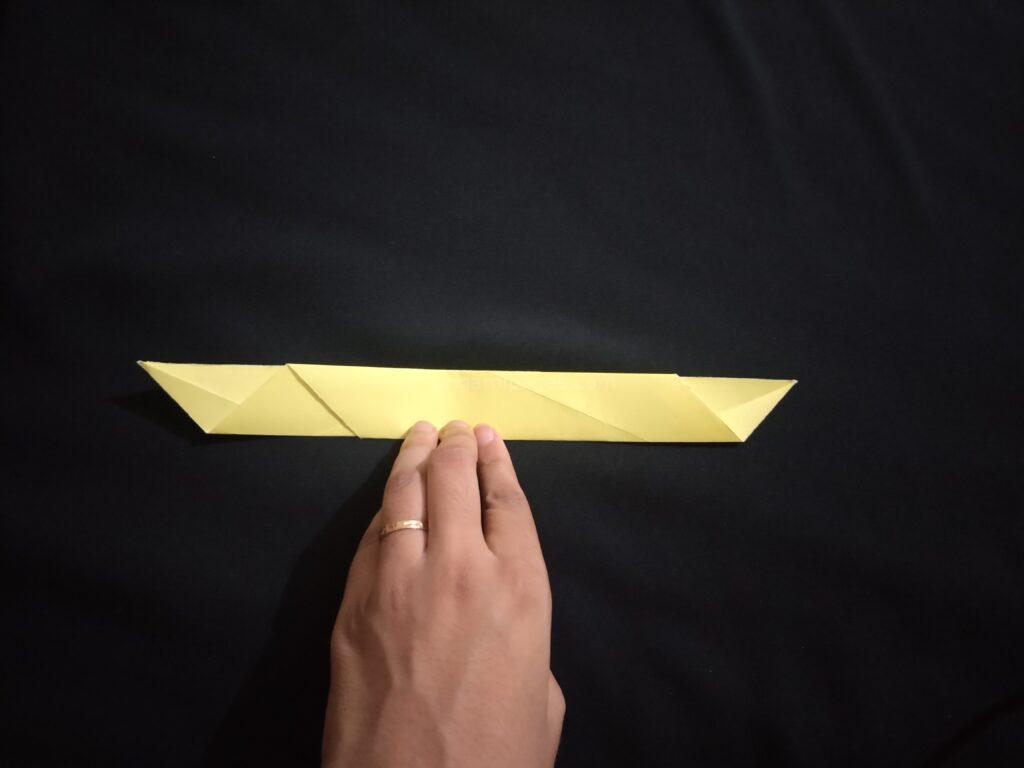
Step 6: Fold and Unfold in the Same Way on the Other Side
Repeat the fold and unfold process on the other side of the paper. This will create a symmetrical pattern of creases essential for the final shape.
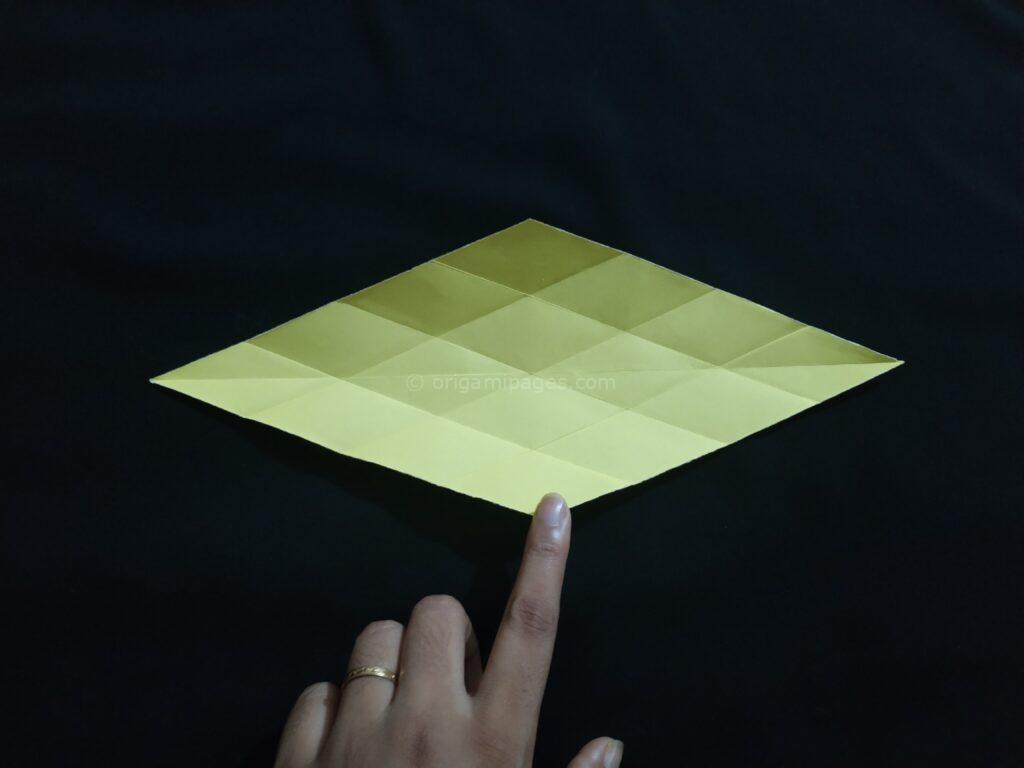
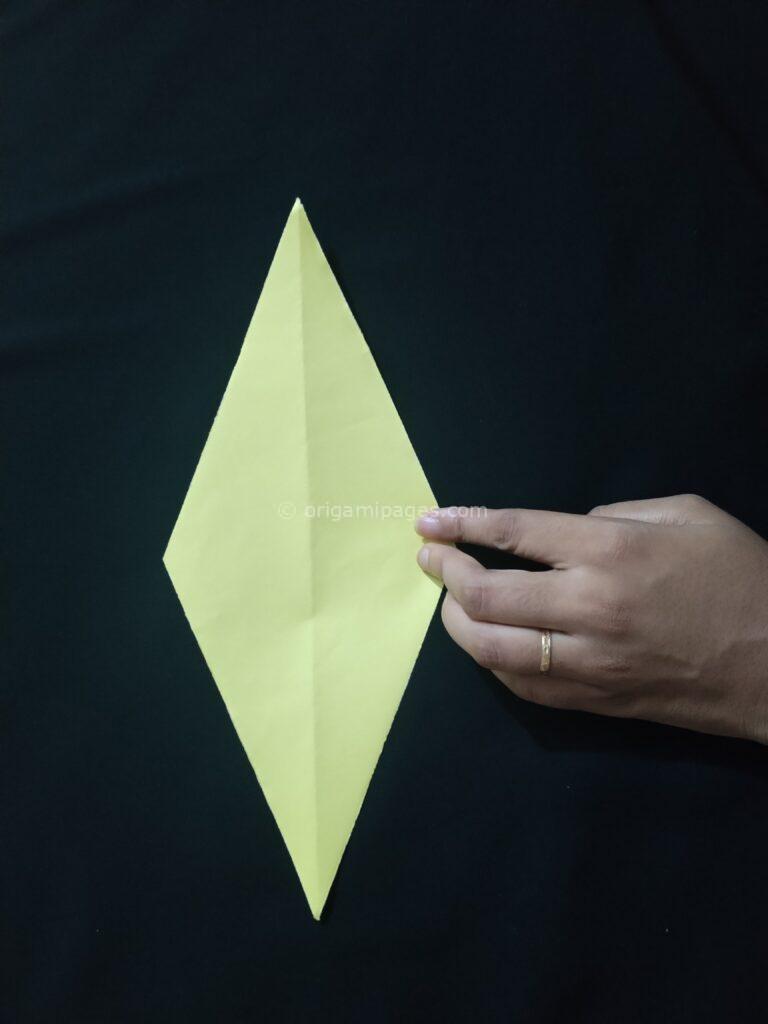
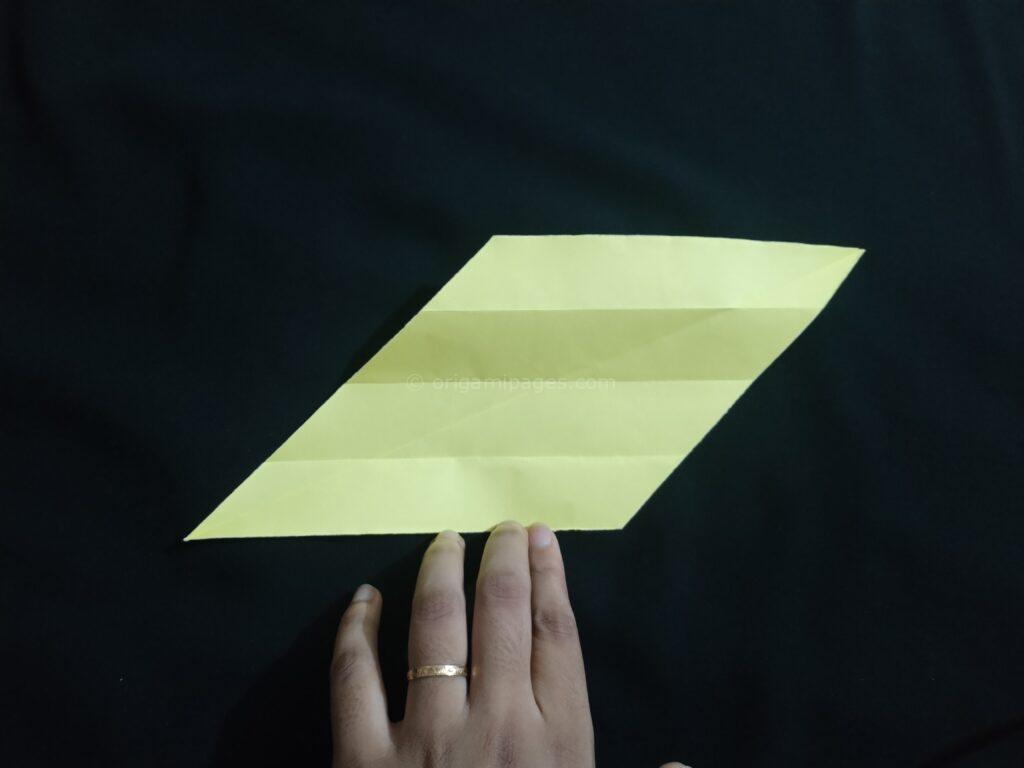
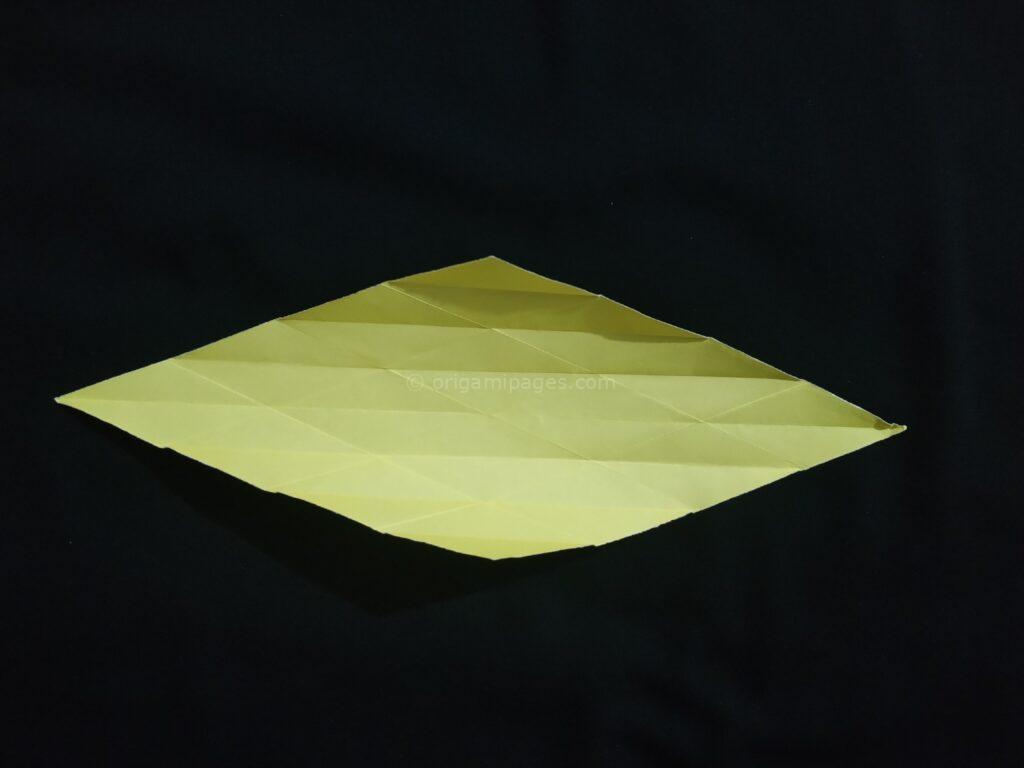
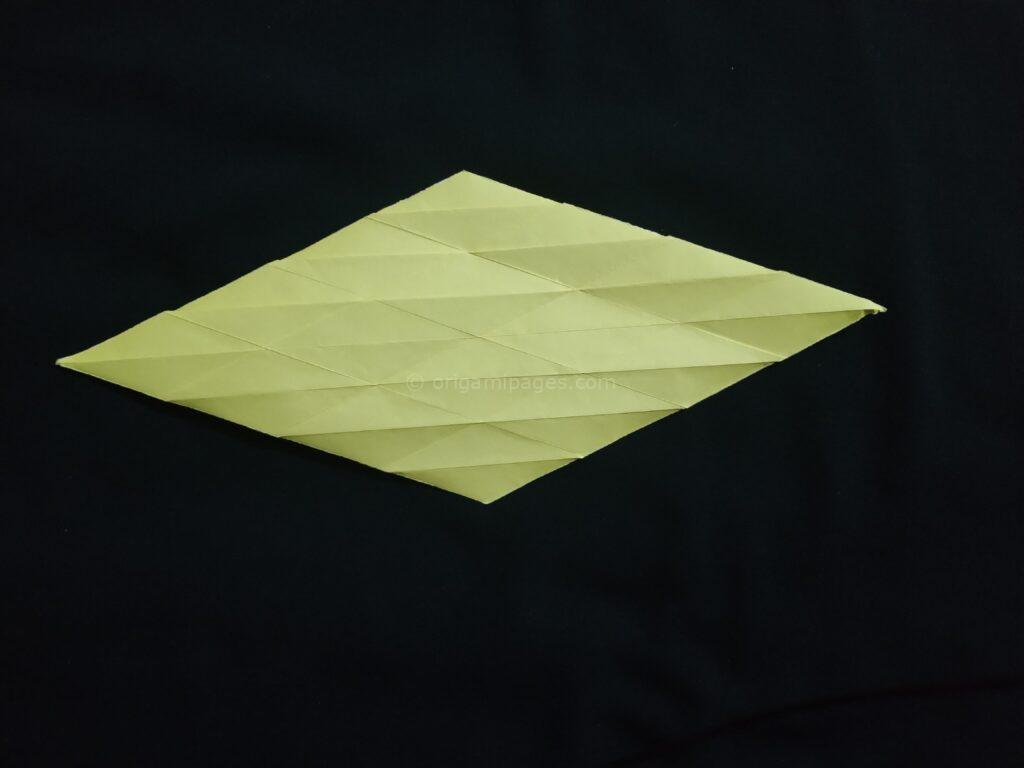
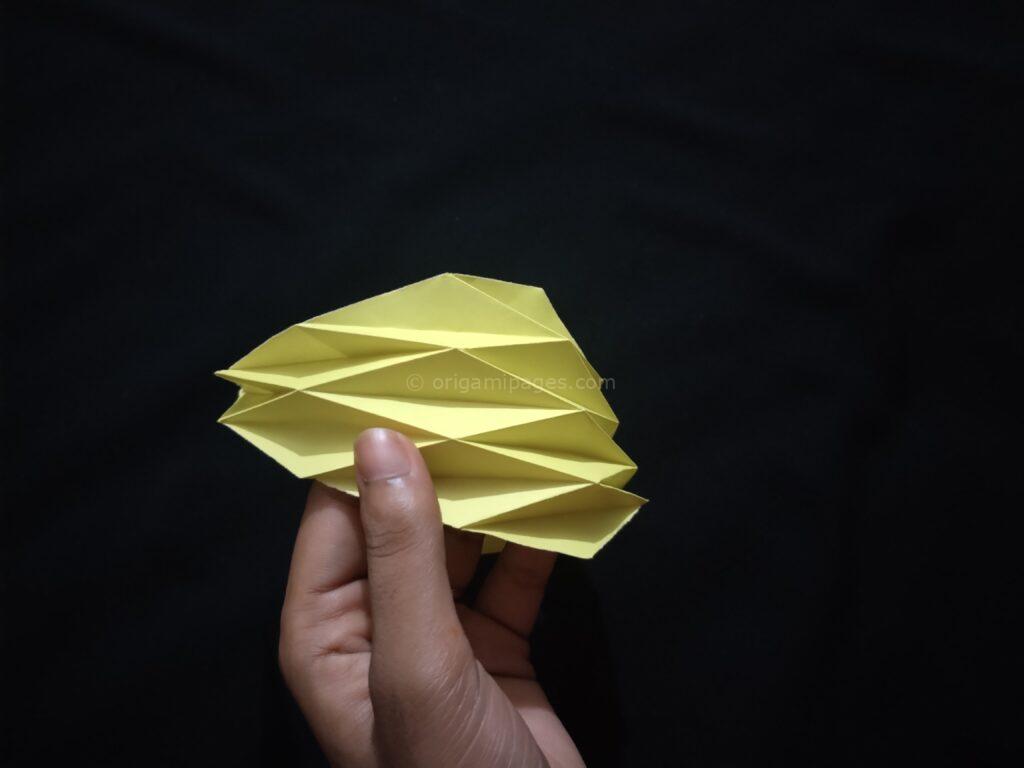
Step 7: Fold Along the Center of Each Rhombus
Fold along the center of each rhombus formed by the previous steps. This will add to the 3D effect and stability of the moon structure.
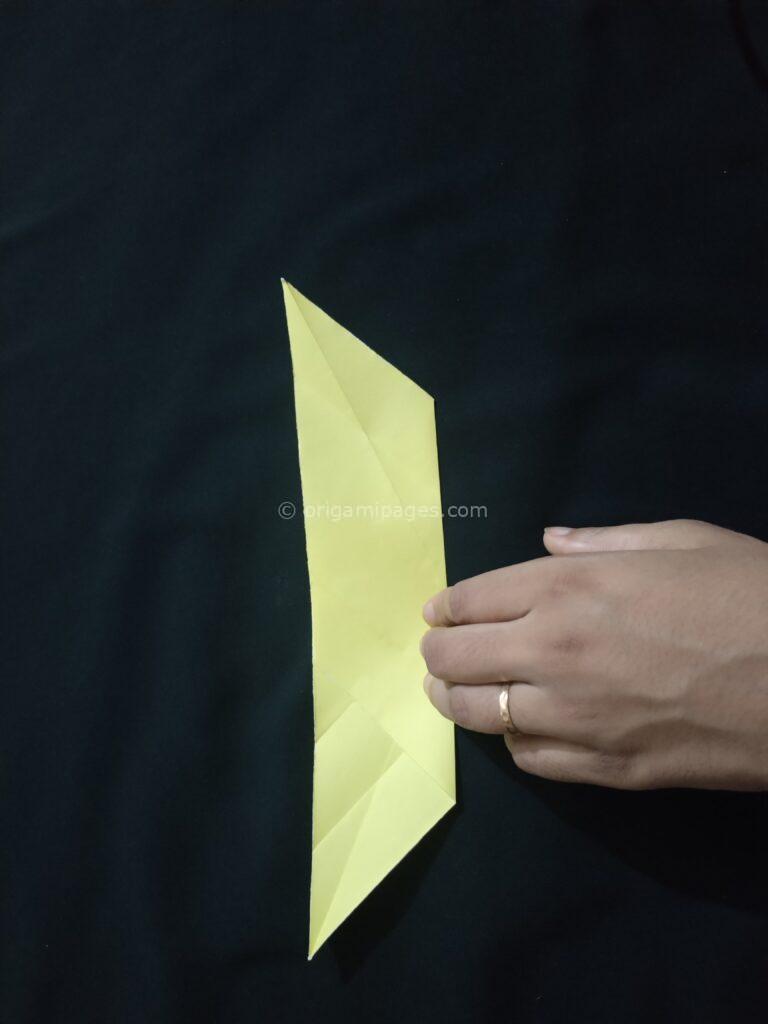
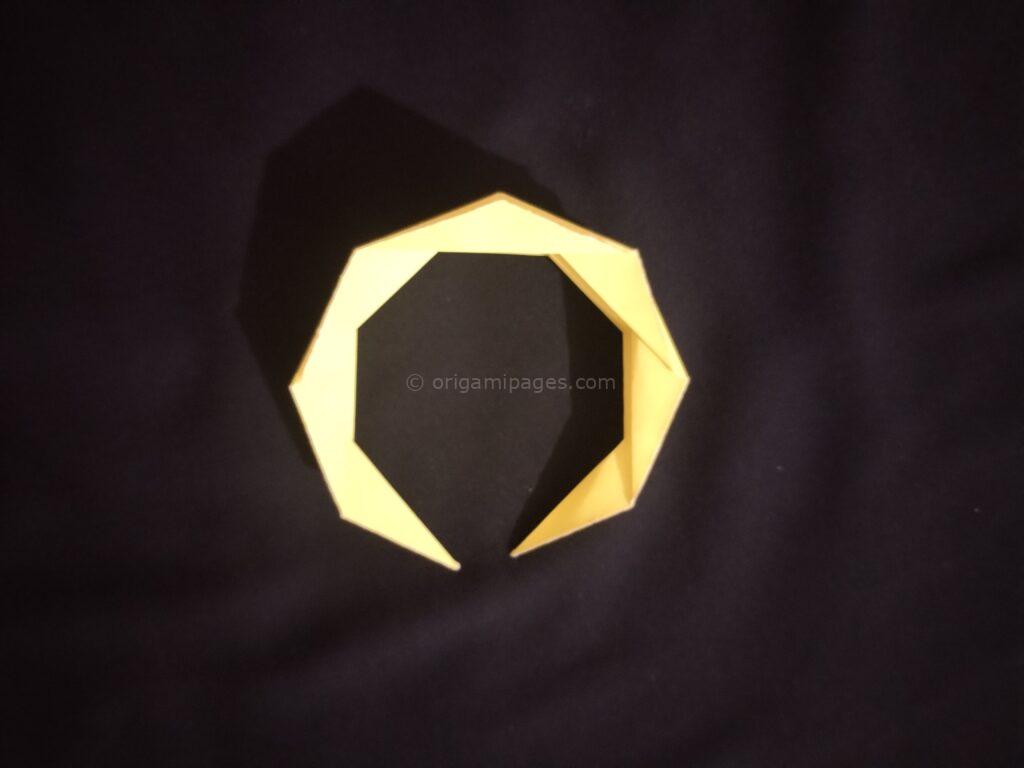
Step 8: Fold the Paper Together
Now, fold the paper together along the creases made in the previous steps. This should bring all the folds into place, forming the shape of a moon.
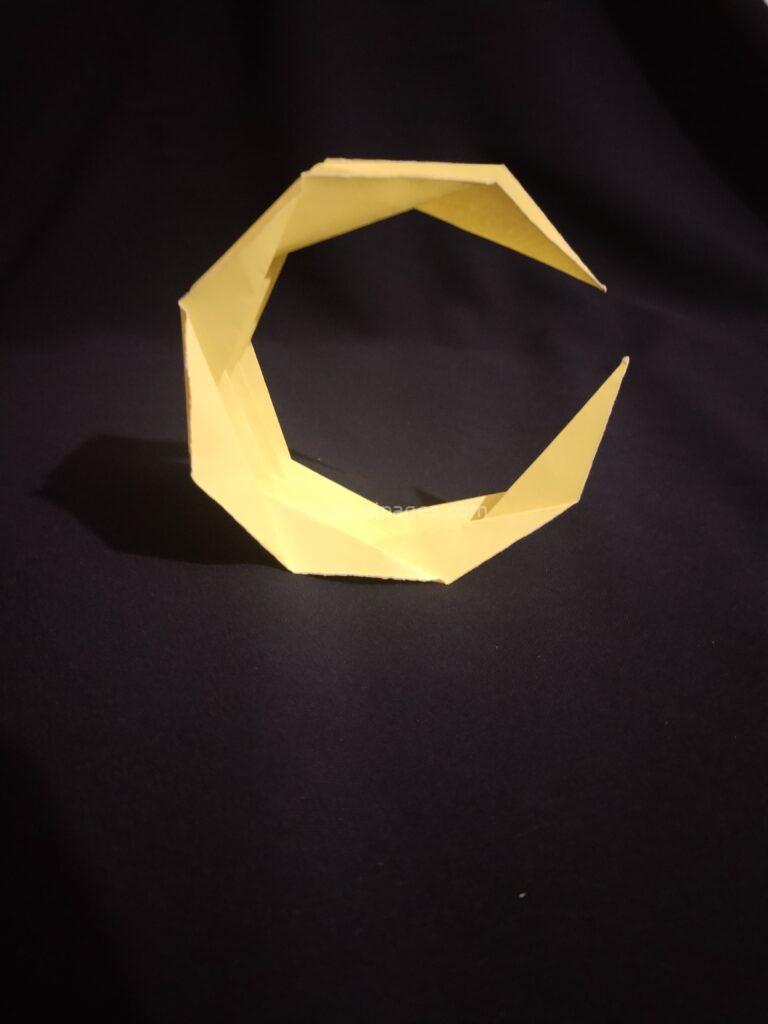
Step 9: Our Origami Moon is Ready
Your Origami Moon is now ready! Gently adjust any folds to perfect the shape.
Tips and Troubleshooting
When I first attempted to make an Origami Moon, I found it challenging to get the initial folds perfectly aligned. Here are a few tips to help you avoid common pitfalls:
- Ensure your initial square is perfectly cut; any irregularity will affect the symmetry.
- Make sharp, precise creases to ensure the moon holds its shape.
- If a fold doesn’t seem right, carefully unfold and try again.
Conclusion
Creating an Origami Moon is a fun and rewarding experience that can be enjoyed by both kids and adults. With this step-by-step guide, you can easily create your own lunar masterpiece. I hope you found this origami tutorial for kids and beginners helpful. Feel free to share your creations and any feedback you might have. Happy folding!