DIY Origami Strawberry Tutorial
Origami, the ancient Japanese art of paper folding, offers a delightful journey into creativity. Among its myriad wonders, crafting an origami strawberry stands out as a charming project, perfect for beginners and seasoned enthusiasts alike. In this tutorial, we’ll explore the step-by-step process to create your very own paper strawberry, promising a rewarding experience filled with whimsy and accomplishment.
Materials Needed
- Square paper measuring 15cm×15cm.
- Additional square paper measuring 5cm×5cm for the leaf.
- Pencil
- Scissors
- Glue
- Round stick or pen
Step-by-Step Guide to Crafting an Origami Strawberry
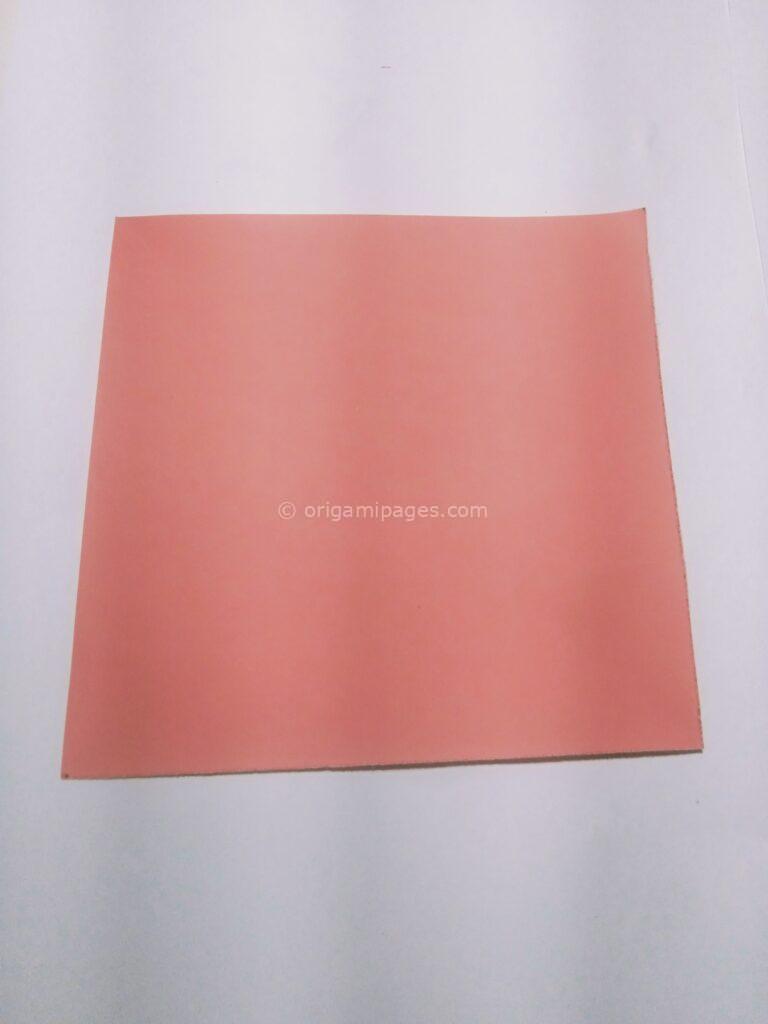
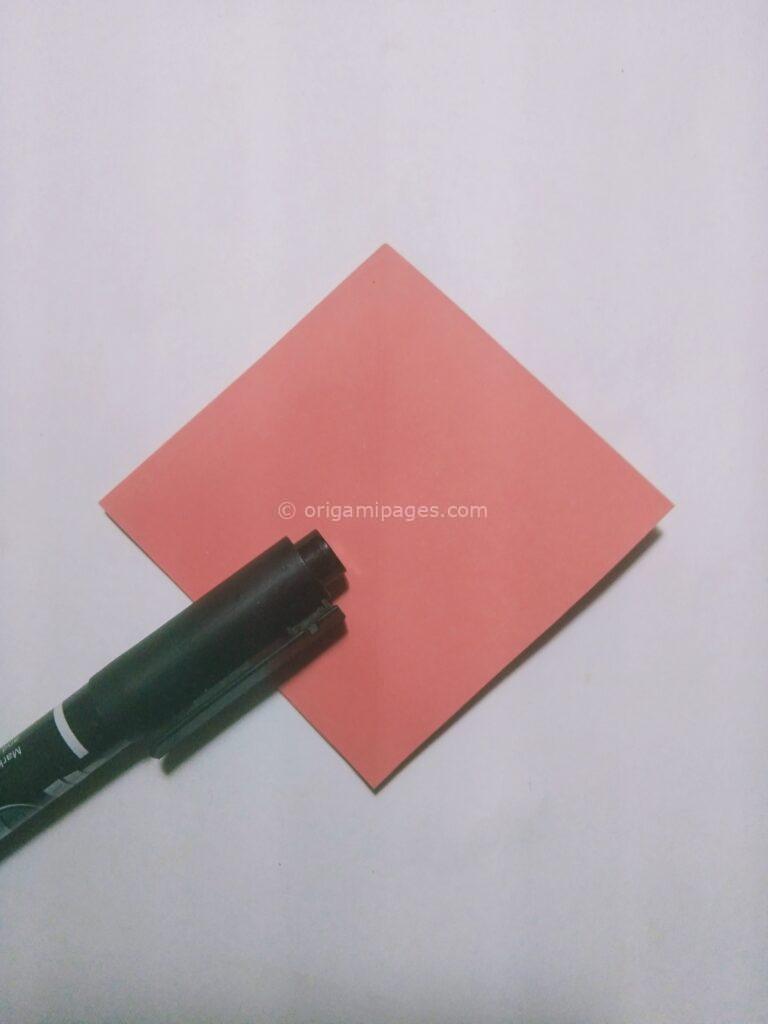
Step 1: Prepare Your Materials
Gather all the required materials mentioned above. Ensure your square paper measures precisely 15cm×15cm for the main body of the strawberry and 5cm×5cm for the leaf.
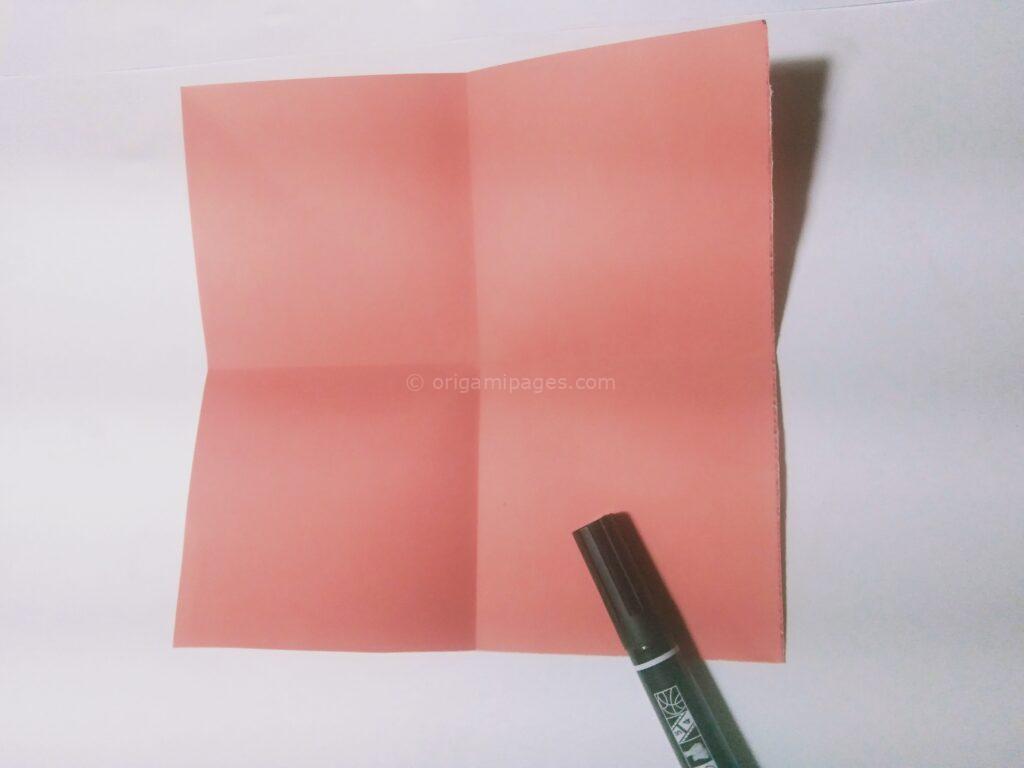
Step 2: Begin Folding
Fold the square paper horizontally and vertically, then unfold to create creases for reference.

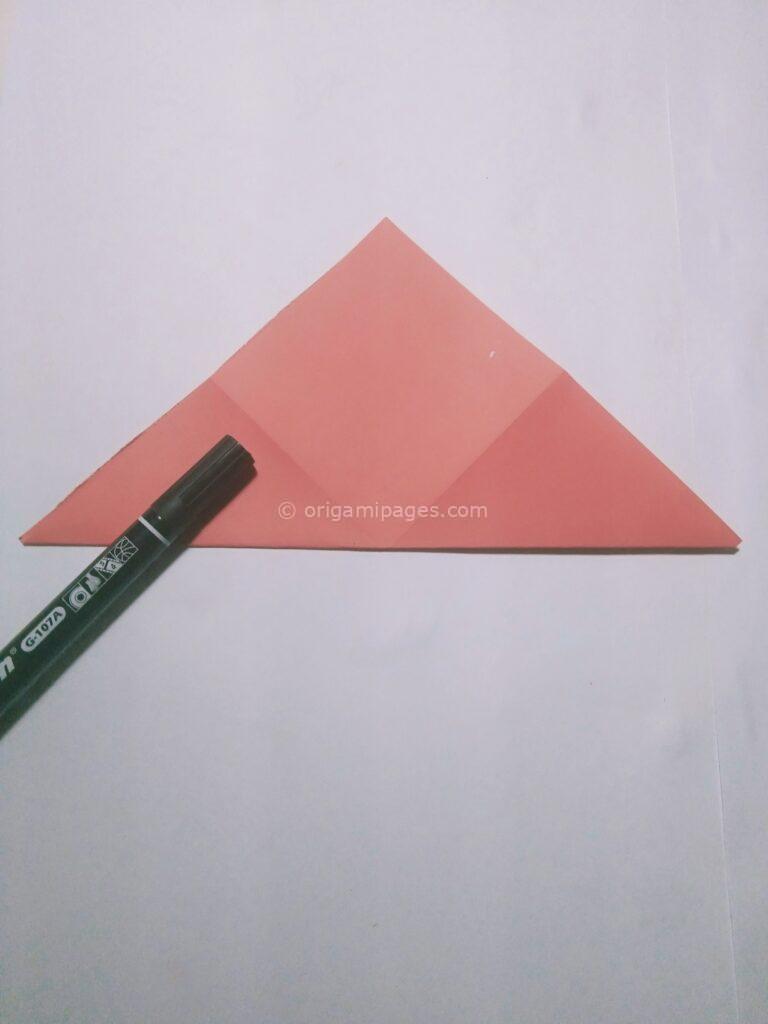
Step 3: Create Diagonal Folds
- Take the bottom corner of the square paper and fold it to meet the top corner, forming a diagonal crease. Repeat this step on the opposite side, then unfold the paper.
- Next, fold the paper in half diagonally from both the right and left sides, creating diamond-shaped folds. Unfold the paper after completing this step.

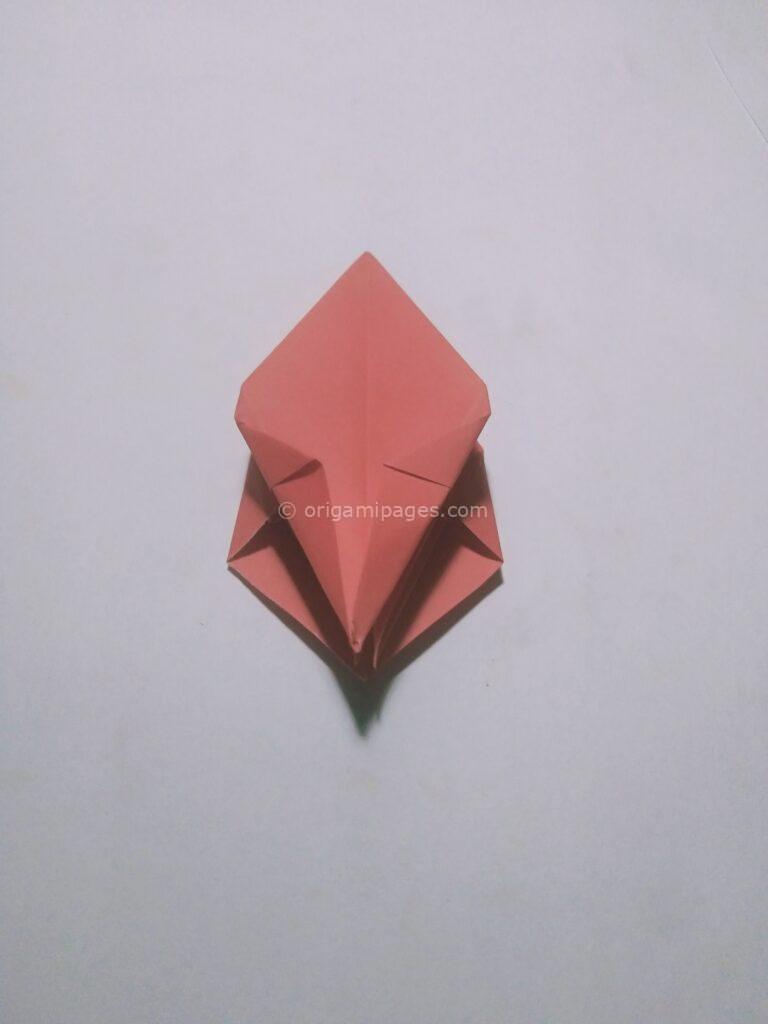
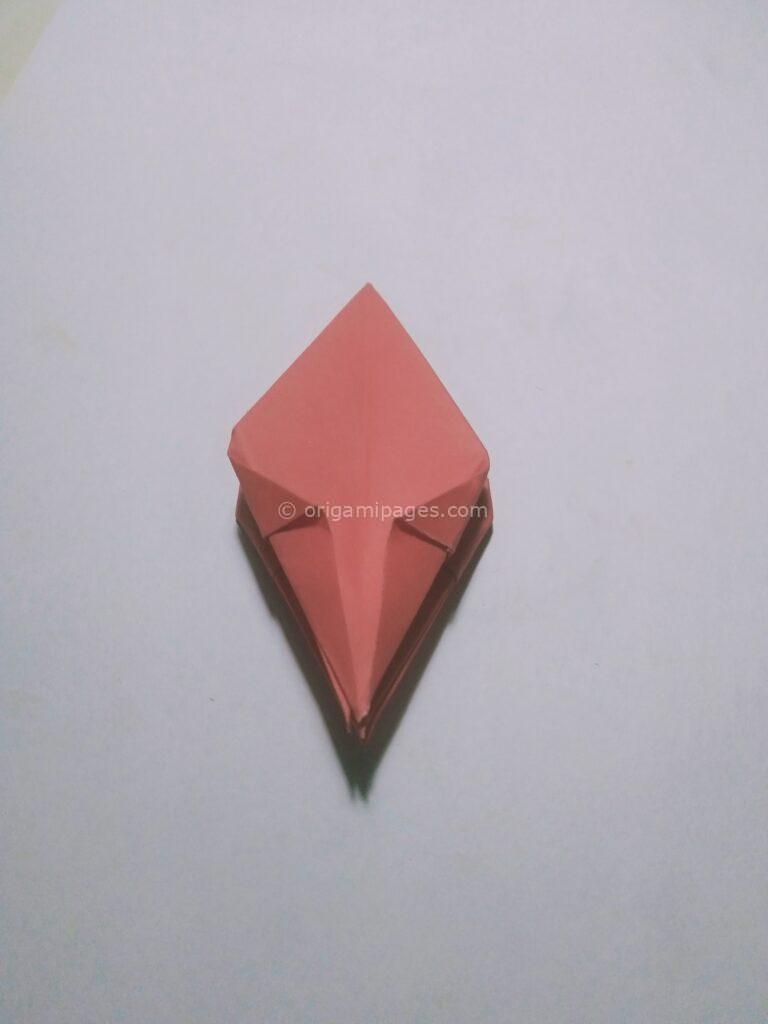
Step 4: Fold Sides to Center
- Fold both sides of the paper towards the center crease. Flip the paper over and repeat the same folding process on the other side.
- Fold both sides towards the center crease again, but this time starting from the bottom. Flip the paper over and repeat the folding process.

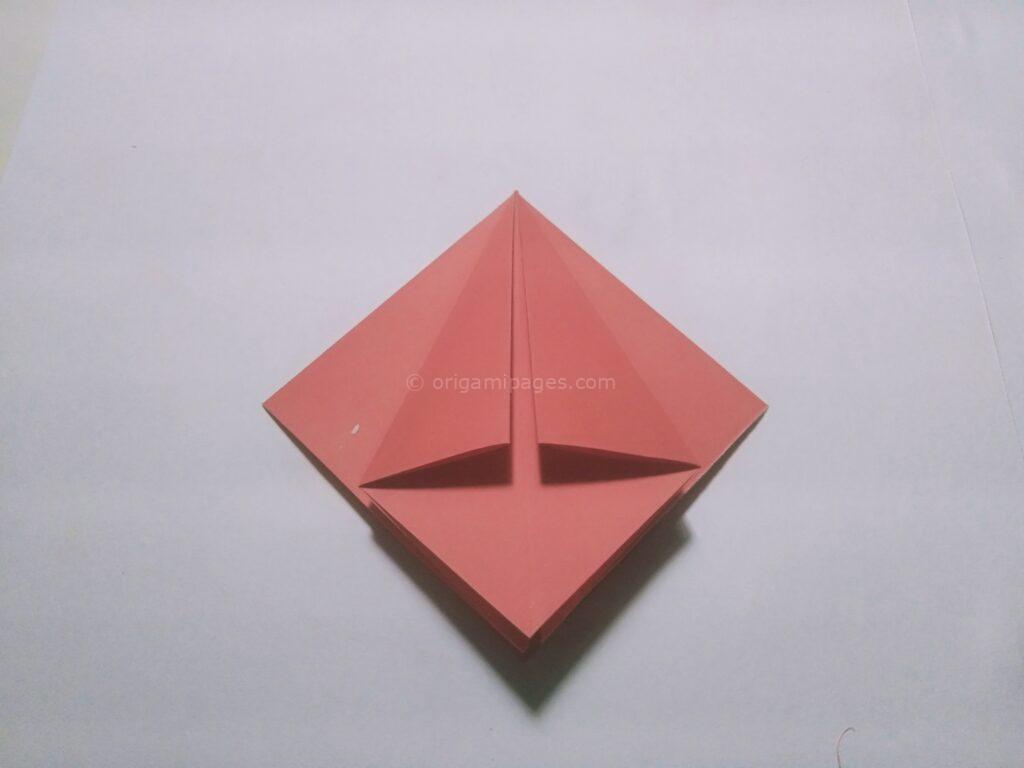
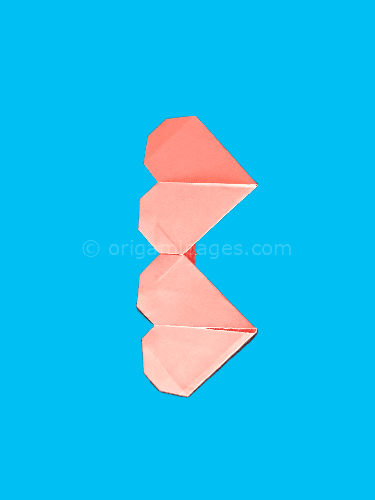
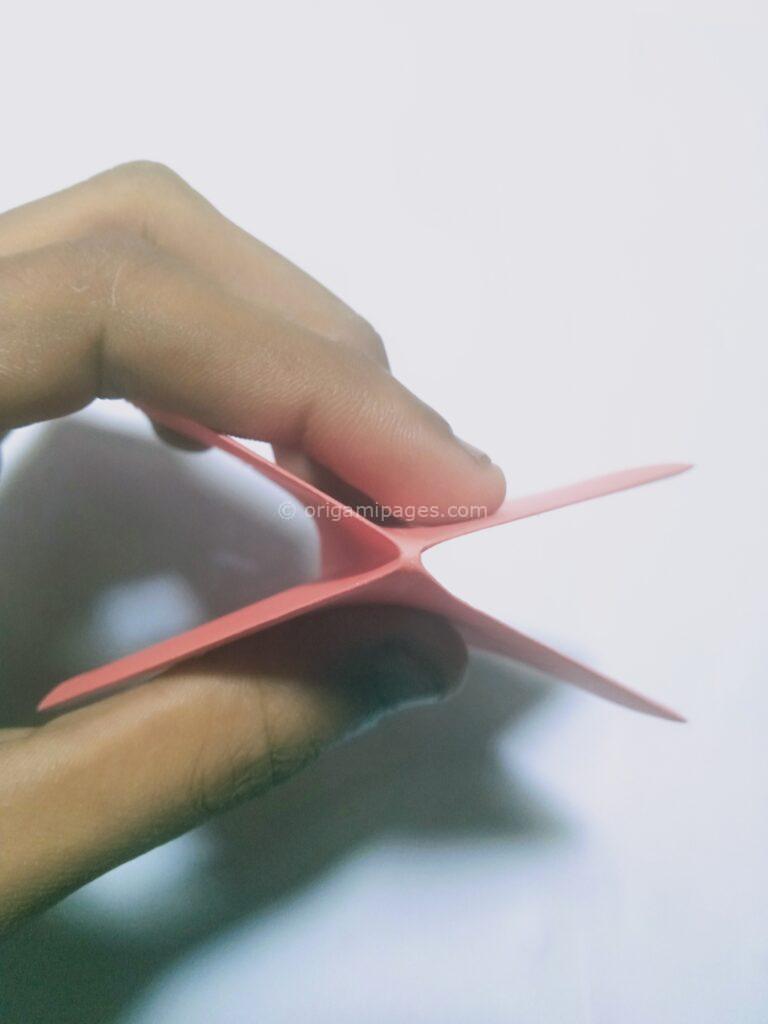
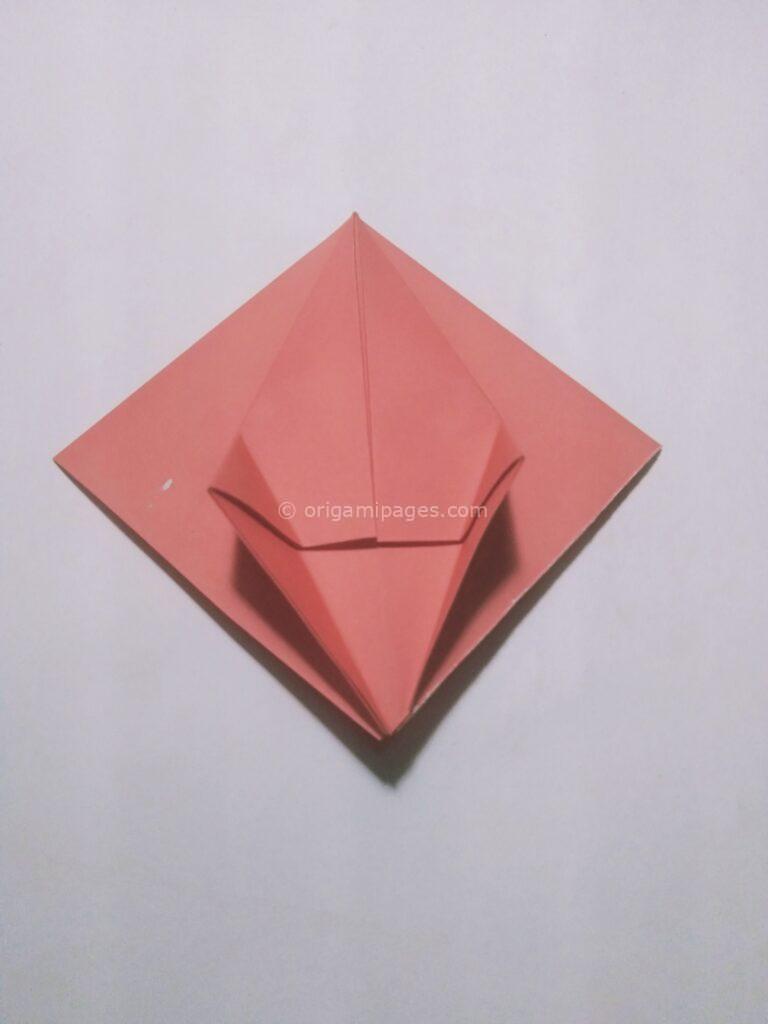
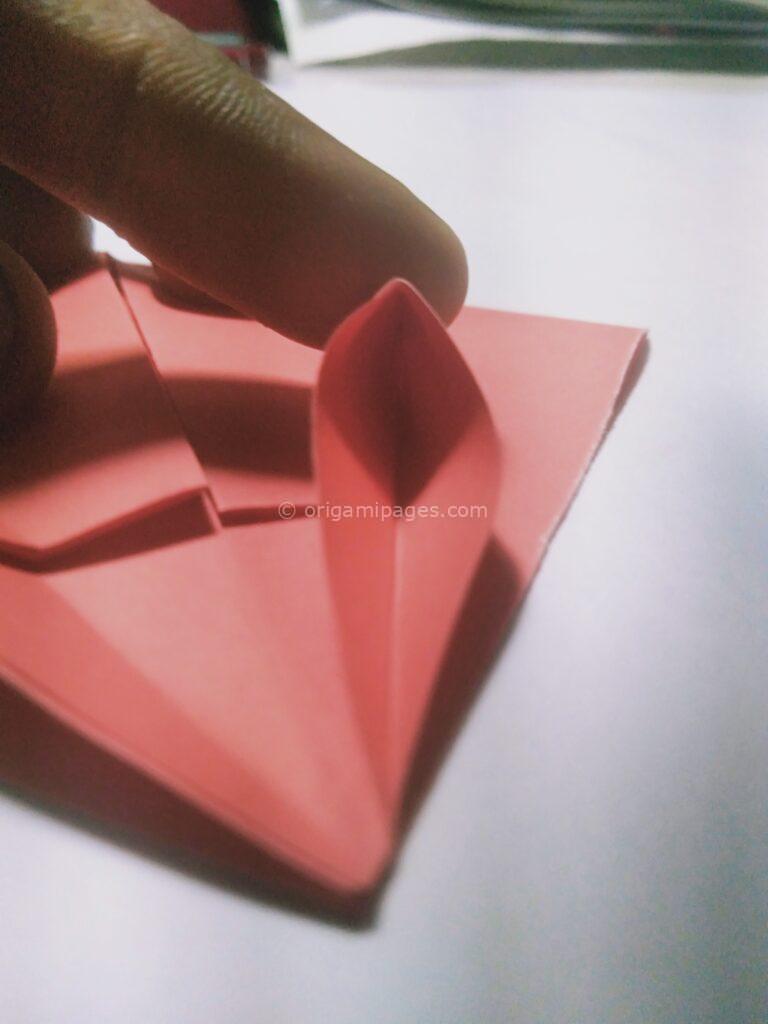
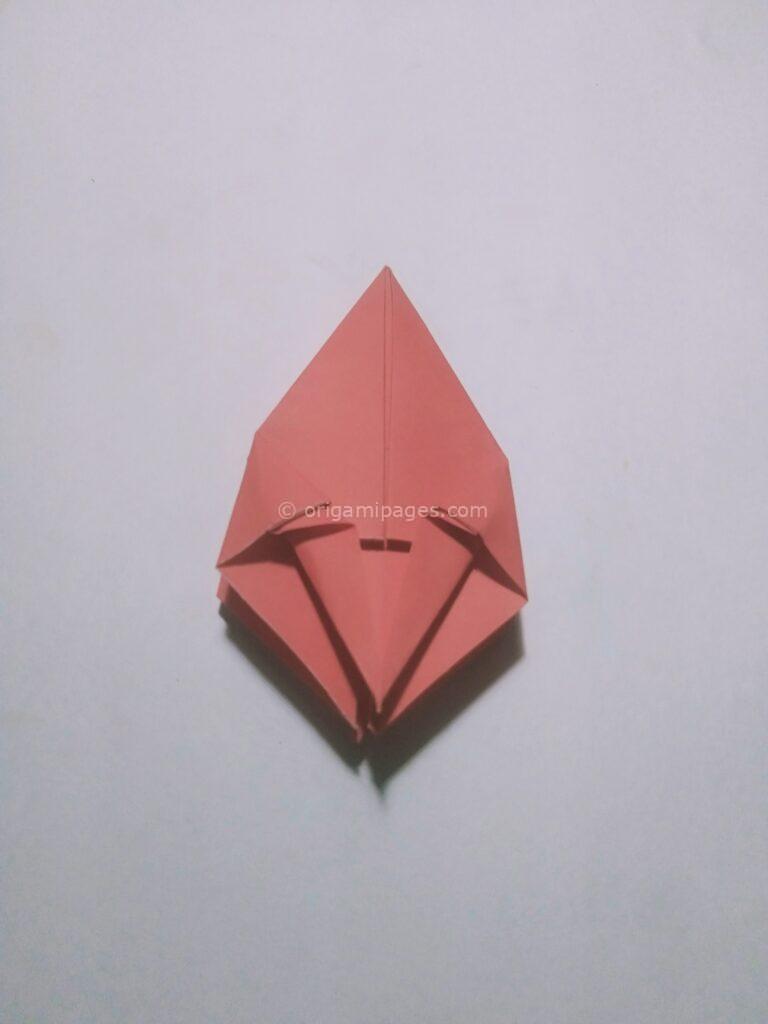
Step 5: Perform Squash Folds
- Unfold both side flaps and perform a squash fold by pressing them flat. Repeat this process on the other side. Flip the paper over and repeat the squash fold on both sides.
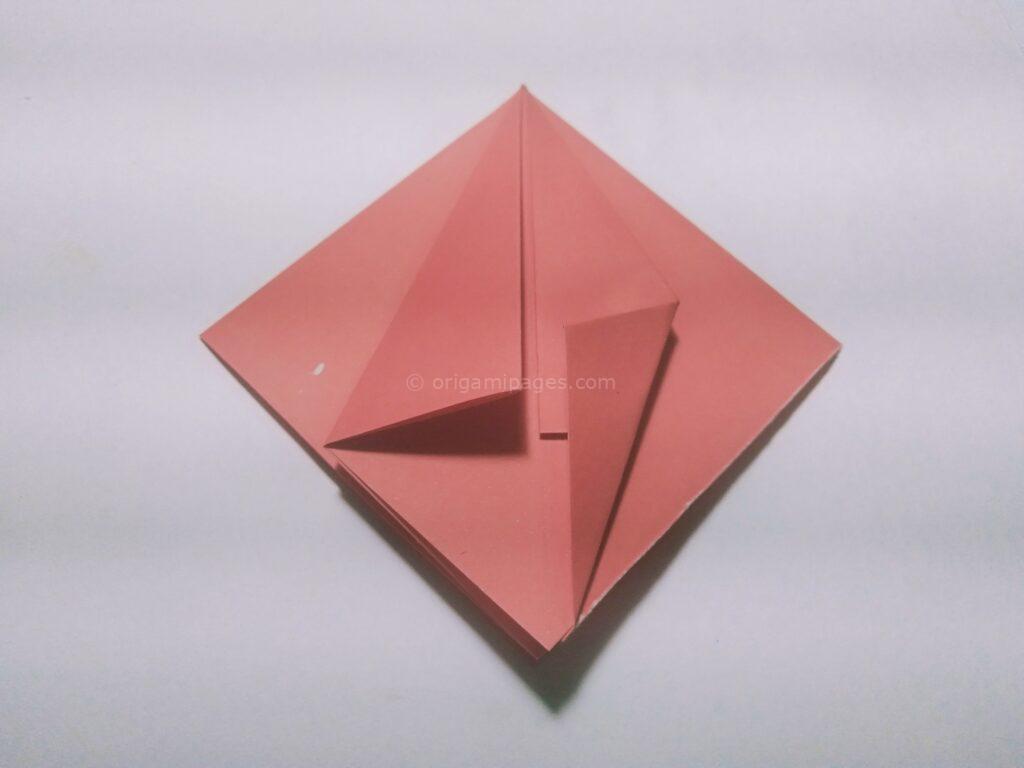
- Take the remaining flap and perform a squash fold as done in the previous step.
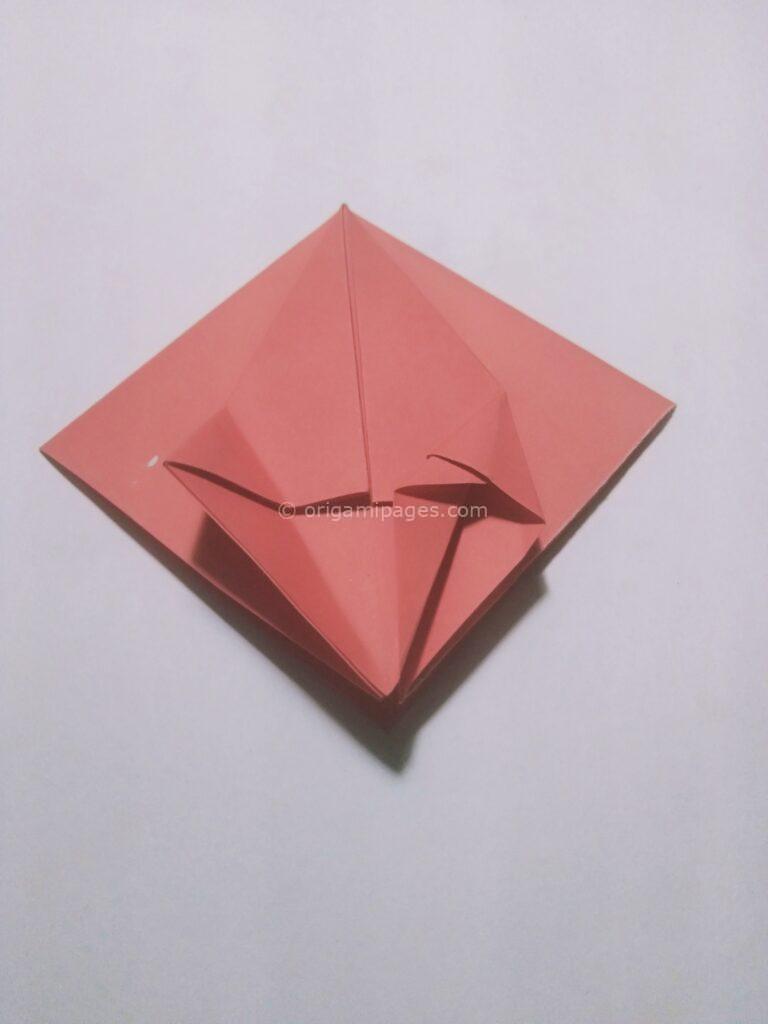
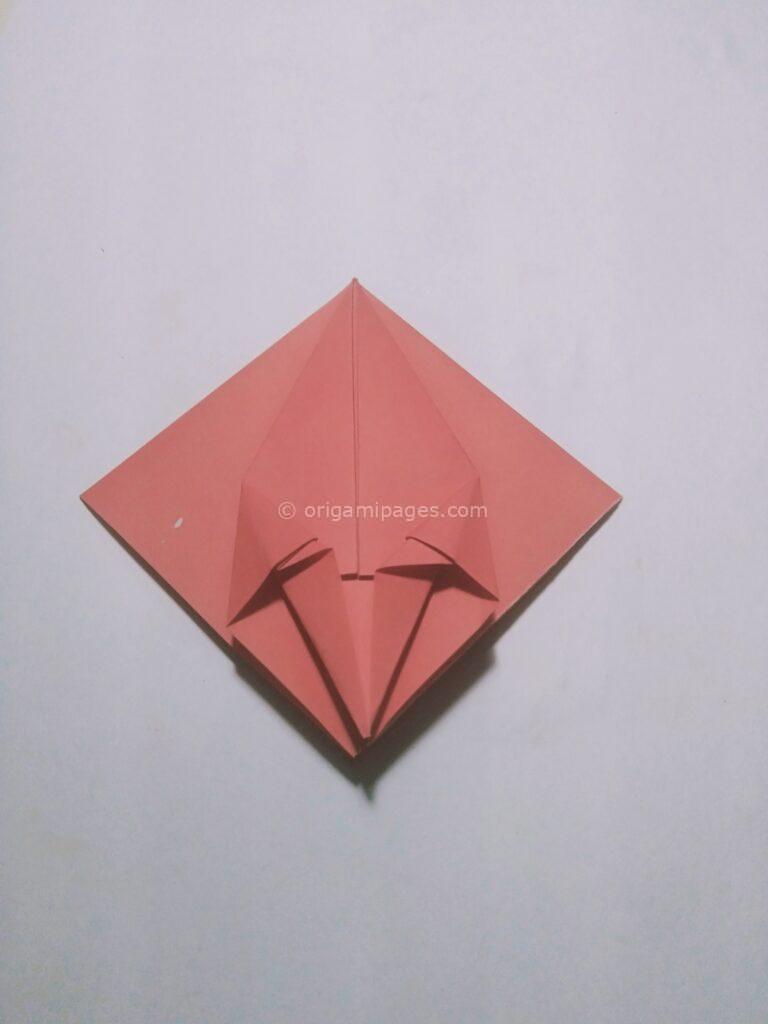
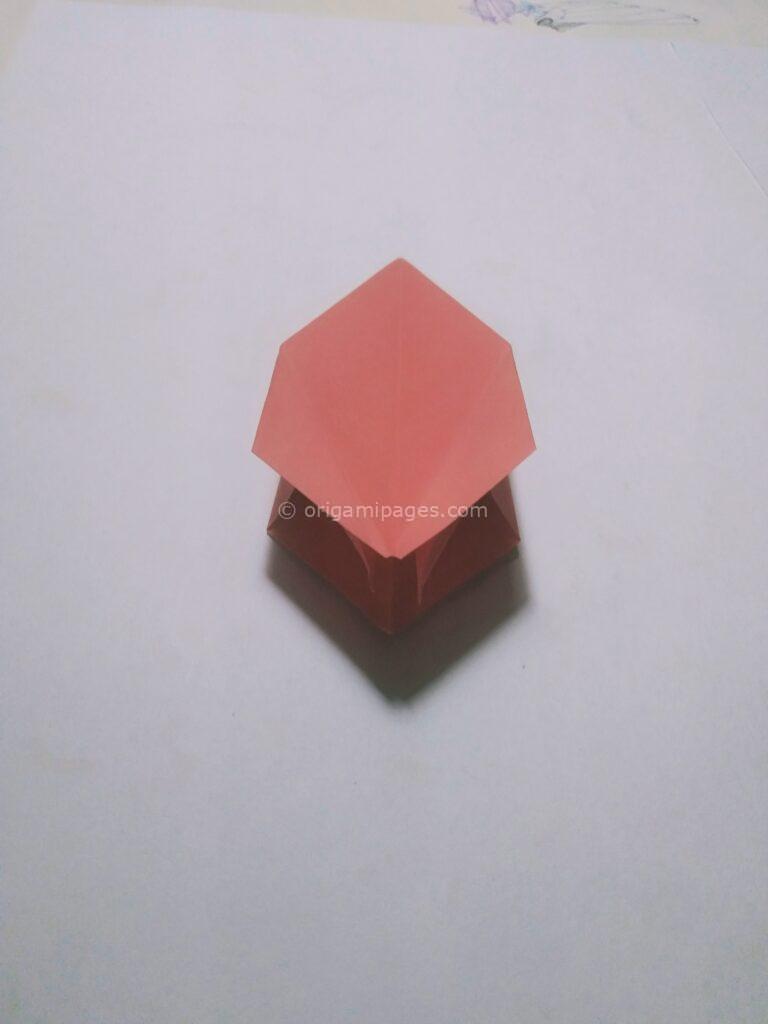
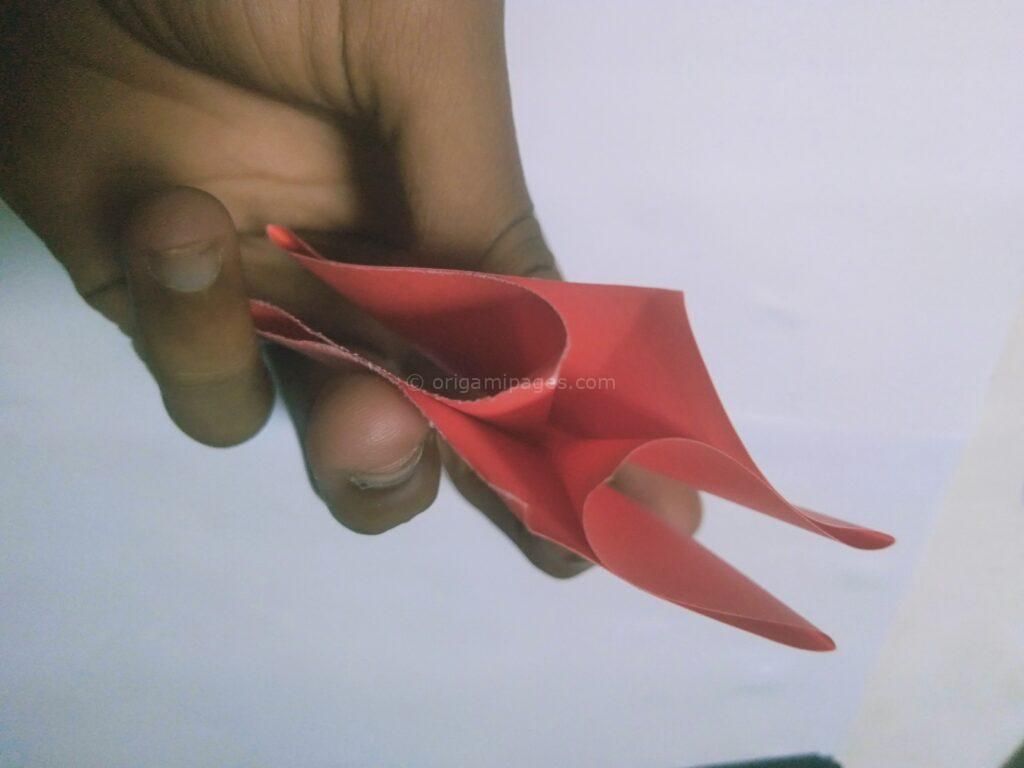
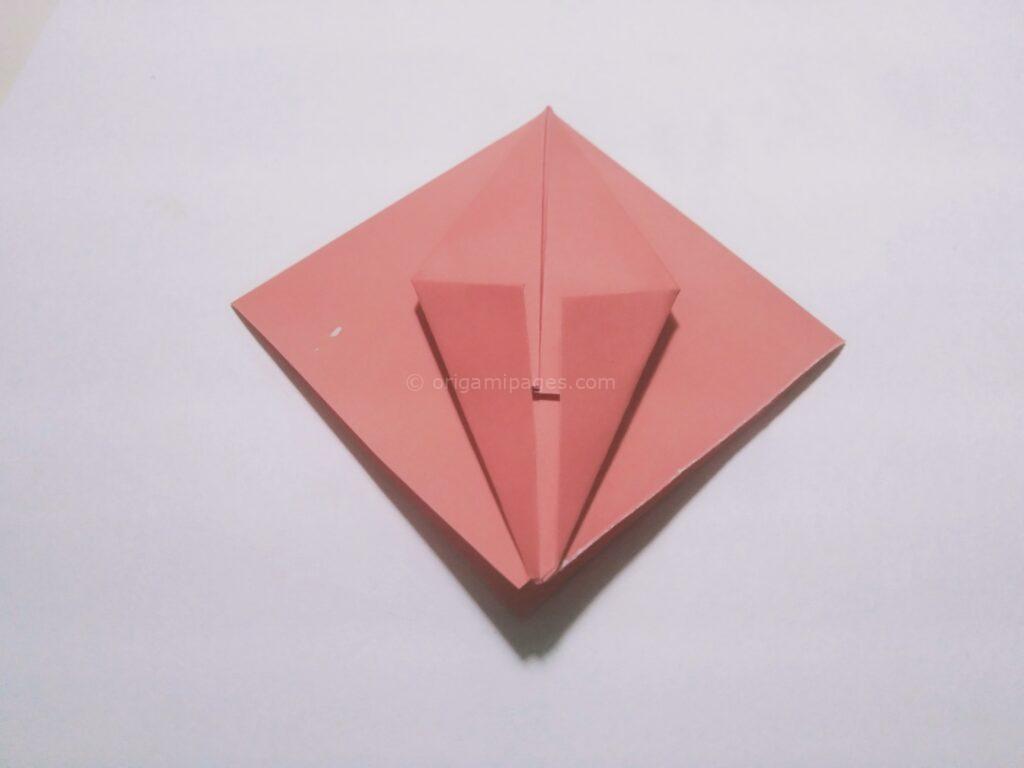
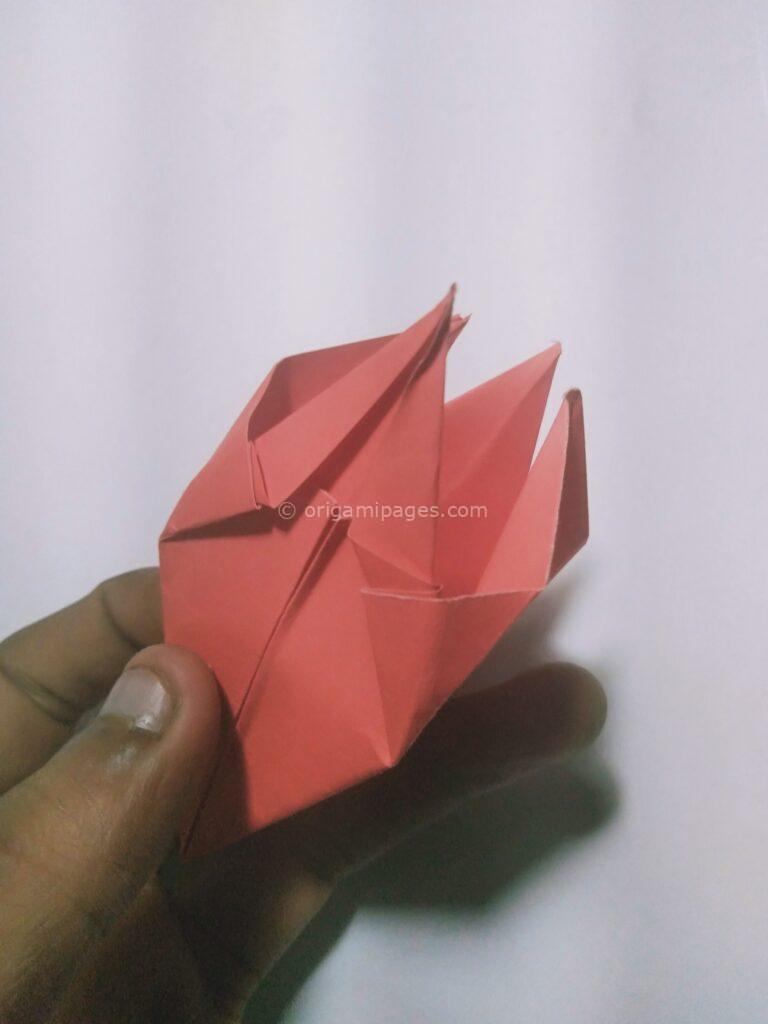
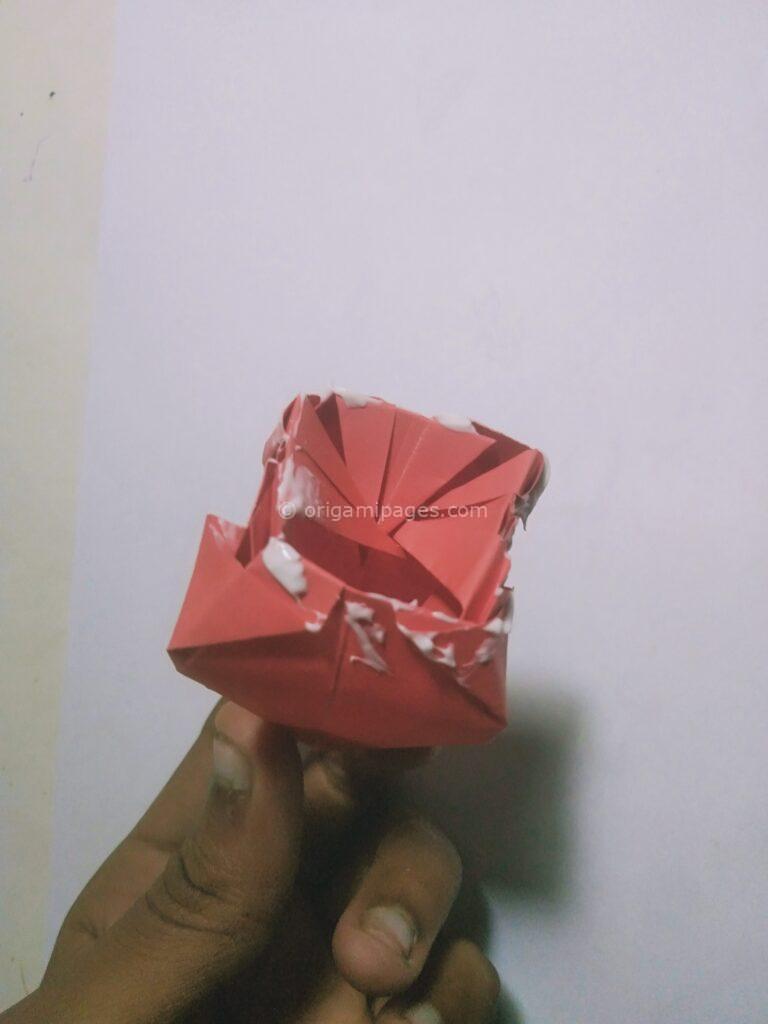
Step 6: Conceal Top Corners and Shape Petals
- Gather all the top corners of the paper and tuck them underneath. This will create the rounded shape of the strawberry.
- Using a round stick or pen, gently curl the tips of the petals to add a realistic touch to your origami strawberry.
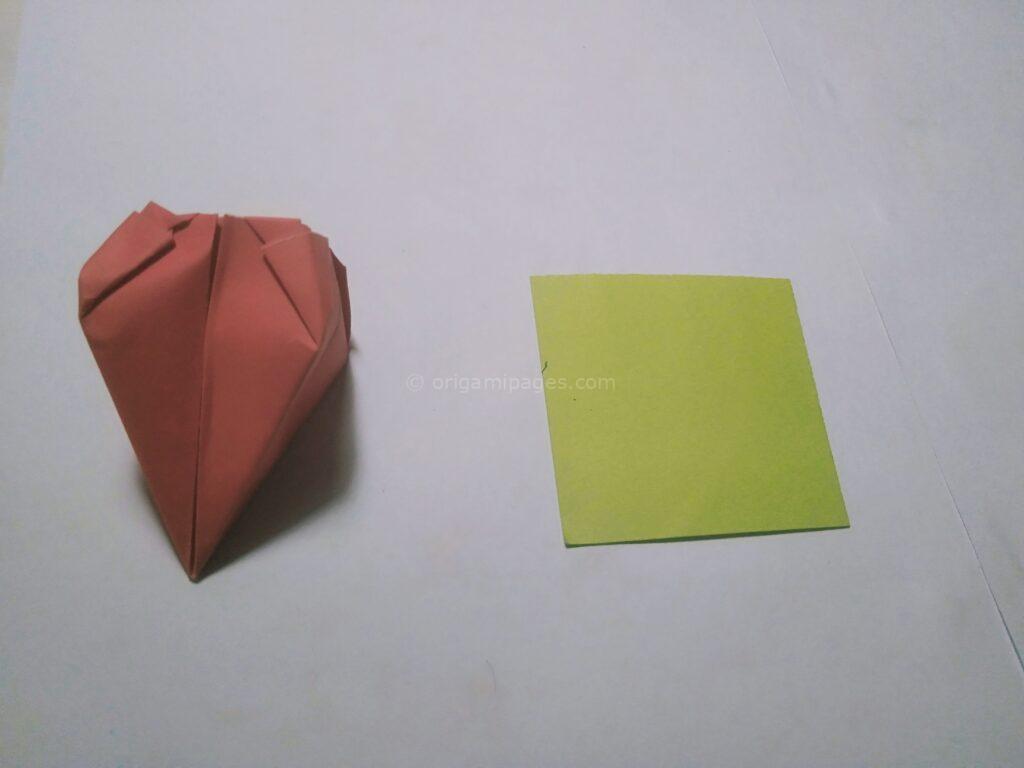
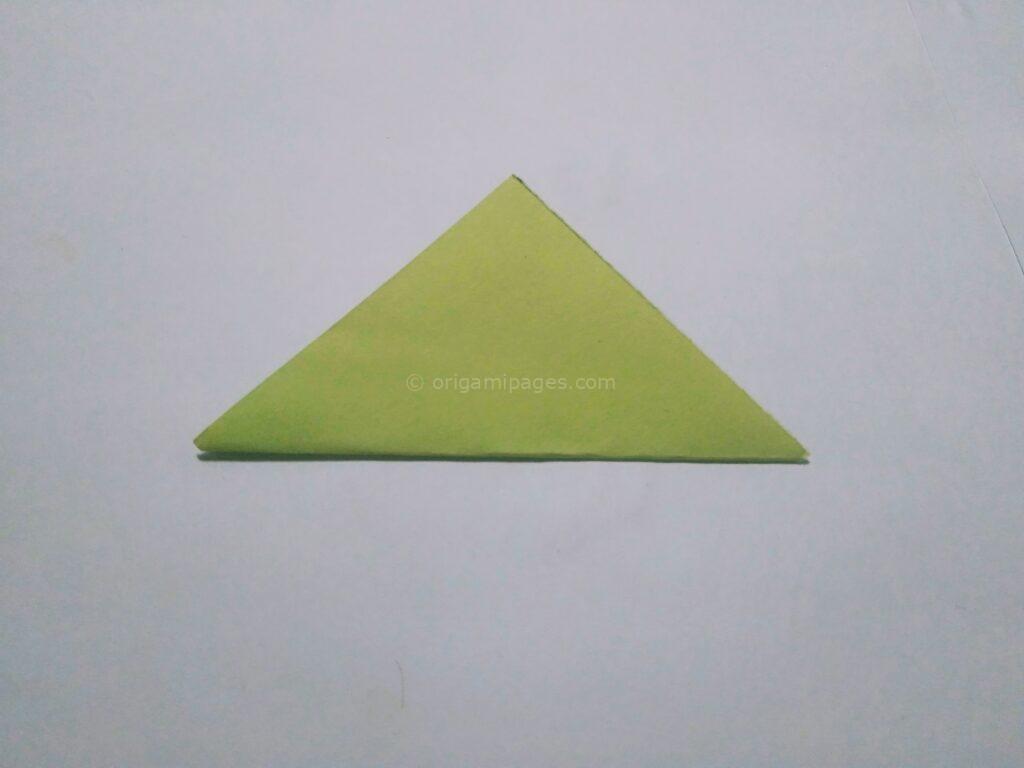
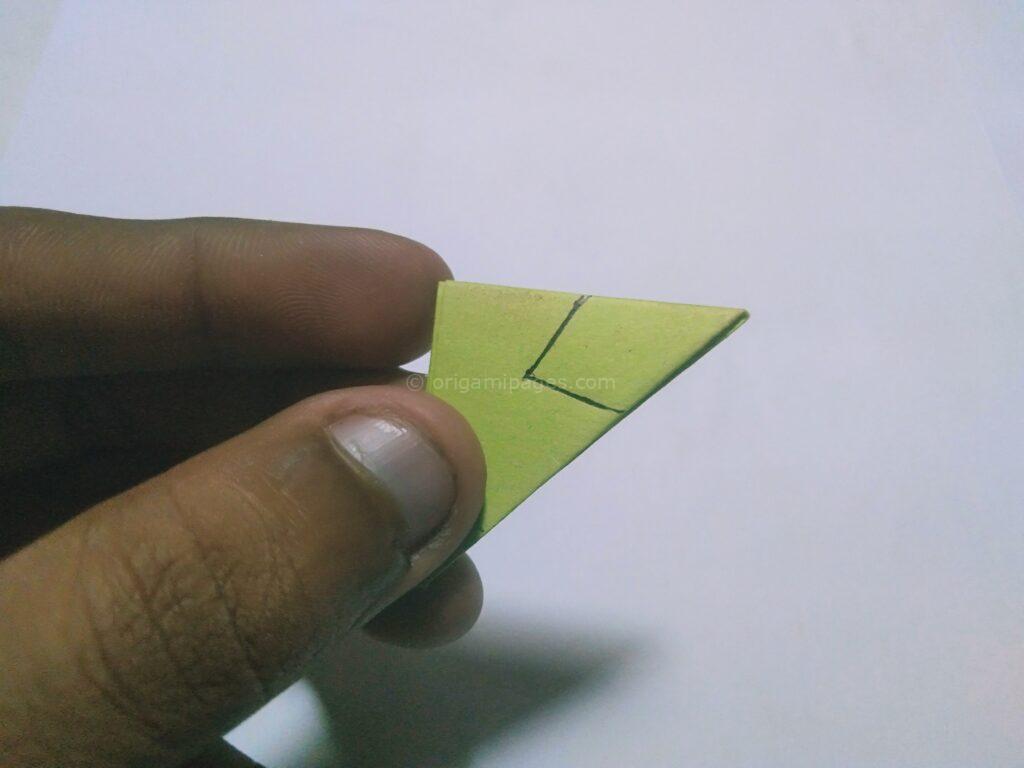
Step 7: Craft the Leaf
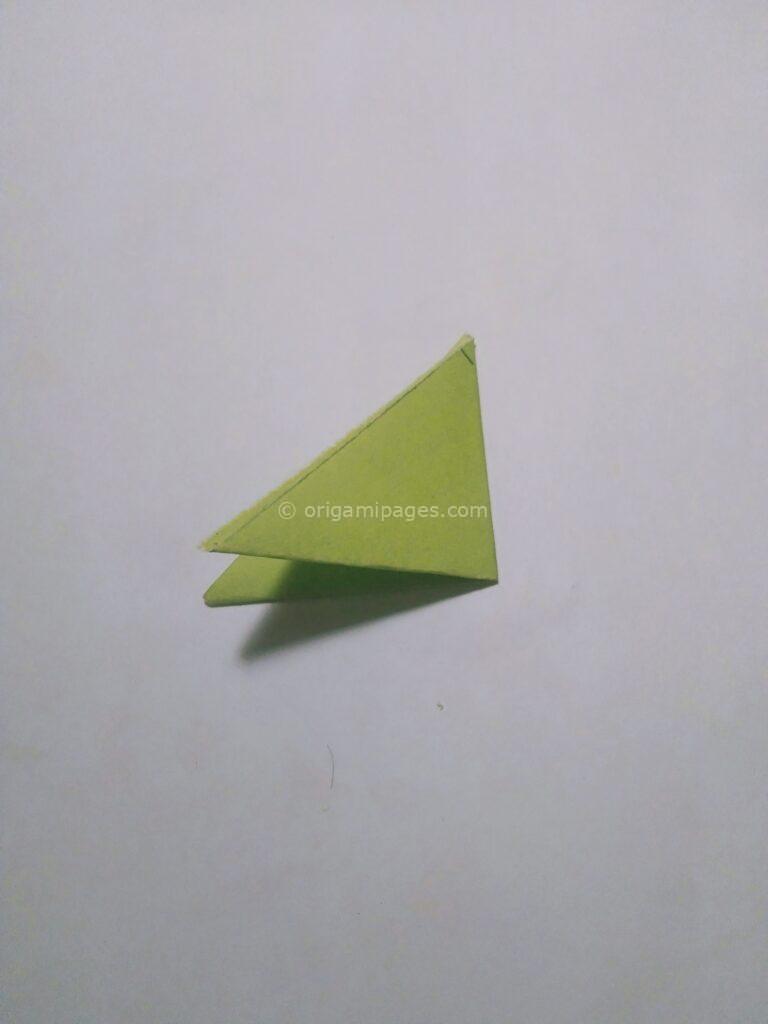
- Take the 5cm×5cm square green paper and fold it into a mini triangle. Repeat this process three times to create leaf segments.
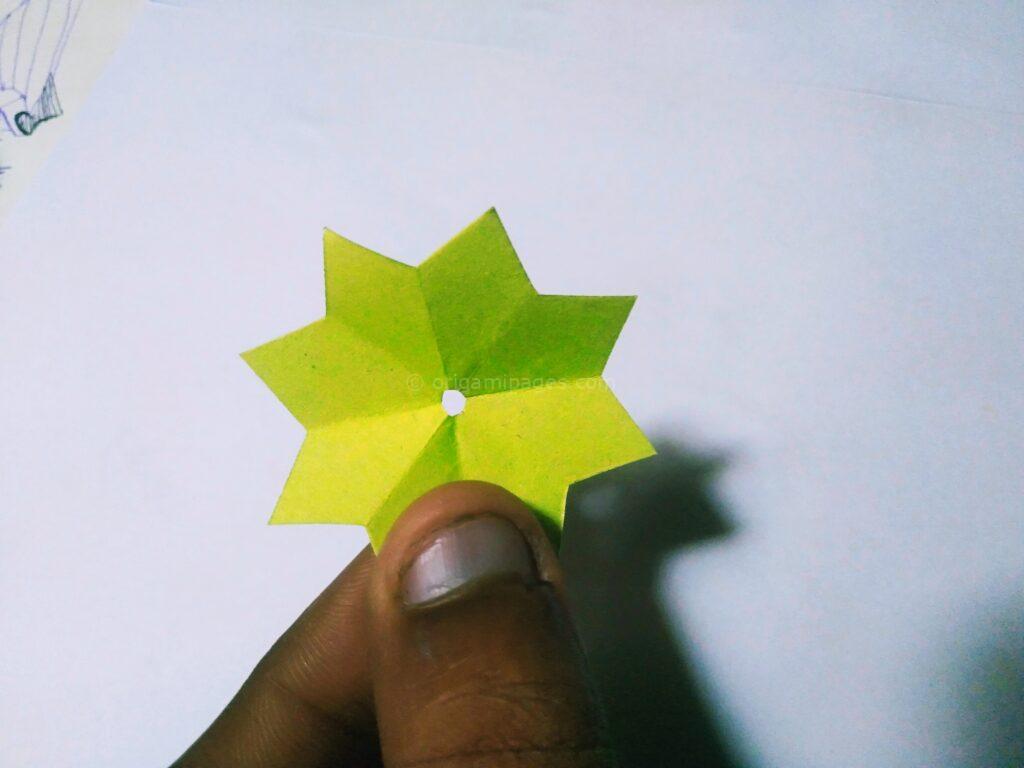
- Mark the paper with a pencil and cut along the markings to shape the leaf.
- Attach the leaf to the strawberry using glue, ensuring it is securely in place.
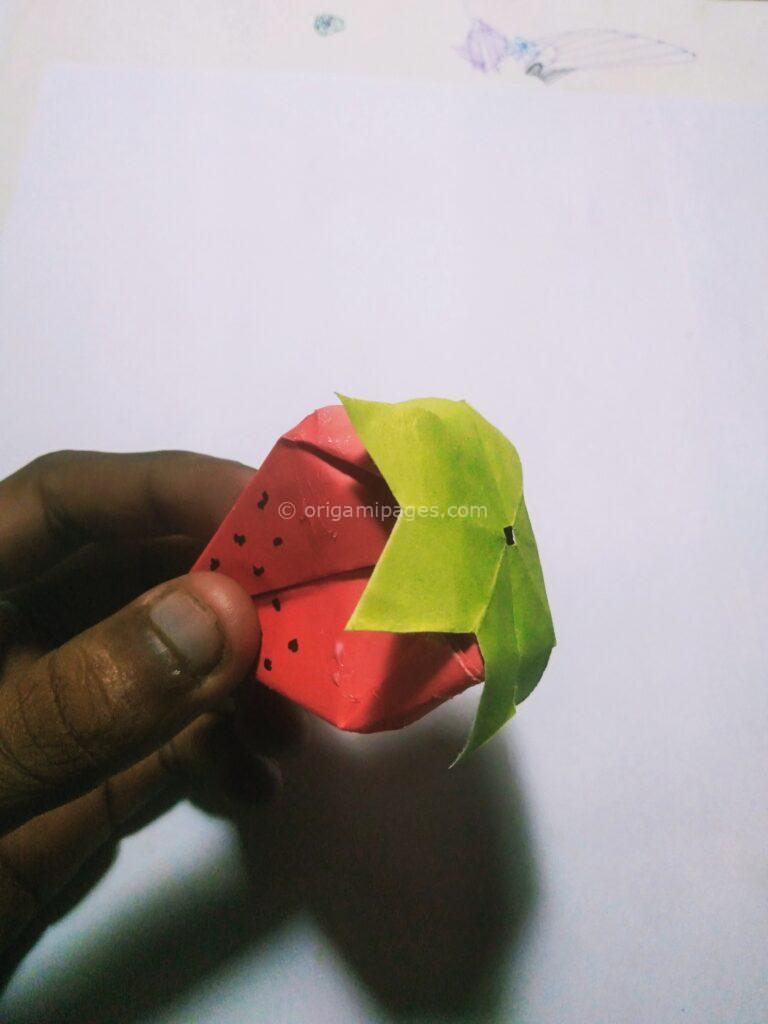
Step 8: Admire Your Creation
Congratulations! You have successfully crafted an origami strawberry following these precise steps. Admire your creation and display it proudly as a testament to your origami skills.
By following these step-by-step instructions, even novice origami enthusiasts can create charming pieces like this origami strawberry.
Exploring origami food tutorials? Dive into our articles on Origami whipped cream and Origami ice cream cone for inspiration. Learn the art of whipped cream with detailed instructions. And don’t miss the adventure in crafting an ice cream cone in the world of paper artistry.