Sticky Note Origami Bookmark: Quick and Easy Steps
Looking for a simple way to make a practical bookmark with a sticky note? The Sticky Note Origami Bookmark is an ideal project for origami beginners. With just a few folds, you’ll have a handy bookmark ready to use in minutes.
This guide provides clear step-by-step instructions to create an origami bookmark using a sticky note. Let’s get started.

Materials You Need
- One square sticky note (standard post-it note size works best).
Sticky Note Origami Bookmark: Step-by-Step Instructions
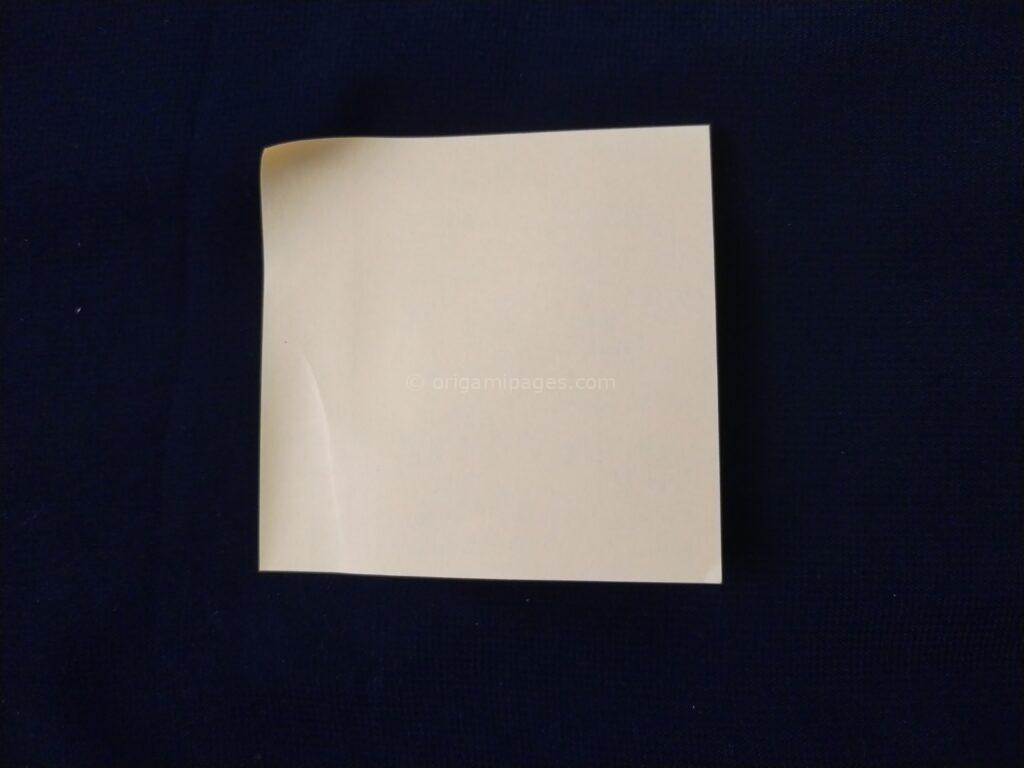
1. Take a Sticky Note
Grab a square sticky note, making sure the sticky edge is at the top.
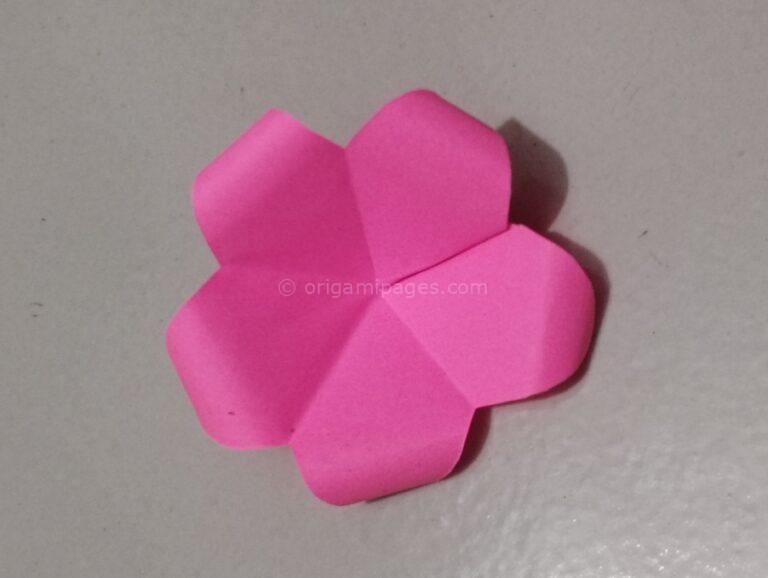
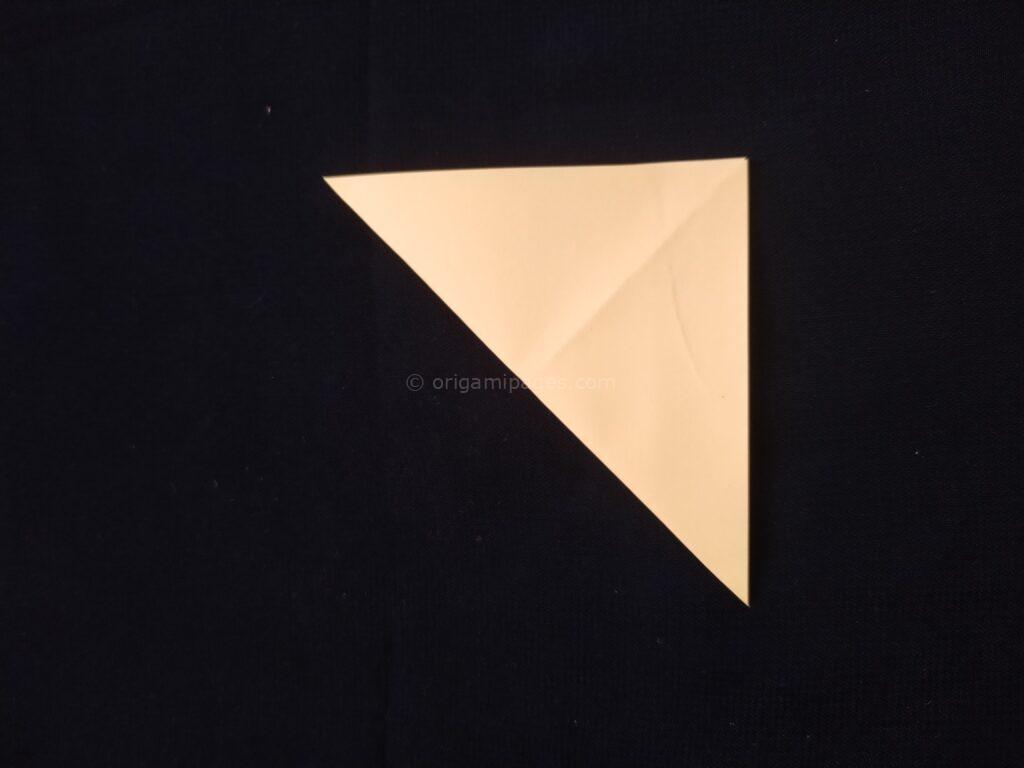
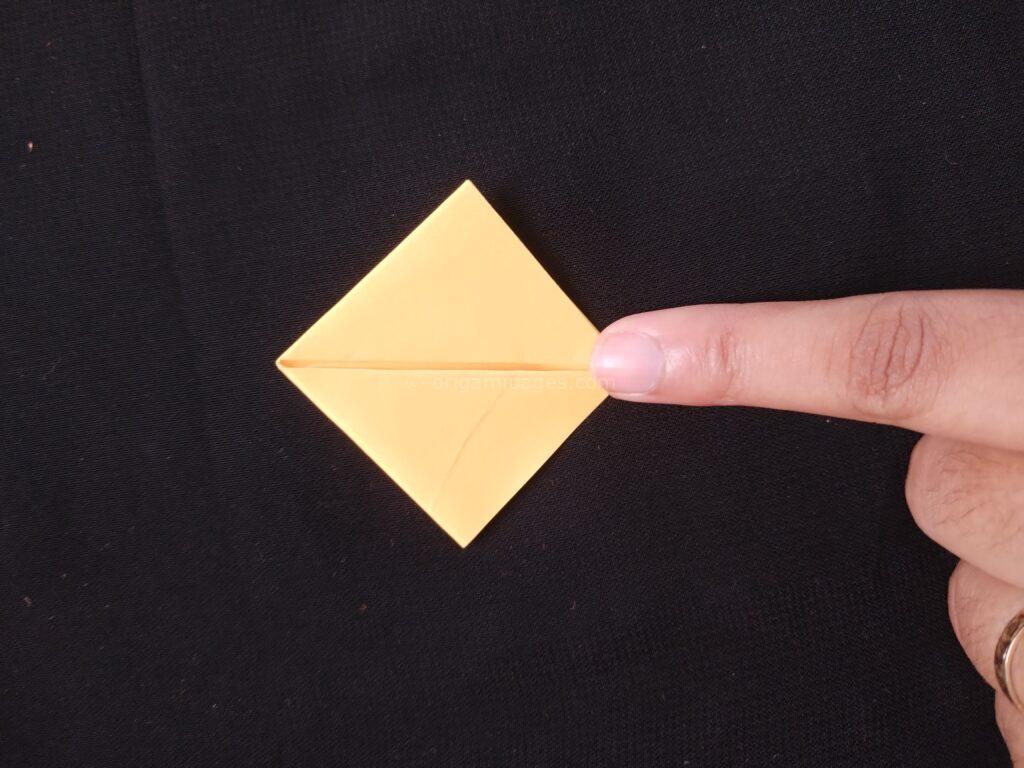
2. Fold the Corners on Both Sides
Fold the top corners of the sticky note towards the center, creating two triangular folds.

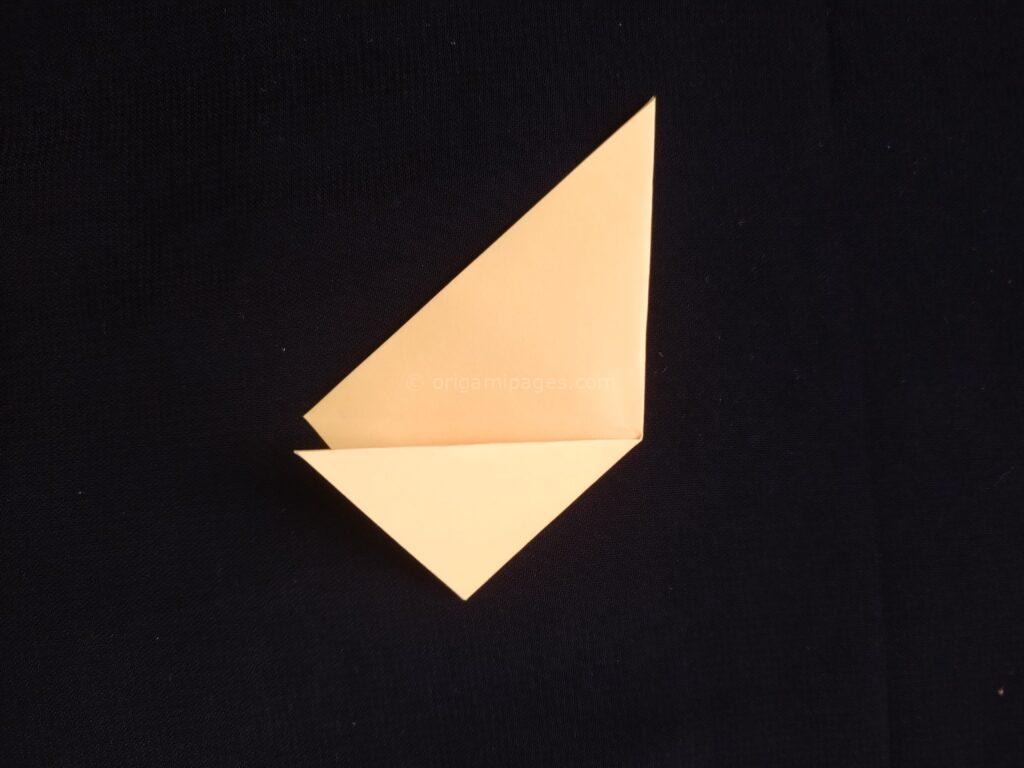
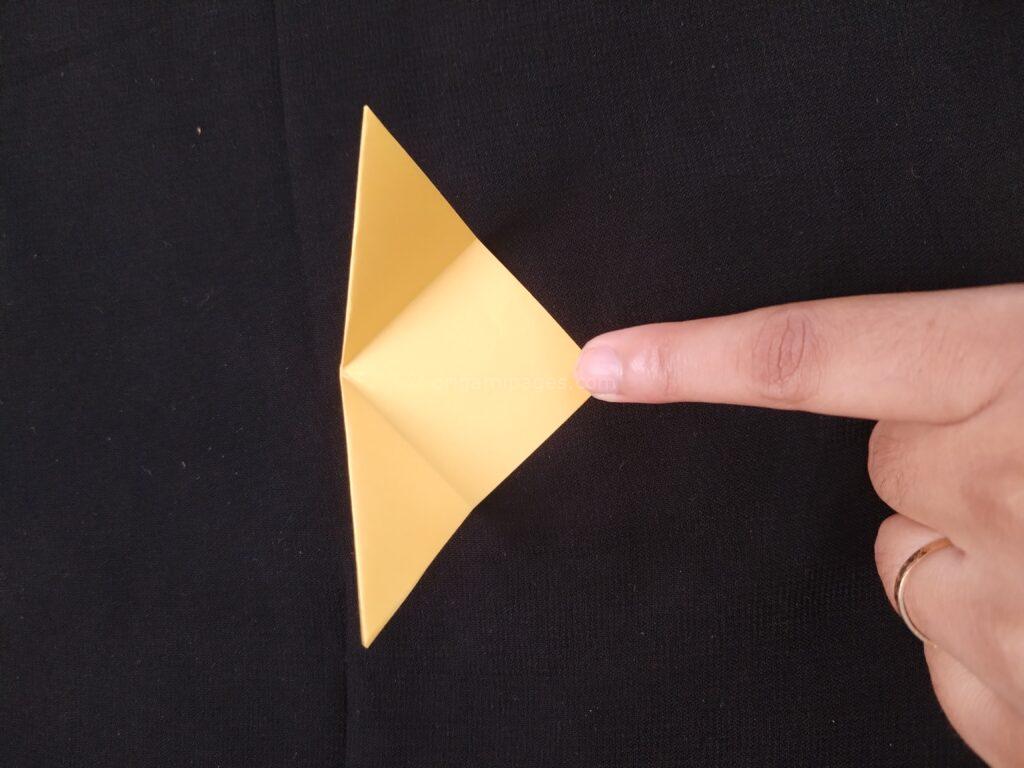
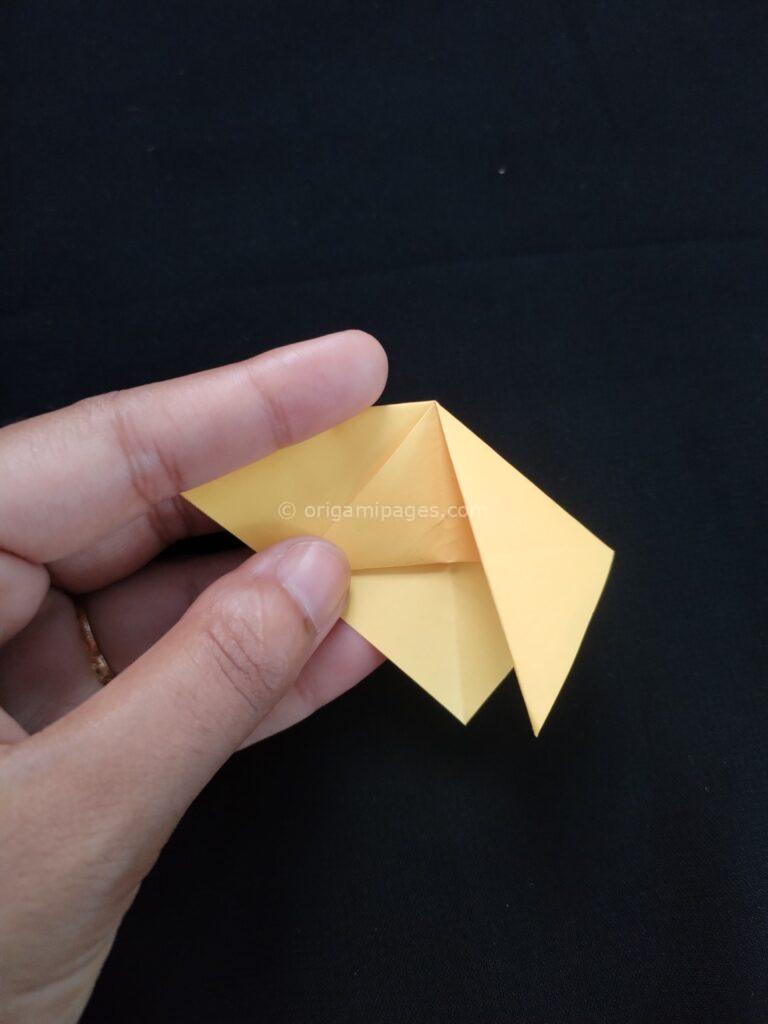
3. Fold the Two Corners Along the Middle Line and Unfold
Now, fold both corners along the middle line, then unfold them.
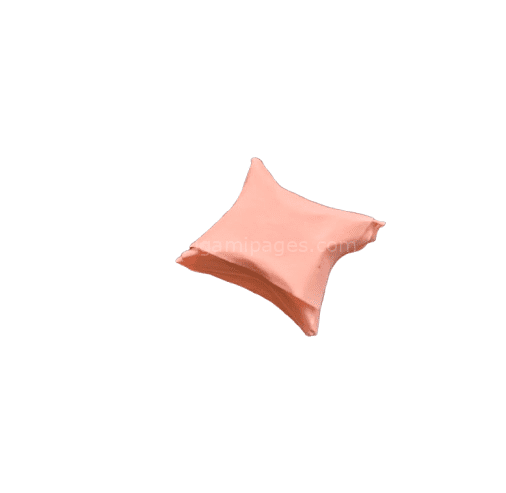
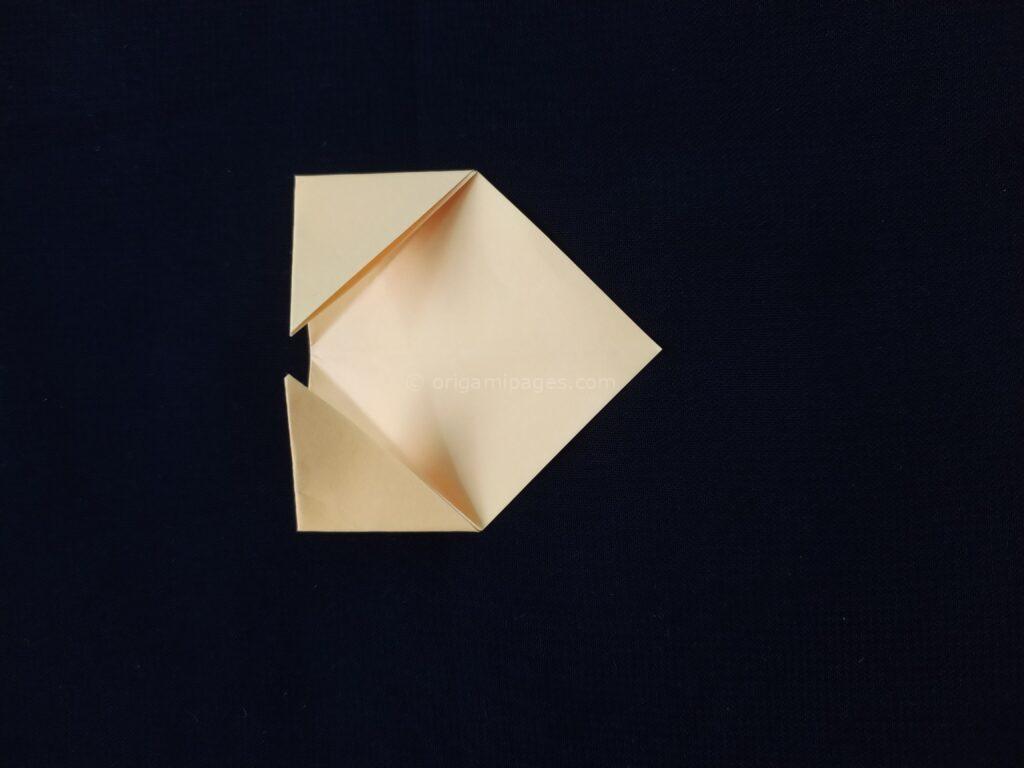
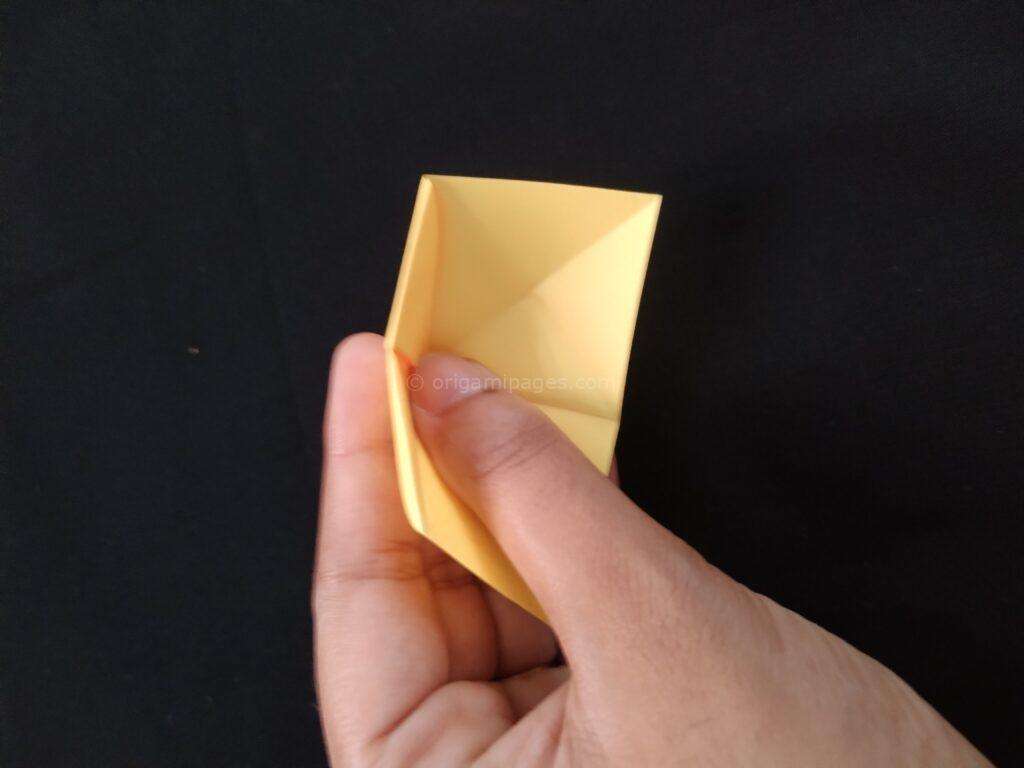
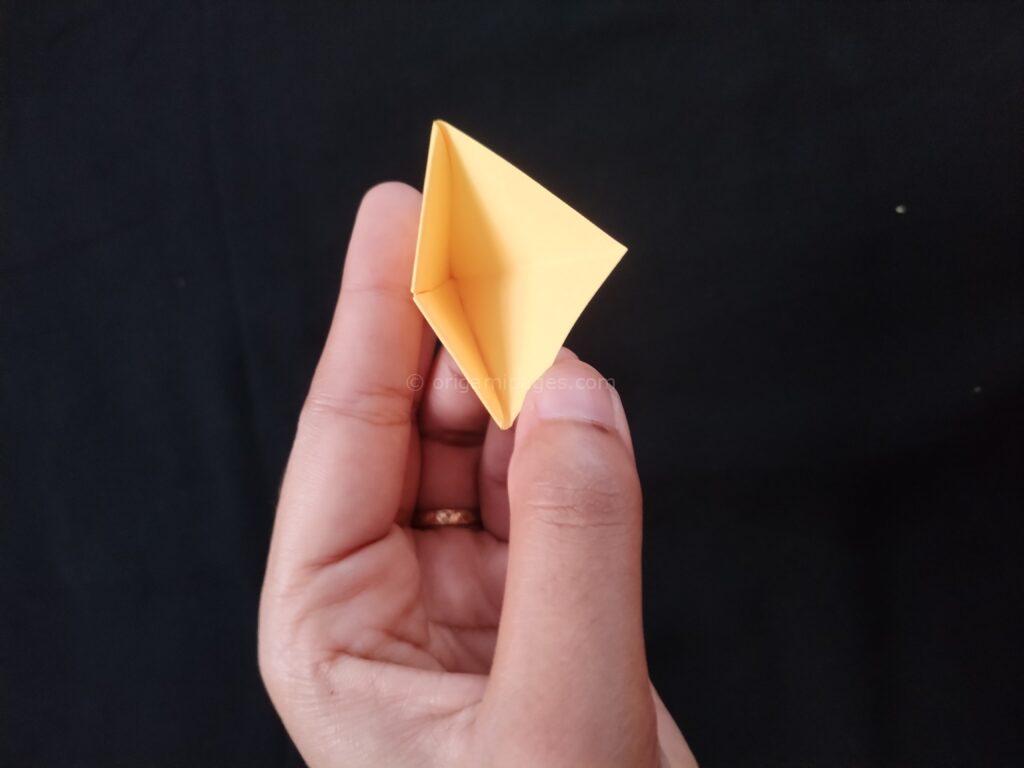
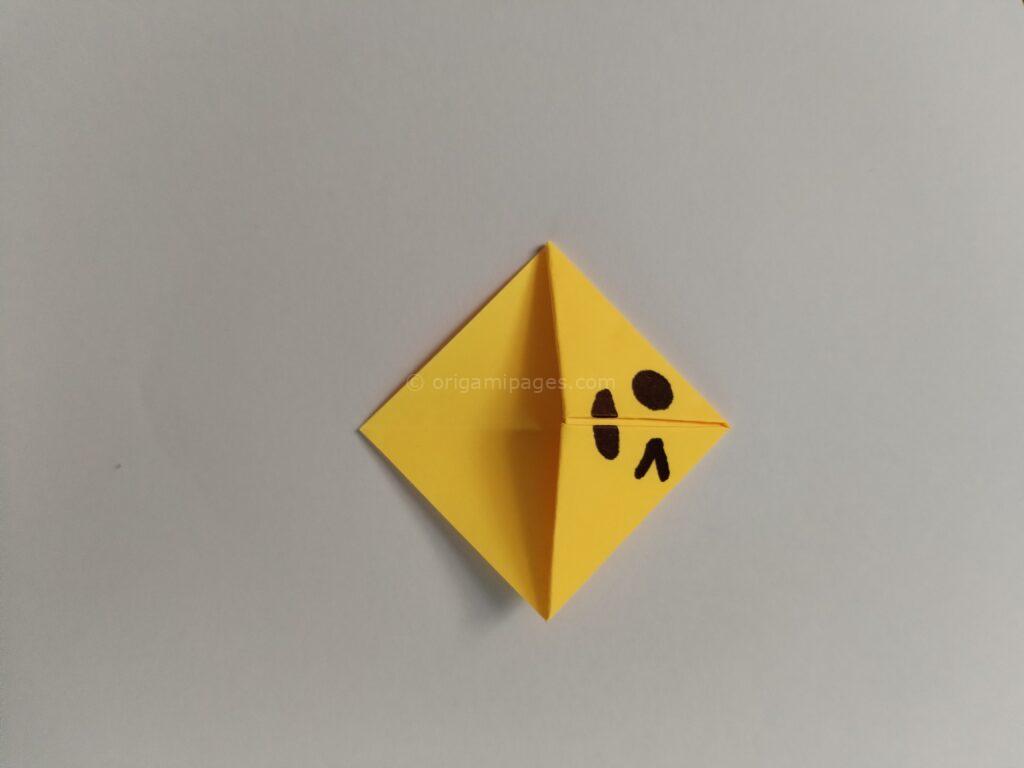
4. Fold the Bottom Corner Upwards and Inward
Fold the bottom corner upwards to meet the top edge. Then fold the two side corners inward toward the center.

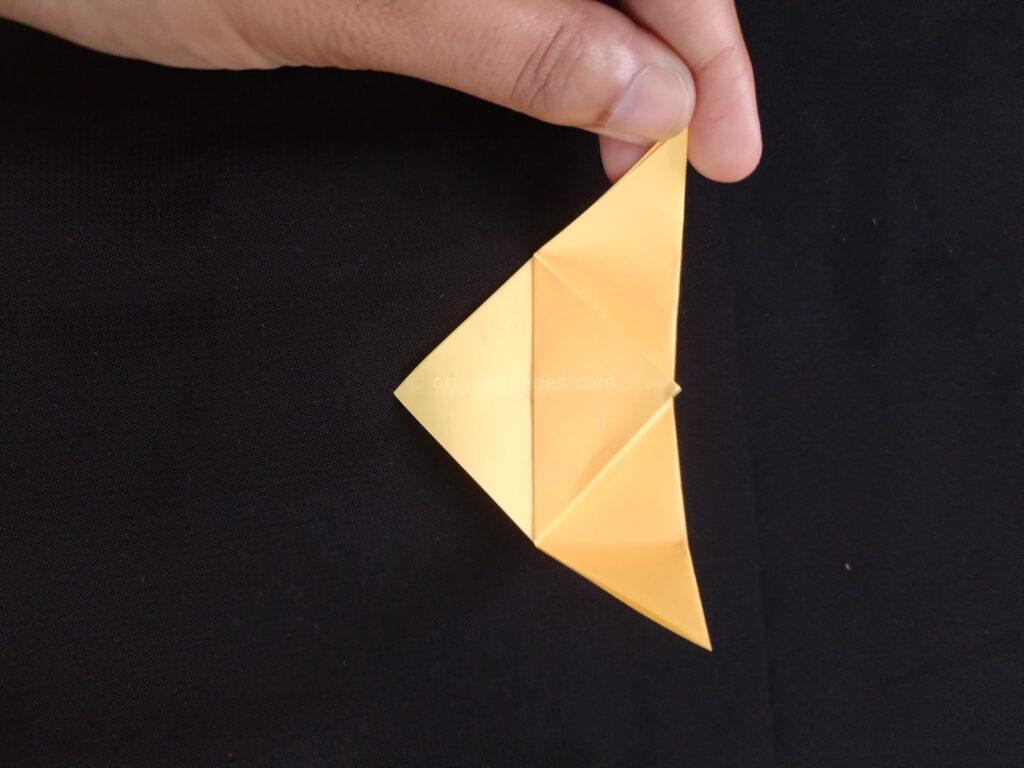
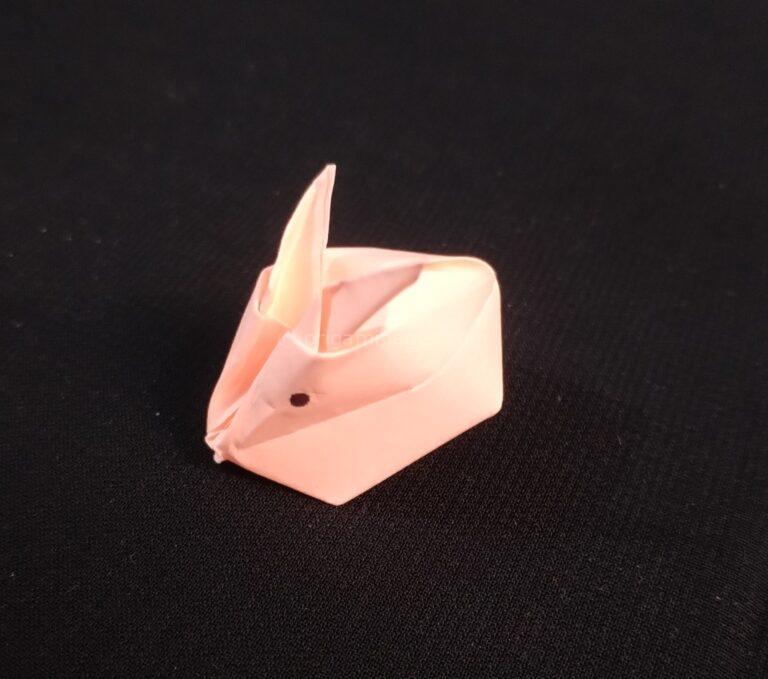
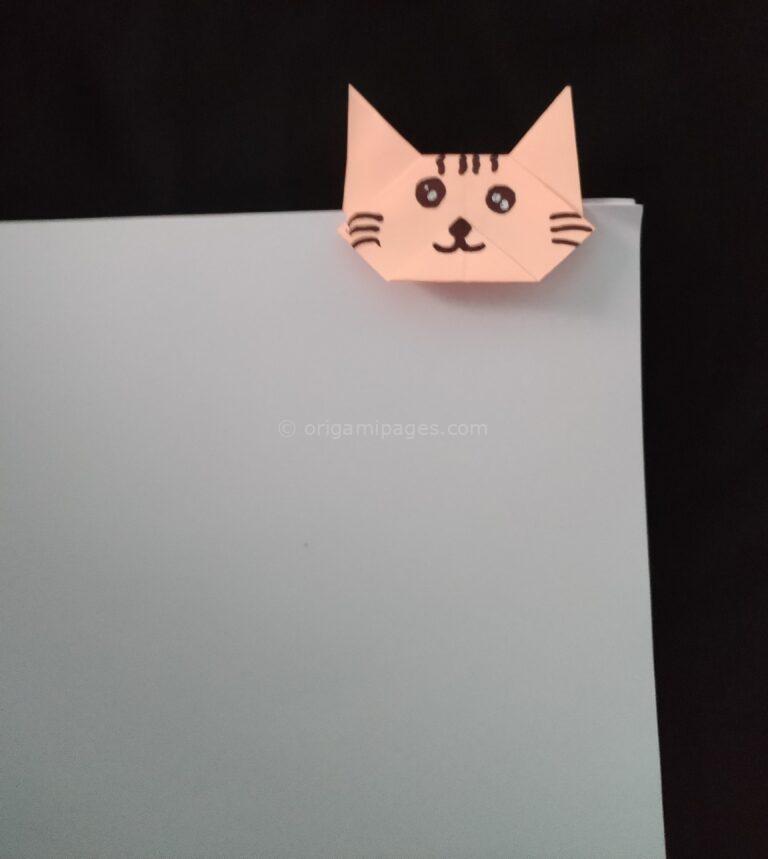
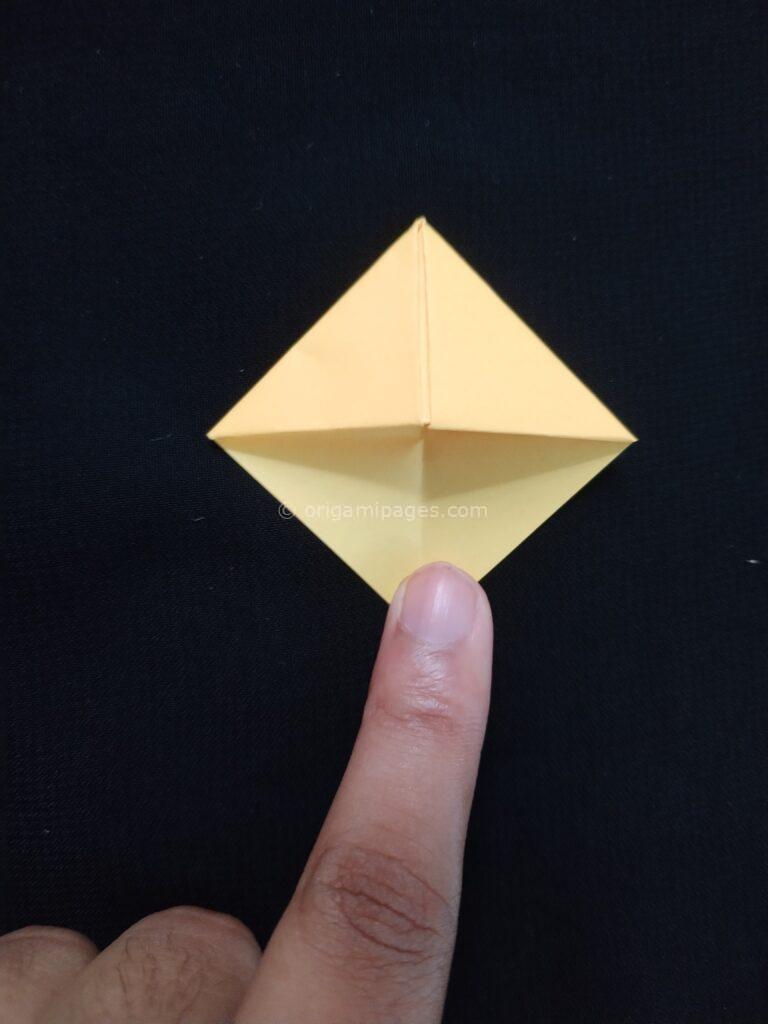
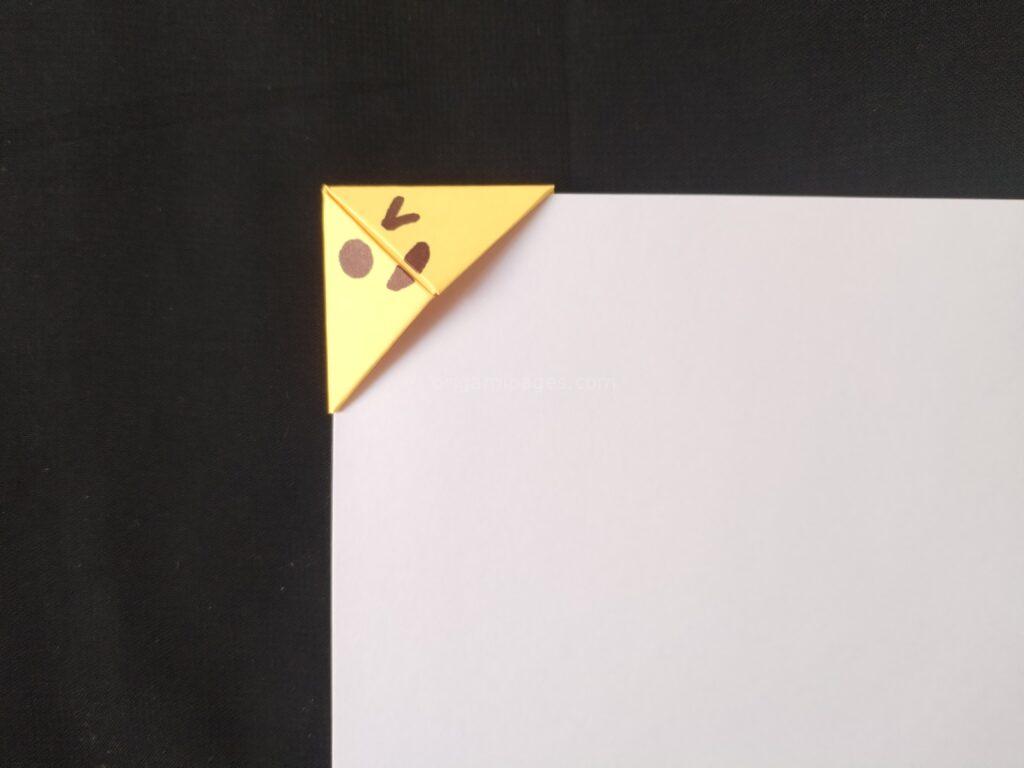
5. Your Sticky Note Origami Bookmark Is Complete
You’ve now made your own sticky note origami bookmark. It’s ready to use as a quick, practical page marker.
Why Use a Sticky Note?
Origami using sticky notes is simple and convenient. The adhesive edge can add some stability to the folds, making the bookmark stay in place better.
Conclusion
In just a few steps, you’ve created an easy origami bookmark from a sticky note. This project is perfect for quick use and keeps your pages marked in a neat, creative way.
Your feedback is welcome! Let me know if these sticky note origami bookmark instructions were helpful or if you’d like more tutorials like this.