Sticky Note Origami Butterfly: A Step-by-Step Guide
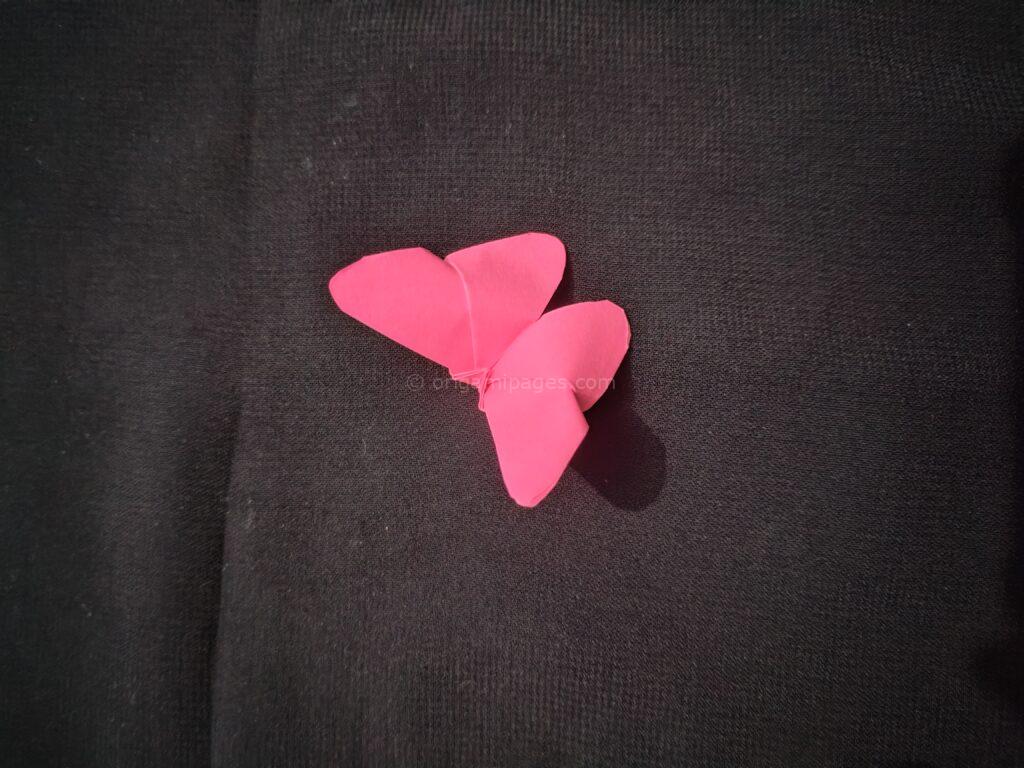
Folding an easy origami butterfly using a sticky note is a simple yet satisfying project. In just a few steps, you can create a beautiful butterfly from a small square of paper. Whether you’re a novice or experienced origami artist, this guide will help you make your very own sticky note origami butterfly with ease.
This tutorial offers step-by-step sticky note origami butterfly instructions, ensuring that every fold is clear and simple to follow.
Materials Needed
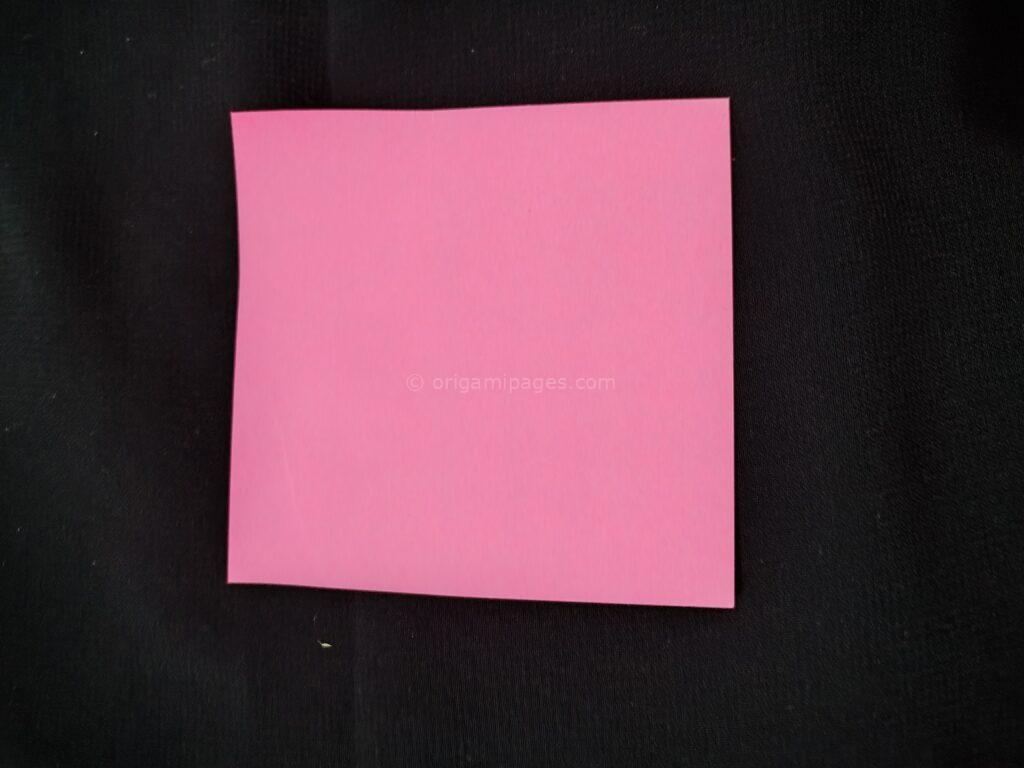
- A square sticky note (any color)
- Scissors
Step-by-Step Sticky Note Origami Butterfly Instructions
Start with the Sticky Note
Take a square sticky note. Place it flat on the surface with the sticky side facing up.
Fold the Corners
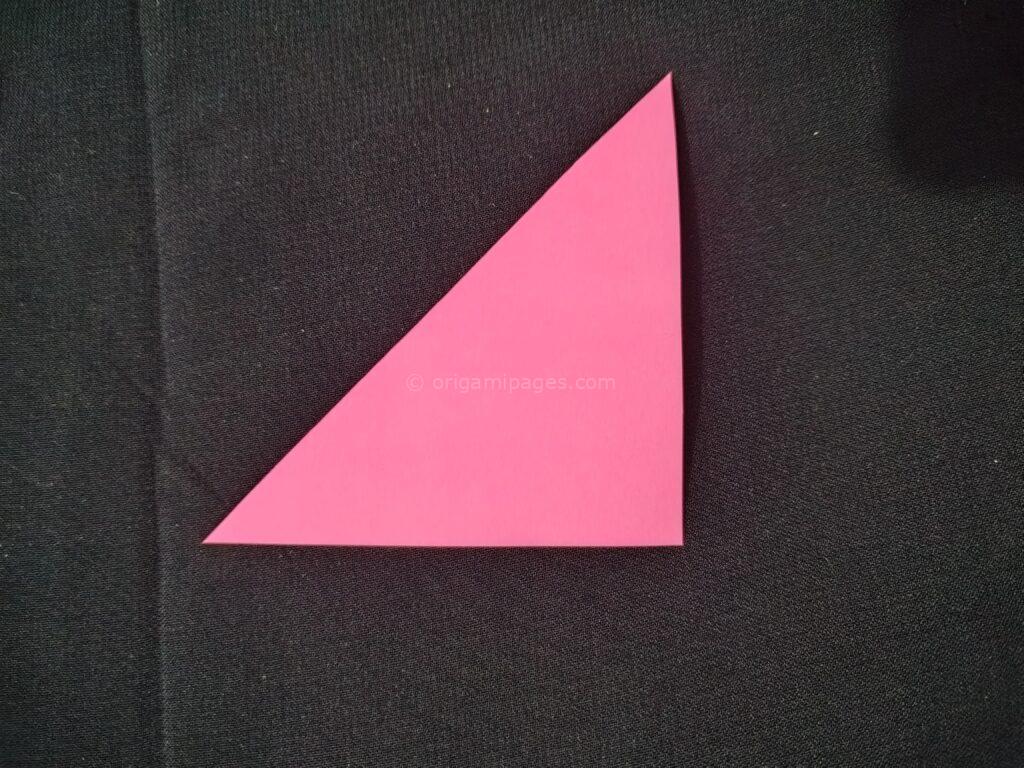
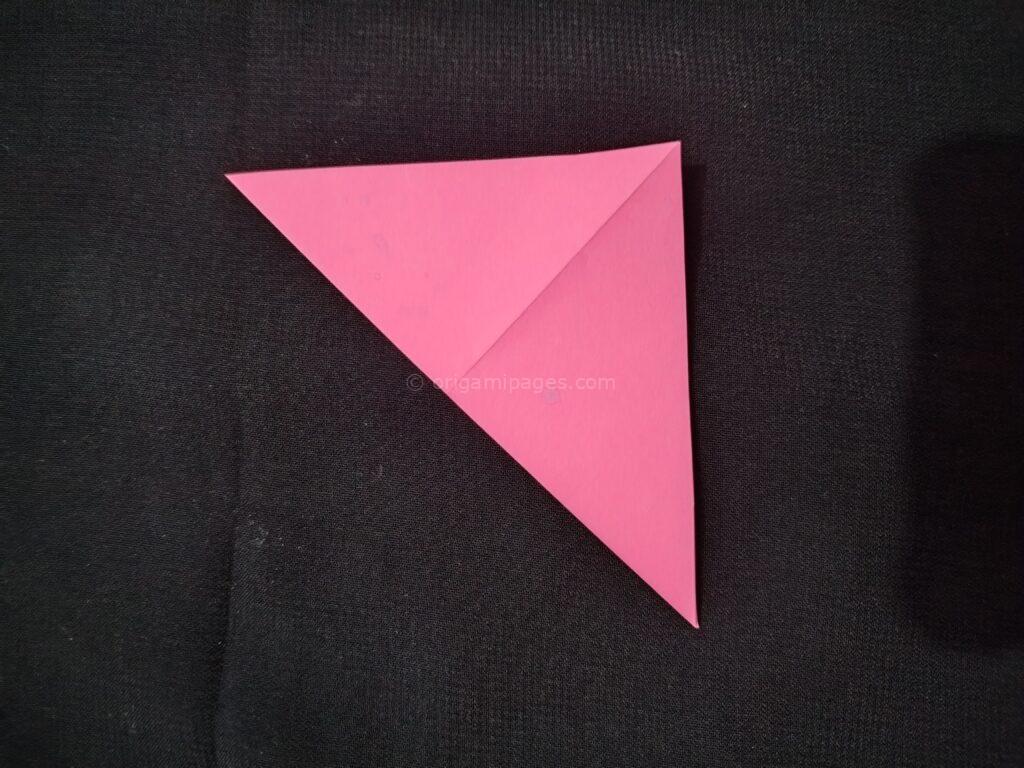
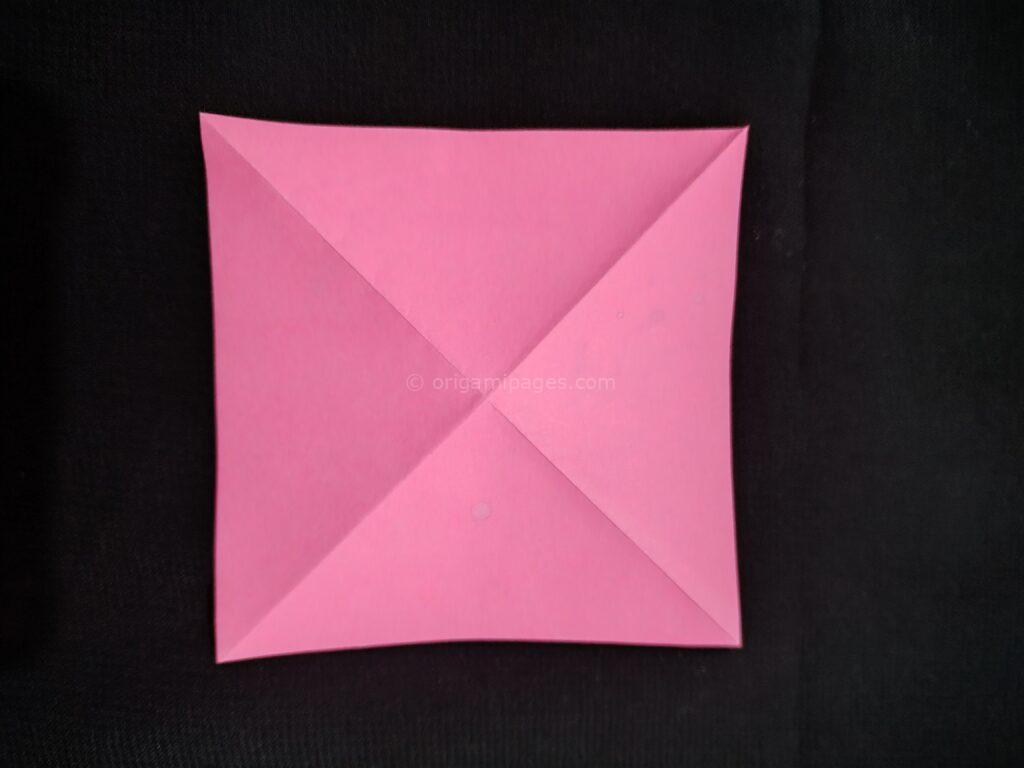
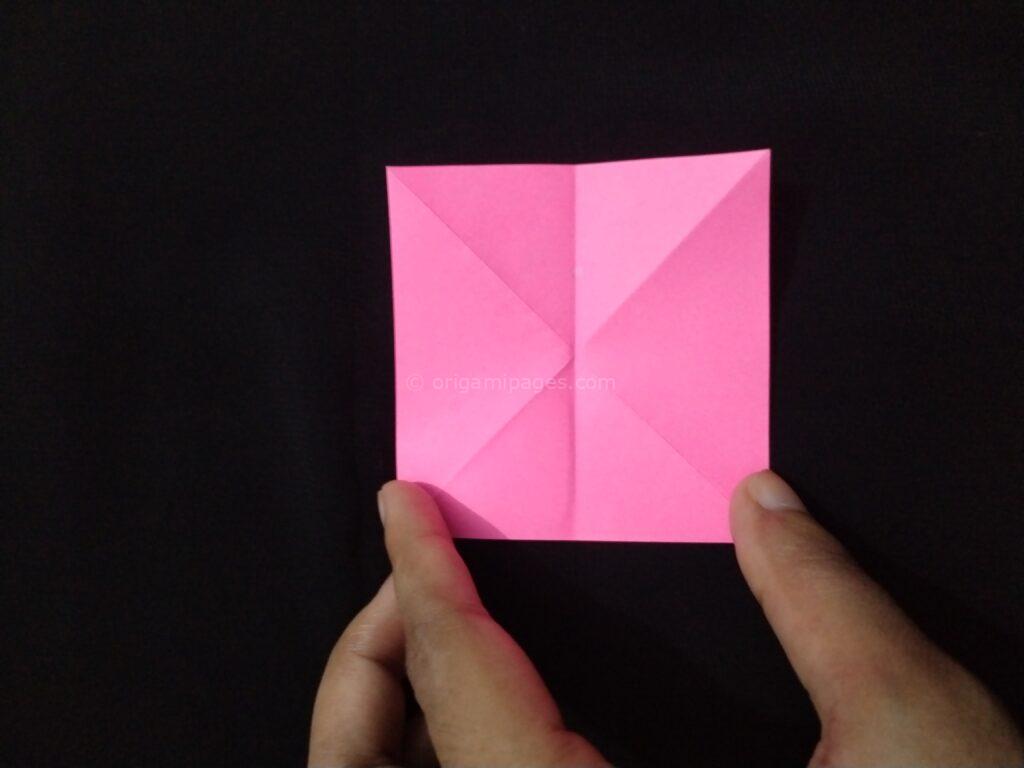
Fold the two opposite corners toward the center, then unfold. Repeat the same fold for the remaining two opposite corners, and unfold again.
Horizontal and Vertical Folds
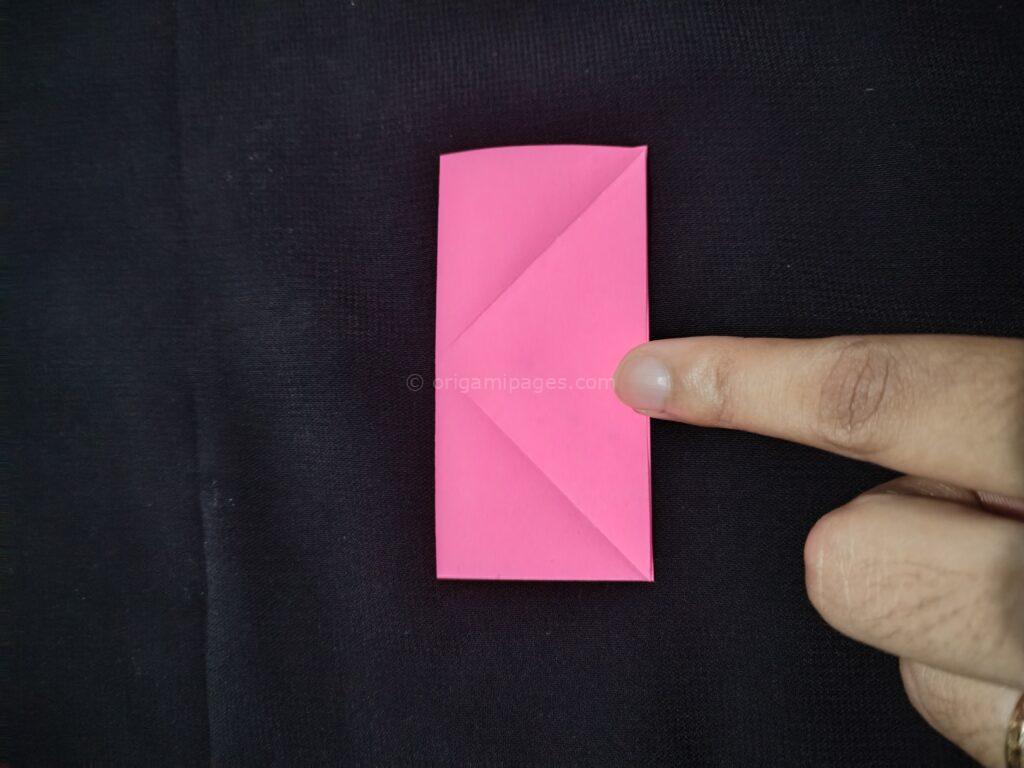
Fold the sticky note horizontally, aligning the top and bottom edges, then unfold. Next, fold it vertically, bringing the left and right edges together, and unfold.
Shape the Butterfly
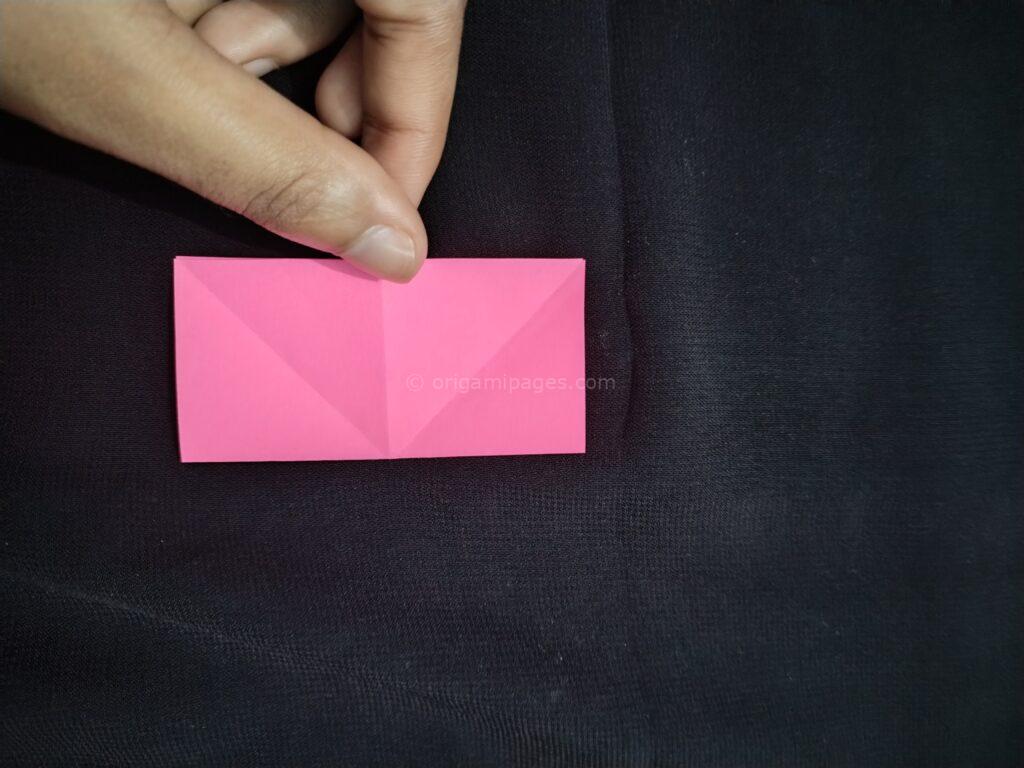
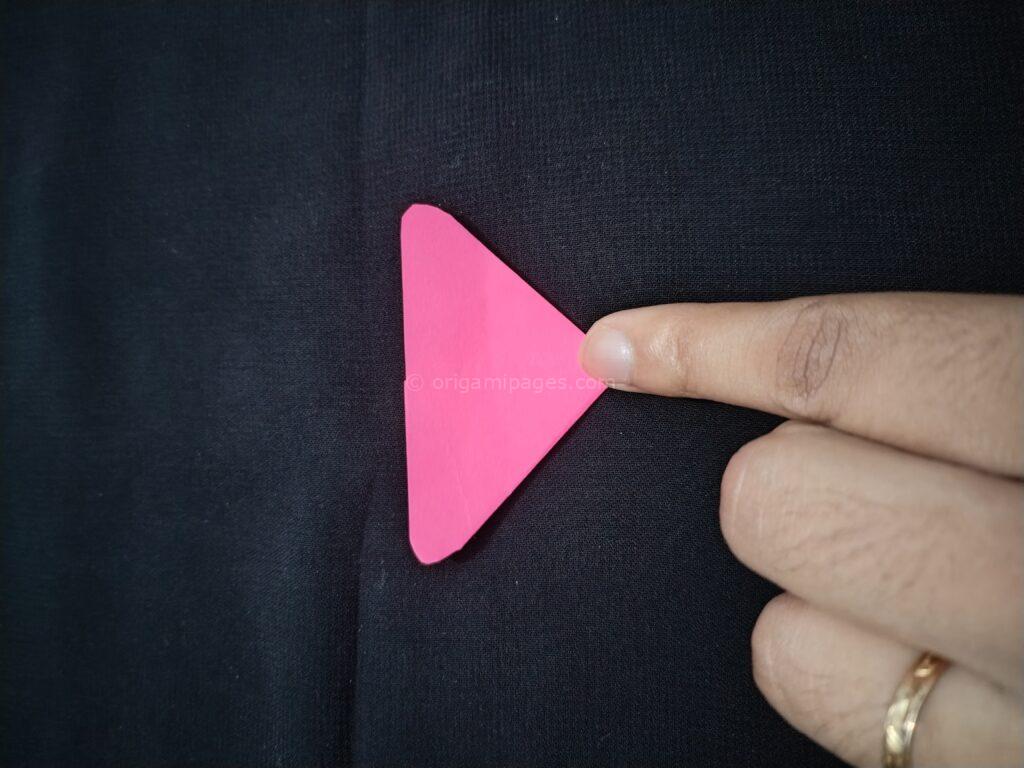
Fold the paper as shown in the diagram. Now, cut the top two corners of the sticky note using scissors to shape the wings.
Form the Wings
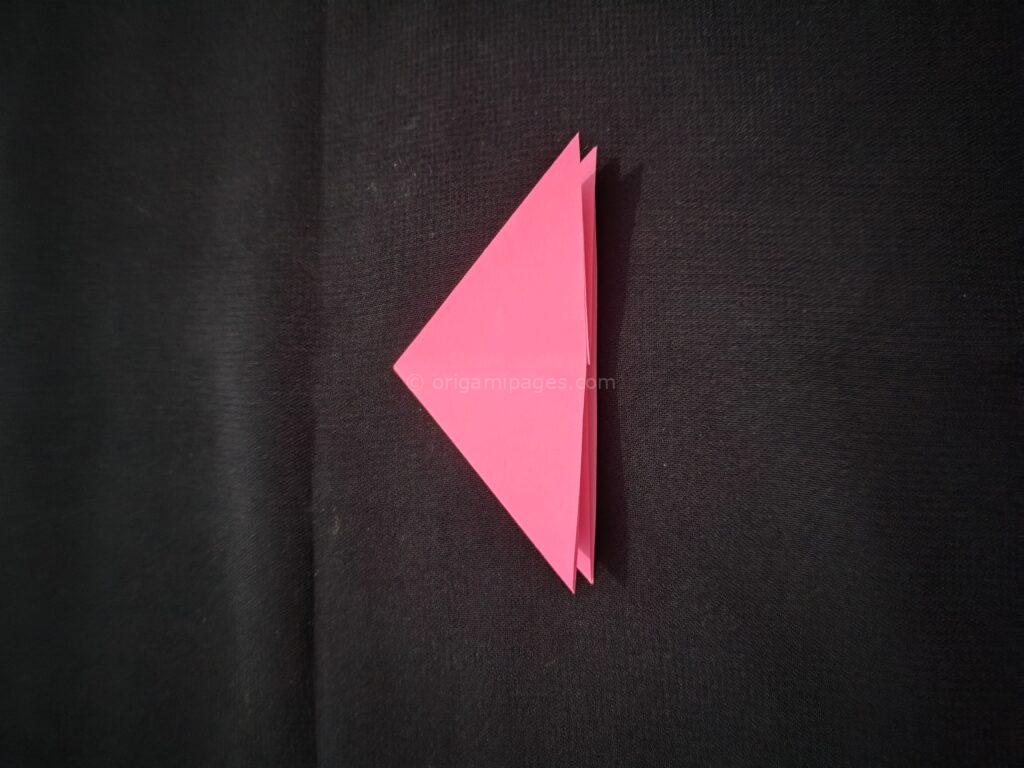
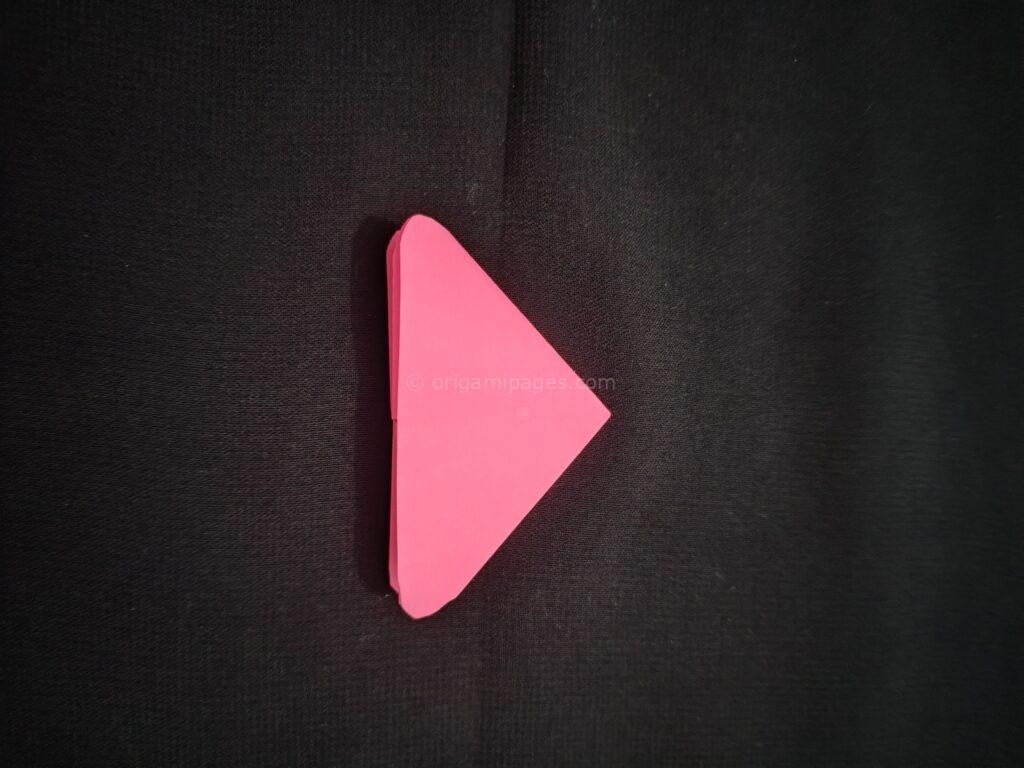
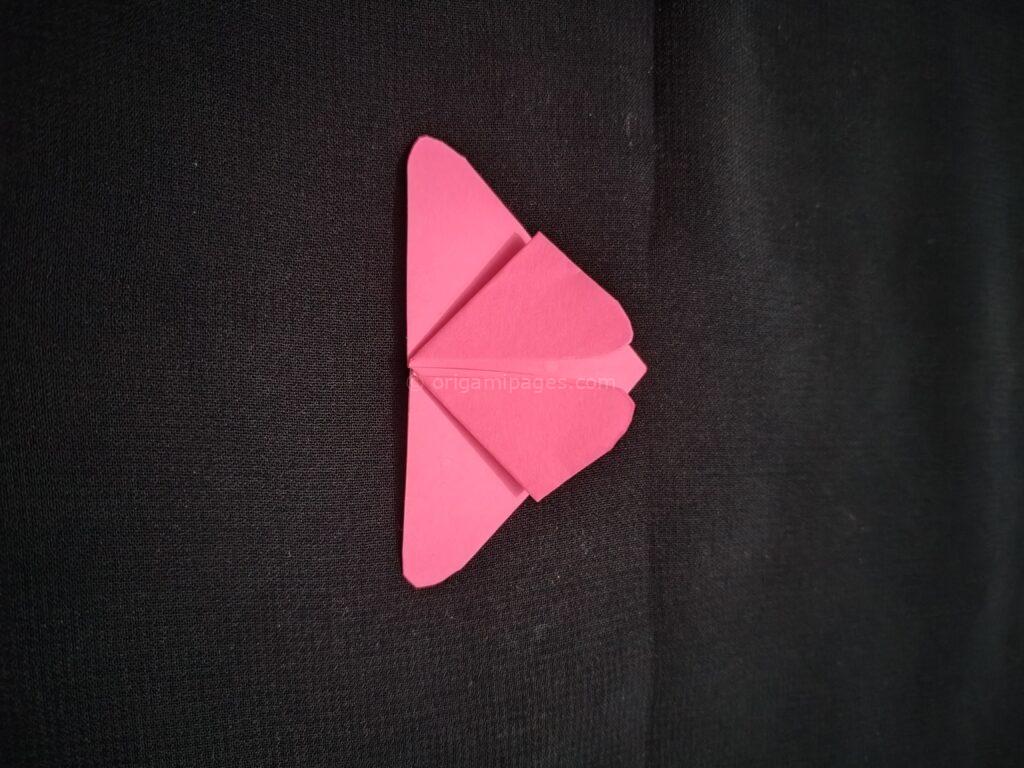
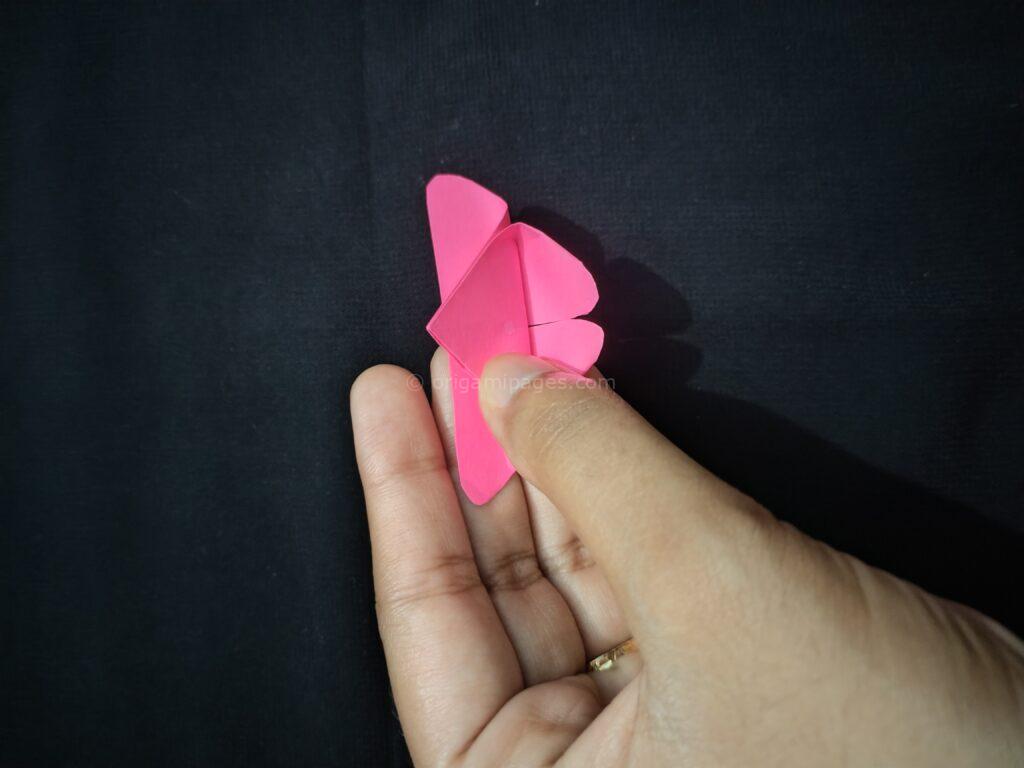
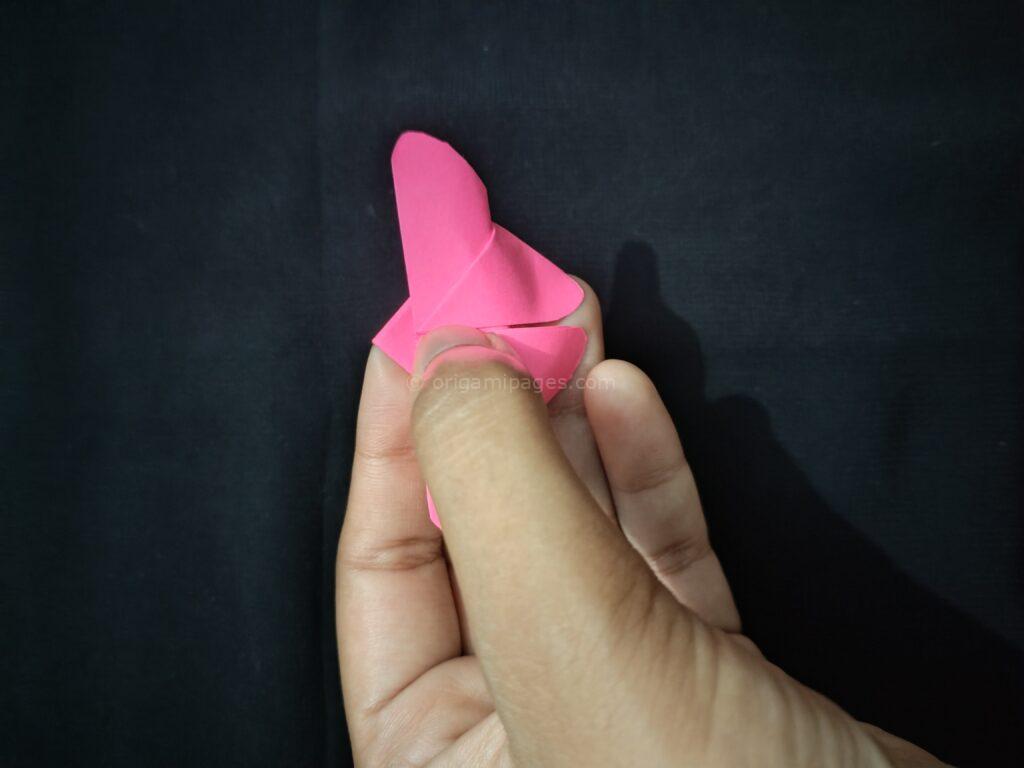
On one side, fold the two corners upward. Flip the paper to the opposite side. Bring the lower part up and fold it as shown in the diagram. Finally, fold the butterfly in half along the middle.

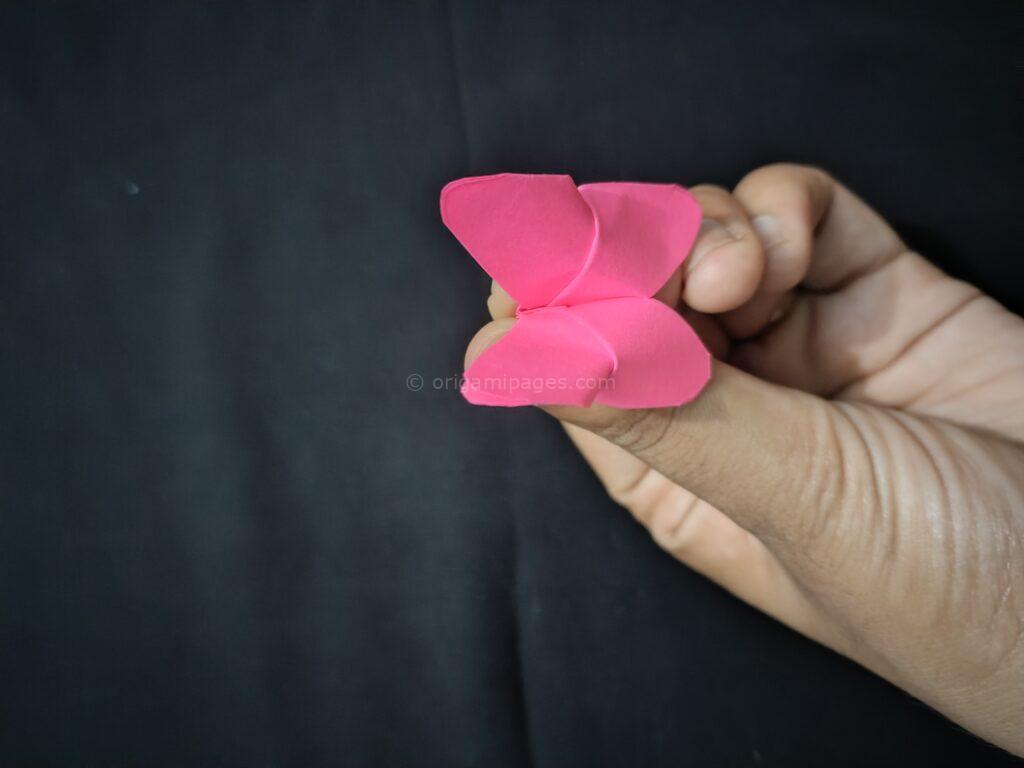
Finish the Butterfly
Your sticky note origami butterfly is now complete. Ensure all the folds are firm, and the butterfly holds its shape.
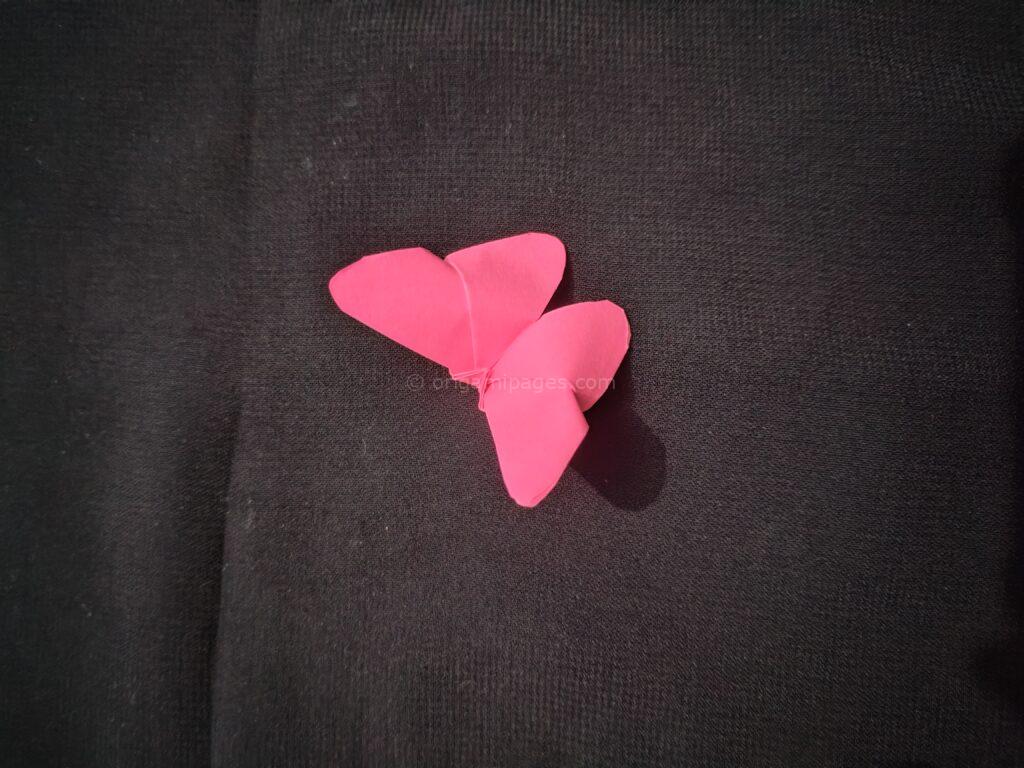
Conclusion
Making a sticky note origami butterfly is an easy and rewarding project. By following these simple steps, you’ve turned an ordinary sticky note into a beautiful origami butterfly. This post-it note origami butterfly is a fun craft for anyone, whether you’re just starting with origami or looking for a quick and creative activity.
Let me know your thoughts, and if you enjoyed this, feel free to try other origami projects!


