How to Make a Sticky Note Origami Ring: Step-by-Step Guide
Creating origami from everyday materials brings a unique kind of joy, and a sticky note origami ring is no exception. Whether you’re just beginning your paper-folding journey or you’re an experienced origami artist looking for a simple, fun project, this easy origami ring made from a sticky note promises both creativity and satisfaction.
This project uses a common office item—the post-it note—and turns it into a beautiful paper ring. With a bit of patience and focus, you’ll find yourself captivated by how something so simple can transform into something delightful. Follow along as I guide you through the step-by-step Sticky note origami ring instructions, ensuring a rewarding experience.

Materials You Will Need
The best part about this project is that you only need one thing—a sticky note! A standard-sized sticky note works perfectly for this, and it already has the advantage of having an adhesive side, which helps keep the folds secure.
Step-by-Step Sticky Note Origami Ring Instructions
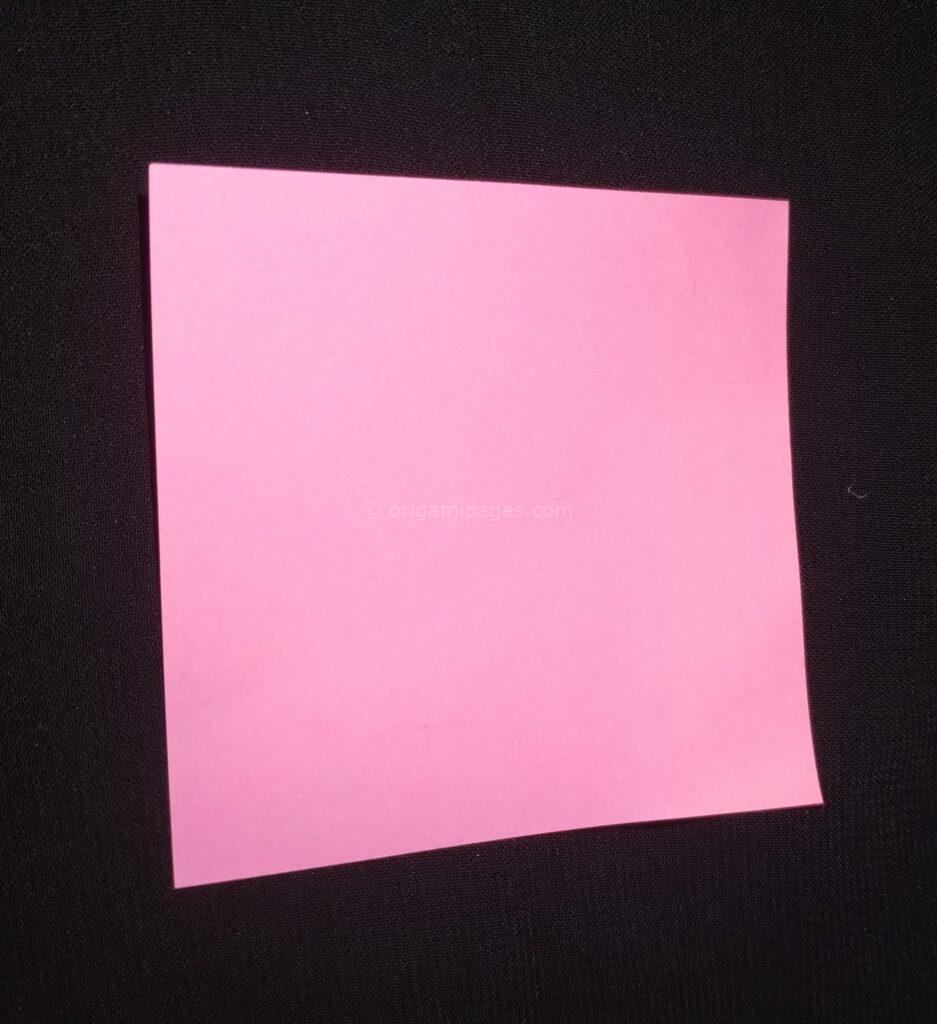
Step 1: Grab a Sticky Note
Start by taking a sticky note of your choice. You can use any color that inspires you, but it’s important to make sure it’s square-shaped for accurate folds.
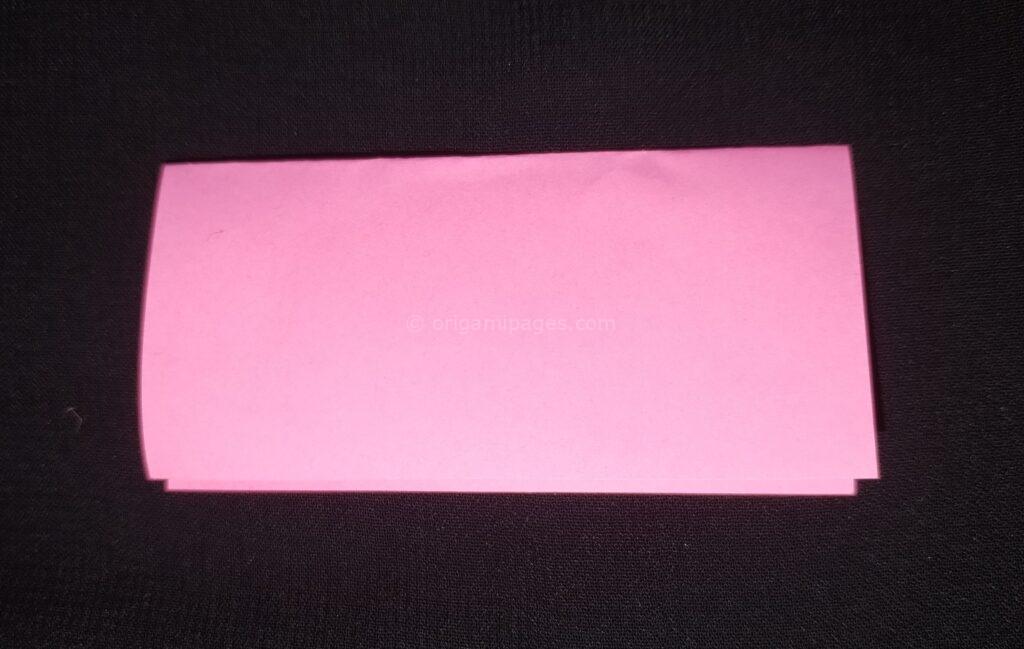
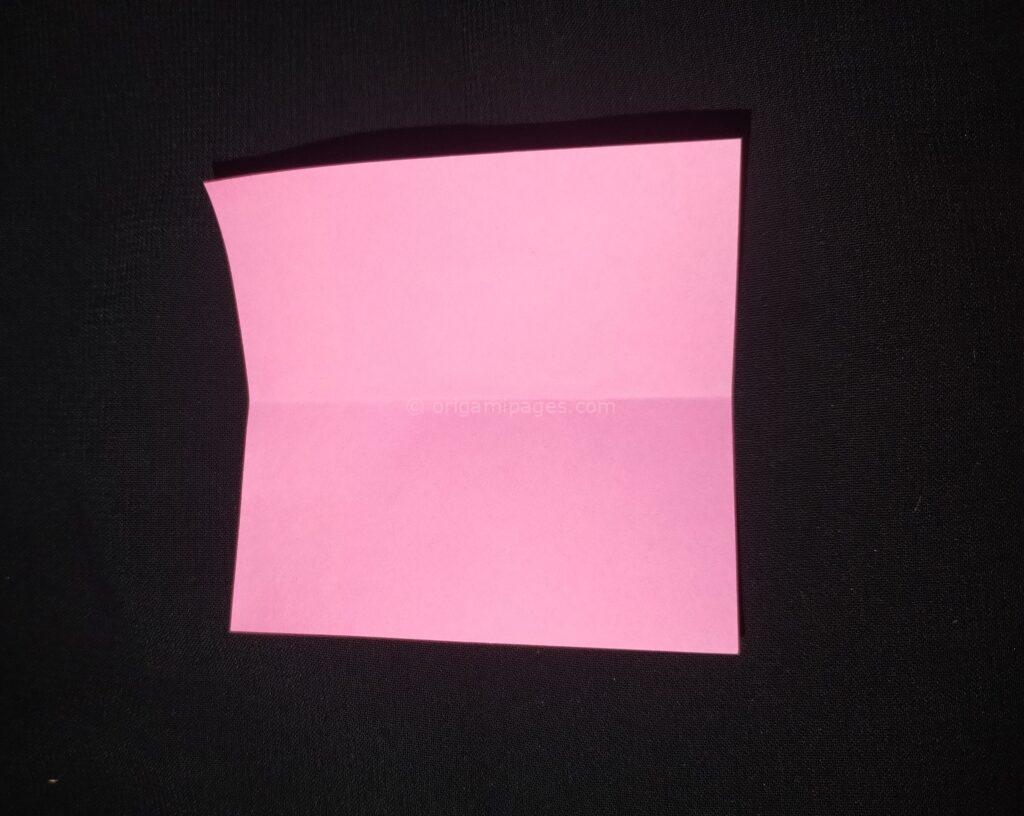
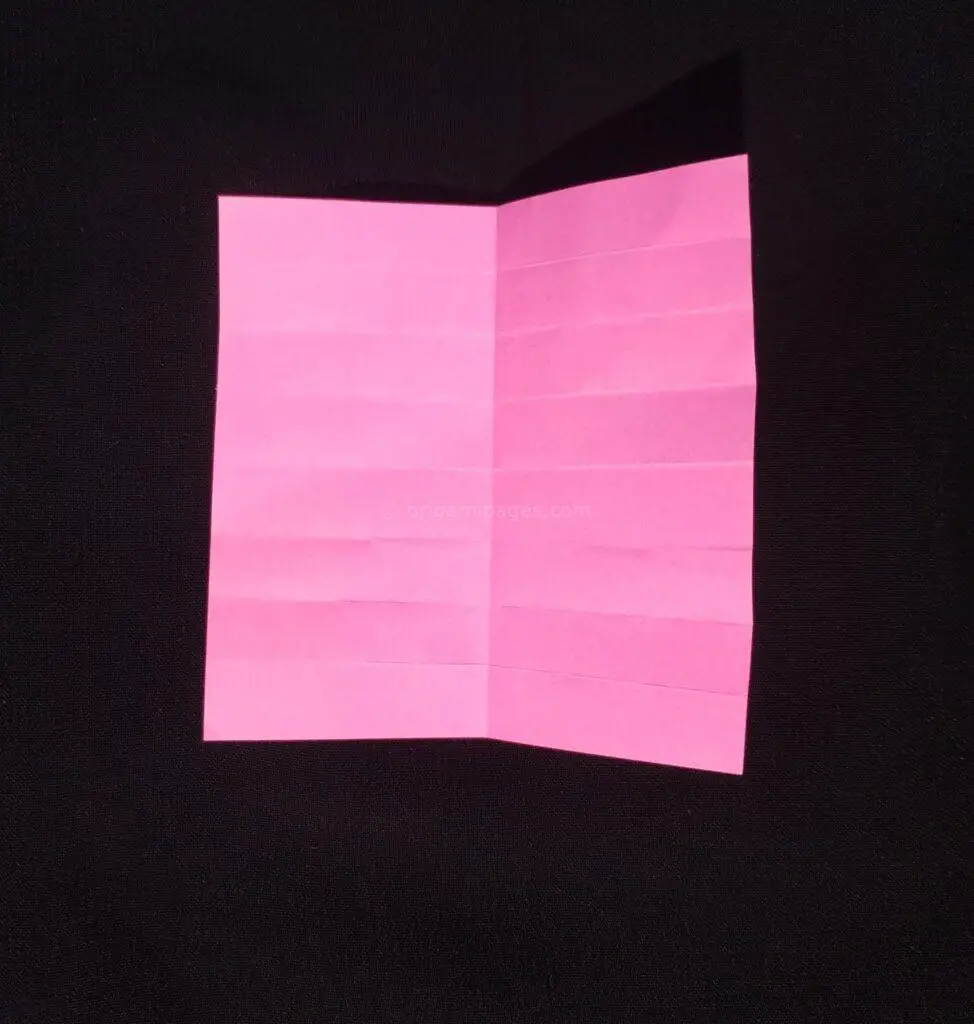
Step 2: Horizontal Fold
Next, fold the sticky note horizontally in half. Press down the fold to create a sharp crease, then unfold it. This step helps create a guideline for the following folds.
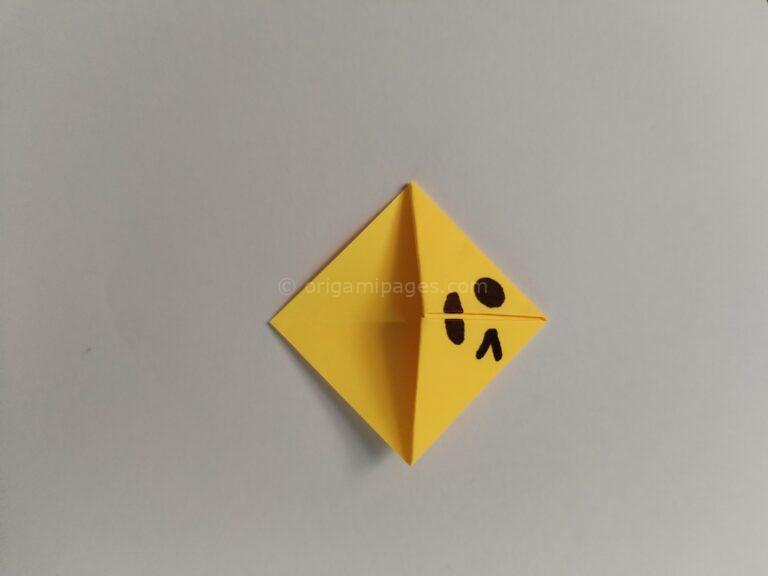
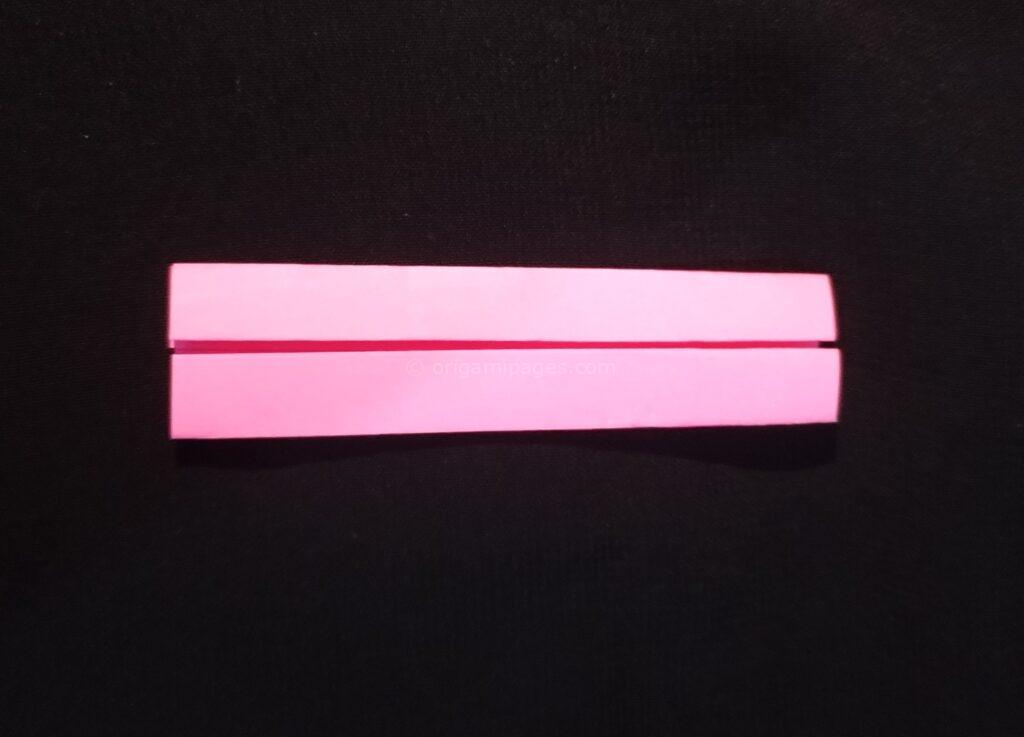
Step 3: Fold Along the Middle Line
Fold the sticky note along the middle line you just created. To do this, bring the top edge down to meet the bottom edge. Then, fold it again along the middle line and unfold.

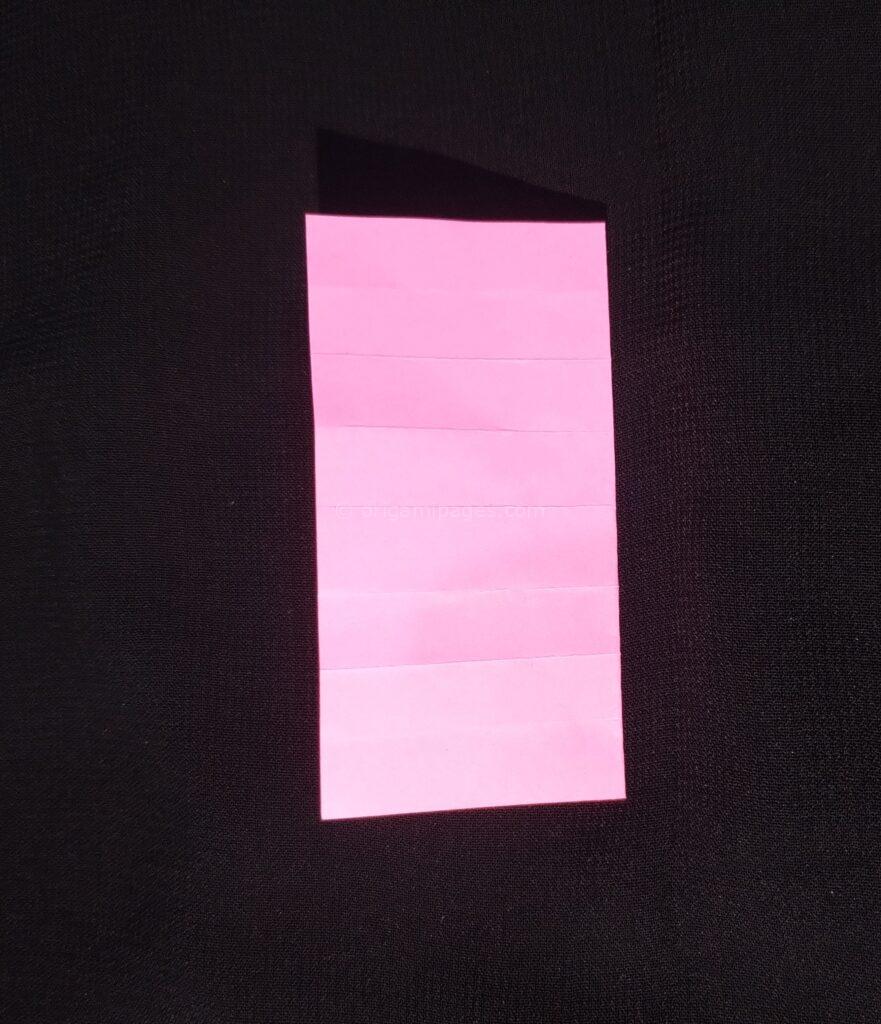
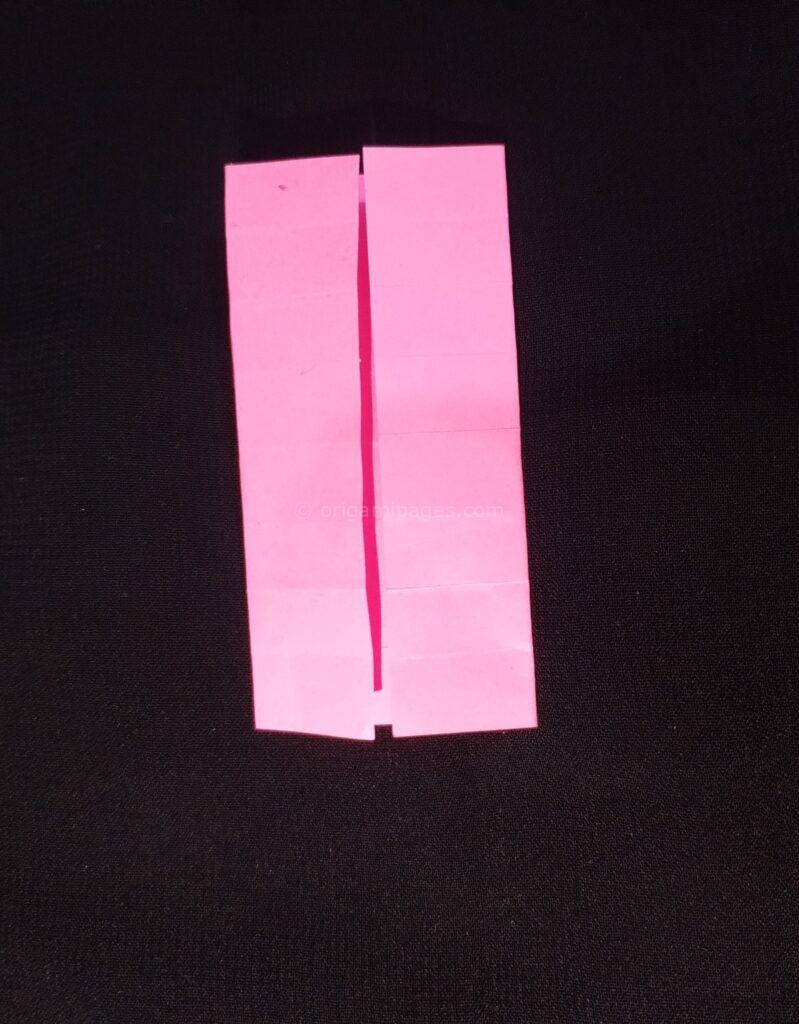
Step 4: Vertical Fold
Now, rotate your sticky note 90 degrees and fold it vertically. Just like before, create a crease and unfold it to form another guideline.
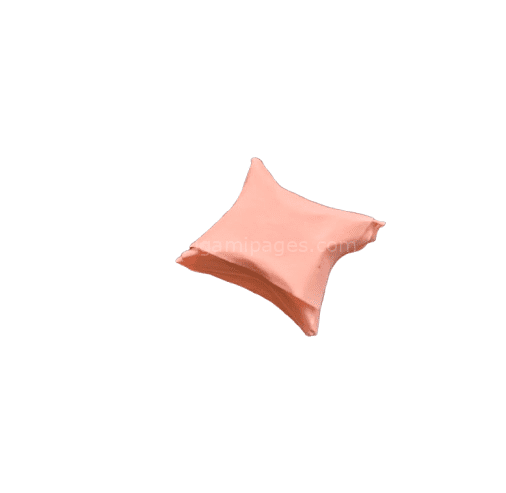
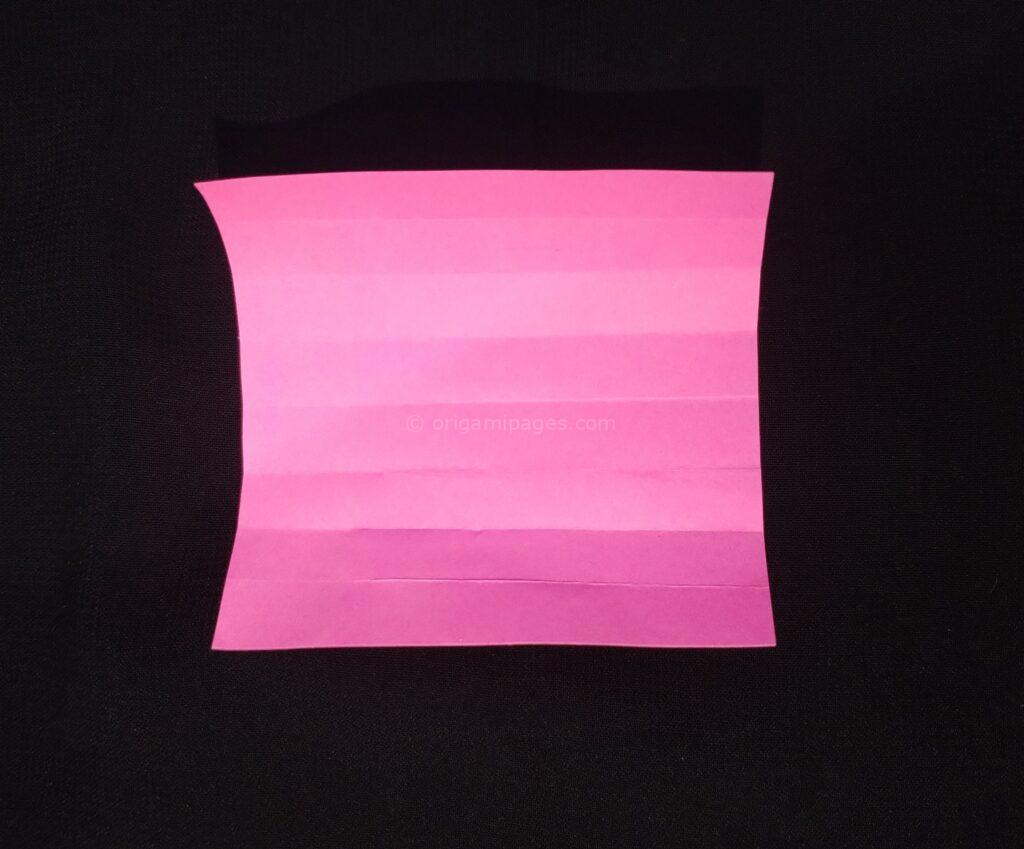
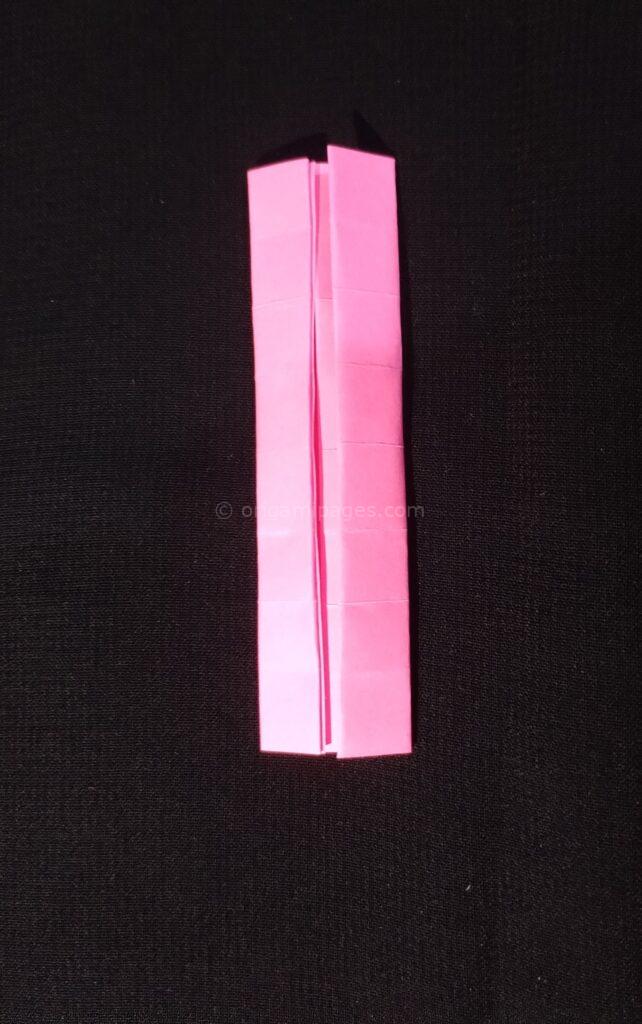
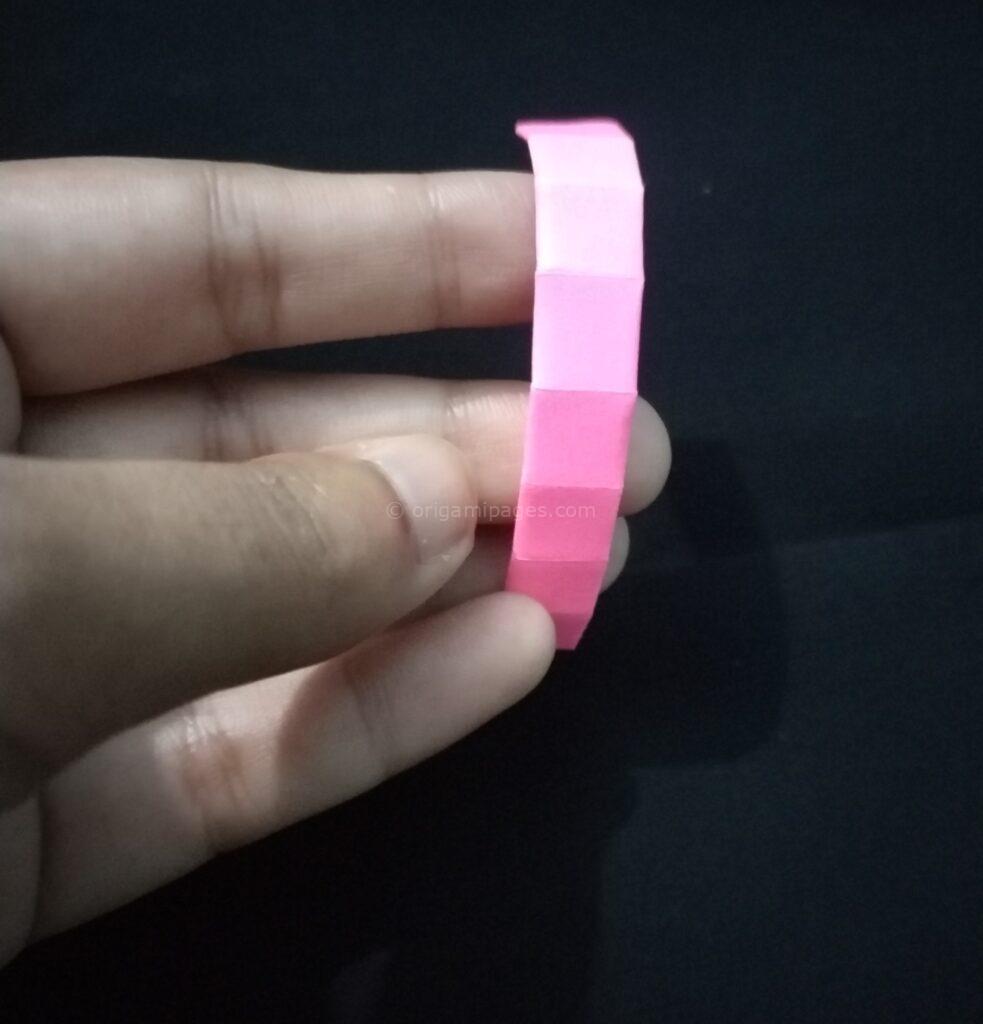
Step 5: Center Line Folds
Fold the sticky note along the vertical center line and then fold it again along the same line. Finally, fold once more along the same line, keeping the folds neat.
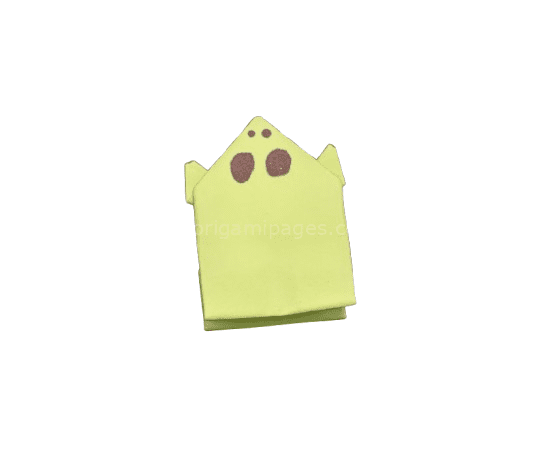
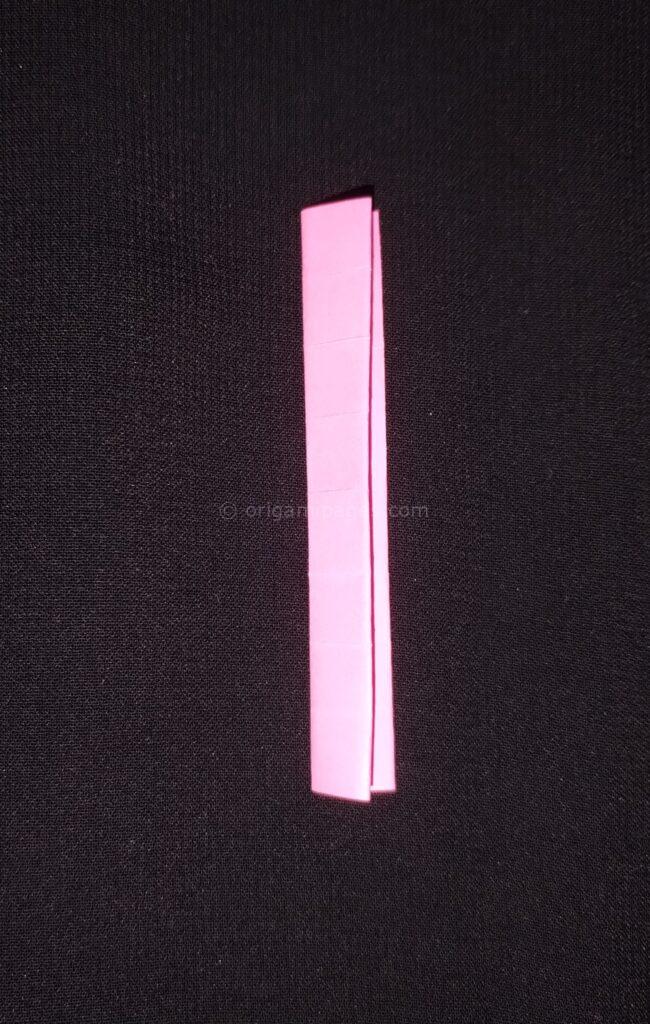
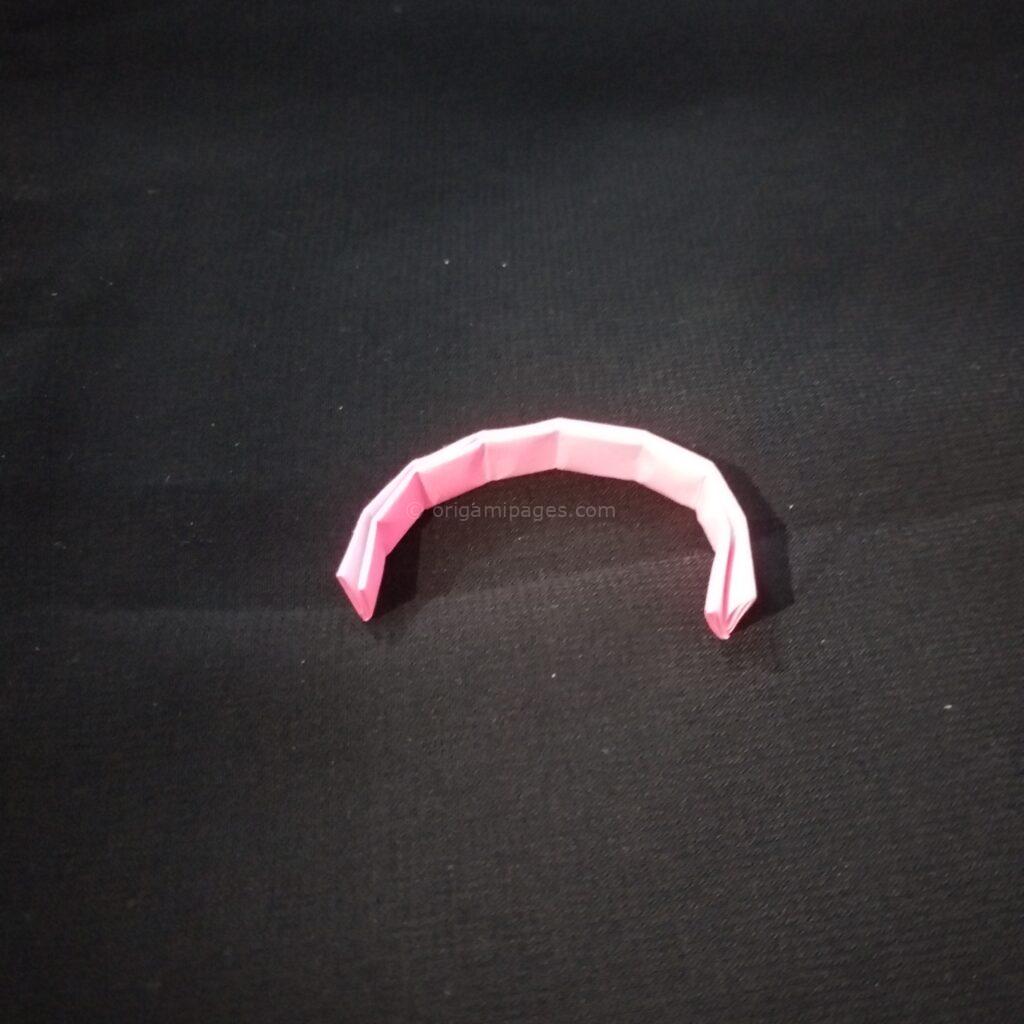
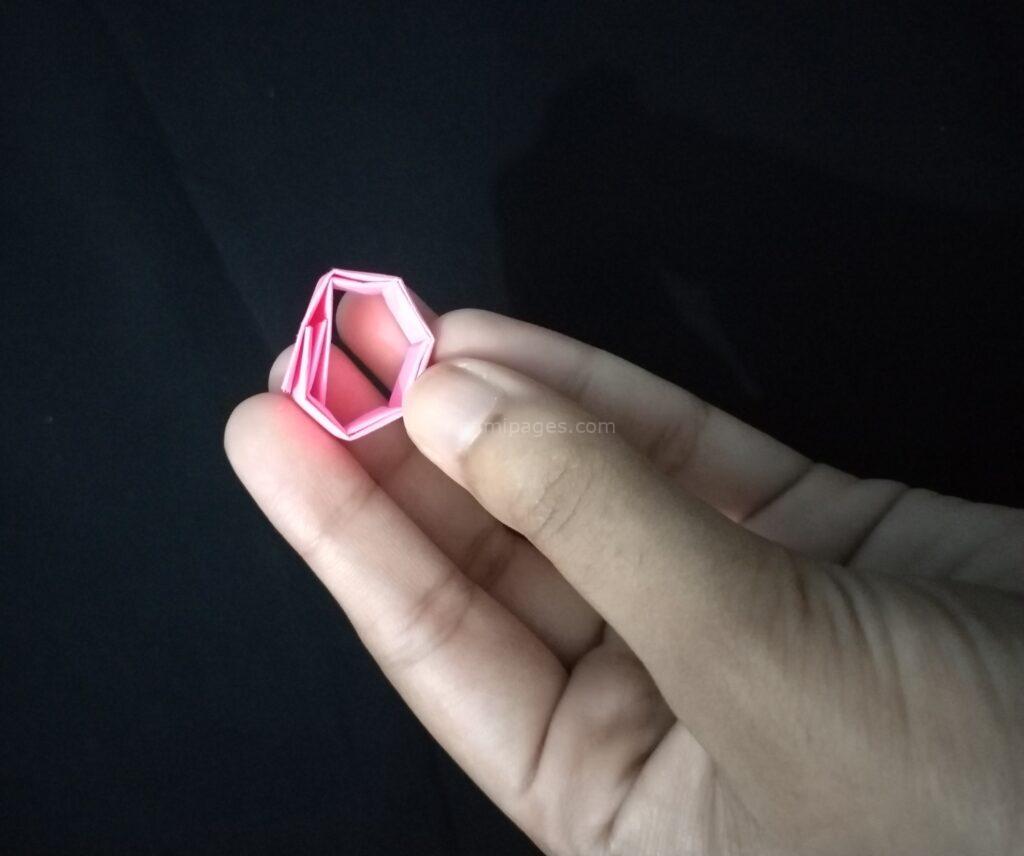
Step 6: Final Folds and Assembly
For the final step, fold the sticky note as shown in the diagram (or based on the video/tutorial you’re following) and attach the ends as shown. The sticky side of the note will help secure the folds in place.
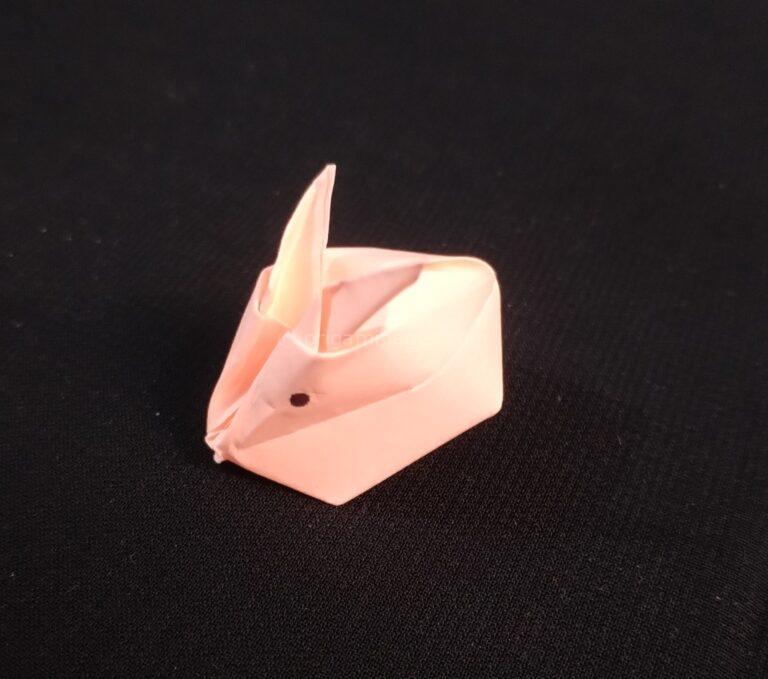
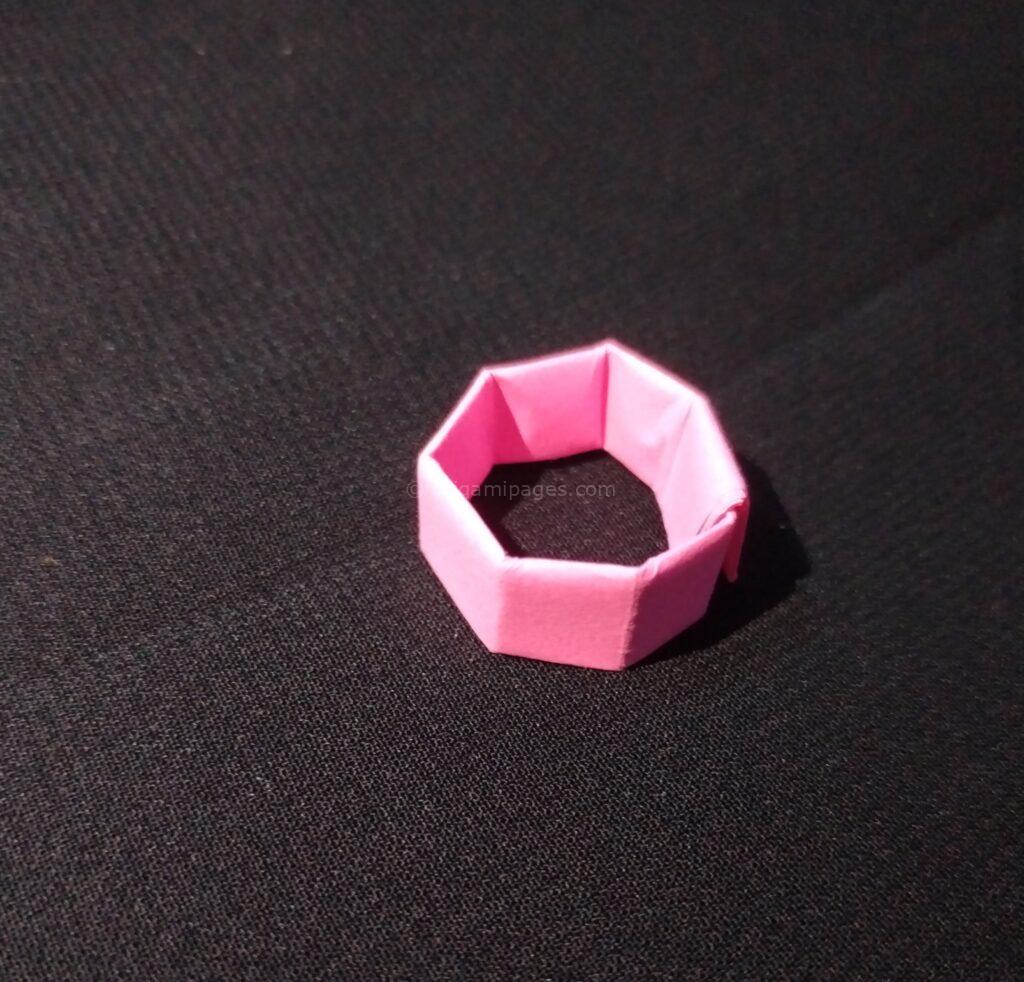
Step 7: Finished Origami Ring
Congratulations! You’ve now created your very own Sticky note origami ring. It’s a small, beautiful token of your creativity, made entirely from a humble post-it note.

Tips for Perfecting Your Origami Ring
- Practice makes perfect: If the folds don’t seem perfect the first time, try again with a fresh sticky note.
- Experiment with colors: Sticky notes come in various colors, so have fun experimenting to make your ring pop.
- Gift idea: You can make multiple sticky note rings and give them as small handmade gifts to friends and family.
Why Sticky Note Origami is Perfect for Beginners
The sticky note origami ring is an ideal project for beginners because it’s quick, simple, and uses materials you probably already have. It introduces you to basic folding techniques that can lead to more advanced origami designs, and since sticky notes are small, it forces you to focus on precision—a key skill in origami.
Outro
In just a few steps, you’ve transformed an everyday sticky note into a charming piece of wearable art. This easy origami ring is not only a fun project but also an introduction to the enchanting world of origami. I encourage you to continue exploring this art form, trying different projects, and even sharing your work with others.
I hope you found this tutorial helpful and engaging. Feel free to leave any feedback, as I’m always looking to improve and provide the best resources for your origami journey. Happy folding!