Sticky Note Origami Rose: A Step-by-Step Guide
Creating a beautiful sticky note origami rose is a wonderful way to blend creativity and simplicity. Whether you’re new to origami or a seasoned folder, this project offers a delightful challenge. With just a sticky note in hand, you can create a stunning rose that will impress anyone. In this guide, I’ll provide step-by-step instructions that are easy to follow and ensure you create a perfect rose.
Origami can seem complex at first, but the satisfaction that comes with completing a project like this is worth every fold. As you work through these instructions, you’ll see the magic of paper transformation unfold, and by the end, you’ll have a lovely rose made entirely from a sticky note. Let’s get started!
Materials Needed
Before we begin, make sure you have the following:
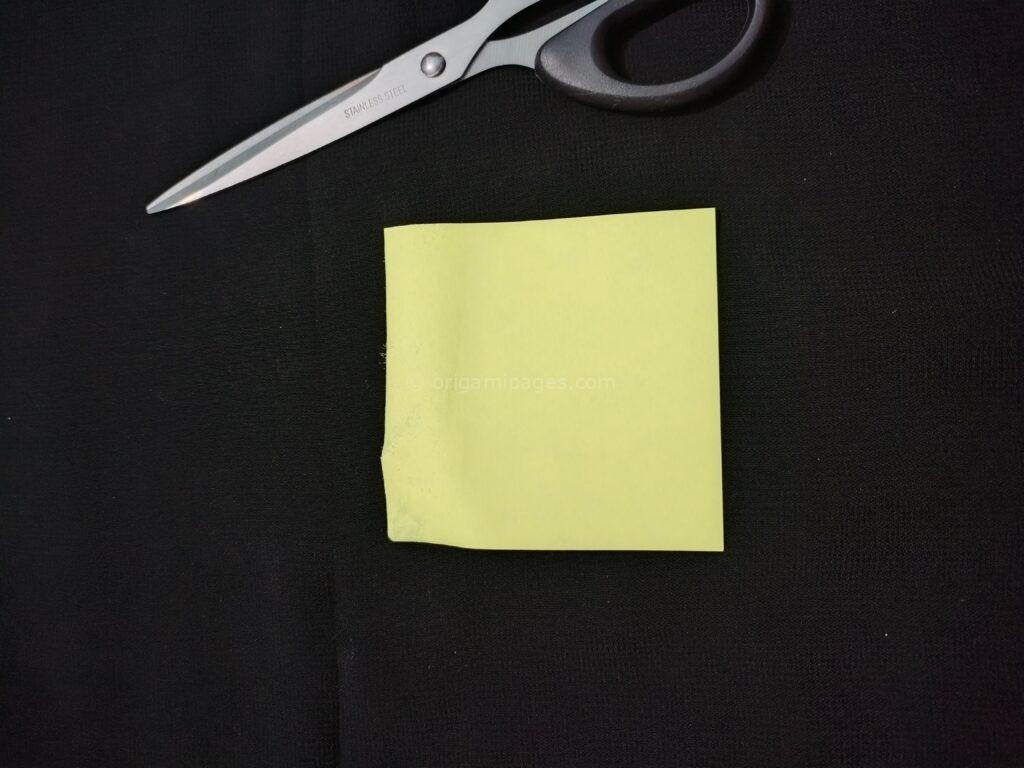
- A square sticky note (typically 3×3 inches)
That’s it! Now you’re ready to create your own sticky note origami rose.
Step-by-Step Sticky Note Origami Rose Instructions
Follow these precise instructions to craft a post it note origami rose. Pay close attention to each fold for the best result.
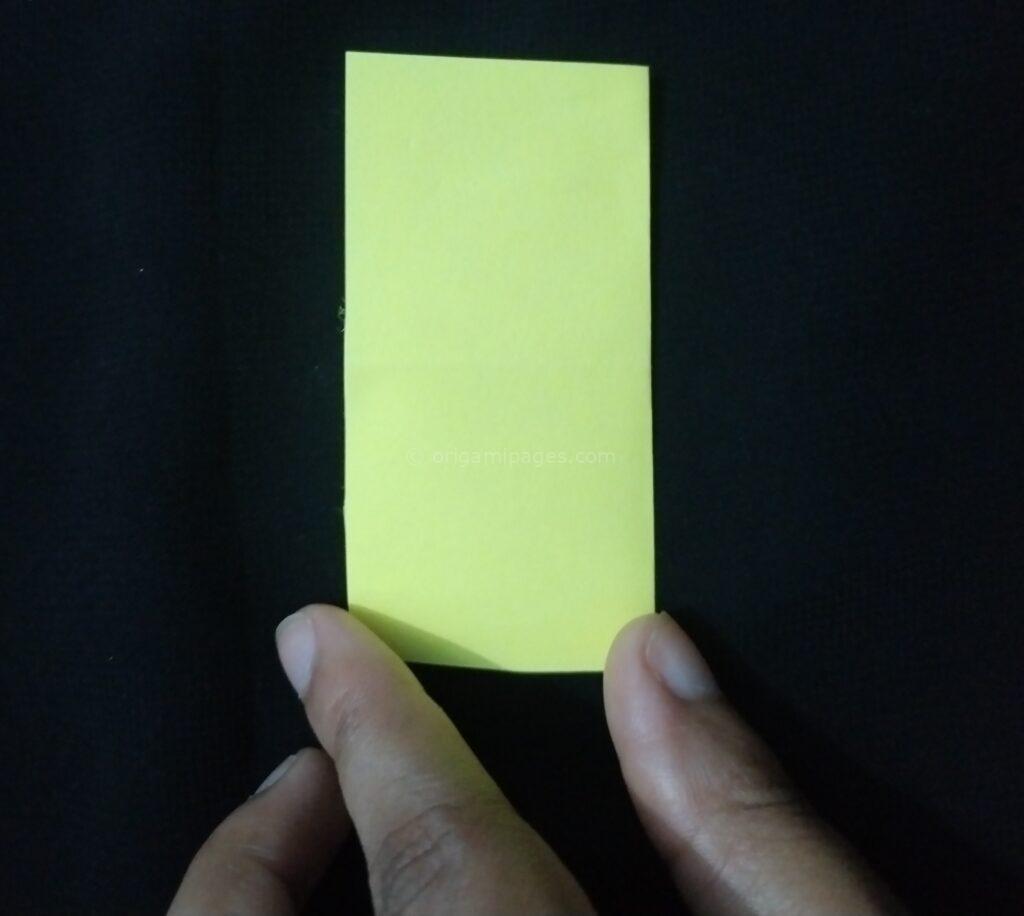
1. Take a Sticky Note
Start with a square sticky note and place it flat on the table, making sure the adhesive side is at the top. This will help later in forming the rose petals.
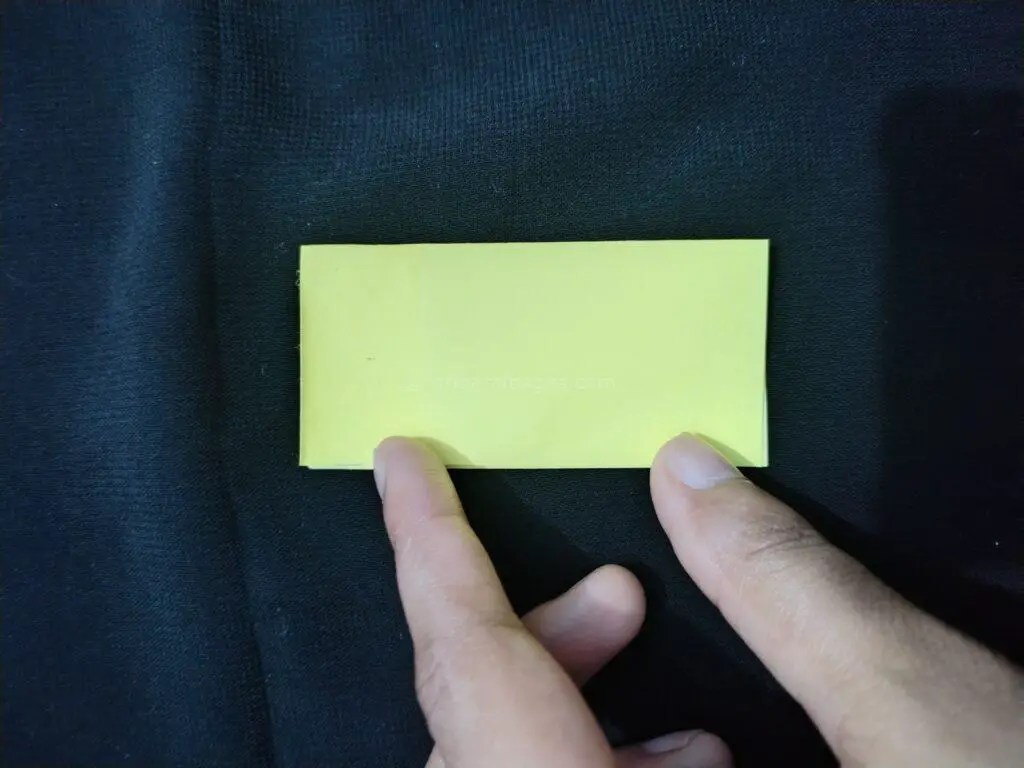
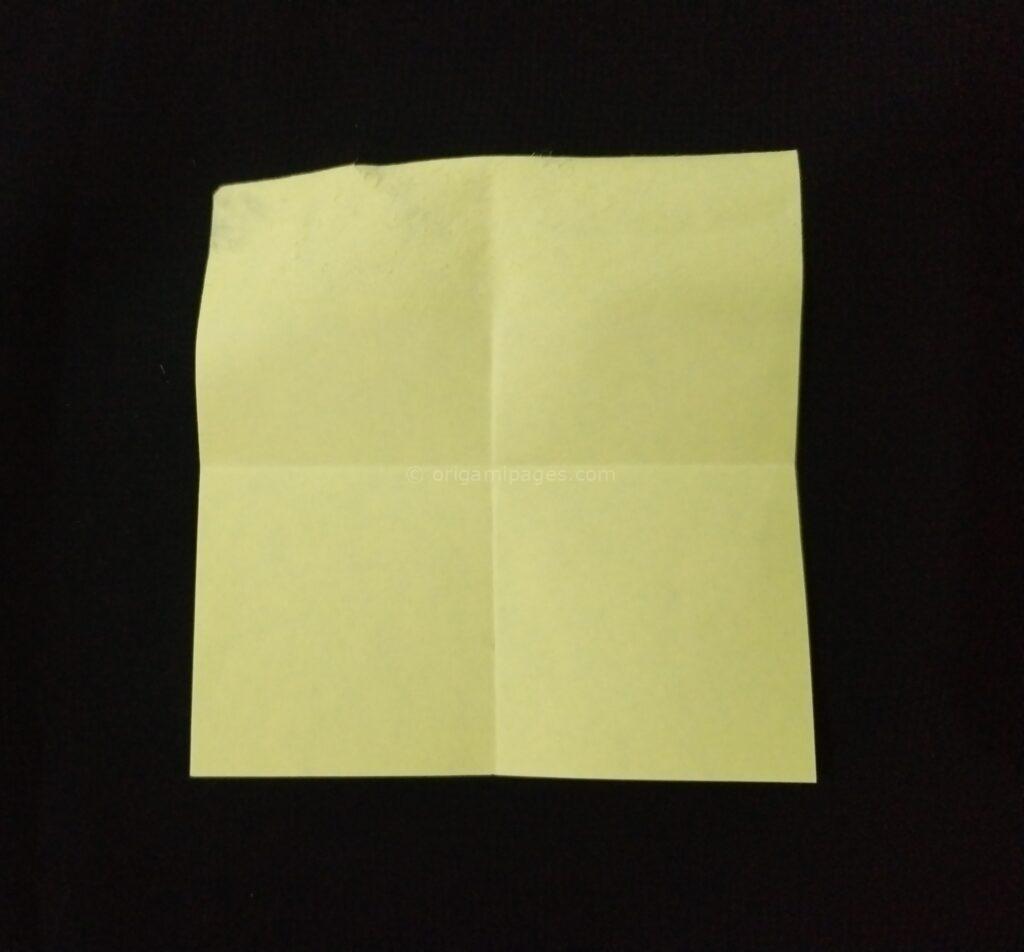
2. Fold It Horizontally and Vertically
- First, fold the sticky note horizontally in half. Crease the fold well, then unfold it.
- Next, fold it vertically in half. Crease this fold as well and then unfold.
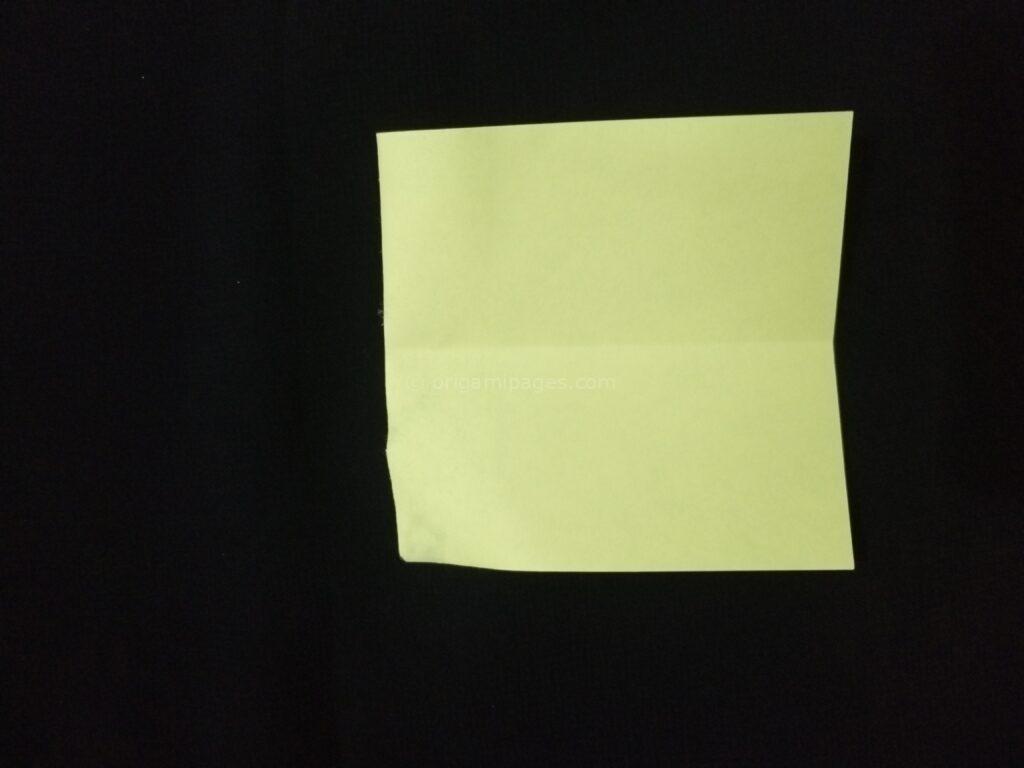
At this point, you should have a sticky note with two intersecting creases running horizontally and vertically through the center. These folds will guide the next steps.
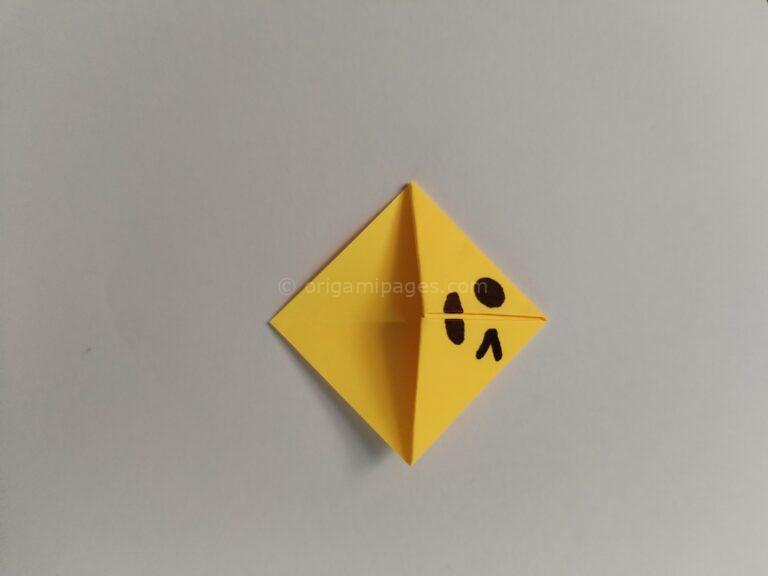
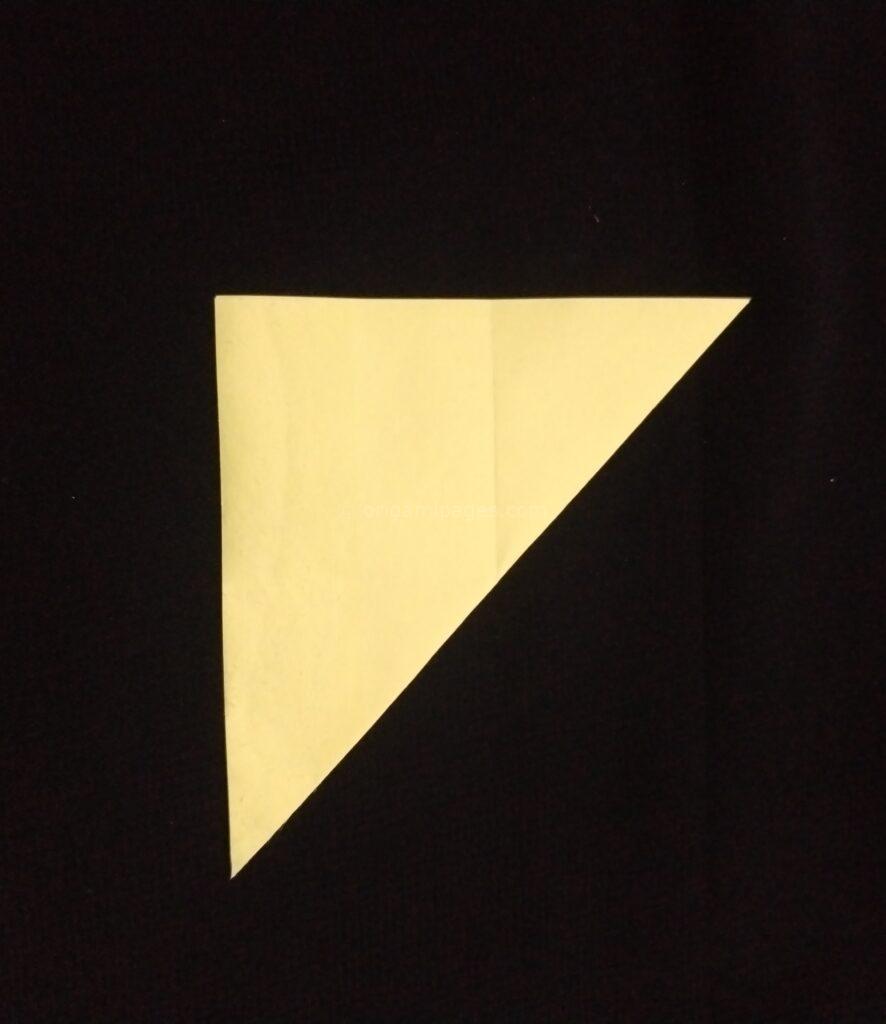
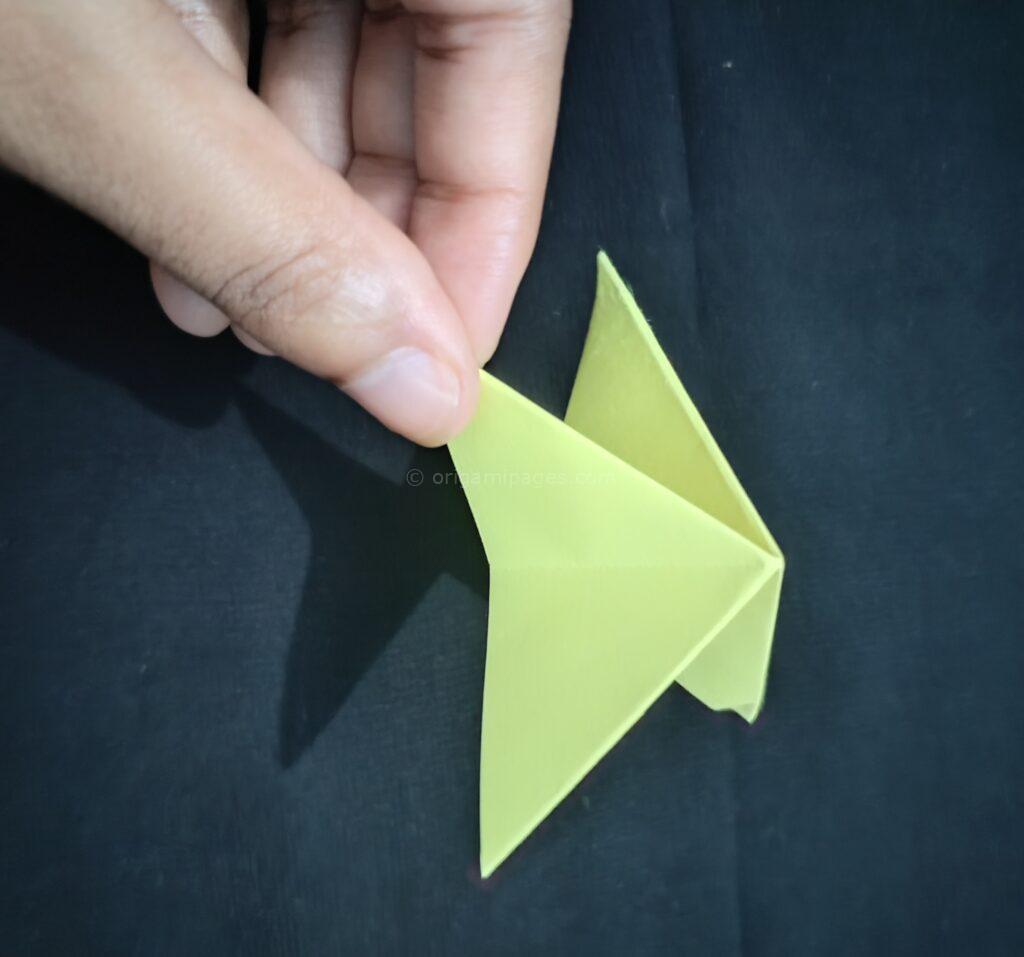
3. Fold the Corners on Both Sides and Unfold
- Fold each corner of the sticky note toward the center, one by one.
- Once all four corners have been folded into the center, unfold them.
These diagonal creases will help form the structure of your rose.
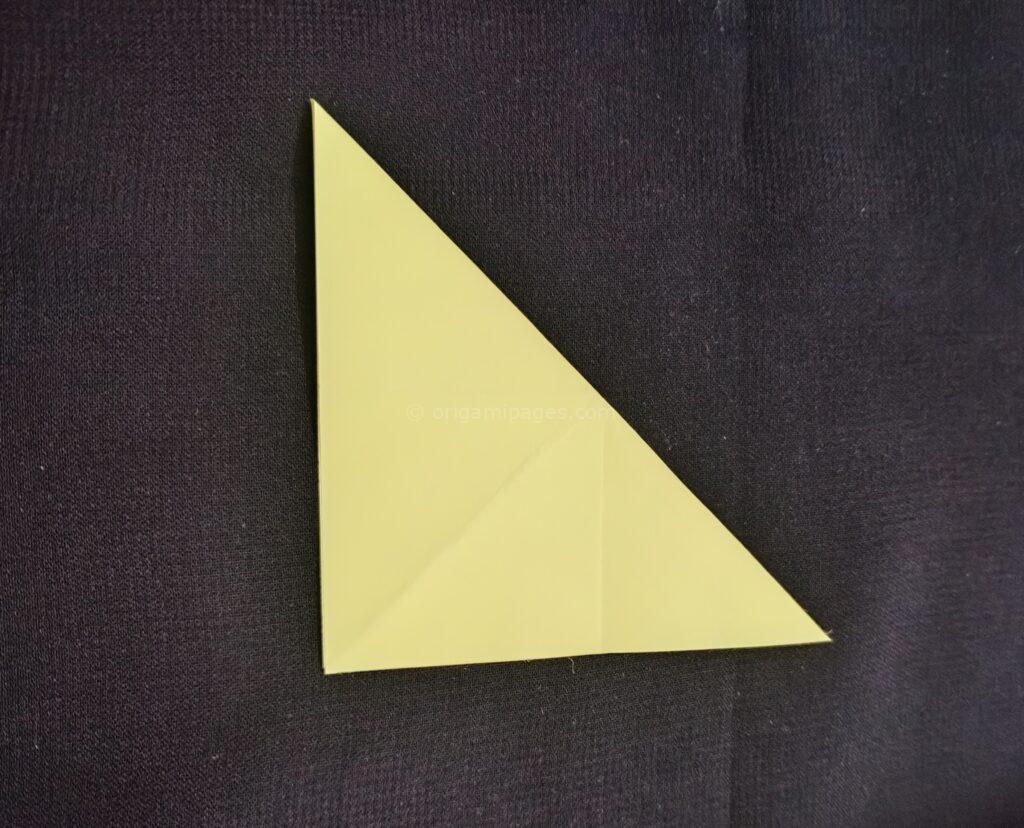
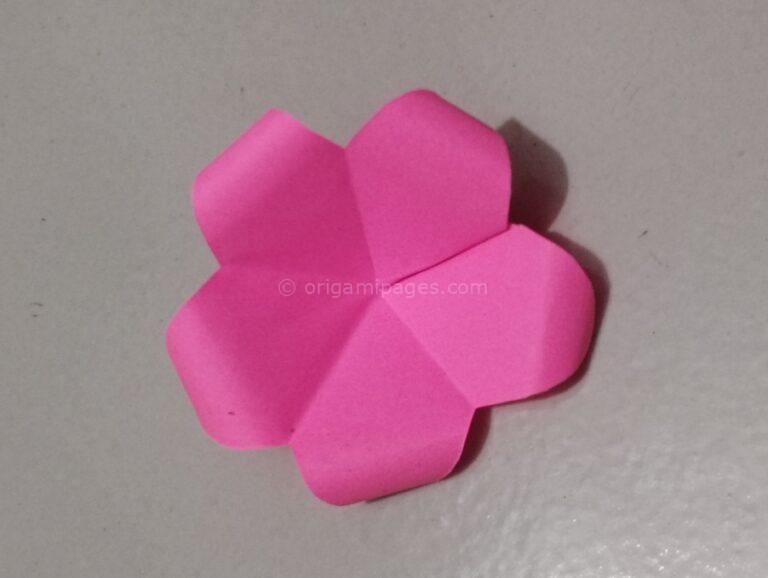
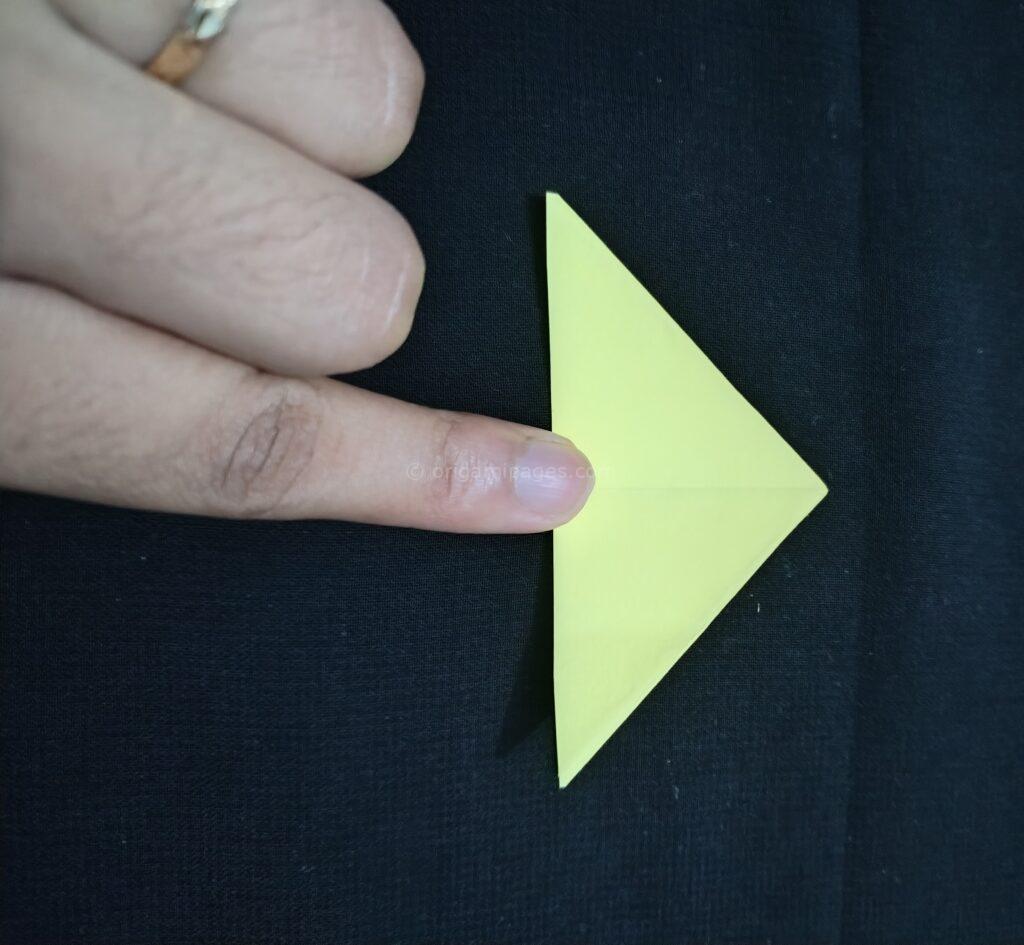
4. Shaping the Petals
This is where the sticky note origami begins to take shape.
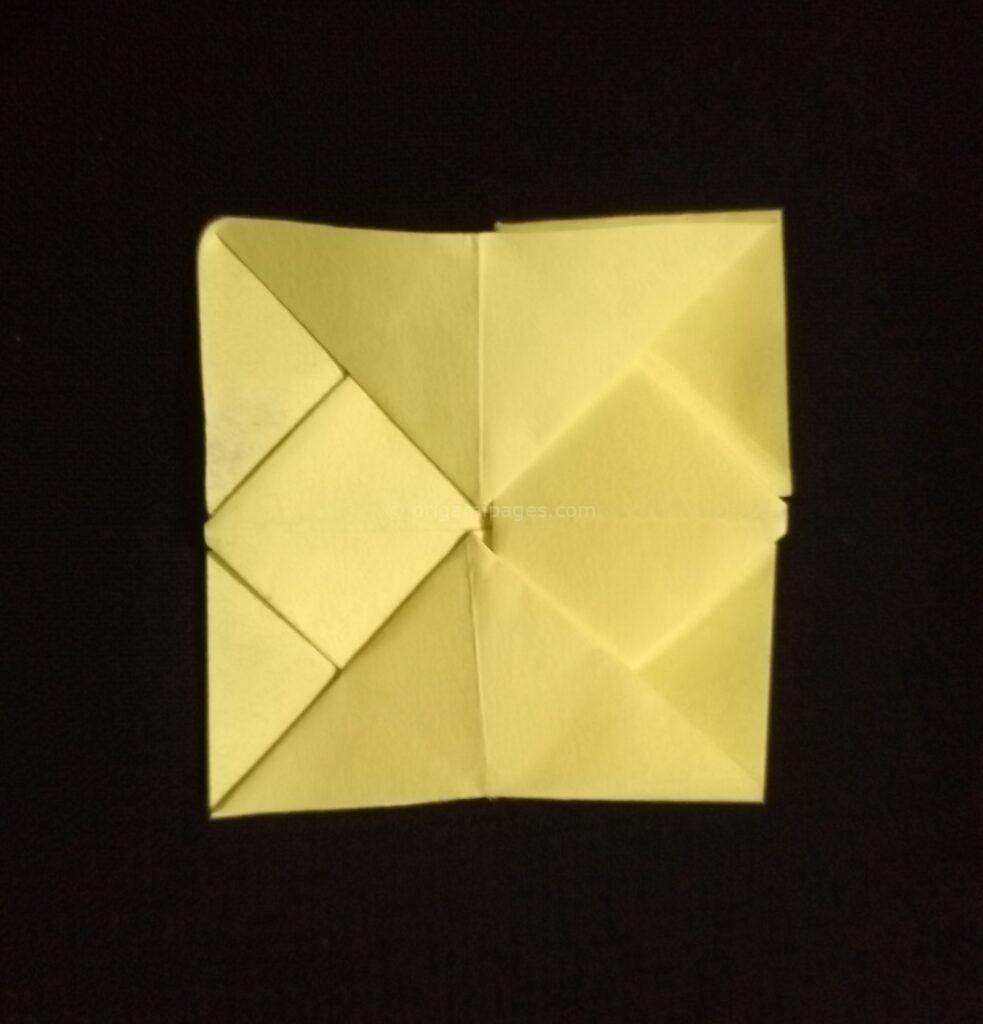
- Fold the two top corners upwards toward the center and crease them. Now, unfold these corners.
- Repeat this fold for the bottom two corners.
Now, the sticky note should have multiple folds running diagonally and vertically.
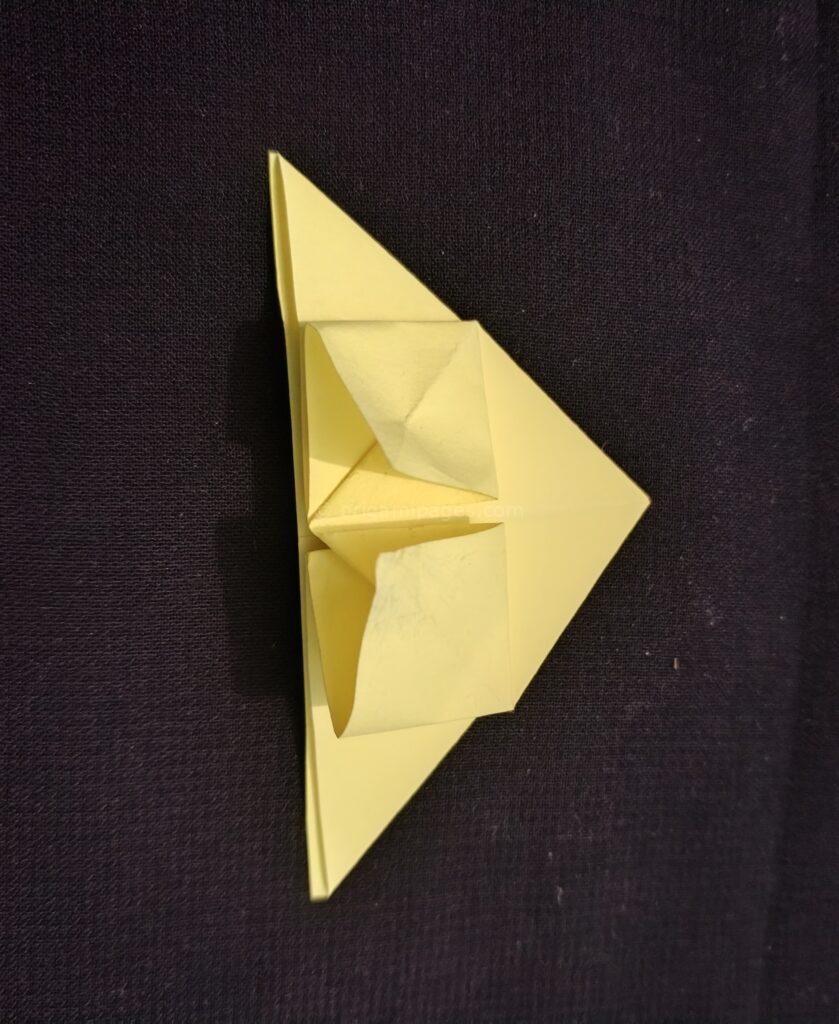
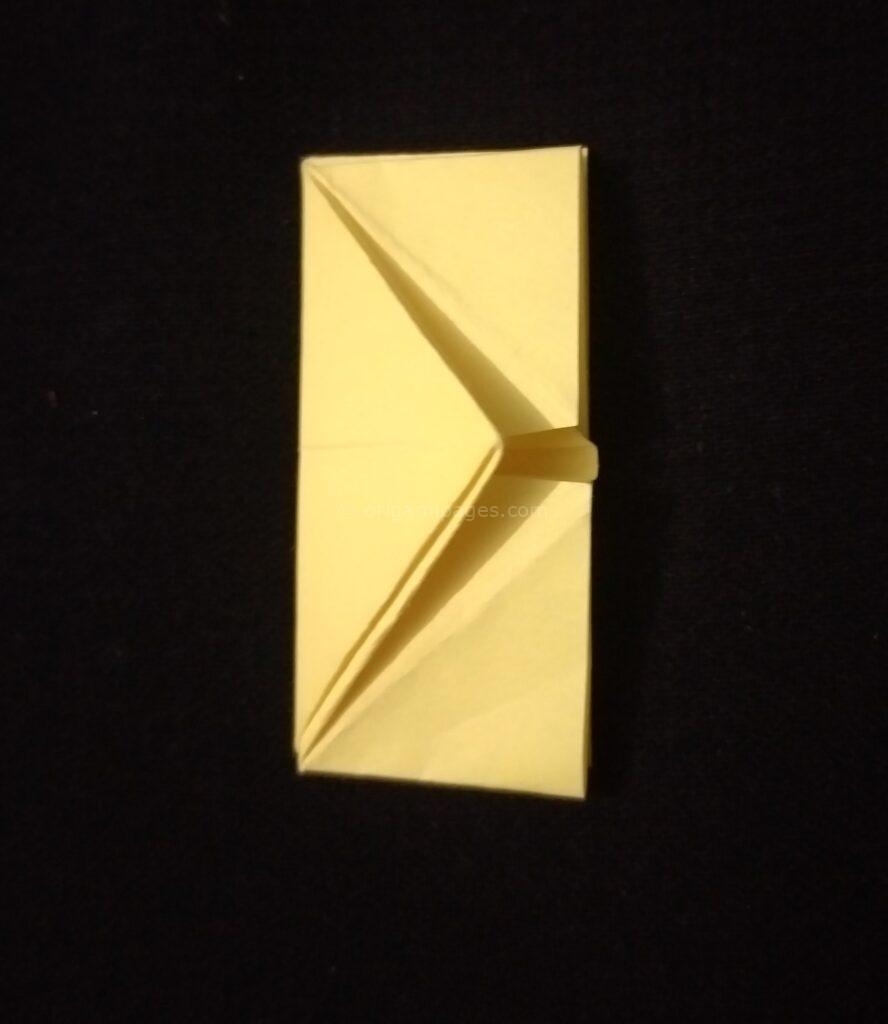
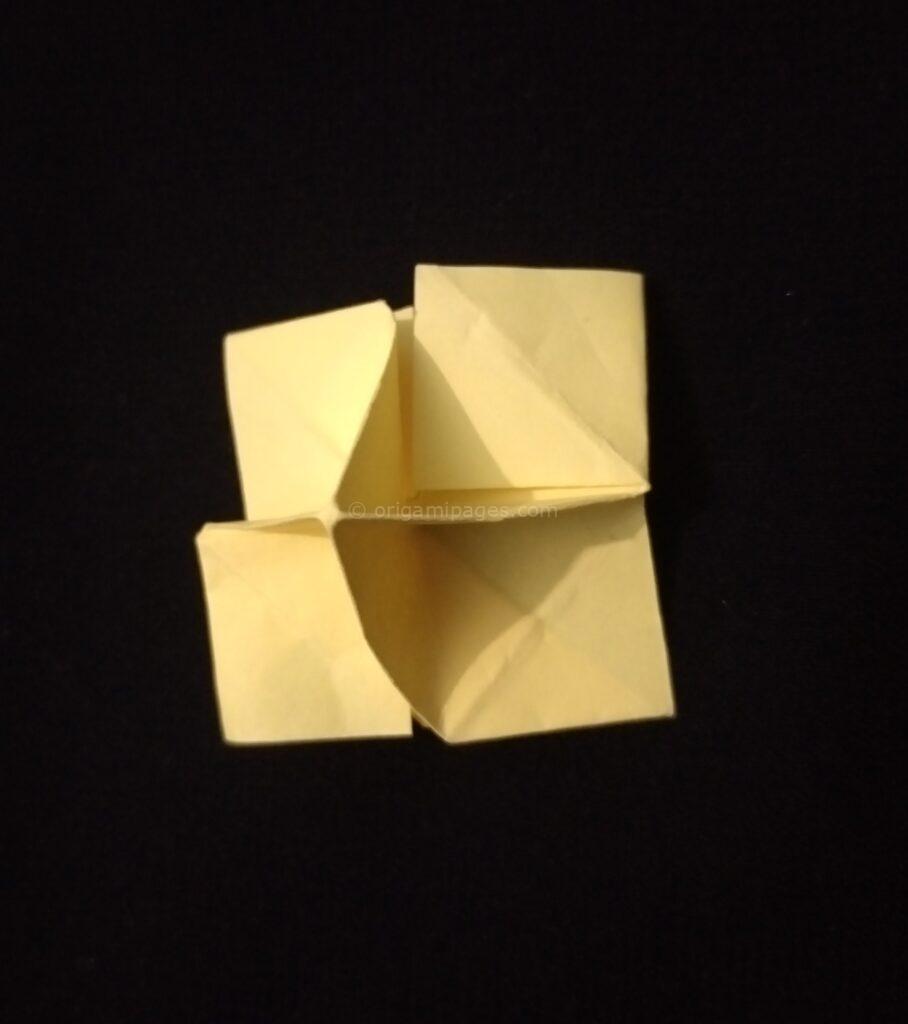
- Fold the top two corners back upwards. Then, as shown in the picture, fold the two sides inward, making the sticky note start to resemble a flower.
- Fold the other side in the same way.
Each fold brings the sticky note closer to the final rose shape.

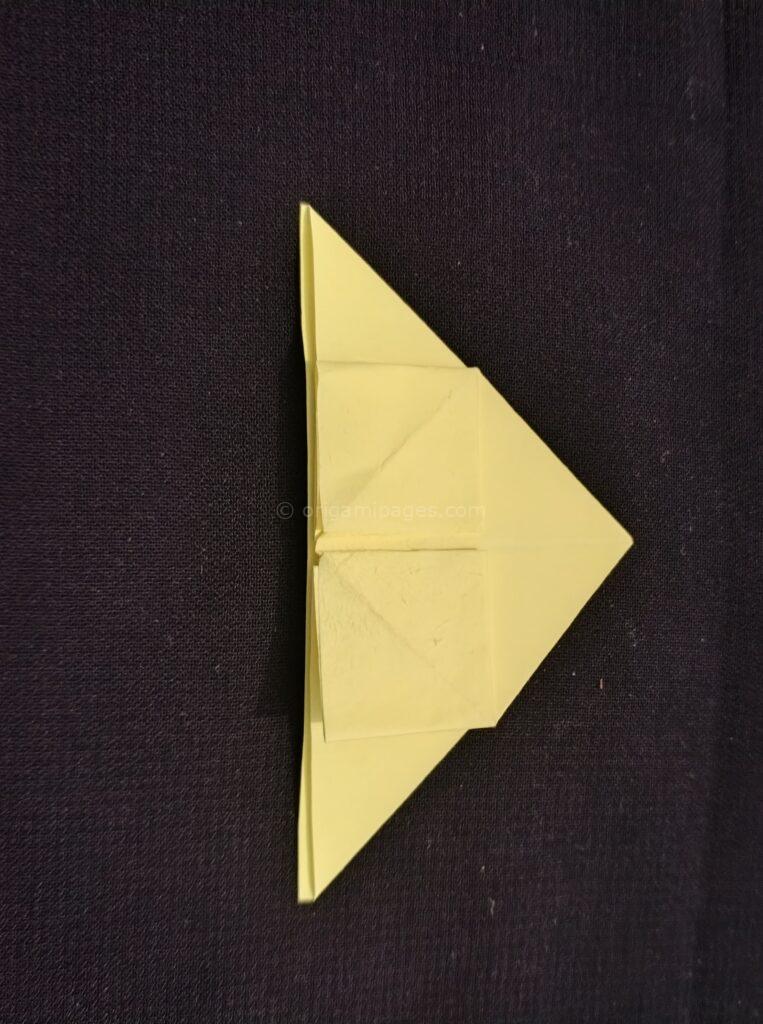
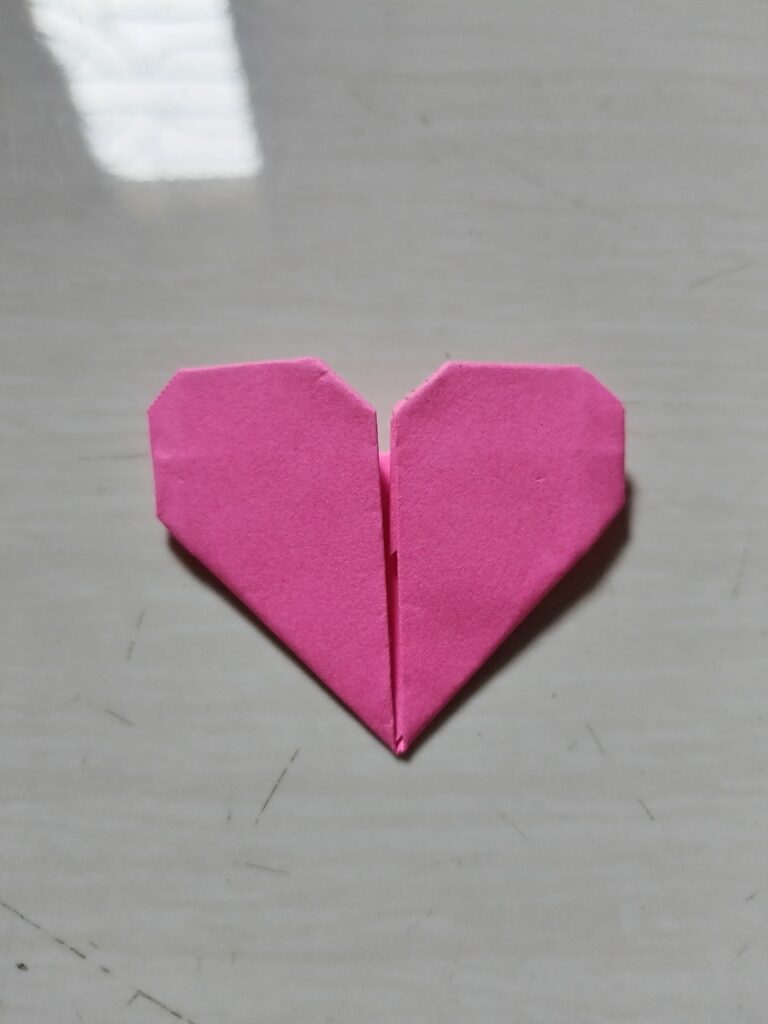
5. Finalizing the Rose
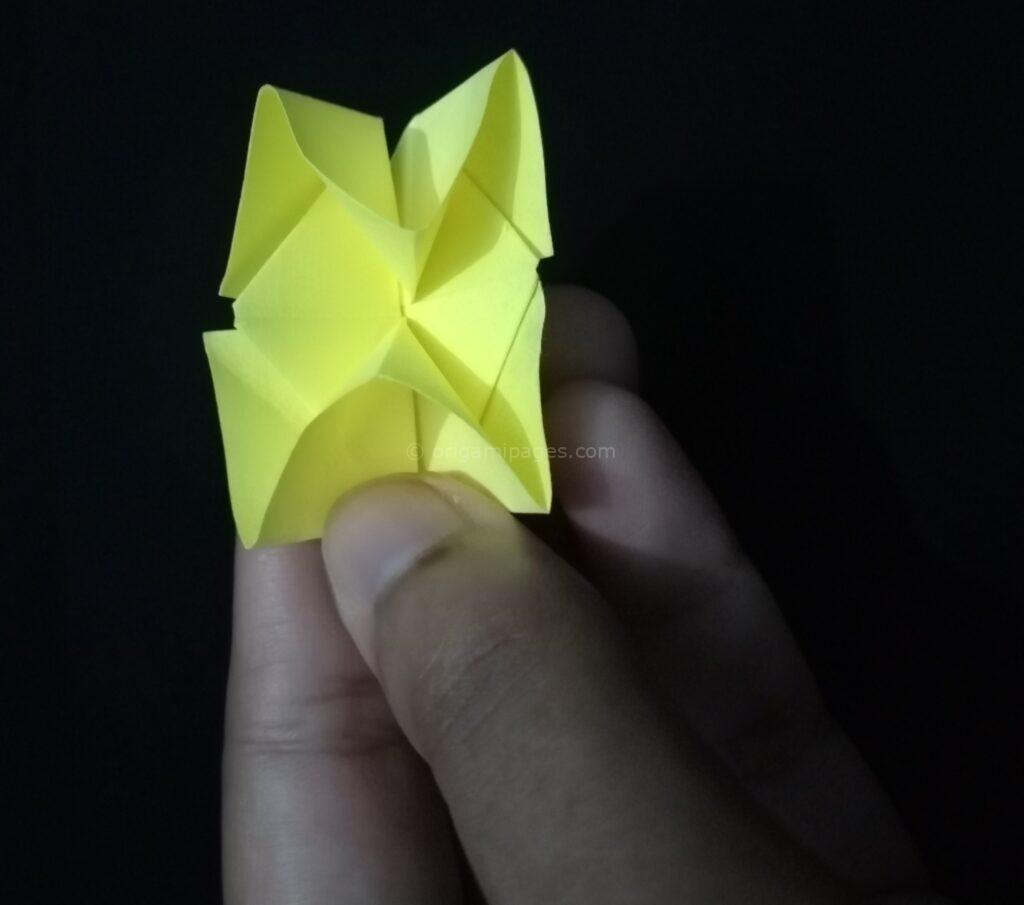
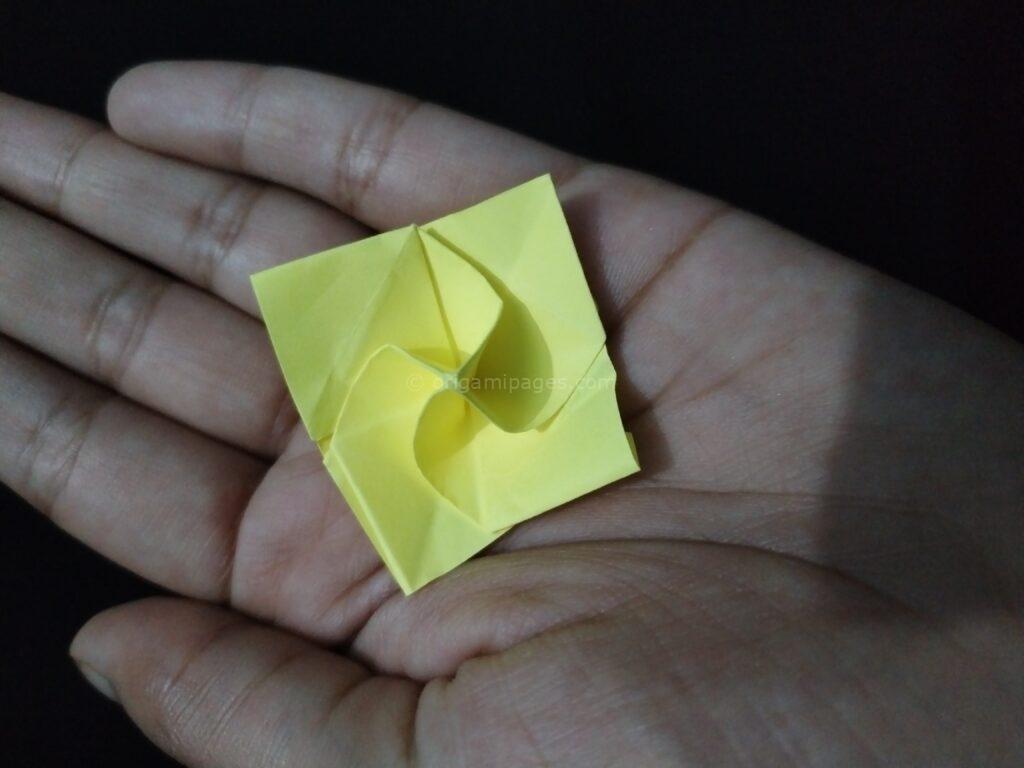
- Fold the upper part down and the lower part upwards, as shown in the picture. At this point, the sticky note is forming a bud shape.
- Open the petals at the top of the rose gently and twist the top layers. This twisting action will give the rose its natural, blooming appearance.
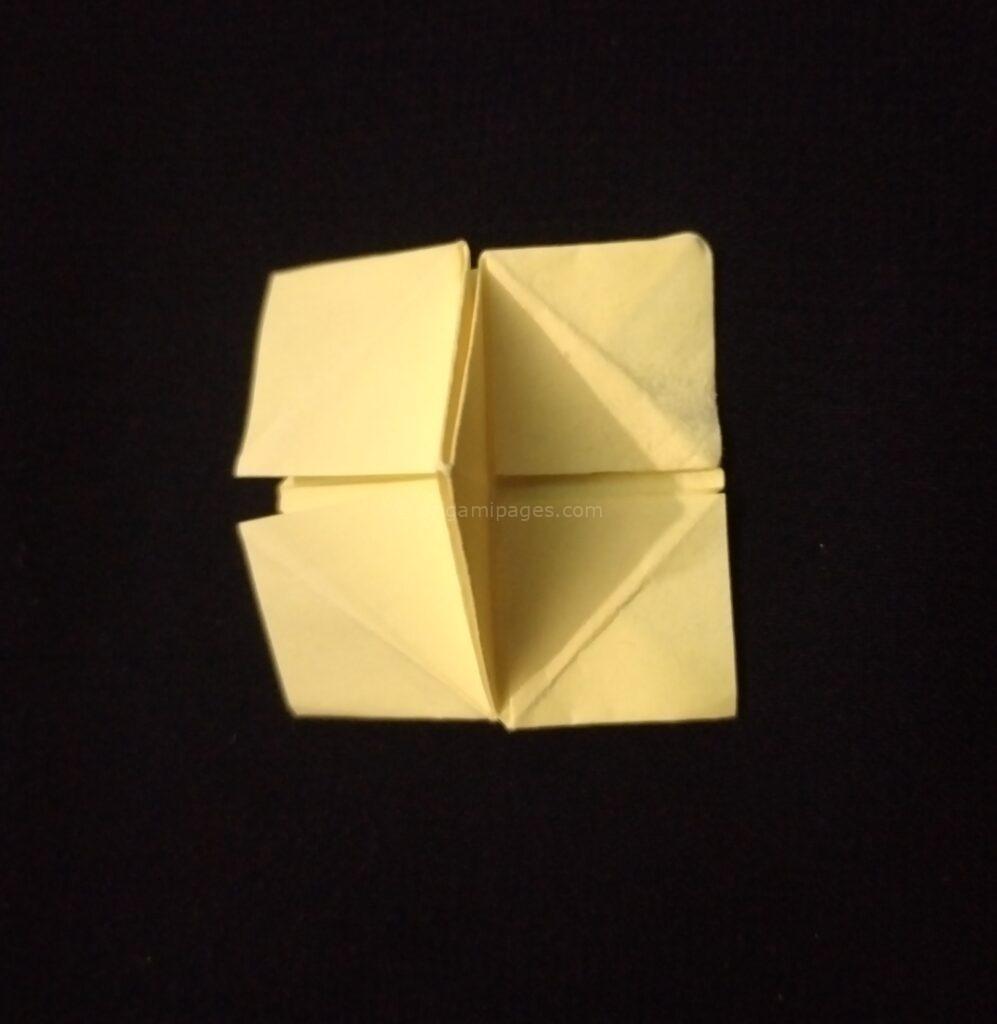
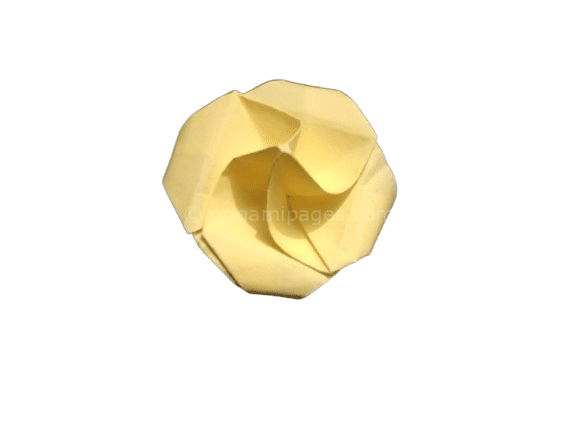
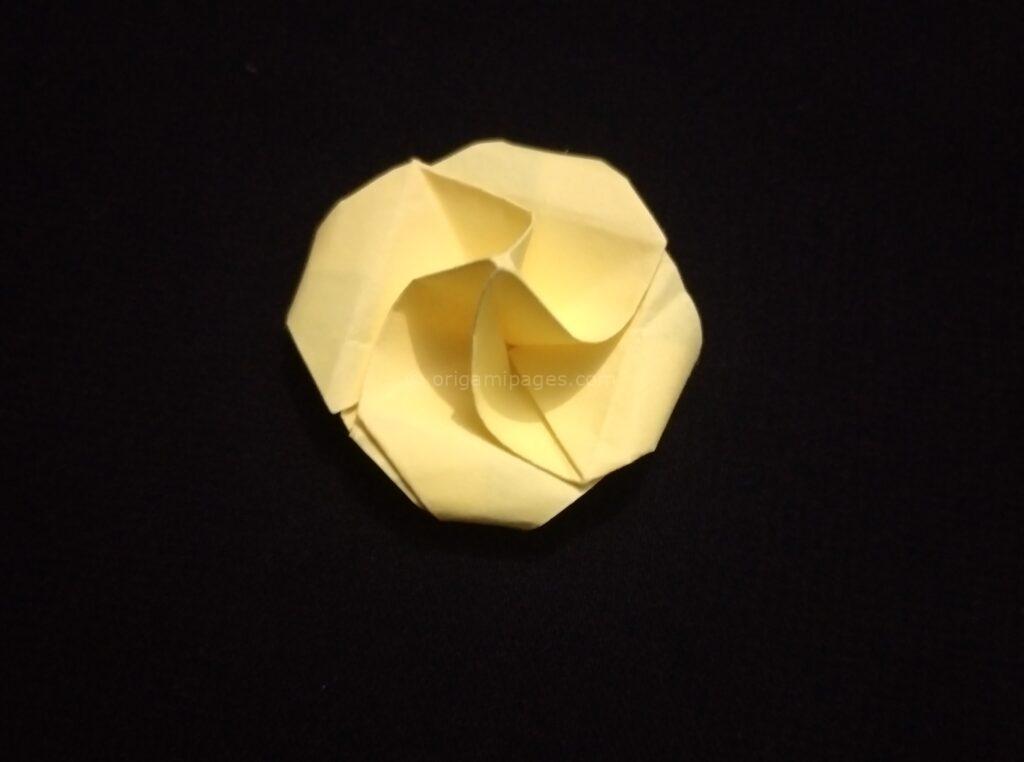
6. Sticky Note Origami Rose is Ready
Once you’ve completed all the folds and shaped the petals, your sticky note origami rose is complete! Take a moment to adjust the petals to your liking, and you’re all set with a beautiful rose.

Why Try the Sticky Note Origami Rose?
This project is a perfect way to practice easy origami rose techniques. It’s simple, requires minimal materials, and can be completed in just a few minutes. The satisfaction of creating something beautiful out of a common item like a sticky note is what makes origami so magical. Whether you’re gifting it or using it as a decoration, this post it note origami rose is a rewarding craft for anyone.
Summary
By following these step-by-step sticky note origami rose instructions, you’ve created a delicate and beautiful rose using just a sticky note. It’s an excellent way to get into origami, offering both beginners and more advanced folders a chance to create something unique. If you enjoyed this project, consider experimenting with different colors and sizes of sticky notes to make your roses even more personalized.
I’d love to hear your thoughts or any suggestions you might have on improving this guide. Happy folding!