Sticky Note Origami Star: A Step-by-Step Guide for Beginners
There’s something magical about turning an everyday sticky note into a beautiful origami star. Whether you’re a complete beginner or have experience in paper folding, the sticky note origami star project offers a rewarding, calming experience. It’s the perfect blend of creativity and mindfulness, requiring just a little patience and precision.
In this guide, I’ll walk you through the process, step by step, to craft your own sticky note origami star. You don’t need special tools or expensive materials—just a simple post-it note and a bit of focus. Let’s get started on this fascinating journey, and by the end, you’ll have a stunning origami star that you can proudly display or gift to someone special.
Materials Needed
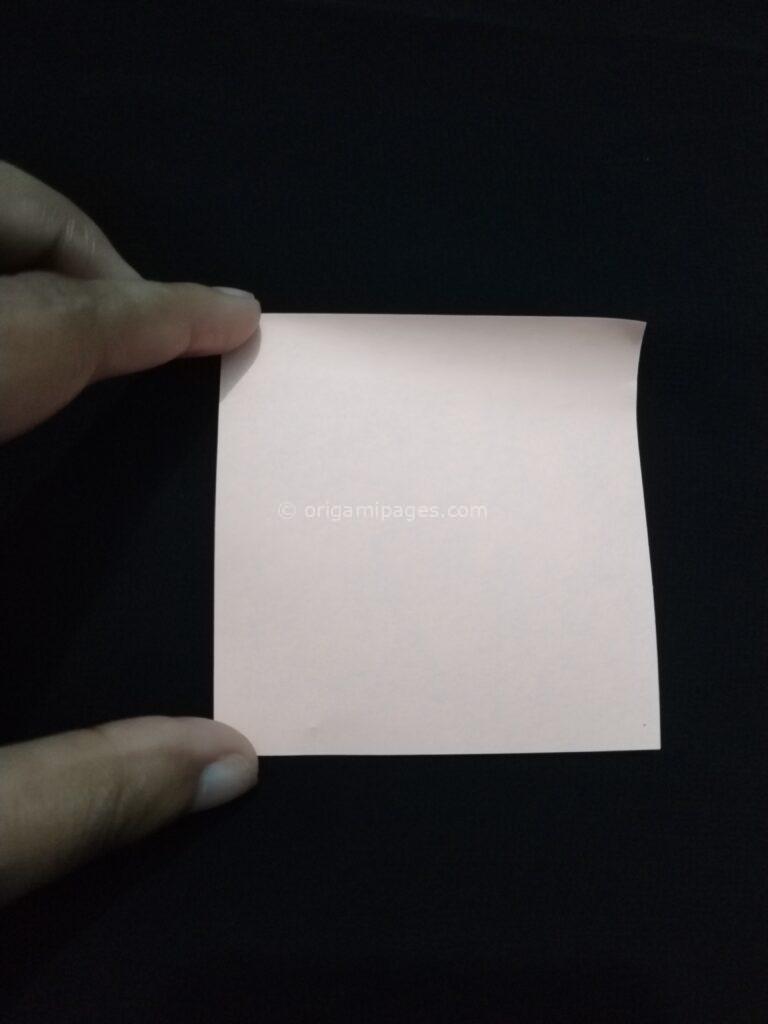
To make a sticky note origami star, you only need one item: a sticky note or post-it note. The size and color can vary based on your preference, but a standard square-shaped sticky note works best.
Step-by-Step Guide to Making a Sticky Note Origami Star
1. Start with the Sticky Note
Take a sticky note, ensuring that the adhesive side is at the top. This will help keep the folds in place later.
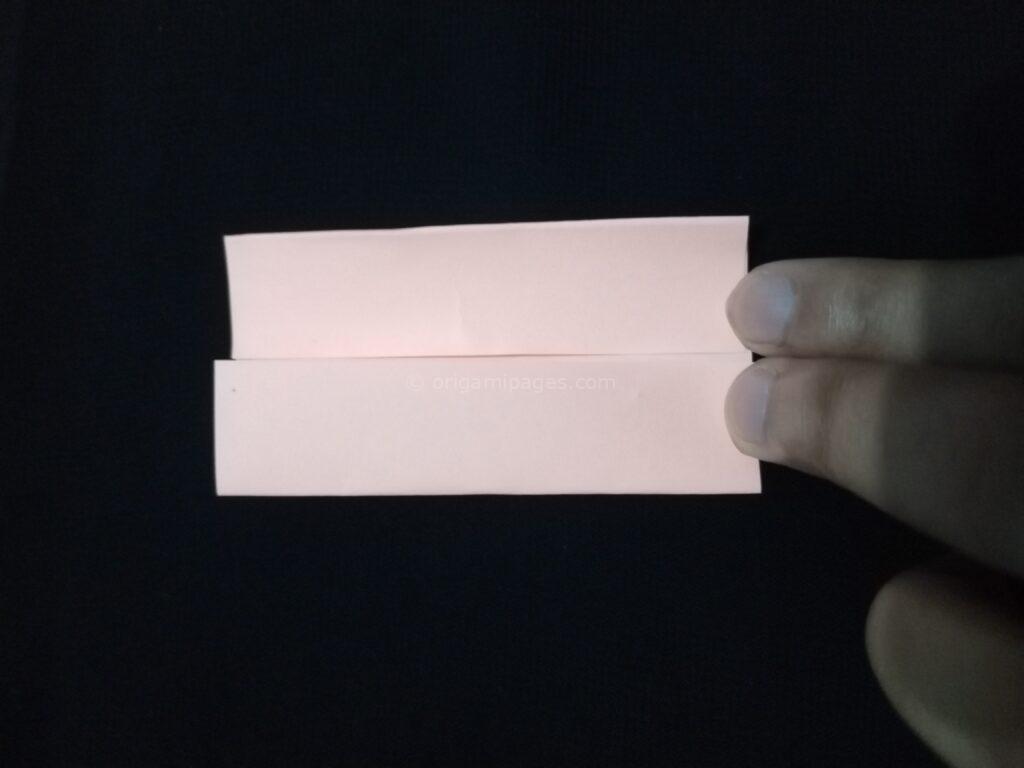
2. Fold Vertically and Horizontally
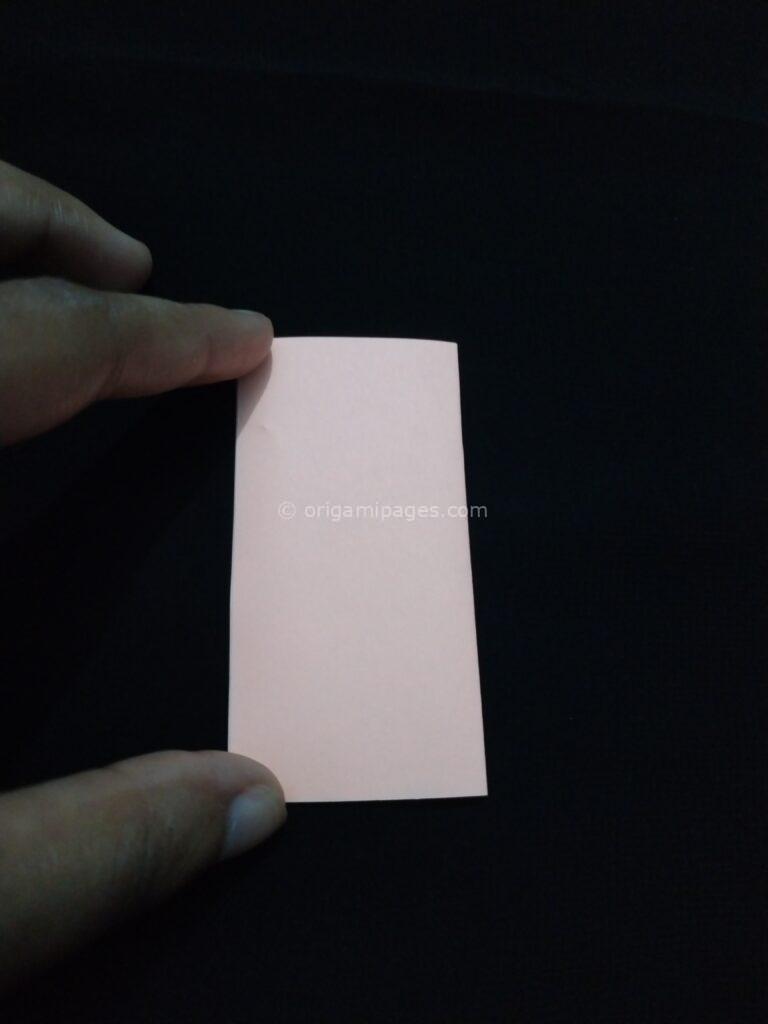
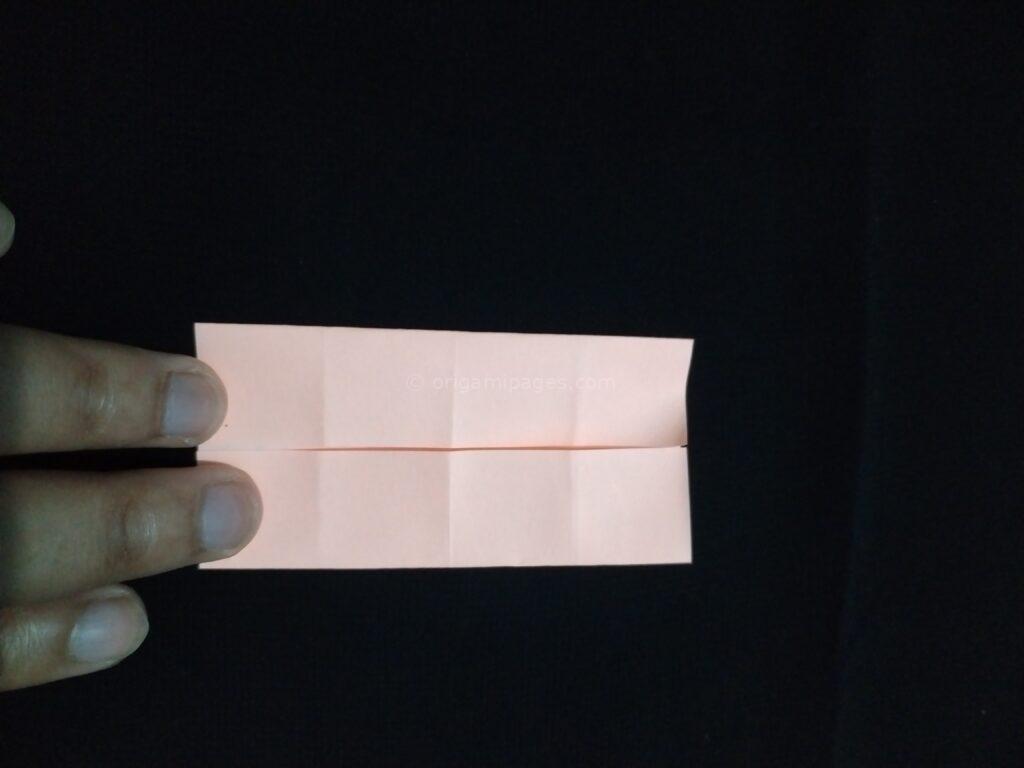
Fold the sticky note vertically in half, then unfold it. Next, fold both sides of the paper towards the middle line and unfold again. This creates crease lines that will guide your later steps.
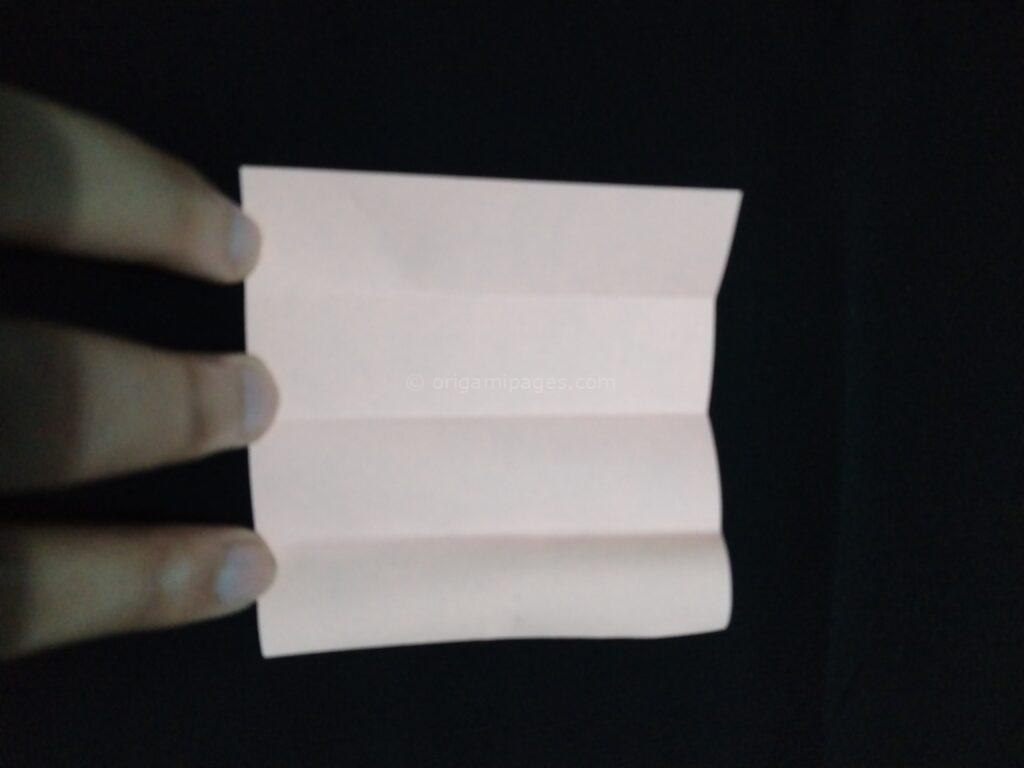
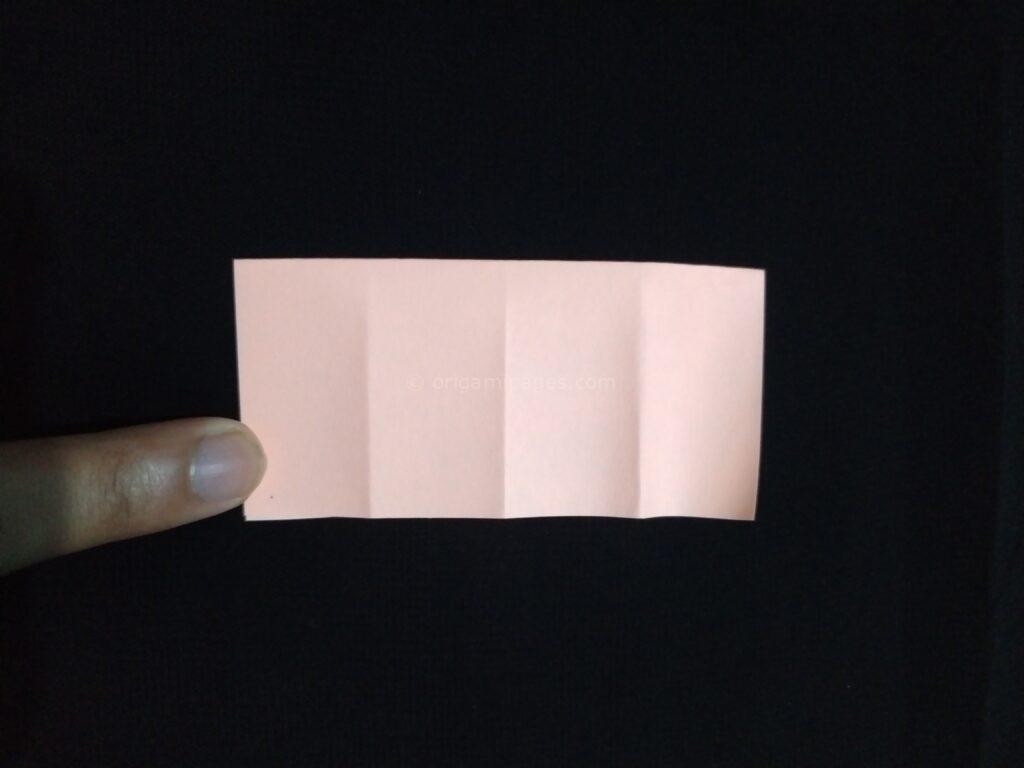
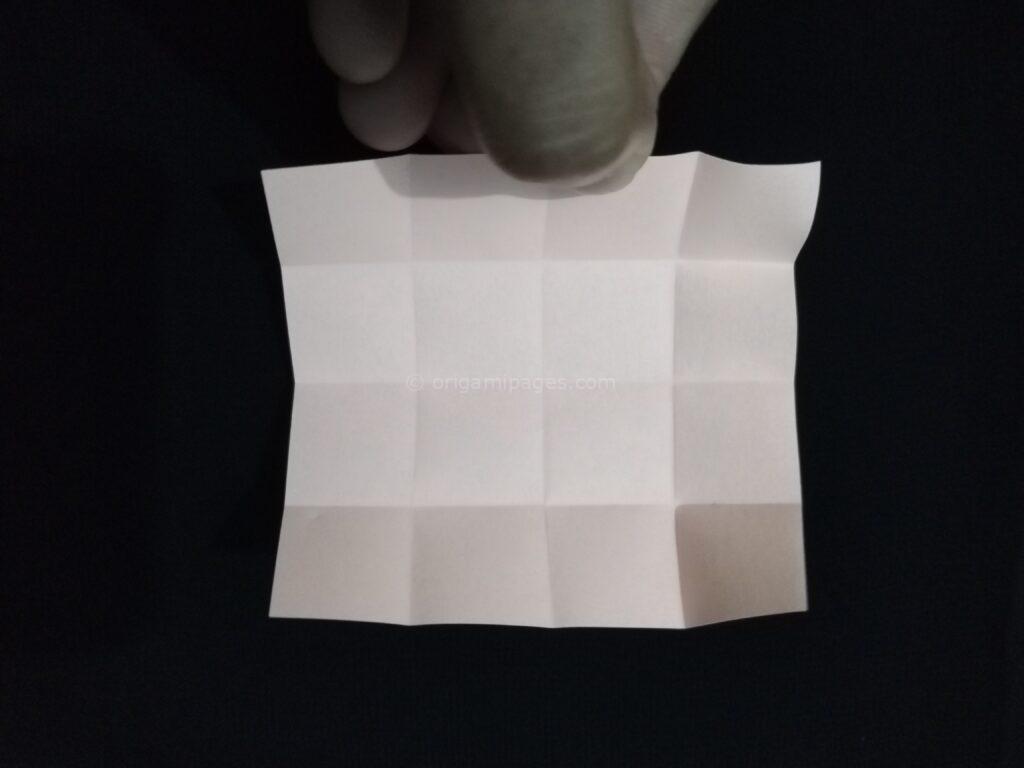
3. Make 16 Cells
Now, fold the sticky note horizontally and unfold. Then, along the center crease, bring both sides towards the middle and fold, then unfold again. In doing so, you will divide the sticky note into 16 equal cells. These creases will form the foundation for your easy origami star.
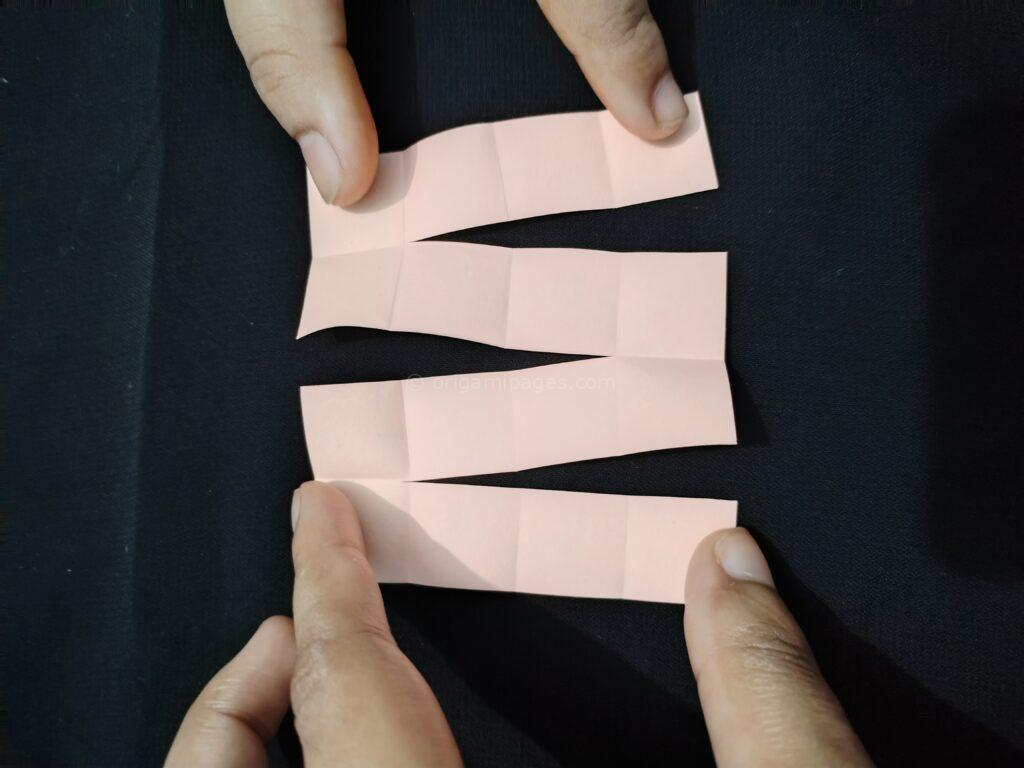
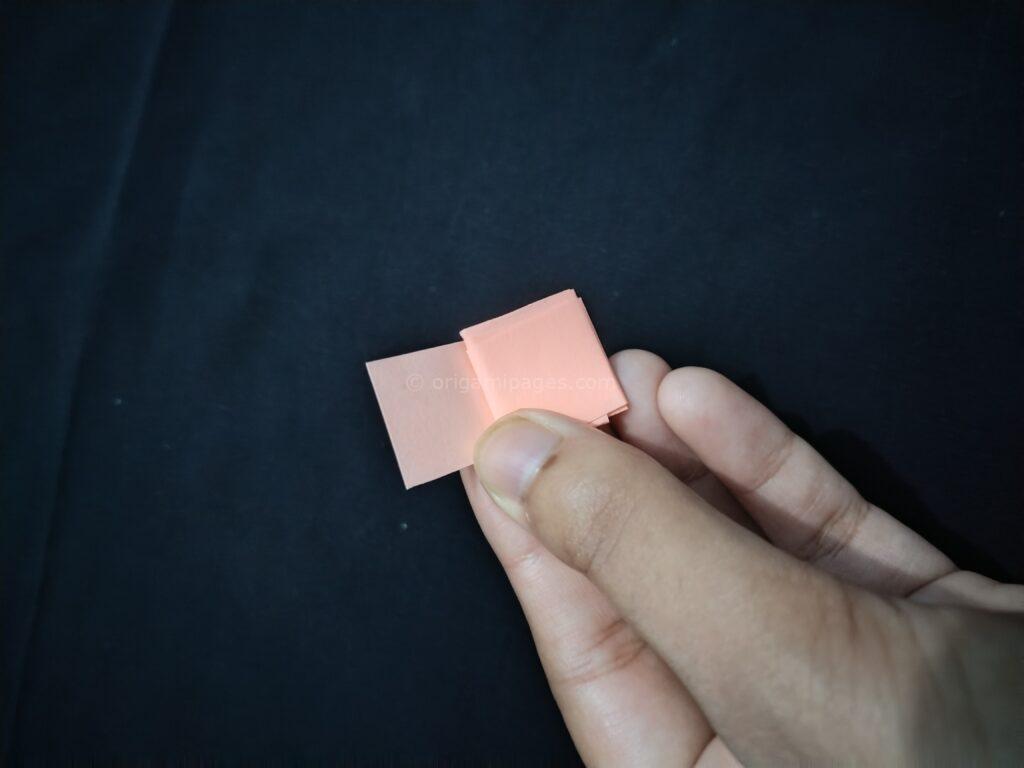
4. Cut Along the Lines
Carefully cut out three cells from the sticky note using scissors. This step is crucial in shaping the star, so make sure the cuts are clean and precise.
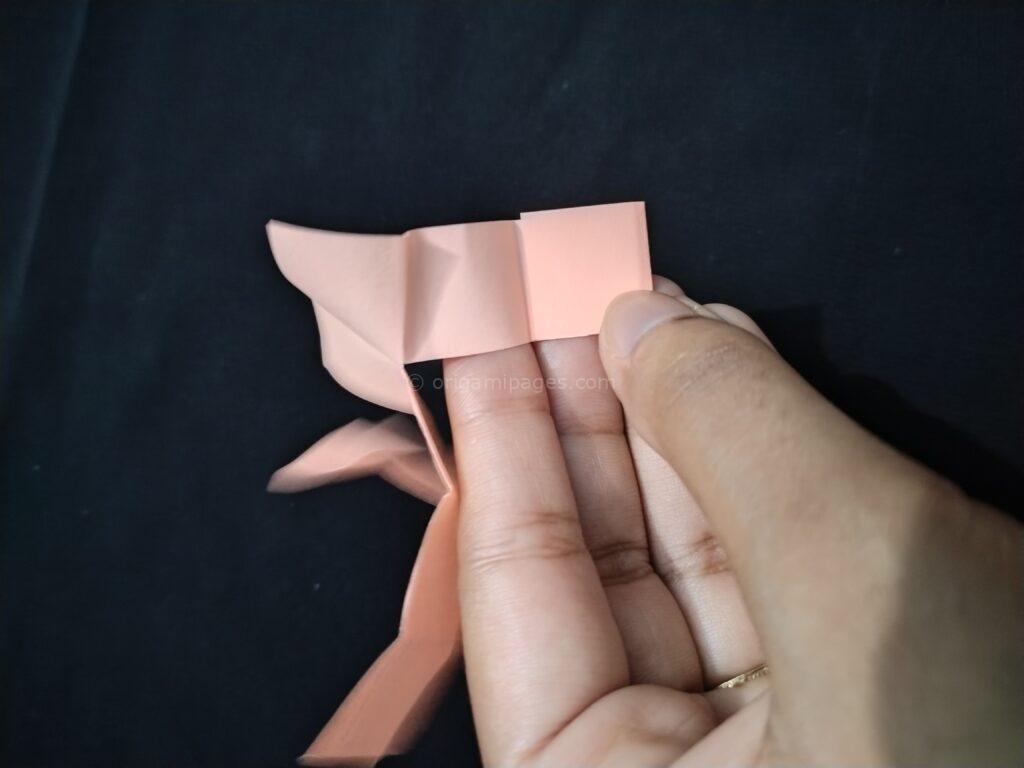
5. Roll and Press
Roll the sticky note following the diagram, and once you’ve made the roll, press down from all four sides to secure the folds. This step will transform the flat note into a 3D shape.

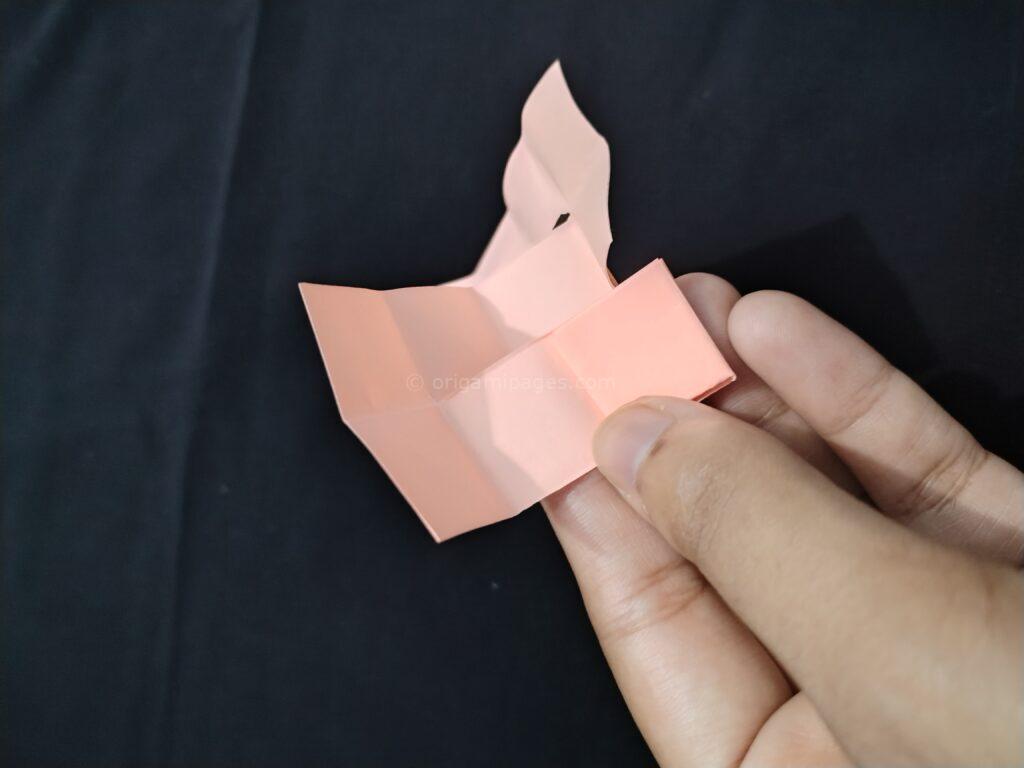
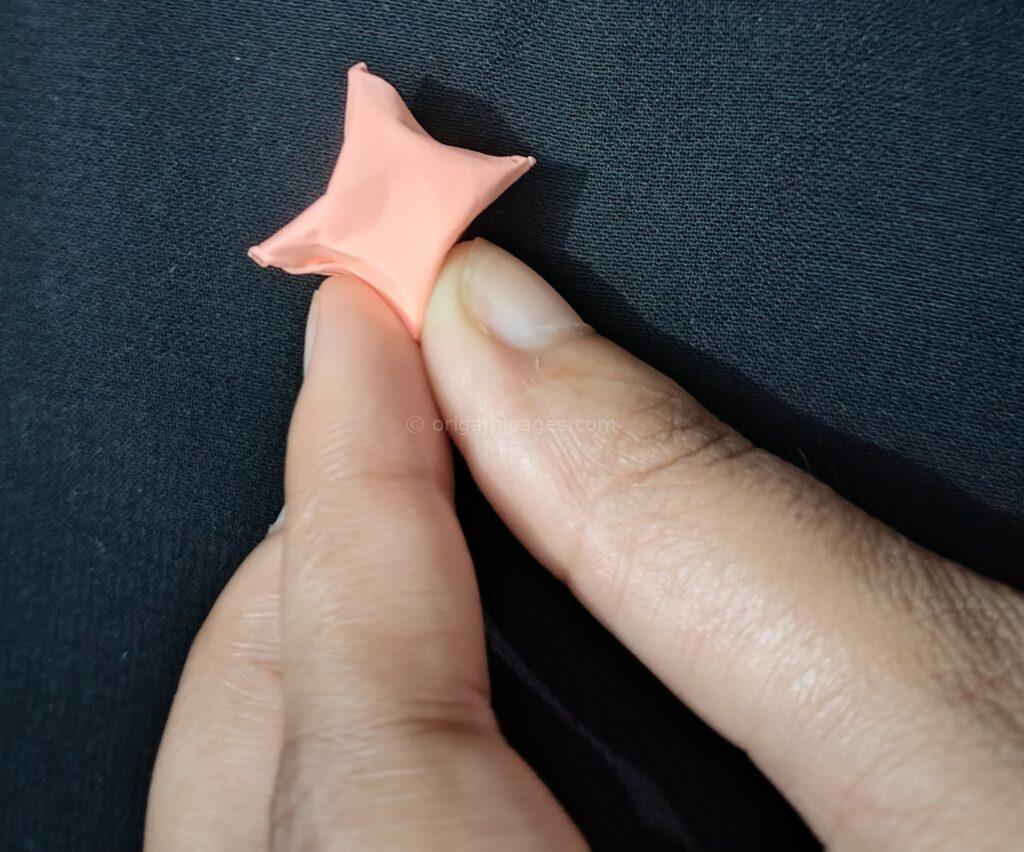
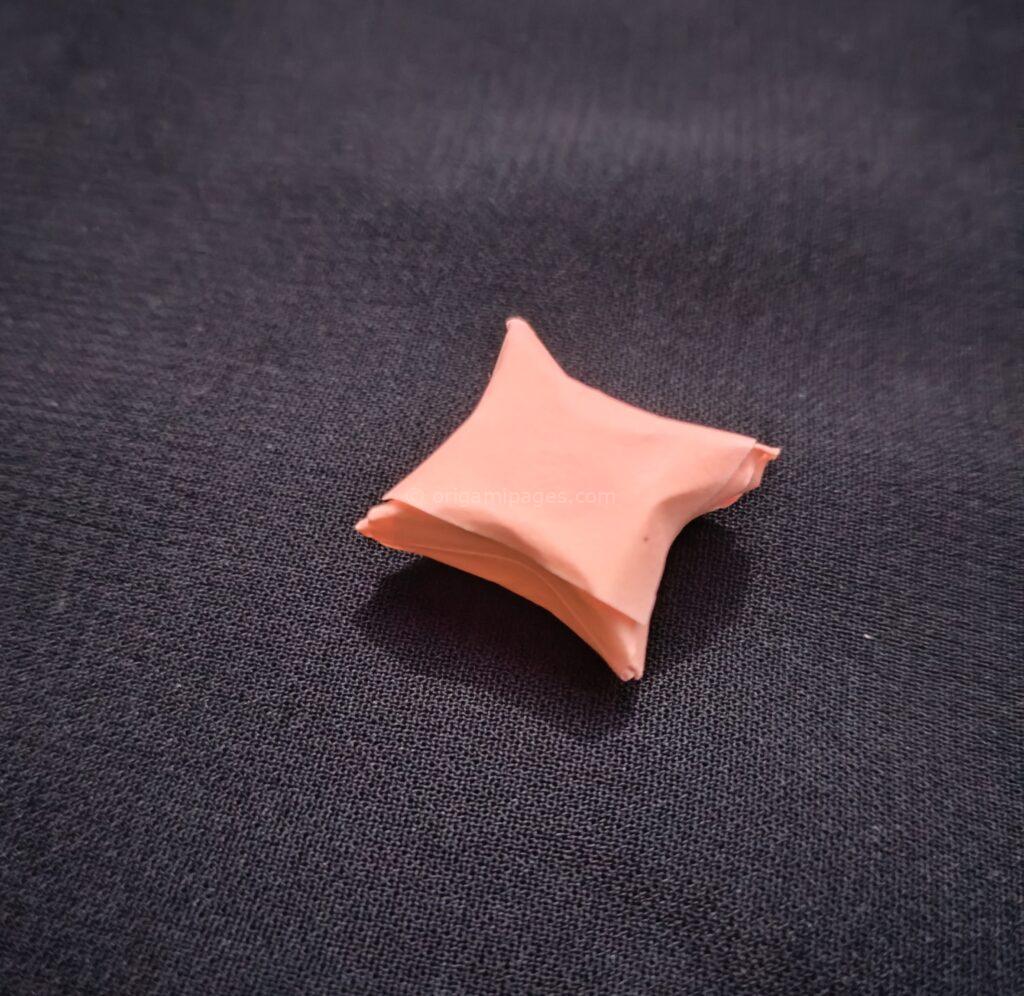
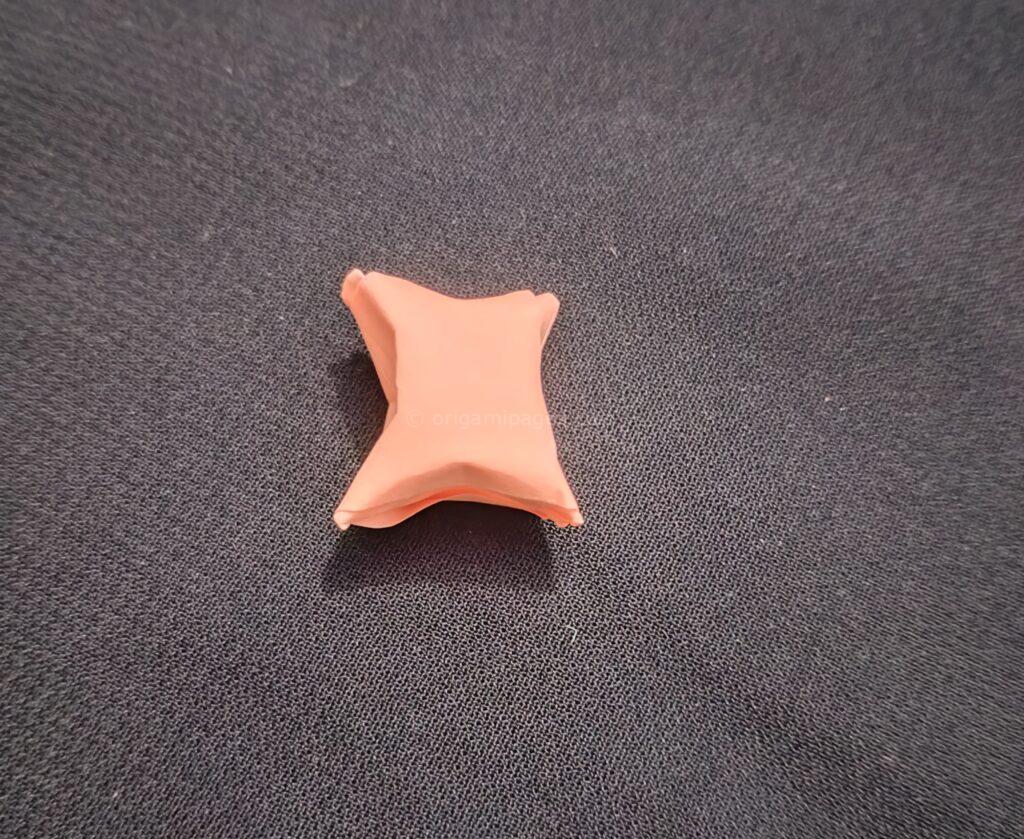
6. Your Sticky Note Origami Star is Complete!
Once pressed, your sticky note origami star will be formed. This simple yet elegant design can be used for decoration, gifting, or even as a unique bookmark.

Tips for Success
- Precision is key: Make sure your folds are crisp and aligned.
- Patience: If you’re new to origami, don’t rush the steps. Take your time and enjoy the process.
- Customization: Try using different colored post-it notes or decorating the finished star for a personal touch.
Outro
In this article, I’ve guided you through each step to create a sticky note origami star, from folding to pressing. Whether you’re looking for a fun craft or an easy origami project, this star is a great choice for both beginners and seasoned origami enthusiasts.
I hope you enjoyed making this star as much as I did. Feel free to share your thoughts and suggestions—feedback is always welcome!