How to Make Easy Halloween Origami Pumpkins: A Beginner’s Guide
Get ready for some spooky fun! Whether you’re a fan of folding paper or just love getting crafty, making your own Halloween origami pumpkins is a blast. Follow along with our easy guide to create these adorable decorations for your home. It’s perfect for kids and grown-ups who want to add a touch of Halloween spirit to their space. Let’s get folding!
Step-by-Step Guide: How to Make Easy Halloween Origami Pumpkins
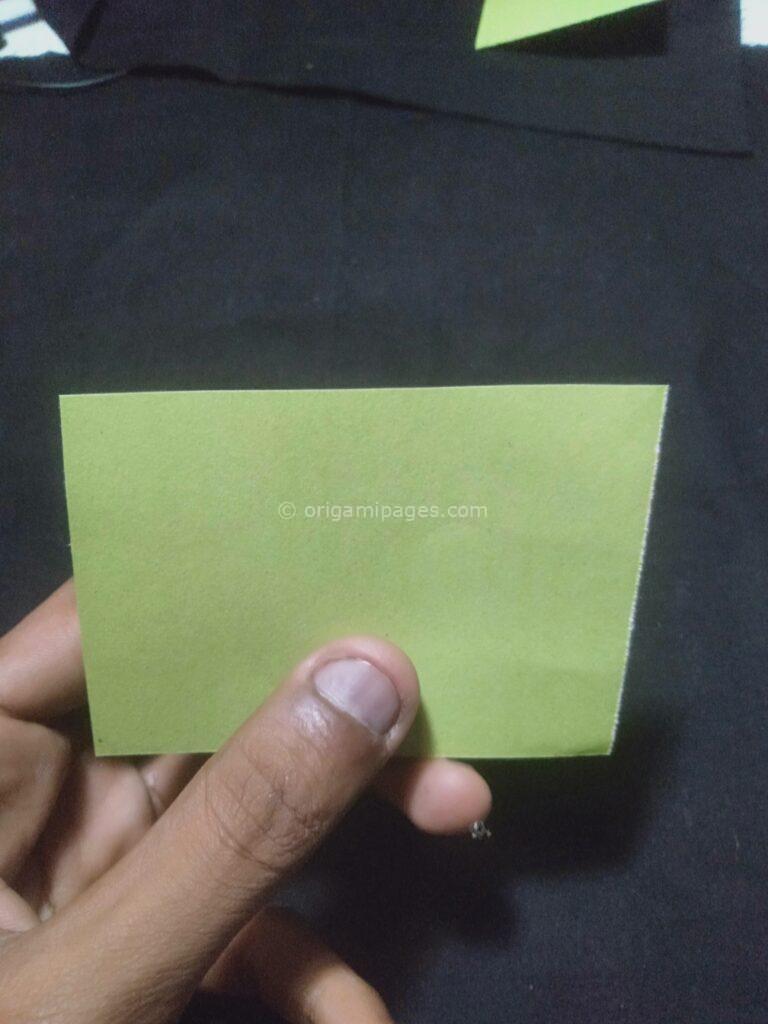
Step 1: Gather Your Materials
Before diving into your origami pumpkin project, ensure you have all the necessary supplies on hand. You’ll need a square sheet of paper, preferably in festive fall colors, to kick-start your crafting adventure.
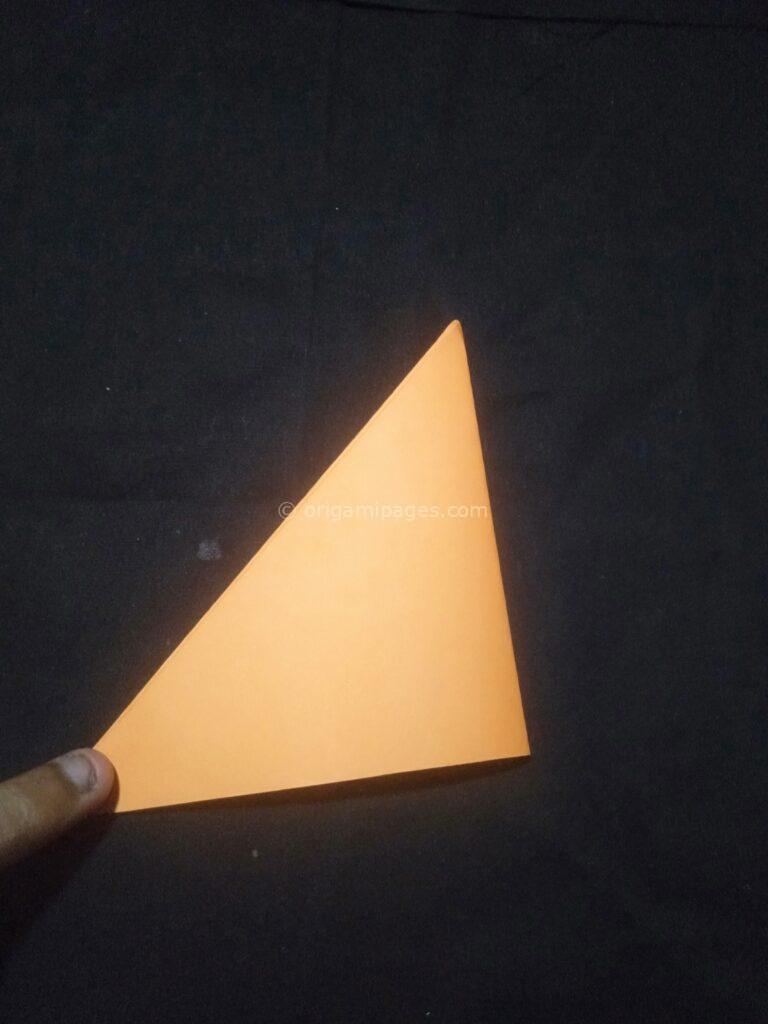
Step 2: Fold into a Large Triangular Shape
Begin by folding your square sheet of paper diagonally to create a large triangular shape. This foundational fold sets the stage for shaping your Halloween origami pumpkin with precision and care.

Step 3: Create Additional Folds
Next, fold the triangular shape once more, bringing the bottom corner upward to meet the top point. These additional folds establish the structure of your pumpkin, laying the groundwork for its distinctive appearance.

Step 4: Flip and Crease
With your folded paper at the ready, gently flip the right-side flap over to the left side, forming a crisp 90° crease along the centerline of your triangle. This precise fold ensures symmetry and balance in your pumpkin’s design.
Step 5: Cut Along the Drawn Line
Using scissors, carefully cut along the drawn line at the top of your folded paper. This strategic incision allows for the manipulation and shaping of your pumpkin’s petals, adding depth and dimension to your creation.


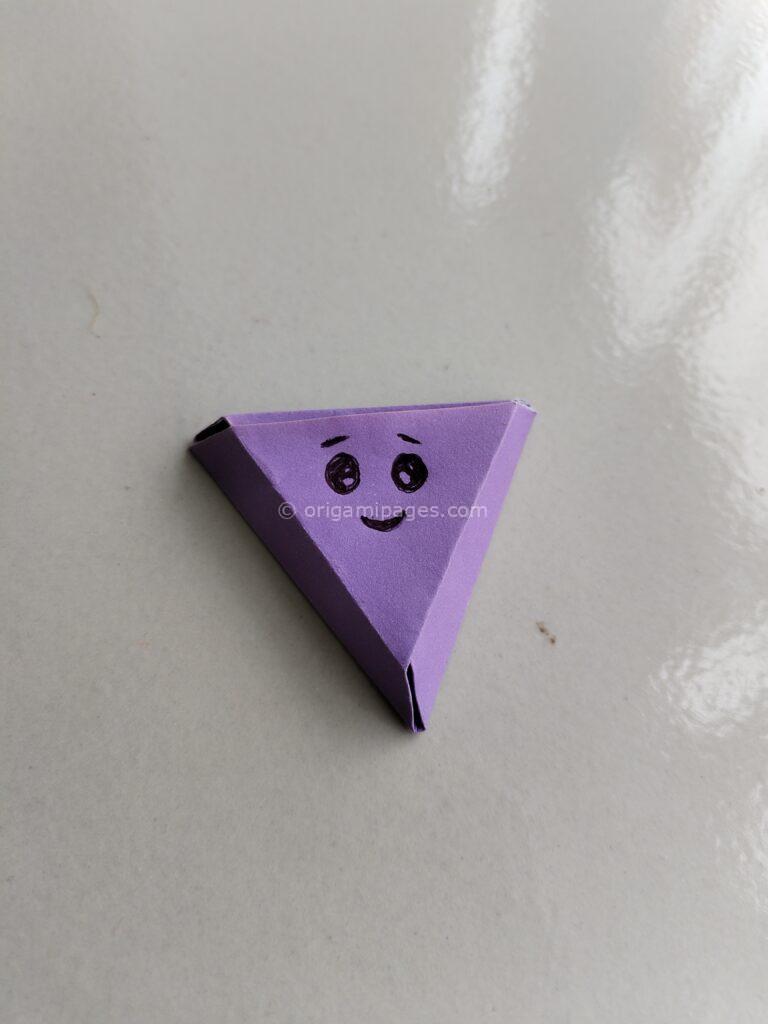
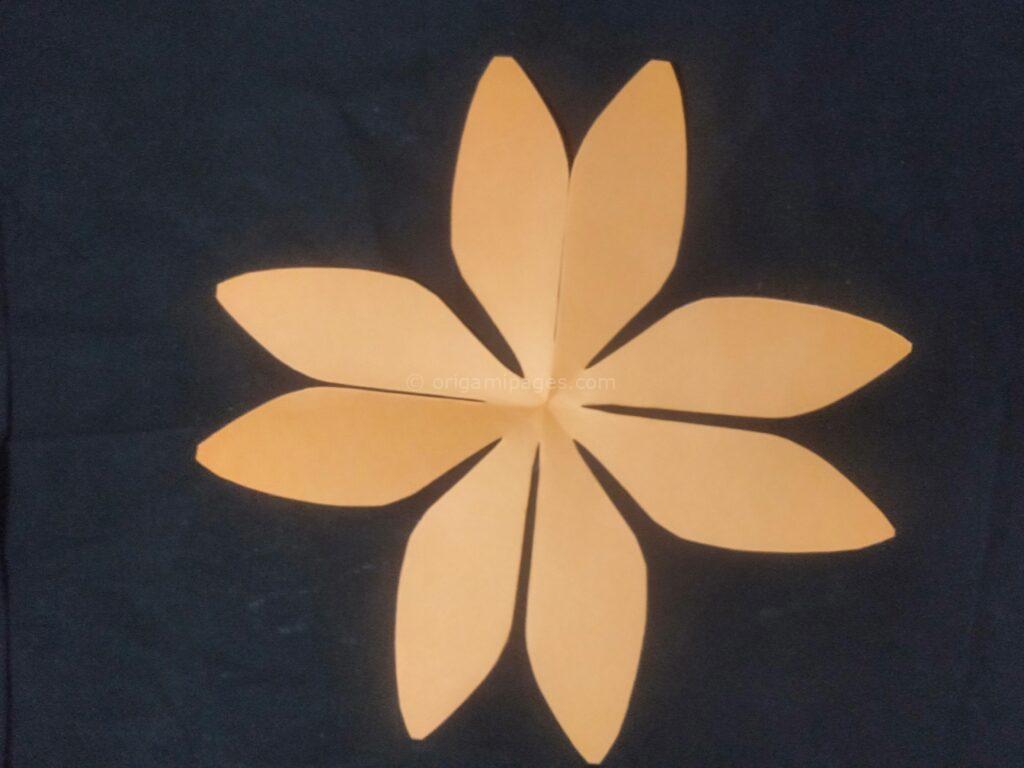
Step 6: Refold and Shape
After making the necessary cuts, refold your paper to restore its triangular shape, marveling at the intricate folds that transform a simple sheet of paper into the beginnings of a delightful Halloween origami pumpkin.

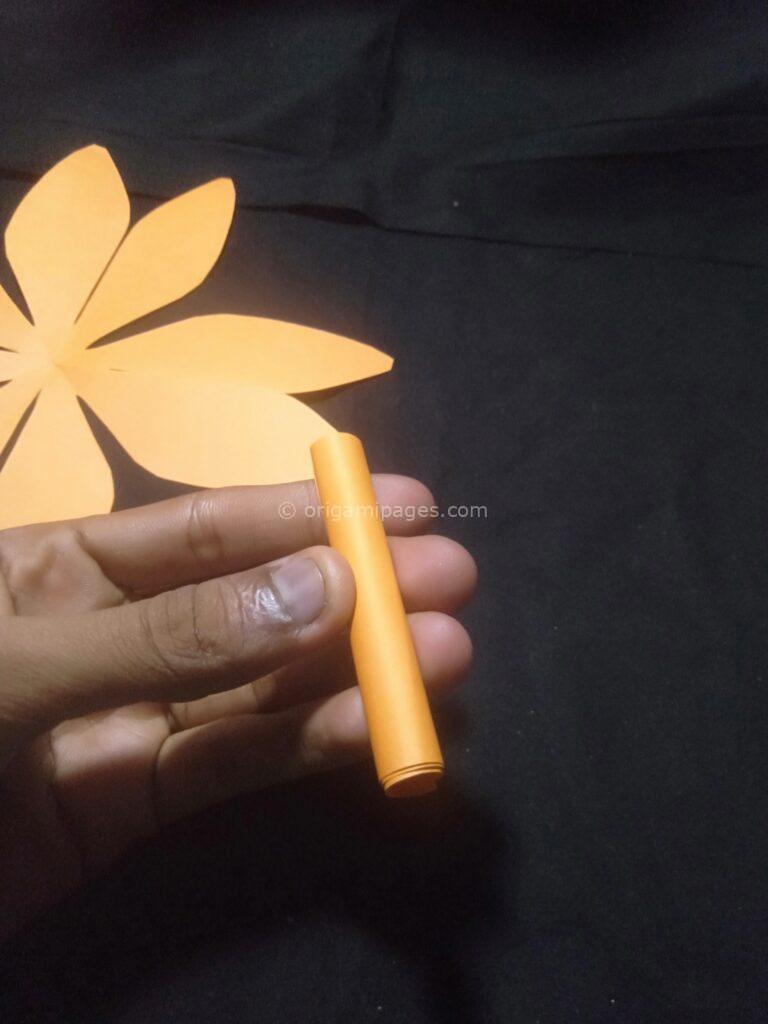
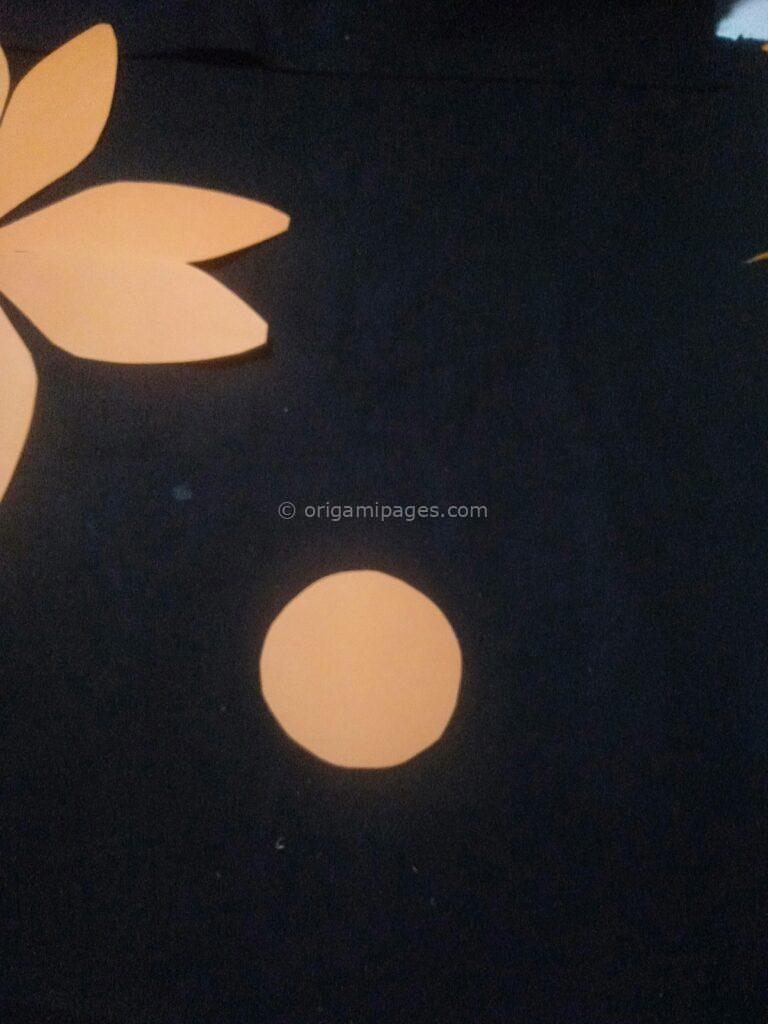
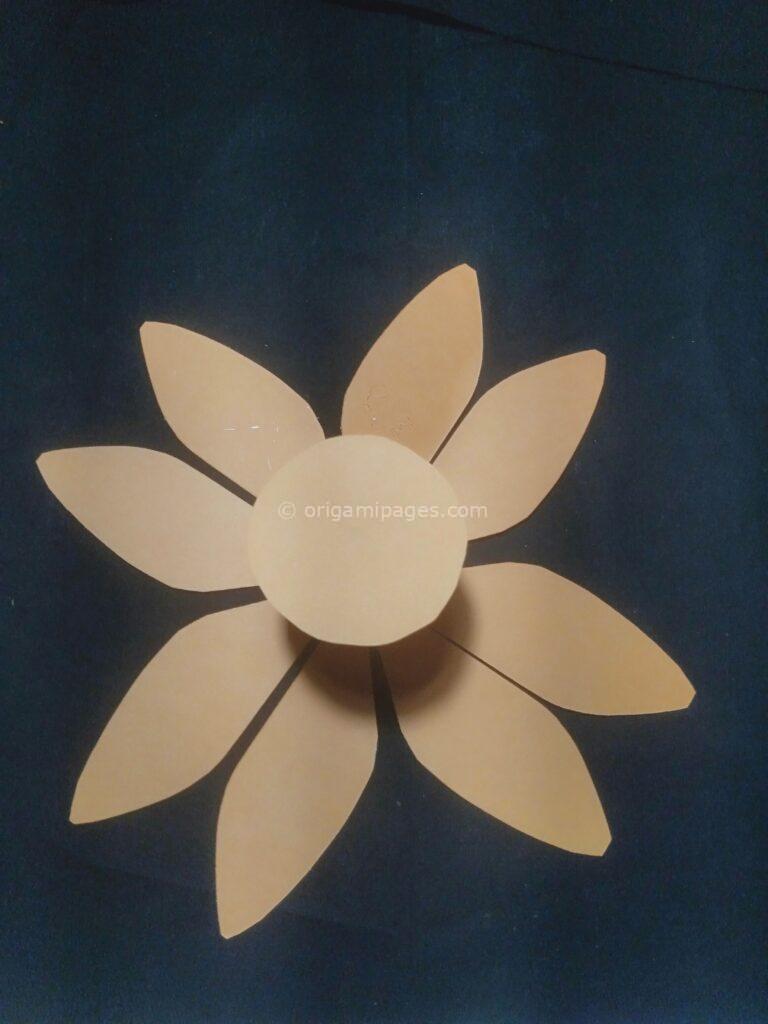
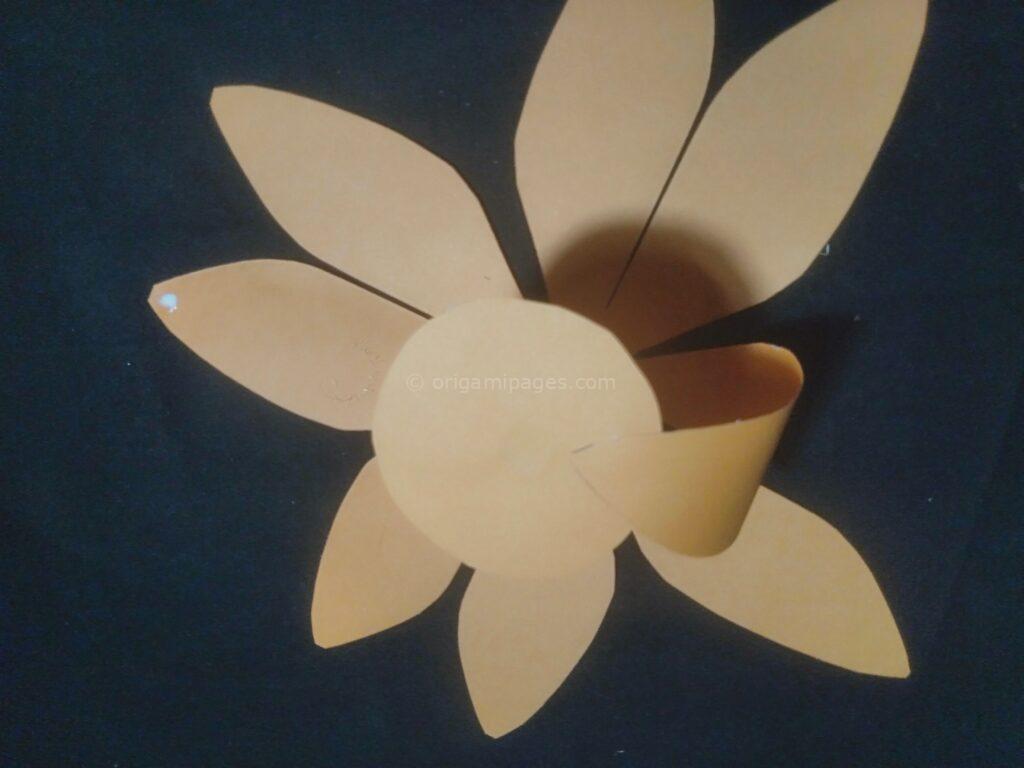
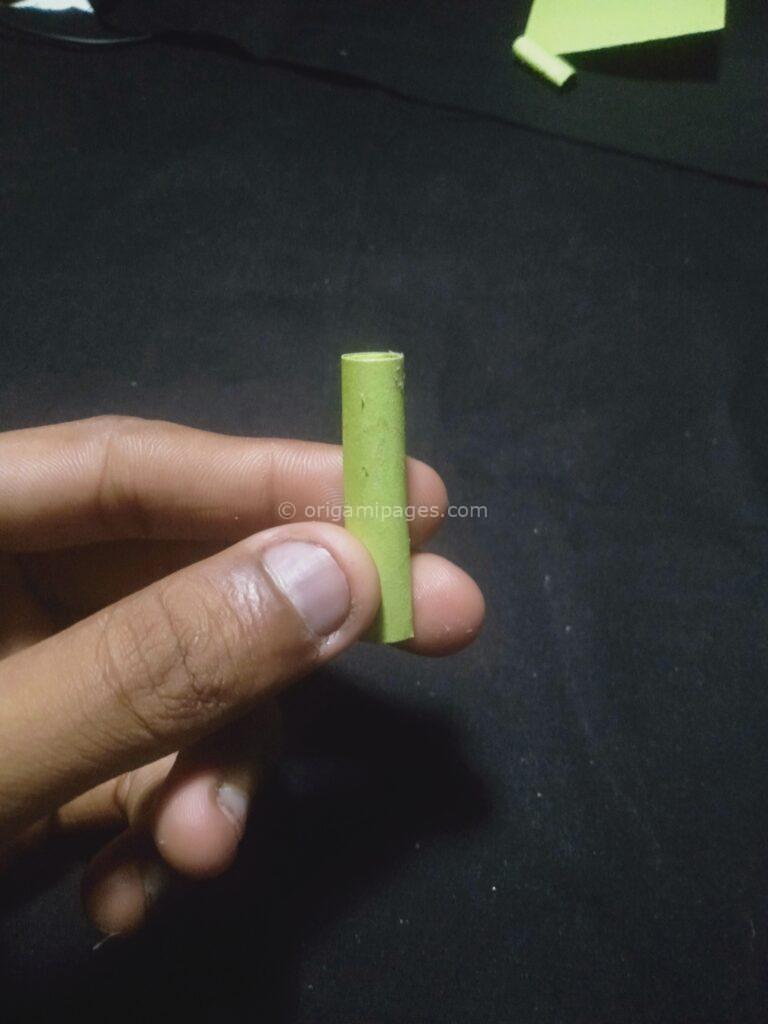
Step 7: Roll and Attach
To fashion the stem of your pumpkin, roll an additional piece of paper tightly to form a cylindrical shape. Secure the rolled paper with adhesive before attaching it to the middle of the bottom point of your folded paper. For added stability, affix a circular base cut from another piece of paper.
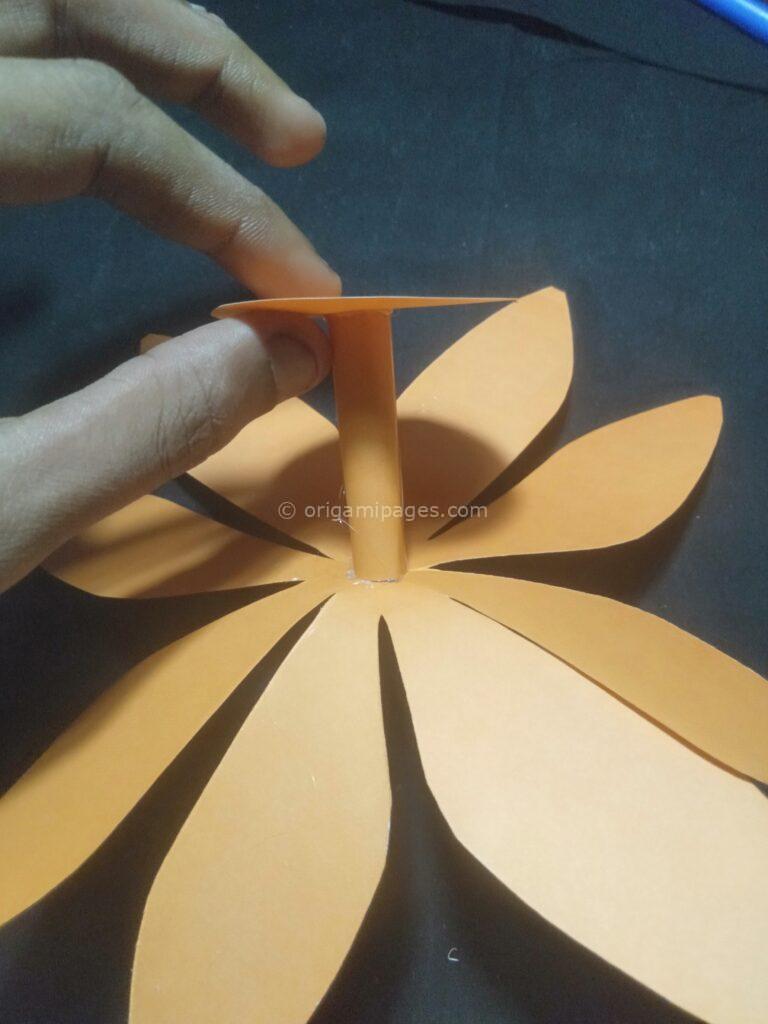
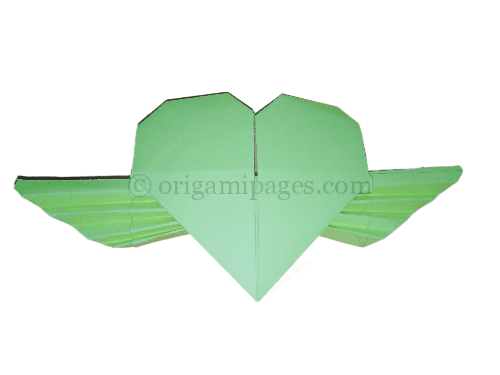
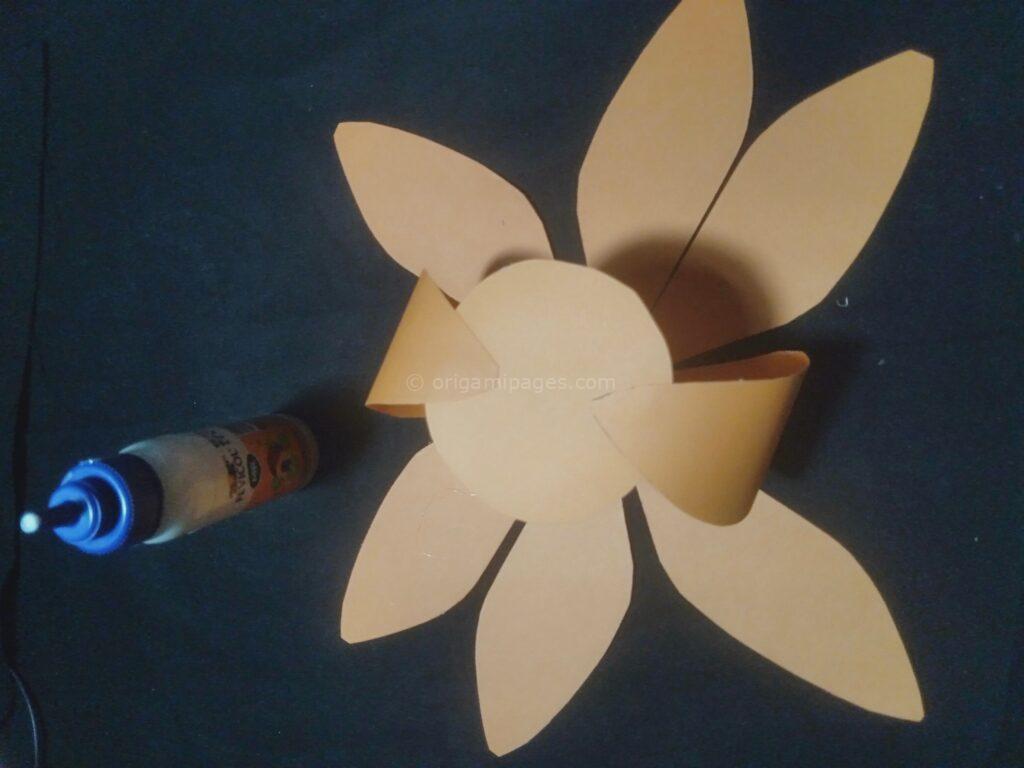
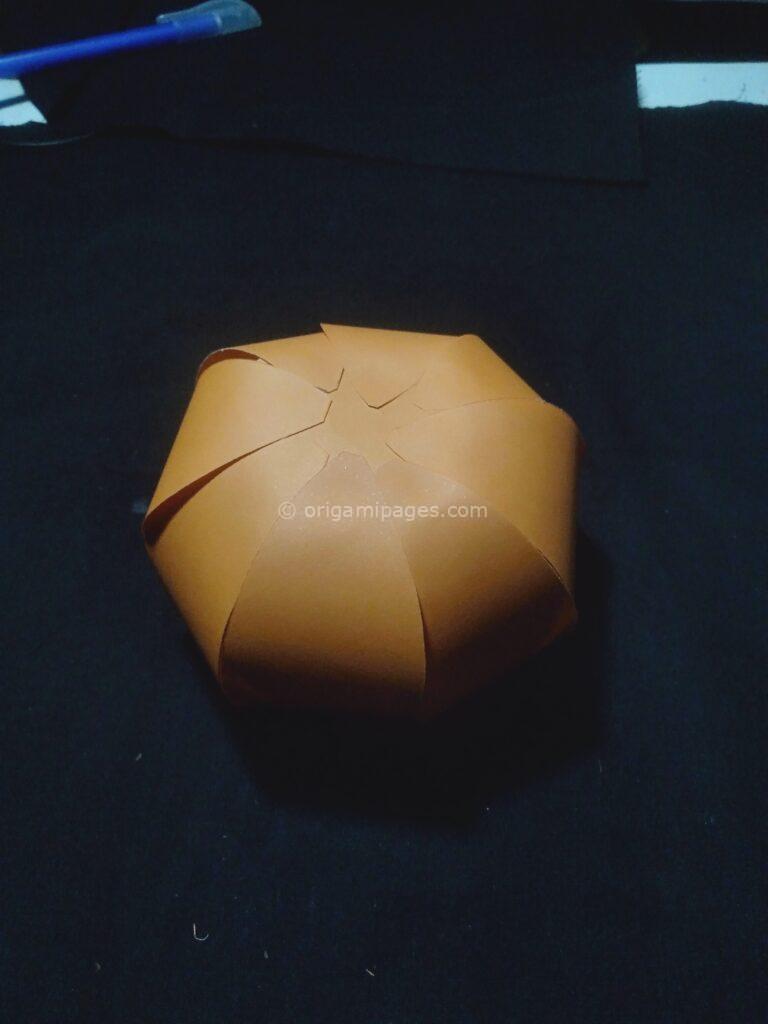
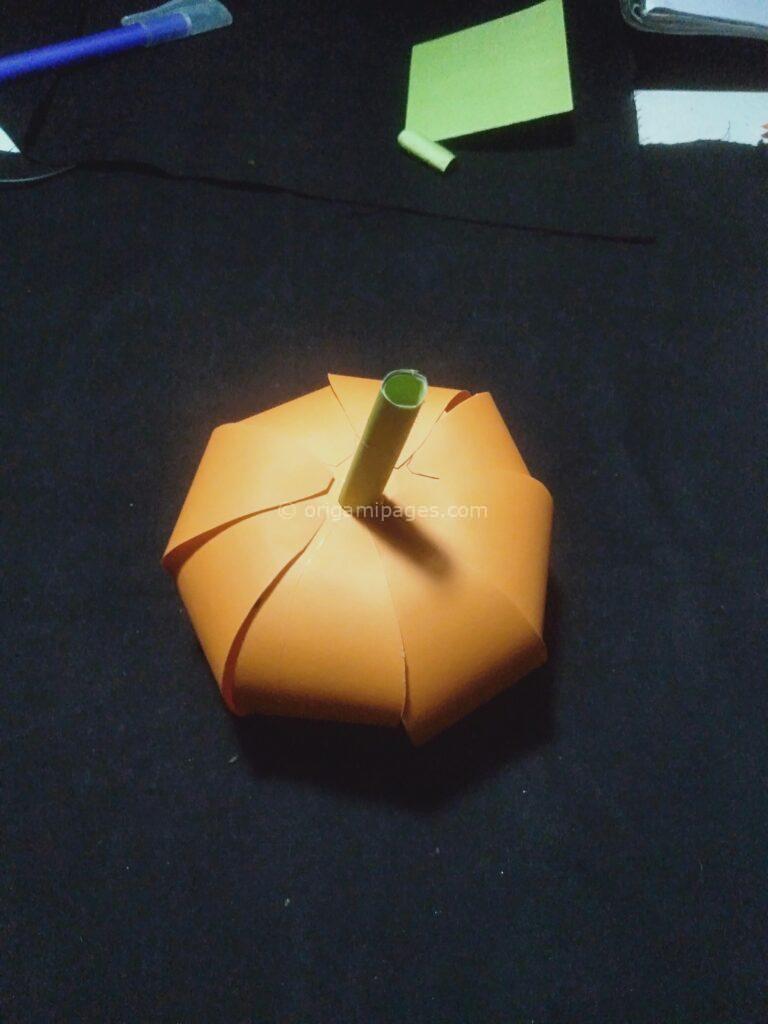
Step 8: Assembly
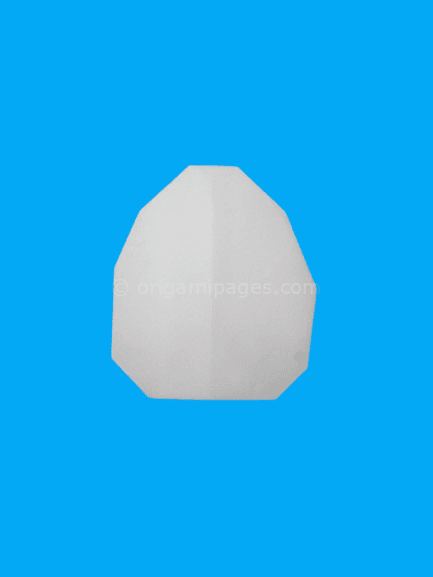
With the stem and base securely in place, fold each flap towards the center point of your pumpkin, securing them with adhesive or glue. This step defines the contours and ridges of your pumpkin, lending it an authentic and lifelike appearance.
Step 9: Add the Finishing Touches
No Halloween origami pumpkin is complete without its signature stem and leaf. Craft a slender stem from green paper and affix it to the top of your pumpkin, alongside a leaf for added realism. These final touches elevate your creation from ordinary to extraordinary, ready to enchant all who behold it.
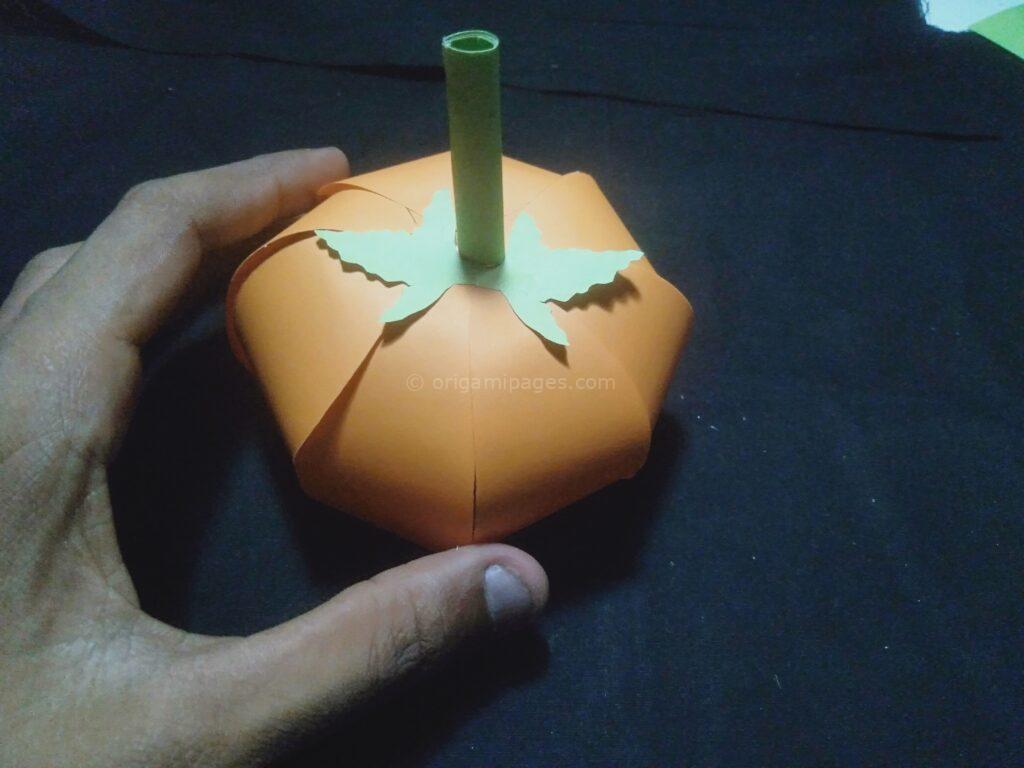
Your homemade Halloween origami pumpkin is all set to steal the show as a charming part of your autumn decorations. Whether it’s sitting on a shelf, table, or by the window, everyone who sees it will smile and admire your crafty creation.
Conclusion
Crafting simple origami pumpkins for Halloween is a rewarding endeavor that allows individuals of all ages to express their creativity and embrace the festive spirit of the season. With just a few folds and a dash of imagination, you can create captivating decorations that infuse your home with warmth and charm. So gather your materials, follow these easy steps, and embark on a crafting adventure filled with joy and delight. Happy folding!