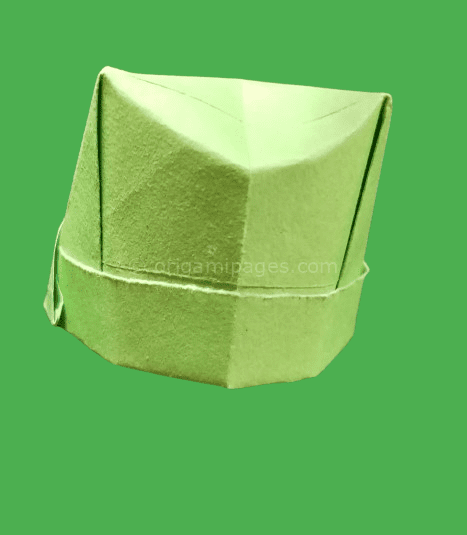
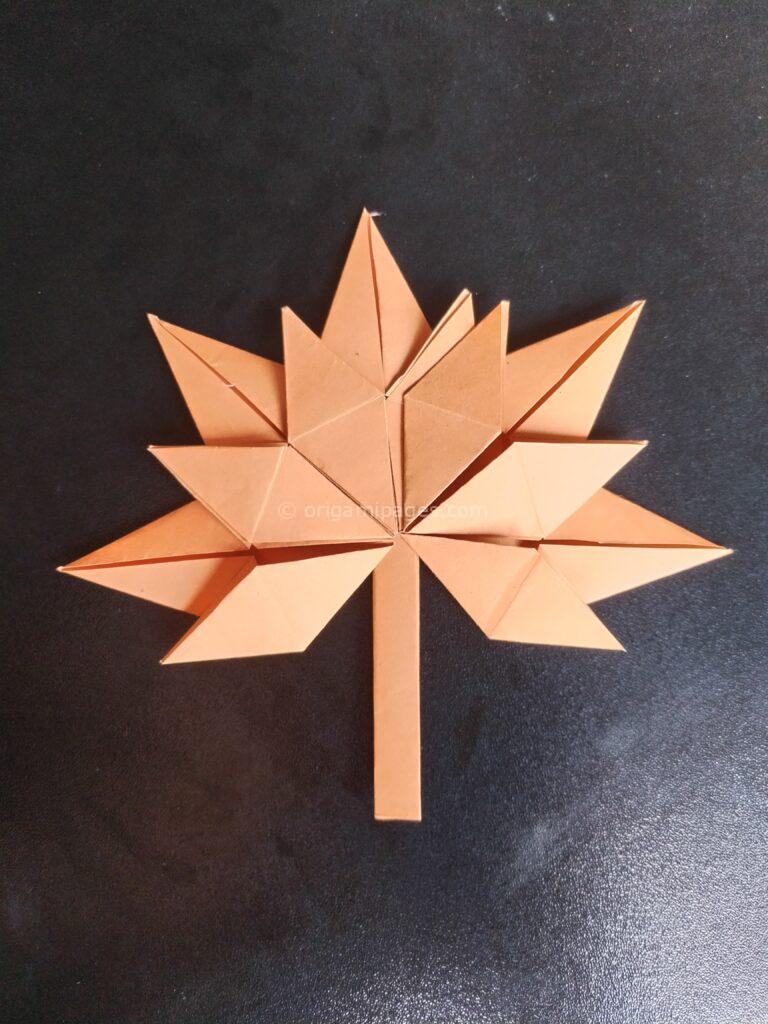
Origami Triangle Box: A Step-by-Step Guide for Crafting a Stunning Triangular Box
Origami has always been a blend of art and precision, offering endless possibilities with just a simple sheet of paper. One of the most captivating projects is the Origami Triangle Box, a design that perfectly balances simplicity and elegance. Whether you’re a beginner looking to explore the basics of paper folding or an experienced artist seeking a new challenge, this guide will take you through each step with clarity and ease.
Creating an origami triangle box is not only a rewarding endeavor but also a delightful way to create something functional and beautiful. As you follow along with the step-by-step instructions, you’ll discover the joy of transforming a flat piece of paper into a three-dimensional work of art. Let’s dive into the process and create an origami triangle box that you can use for storing small treasures or gifting something special.
Materials Needed
Before we begin, gather your materials. For this project, all you need is a sheet of rhombus-shaped paper. The size of the paper can vary depending on how large or small you want your box to be, but starting with a medium-sized sheet is recommended for beginners.
Step-by-Step Instructions
1. Start with a Rhombus-Shaped Paper
Begin by taking a rhombus-sized paper. This unique shape is essential for forming the triangular box origami. Make sure your paper is clean and crisp, as this will help in making sharp folds.

2. Fold Along the Middle
Fold the paper along the middle to create a neat crease. This will be the foundation of your origami triangle box. After folding once, fold it again along the middle in the opposite direction. These creases are crucial as they guide the subsequent steps.
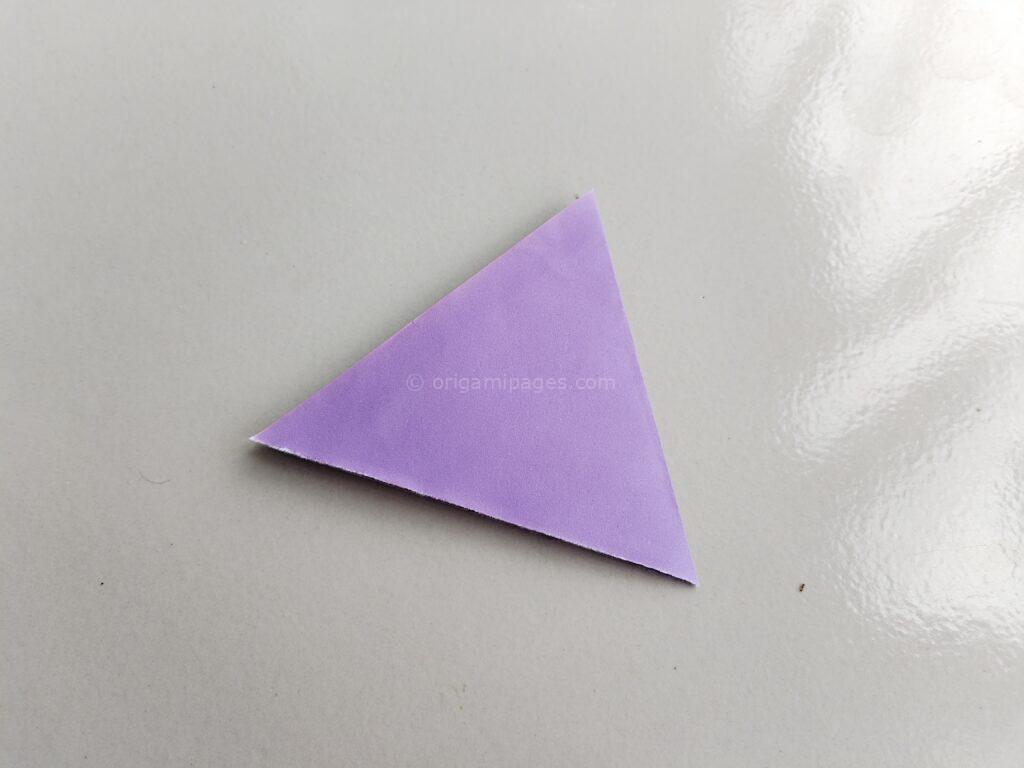
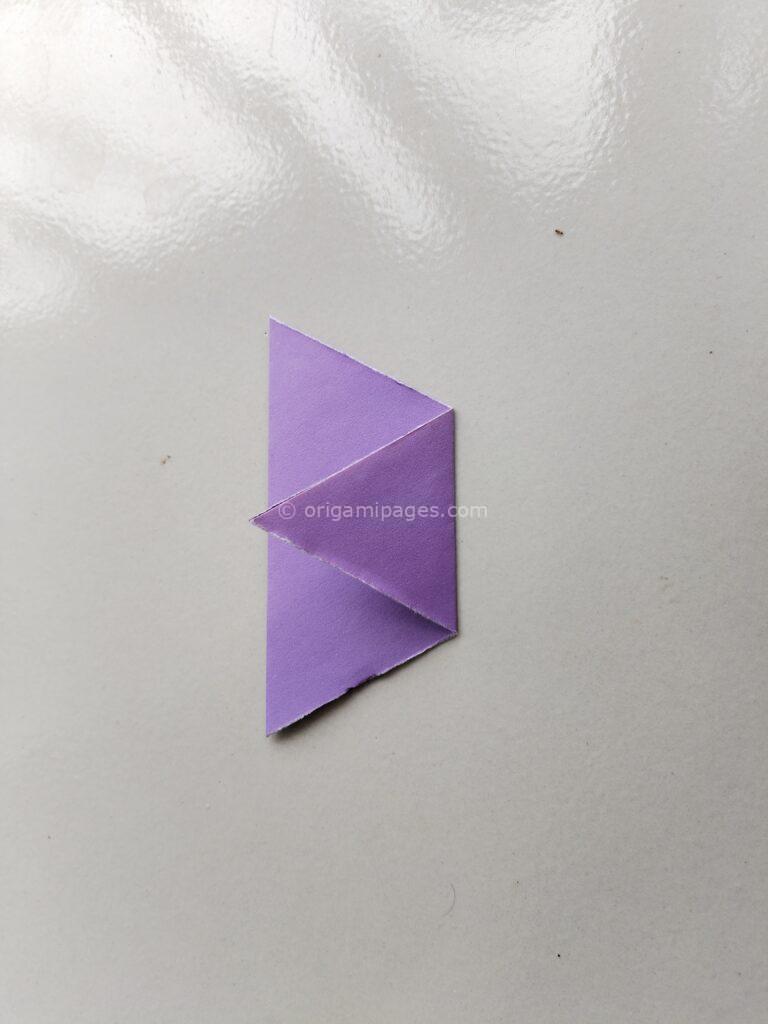
3. Fold and Unfold on Both Sides
Next, fold and unfold the paper on both sides, one by one. These folds help in shaping the triangular box, making it easier to form the final structure. Ensure that each fold is precise, as it will affect the overall appearance of the box.
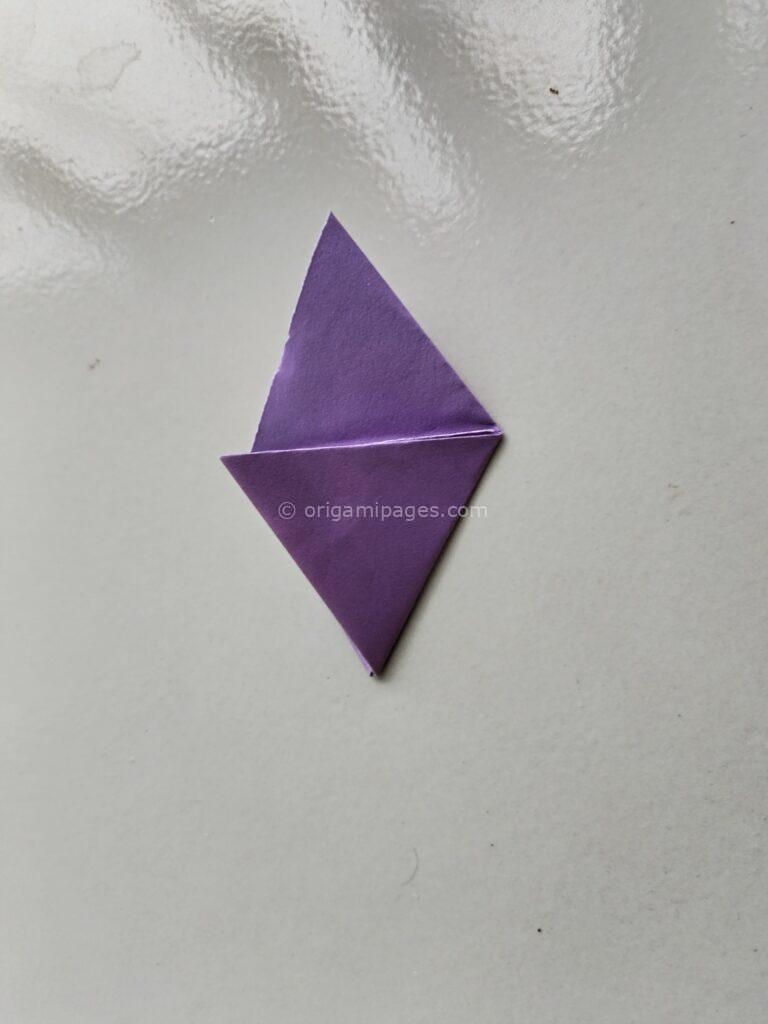
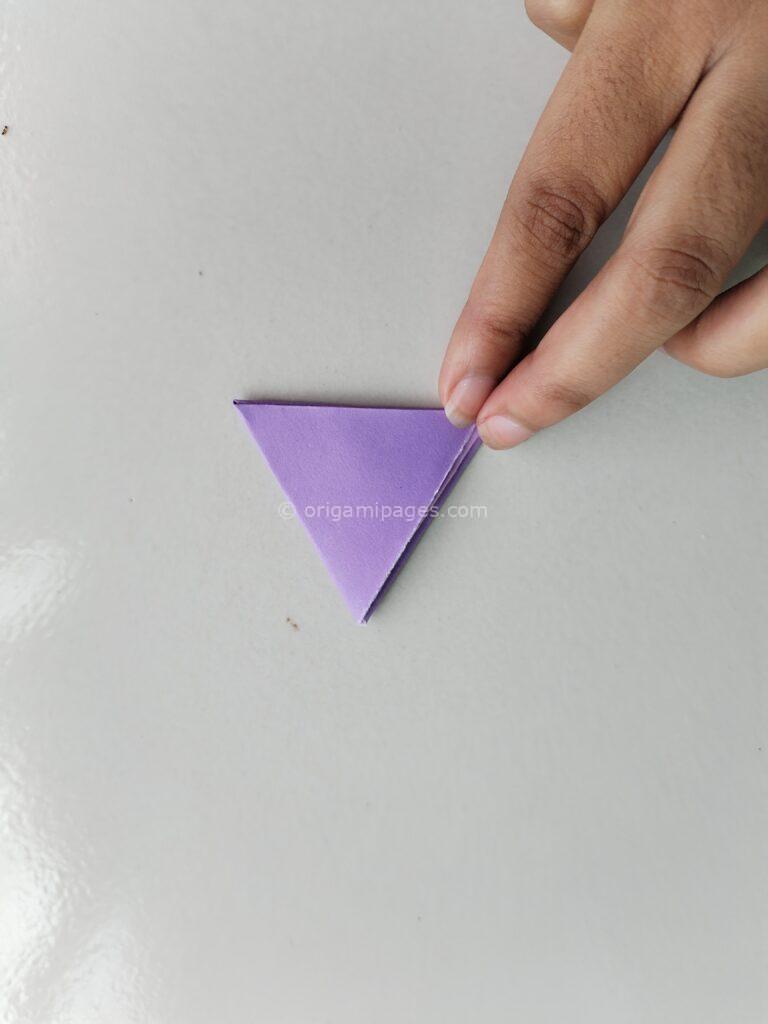
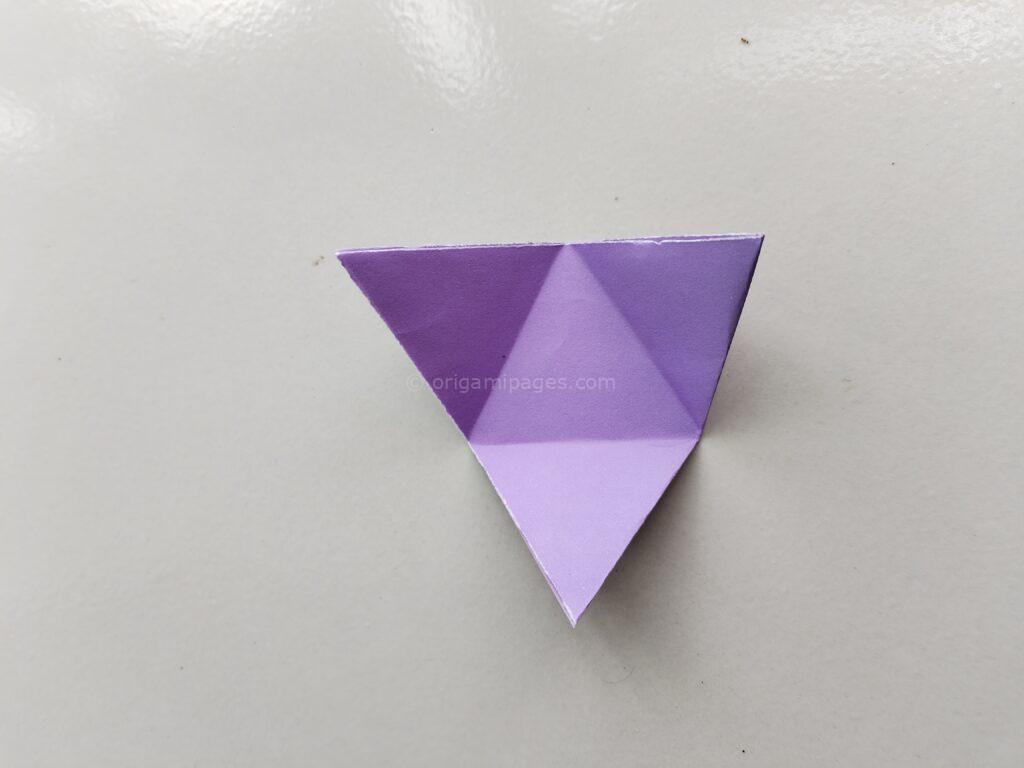
4. Add an Extra Fold from the Main Line
Now, add one more fold from the main line. This step involves folding the top corners towards the center, aligning them with the main crease. This additional fold strengthens the box and helps in securing its shape.
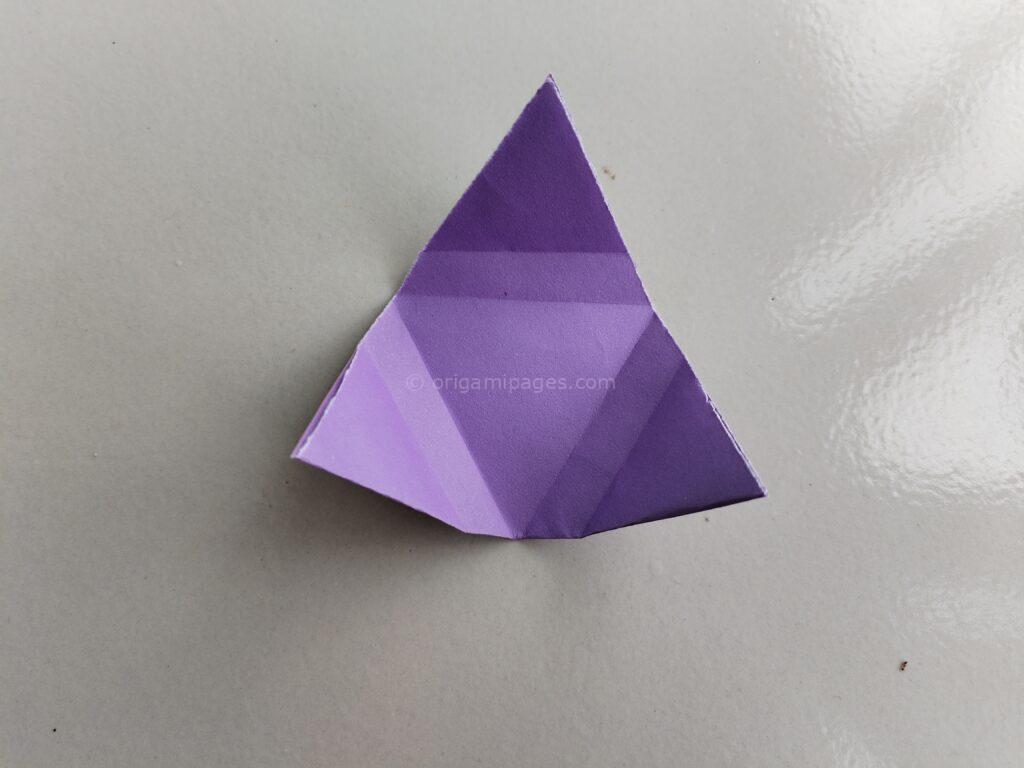
5. Insert the Top Paper Inside the Side Paper
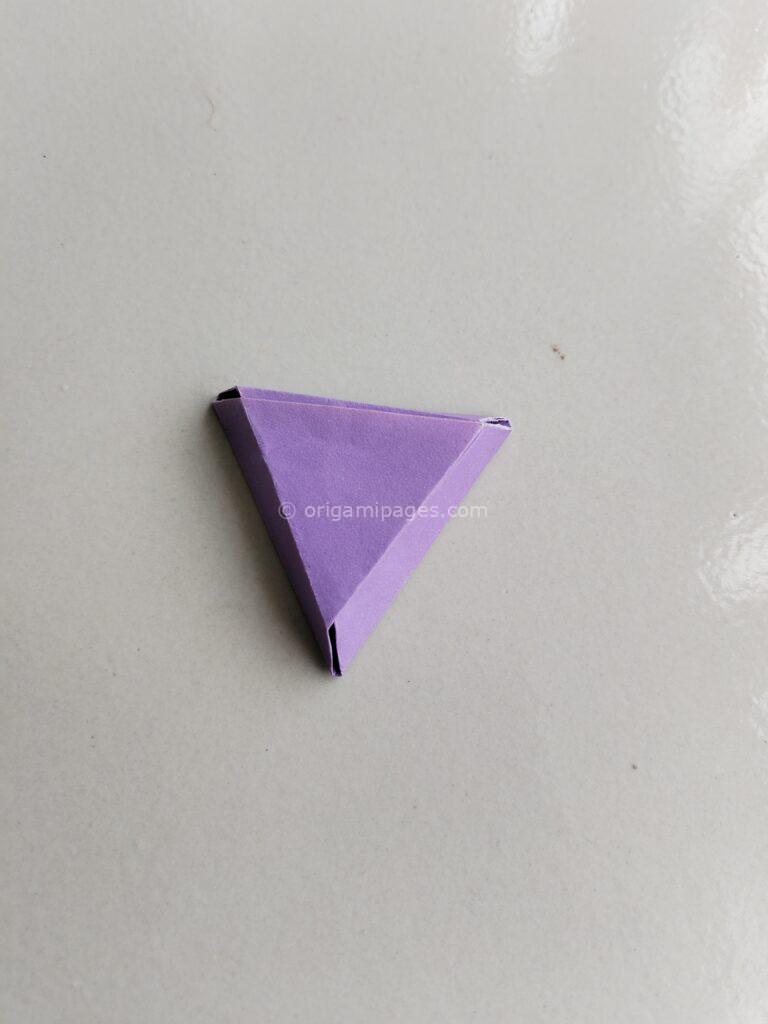
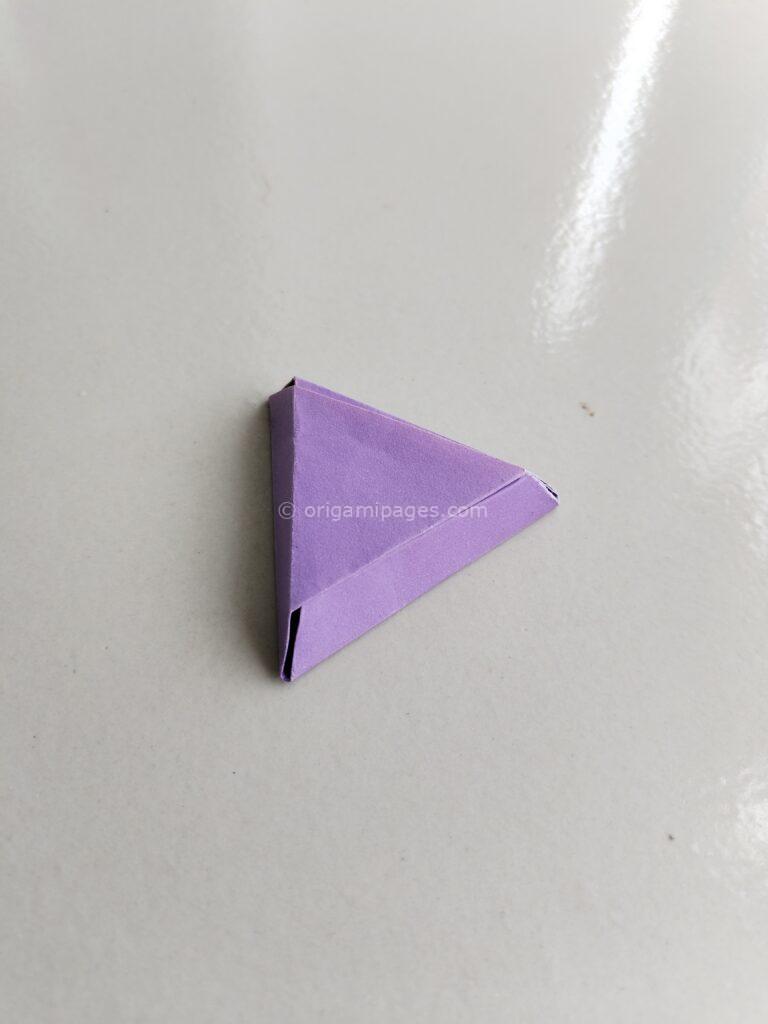
Carefully insert the top paper inside the side paper. This is where the modular origami box begins to take form. By tucking the paper neatly, you create a sturdy base for the box, ensuring that it holds its shape.
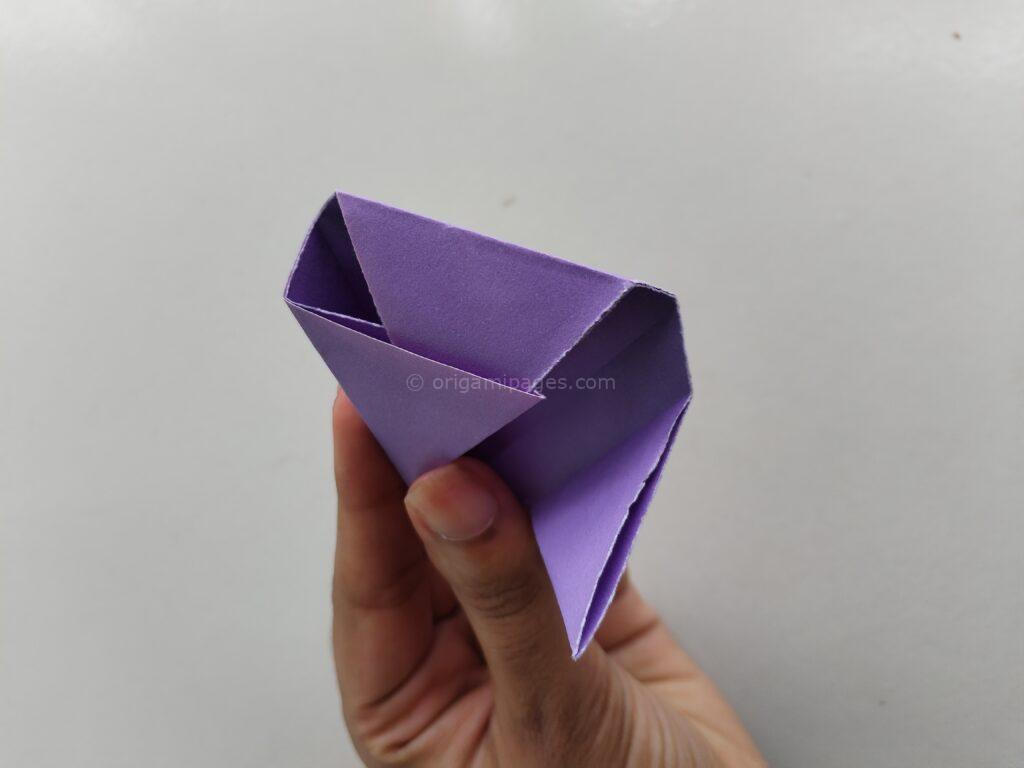
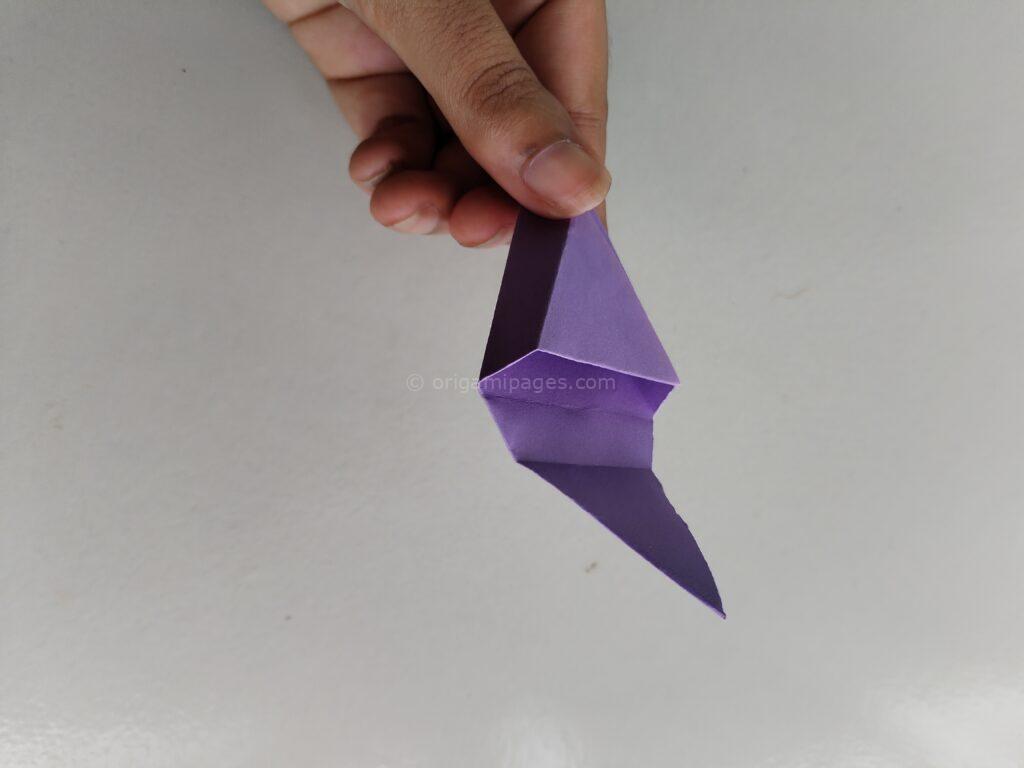
6. Place a Small Gift Inside
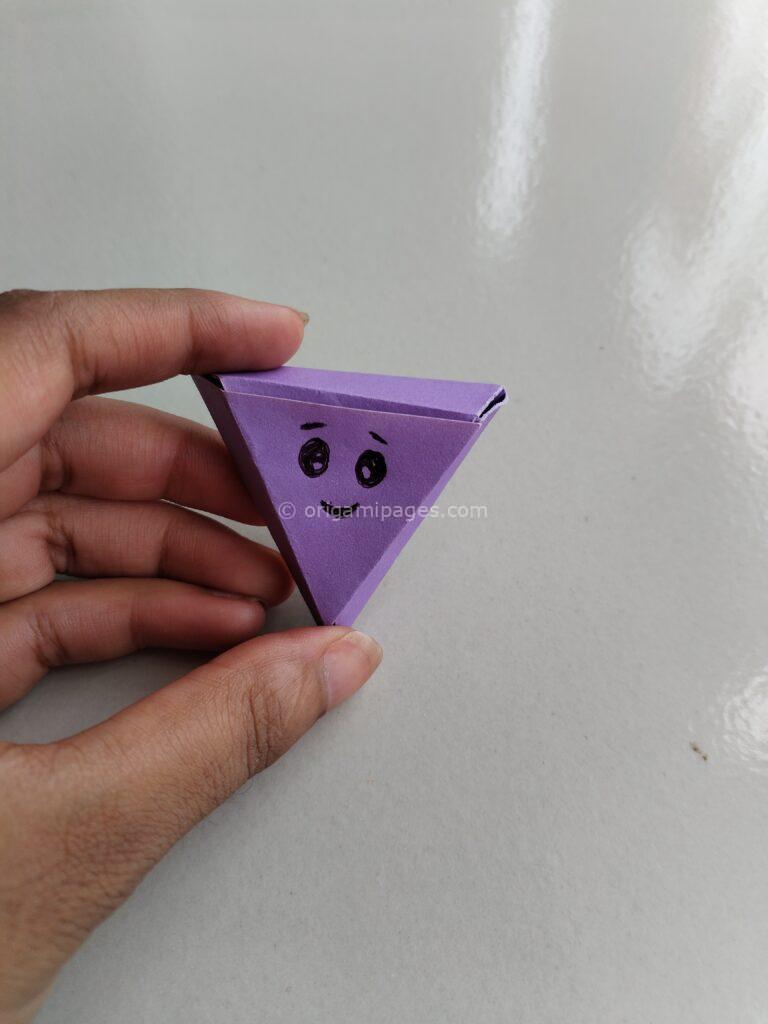
With the box almost ready, now is the perfect time to place any small gift or item inside the mouth of the box. This step adds a personal touch, making the origami triangle box easy to use as a unique gift box for special occasions.
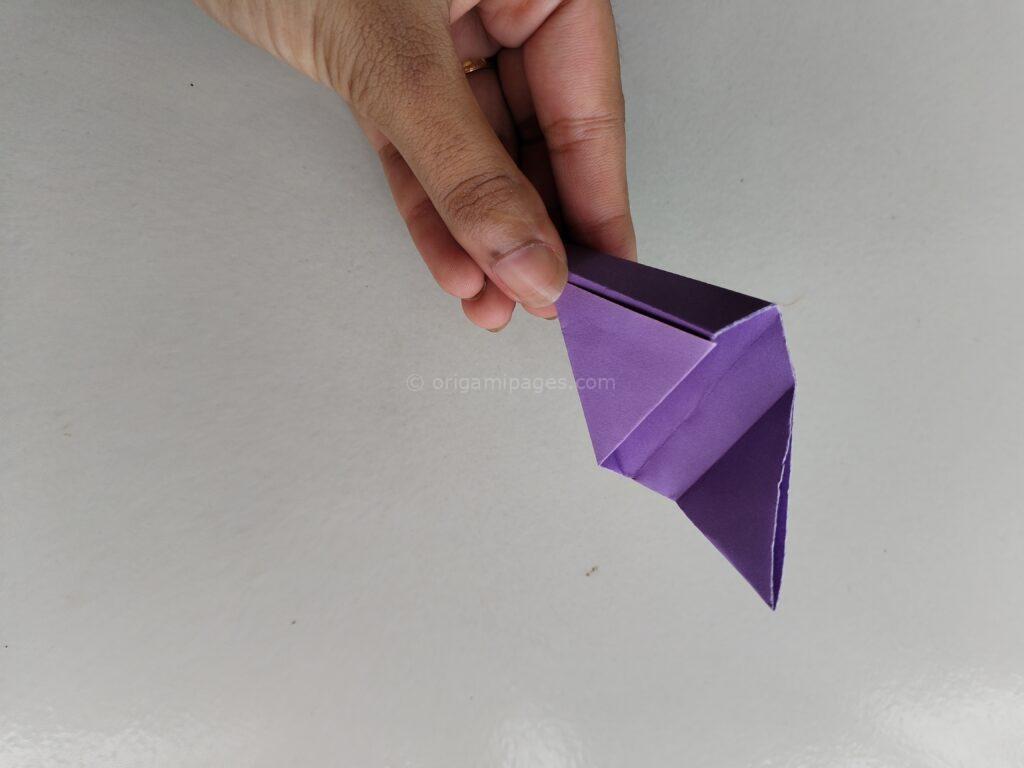
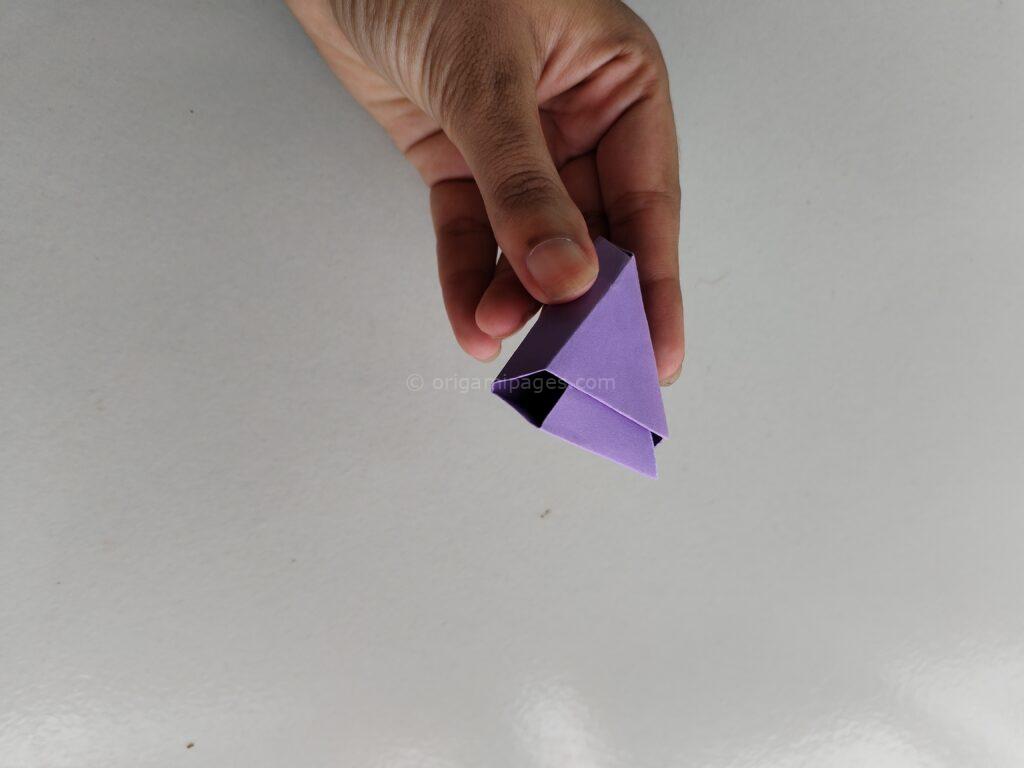
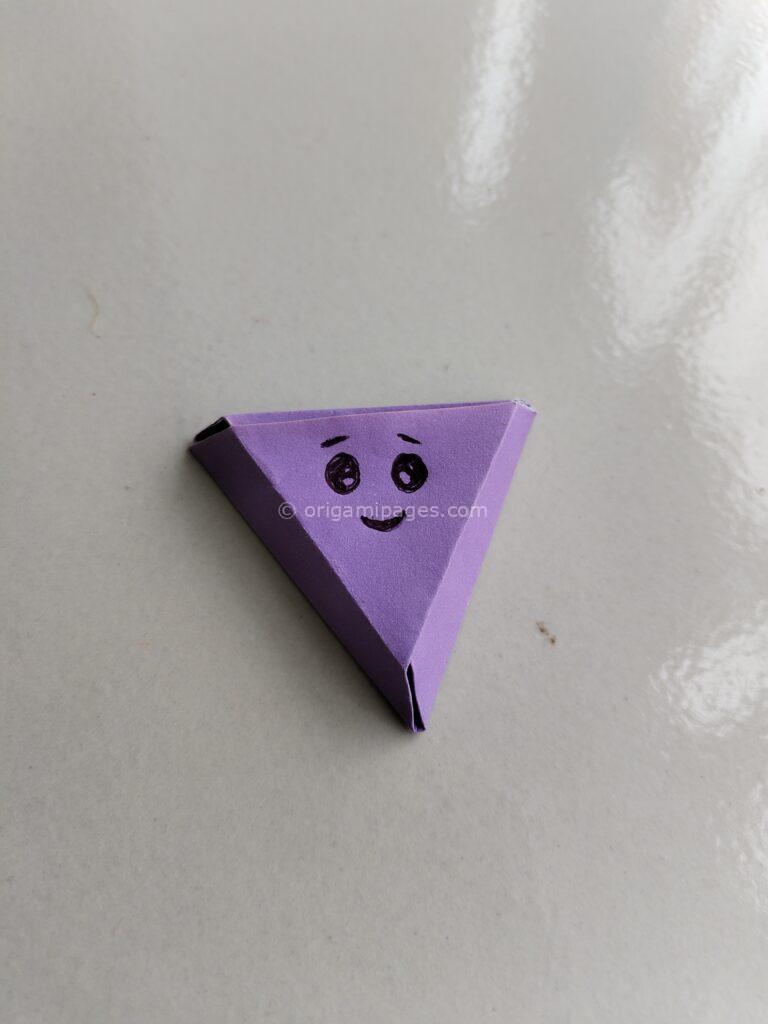
7. Your Origami Triangle Box is Ready
Finally, your origami triangle box is ready! Admire your work and enjoy the satisfaction of creating something beautiful with your own hands. Whether you’re using it for storage or as a gift box, this triangular box is sure to impress.
Outro
In this guide, we’ve explored the art of making an origami triangle box, from folding the rhombus-shaped paper to placing the final gift inside. This project not only introduces you to the basics of triangular box origami but also offers a creative outlet for expressing your artistic skills. Whether you’re new to origami or an experienced folder, I hope this guide has provided you with clear, step-by-step instructions on how to make an origami triangle box that you’ll be proud of.
Feel free to experiment with different paper sizes and colors to make your modular origami box even more unique. I look forward to hearing about your creations and any feedback you have to improve this resource further.


