How to Make an Origami 5 Petal Flower Step by Step.
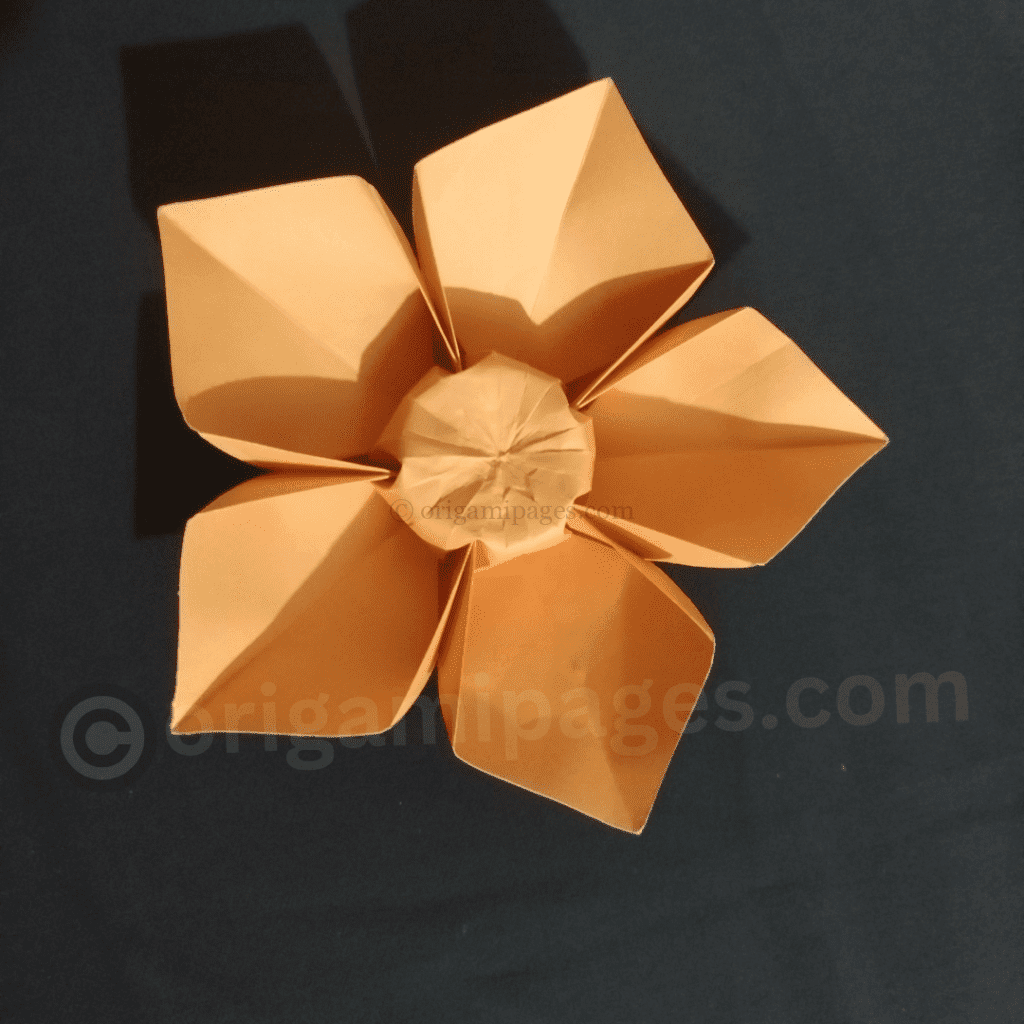
Wondering how to create the origami 5 petal flower? It’s a straightforward process that requires only five sheets of paper, each forming a distinct petal. With a minimal need for glue, this masterpiece unfolds in a few precise steps. Ready to dive in and bring this captivating origami creation to life? Let’s get started.
Step 1: Start with a square piece of paper.


Step 2: Fold it in half diagonally to create a triangle.
Step 3: Unfold and repeat in the opposite direction to form an “X” crease.


Step 4: Fold the edges to the center along the existing creases, creating a smaller square.


Step 5: Flip the paper and repeat the previous step on the other side.


Step 6: Fold all four corners to the center.
Step 7: Flip the paper and fold the corners to the center again.


Step 8: Fold the bottom edge up to meet the top edge, then unfold.


Step 9: Open the bottom flap and fold it inside along the creases, forming a diamond shape.


Step 10: Repeat on the other three flaps.


Step 11: Gently separate the layers to reveal the petals.
Step 12: Adjust and shape your beautiful origami 5-petal flower!