How To Fold an Easy Origami Hat
There’s something magical about transforming a simple piece of paper into a wearable origami hat. Whether you are a beginner exploring the world of paper folding or an experienced origami artist looking for a fun project, creating an origami hat is a delightful and rewarding experience. This project combines simplicity with creativity, allowing you to craft a charming hat with just a few folds.
In this guide, we will walk you through the origami hat step by step, ensuring you understand each move and crease. By the end, you’ll have your very own origami paper hat to wear or display proudly. Let’s embark on this enchanting journey into the art of paper folding and create something wonderful together.
Materials Needed
- A square piece of paper (origami paper works best, but any square paper will do)
- Glue (optional, for extra sturdiness)
Origami Hat Instructions
Step 1: Prepare Your Paper
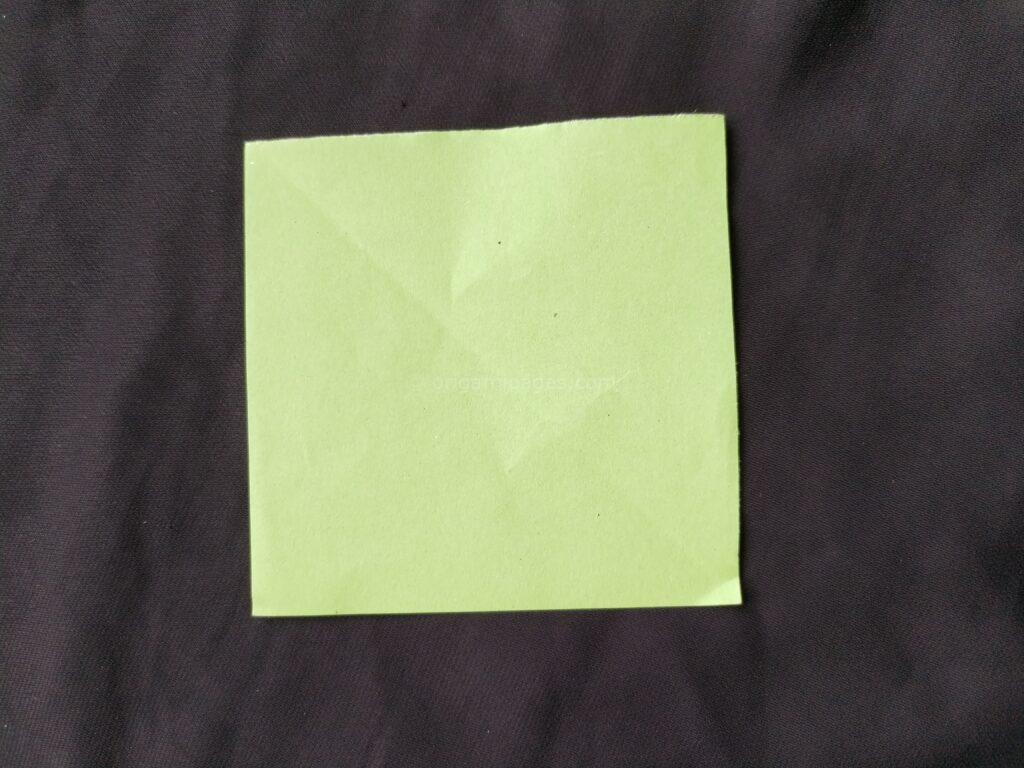
Take a square-shaped piece of paper. Ensure that the edges are even and the paper is not too thick, as this will make folding easier and cleaner.
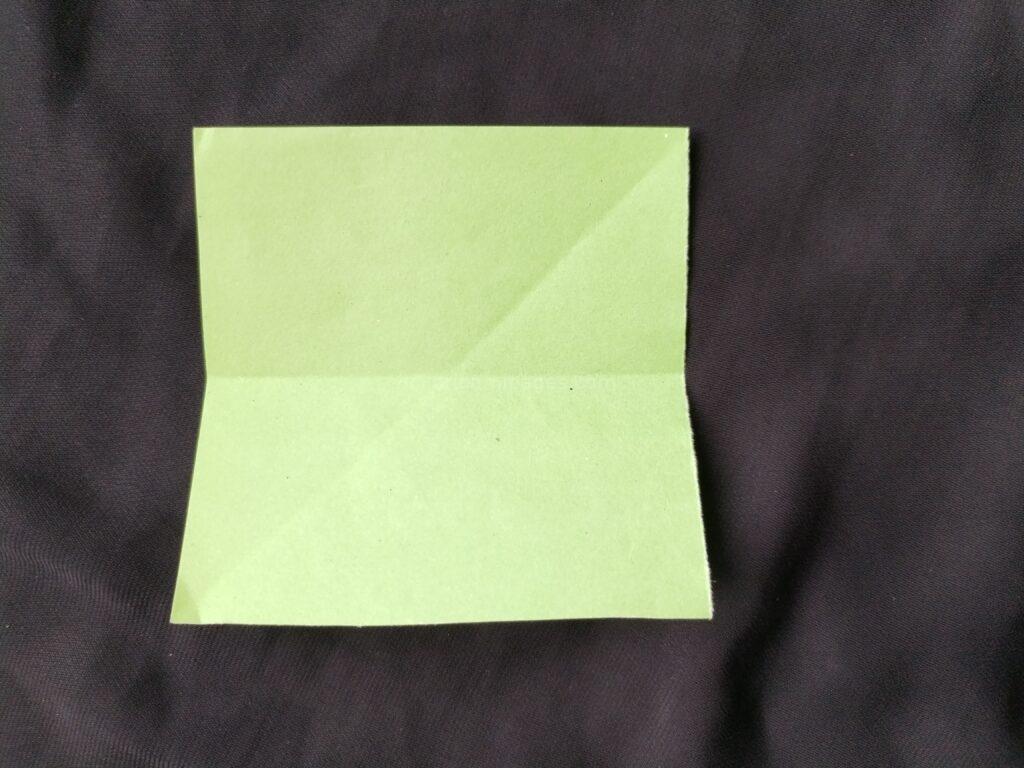
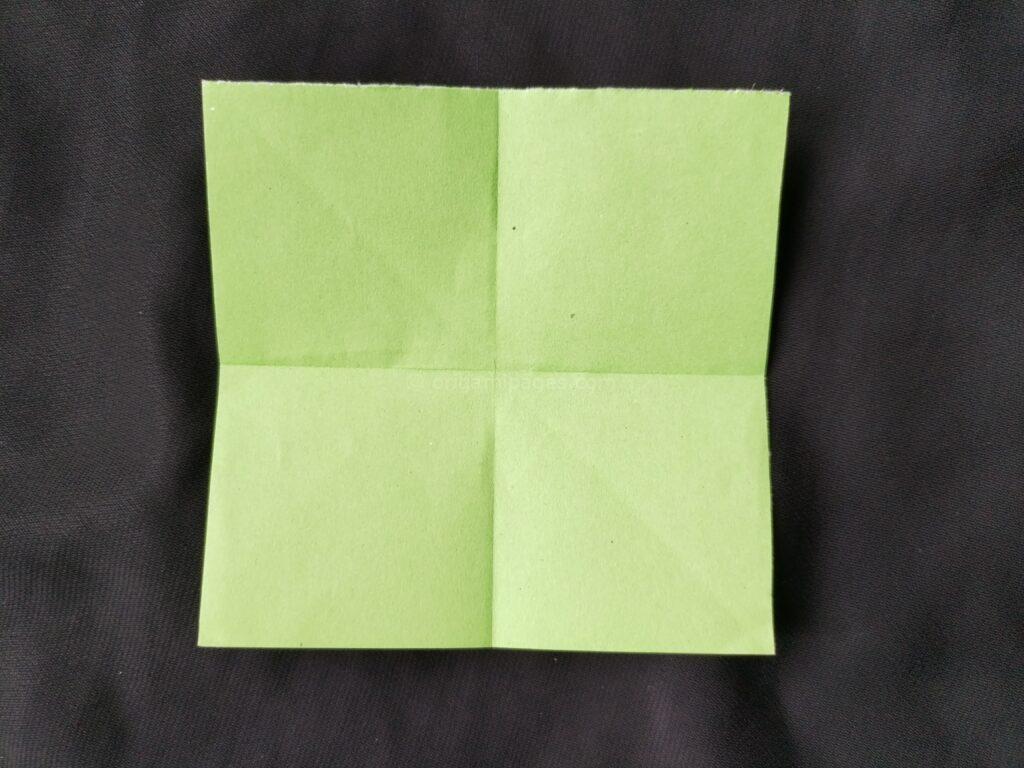
Step 2: Fold Horizontally and Vertically
Fold the paper horizontally in half, creating a crease, and then unfold it. Next, fold it vertically in half and unfold it again. These initial folds help guide the subsequent steps.
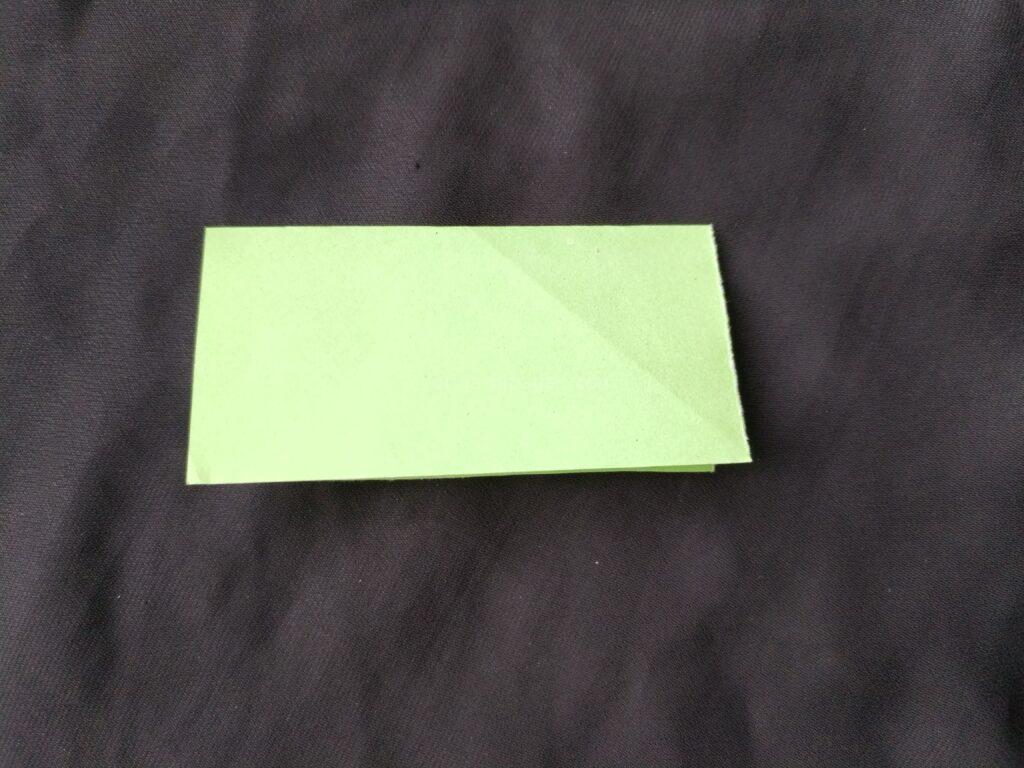
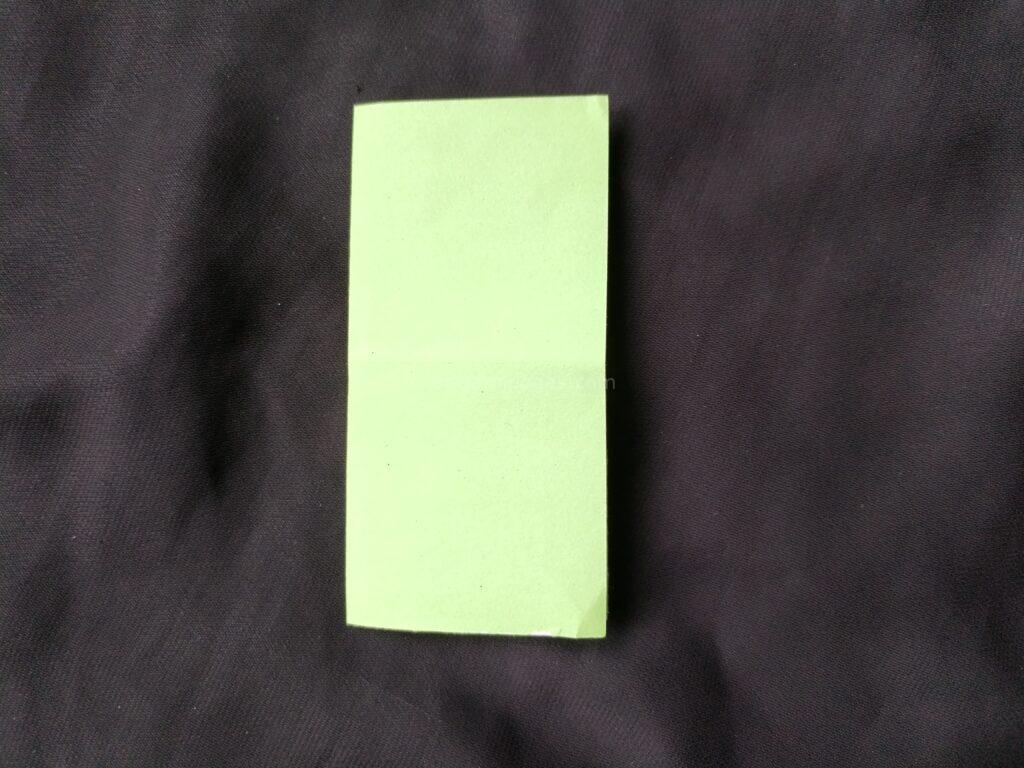
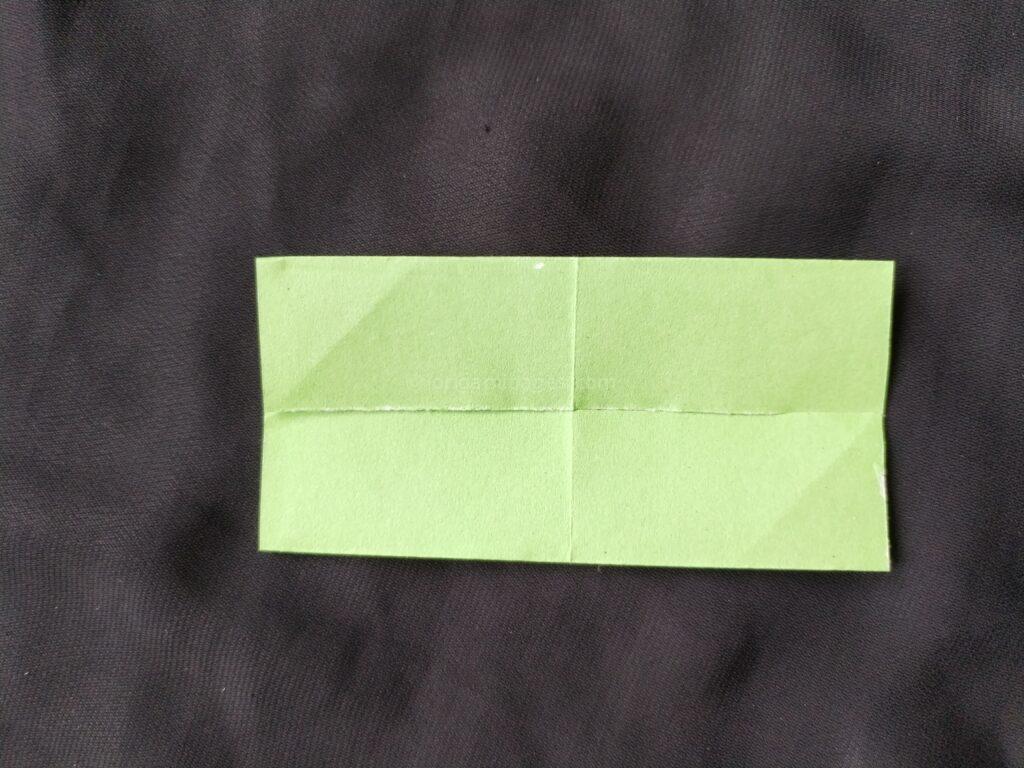
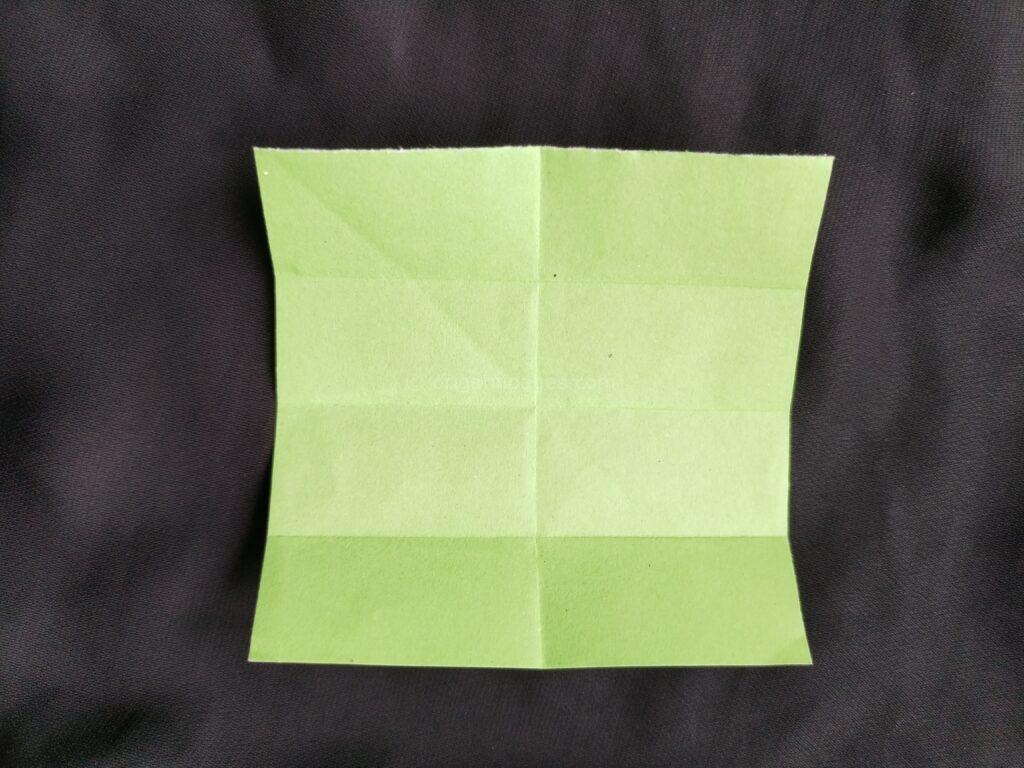
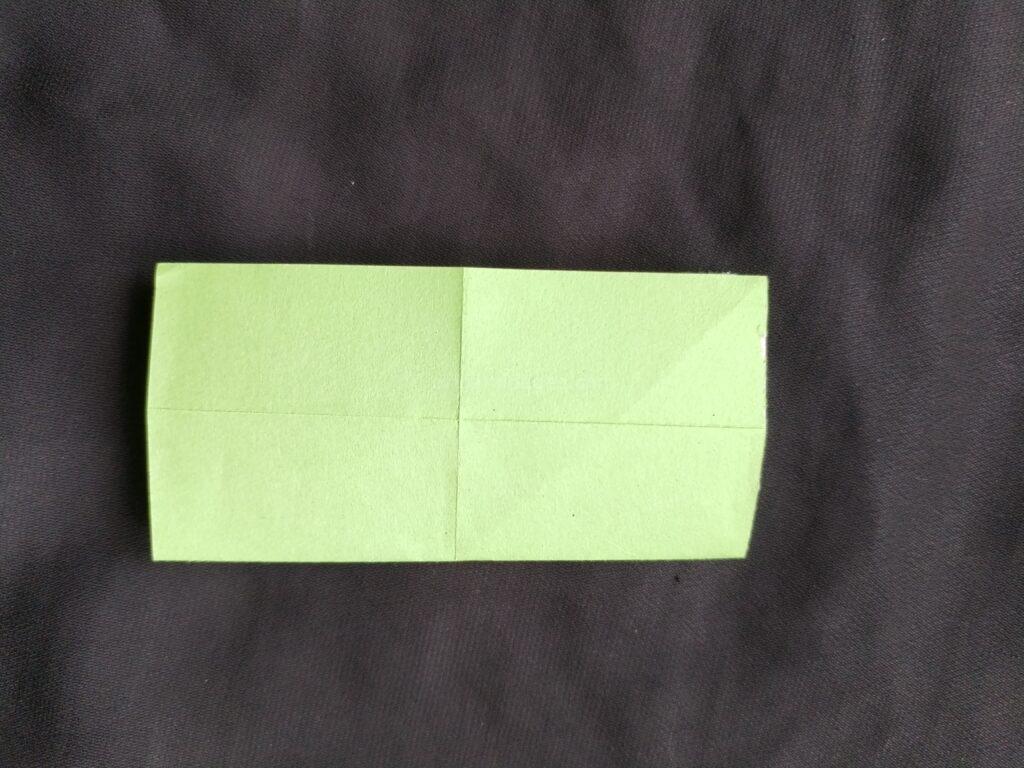
Step 3: Fold the Sides to the Middle
Bring the paper from both sides towards the middle crease and fold it. This should form a smaller square or rectangle shape. After making the fold, unfold the paper again.
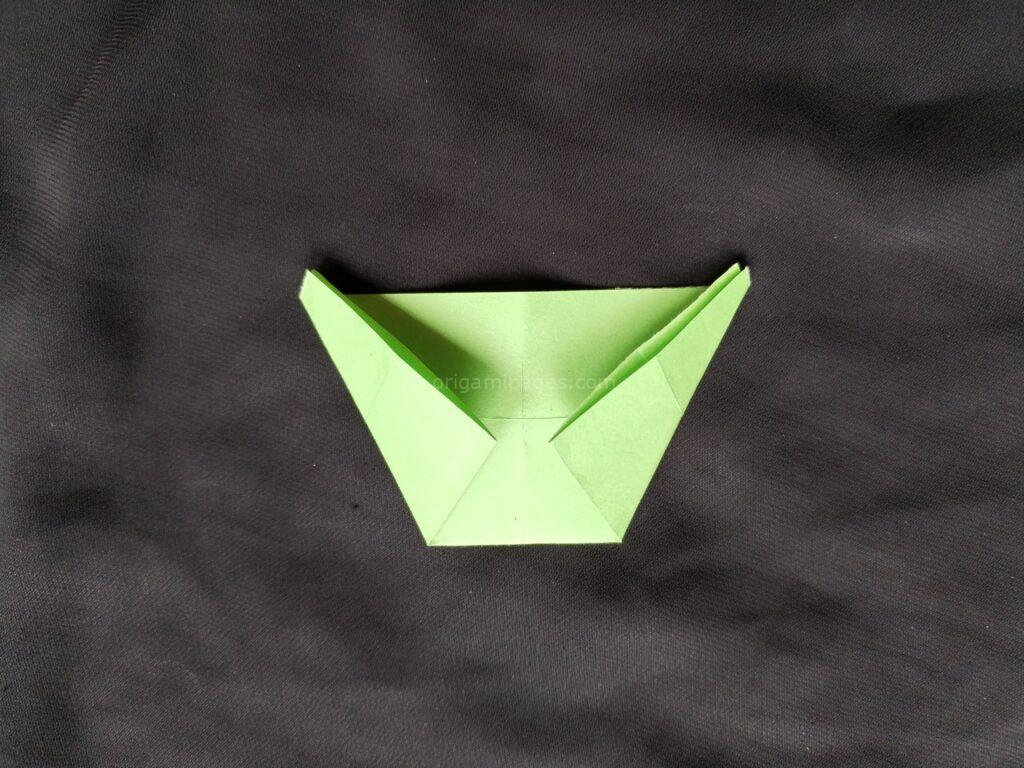
Step 4: Create the Triangle
Fold the paper horizontally again. Bring the two upper corners to the point in the middle where the creases meet, creating two triangles that meet in the center.
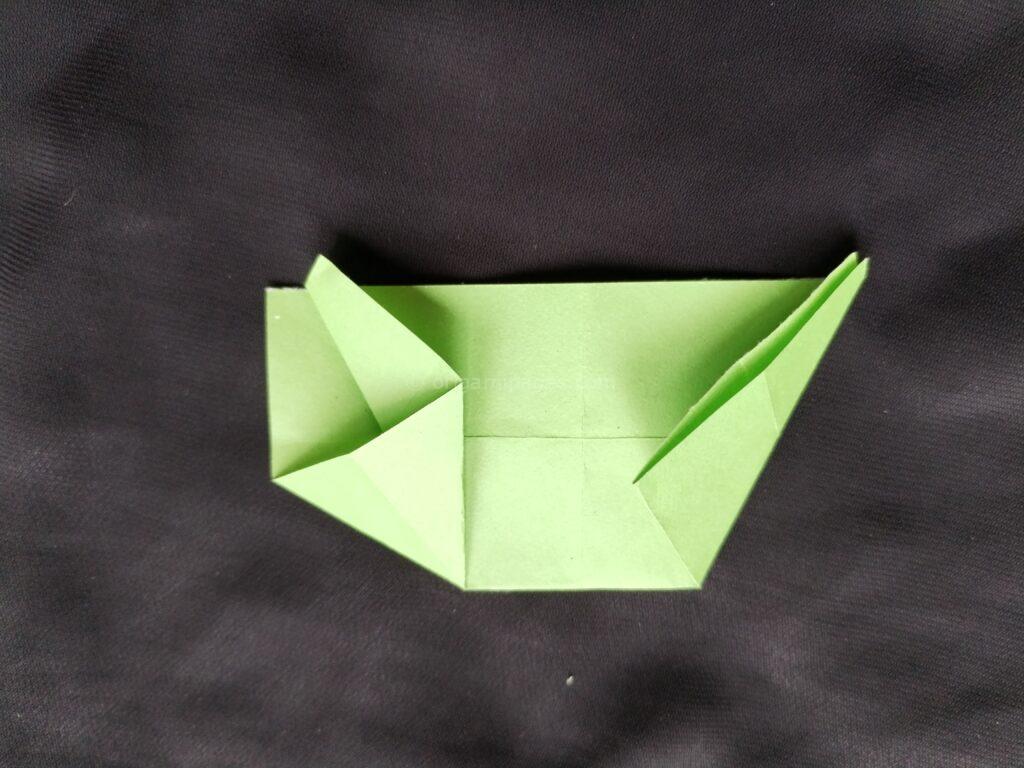
Step 5: Fold in Half and Sides
Fold the paper in half along the horizontal crease you made earlier. Then, fold both sides of the paper inward towards the middle, ensuring the folds are neat and aligned.
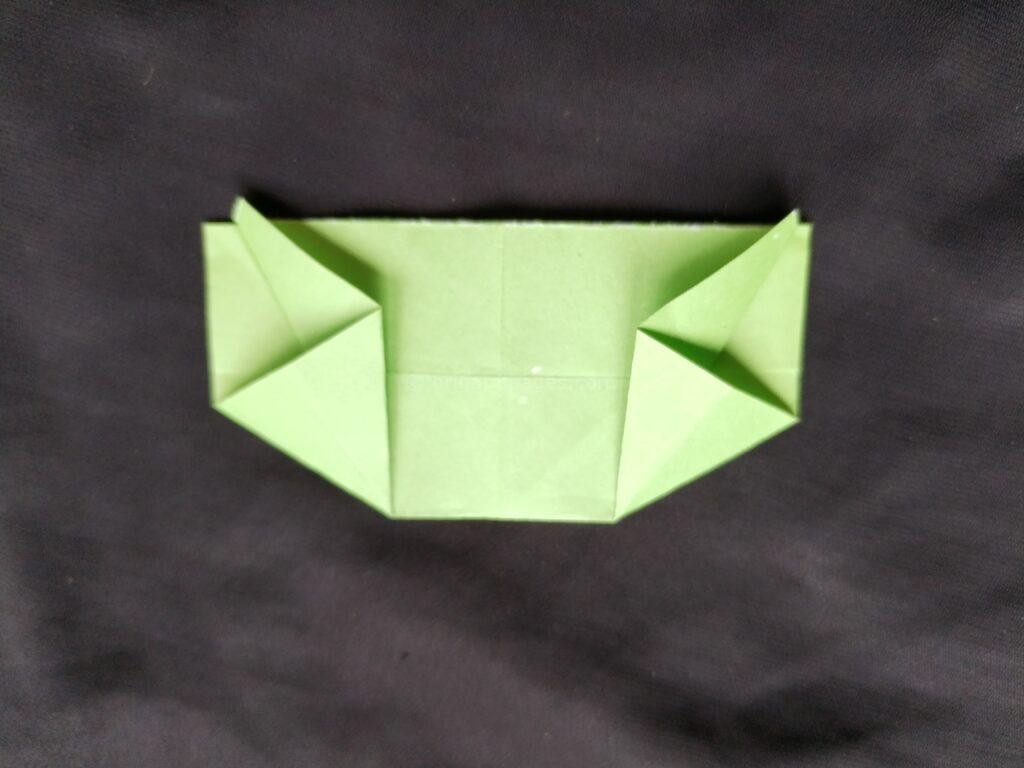
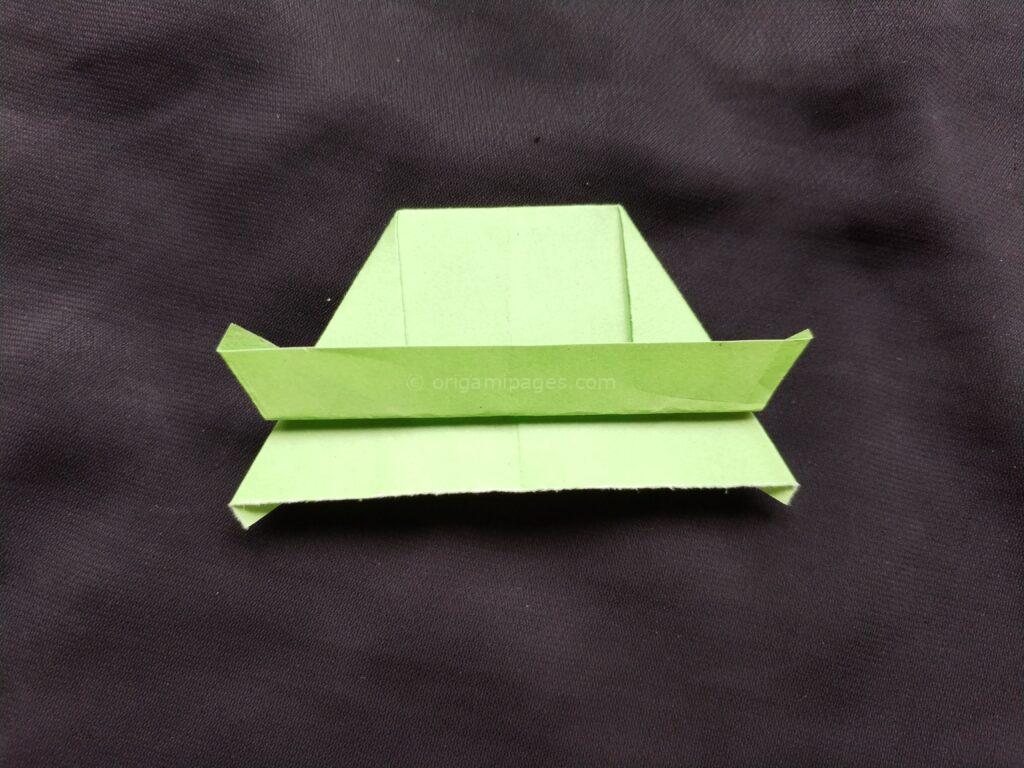
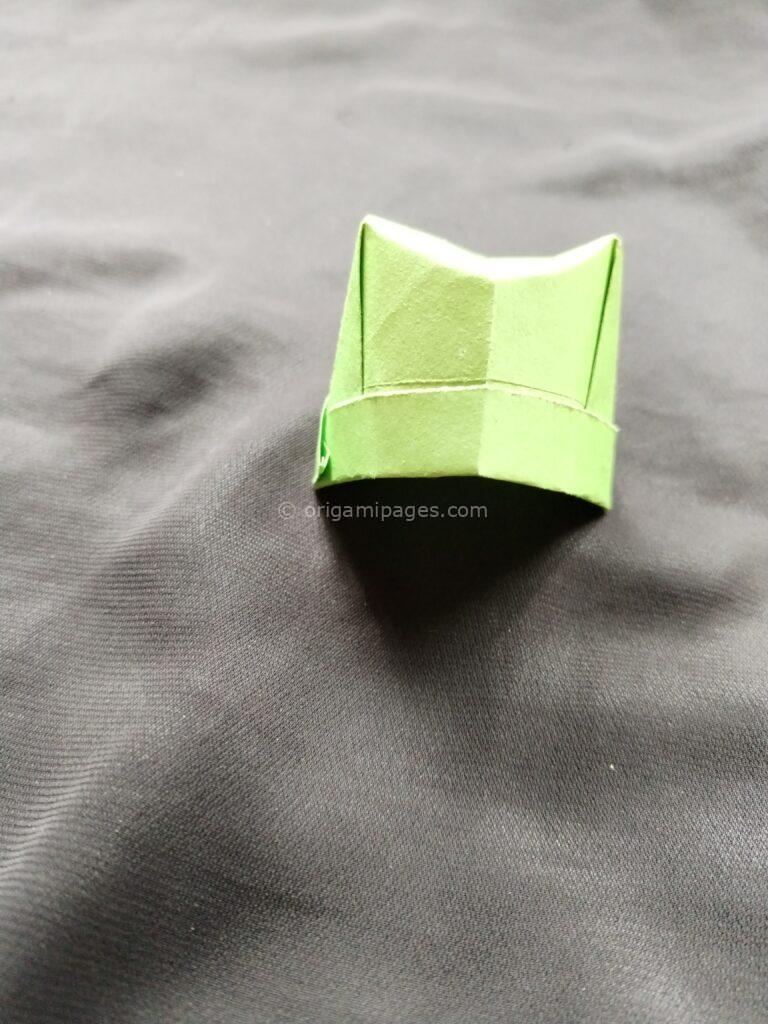
Step 6: Fold the Lower Part
Fold the lower part of the paper upwards to meet the base of the triangles you created in Step 4. Repeat this fold on the other side, ensuring both sides are symmetrical.
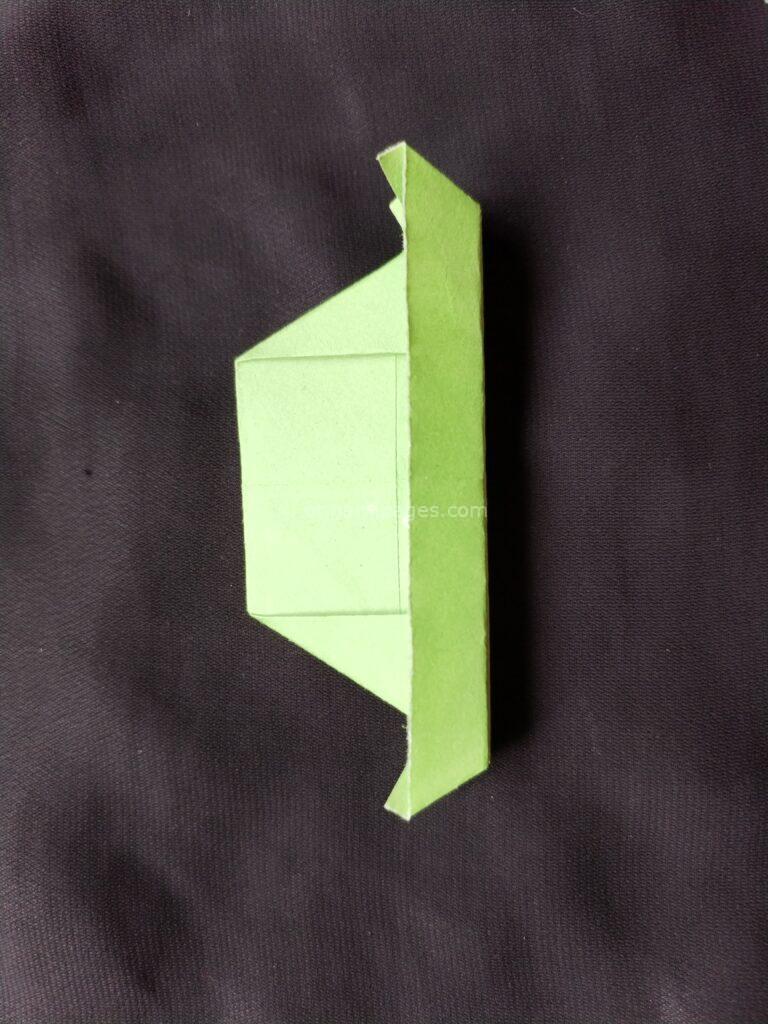
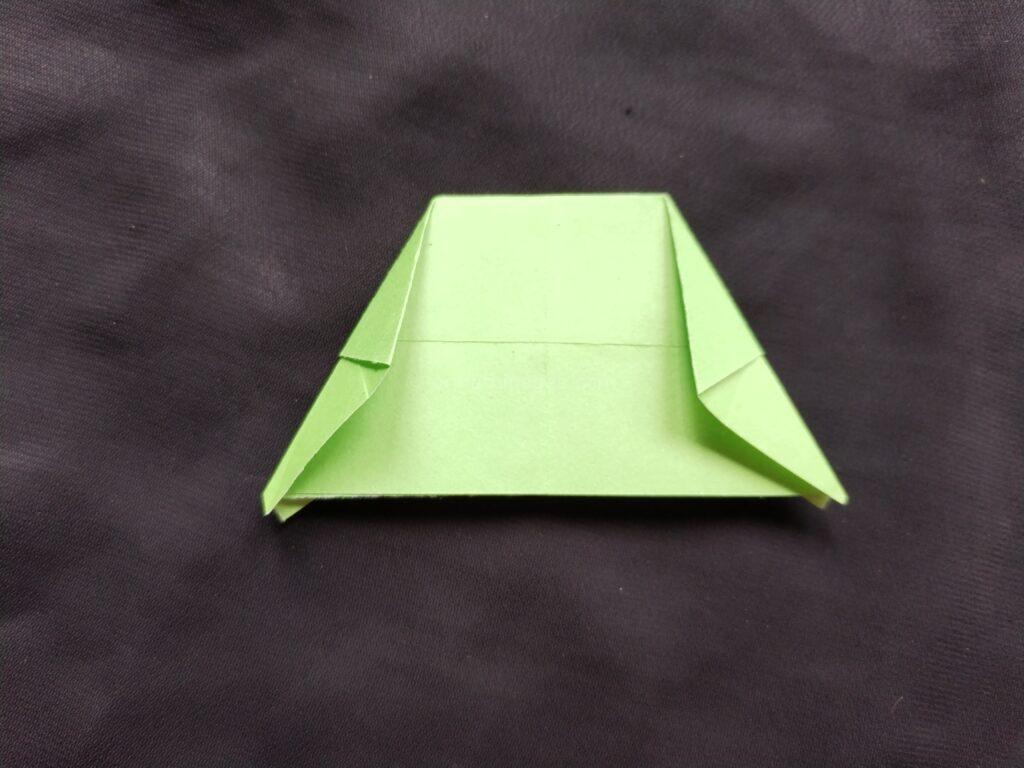
Step 7: Secure with Glue
For a more durable hat, put a small amount of glue on the inside edges of the two parts of the corner you folded in Step 6. Press them together gently and allow the glue to dry.
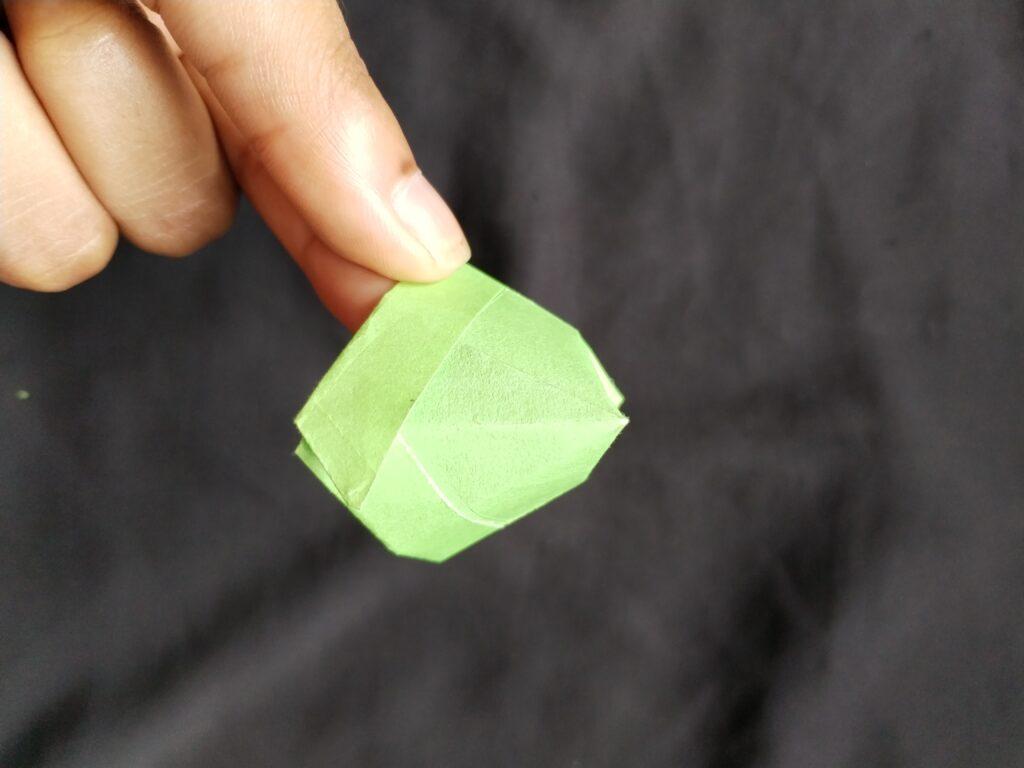
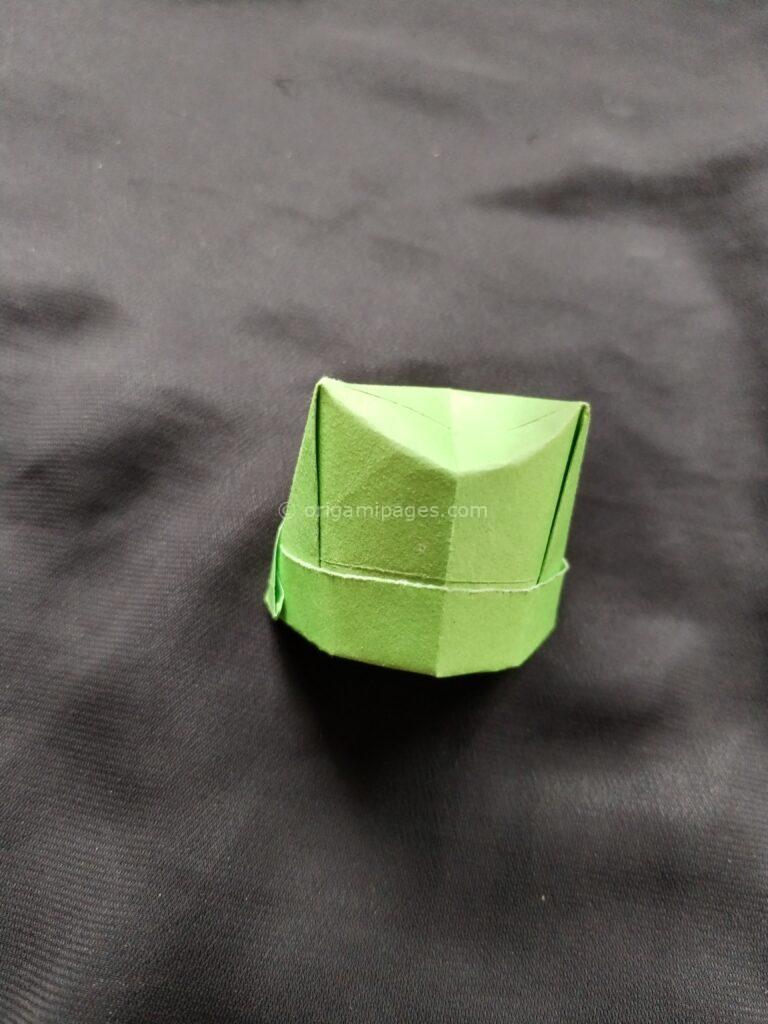
Step 8: Final Touches
Your wearable origami hat is done! You can adjust the folds to perfect the shape and make sure it fits comfortably. Now, your origami paper hat is ready to be worn or displayed.
Conclusion
Creating an origami hat is a fun and accessible project for all skill levels. By following these origami hat instructions step by step, you can craft a stylish and unique paper hat. Whether for a playful accessory or a decorative piece, this origami hat will surely bring joy and a sense of accomplishment. Happy folding!