Origami Paper Storage Pocket
Embarking on the journey of origami can be both enchanting and rewarding, whether you’re a novice or an experienced paper folder. The art of transforming a simple piece of paper into a beautiful and functional object never ceases to captivate. Among the many delightful creations, the origami paper storage pocket stands out for its practicality and charm.
In this article, we’ll guide you through the process of creating your very own easy origami paper storage pocket. With clear, step-by-step instructions, you’ll find that making a cool origami pocket is not only achievable but also a gratifying experience. By the end, you’ll have a handy paper pocket envelope to store your small items, adding a touch of elegance to your everyday life.
Materials Needed
To create your origami paper storage pocket, you will need:
- A4 size paper
Step-by-Step Origami Pocket Instructions
Prepare Your Paper
Begin by selecting a piece of A4 size paper. This standard size ensures that your final product will be both functional and easy to handle.

Fold Triangles on Both Sides
First, fold one side of the paper into a triangle shape and then unfold it. Next, repeat this process on the opposite side. This step helps create the necessary creases that will guide the subsequent folds.
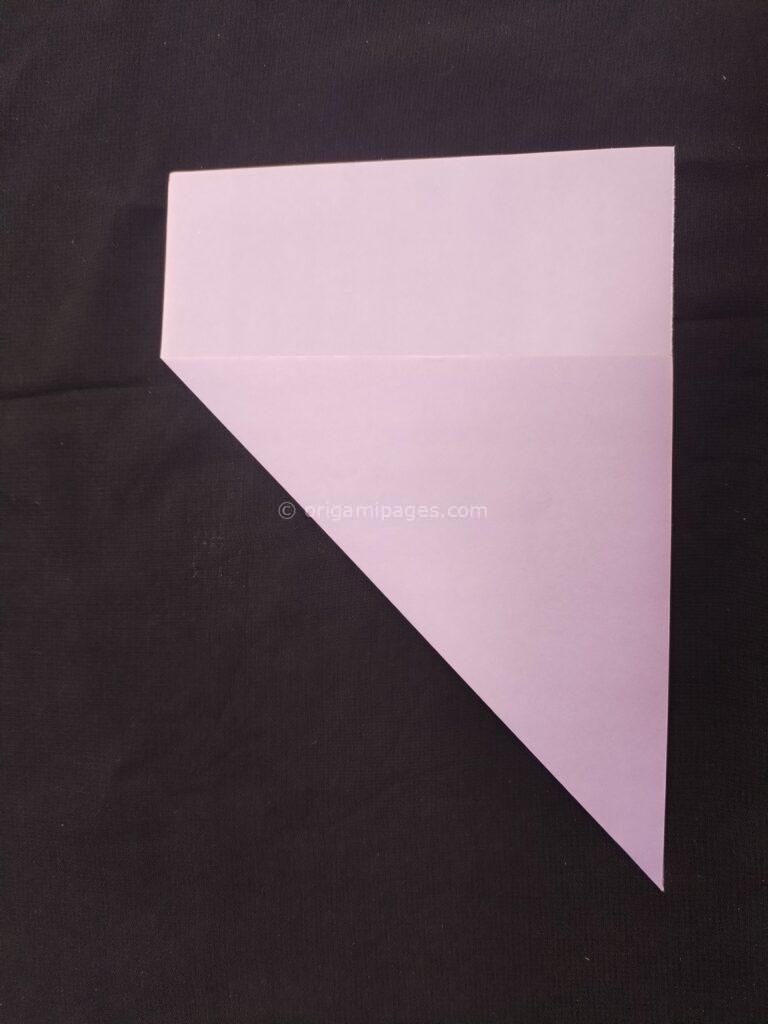


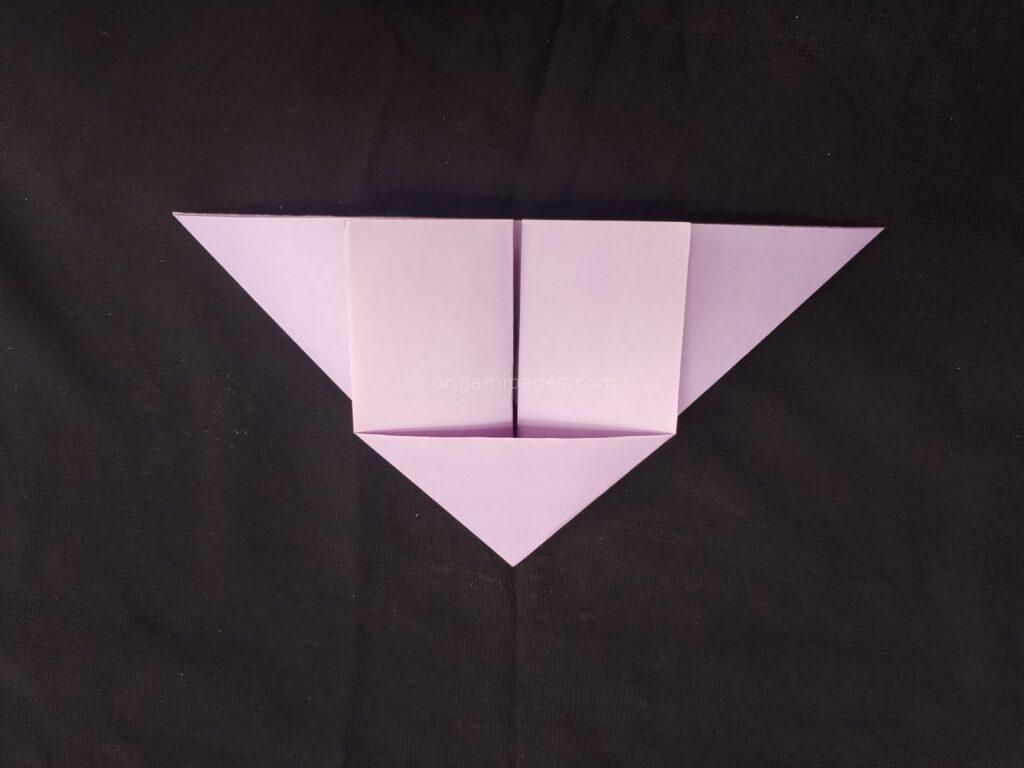
Create the Base Folds
Now, fold the paper as shown in the diagram below. After making these initial folds, take the bottom part of the paper and fold it upwards. This will form the base structure of your origami pocket.

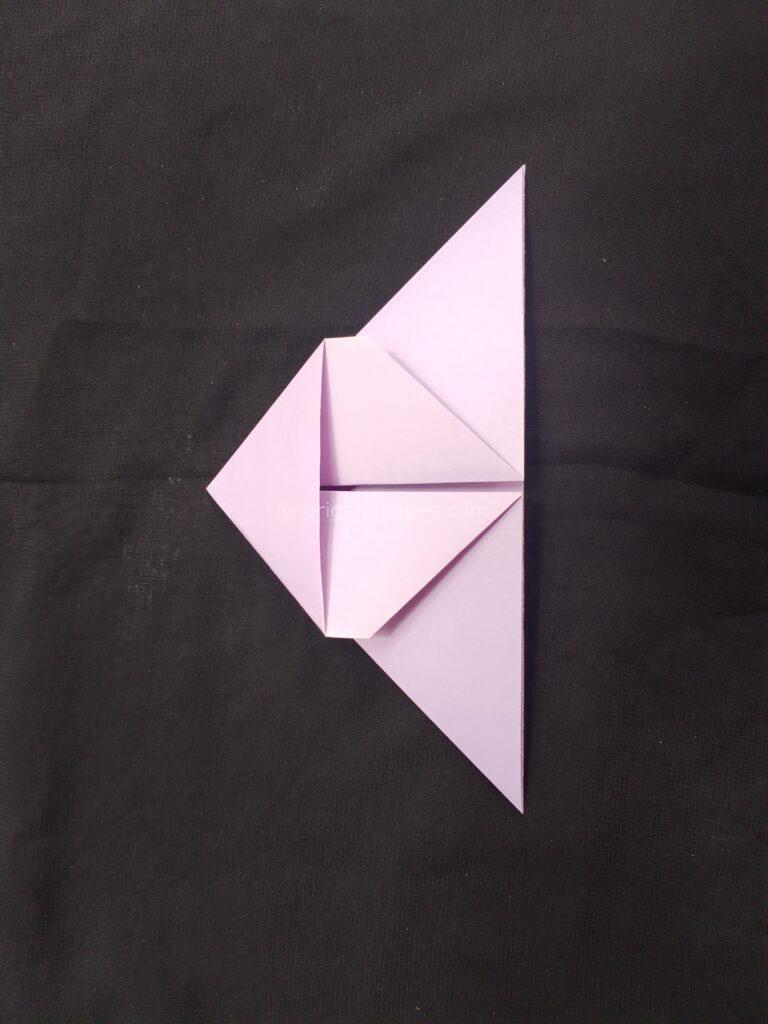
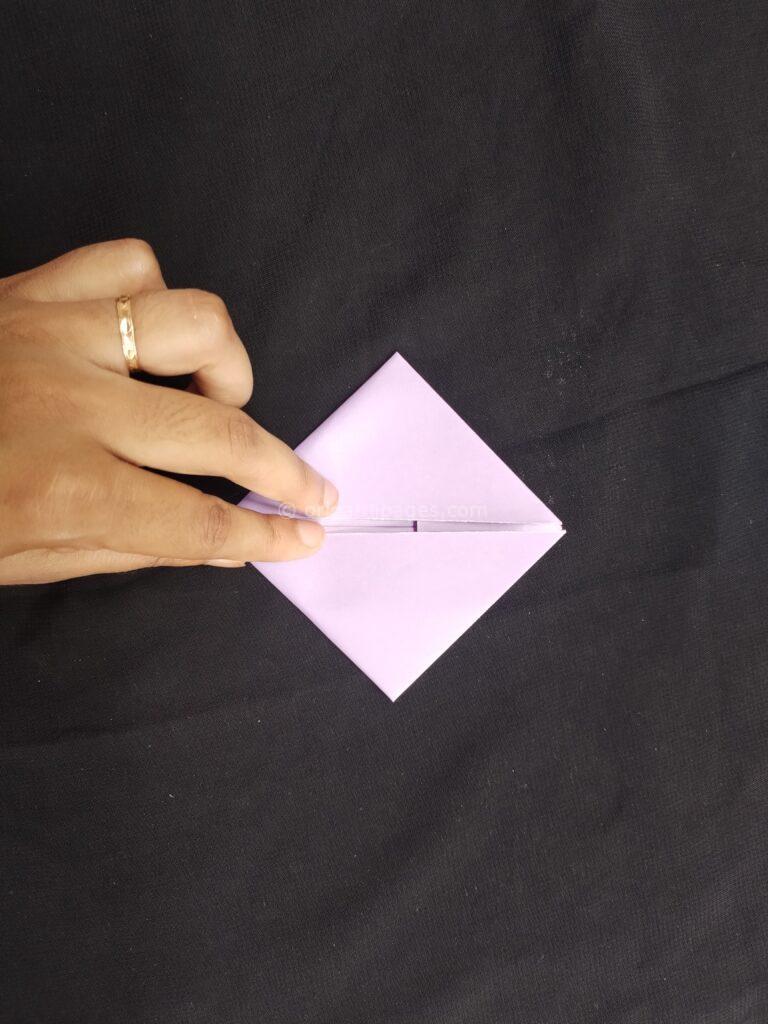
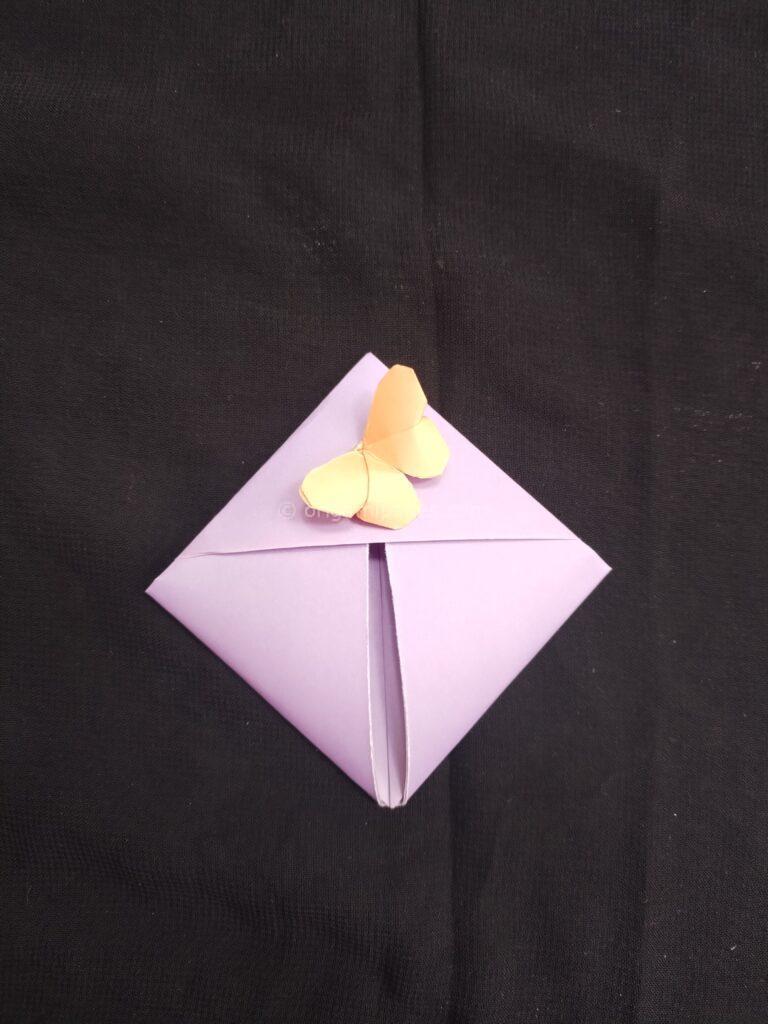
Form the Pocket
Fold the paper along the line between the two sides, and then insert this folded edge into the upper triangle. This step secures the shape and transforms your folded paper into a practical storage pocket.
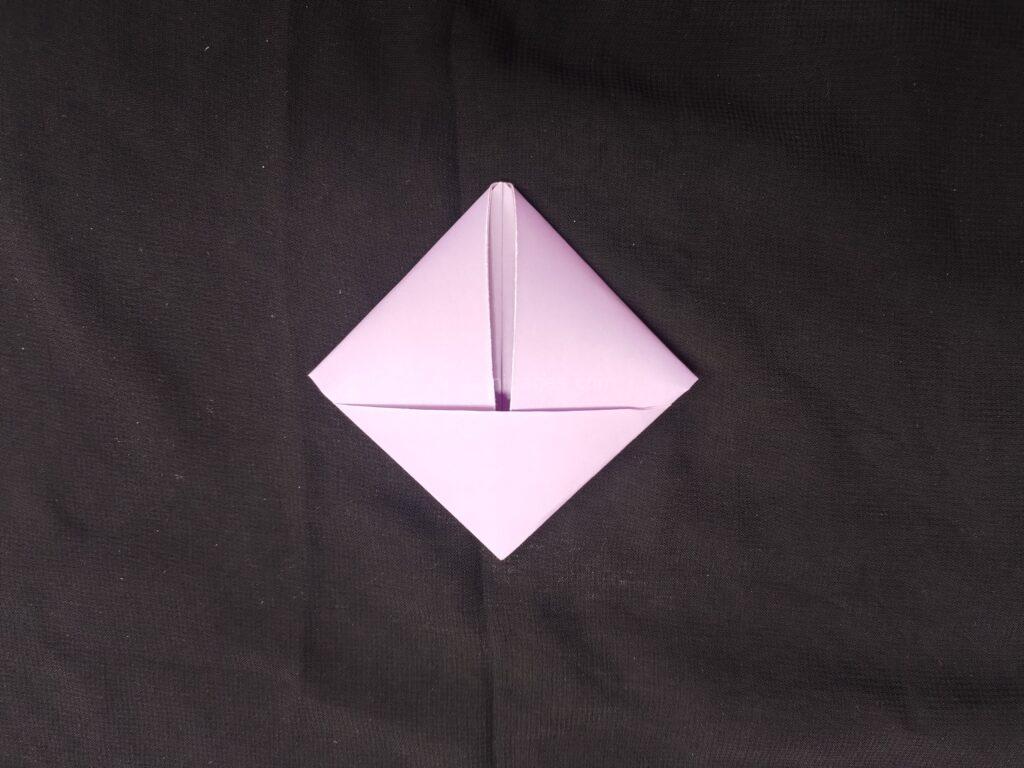
Final Touches
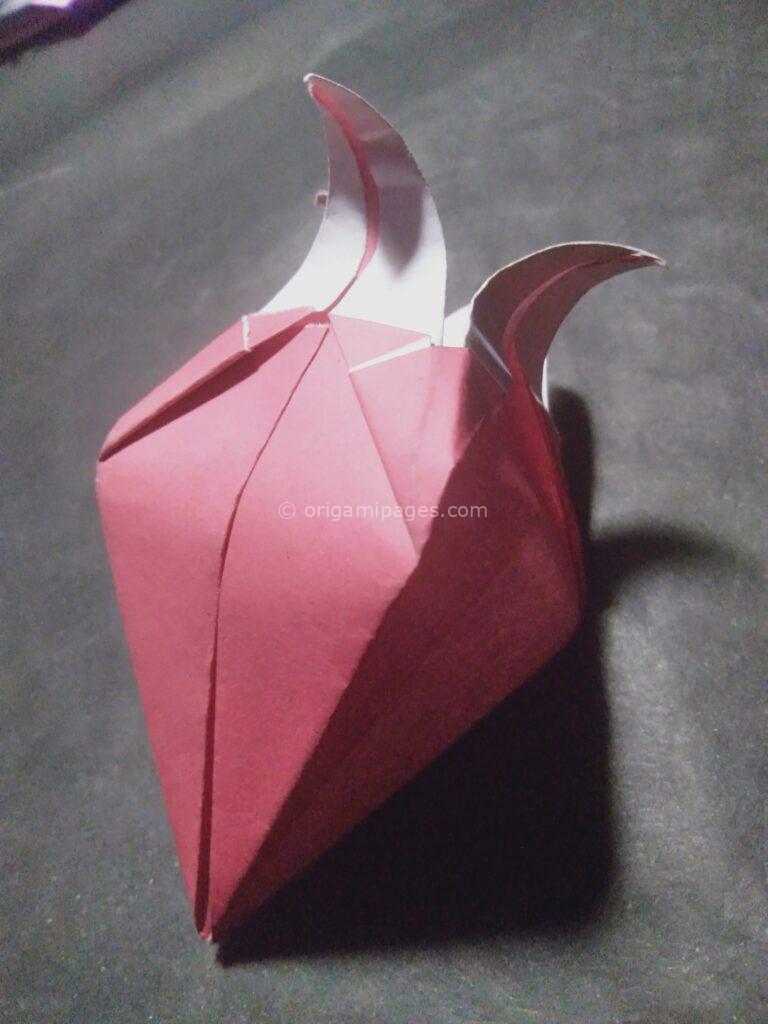
Congratulations! You’ve successfully created your own origami paper storage pocket. This simple yet elegant design can now be used to store small items like notes, cards, or even other origami creations.
Personal Experience
When I first attempted to make an origami paper storage pocket, I encountered a few challenges. The most difficult part was ensuring the folds were precise and clean, as any small mistake could affect the final product’s appearance and functionality. However, with patience and practice, I found that the process became easier and more enjoyable. The satisfaction of creating a useful and aesthetically pleasing object from a simple piece of paper is truly rewarding.
Tips for Beginners
- Practice Makes Perfect: Don’t be discouraged if your first attempt isn’t perfect. Origami is a skill that improves with practice.
- Use High-Quality Paper: While any paper can work, using higher quality paper can make the folding process smoother and the final product more durable.
- Follow Instructions Carefully: Pay close attention to each step, ensuring your folds are as accurate as possible.
Conclusion
Creating an origami paper storage pocket is a delightful and practical project that can be enjoyed by beginners and experienced origami enthusiasts alike. By following the step-by-step instructions provided, you can make your own cool origami pocket in no time. This project not only enhances your origami skills but also results in a functional item that can add a touch of elegance to your daily routine.
We hope you found this guide on how to make a paper pocket envelope helpful. We invite you to share your experiences and any difficulties you faced during the process. Your feedback is invaluable and helps us continuously improve our resources.