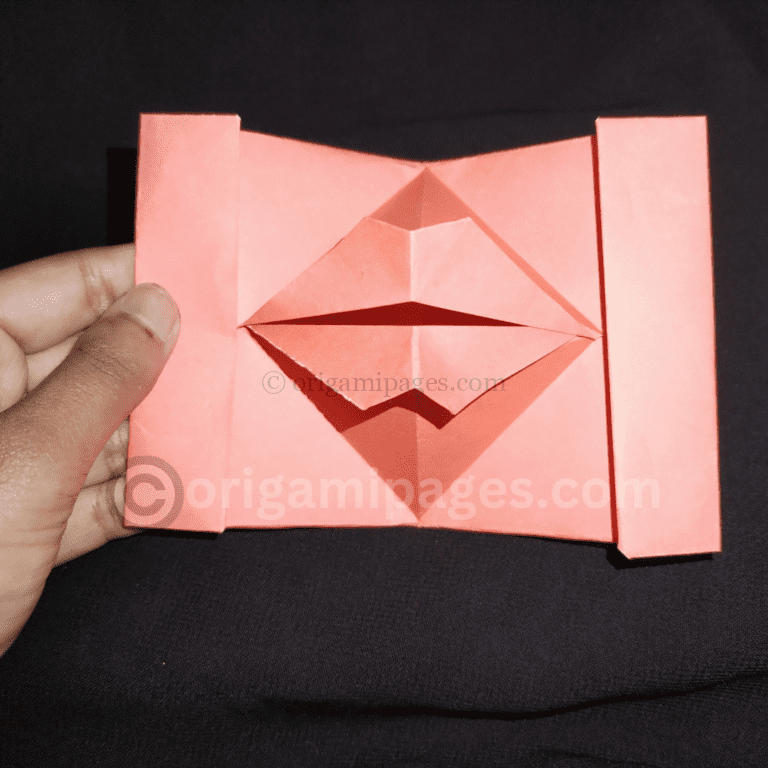
Origami Heart Place Card Instructions – Easy To Follow Guide

Unveil the charm of origami with the Origami Heart Place Card—an enticing project that beckons novices and captivates seasoned artists alike. Discover the enchantment of transforming a simple sheet of paper into a delicate heart-shaped place card, perfect for any occasion. For beginners, fear not the folds; our step-by-step guide, accompanied by visuals, ensures a delightful initiation into the world of paper folding.
For experienced artists, delve into the intricacies of shaping and design, elevating your origami expertise. Explore the nuanced techniques that turn a mere piece of paper into a personalized masterpiece. This project serves as a canvas for both beginners and experts, promising a fulfilling journey where every fold holds the potential for a unique and rewarding creation.
Materials Needed:
- A standard A4 paper of your preferred color
Step-by-Step Instructions:
Step 1: Begin with an A4 paper of your preferred color.
Select an A4 paper that complements the theme of your event, ensuring a solid foundation for the intricate folds ahead.

Step 2: Fold horizontally to create a distinct crease.
Initiate the folding process by precisely folding the paper in half horizontally, establishing a clear and defined crease. This initial step sets the stage for the intricate folds that follow.

Step 3: Create a vertical fold of 3 or 4 cm.
Add depth to your origami heart by folding the paper vertically, creating a narrow strip that will form the basis of the intricate design. This vertical fold is the precursor to the traditional origami “book fold.“

Step 4: Rotate the paper for the next set of folds.
Maintain precision by rotating the paper to a fresh side, preparing for the subsequent folds. This rotation is a common practice in origami, allowing for a dynamic and controlled folding process.

Step 5: Fold the right side along the left center line and repeat on the other side.
Achieve symmetry by folding the right side along the left center line, creating a balanced foundation for the heart shape. Repeat this step on the opposite side, maintaining uniformity in the design. This maneuver is akin to the classic “petal fold.“
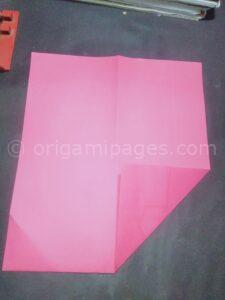
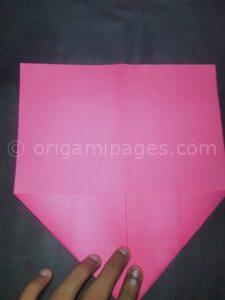
Step 6: Rotate the paper once more to proceed.
Continuously rotate the paper to navigate through the folding process with ease. This rotation ensures that each fold is executed with precision, a fundamental aspect of origami.
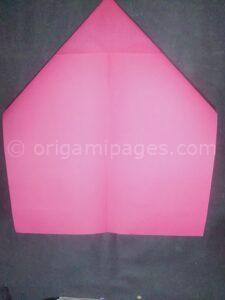
Step 7: Gently open and fold a section to align with existing lines.
Create a foundation for the heart shape by delicately opening a section of the paper and folding it to align with the established lines. This intricate fold, known as the “rabbit ear fold,” lays the groundwork for the heart’s distinctive form.


Step 8: Fold the left corner into the created fold, repeating on the right side.
Maintain precision by folding the left corner into the established fold. Repeat the process on the right side, ensuring uniformity in the design. This maneuver is a variation of the classic “inside reverse fold.“

Step 9: Fold the top corner into the same fold on both sides.
Enhance symmetry by folding the top corner into the existing fold on both sides of the paper. This step, resembling the “kite fold,” further refines the heart’s shape.
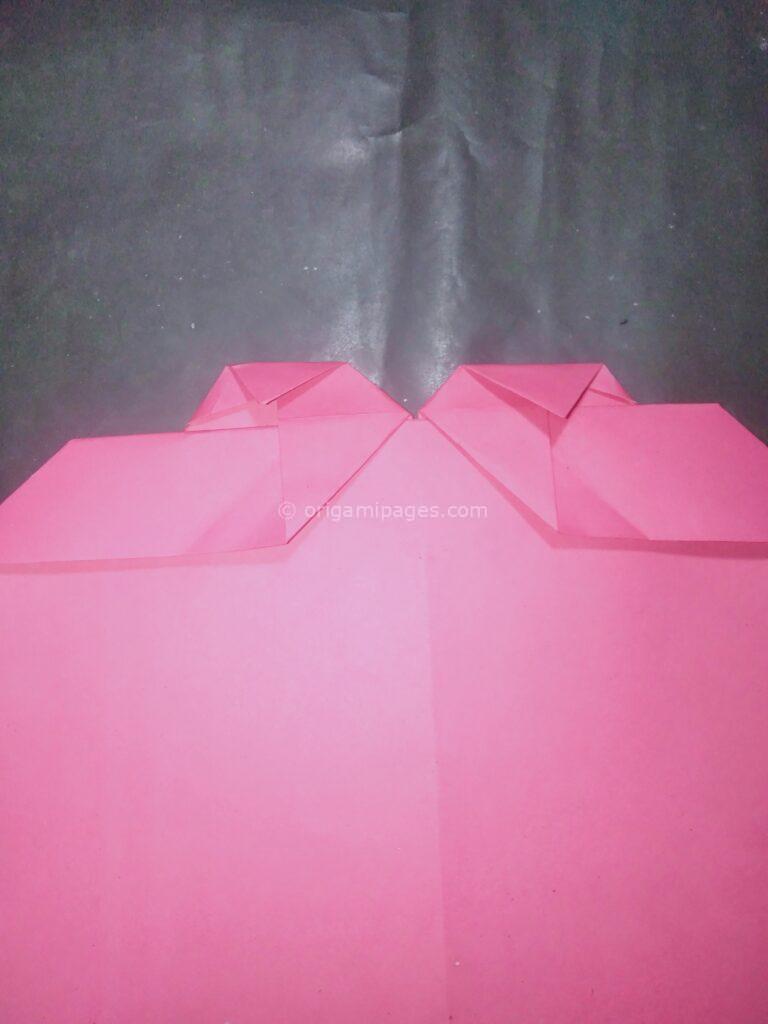
Step 10: Fold the right side into the fold, mirroring on the left.
Continue the intricate folding process by bringing the right side into the established fold. Replicate this action on the left side for consistency, creating a harmonious design. This particular maneuver is reminiscent of the “outside reverse fold.“

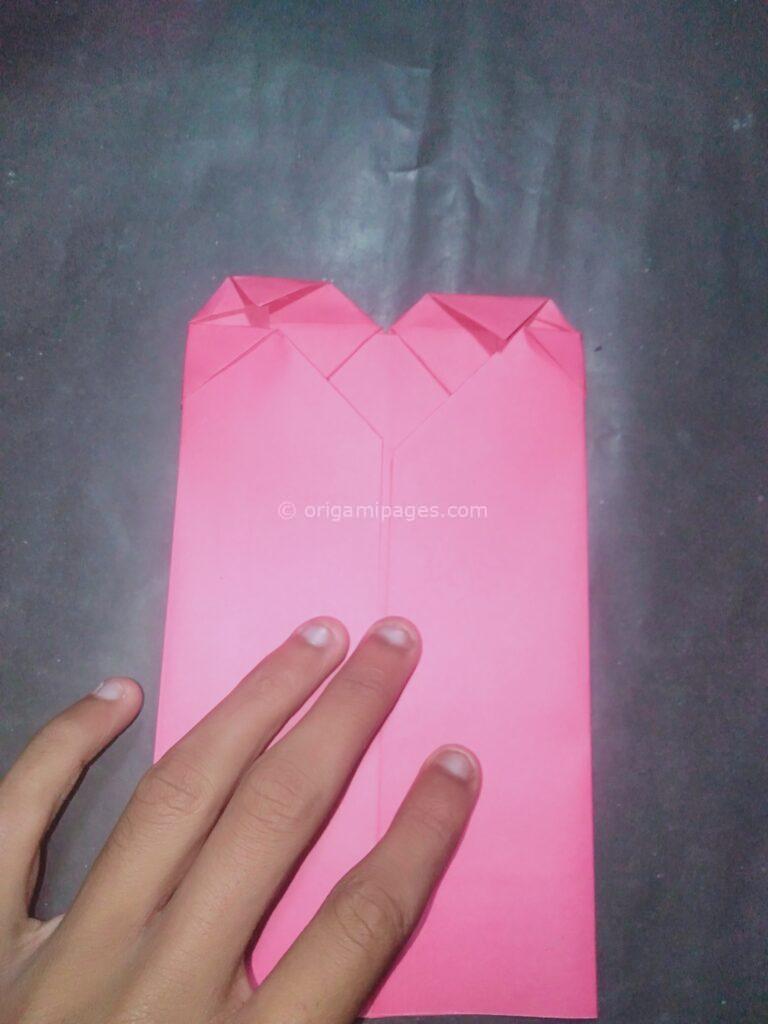
Step 11: Add a personalized touch in the middle of the folded paper.
Infuse a heartfelt sentiment by penning a personalized message in the middle of the folded paper, providing a unique touch to each place card. This step is not only a personalization but also a reinforcement of the heartfelt nature of origami, transcending the folds.
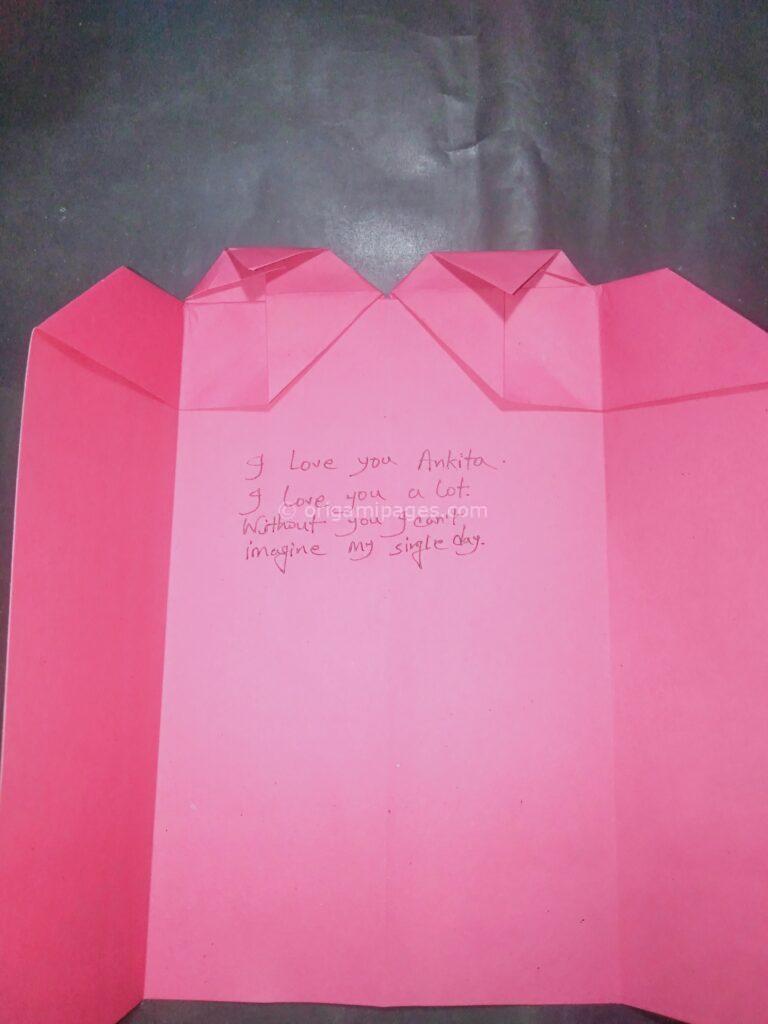
Step 12: Close both sides and refold in the opposite direction.
Secure the folds by closing both the left and right sides. Refold this section in the opposite direction, ensuring stability in the heart’s structure. This step incorporates the “valley fold” and “mountain fold” techniques, integral to origami’s precision.

Step 13: Insert the refolded paper into the right corner pocket, repeating on the left.
Create a pocket for added intricacy by inserting the refolded paper into the right corner. Duplicate this step on the left side, establishing a symmetrical design. This move is akin to the “tuck and lock” mechanism, ensuring the heart maintains its form.
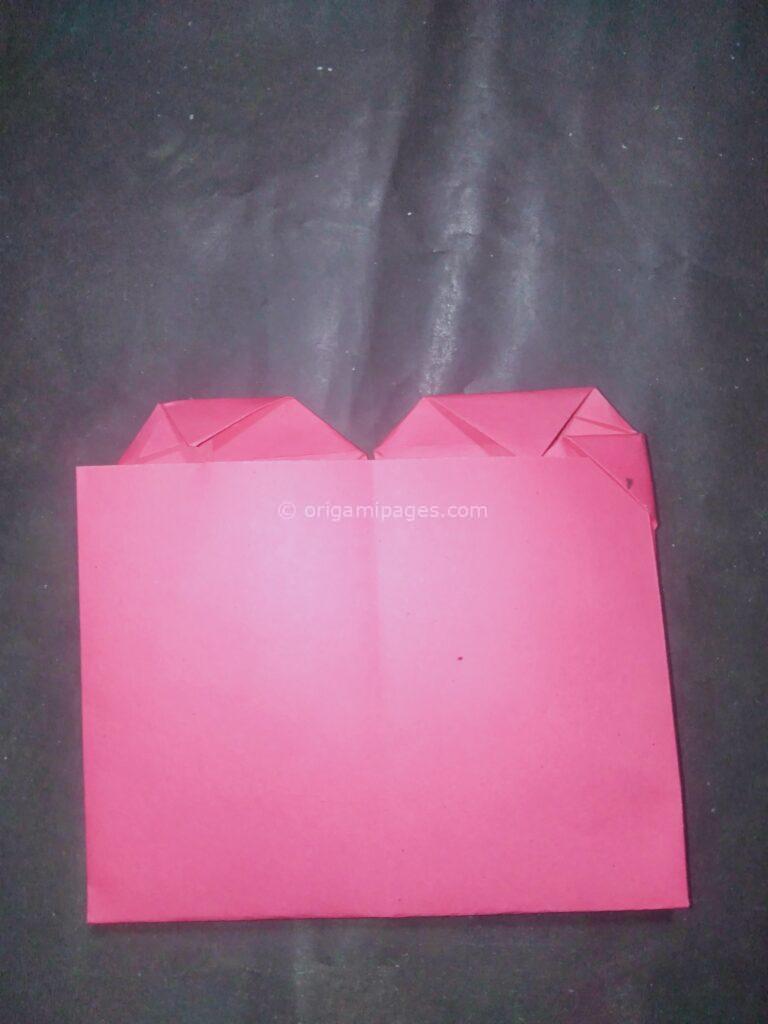

Step 14: Refold the section for a final touch.
Conclude the folding process by refolding this section, solidifying the origami heart place card’s elegant structure. This final fold integrates the various elements, resulting in a refined and visually appealing heart shape.


Step 15: Revel in the completion of your Origami Heart Place Card.
Witness the fruition of your efforts as the charming origami heart place card stands ready to add a sophisticated and personal touch to your event. This culmination of folds and techniques showcases the beauty of origami, transforming a simple sheet of paper into a work of art.

Final Words
Embark on the meticulous journey of crafting your Origami Heart Place Card, where each fold weaves precision and creativity into a masterpiece. From the thoughtful choice of A4 paper to the final insertion into corner pockets, this elegant creation embodies more than just paper – it resonates with the love and effort invested.
The refined structure, coupled with a heartfelt message, ensures your Origami Heart Place Cards stand as a personalized touch at your special occasion. Revel in the joy of completion, where every fold speaks volumes of dedication and the artistry of origami.
If you’re interested in Valentine’s origami tutorials, check out our articles on the Origami heart with stand and Origami corner heart. Our guide to the Origami heart with stand provides detailed steps, while the Origami corner heart article promises new creative adventures.

