Origami Cherry Blossom Instructions – Easy To Follow Guide
Crafting origami cherry blossoms unveils the mesmerizing dance of paper transformed into delicate flowers. Novices and seasoned artists alike are drawn to its captivating elegance. With each fold, a journey unfolds, offering both challenge and fulfillment. Whether you’re starting anew or seeking to refine your skills, this enchanting project promises a rewarding venture into the art of paper folding.
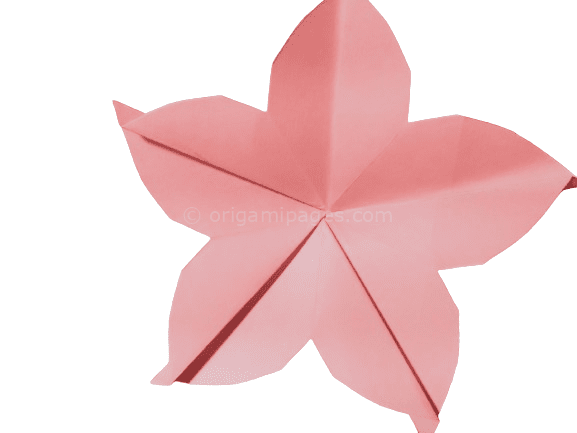
Easy Step-by-Step Guide: Making a Cherry Blossom Origami Flower
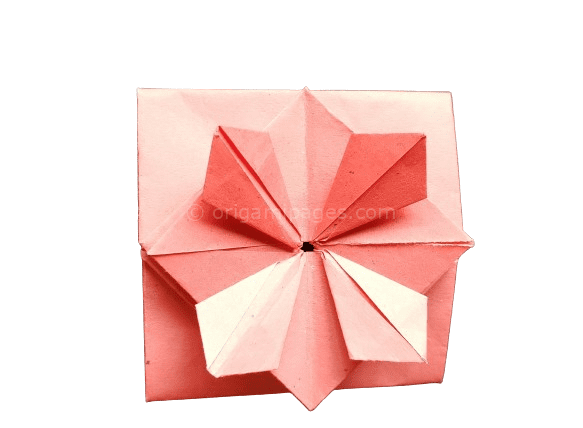
Are you ready to embark on a delightful journey of creating a beautiful cherry blossom origami flower? Follow these simple steps, and you’ll soon have a charming flat cherry blossom origami flower adorning your space. Let’s get started!
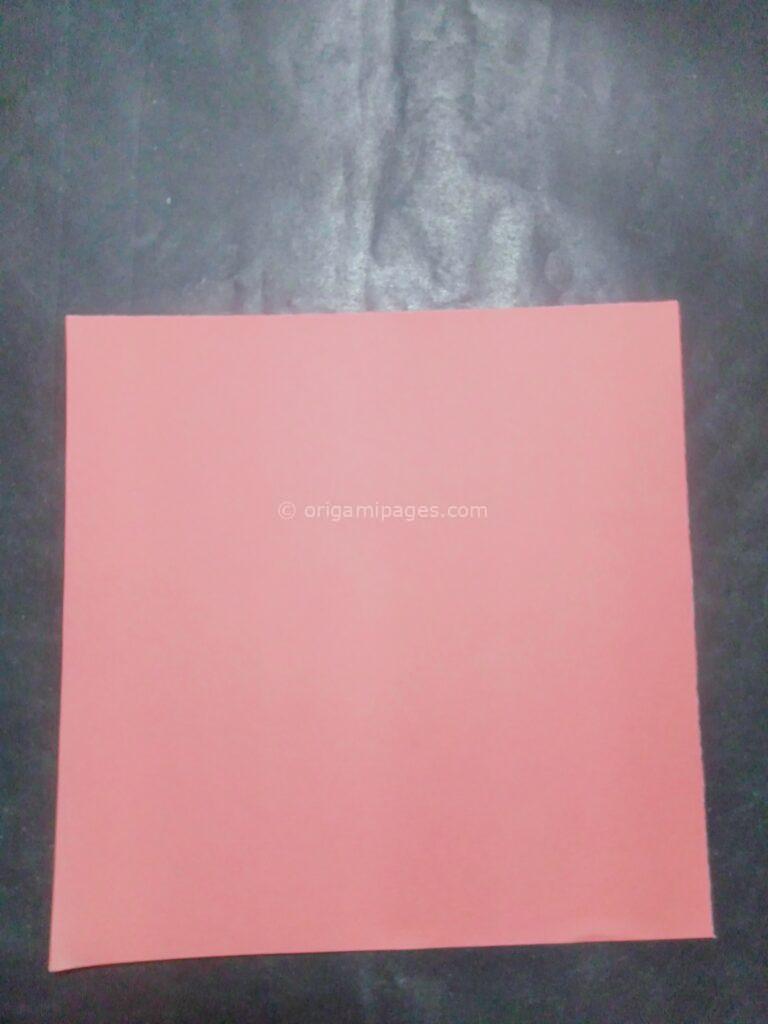
Step 1: Prepare Your Paper
Begin with an 8/8cm square of paper. Ensure it’s neatly squared up before you begin folding.
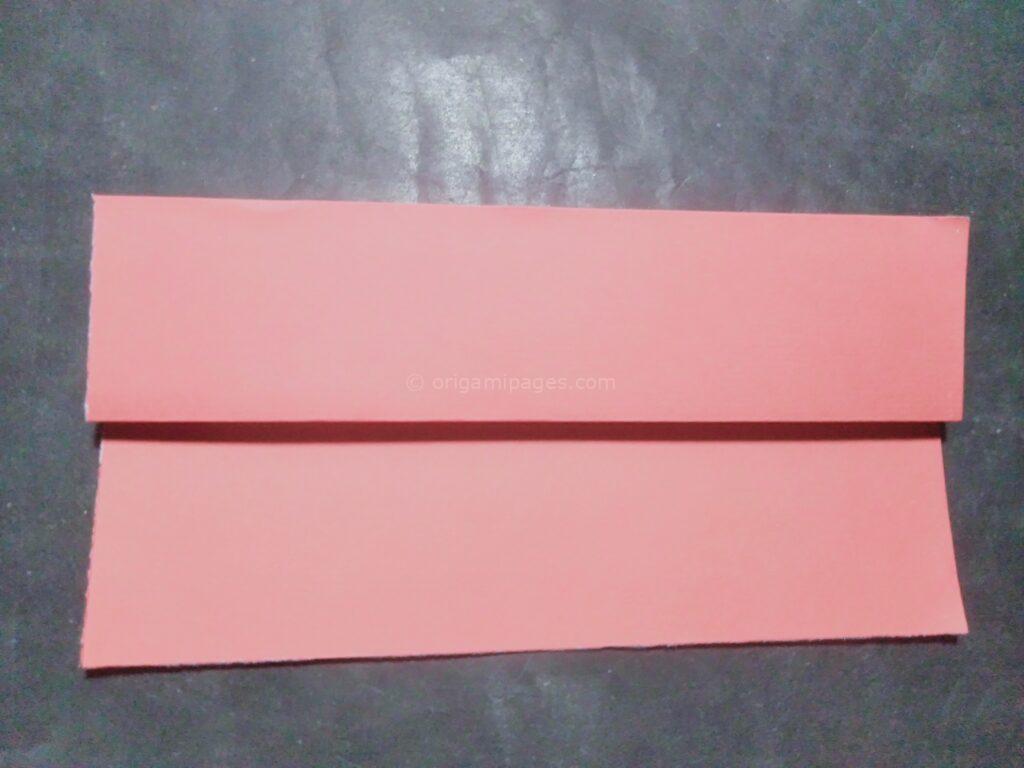
Step 2: Initial Fold
Fold the paper in half along the east-west axis. This creates a starting point for your origami masterpiece.

Step 3: Secondary Fold
Take the upper folded edge and fold it in half again, following the previous step. This establishes the basic structure for your cherry blossom origami.
Step 4: Creating a Central Point
From the upper left side of the bottom corner, fold at a 90-degree angle to create a central point, then unfold. This will serve as a guide for future folds.
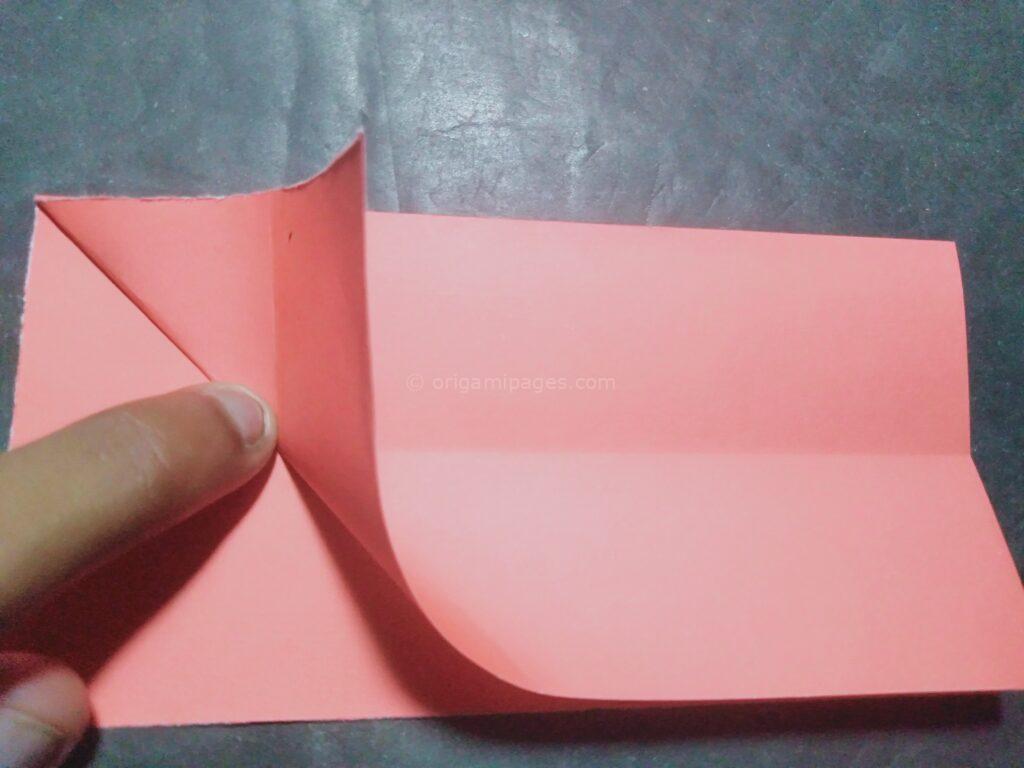
Step 5: First Petal
Take the corner on the right side and fold it towards the center point created in the previous step. This is the beginning of forming the petals of your cherry blossom.
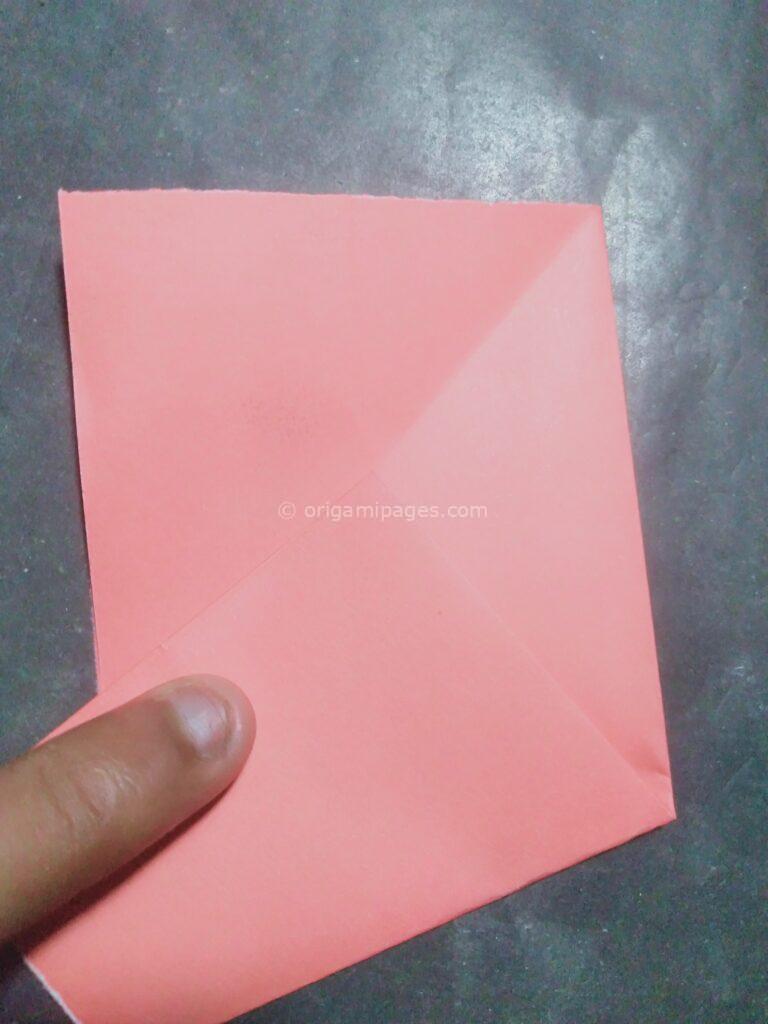
Step 6: Refining the Petal
Fold the corner from step five back towards the left side edge. This refines the shape of your first petal, giving it a more natural appearance.
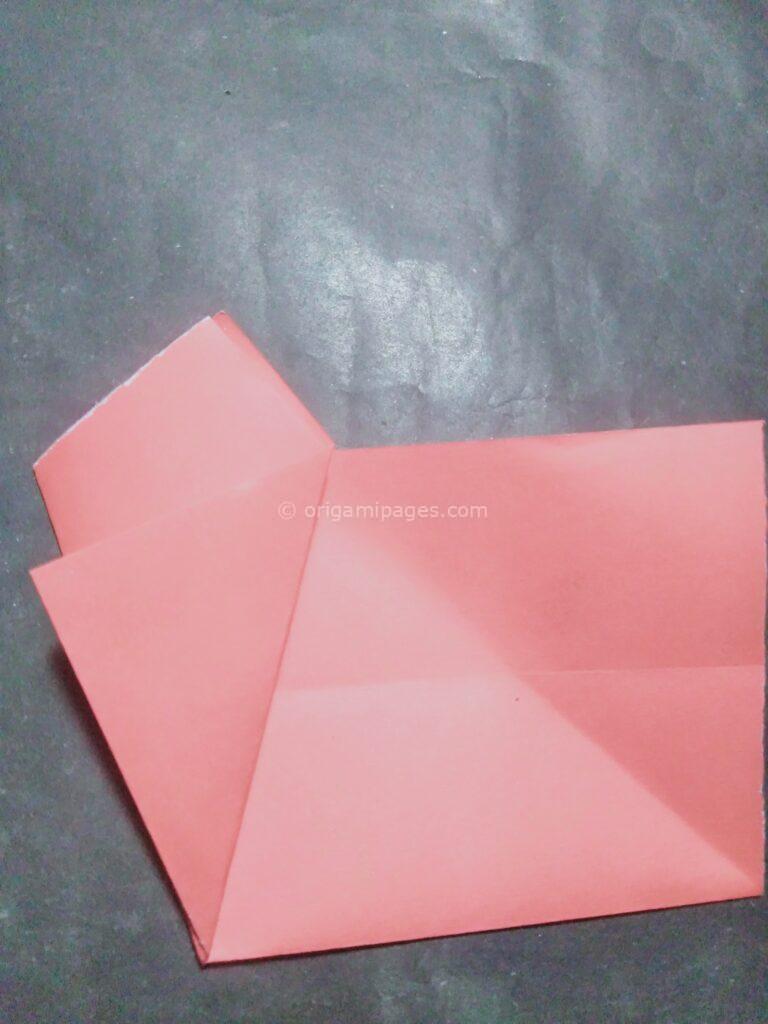
Step 7: Forming the Flower
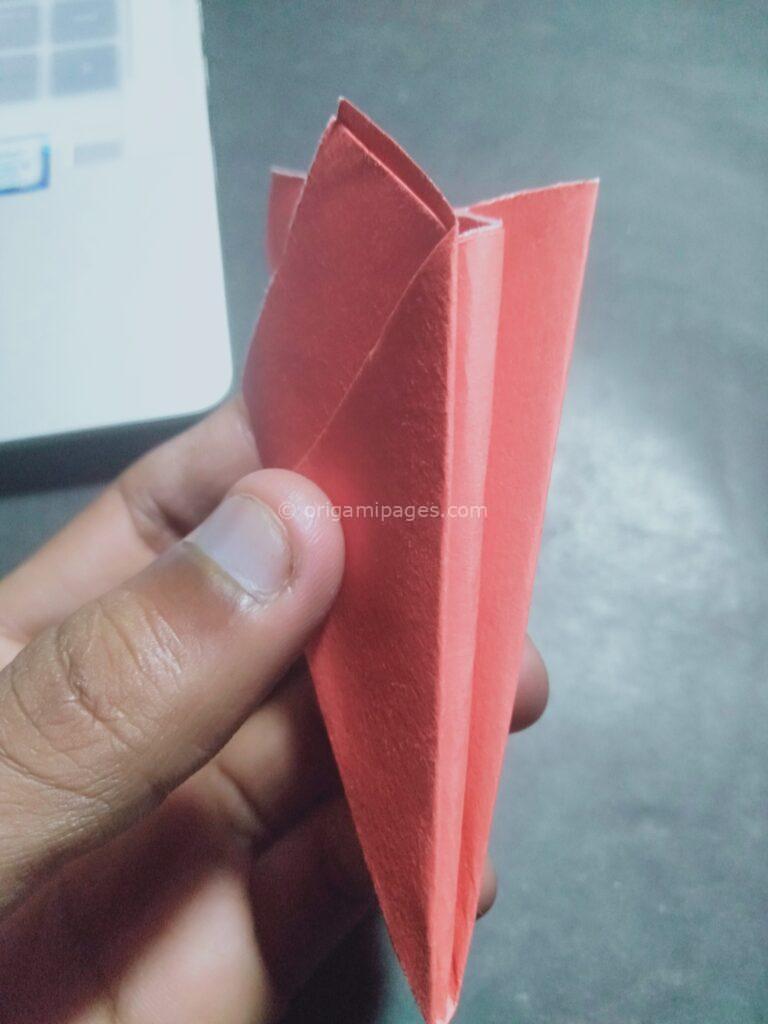
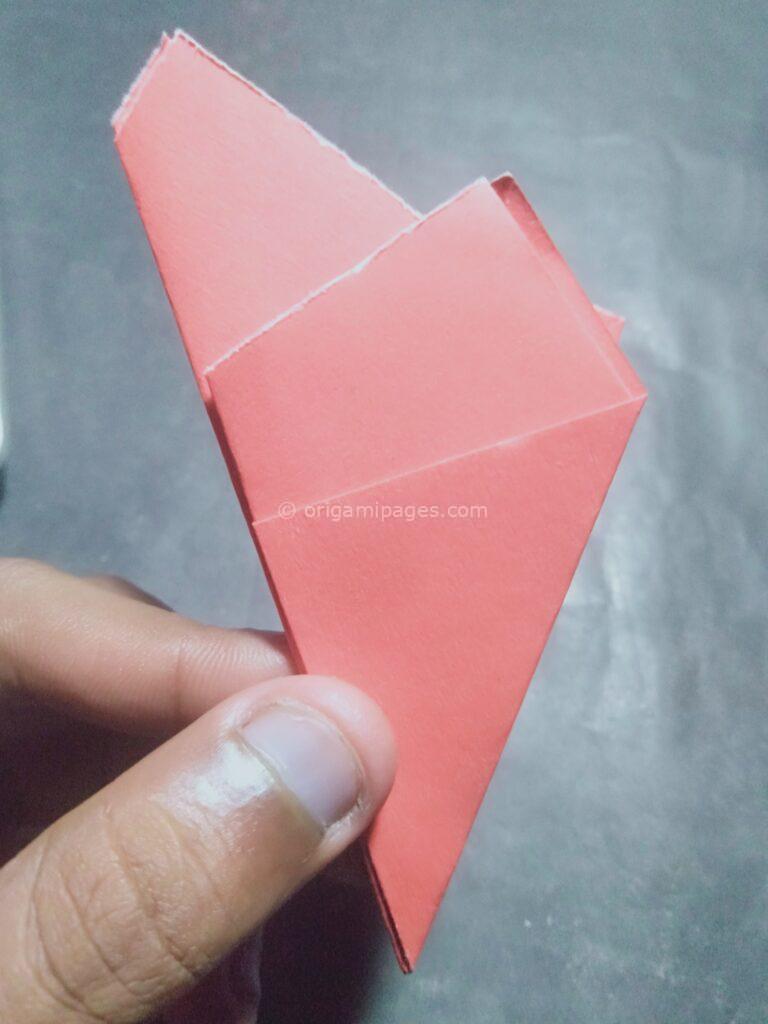
Fold the remaining right side of the paper over the top of the previous folds, maintaining the center line, and create a mountain fold as demonstrated. This step starts to give your origami flower its three-dimensional shape.
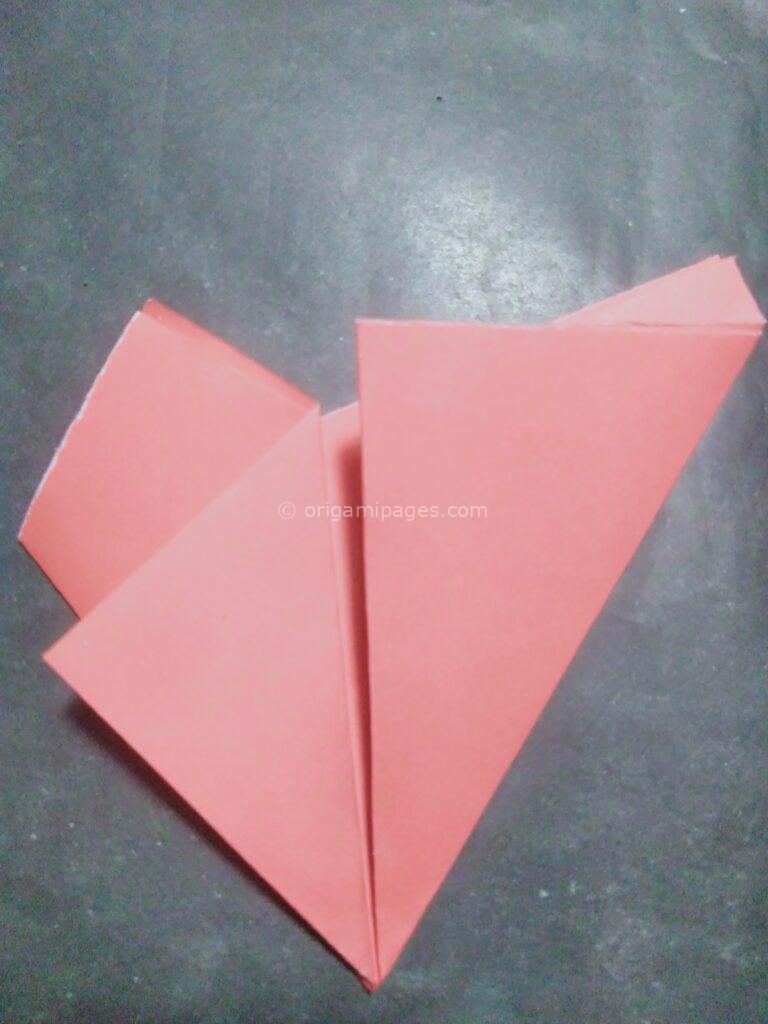
Step 8: Trimming
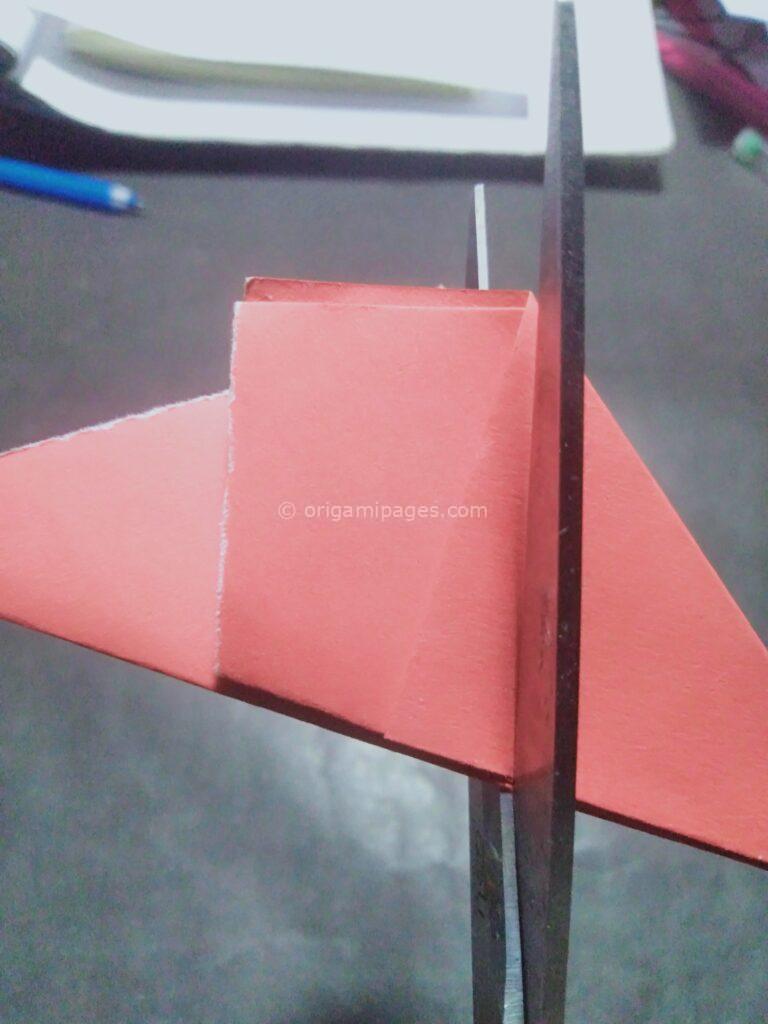
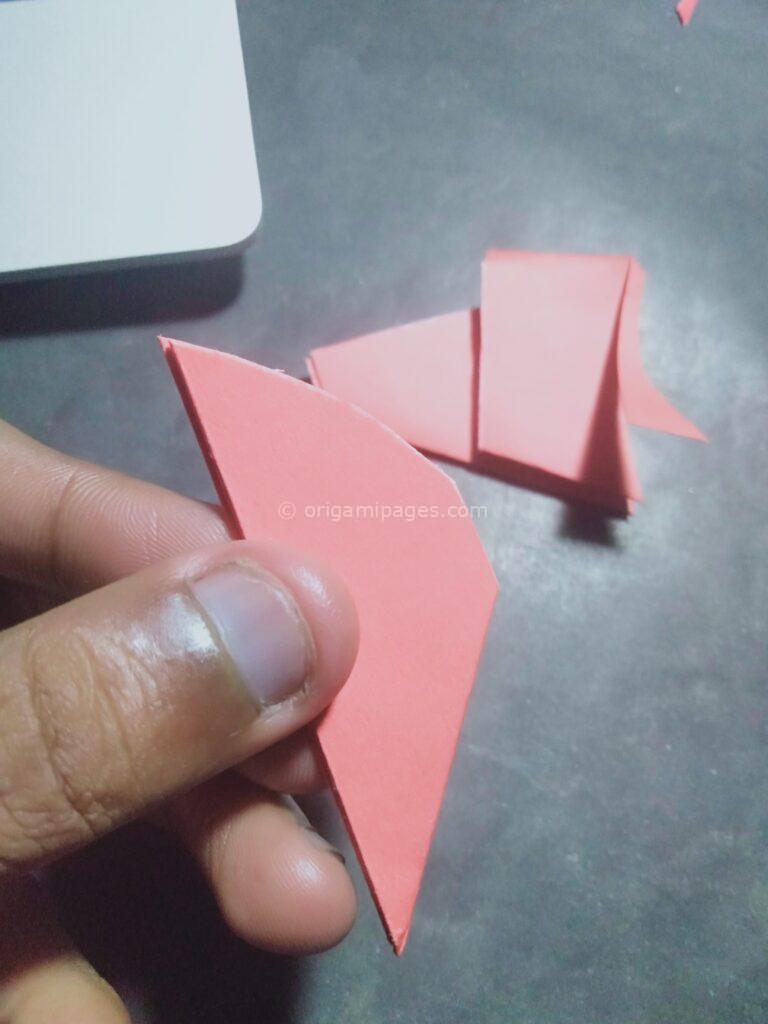
Cut a little below the first crease and trim the top point of the right side corners. This adds detail to your cherry blossom origami, making it more visually appealing.
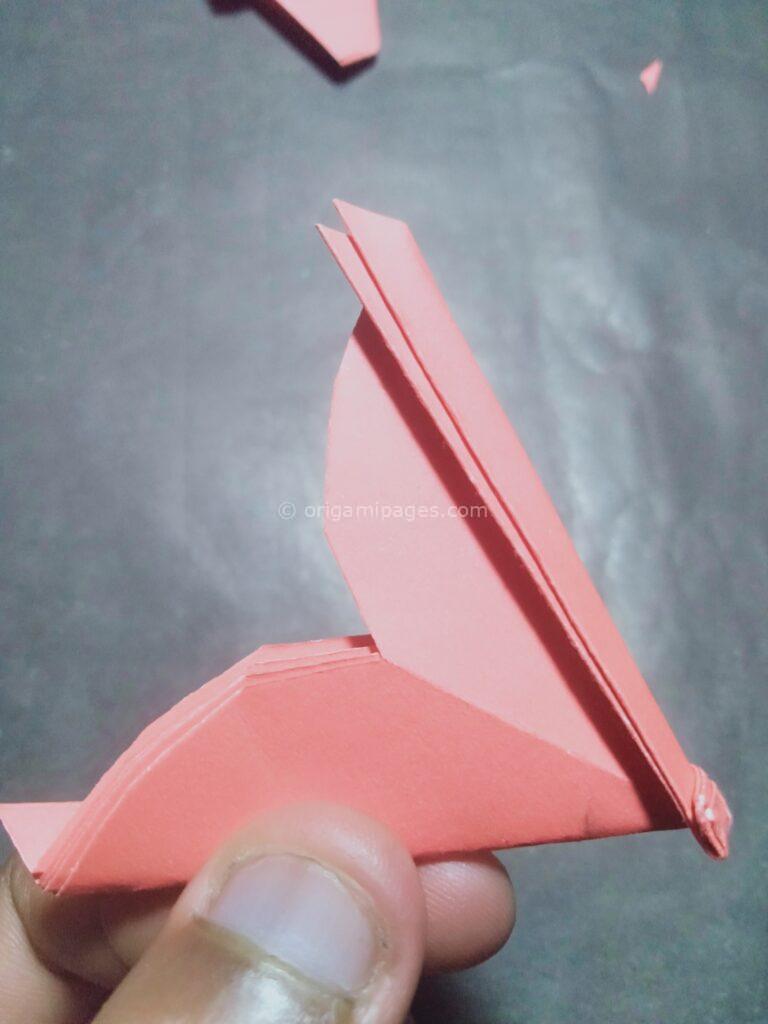
Step 9: Re-creasing
Unfold the paper and re-crease the existing folds as shown below. This ensures that your folds are crisp and defined, enhancing the overall appearance of your origami flower.
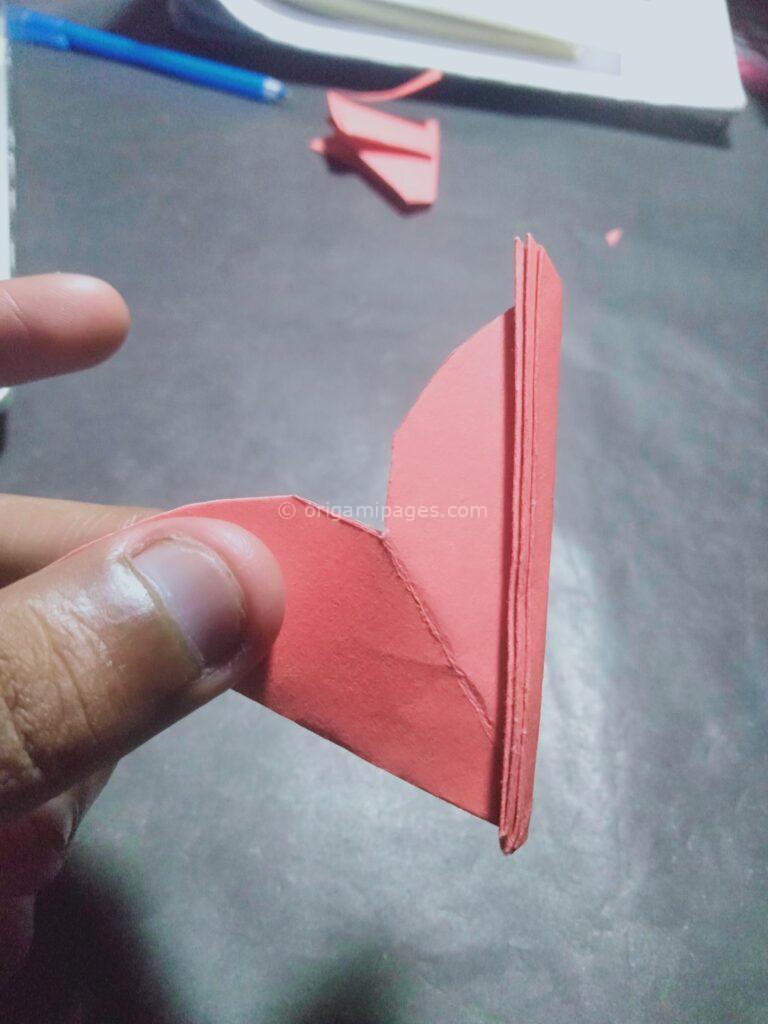
Step 10: Adding Detail
Create a small diagonal mountain fold on the right side as demonstrated below. Repeat the same on the other side after turning over the paper. These folds add depth and dimension to your cherry blossom origami.
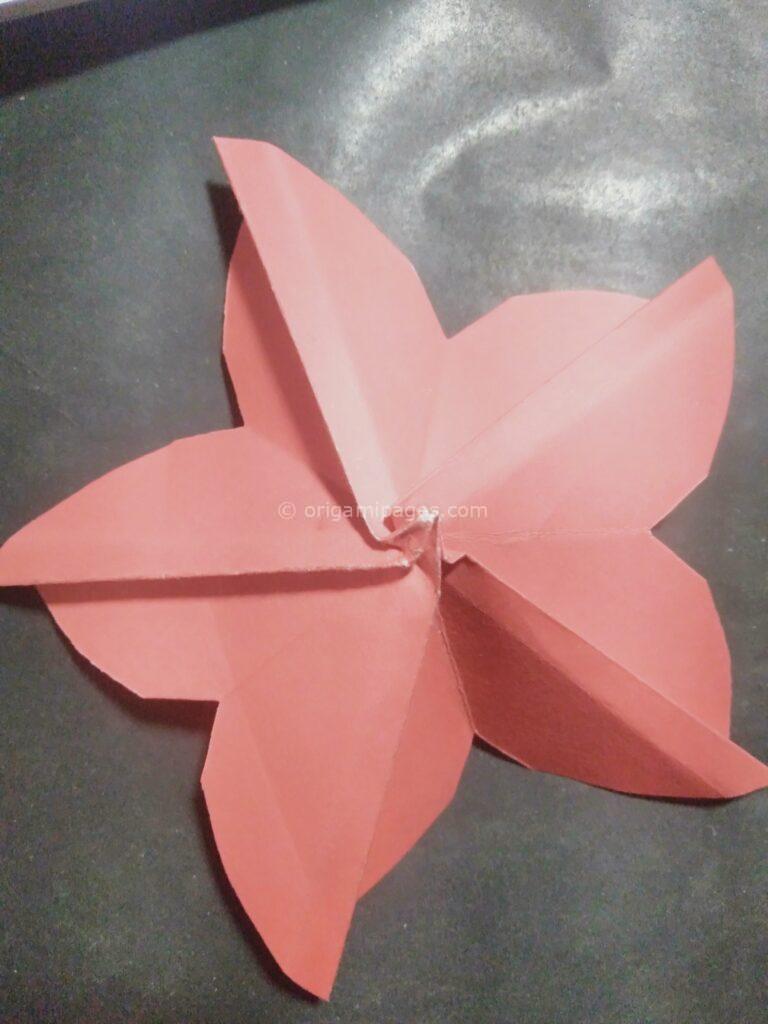
Step 11: Finishing Touches
Gently open the paper and coax the over flaps, pressing them down. Flatten the center as well. This step gives your origami flower its final shape and prepares it for display.
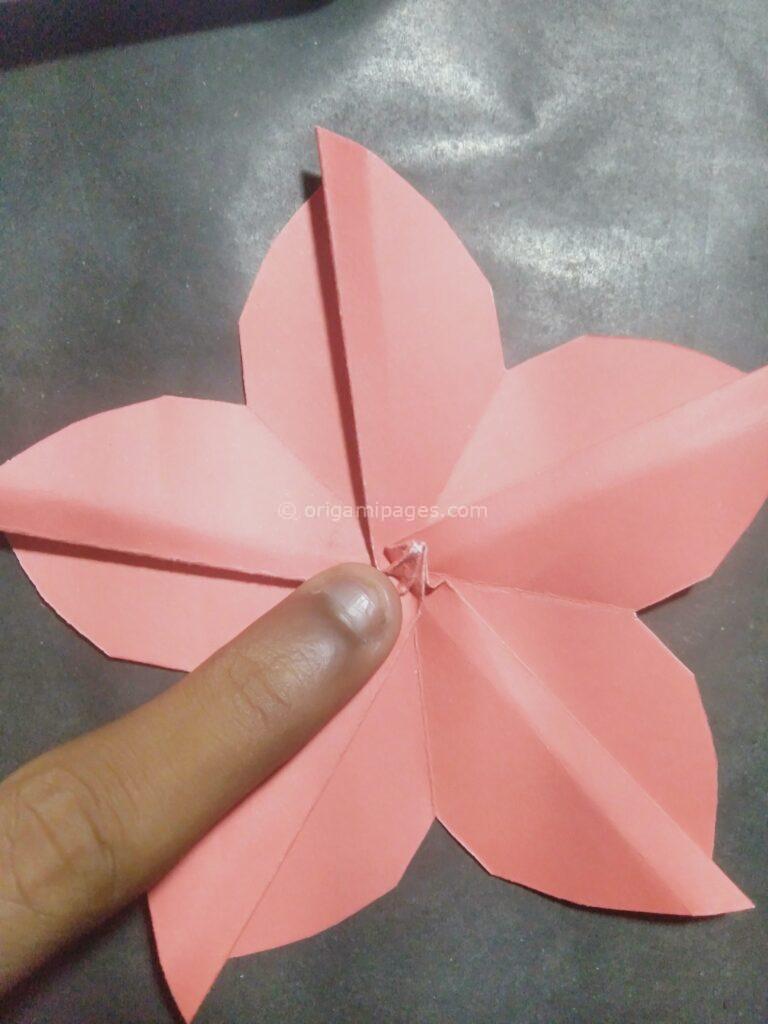
Step 12: Admire Your Creation
Congratulations! Your origami cherry blossom is now complete. Take a moment to admire your handiwork and enjoy the beauty of your very own cherry flower origami creation.
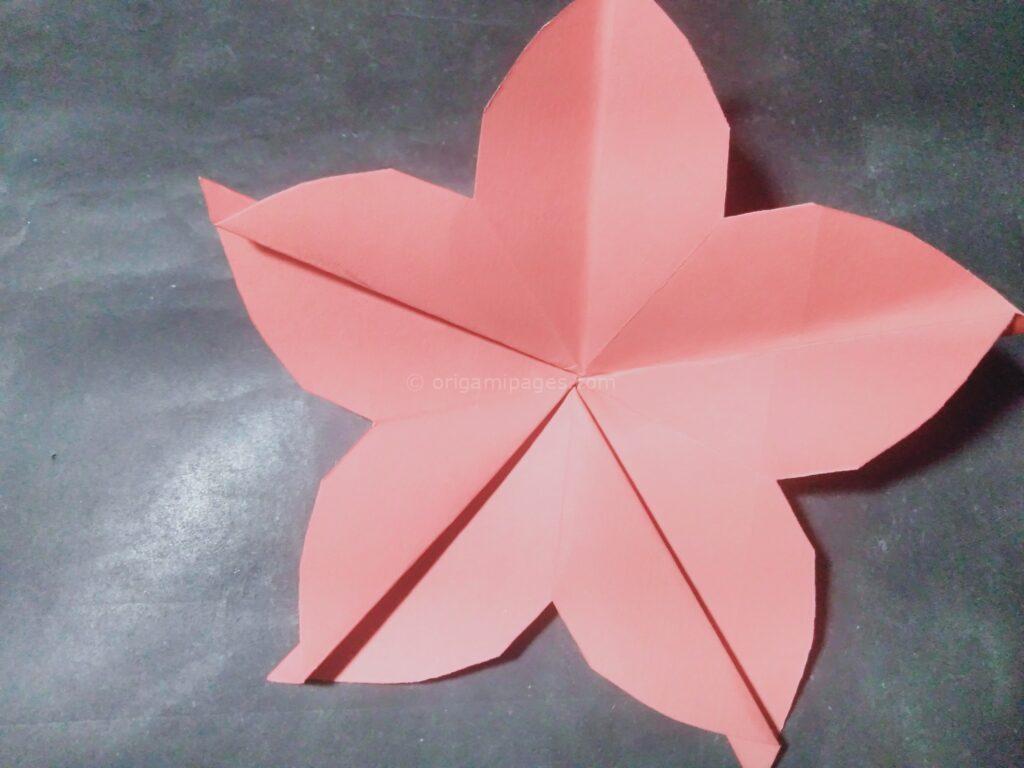
With these easy-to-follow steps, even beginners can create a stunning cherry blossom origami flower. Enjoy the process and let your creativity blossom!
If you’re into origami flowers, don’t miss our guides on the Origami hydrangea and Origami bell flower. Our article on Origami hydrangea gives detailed instructions, while the Origami bell flower tutorial offers a new crafting experience.


