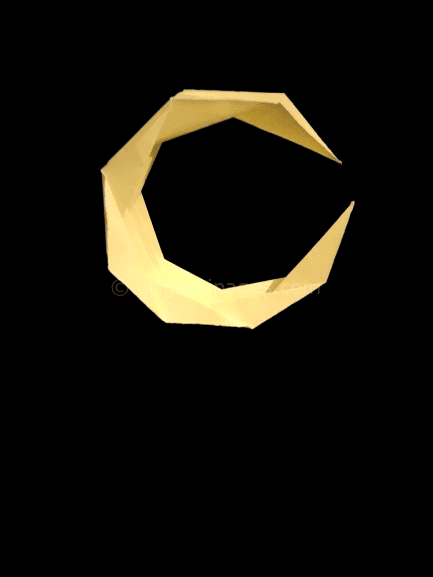
How to Make an Origami Kusudama: Step-by-Step Guide for Beginners
Origami Kusudama offers a perfect blend of challenge and accessibility, making it an ideal project for both beginners and seasoned paper-folding enthusiasts. With just a square sheet of paper and a few simple folds, you can create stunning Kusudama flowers that adorn any space with elegance and charm. Join us as we explore the step-by-step process of crafting your own Origami Kusudama masterpiece, guided by clear instructions and accompanied by the satisfaction of creating something truly unique.
Understanding the Basics
Before diving into the intricate folds of Origami Kusudama, let’s gather our materials. All you need is a square sheet of paper, preferably around 21cm x 21cm in size. Once you have your paper ready, it’s time to embark on our journey of creation.
Step-by-Step Guide to Crafting Origami Kusudama
Step 1: Gather Your Materials
Begin by gathering all the necessary materials. You’ll need a square origami paper. For this tutorial, we’ll be using a 21cm x 21cm paper, but you can adjust the size according to your preference.
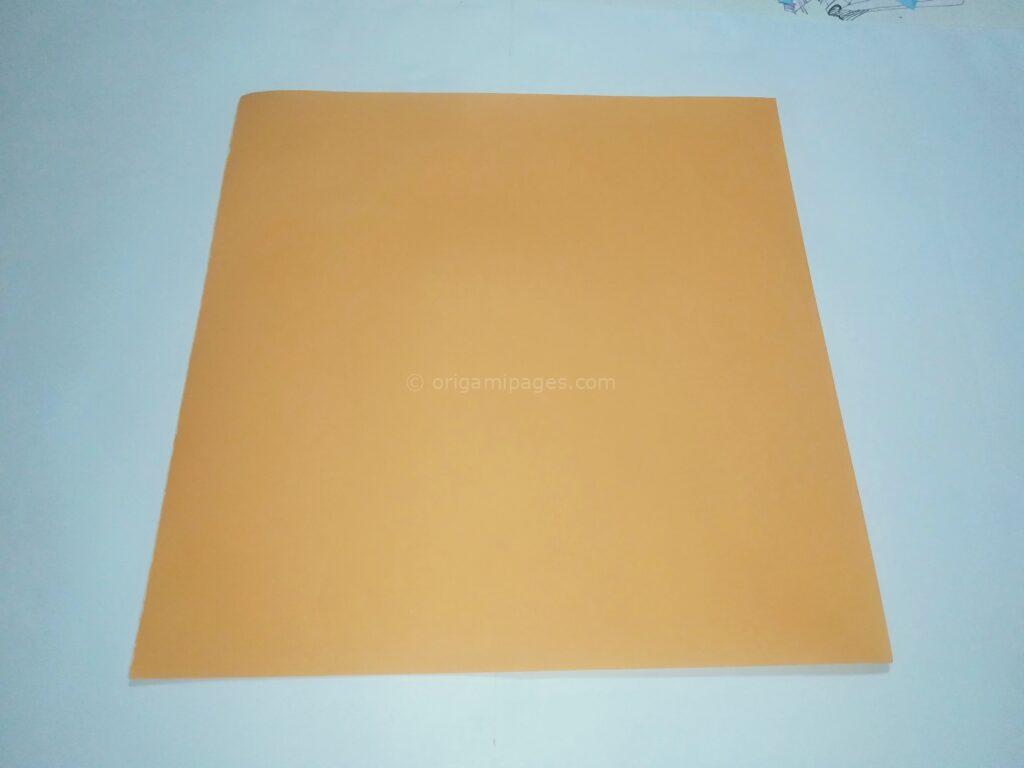
Step 2: Start with a Valley Fold
Take your square paper and make a valley fold by folding it in half diagonally. Ensure that the edges align perfectly, then crease the fold well.
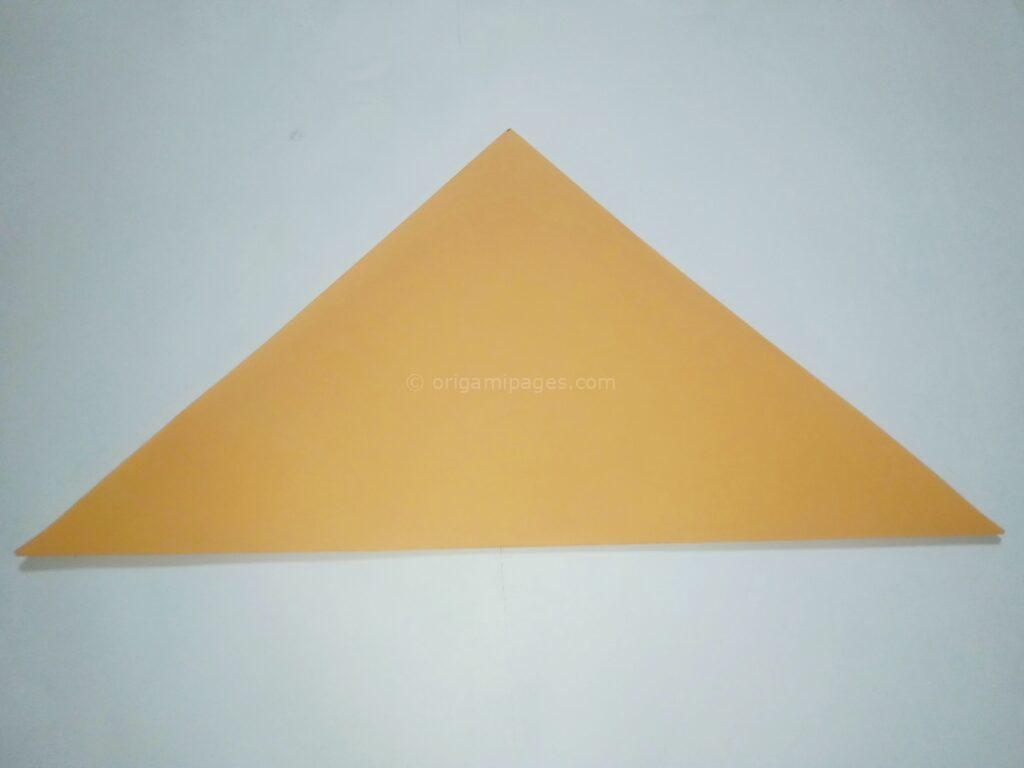
Step 3: Fold the Bottom Corners
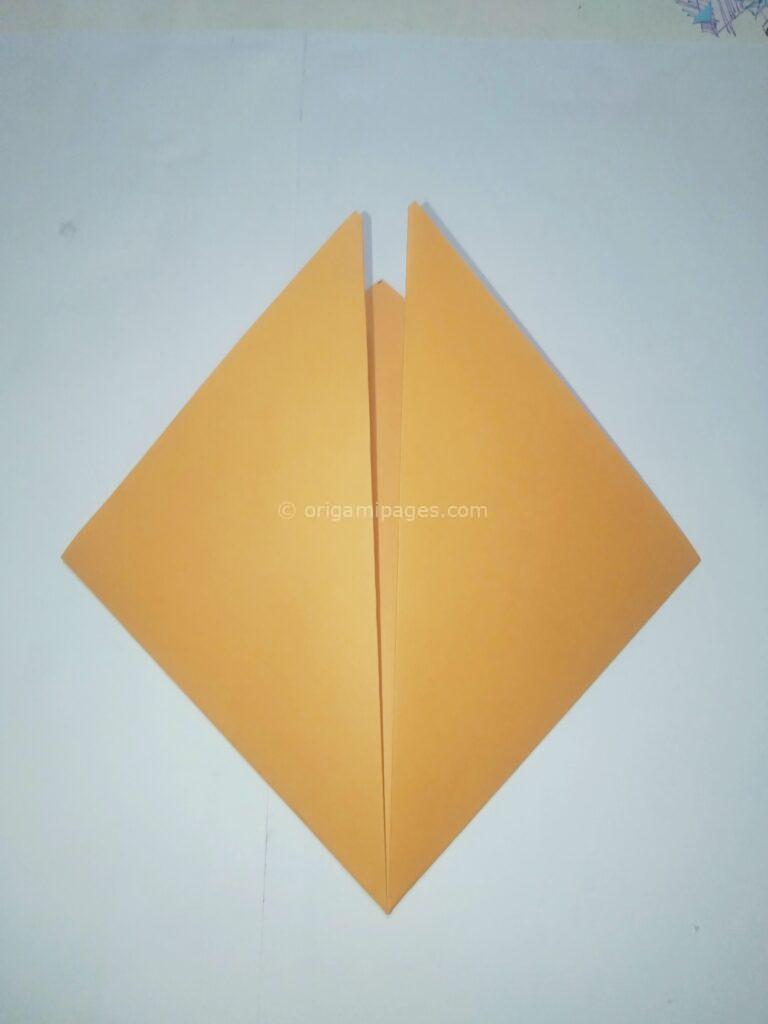
Next, take each of the bottom corners and fold them upwards to meet at the top corner. This will form a triangular shape with the bottom edge parallel to the top edge.
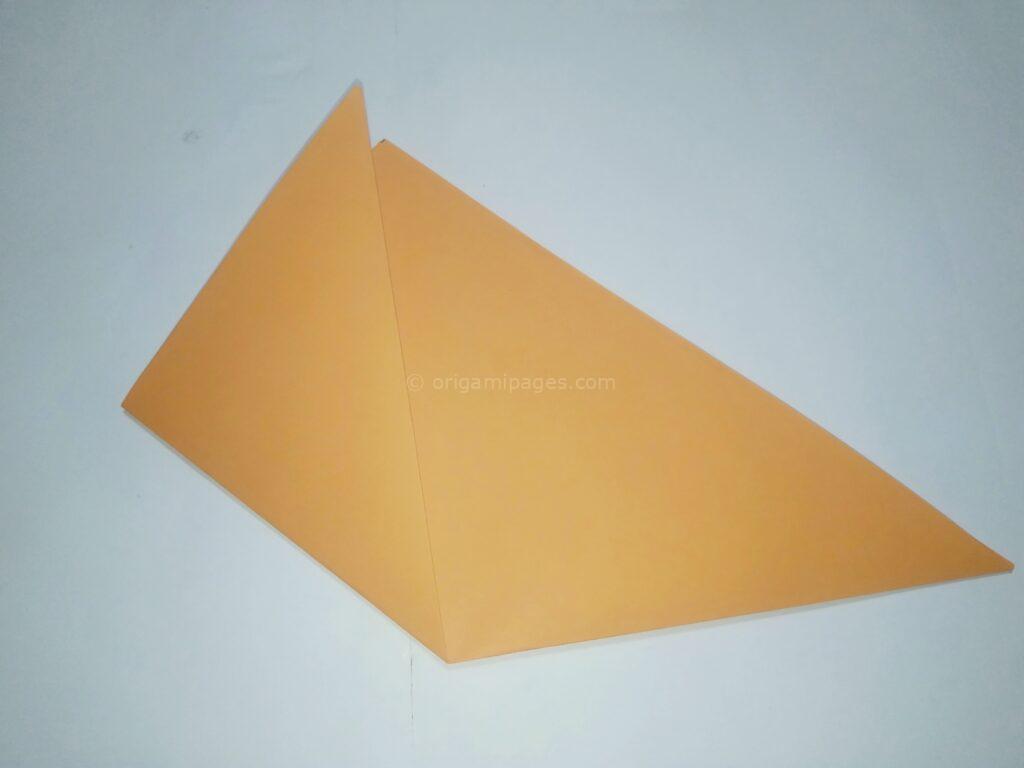
Step 4: Create Right Flap Folds
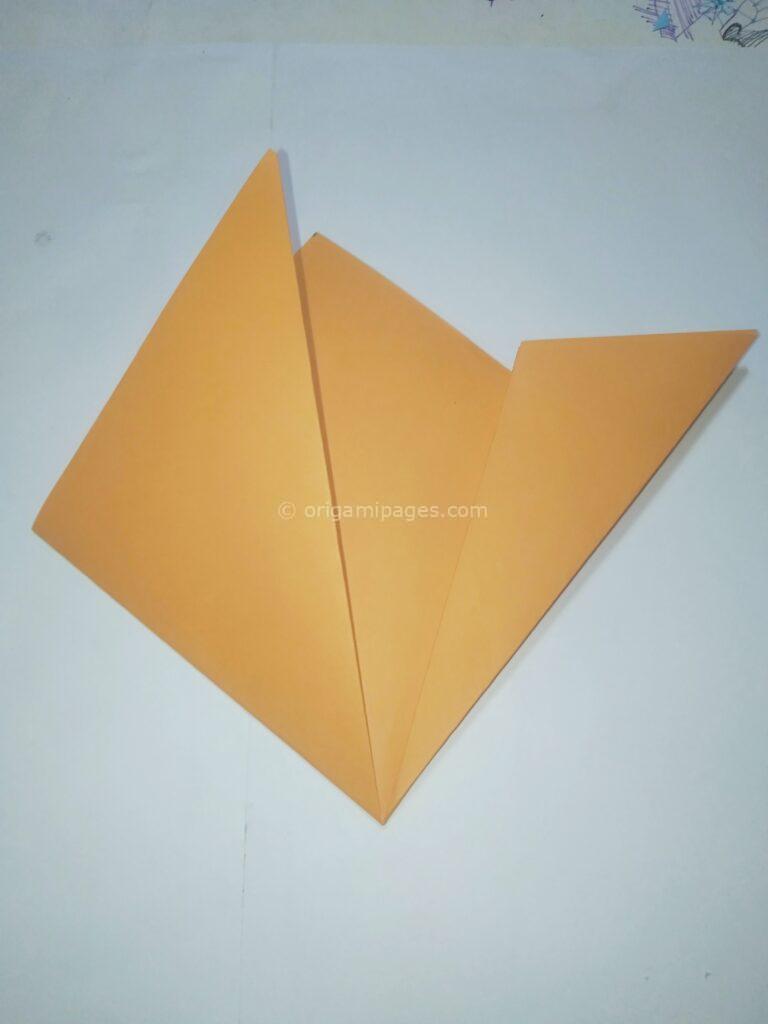
Now, focus on the right flap of the triangle. Fold it inwards, aligning it with the central vertical crease. Repeat this step with the left flap as well.
Step 5: Perform Squash Folds
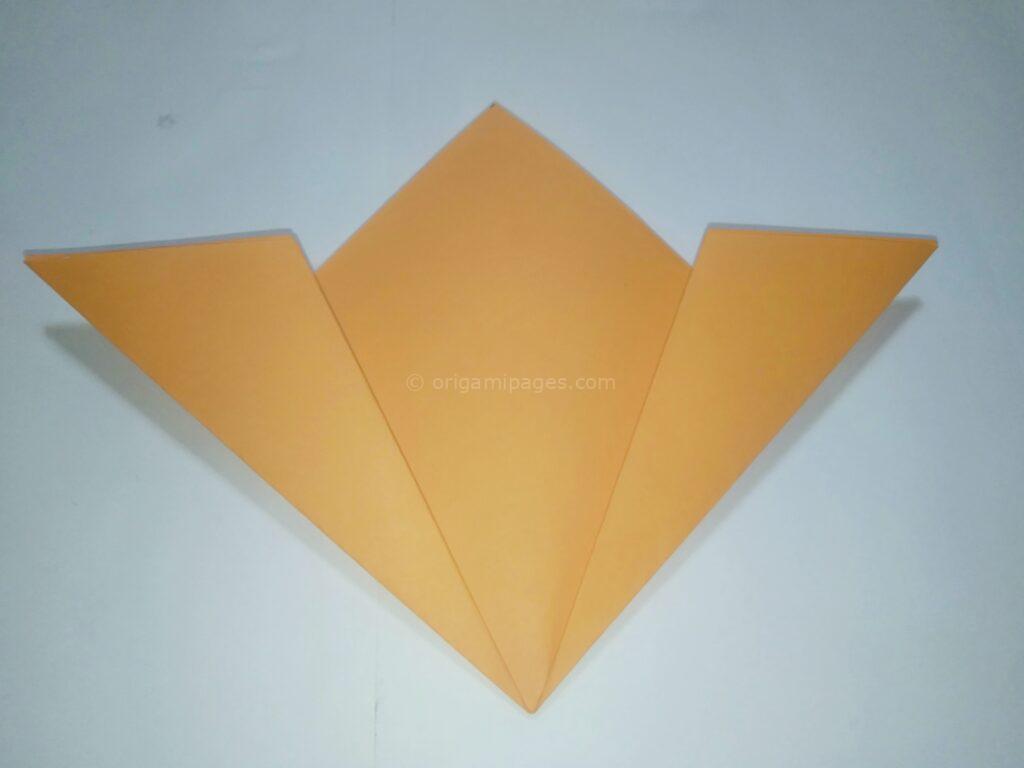
Unfold the right flap you just folded. Then, fold out a portion of the paper to create a squash fold. Press the folded portion flat, ensuring it aligns with the creases. Repeat this process on the other side.
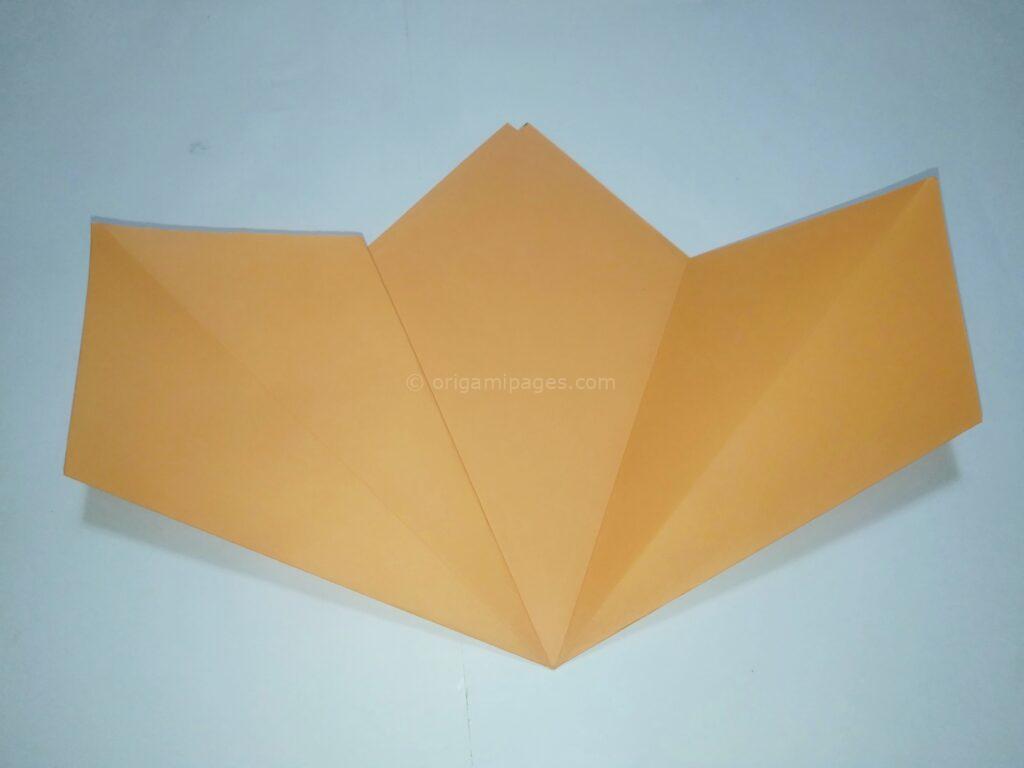
Step 6: Fold Down the Top Corners
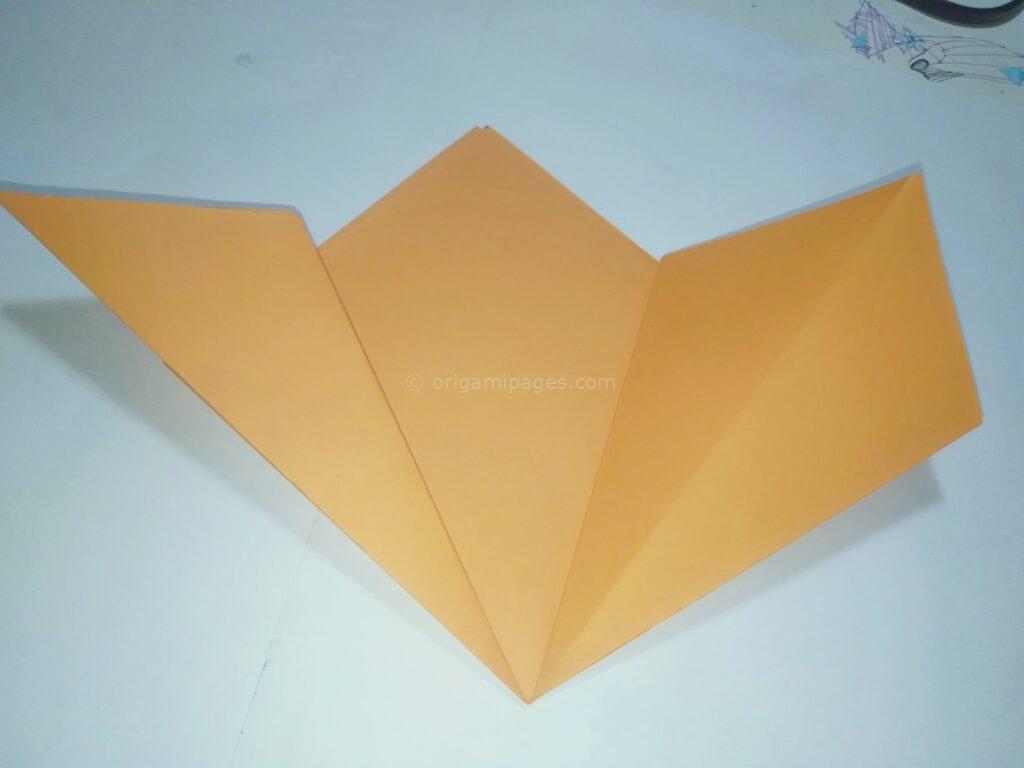
Fold down the top corner of the right side, bringing it down towards the bottom edge. Fold it back on itself to create a small triangle. Repeat this process on the left side as well.
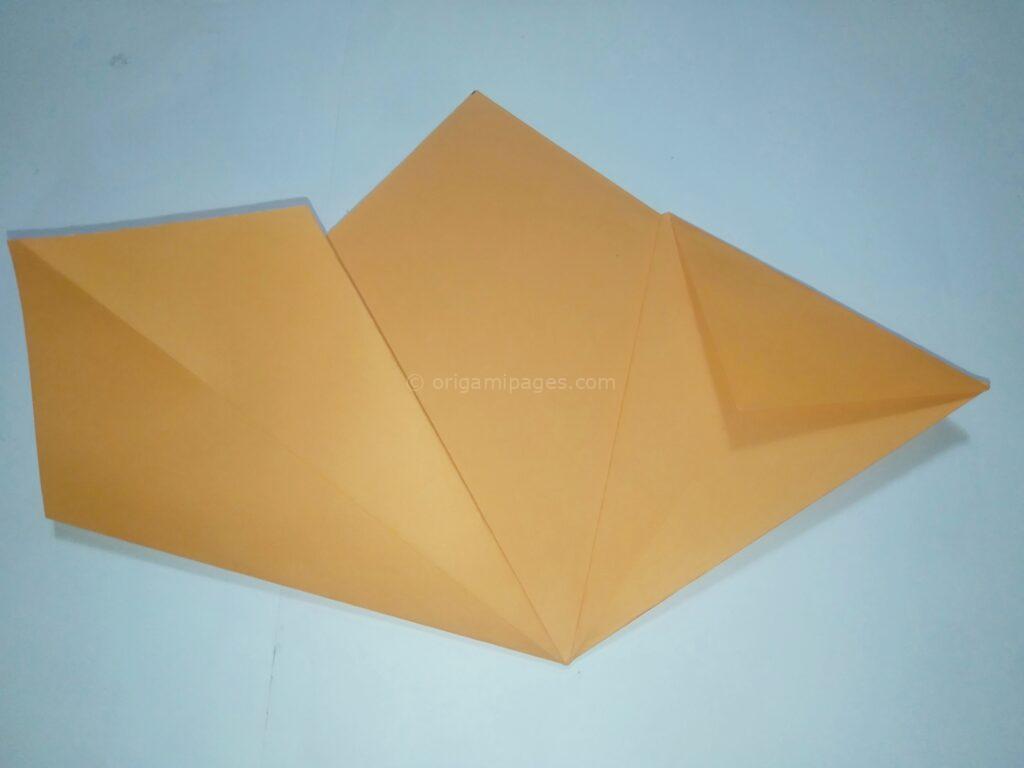
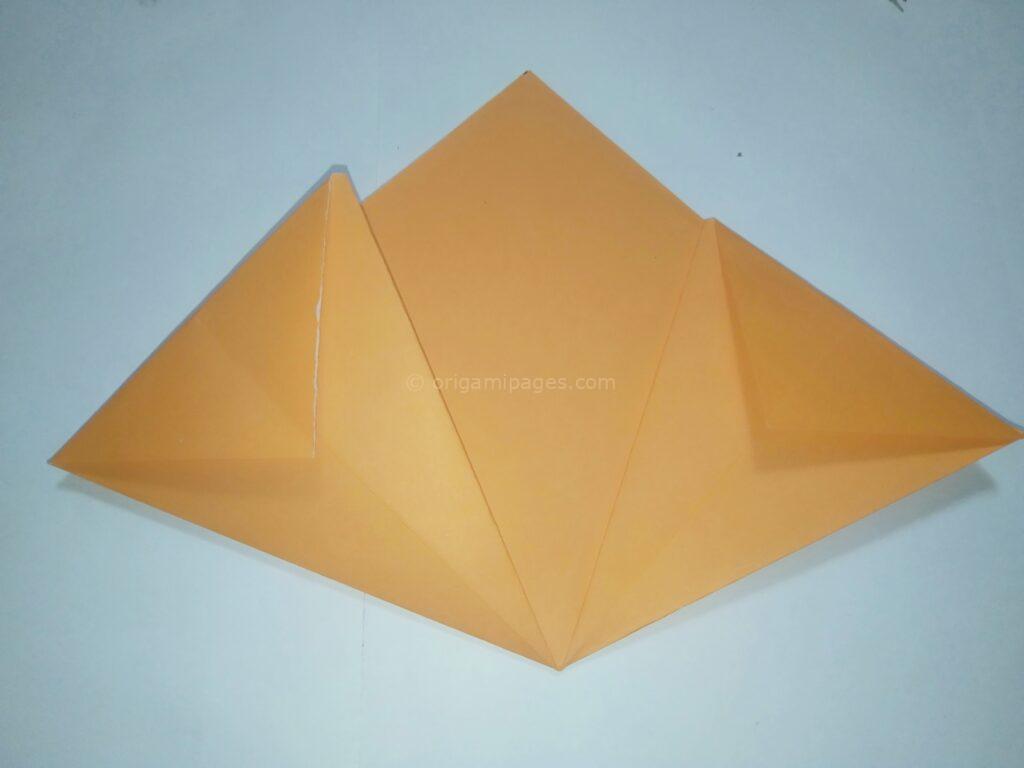
Step 7: Fold Over the Side Pieces
Now, fold the right side piece over itself towards the centerline. Repeat this fold on the left side as well. This will create two smaller triangular flaps on each side.
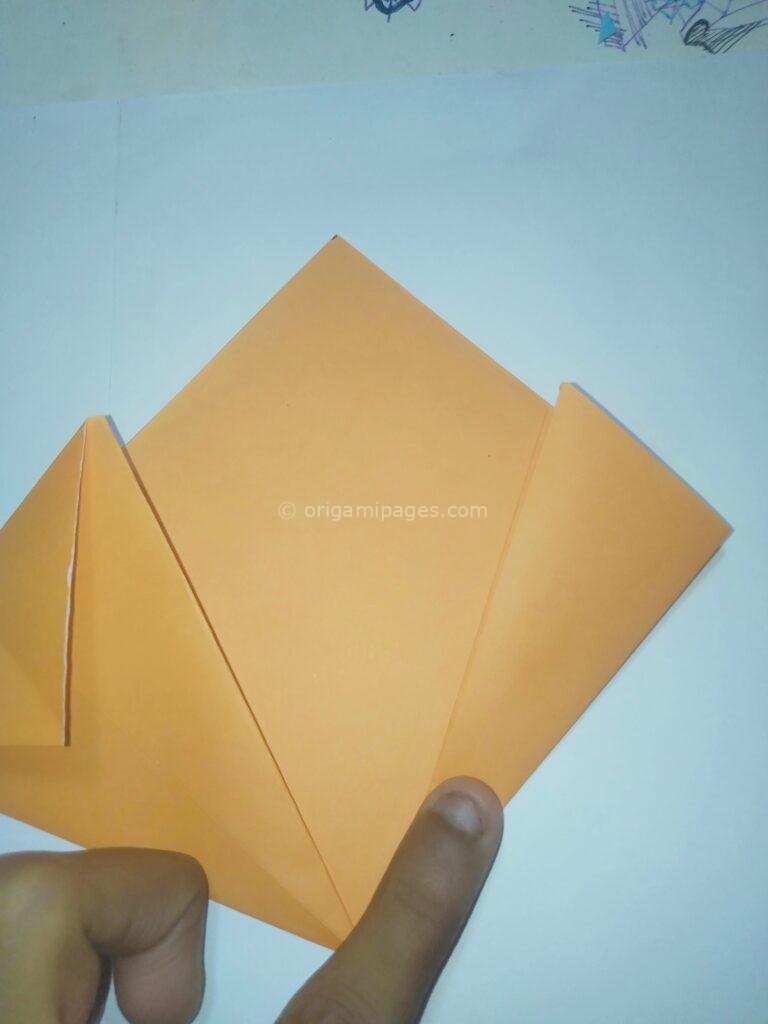
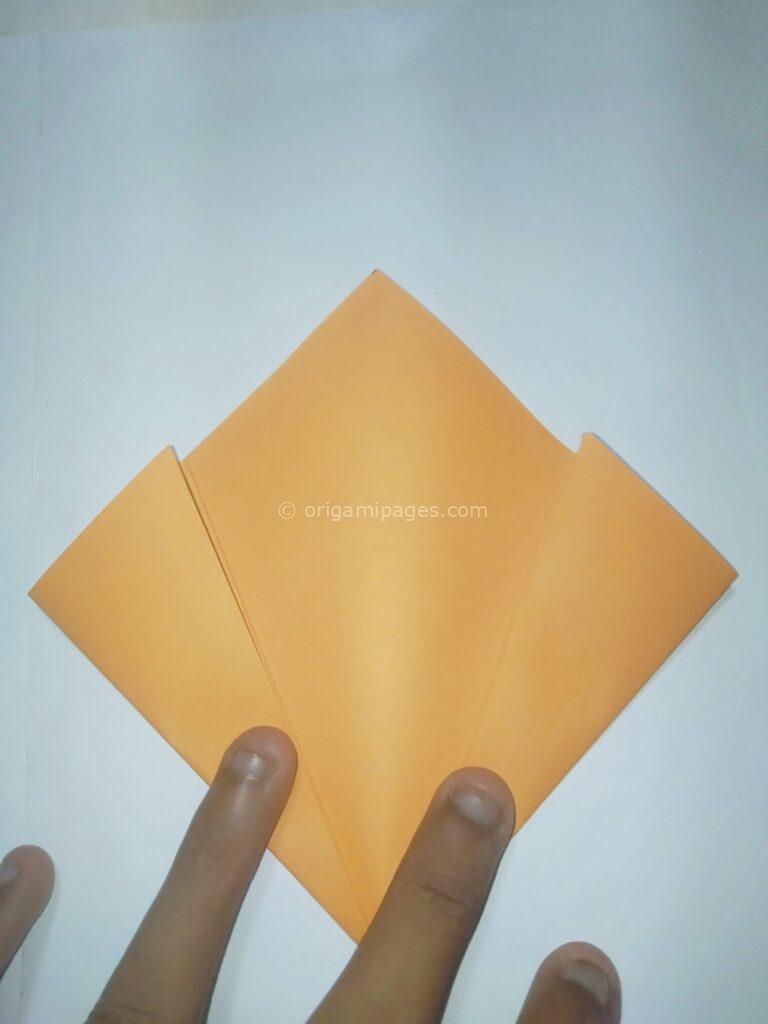
Step 8: Glue the Sections Together
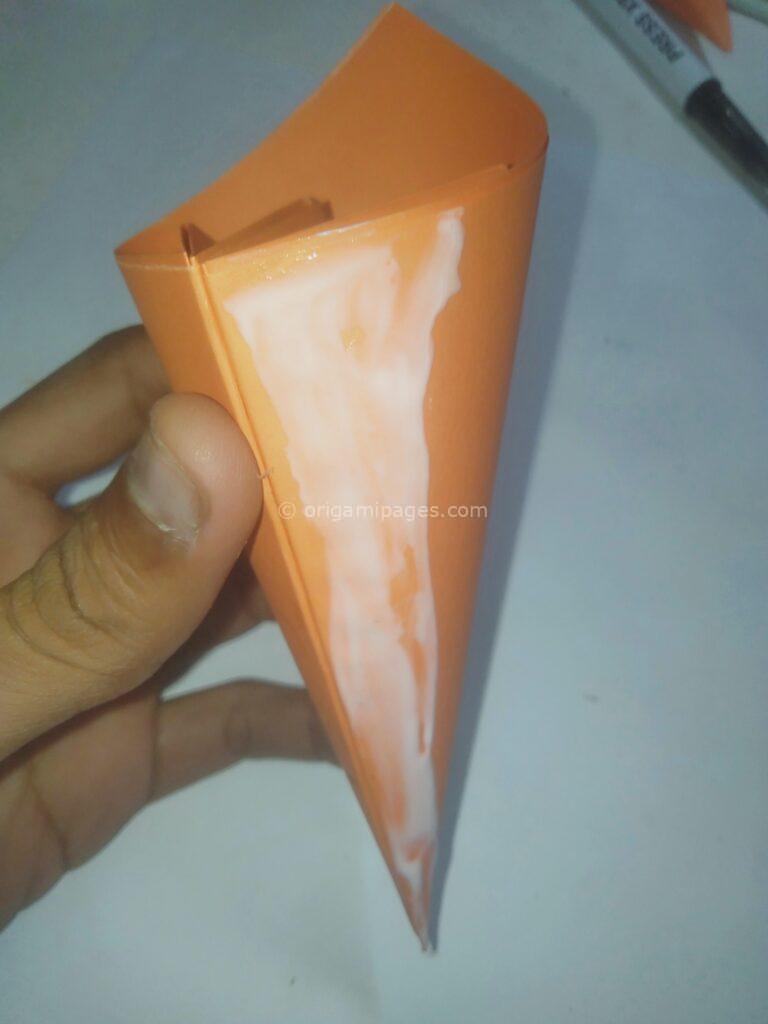
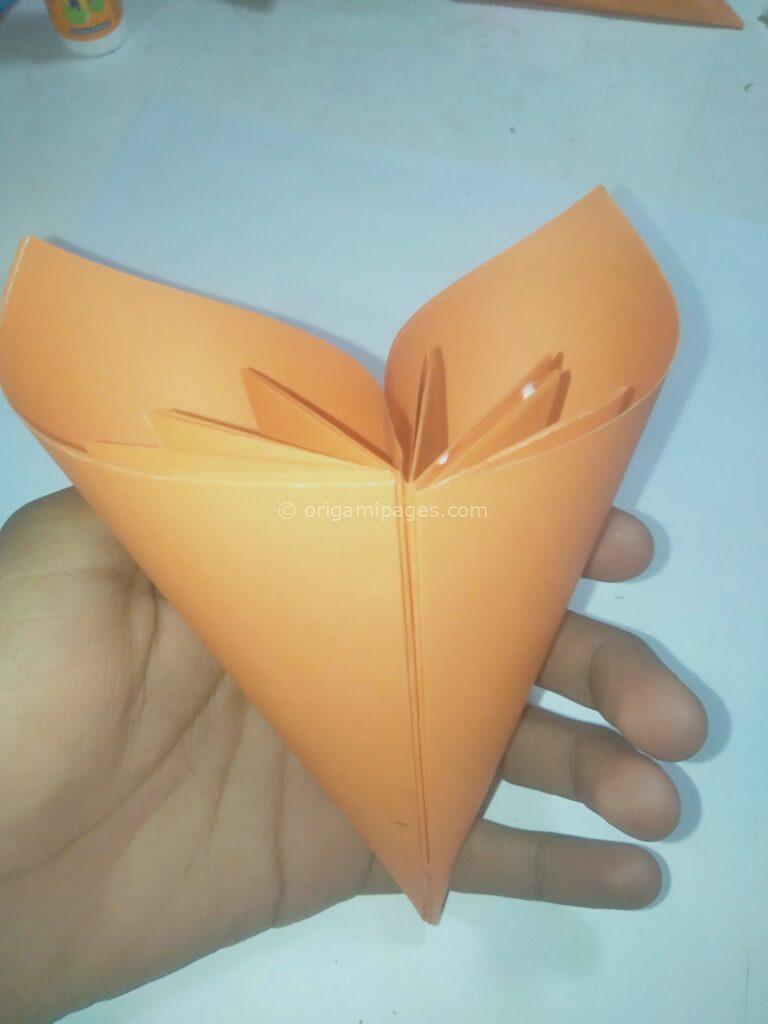
Apply glue, such as Fevicol, to the inner flaps of both sides. Then, bring the two flaps together, lining them up neatly. Press firmly to ensure a secure bond. Arrange the inside pieces as needed.

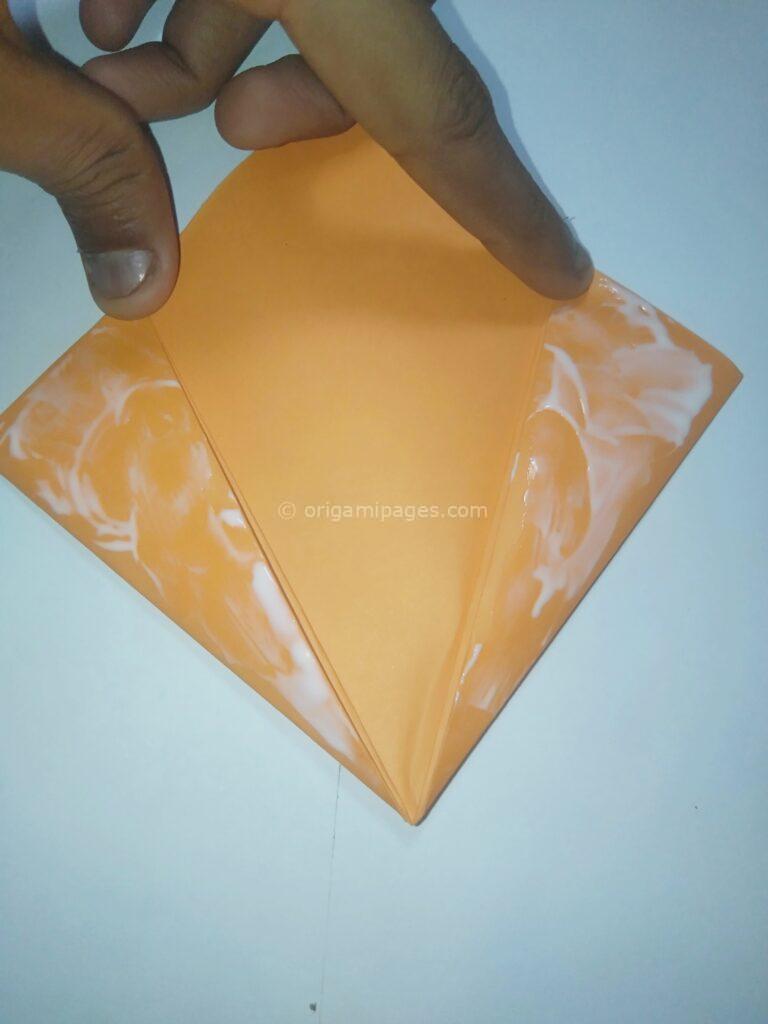
Step 9: Repeat to Make Five Units
Repeat the folding process to create a total of five identical units. Each unit will serve as a section of the final Kusudama.
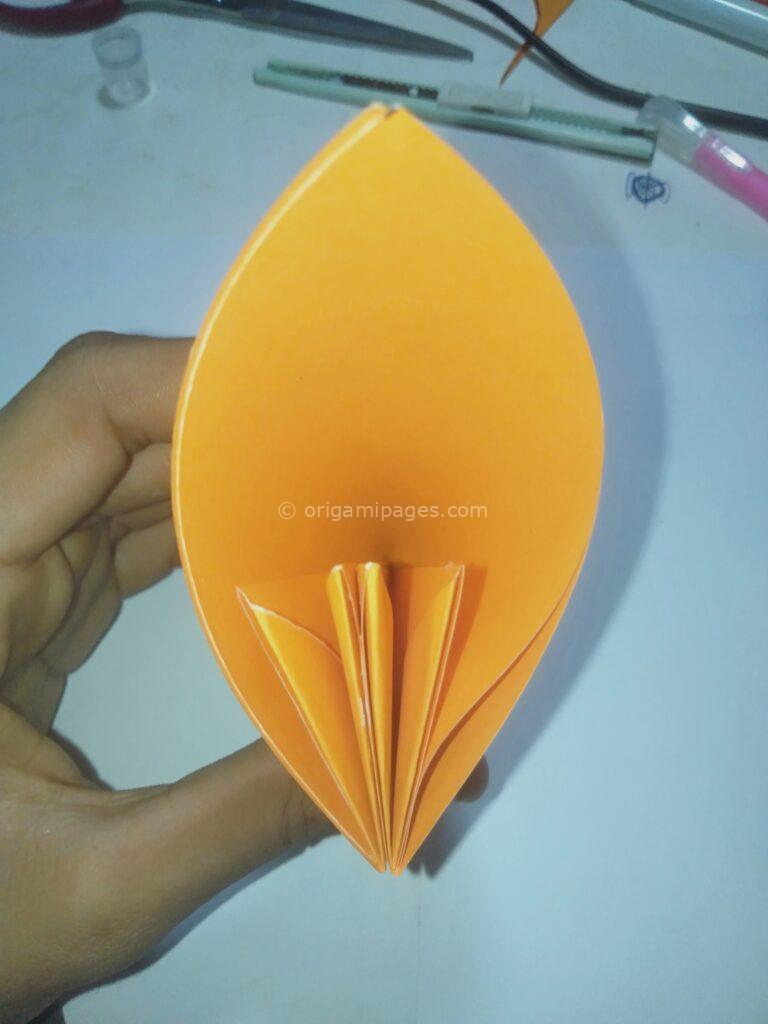
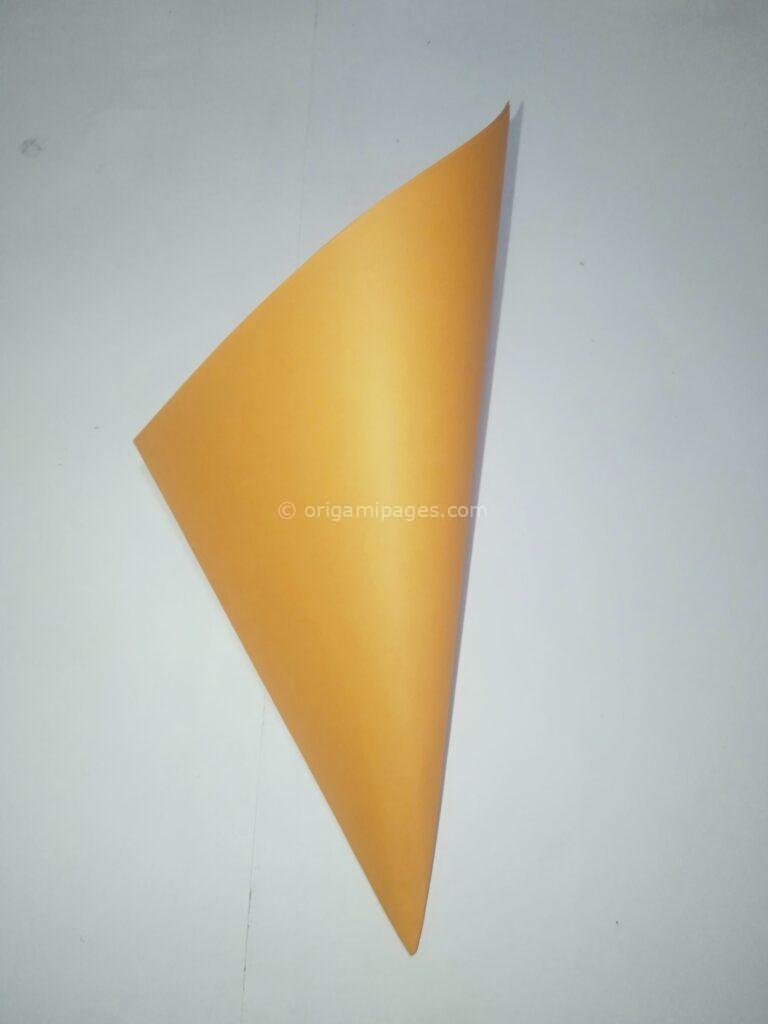
Step 10: Assemble the Units
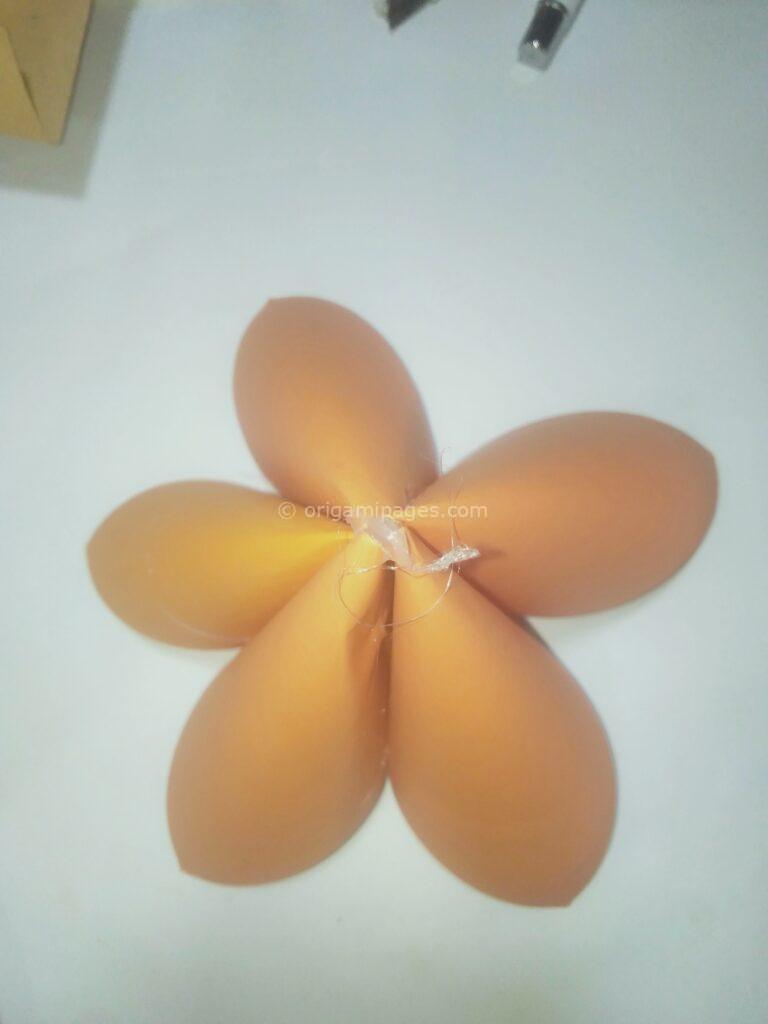
Using a glue gun or another adhesive of your choice, attach the five units together. Apply glue to the top of one unit and attach it to the top of another, ensuring the edges align perfectly. Repeat this process until all five units are connected.

Step 11: Secure the Assembly
Apply additional glue as needed to secure the assembly. Press the edges together firmly and use your fingers to apply pressure from the inside, ensuring a strong bond between the units.
Step 12: Admire Your Origami Kusudama
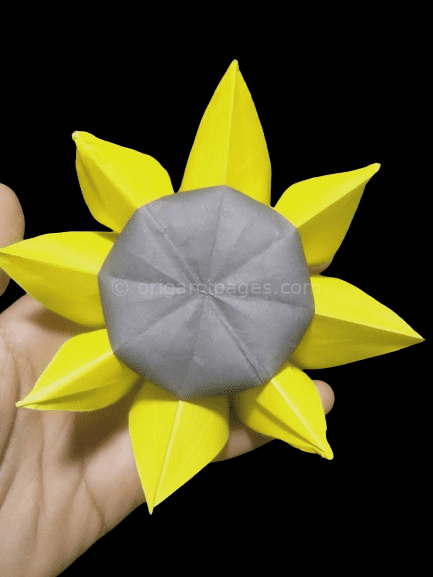
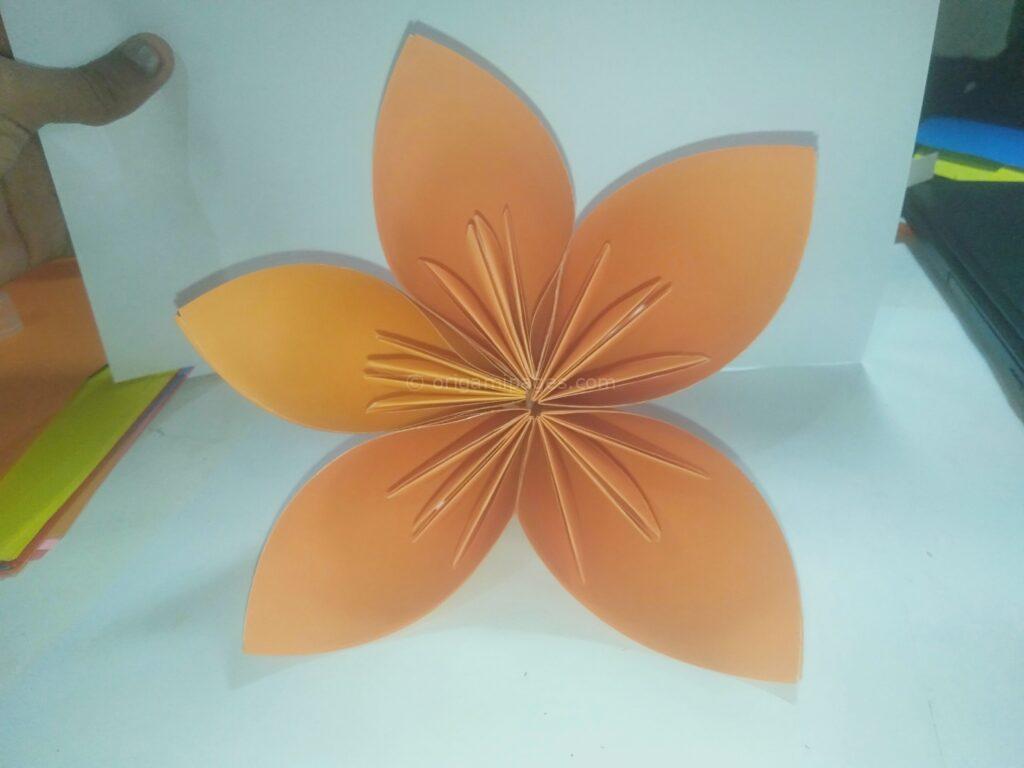
Congratulations! You’ve completed your Origami Kusudama. Take a moment to admire your creation and marvel at the intricate design you’ve achieved through simple folds and careful assembly.
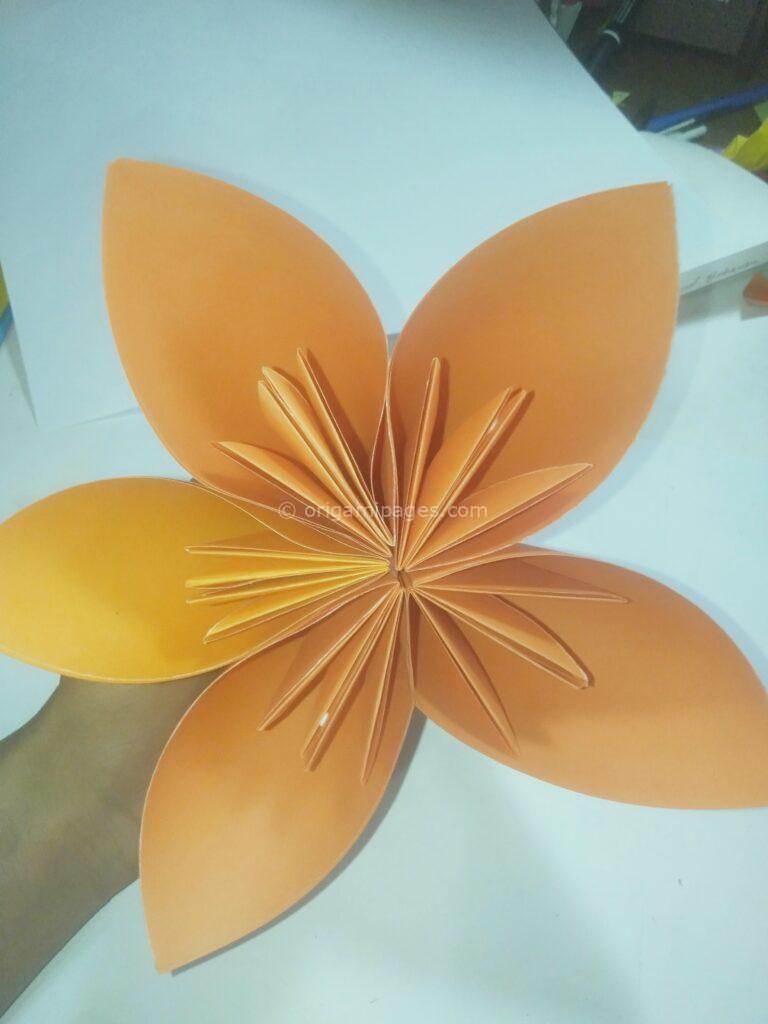
Origami Kusudama is a beautiful and intricate creation that showcases the artistry of origami. By following these step-by-step instructions, even beginners can create their own stunning Kusudama. So, gather your materials, start folding, and enjoy the process of creating your own masterpiece. Happy folding!


