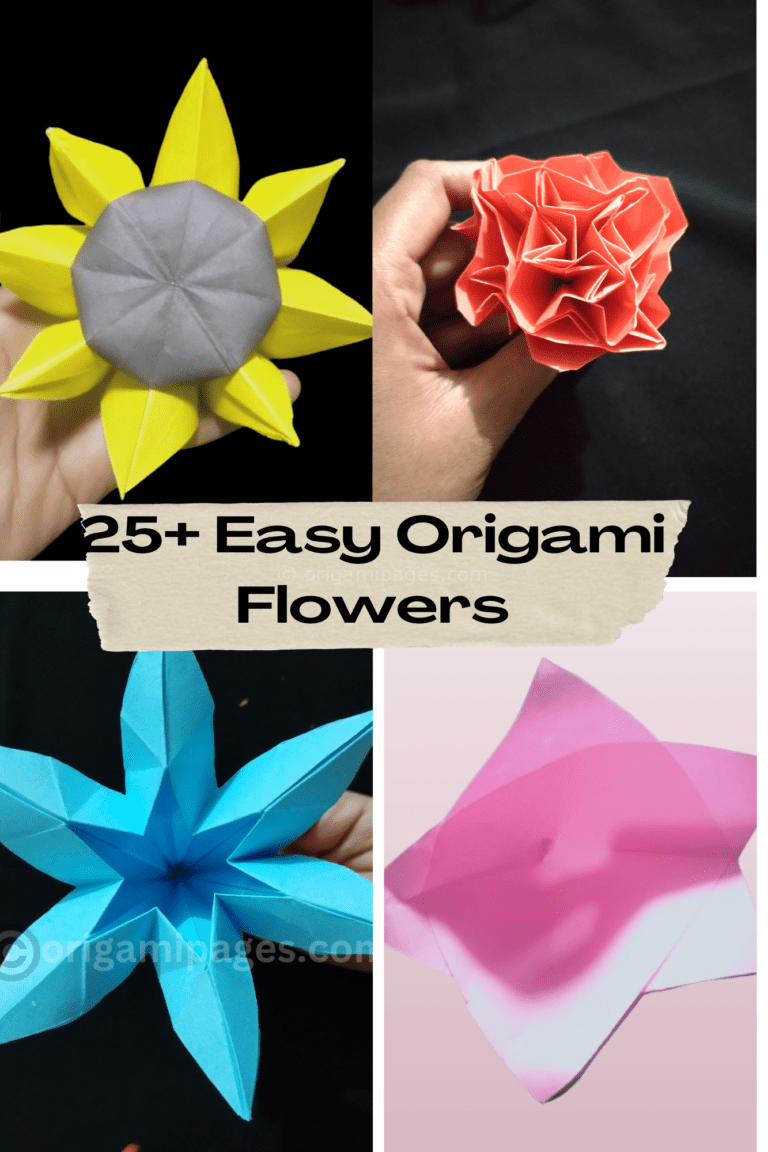
How To Make Origami Peach Blossoms? Beginners Guide
Explore the artistry of origami through the creation of peach blossoms. Rooted in Japanese tradition, this delicate craft offers a rewarding experience for enthusiasts. From paper selection to intricate folds, each step reveals the beauty of precision. Whether novice or expert, indulge in the gratifying journey of transforming paper into timeless elegance.
Origami Peach Blossom Instructions
Step 1: Prepare Your Materials
Gather a square piece of paper for your origami project. Any type of paper will do, as long as it’s a square. For this demonstration, I’ll use a 15×15 cm paper.

Step 2: Fold into a Big Triangle
Take one corner of the square paper and fold it over to meet the opposite corner, creating a big triangle. Ensure the edges align neatly.

Step 3: Fold in Half
Once you have a triangle, fold it in half again, bringing one corner over to meet the other corner. Press firmly to create a crisp fold.

Step 4: Refold the Paper
Unfold the paper back to its triangular shape, and then refold it, bringing the opposite corners together once more. This step helps to establish creases for later folds.
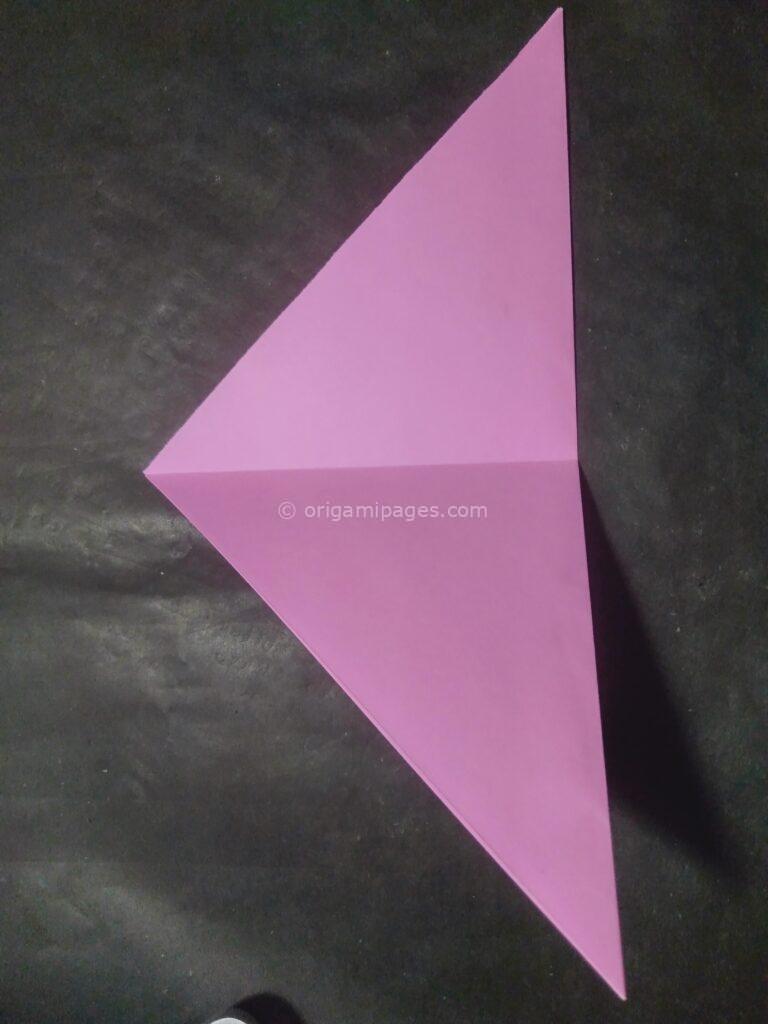
Step 5: Create a Point
Take the bottom corner of the triangle and fold it upwards, aligning it with the top corner to create a point at the bottom.
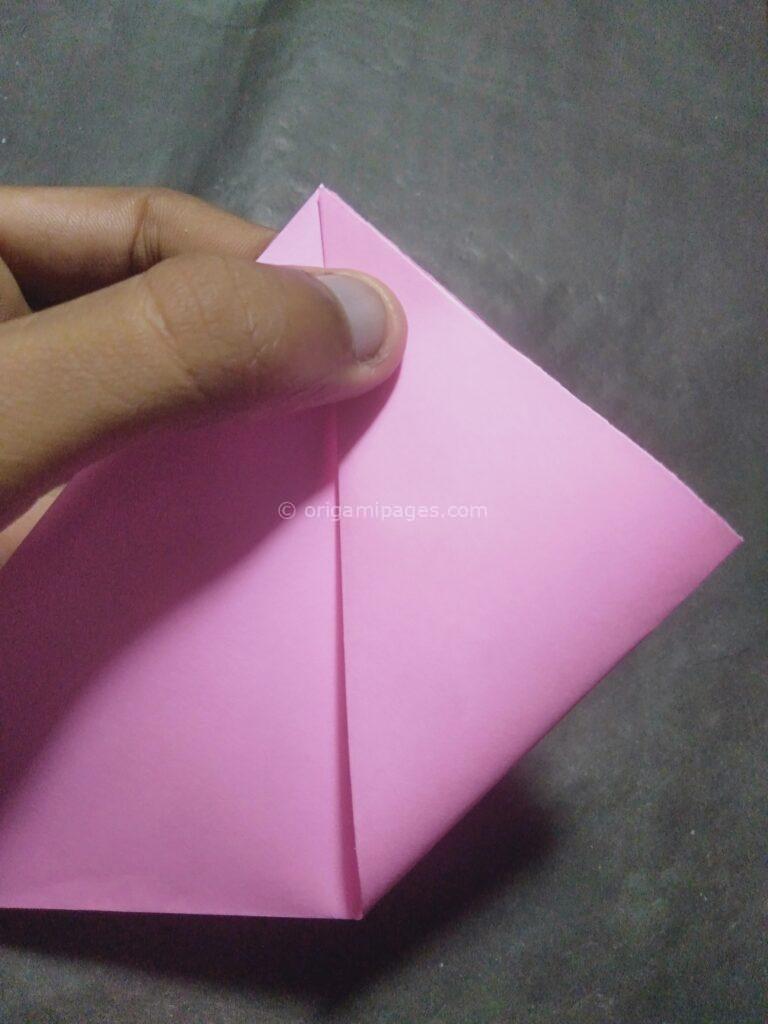
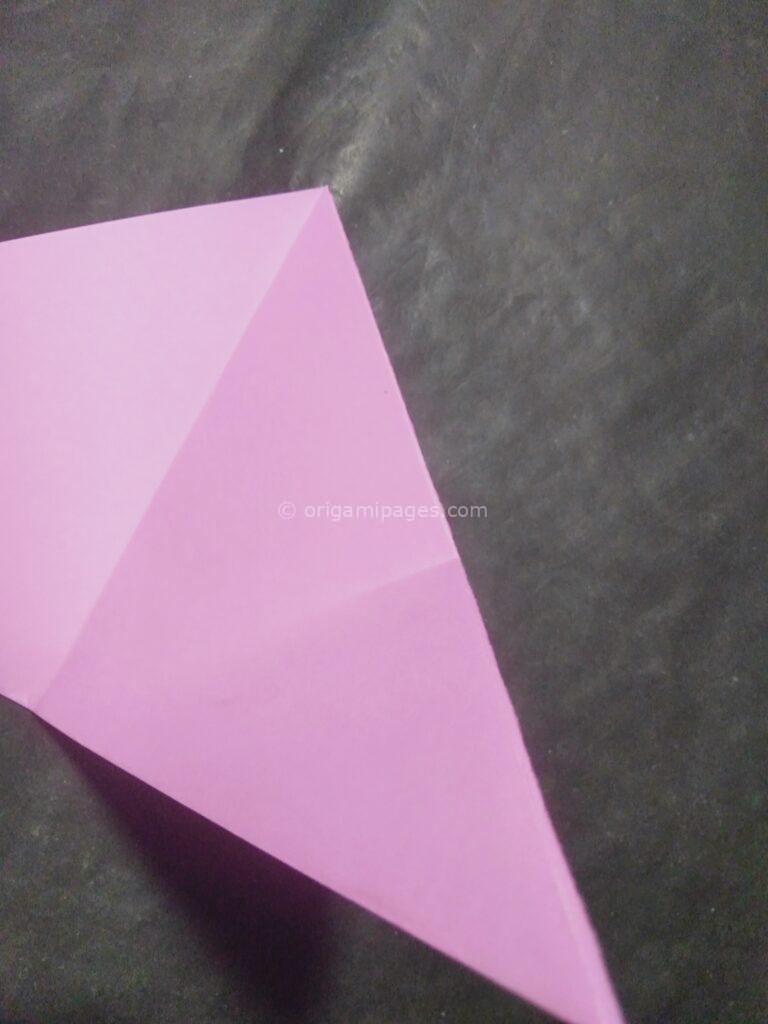
Step 6: Repeat the Previous Step
Take the newly formed bottom corner, and fold it upwards once more to reinforce the point. This creates a more defined triangular shape.
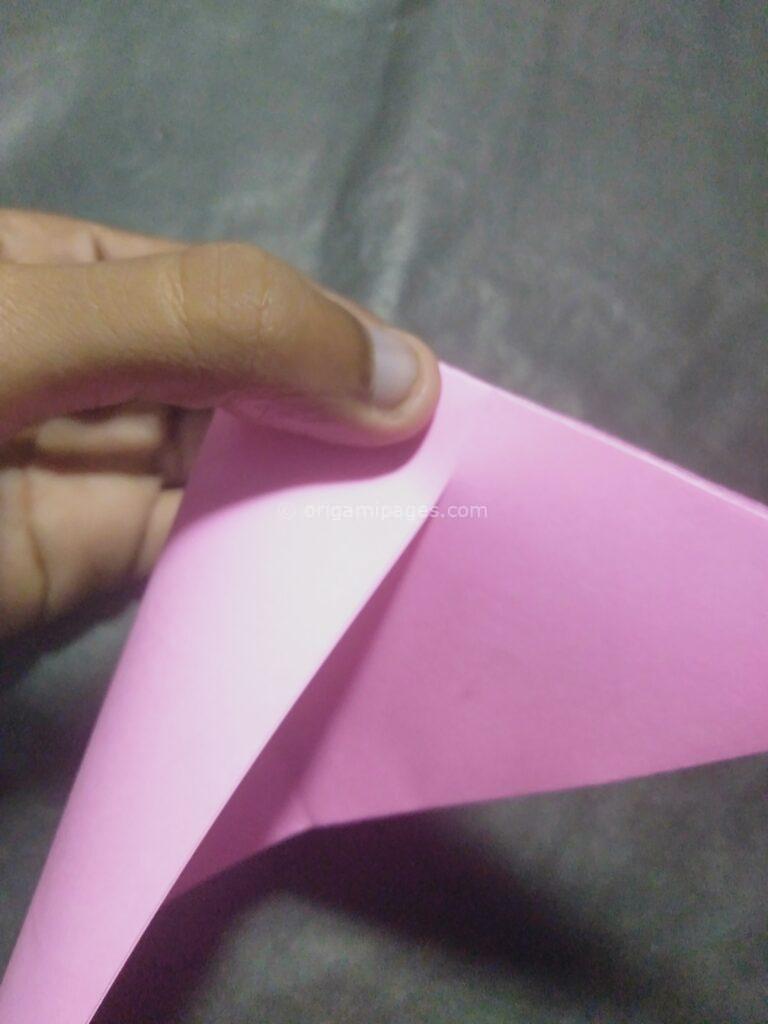

Step 7: Make a Diagonal Fold
Grab the bottom corner of the triangle and fold it diagonally towards the middle point between the two top corners. This diagonal fold should intersect with the center of the base.
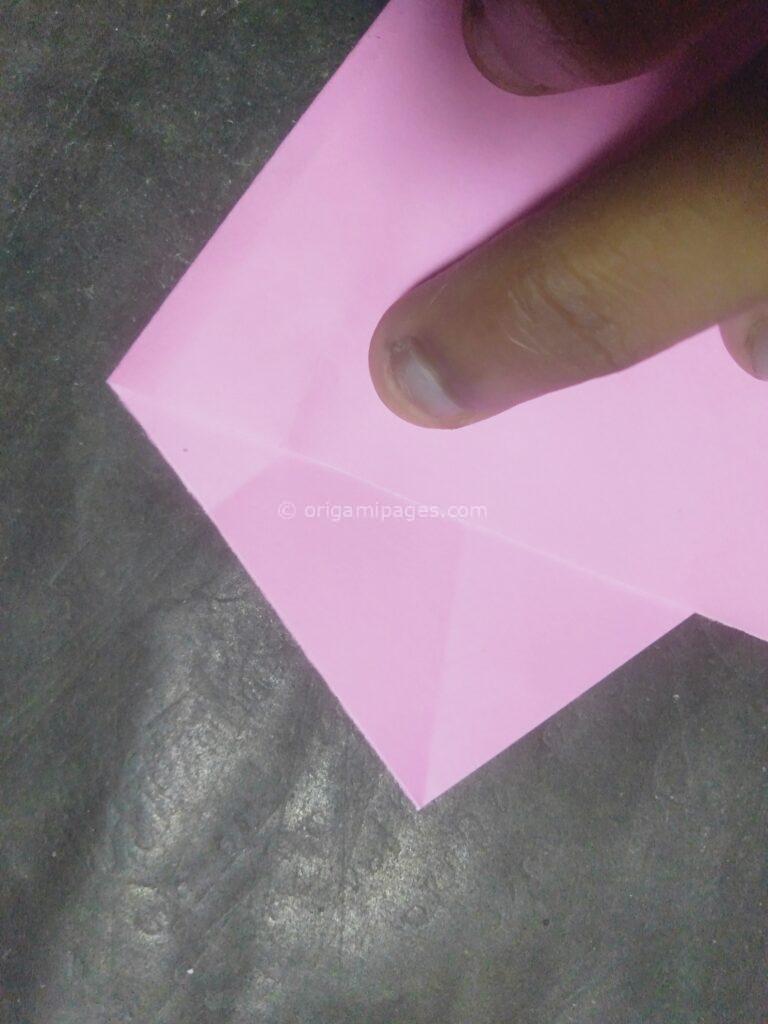

Step 8: Fold the Other Side Over
Similarly, fold the opposite side of the triangle over, aligning it with the previous fold. This step ensures symmetry in the design.
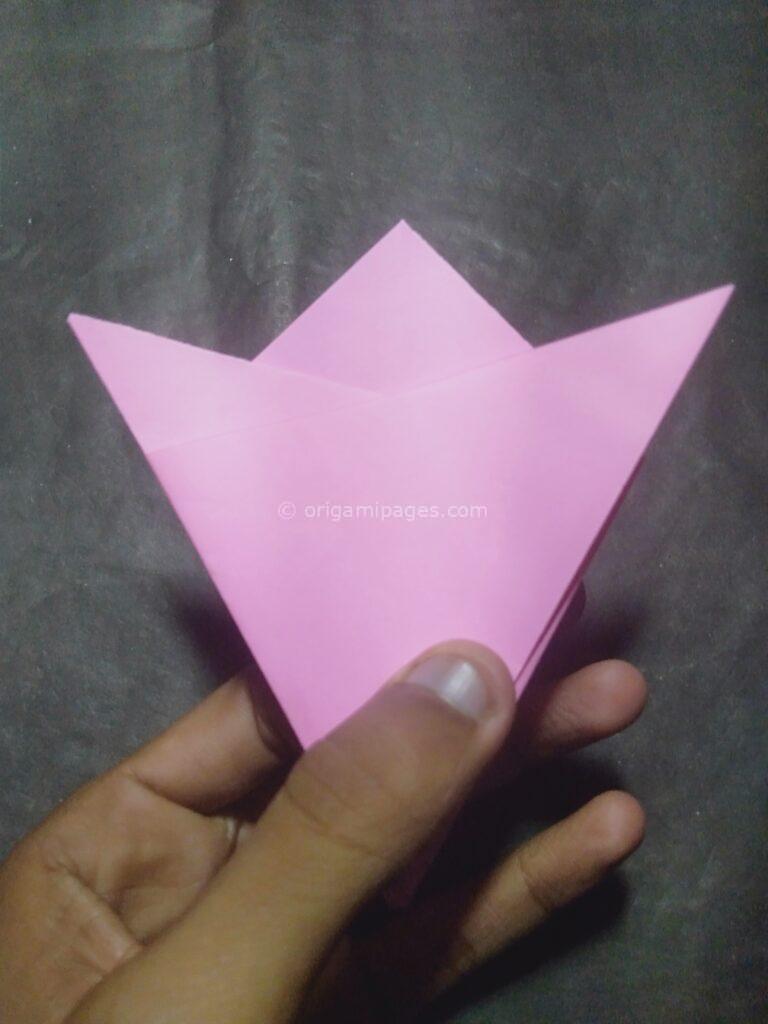
Step 9: Fold in Half and Crease
Fold the entire structure in half, bringing the bottom point up to meet the top point. Press firmly along the crease to ensure it holds.
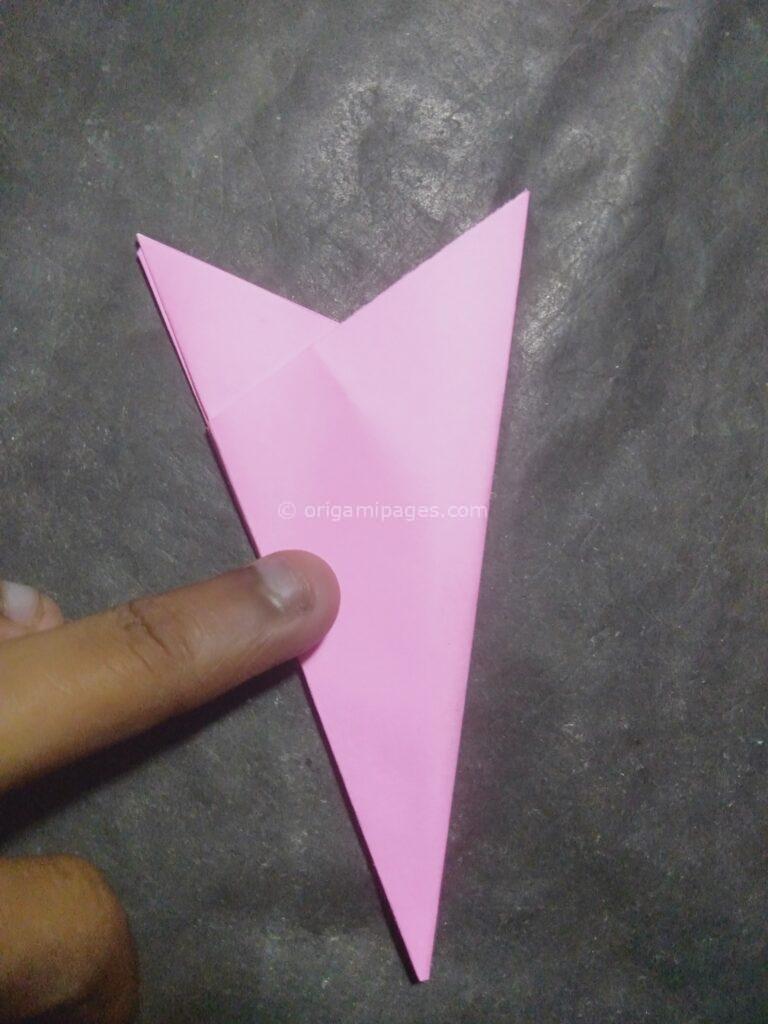
Step 10: Cut the Paper
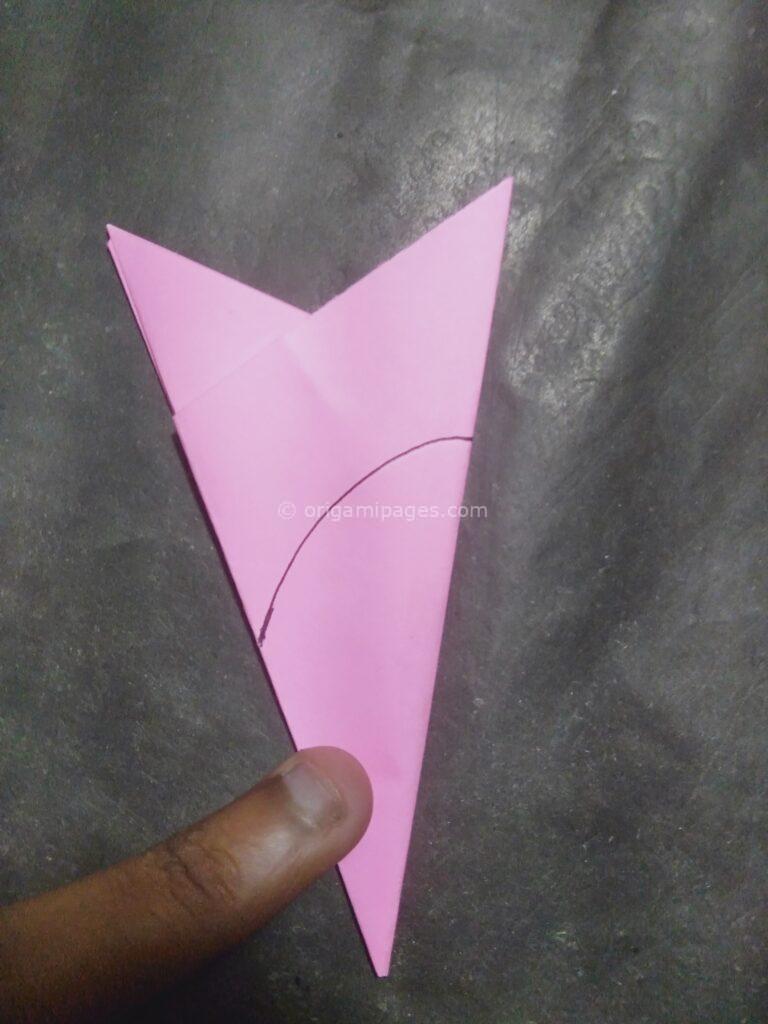
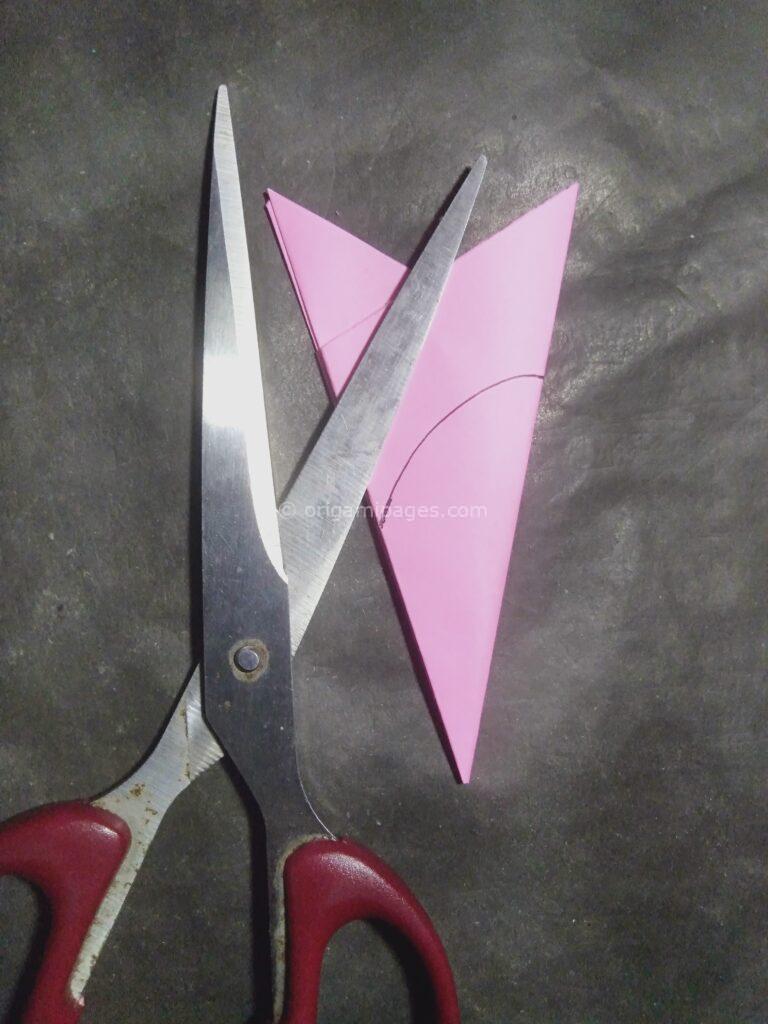
Carefully cut along the top edge of the folded paper, creating a smooth curve. This step will shape the petals of the peach blossom.
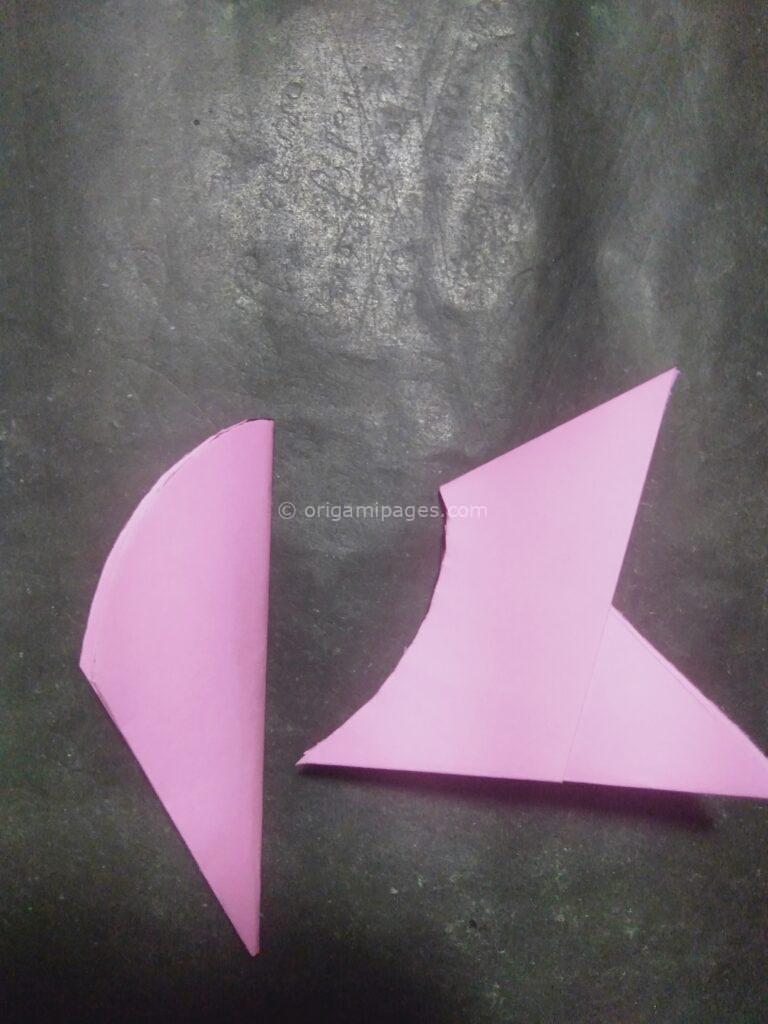
Step 11: Open Up the Paper
Gently unfold the paper to reveal the intricate folds and the blossom shape. Smooth out any creases and adjust the petals as needed.
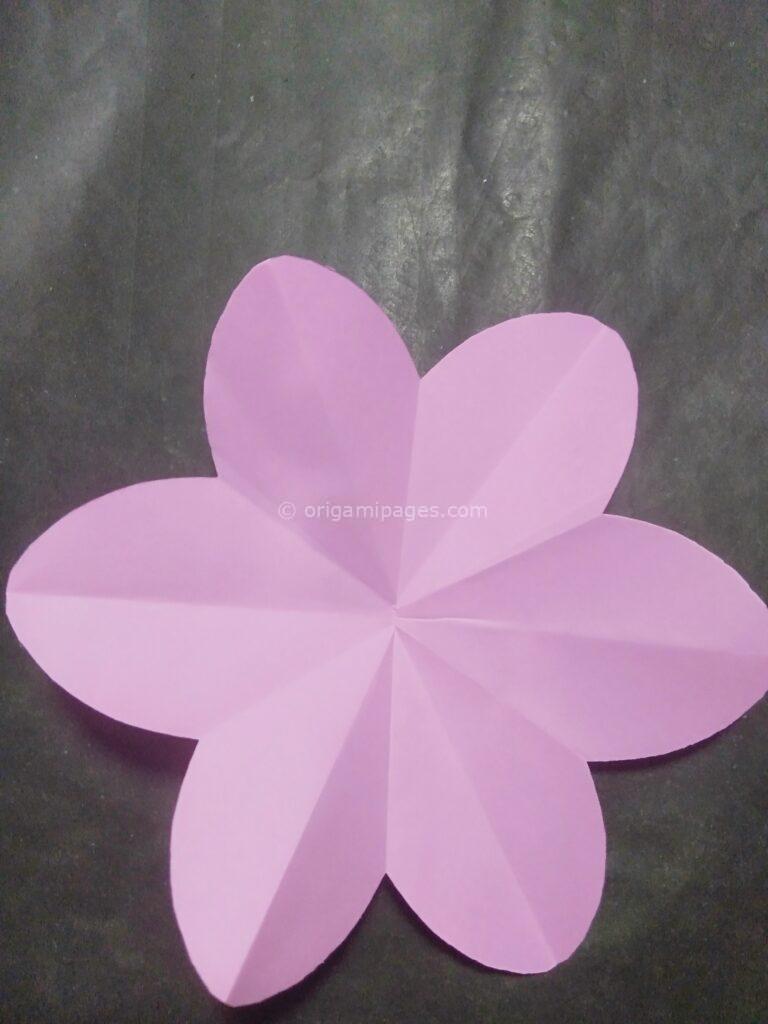
Your origami peach blossom is now complete! Display it proudly or use it to adorn your crafts and decorations.
Explore our origami flower tutorials to dive into the world of paper crafting. Check out our guides on the Origami Lotus Flower and Origami Cornflower for helpful tips. Learn how to make Lotus Flowers with step-by-step instructions. And discover the beauty of Origami Cornflower for a fun crafting adventure.By following these steps, you’ve created a beautiful origami peach blossom, perfect for embellishing cards, gifts, or simply enjoying as a decorative piece. Enjoy the process and feel free to experiment with different paper sizes and colors for unique variations!


