How To Make Origami Daisy? Beginners Guide
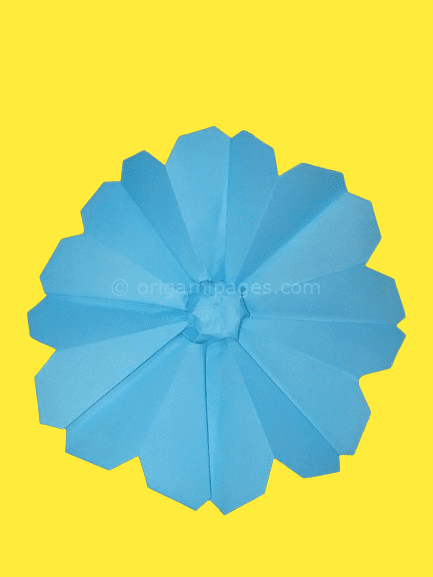
Step into the captivating world of origami with the charming origami daisy. Whether you’re a beginner or an expert, this project offers a delightful challenge. Picture yourself meticulously folding paper petals, gradually bringing the flower to life. In this guide, we’ll walk you through each step, from basic folds to intricate details, promising a rewarding journey into the art of paper folding.
Materials Needed:
- One square paper, preferably 14cm×14cm in size
How to Make a Paper Daisy: Step-by-Step Guide
Creating a charming origami daisy with paper is an enjoyable and straightforward craft suitable for beginners, including kids. Follow these clear instructions to craft your very own paper daisy flower:
Step 1: Fold Along the East-West Axis
Begin with a square paper measuring 14cm×14cm. Fold the paper in half along the east-west axis, ensuring the edges align neatly.


Step 2: Bring Corners Together
Refold the paper by bringing one corner to meet the opposite corner, forming a triangle. Repeat the same step with the other corner to create another triangle.
Step 3: Divide the Paper
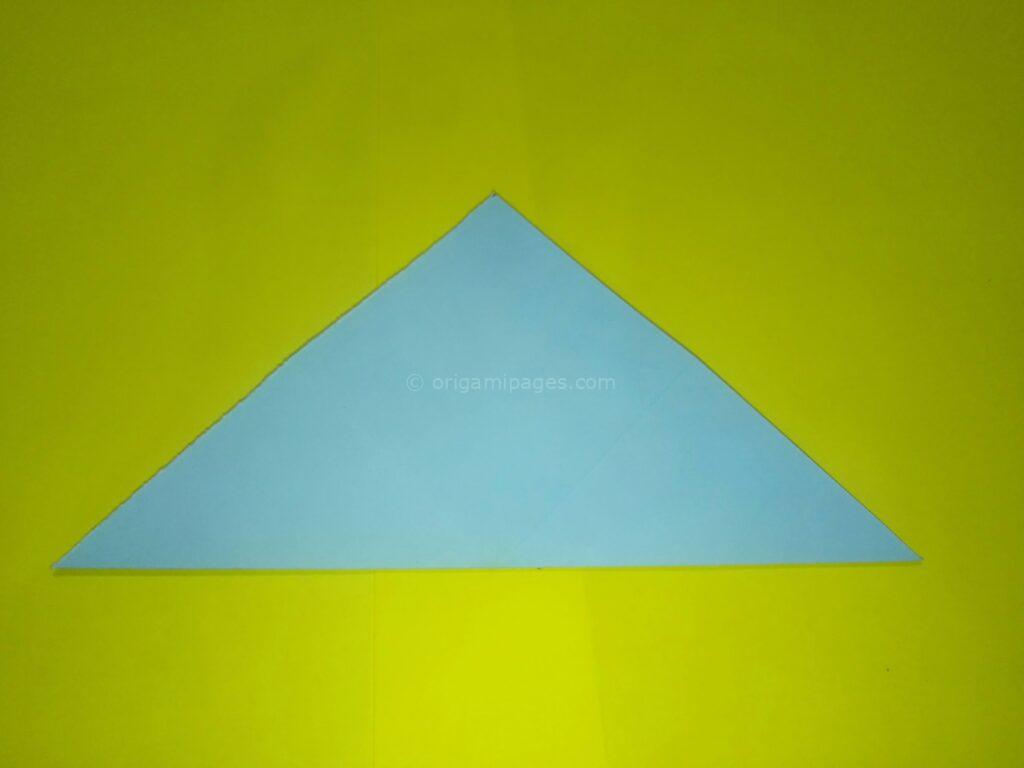
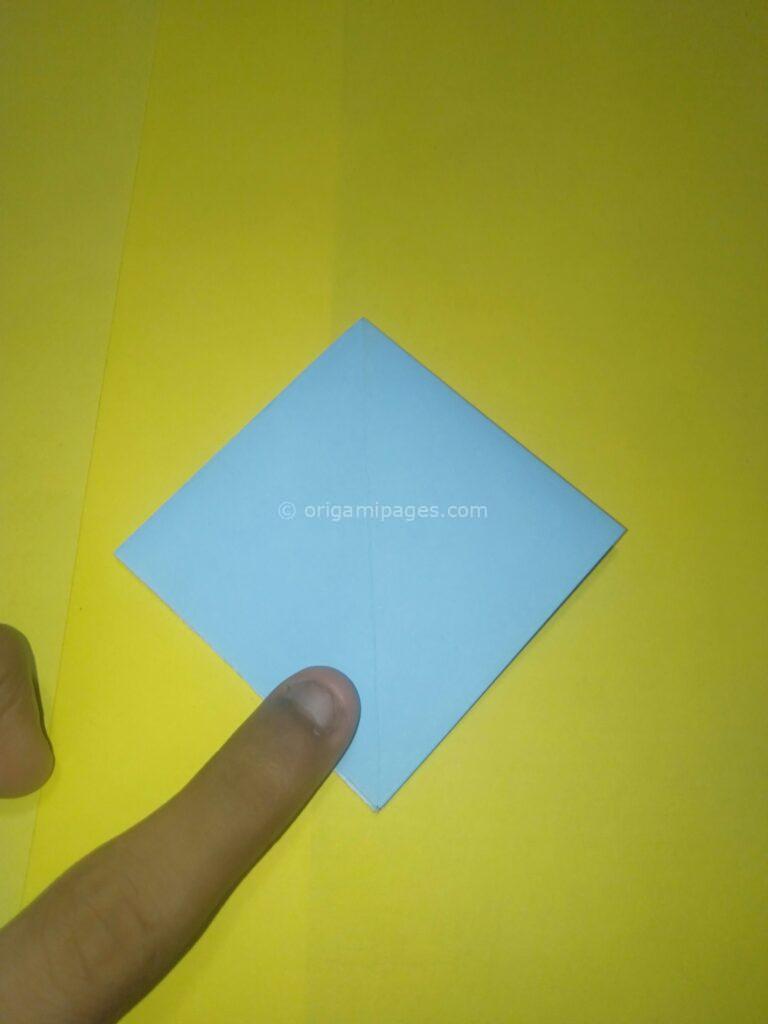
Now, divide the paper into two parts along the middle crease to form a square shape. Ensure the creases are crisp and precise.
Step 4: Fold and Cut
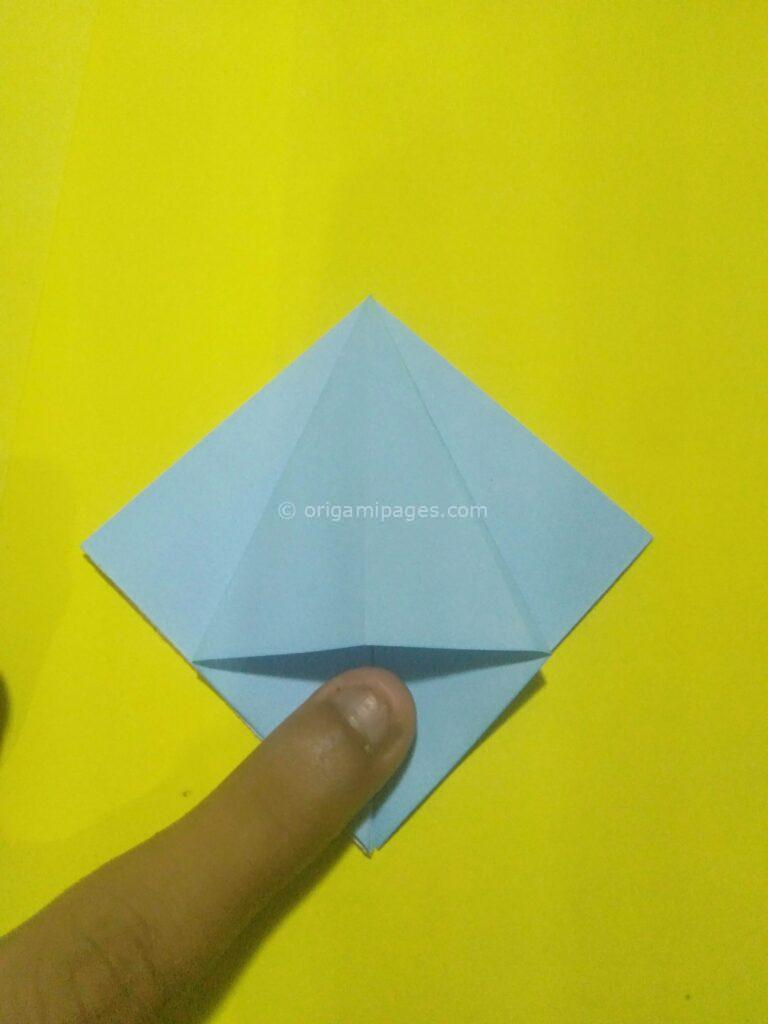
Open a flap and press it down onto the center crease. Repeat this step with the other flap. Then, carefully cut the paper along the marked lines.
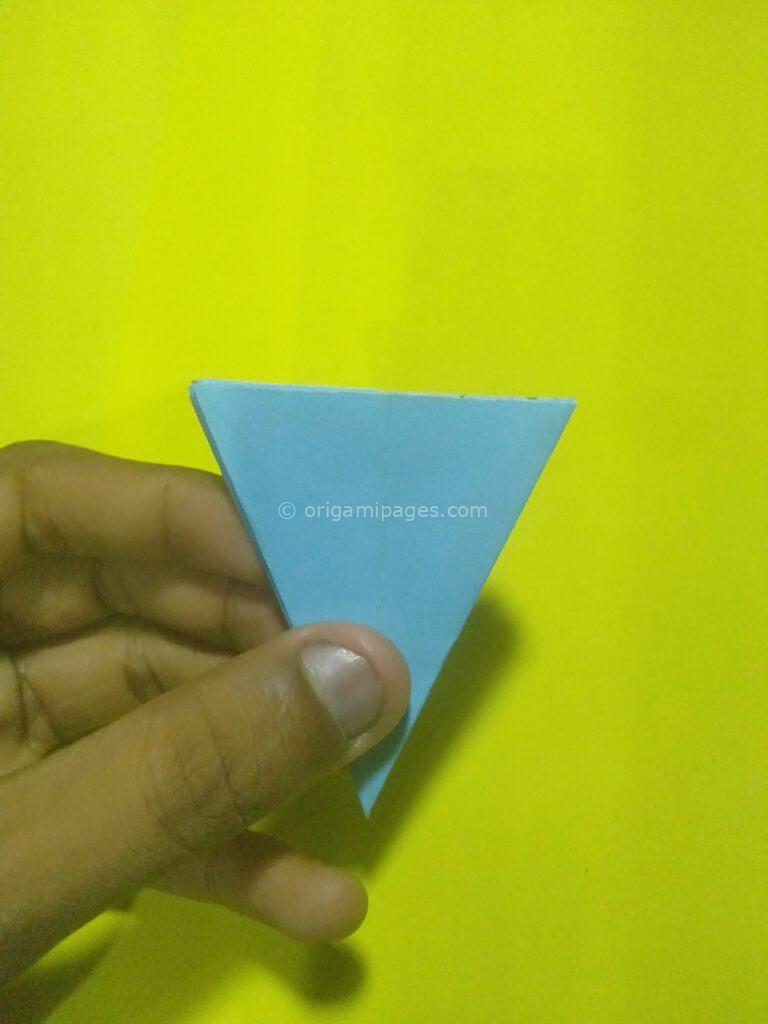
Step 5: Fold Bottom Corners
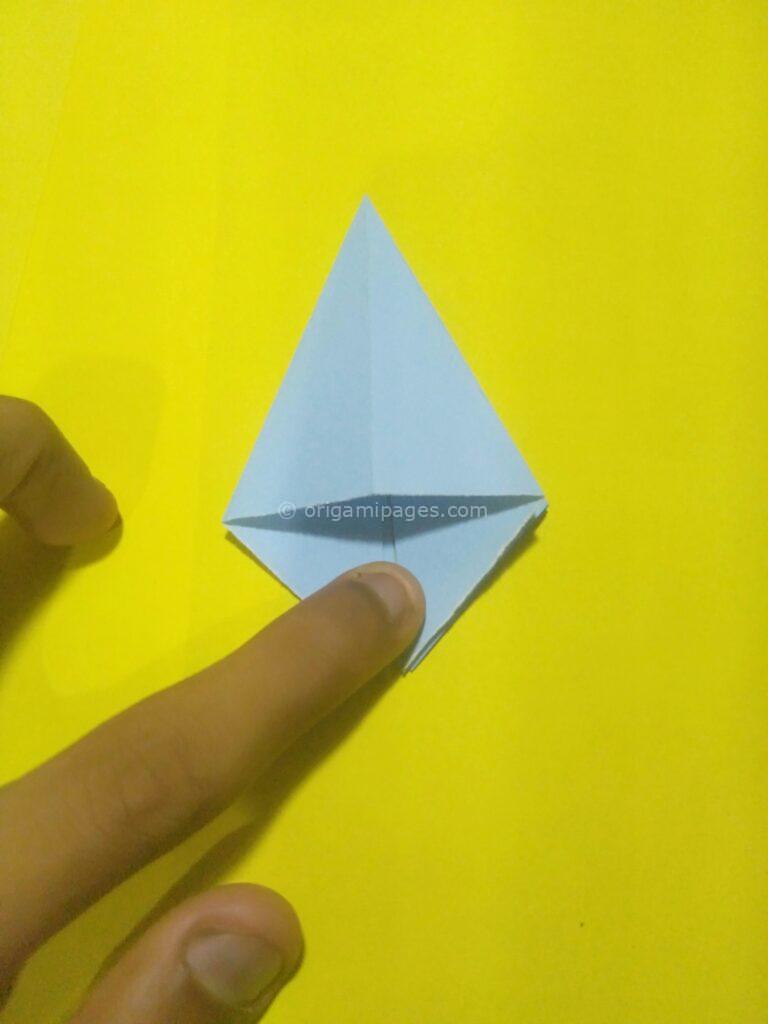
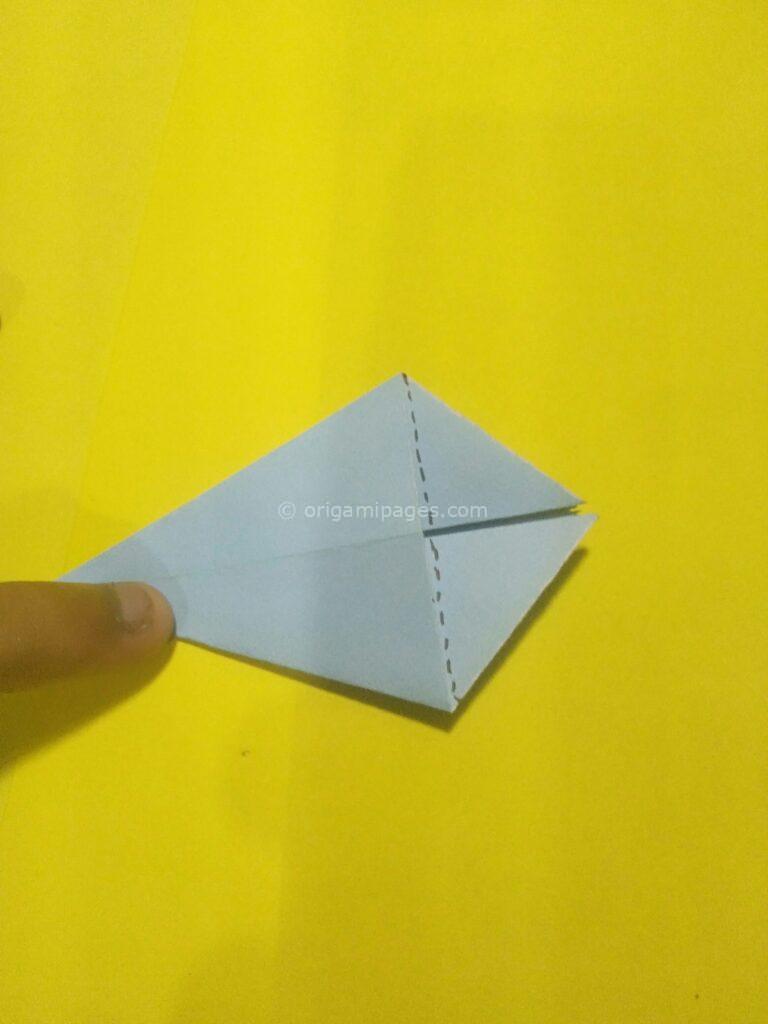
Fold up the bottom corner as shown in the picture. Flip the paper over and repeat the same step on the opposite side. These folds will form the petals of your daisy.
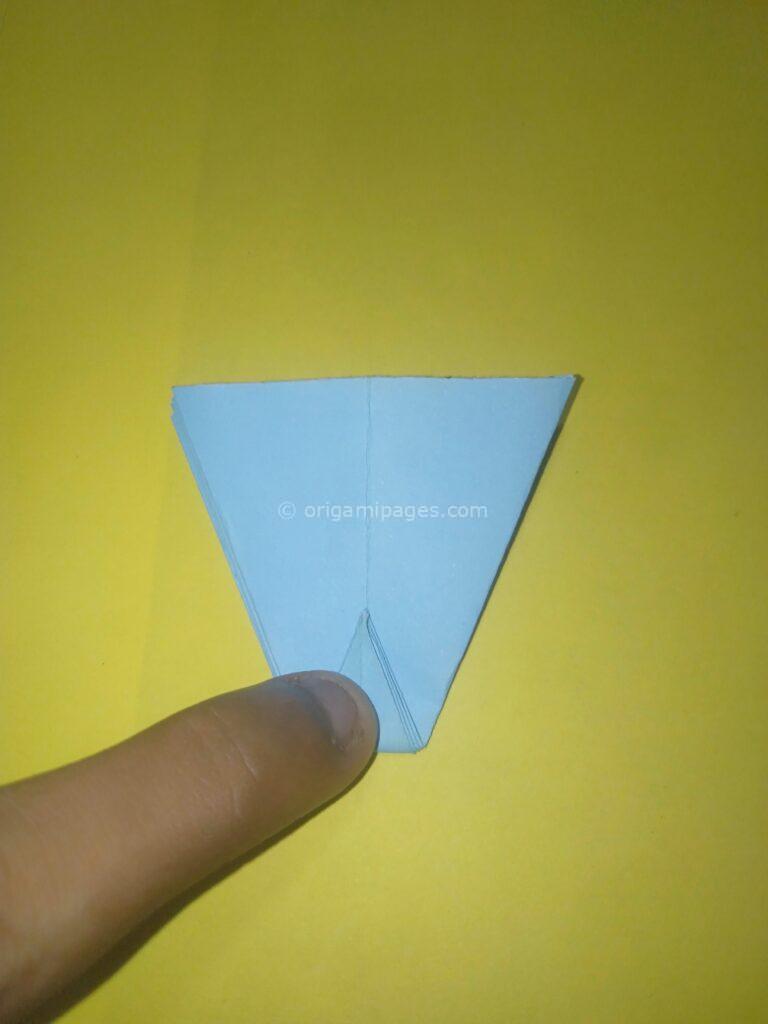
Step 6: Unfold and Create Center Creases
Carefully unfold the paper. Create some center creases at the midpoint to guide your subsequent folds. These creases will help in forming the petals of the daisy.
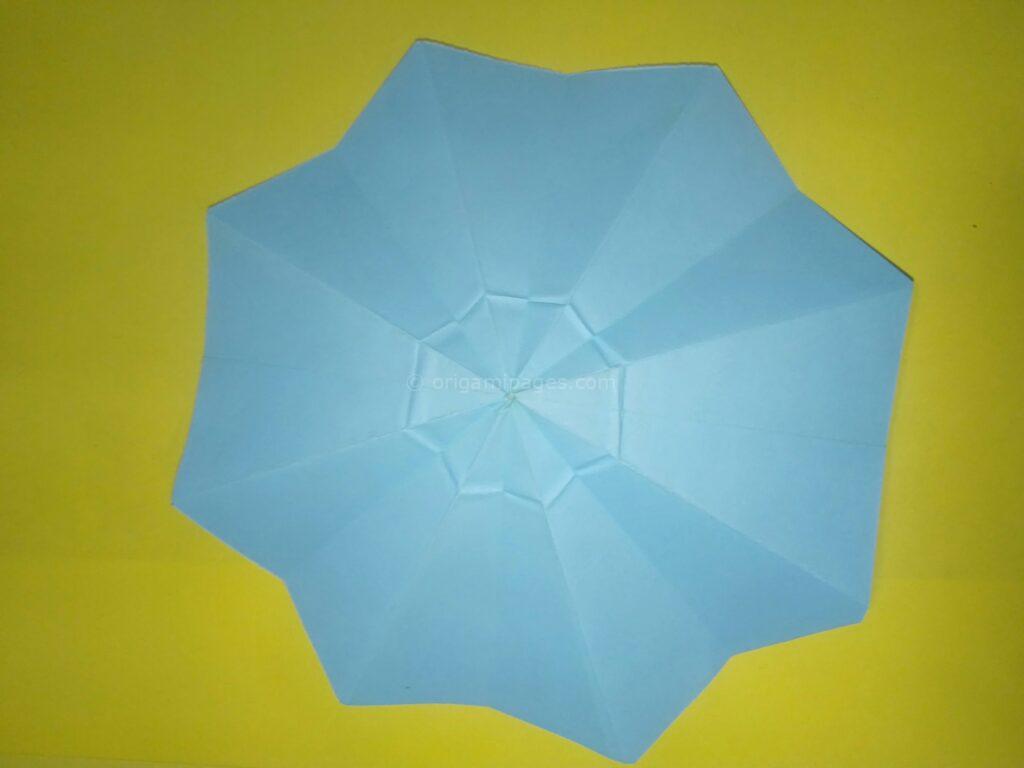
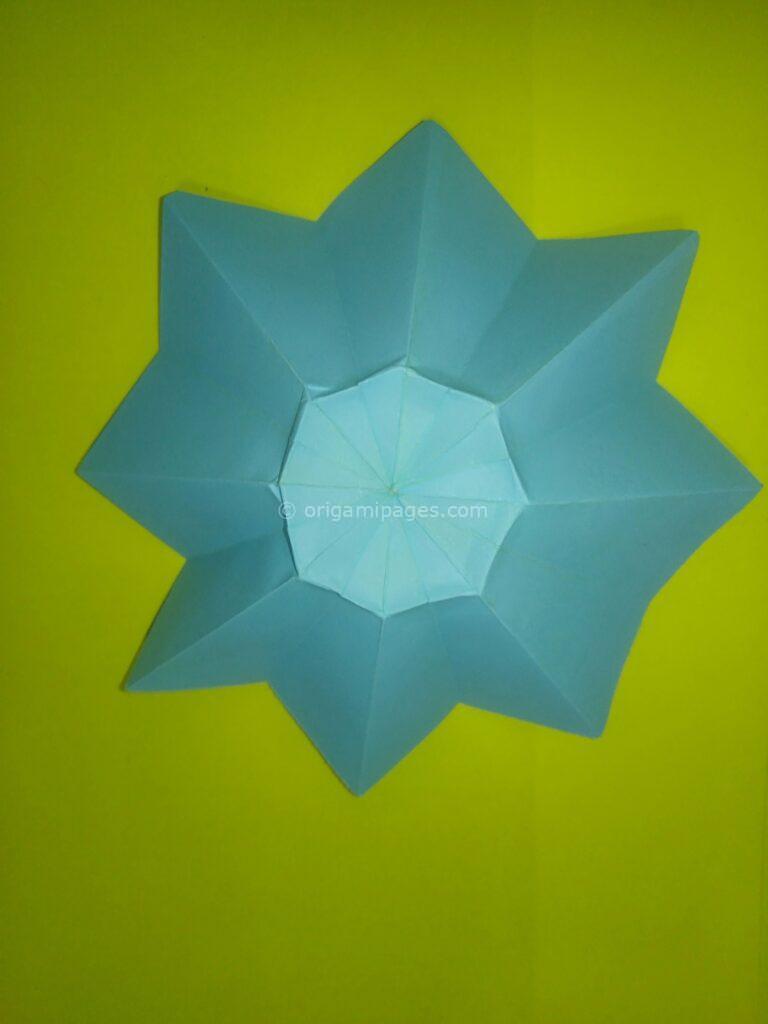
Step 7: Fold Flaps into Two Parts
Push all the flaps and divide them into two parts using mountain folds. This step will give volume and dimension to your daisy petals.
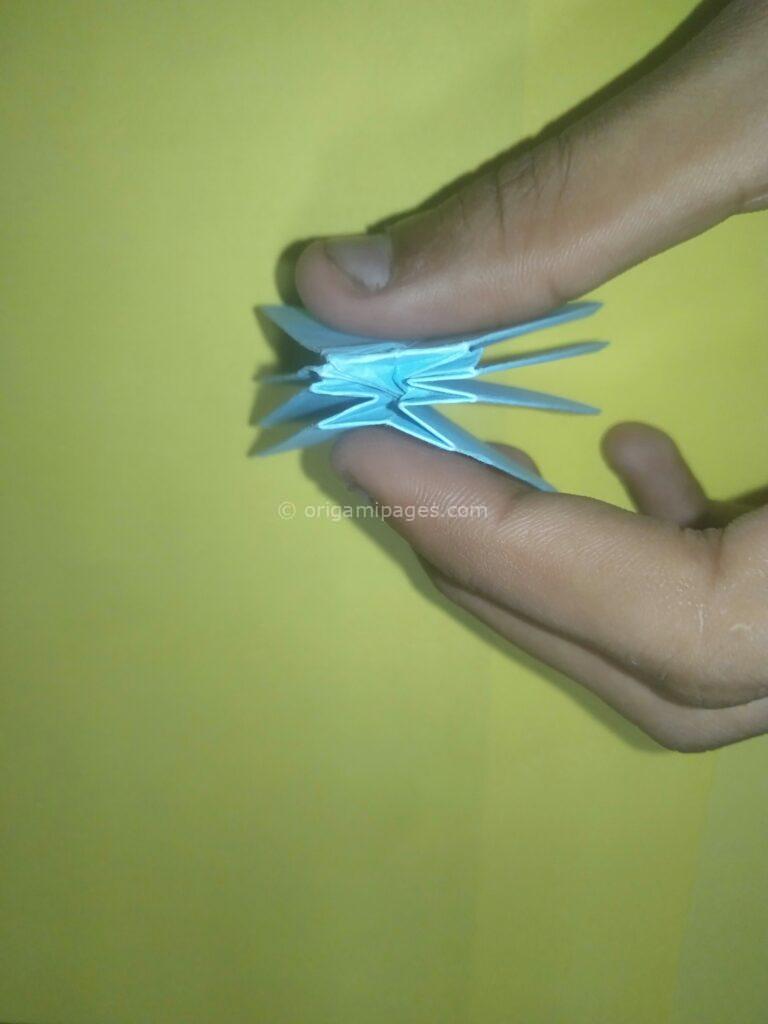
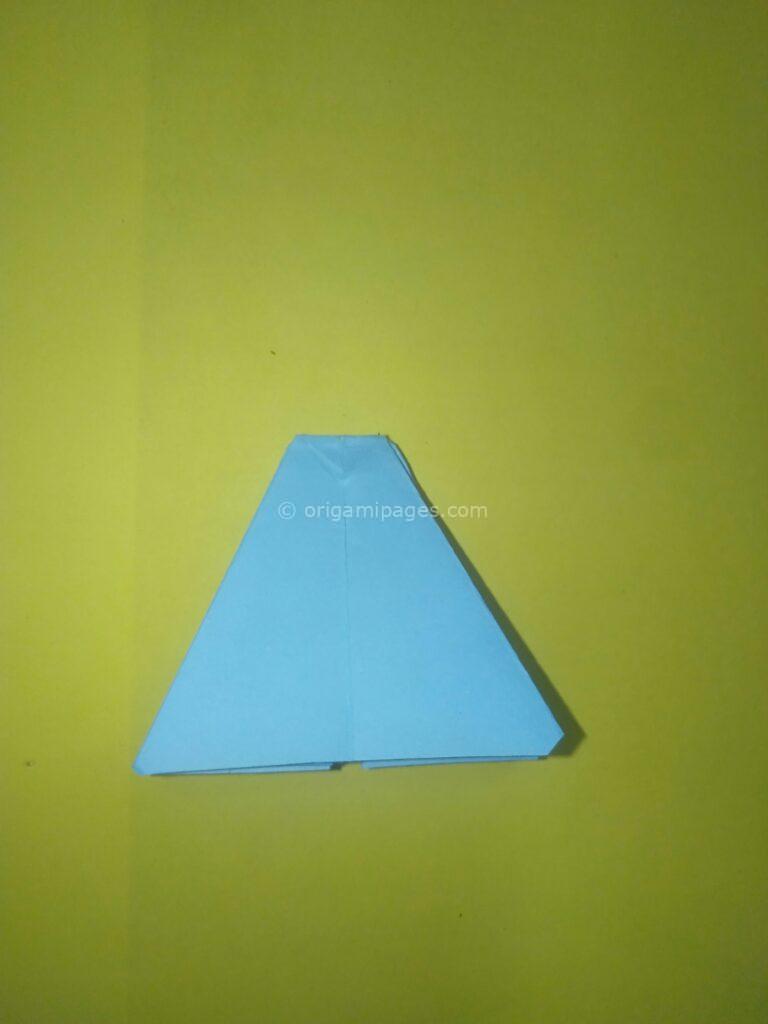
Step 8: Cut According to the Picture
Following the provided picture, carefully cut the paper along the indicated lines. Be precise to ensure your daisy looks just right.
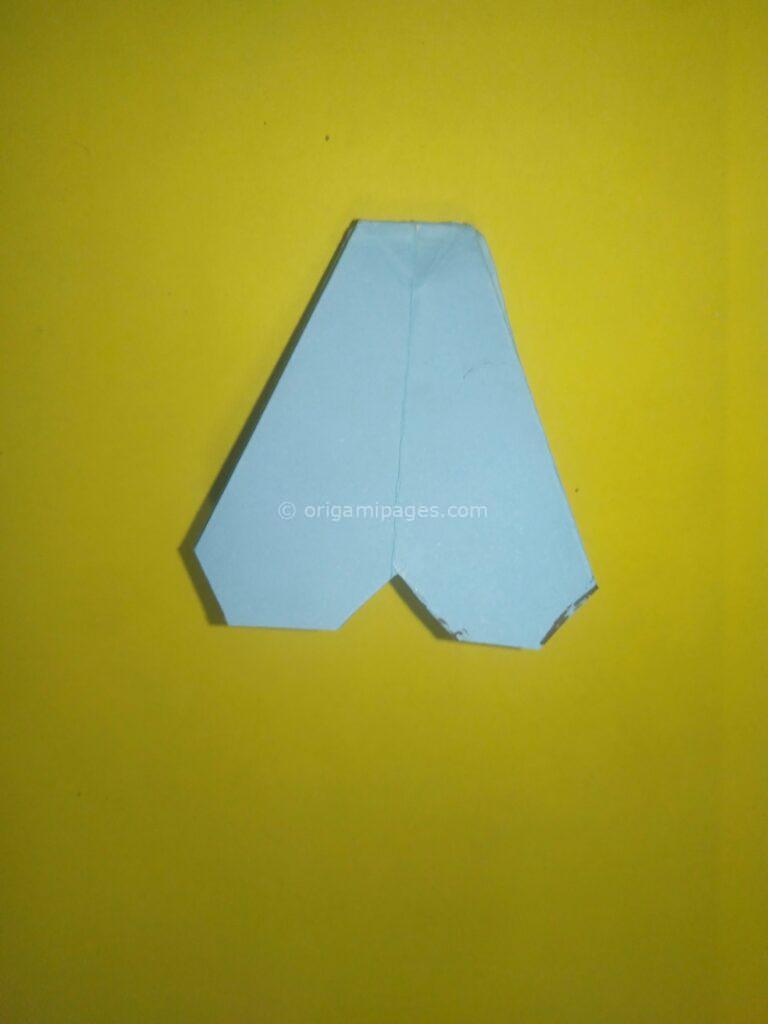
Step 9: Fold the Paper
Fold the right side of the paper, bringing it towards the center crease. Then, fold all flap sides slightly towards the center crease. Flip the paper over and repeat the same step on the opposite side.
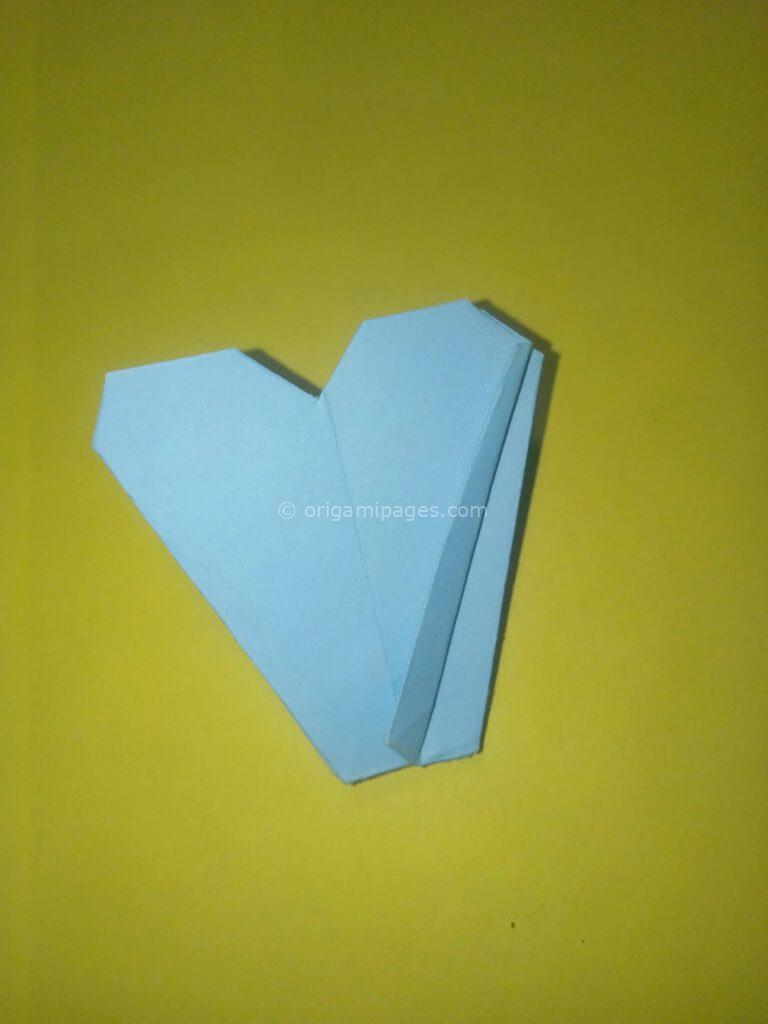
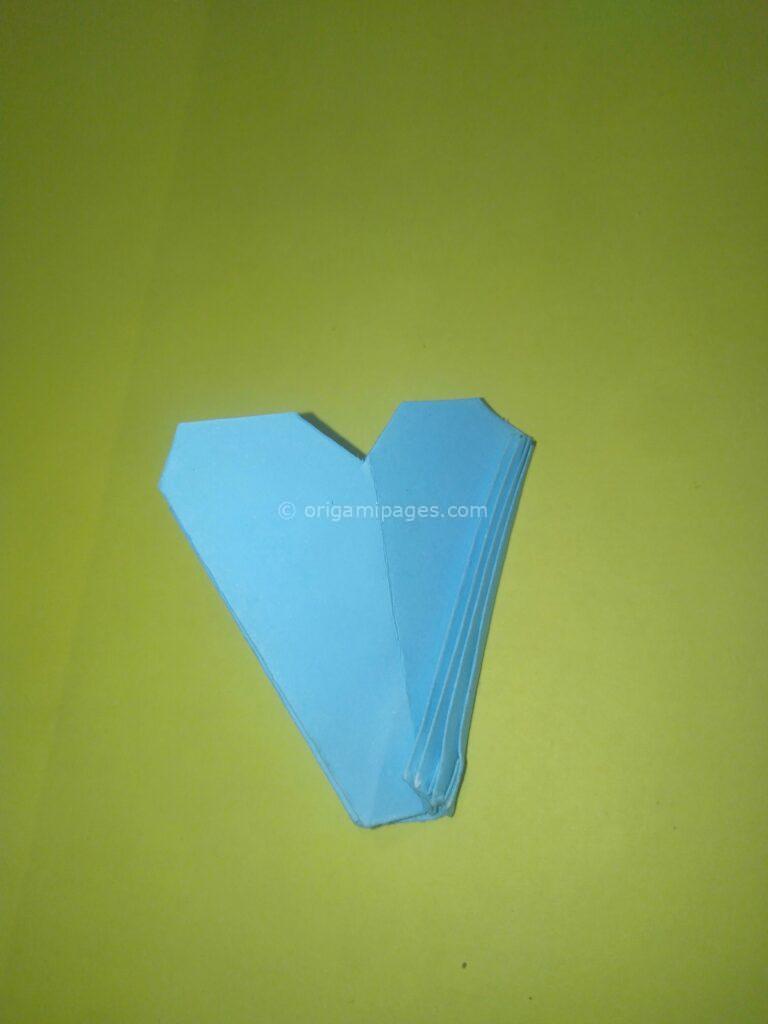
Step 10: Your Origami Daisy Is Complete!
Congratulations! You have successfully created an origami daisy flower with paper. Enjoy your beautiful creation, and feel free to experiment with different colors and sizes to make a bouquet of delightful daisies.
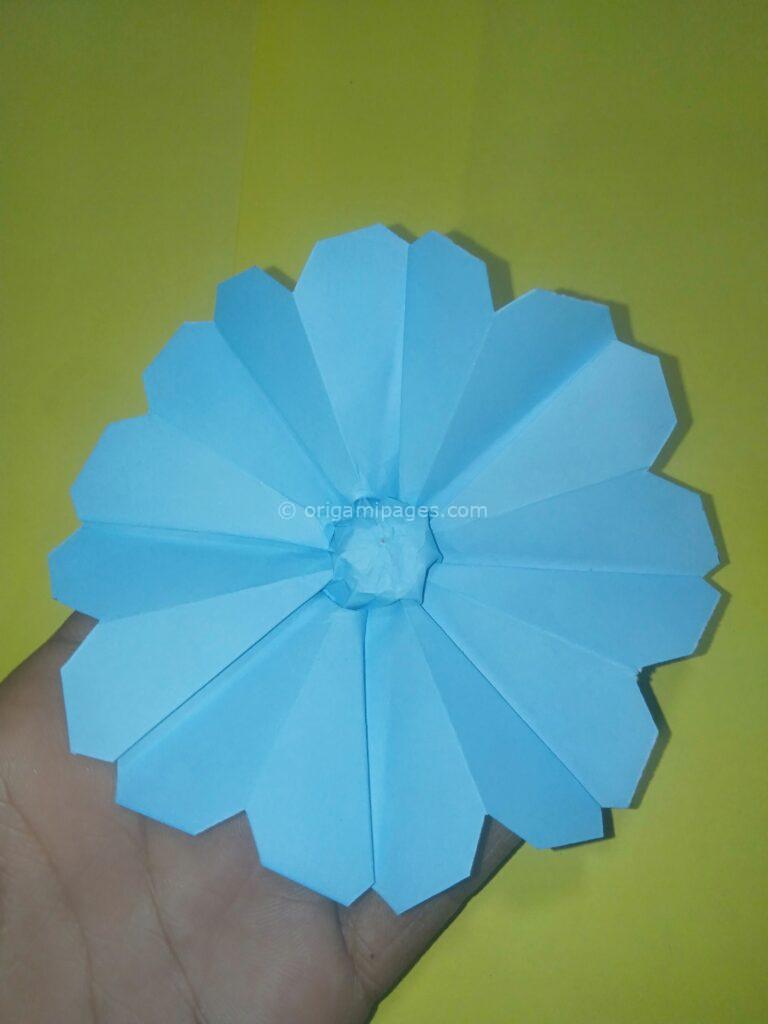
By following the clear instructions provided in this step-by-step guide, you can create your very own charming origami daisy with ease. From folding along the east-west axis to carefully cutting and shaping the petals, each step contributes to the creation of a beautiful flower. With practice and experimentation, you can personalize your daisies with different colors and sizes, making them perfect for adorning various crafts and decorations.
Interested in origami flower tutorials? Check out our guides on Origami Hydrangea and Origami Cherry Blossom. Our Origami Hydrangea guide offers detailed steps, while Origami Cherry Blossom opens doors to a new paper crafting adventure.

