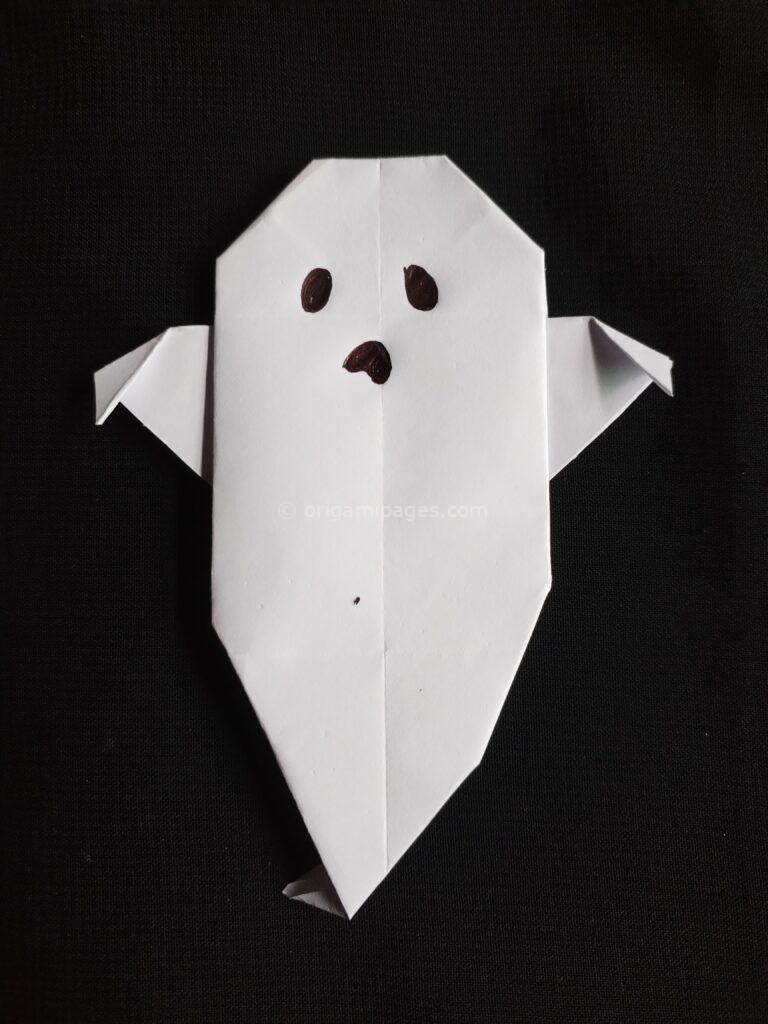
How to Make an Origami Candy Box: A Step-by-Step Guide
Creating an origami candy box is a straightforward and enjoyable project, perfect for beginners and experienced folders alike. This guide will take you through each step with clear and precise instructions to help you craft a beautiful and functional candy box.
Materials Needed
- Square-shaped paper (15″ × 15″)
Step-by-Step Instructions
Step 1: Start with the Paper
Take a square-shaped piece of paper, measuring 15″ × 15″.
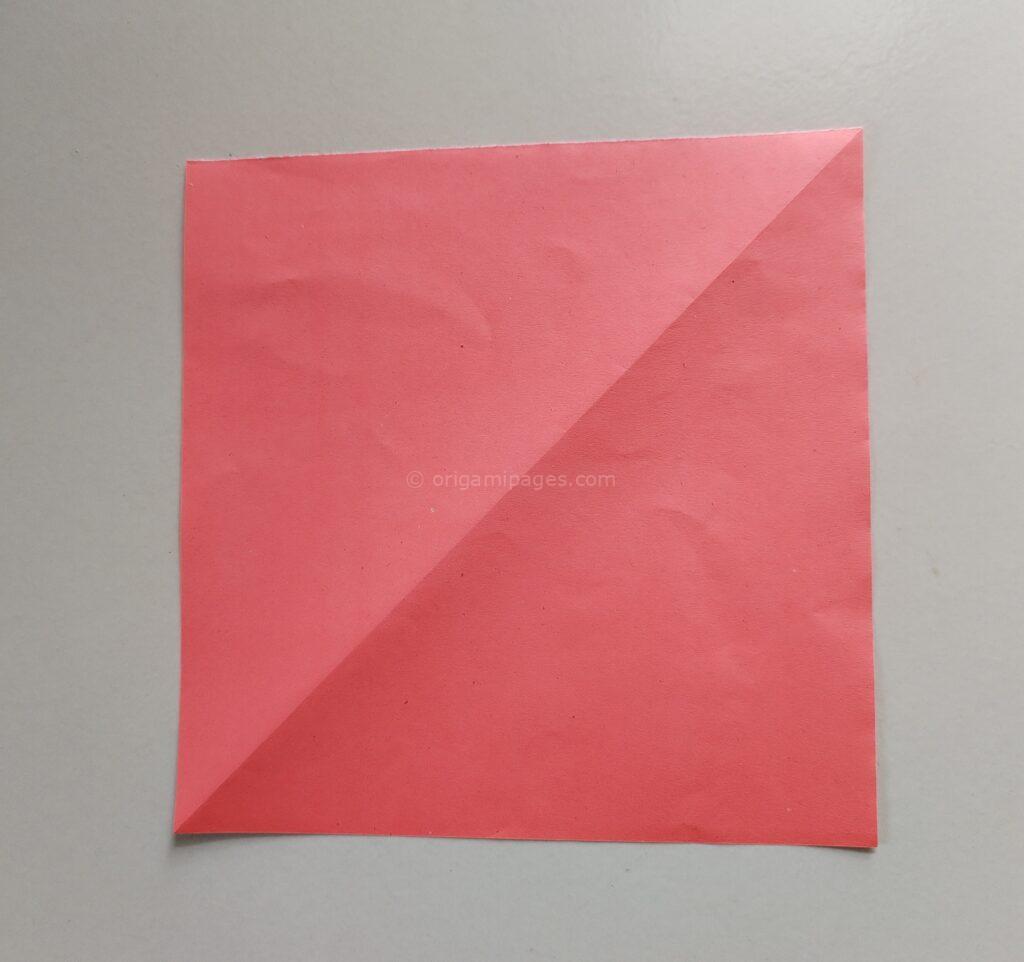
Step 2: Create the Initial Folds
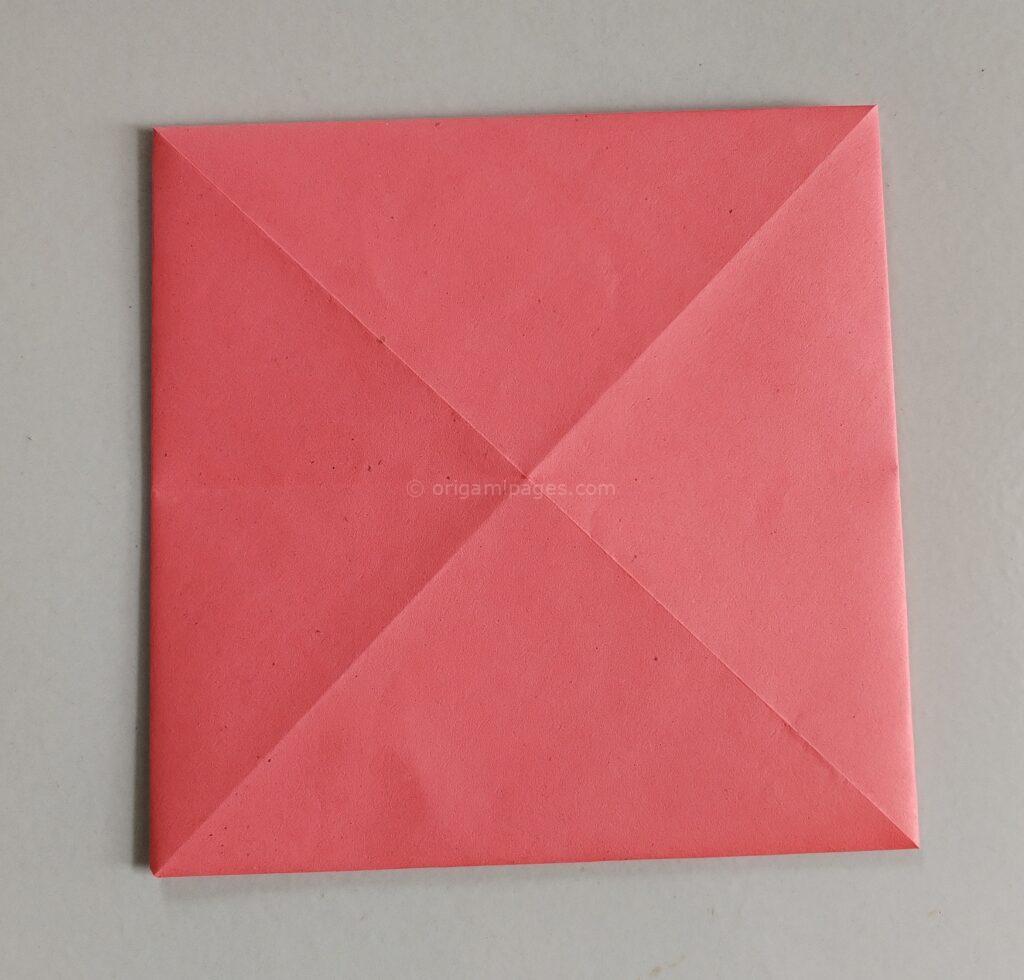
Fold the paper horizontally, crease well, and then unfold it. Next, fold the paper vertically, crease it, and unfold again. These folds will create guidelines for the next steps.
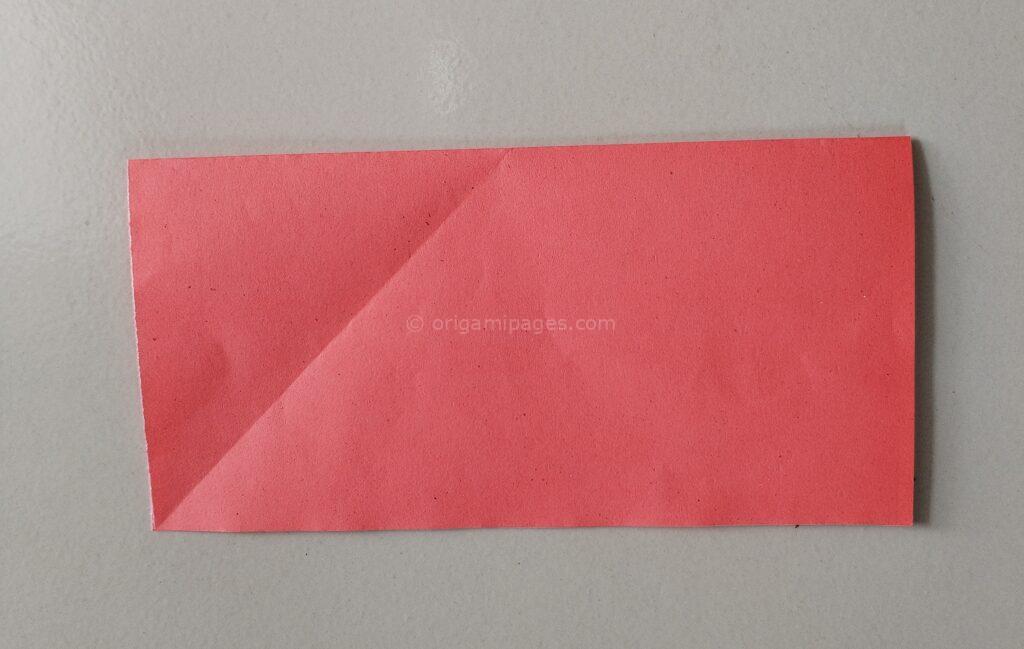
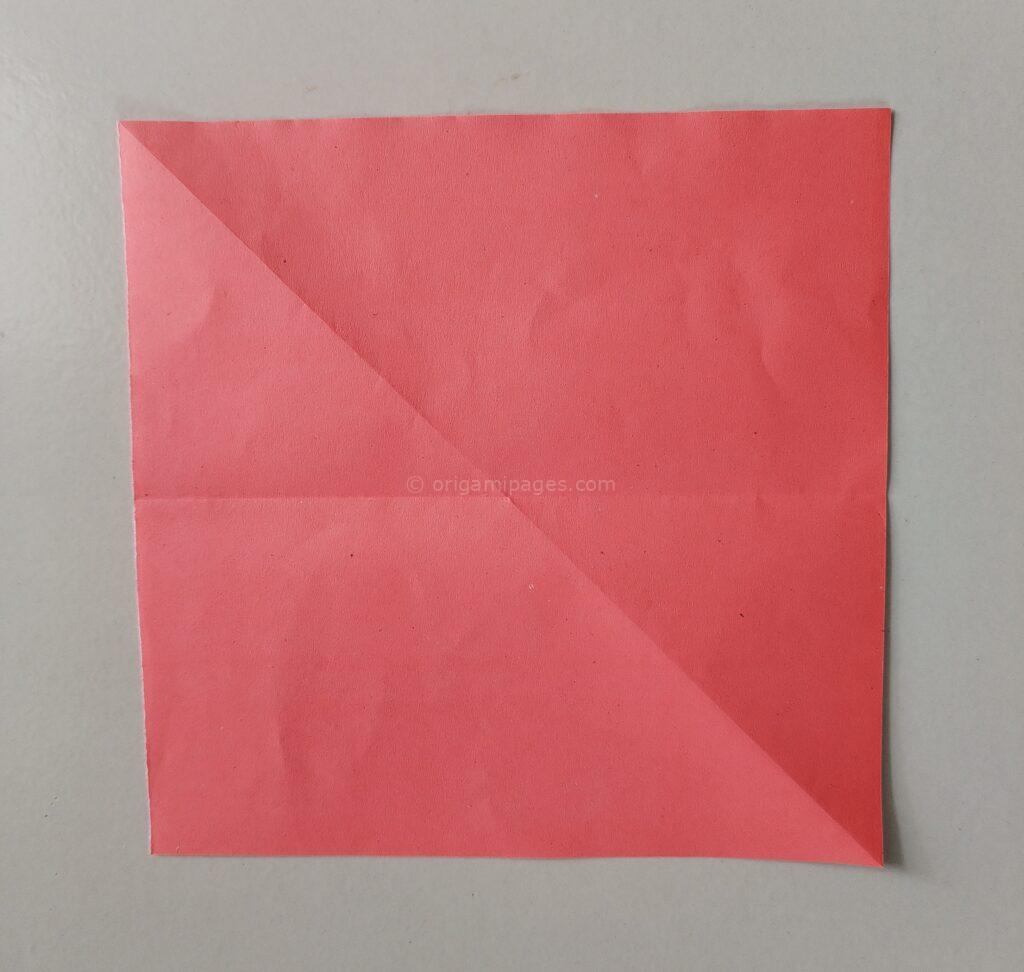
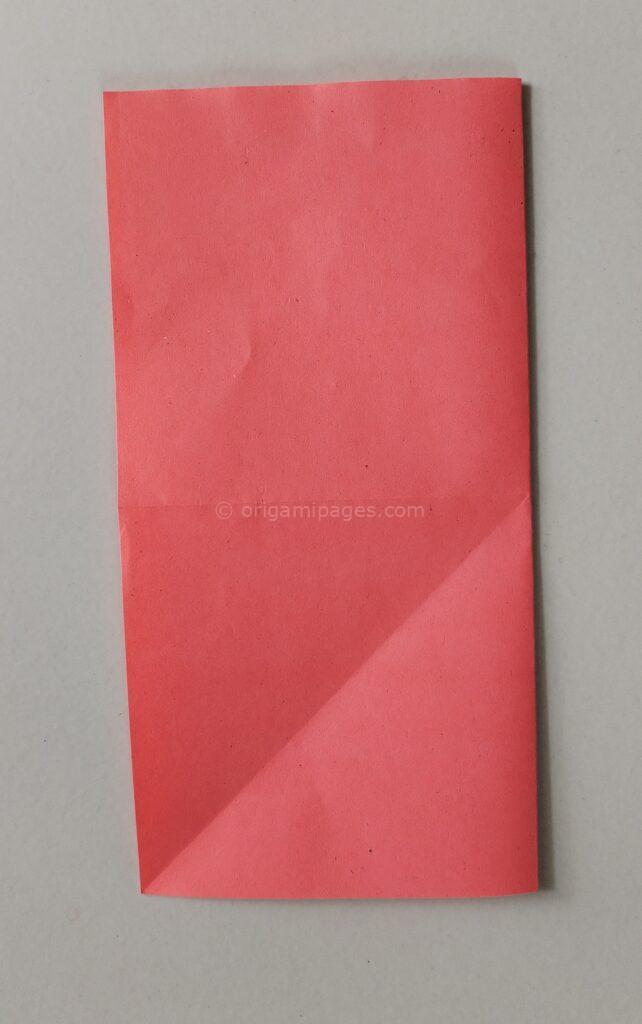
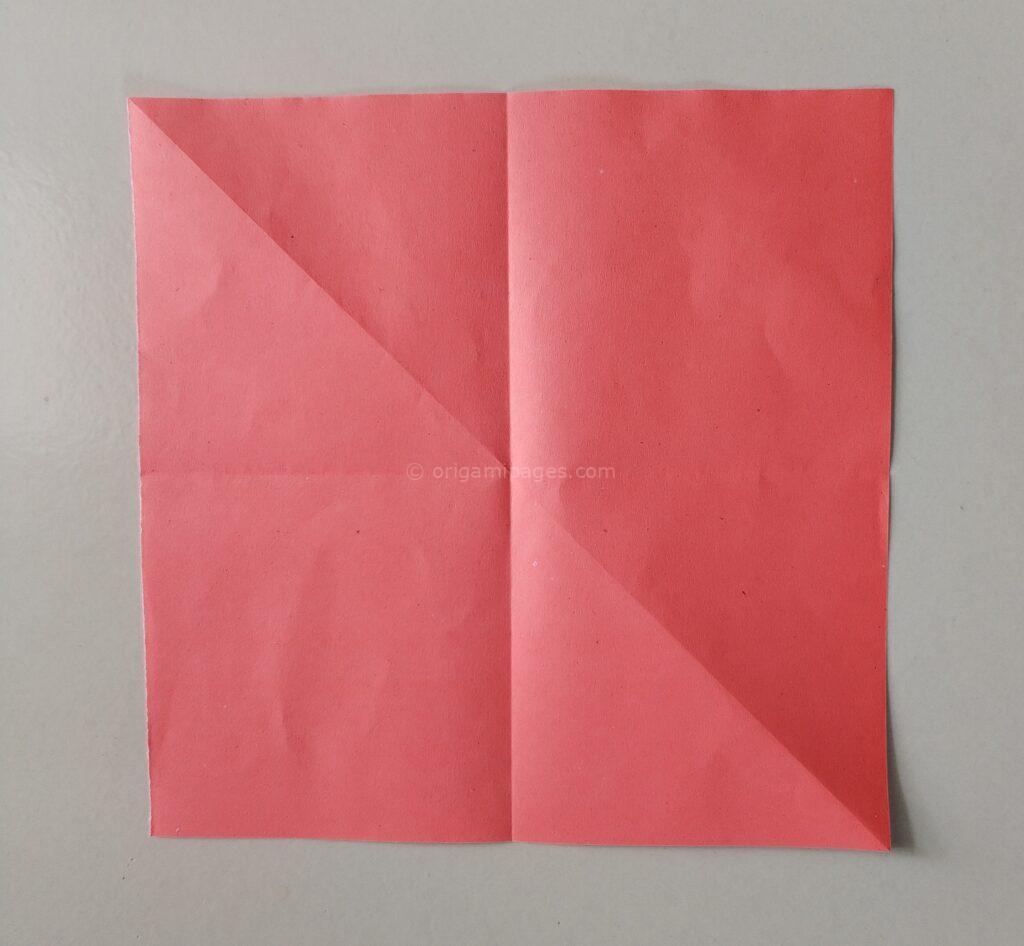
Step 3: Fold the Corners to the Center
Bring all four corners of the paper to the middle point and fold them carefully. This will shape the base structure for your candy box.
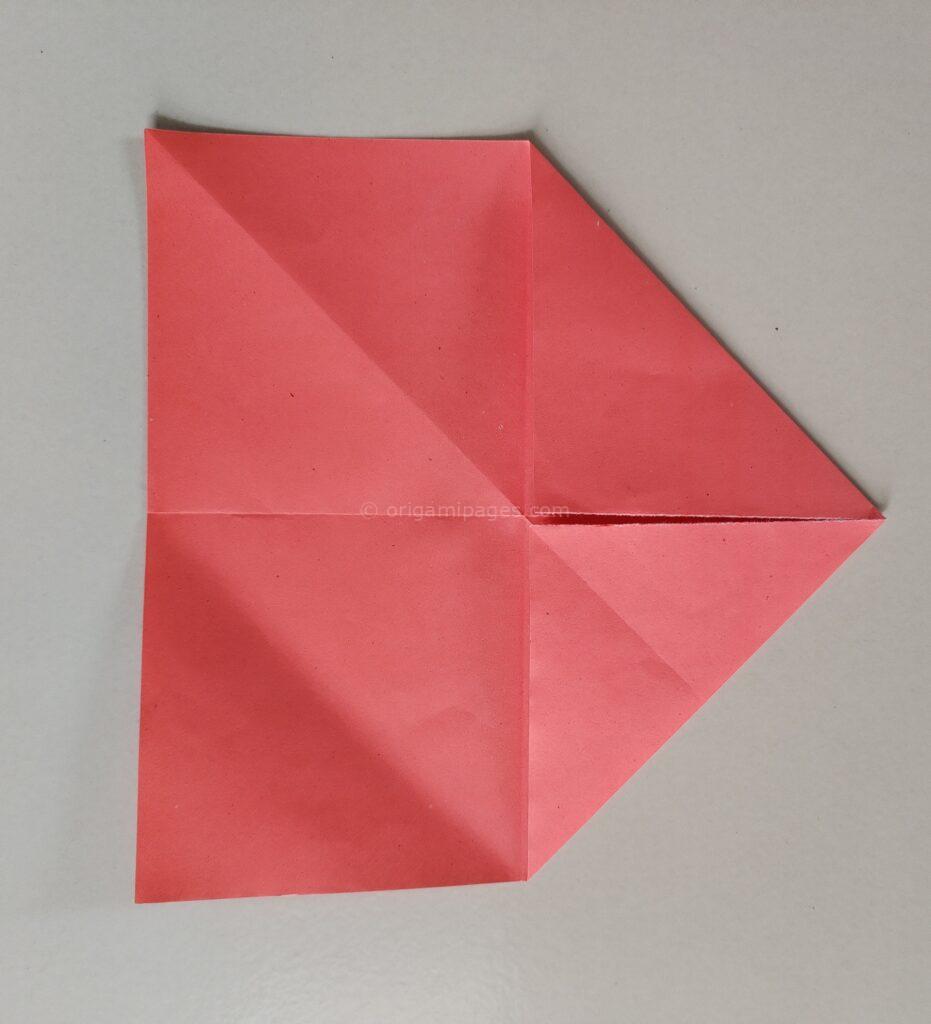
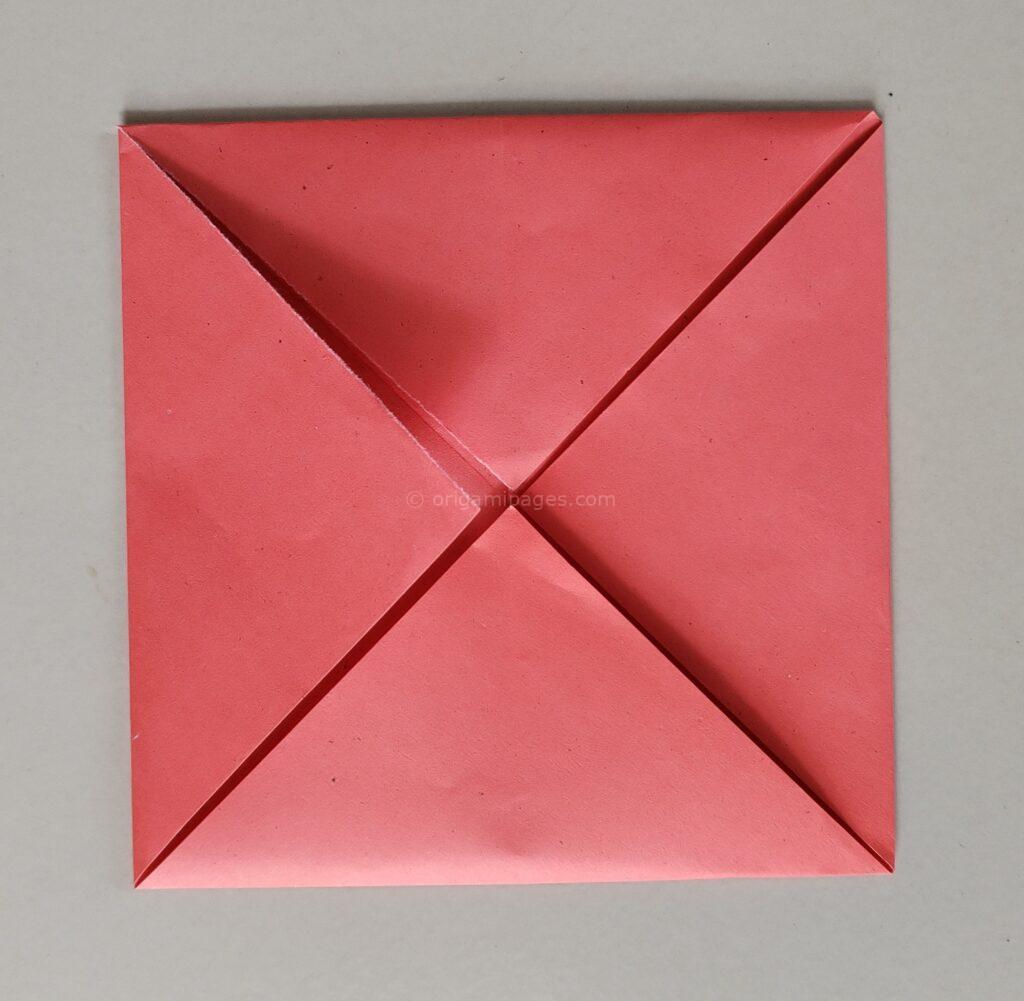
Step 4: Turn and Fold the Corners Again
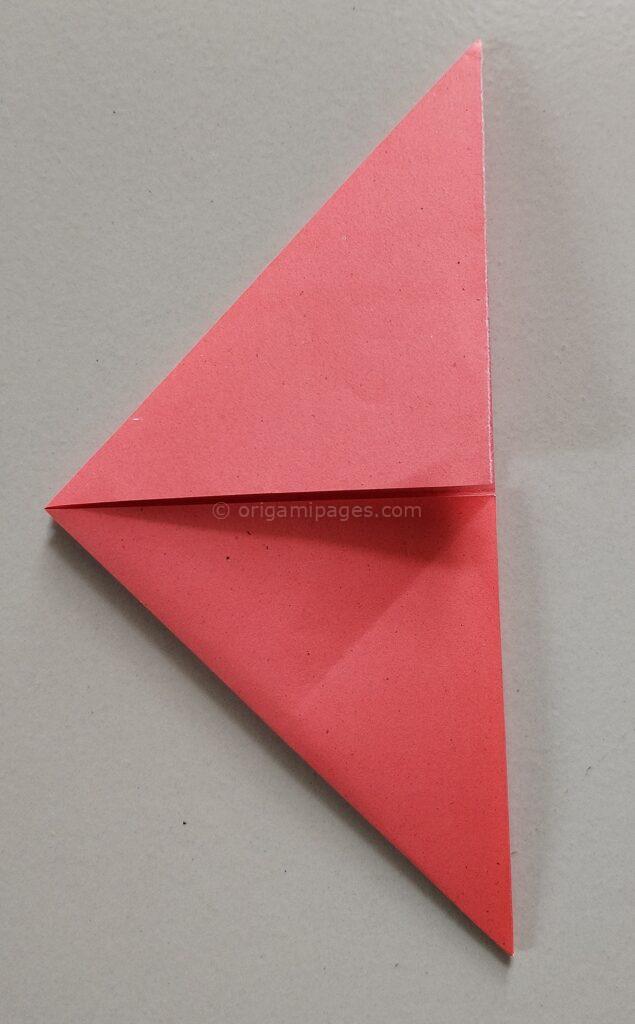
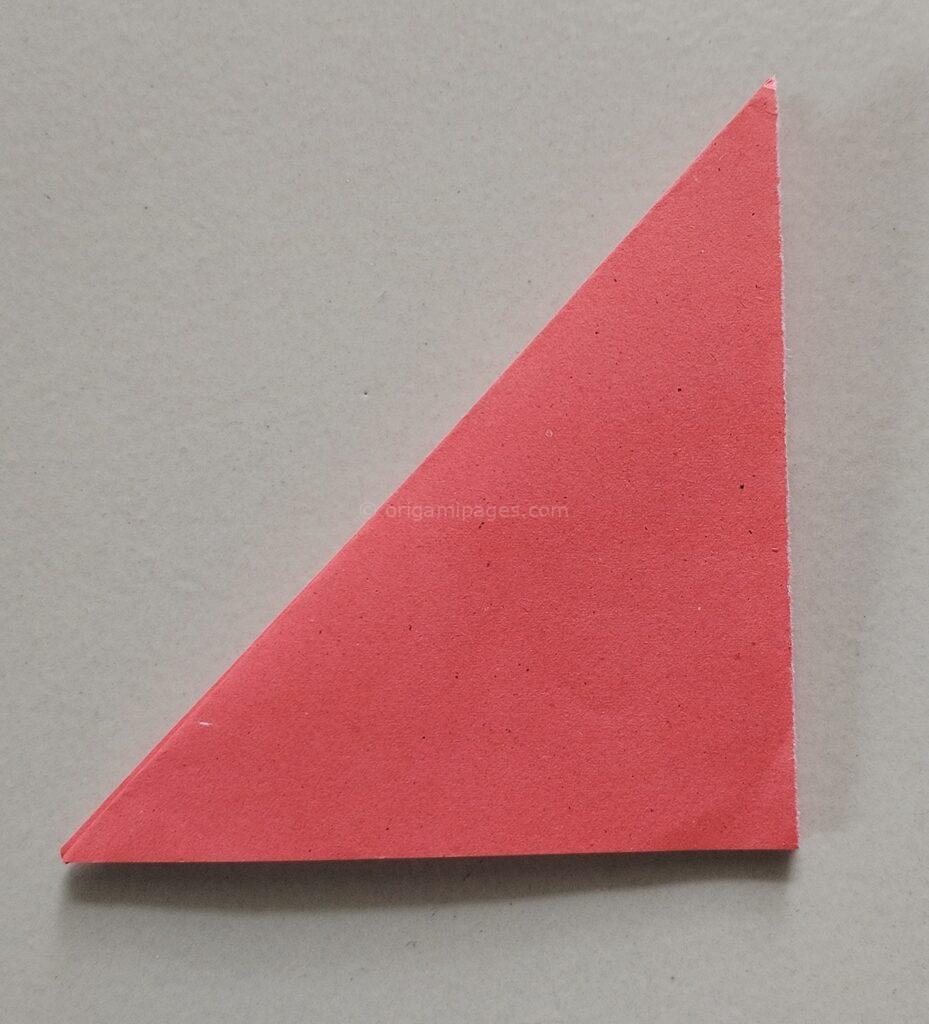
Turn the paper upside down. Fold each corner towards the center again. Then, fold the entire paper in half along the middle crease.
Step 5: Open and Refold
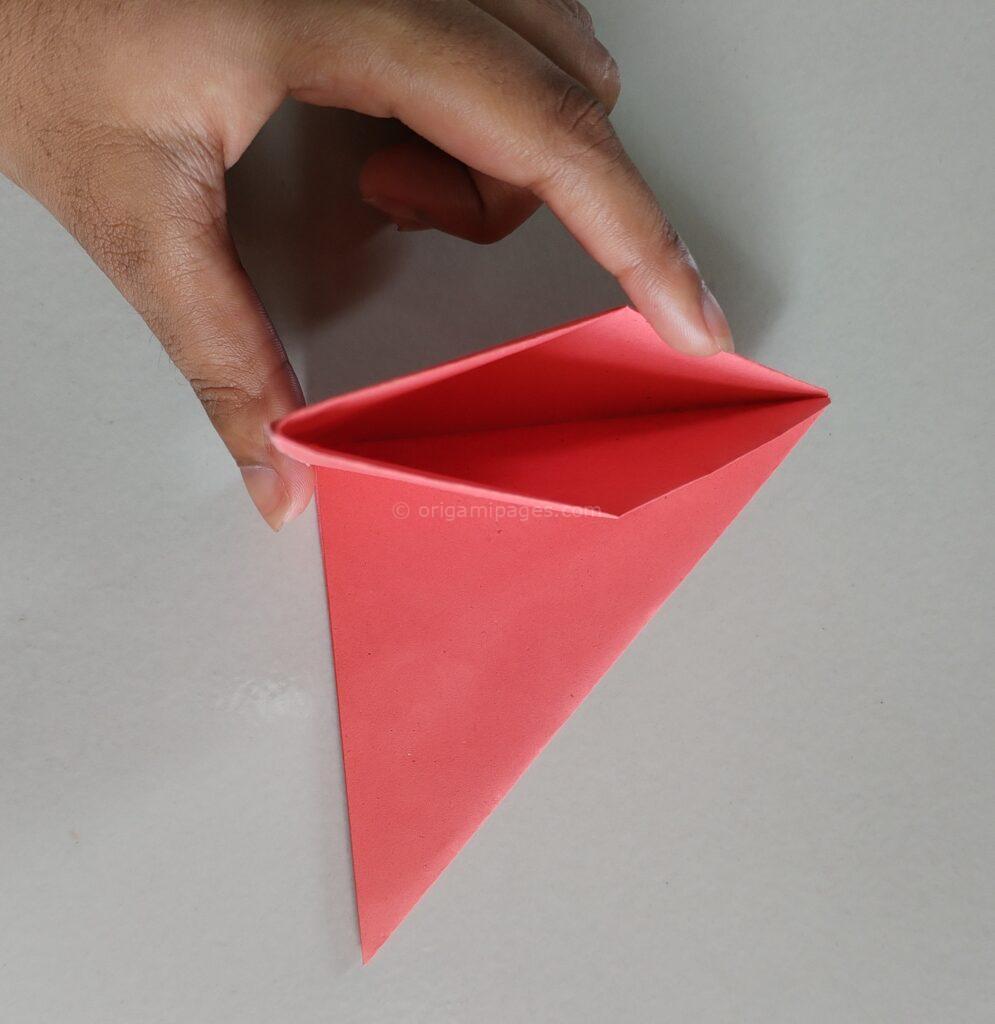
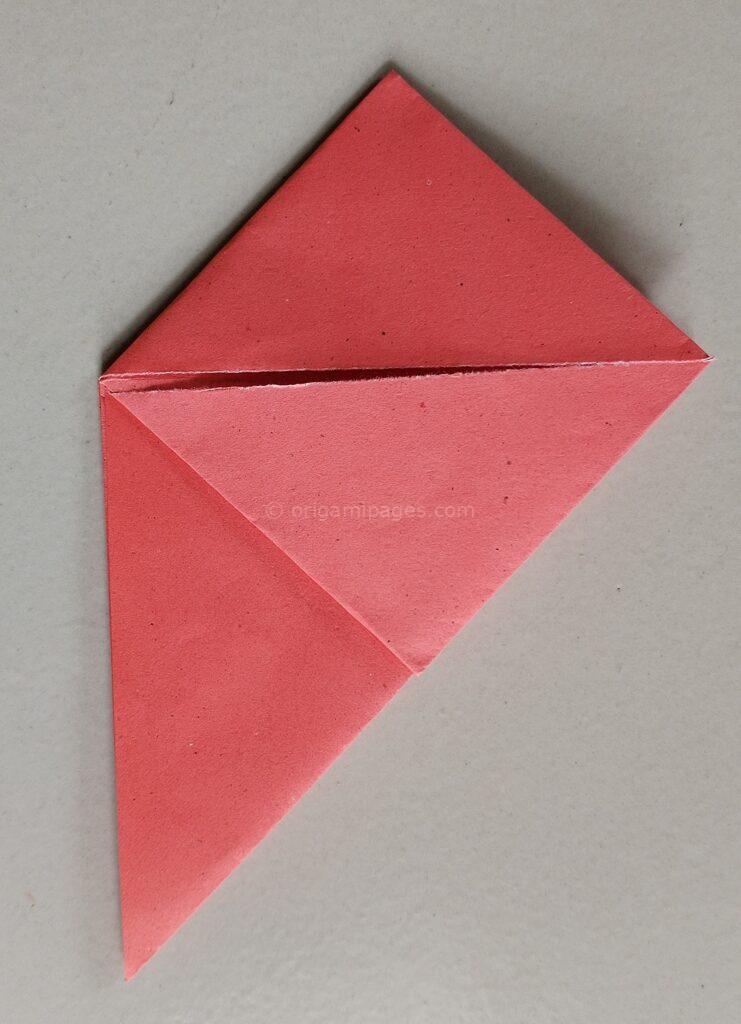
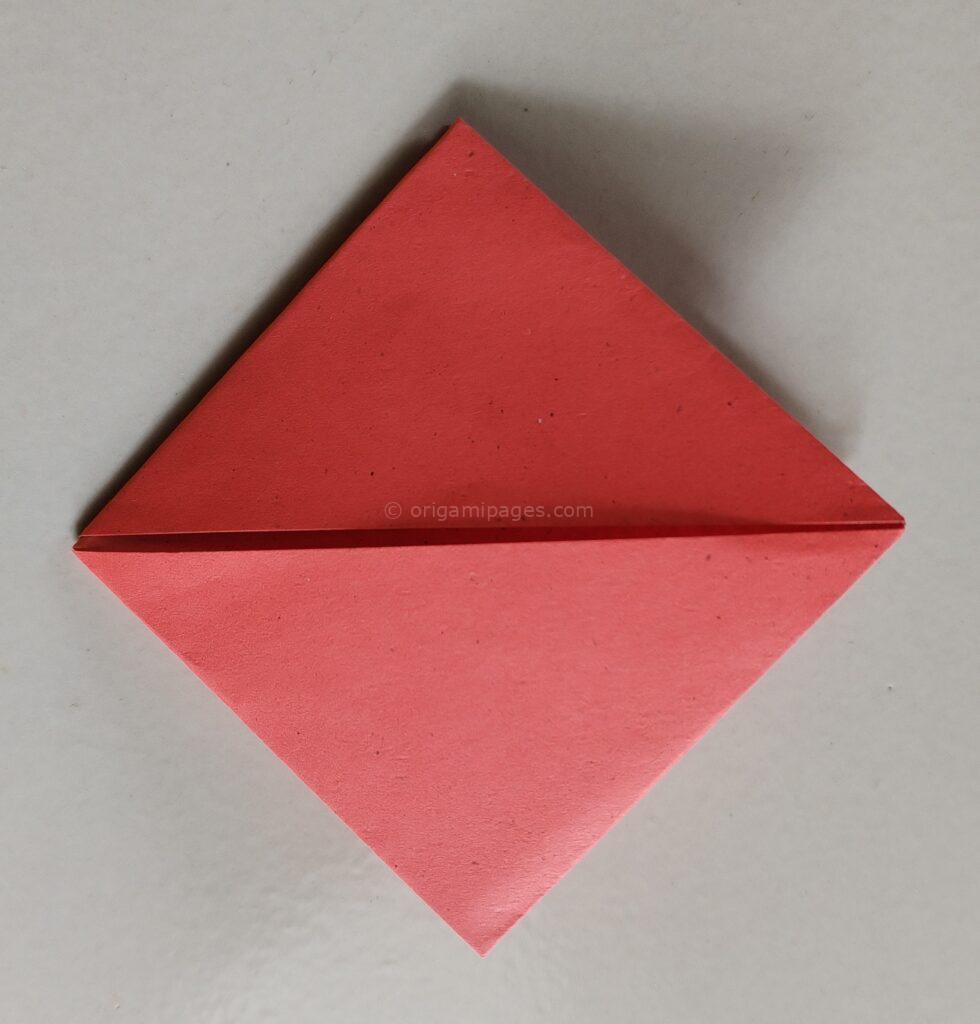
Open one of the folded corners and fold it as shown. Repeat this process on the opposite side to create symmetrical folds.
Step 6: Shape the Sides
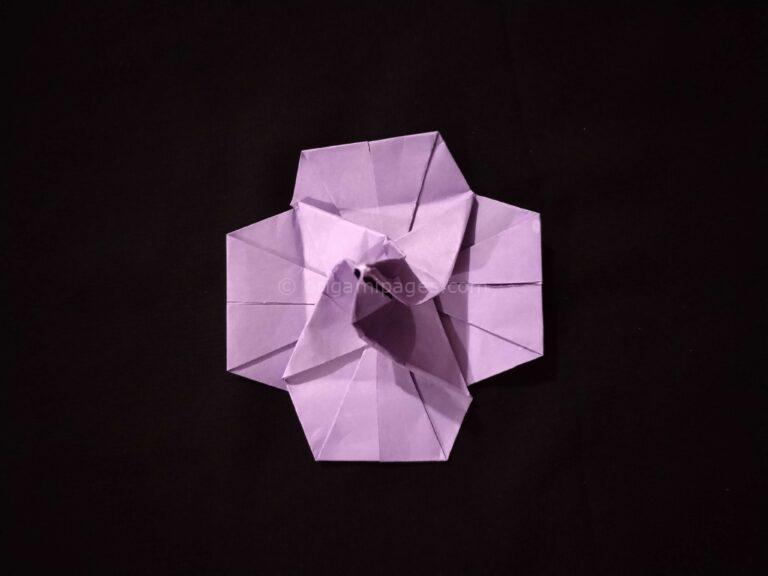
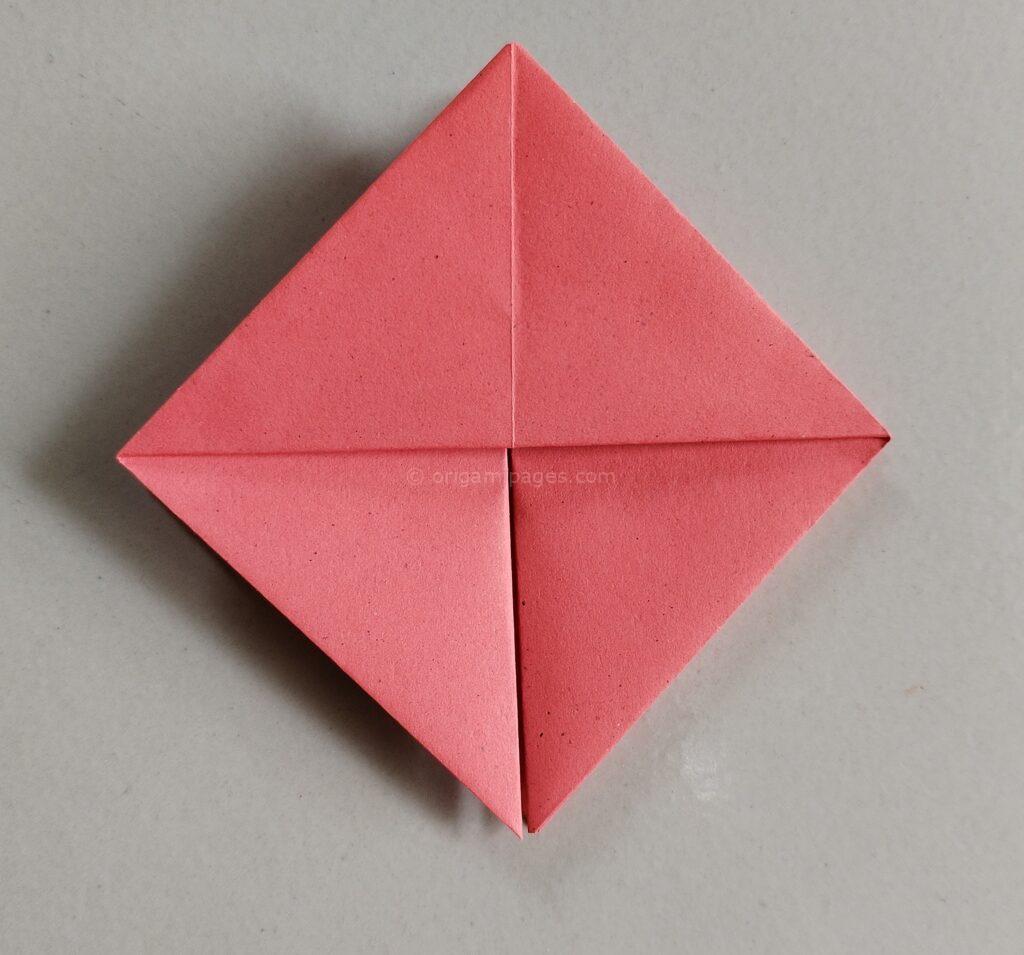
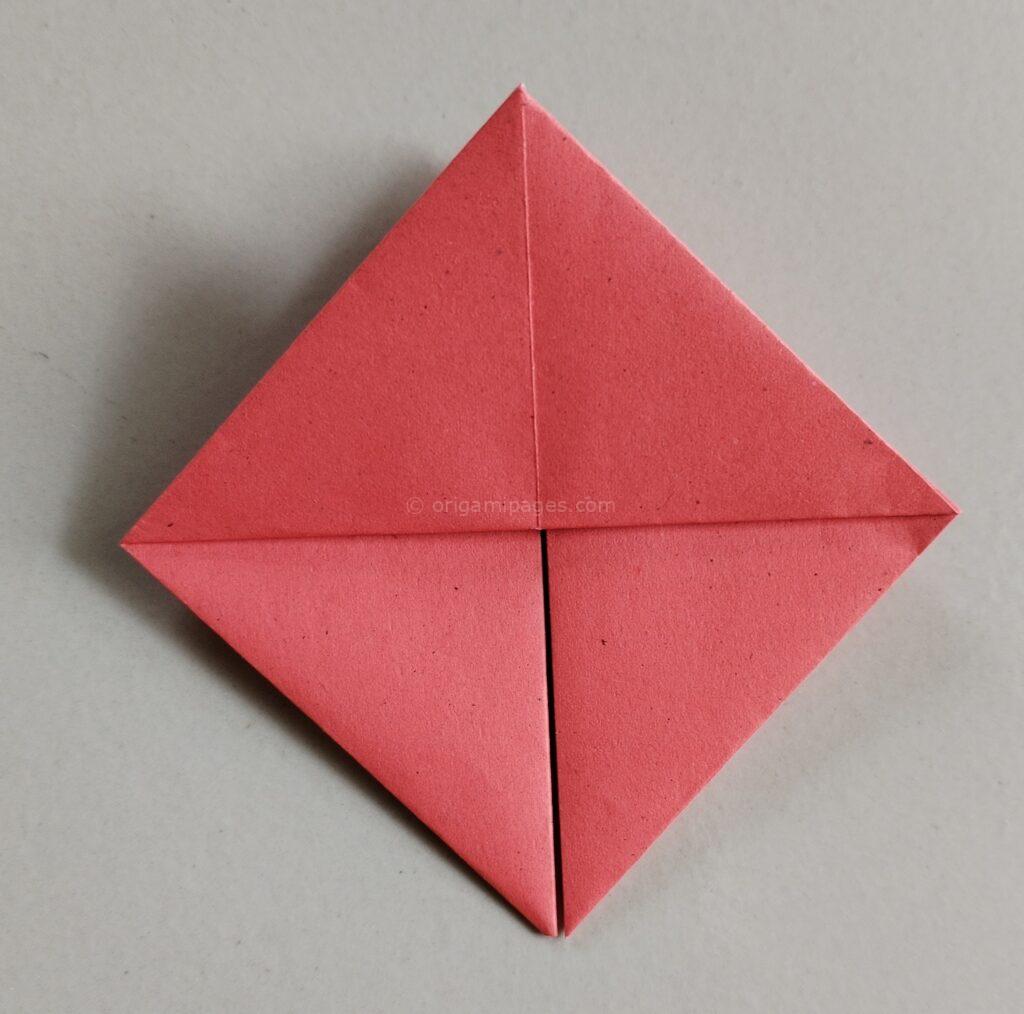
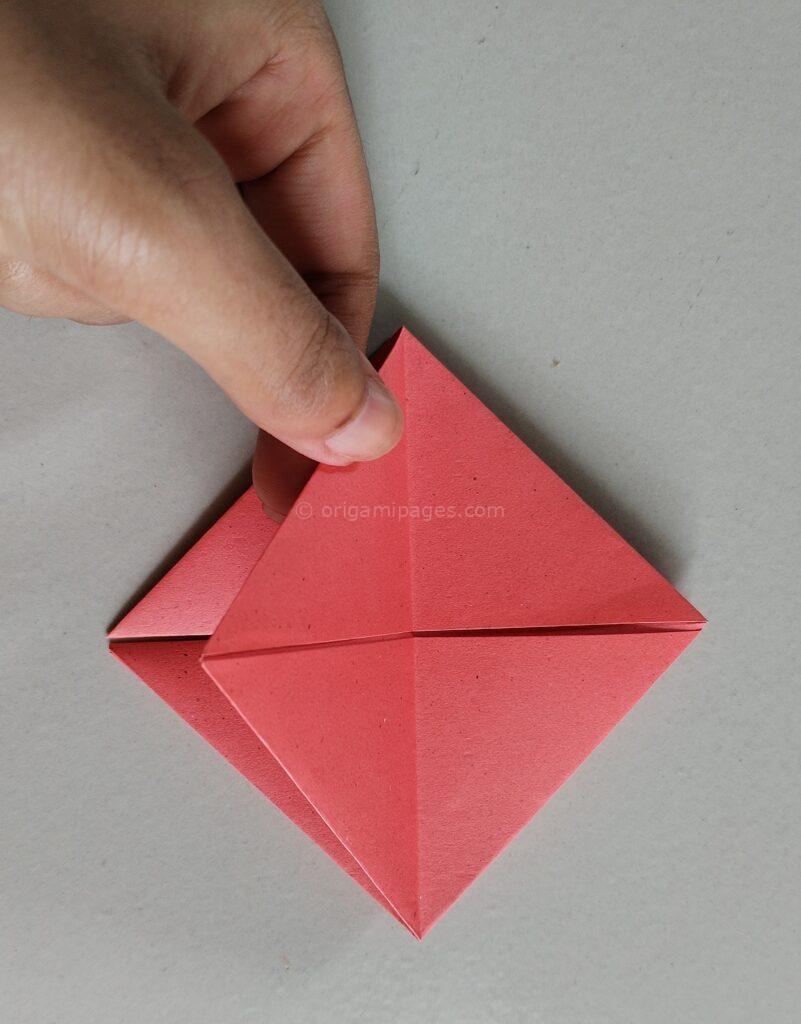
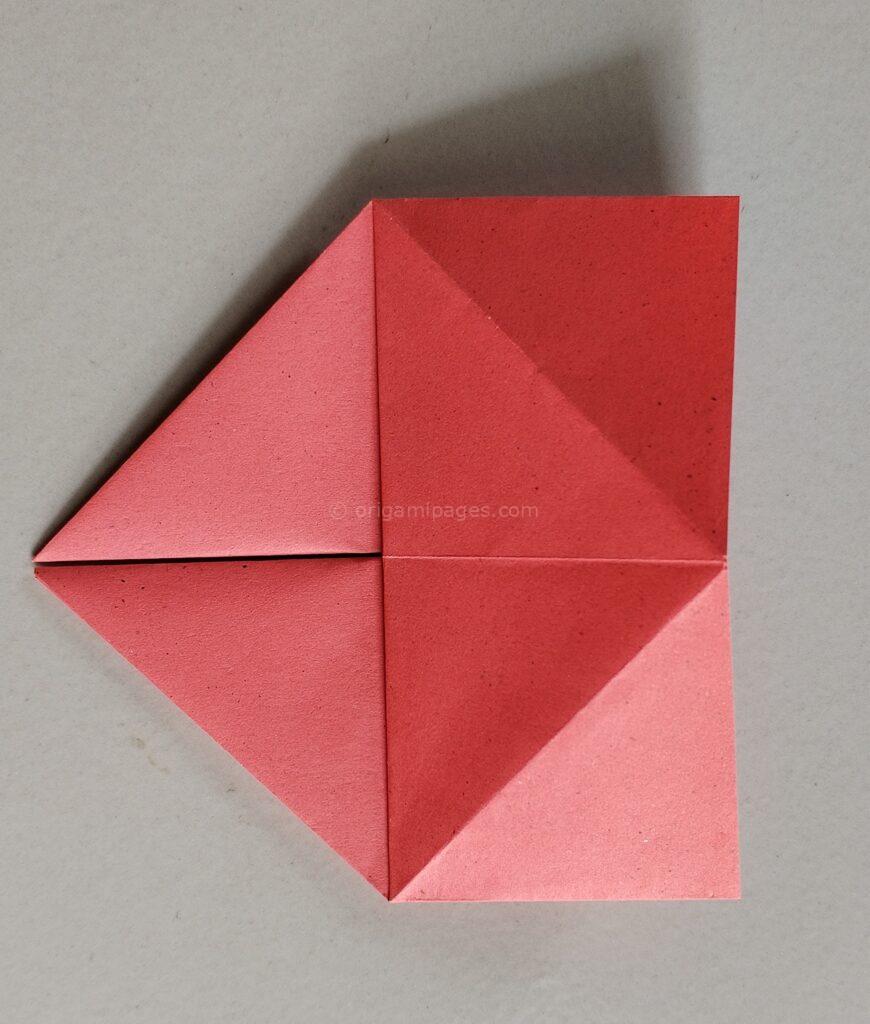
Fold both sides of the paper inward as shown. Then, open the folded part and fold both sides inward again, following the instructions carefully.
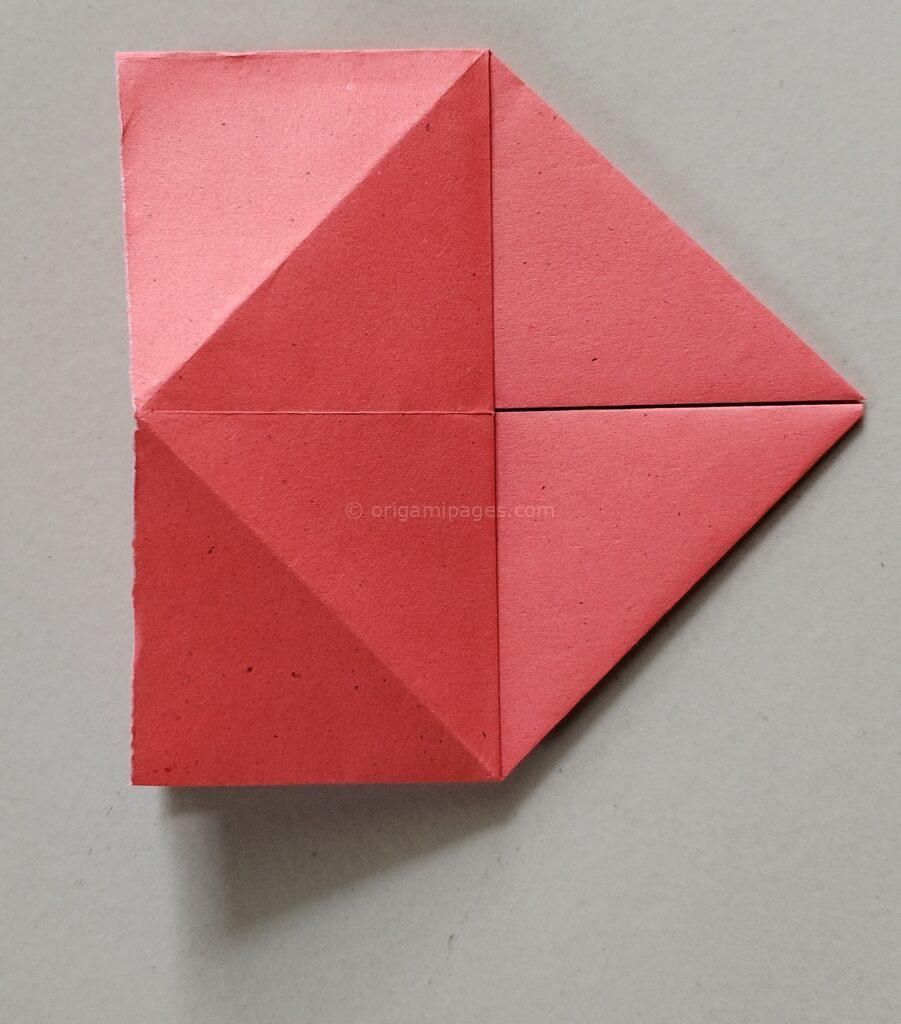
Step 7: Fold Along the Center Line
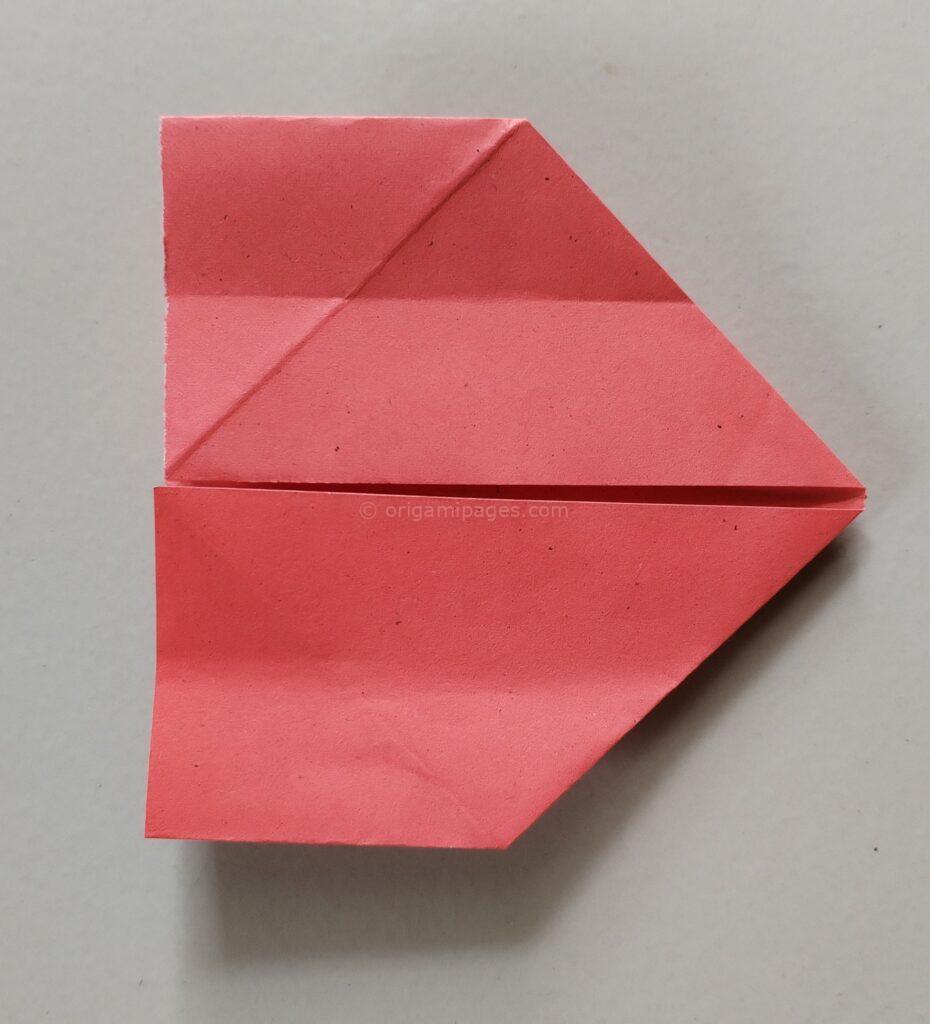
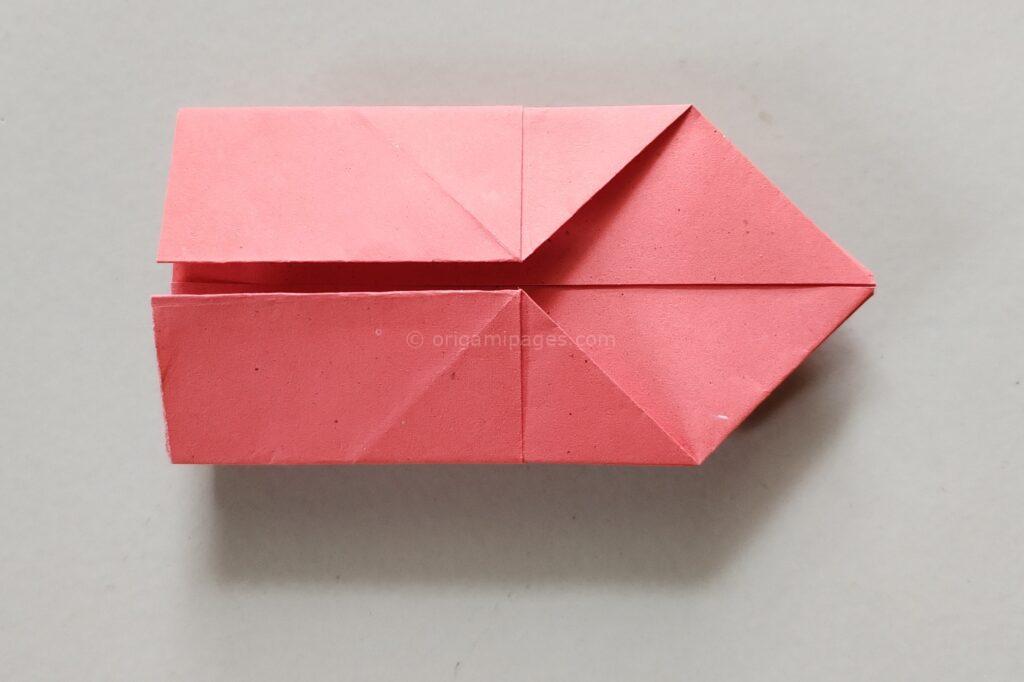
Flip the paper over and fold along the line between the two sides of the paper on both sides, ensuring clean and sharp creases.
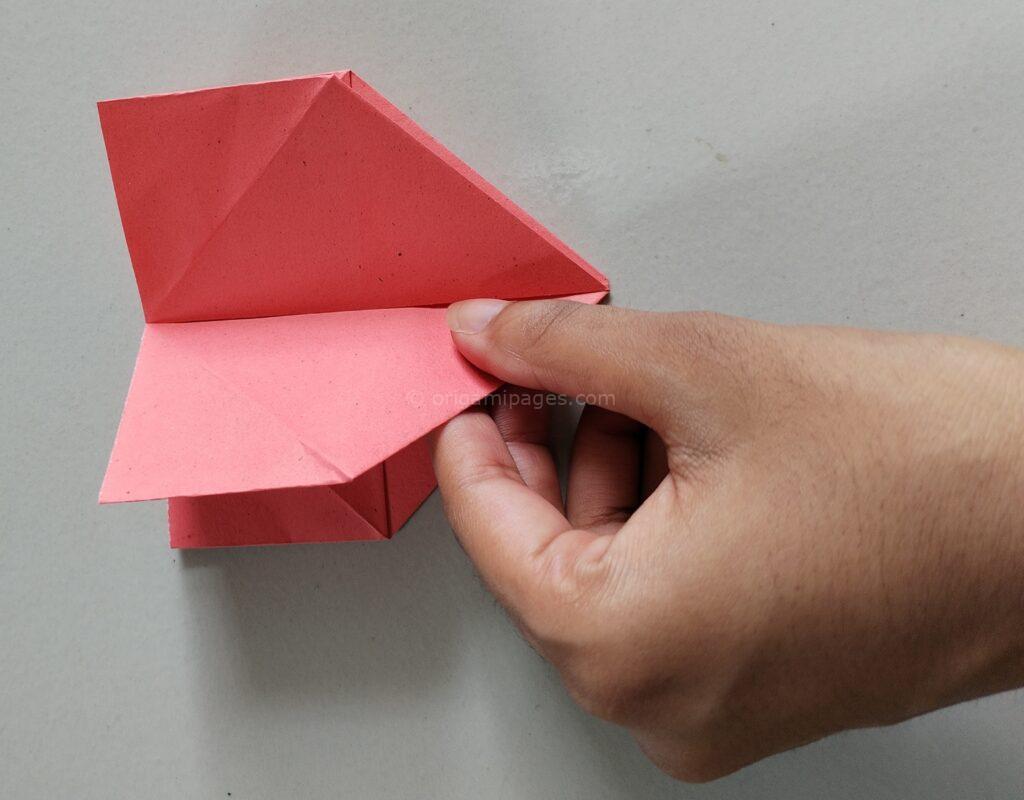
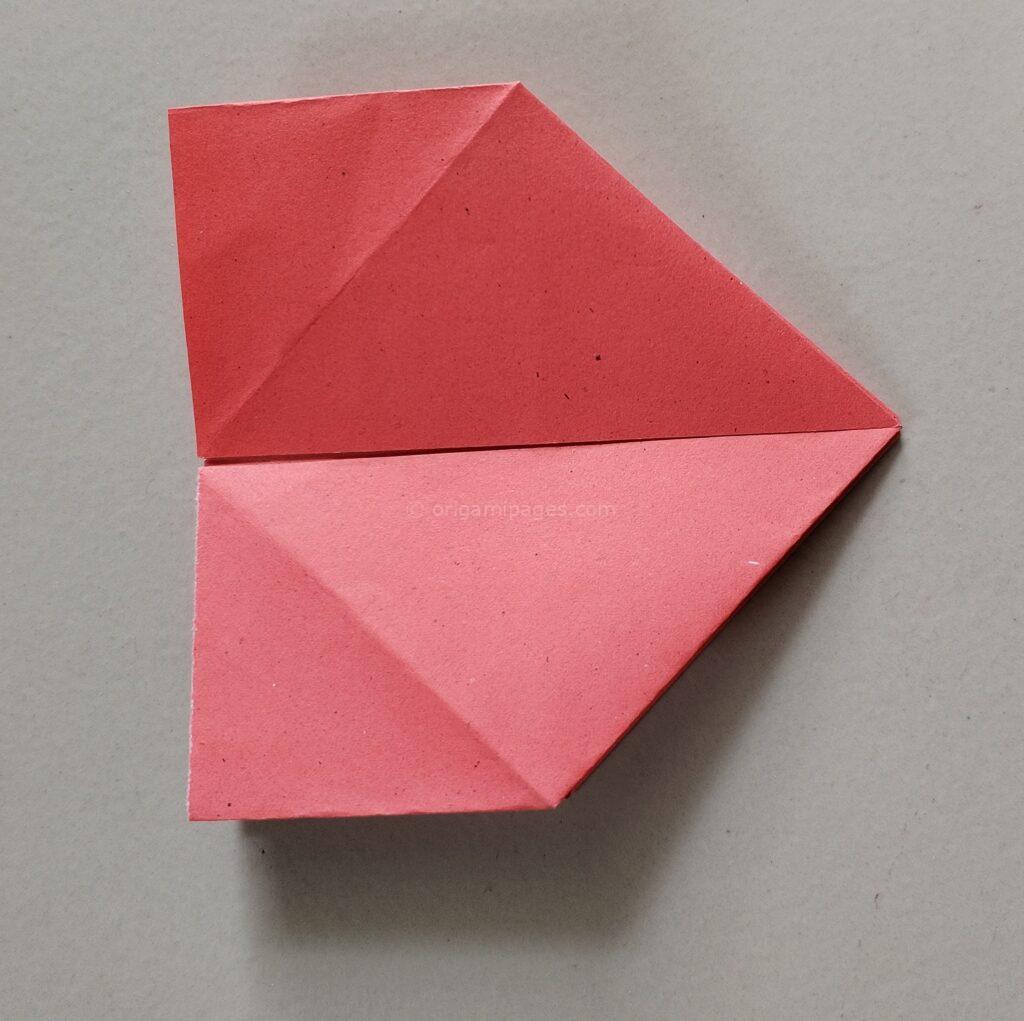
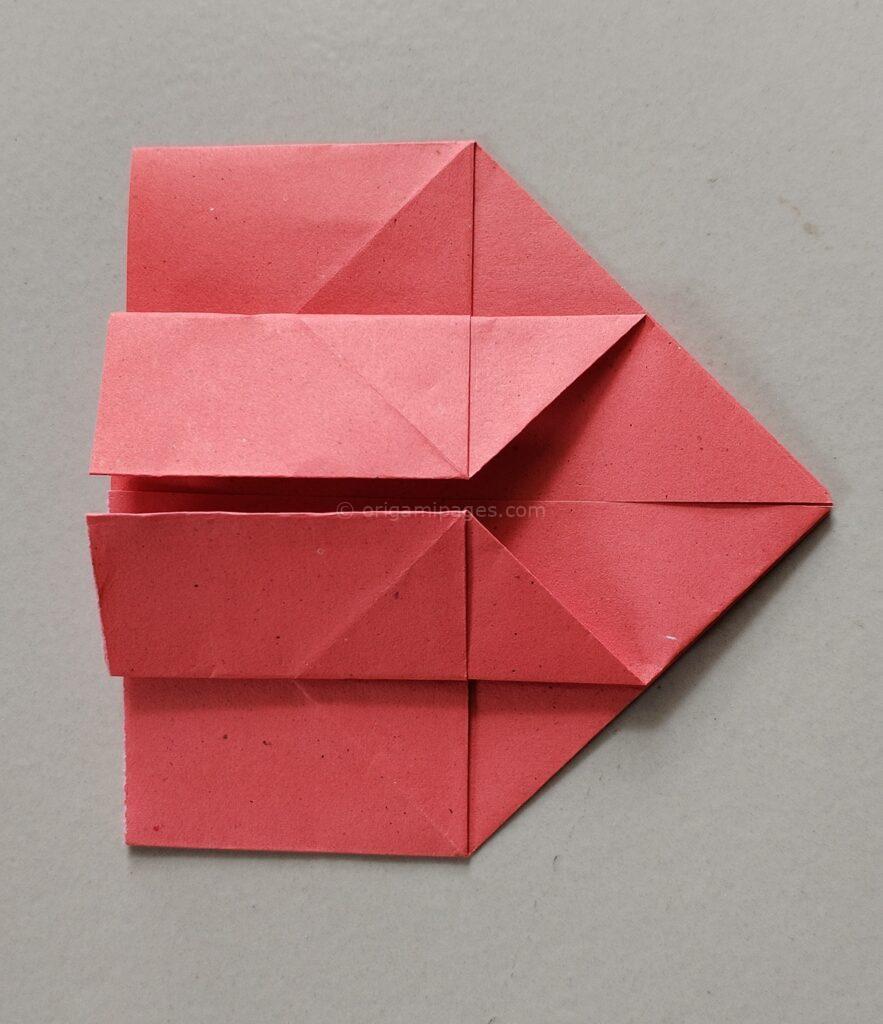
Step 8: Fold Backwards
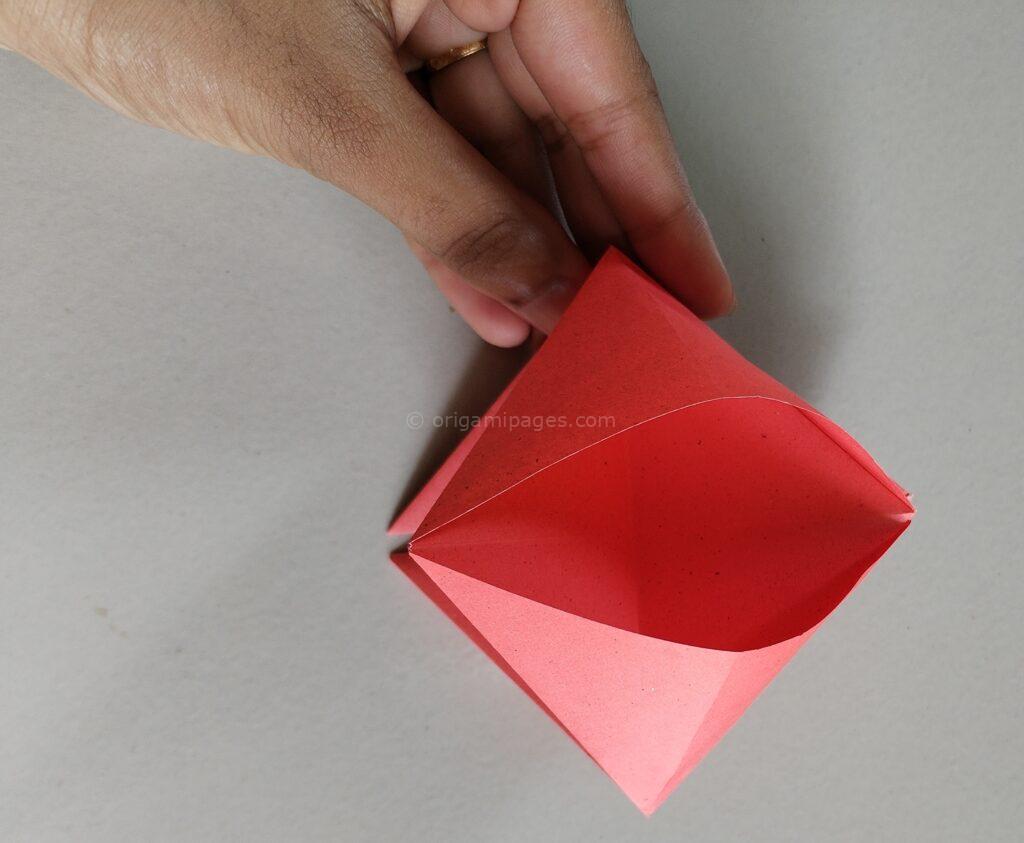
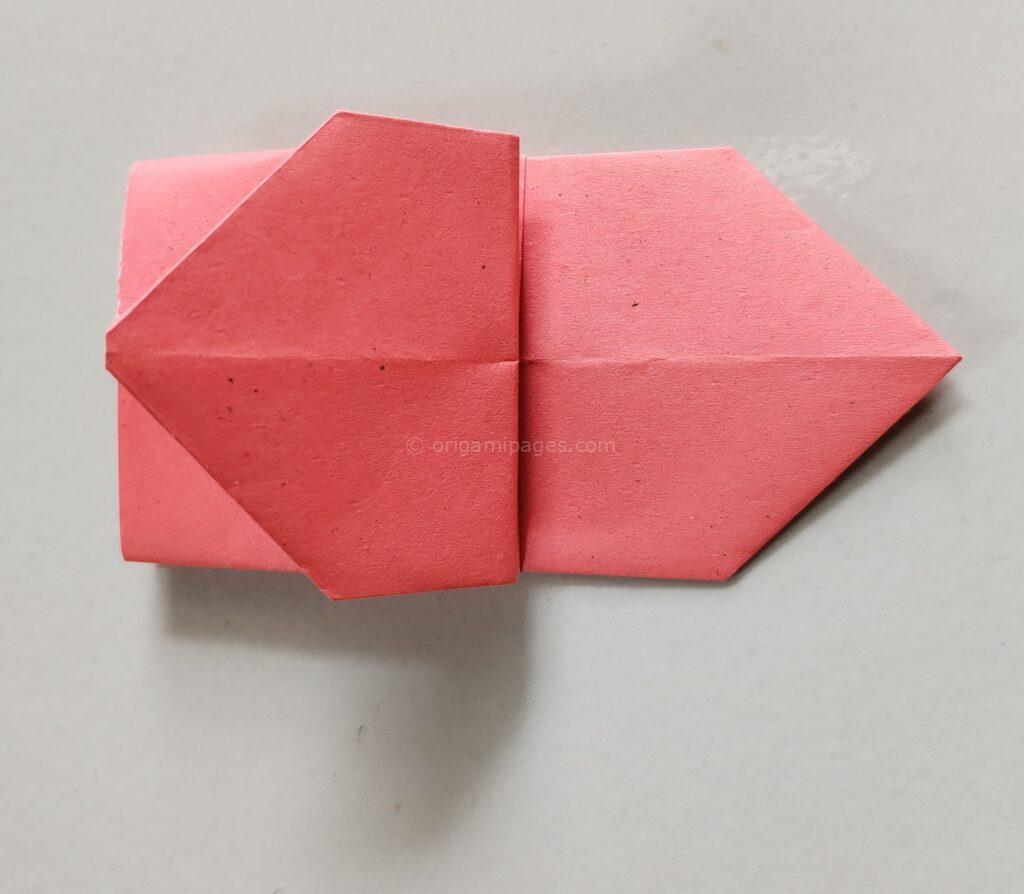
Fold the upper part of the paper backward on both sides, aligning it carefully to maintain the box shape.
Step 9: Open the Box
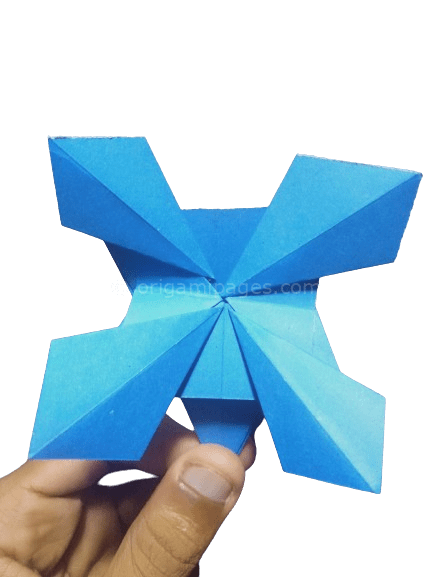
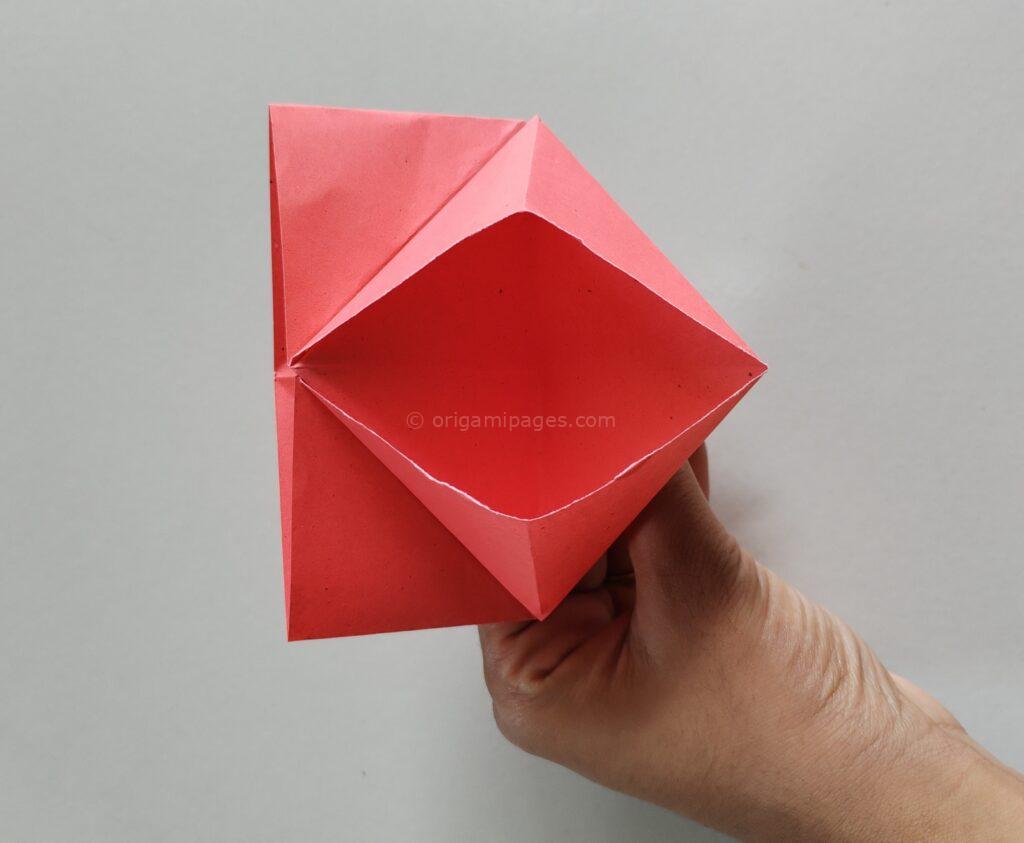
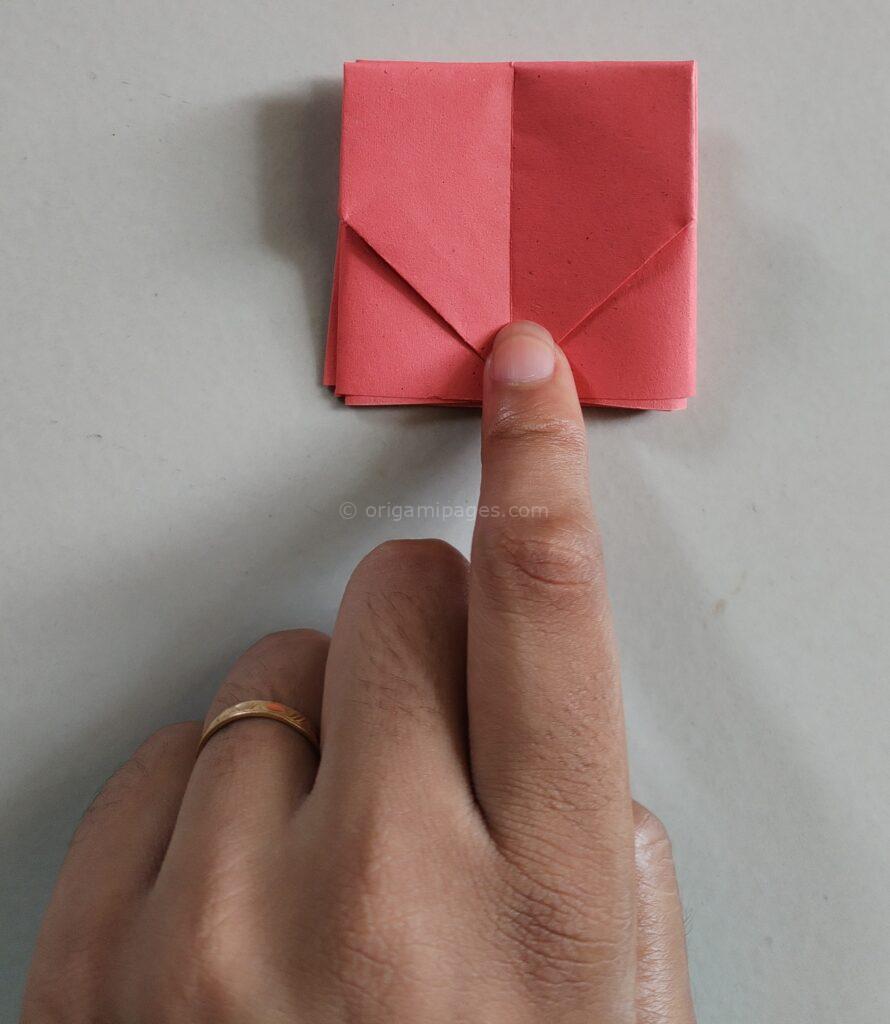
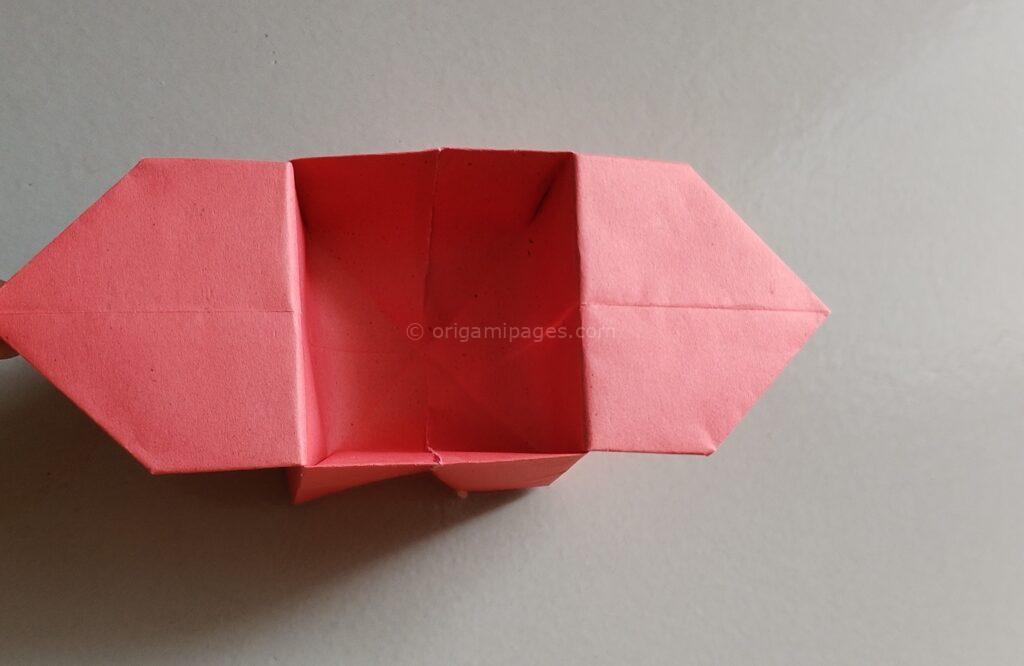
Carefully open the top section of the folded structure to reveal the completed origami candy box.
Step 10: Final Touches
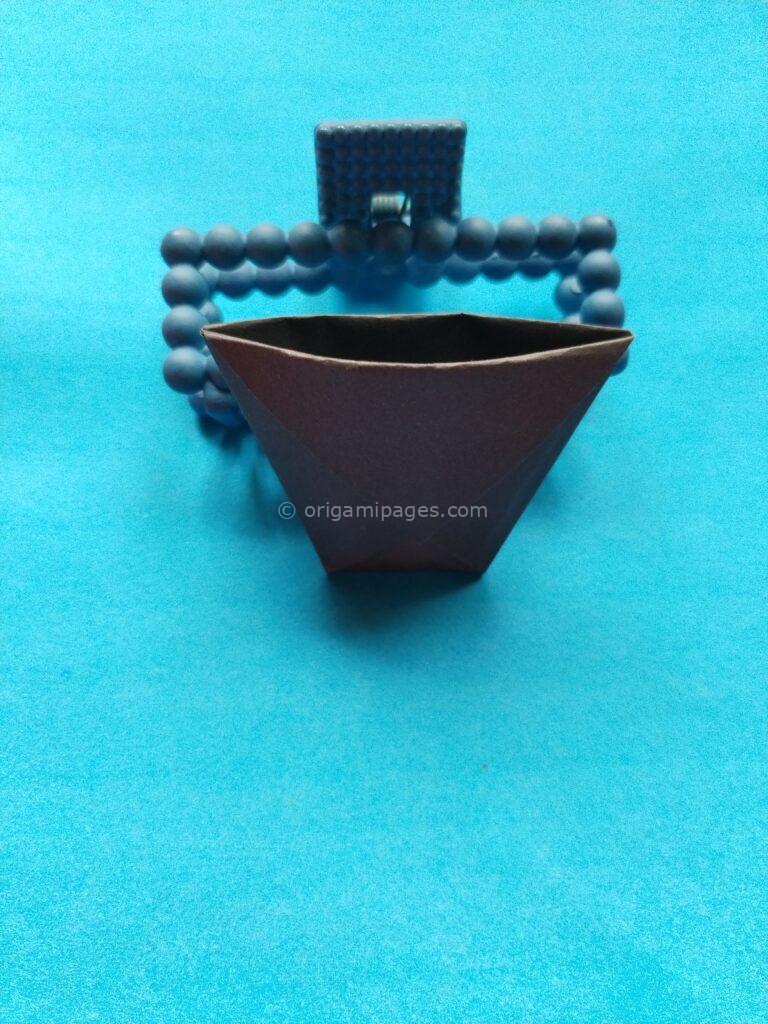
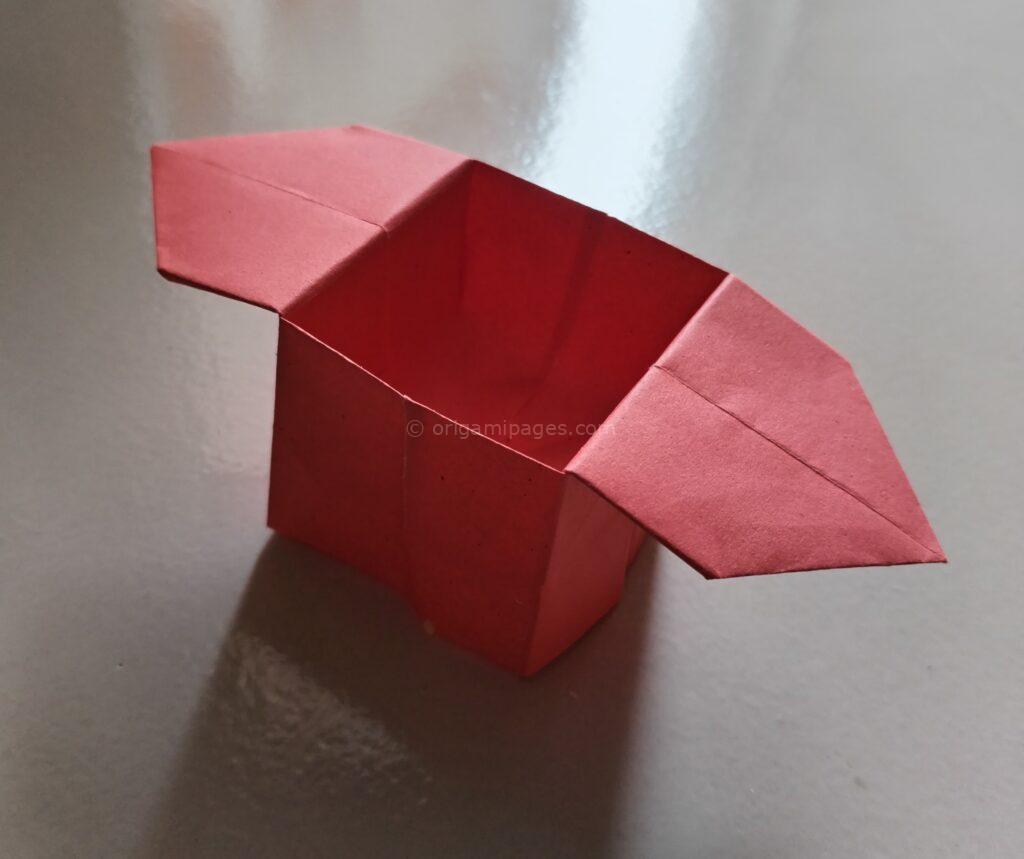
Ensure all folds are neat, and the box holds its shape well. Your origami candy box is now ready to use!
Conclusion
By following these steps, you’ve successfully created an origami candy box. This simple yet functional design is perfect for holding small treats or gifts. The process is easy to follow, and with practice, you’ll be able to make these boxes quickly and with precision.
If you enjoyed this project, feel free to explore more origami creations. Your feedback is always welcome, as it helps improve future guides. Happy folding!


