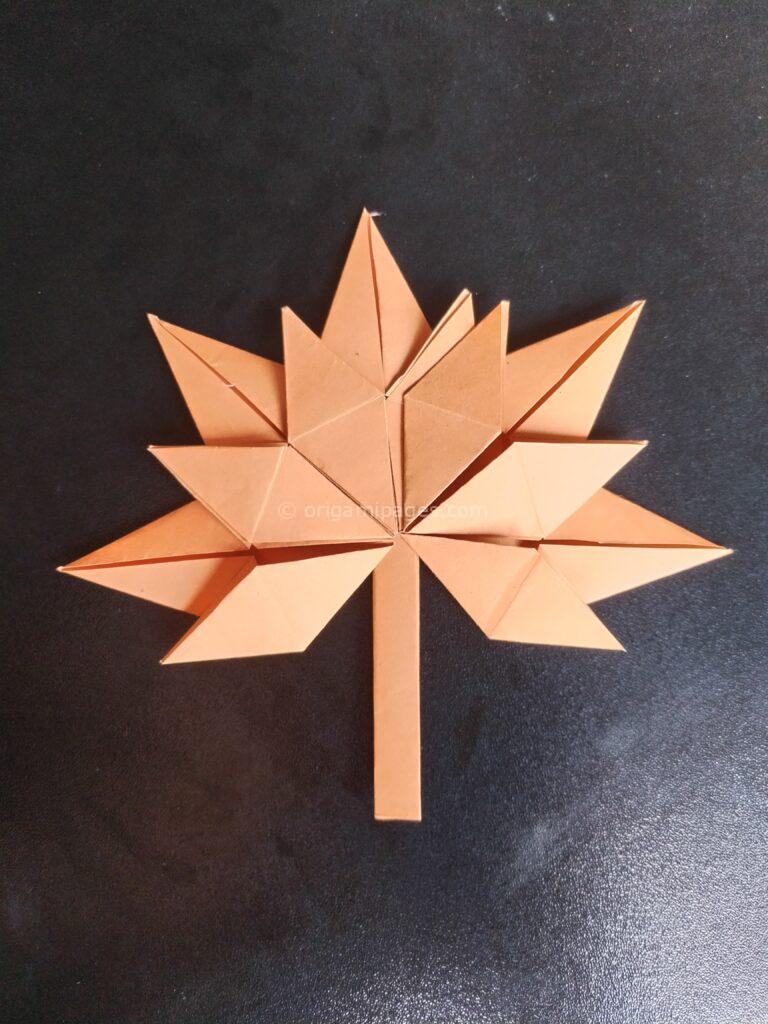
How to Make Origami Hibiscus Flower? Easy To Follow Instructions
Origami, the ancient art of paper folding, offers a gateway to creativity and mindfulness. Among its myriad possibilities lies the enchanting realm of origami hibiscus flowers. Within the folds of a simple square of paper, one can embark on a journey to create delicate blooms that capture the essence of nature’s beauty.
Whether you’re a novice intrigued by the art’s meditative qualities or an experienced folder seeking a new challenge, crafting a paper hibiscus flower is a rewarding endeavor that promises to delight the senses and inspire the soul.

Step-by-Step Guide: How to Make a Hibiscus Flower with Origami
Step 1:
Start with a square sheet of paper, ensuring that all sides are of equal length. This will provide the foundation for your origami hibiscus flower and ensure symmetry in the final creation.

Step 2:
Fold the paper in half horizontally and vertically, creasing it firmly each time. These initial folds will serve as guides for the subsequent steps in the folding process.


Step 3:
Fold the paper in half diagonally, from corner to corner, creating a triangle shape. Then, unfold the paper to return it to its square shape. Repeat this step by folding the paper diagonally in the opposite direction and unfolding it again.

Step 4:
Collapse the paper along the creases created in the previous step, bringing the corners together to form a smaller square. This will serve as the base of your origami hibiscus flower.

Step 5:
Take the top layer of the right and left corners and fold them toward the center of the square, creating a triangle shape at the top.

Step 6:
Fold the top edge of the triangle down, leaving a small portion unfolded to create the distinctive shape of a hibiscus petal.


Step 7:
Fold the lower petals upwards, mirroring the natural curvature of a hibiscus flower. Repeat this process for all remaining petals, ensuring uniformity and balance in your design.


Step 8:
Unfold the petals slightly and gently twist the center part of the flower, adding dimension and depth to your origami hibiscus.


Step 9:
Make any final adjustments to the folds and shapes of your origami hibiscus flower, ensuring that it reflects the beauty and intricacy of the natural bloom. Display your creation proudly or share it with friends and loved ones to spread the joy of origami.


Congratulations! You have successfully crafted your own origami hibiscus flower, a testament to your creativity and skill in the art of paper folding. As you continue to explore the world of origami, may each fold bring you joy and inspiration, just like the delicate petals of a hibiscus flower in full bloom.
By following these nine simple steps, you can create stunning paper flowers that capture the timeless beauty of nature. So, gather your supplies and let your creativity blossom with the delicate folds of an origami hibiscus flower.
Step into the enchanting universe of origami flowers with our easy-to-follow tutorials. Learn the art of folding and shaping paper into intricate blooms. Explore our guides on Origami kirigami flower and Origami carnation flower for creative techniques and crafting joy.

