How to Make an Origami Masu Box
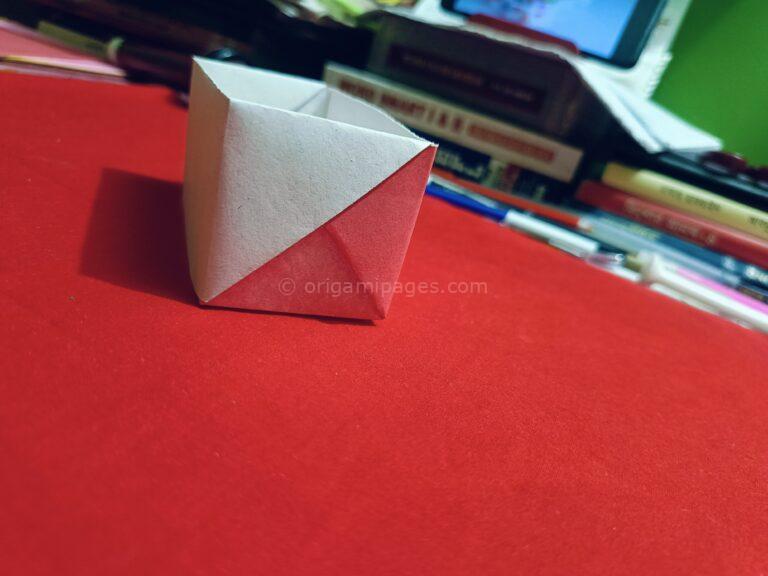
The origami masu box is a simple yet rewarding project for both beginners and experienced origami enthusiasts. This guide will walk you through each step to create your own masu origami box, a traditional Japanese design that’s both practical and decorative.
Materials Needed
- Paper Size: 20″ x 20″
Step-by-Step Masu Box Instructions
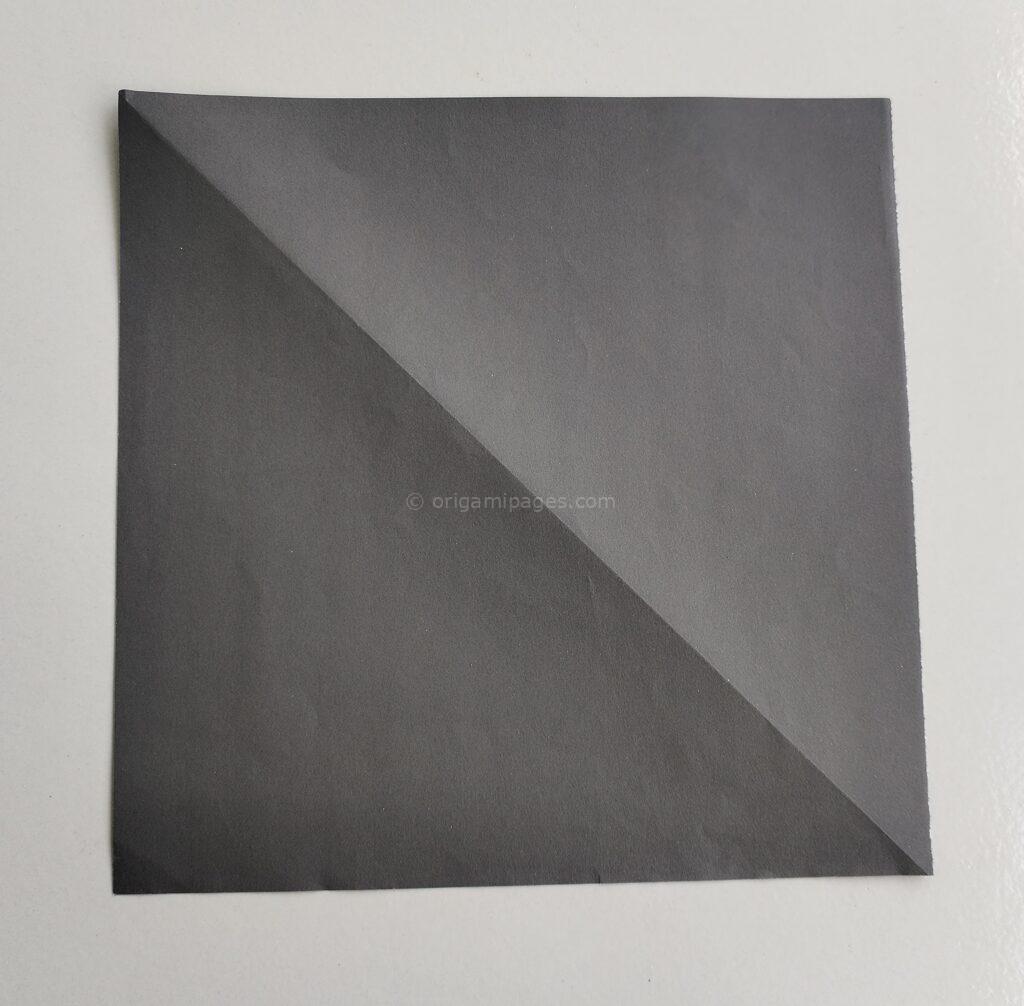
Step 1: Prepare Your Paper
Take a square-shaped piece of paper and place it flat on a surface.
Step 2: Make the Initial Folds
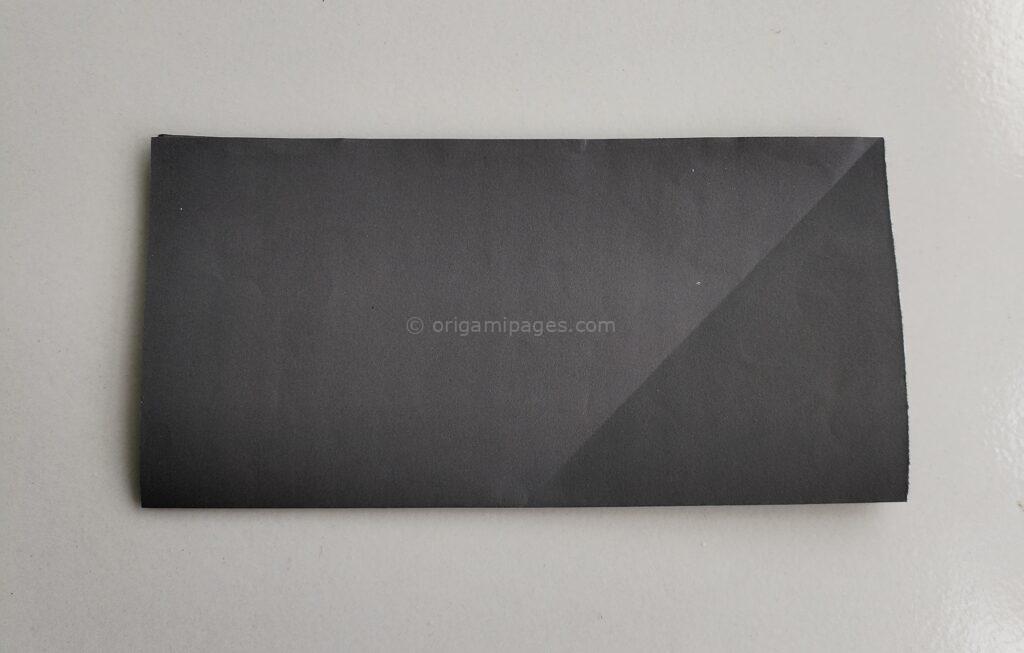
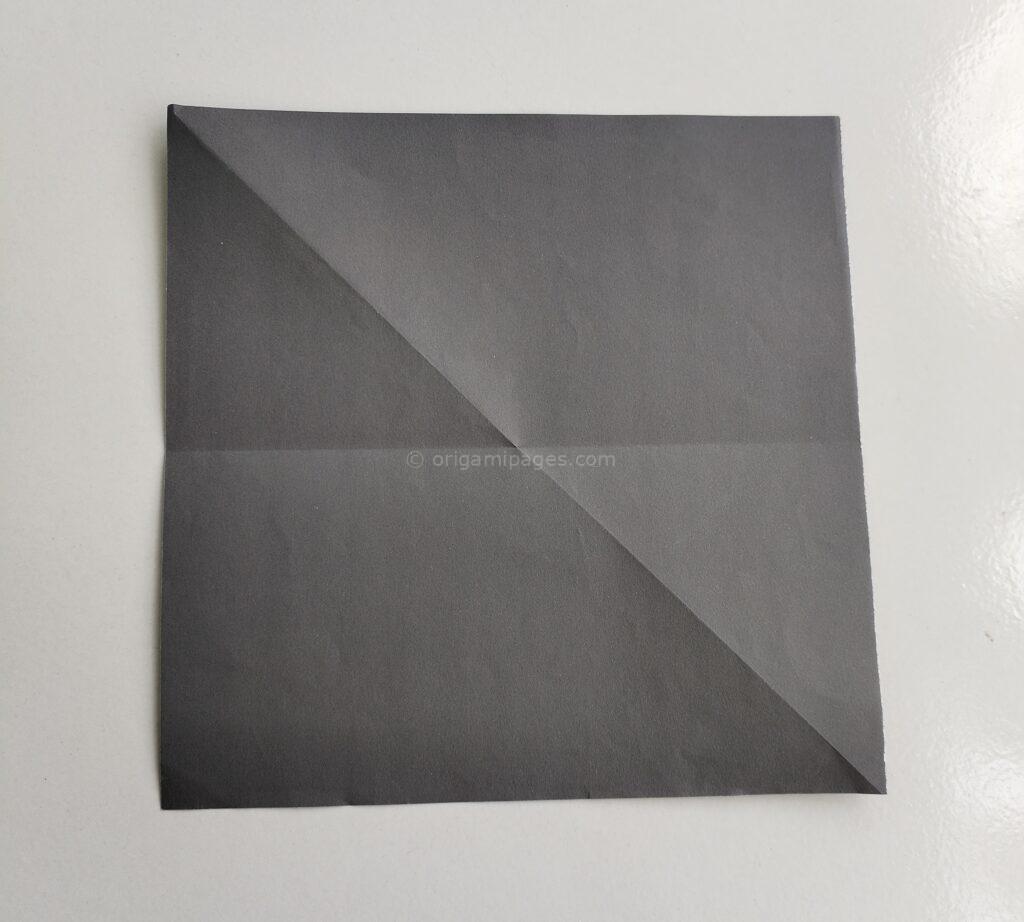
Fold the paper horizontally and unfold it. Then, fold it vertically and unfold it.

Step 3: Bring Corners to the Center
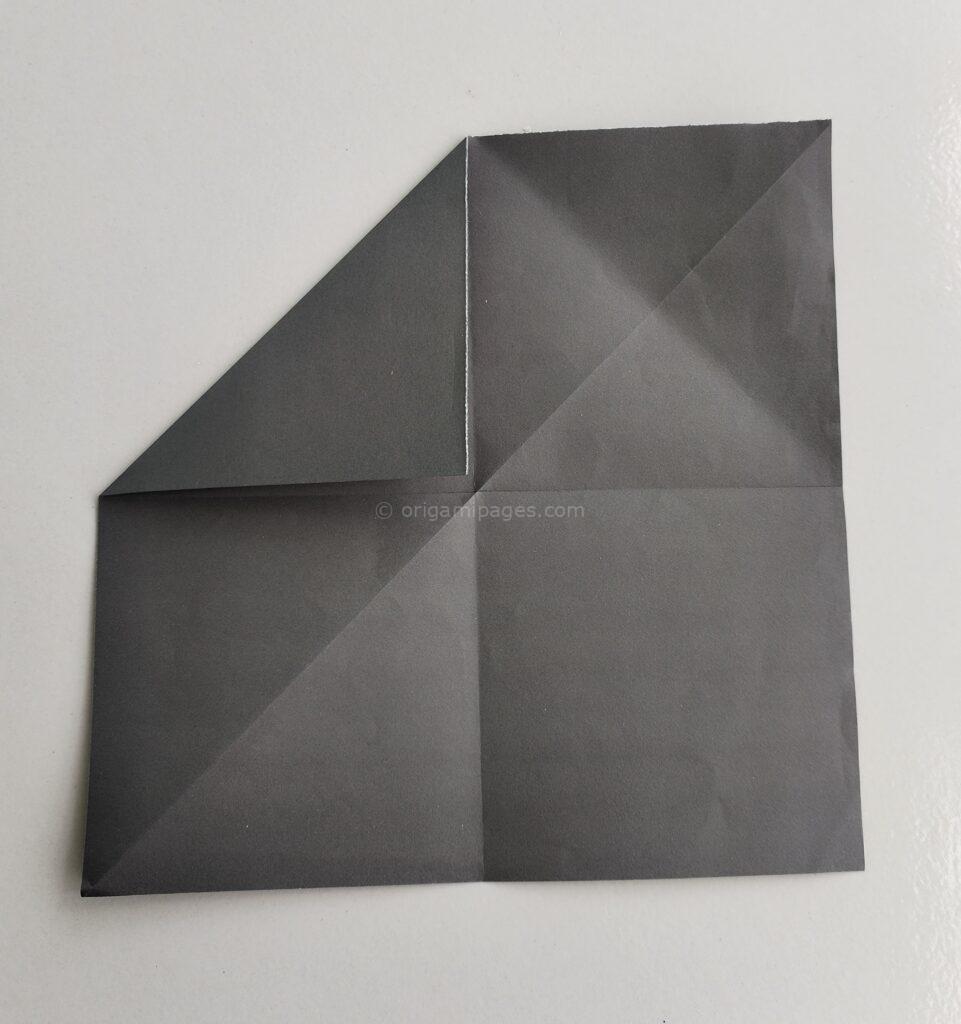
Bring all four corners of the paper to the middle point and fold.
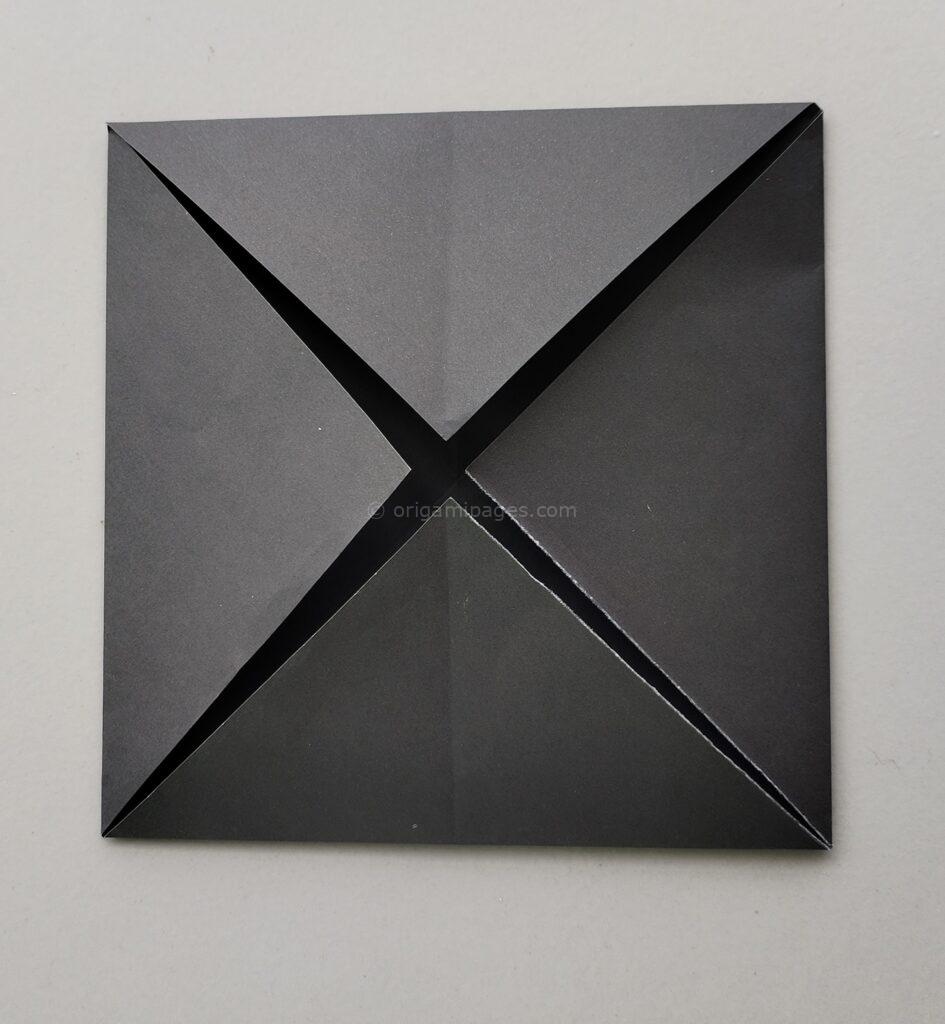
Step 4: Fold the Sides
Bring the left and right sides of the paper to the middle point and fold, then unfold. Repeat the process with the top and bottom sides.
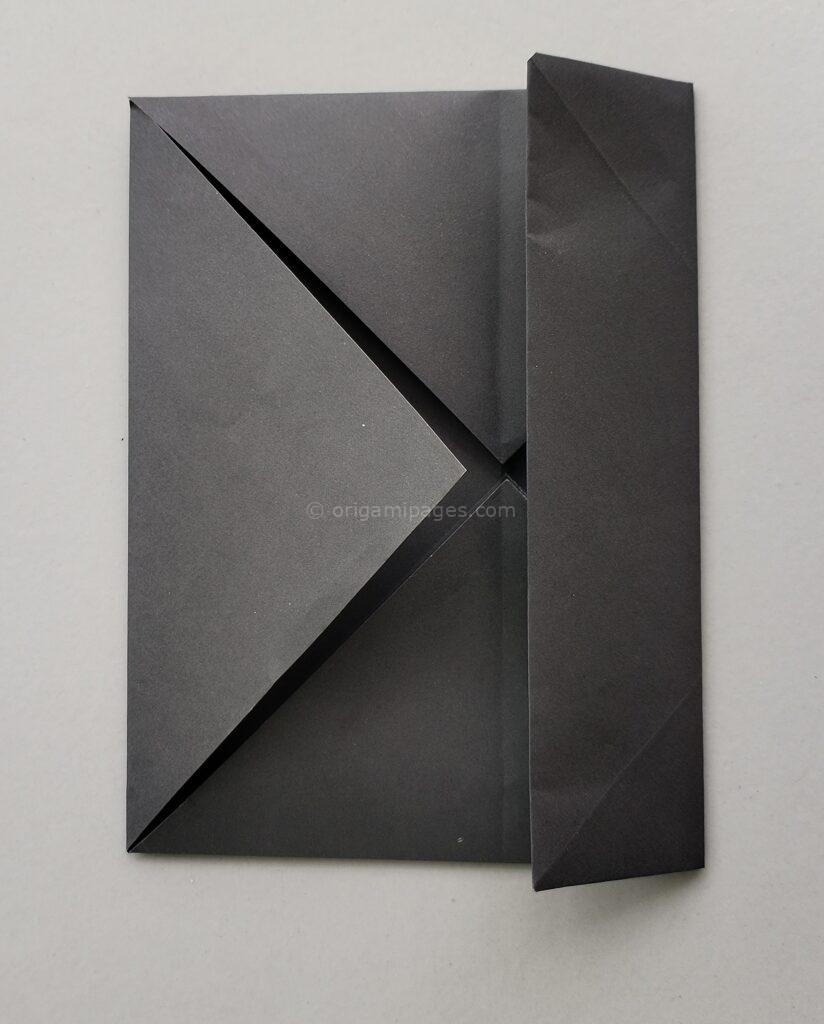
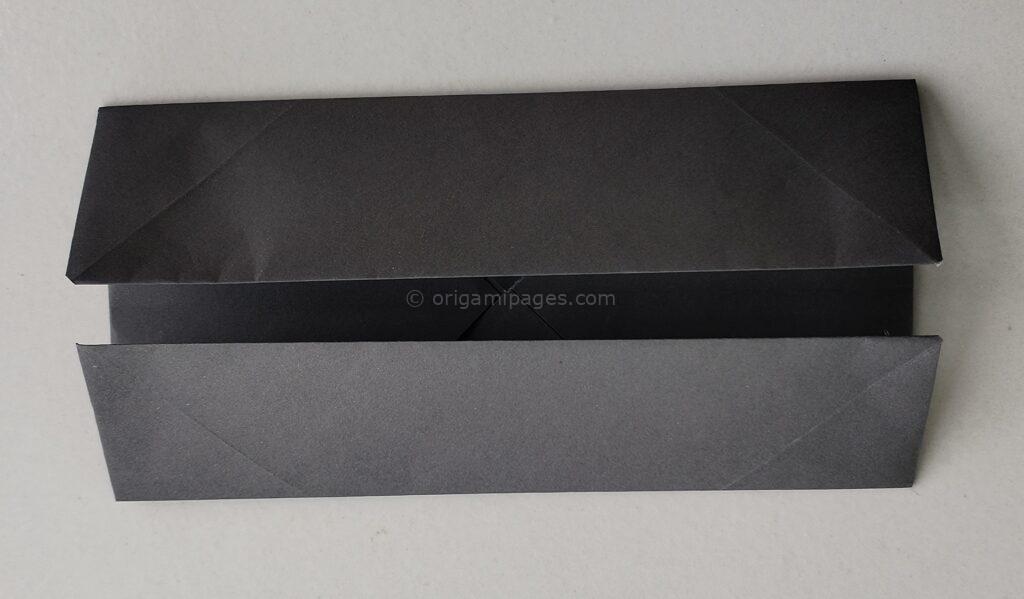
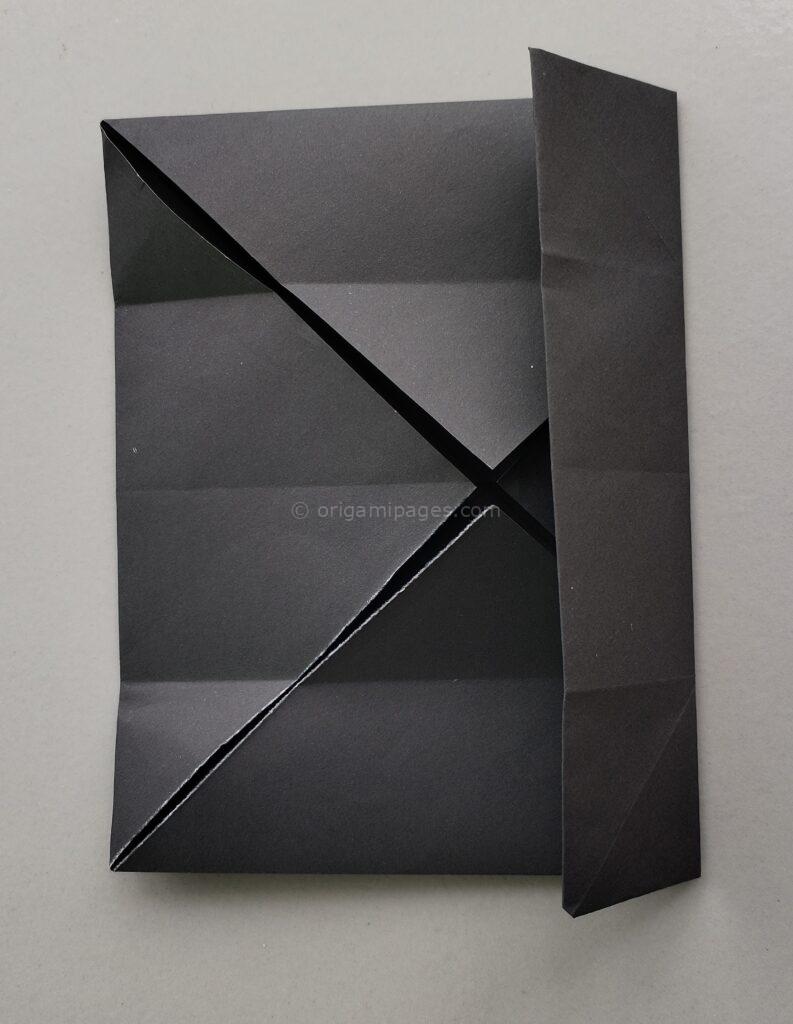
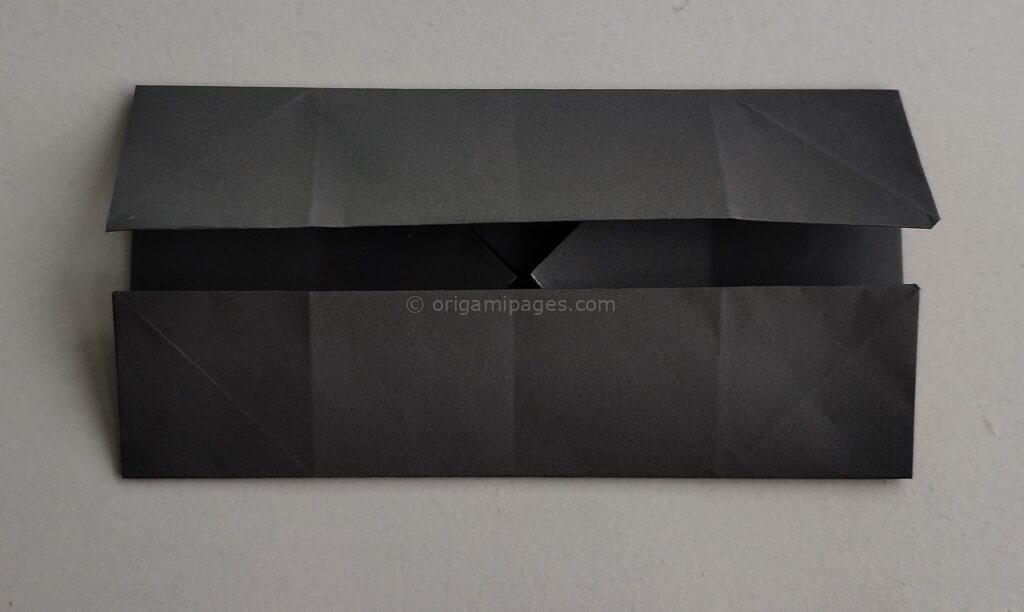
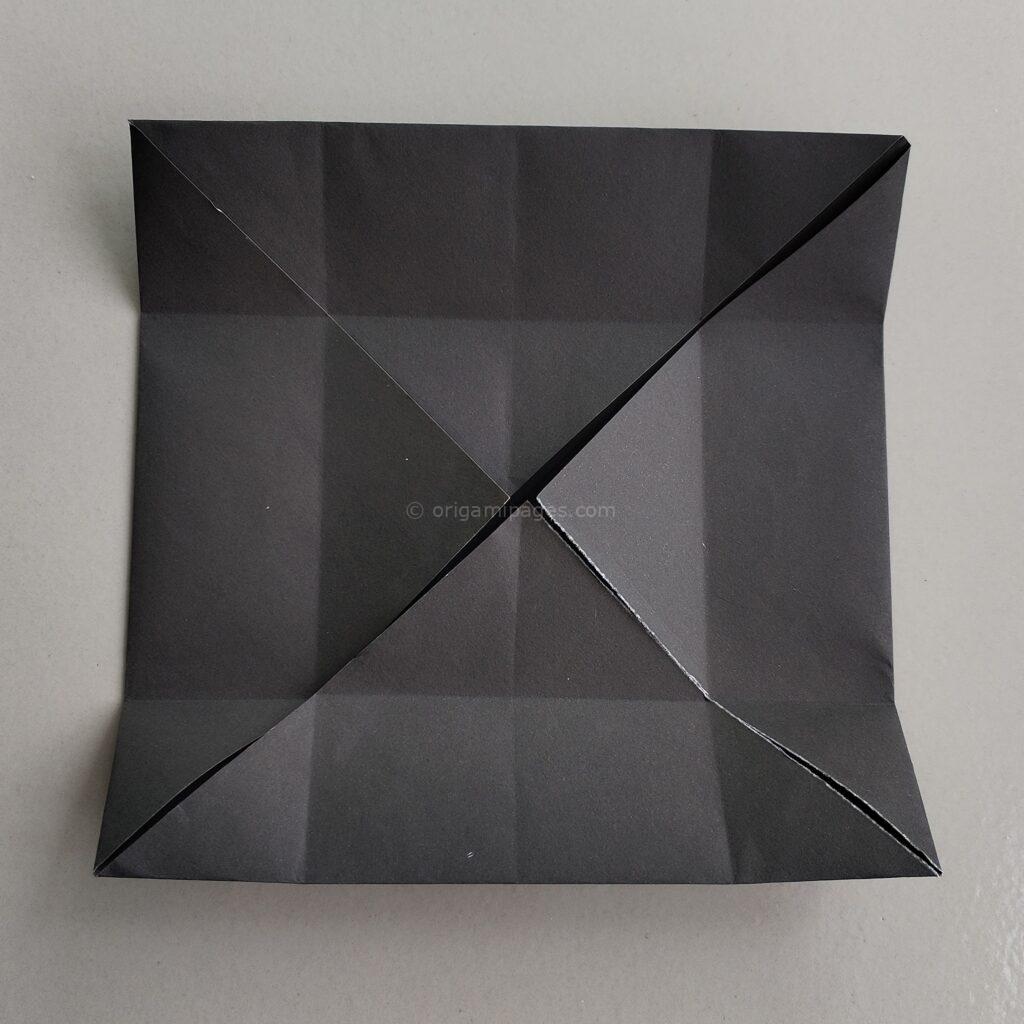
Step 5: Open the Sides
Open the folds on the right and left sides. Then, fold the top and bottom edges towards the center.
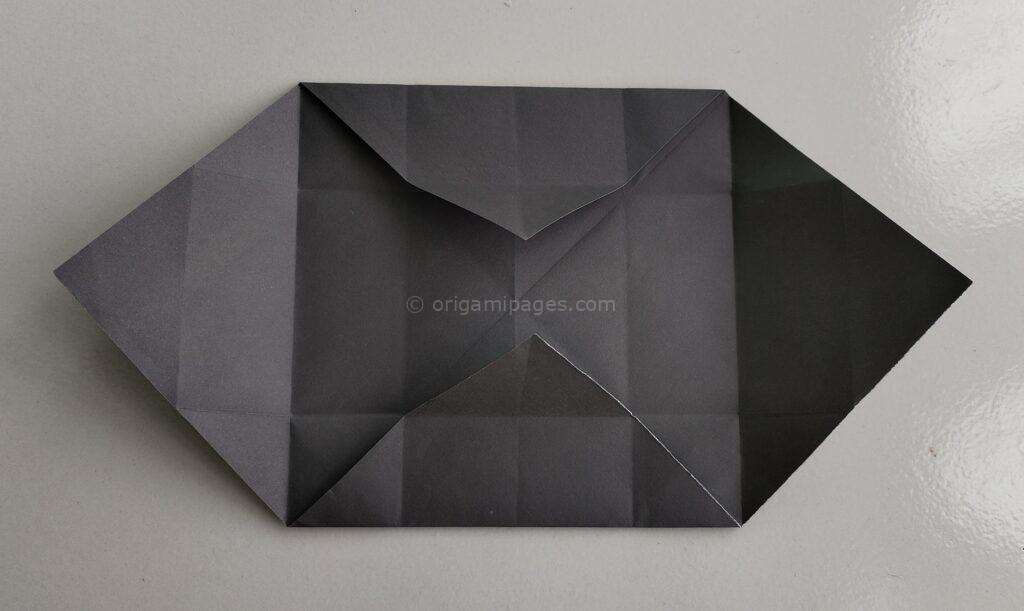
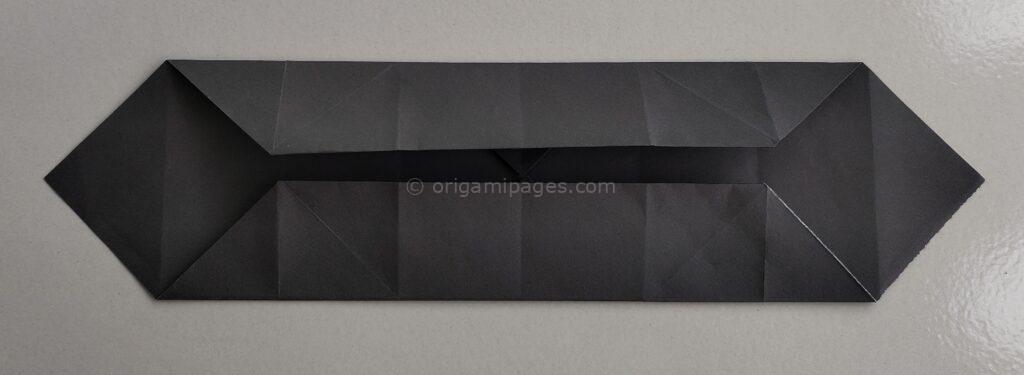
Step 6: Form the Box
Open the top and bottom folds. Fold both sides inward along the creases.
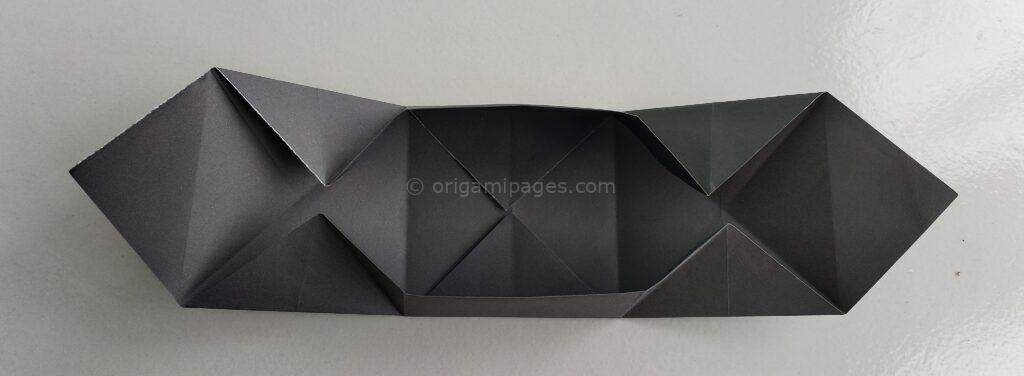
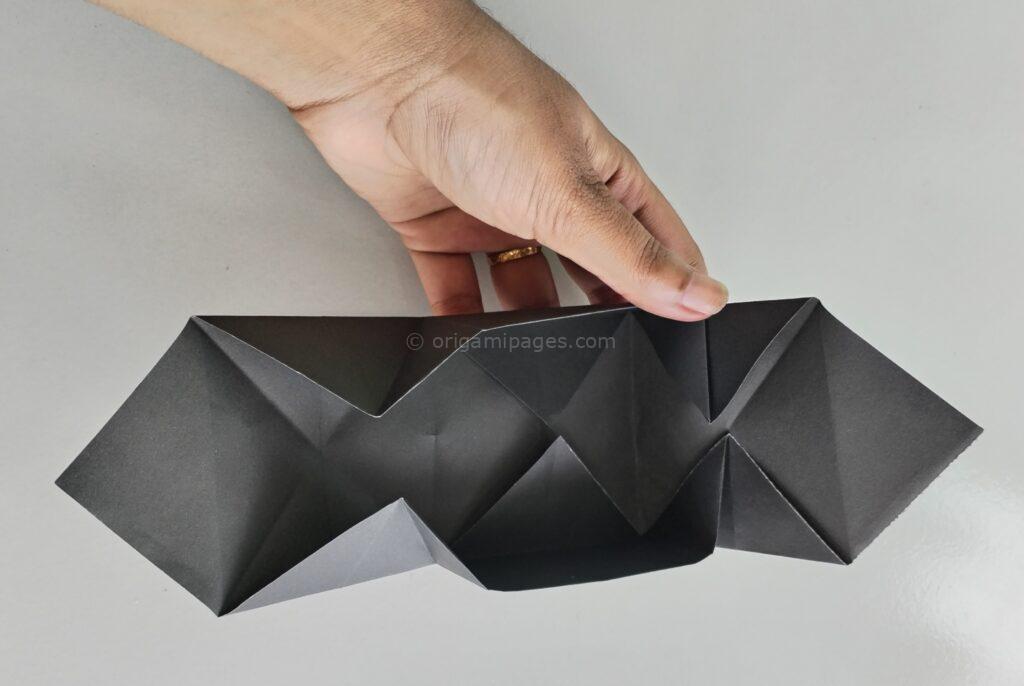
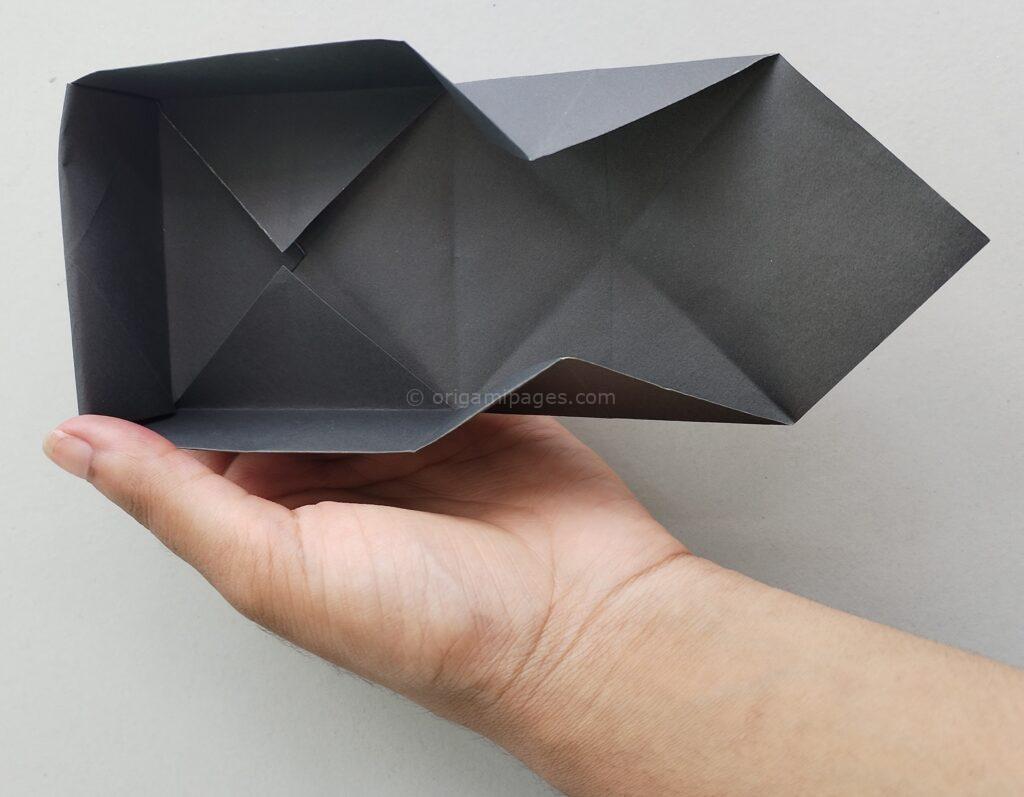
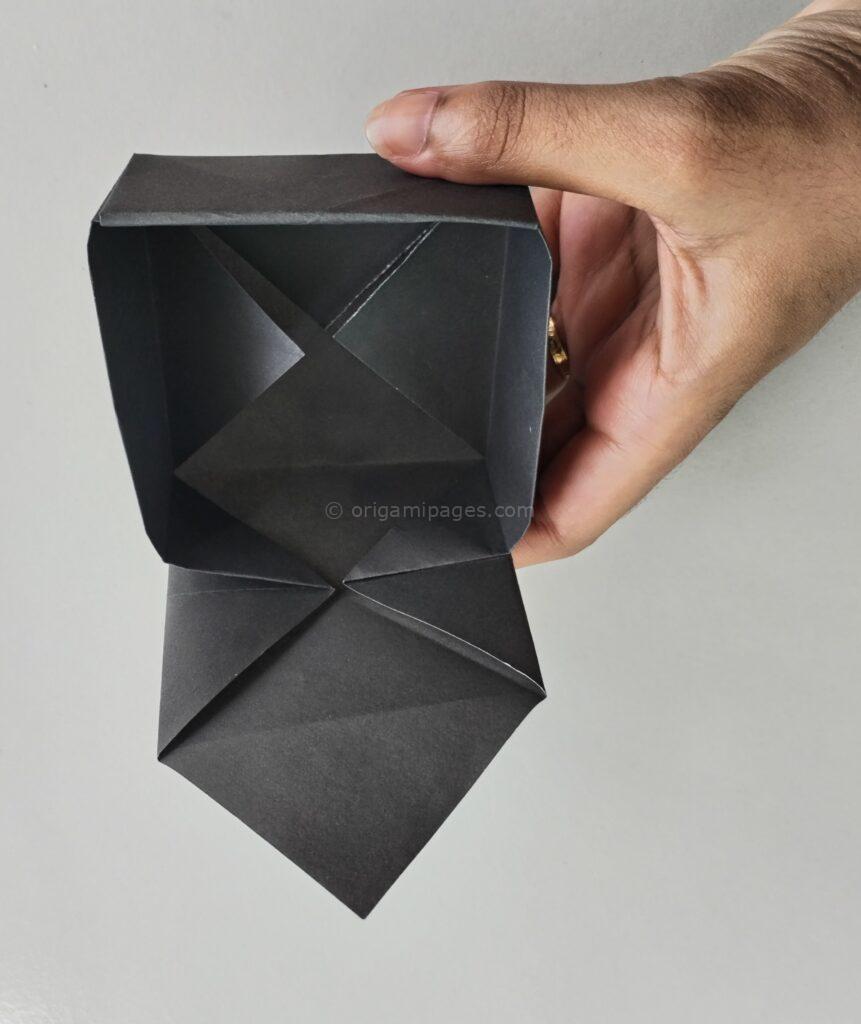
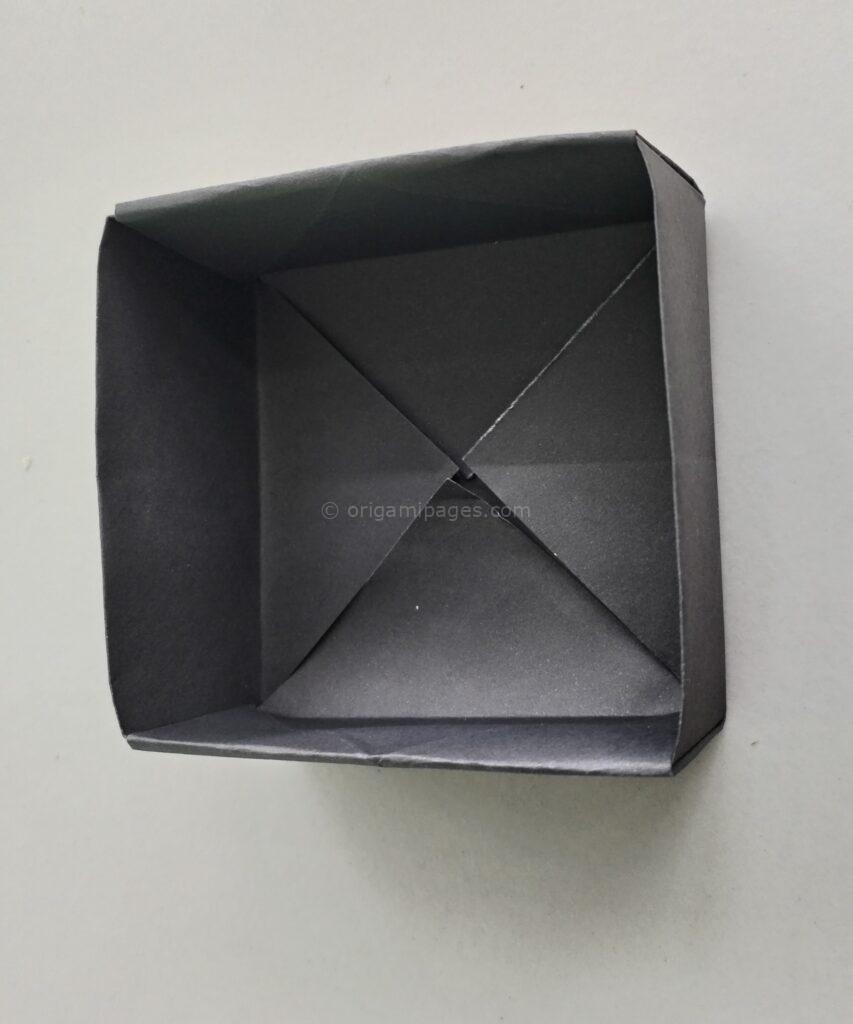
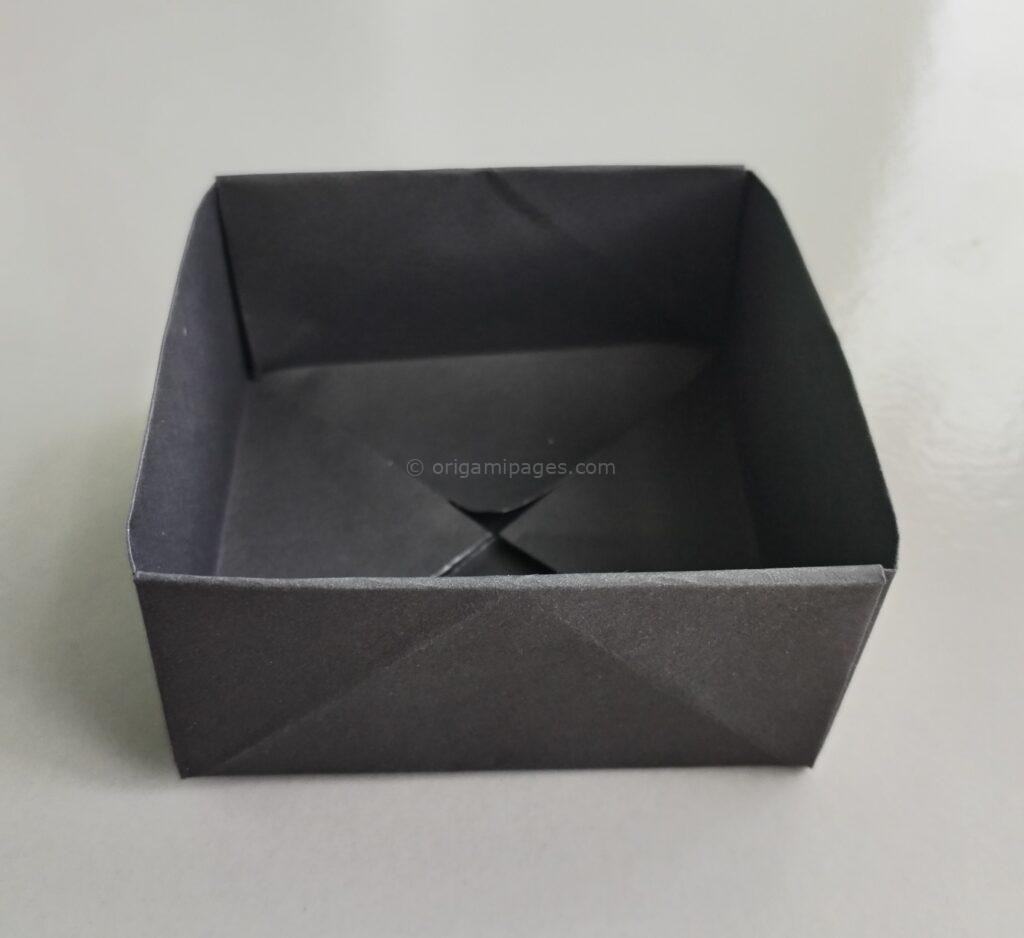
Step 7: Complete the Box
Your origami masu box is now complete and ready to use.
Conclusion
Making a masu box is a straightforward process that yields a functional and decorative item. I hope you found these masu box instructions easy to follow. Feel free to share your thoughts or ask any questions to help improve this guide.
Happy folding!


