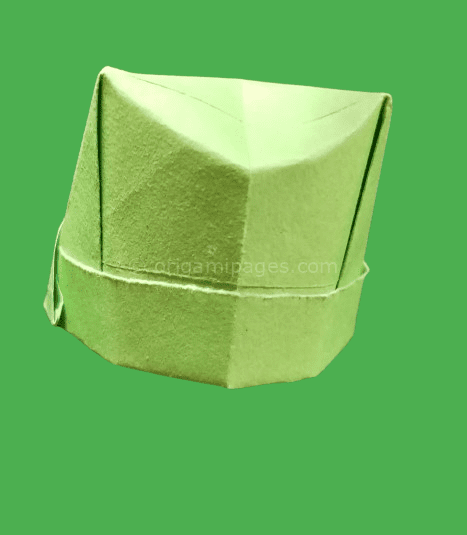
How to Make an Origami Sushi Box
Origami is a simple yet fascinating craft that allows you to create beautiful and functional objects from paper. One such creation is the Origami Sushi Box. Whether you’re a beginner or an experienced folder, this guide will walk you through the steps to make your own sushi box.
Creating this sushi box requires only basic materials and clear instructions, making it an ideal project for anyone interested in origami.
Materials Needed
- Square paper (21×21 cm for the larger box, 20×20 cm for the smaller box)
- Scissors
- Glue
Step-by-Step Sushi Box Instructions
Step 1: Create the Base Triangle
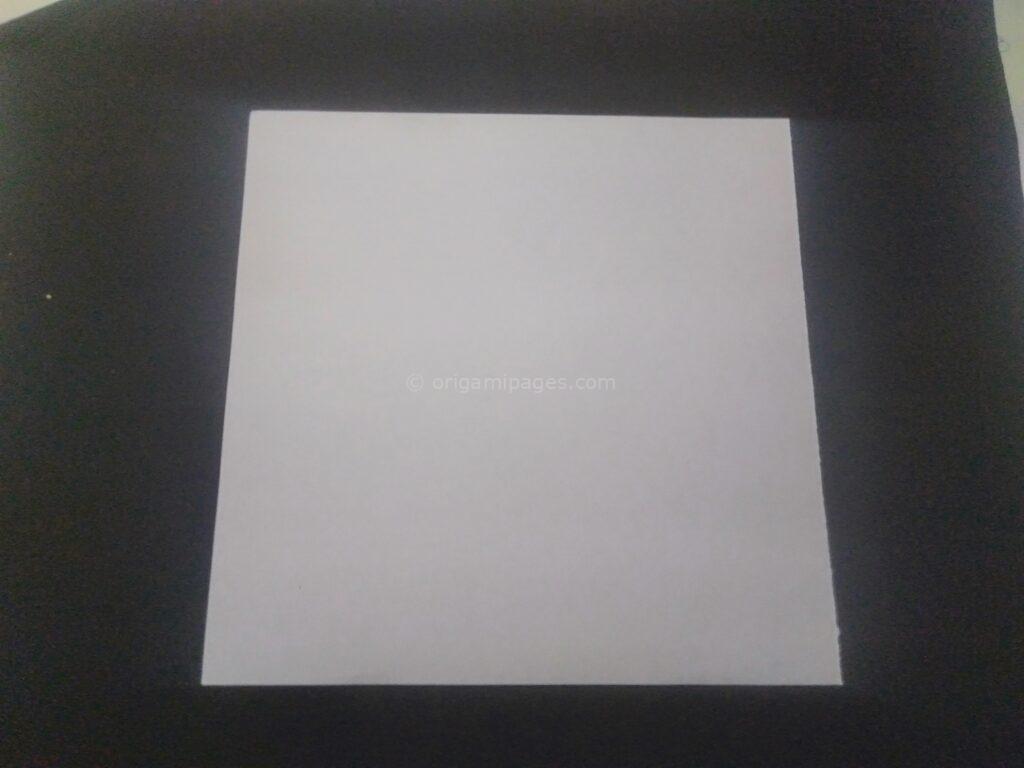
Start with your 21×21 cm square paper. Fold one corner to the opposite corner, forming a triangle.
Step 2: Fold to the Center Crease
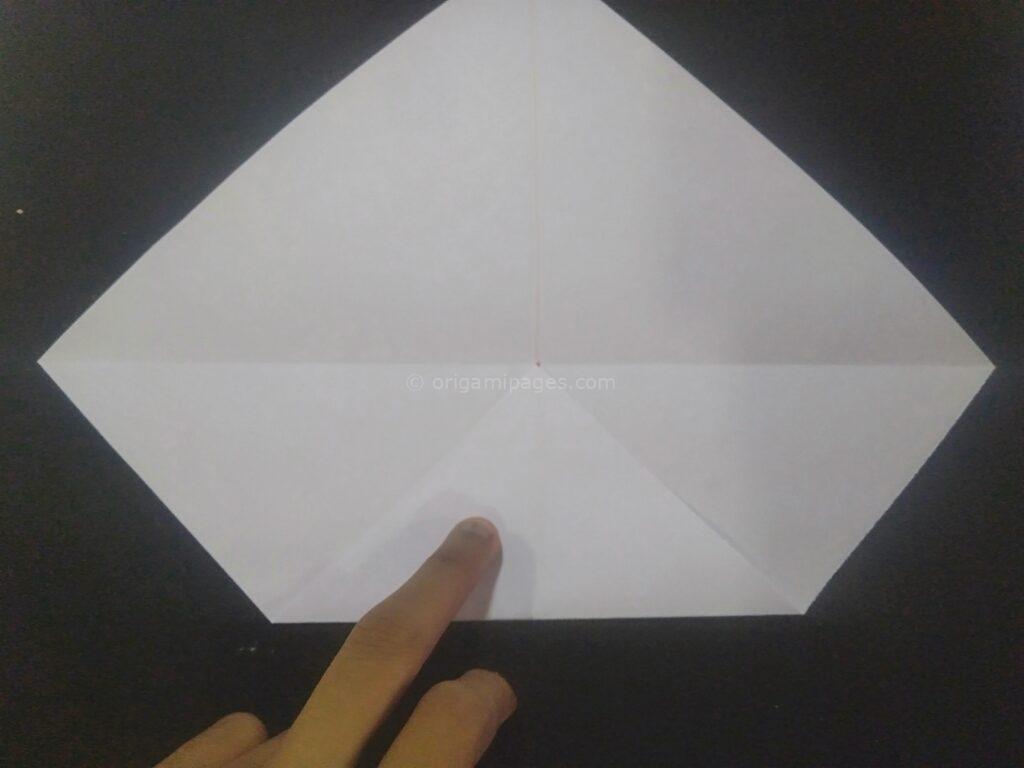
Unfold the triangle. Then, fold the bottom corner up to the center crease.

Step 3: Repeat the Fold
Fold the bottom corner up to the center crease again, reinforcing the shape.
Step 4: Fold the Corner to the Center
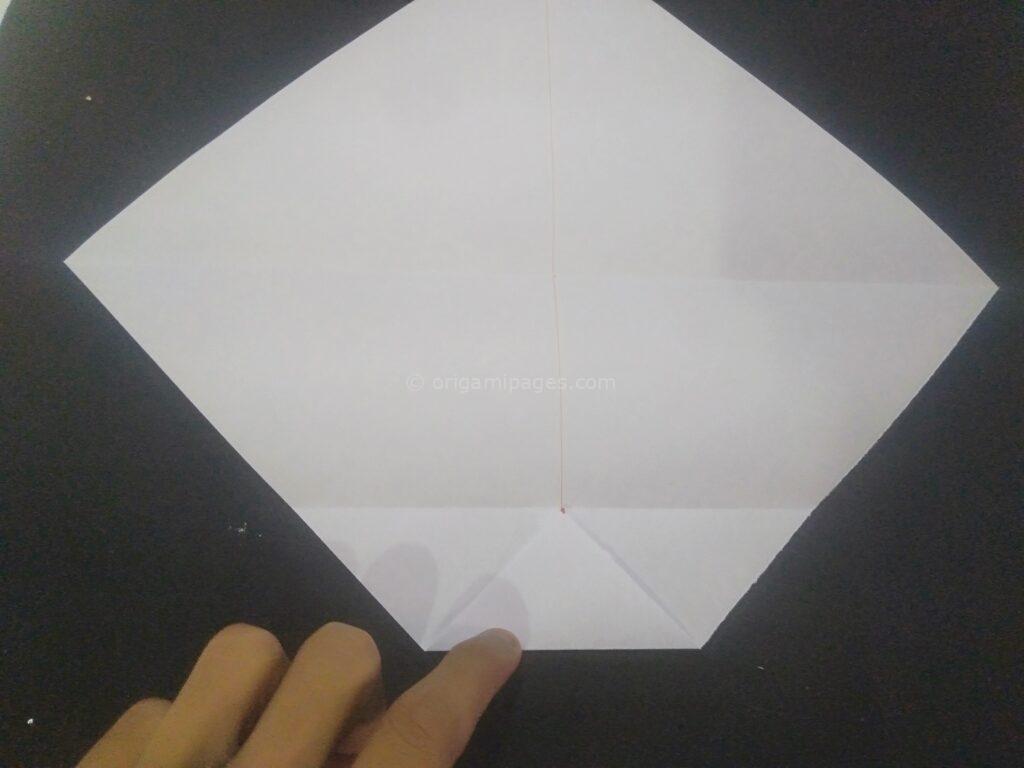
Take the folded corner and fold it up to meet the center crease.
Step 5: Fold in Half
Fold the paper in half, bringing the edges together at the center crease.

Step 6: Fold the Opposite Side
Repeat the previous fold on the opposite side to ensure both sides match.
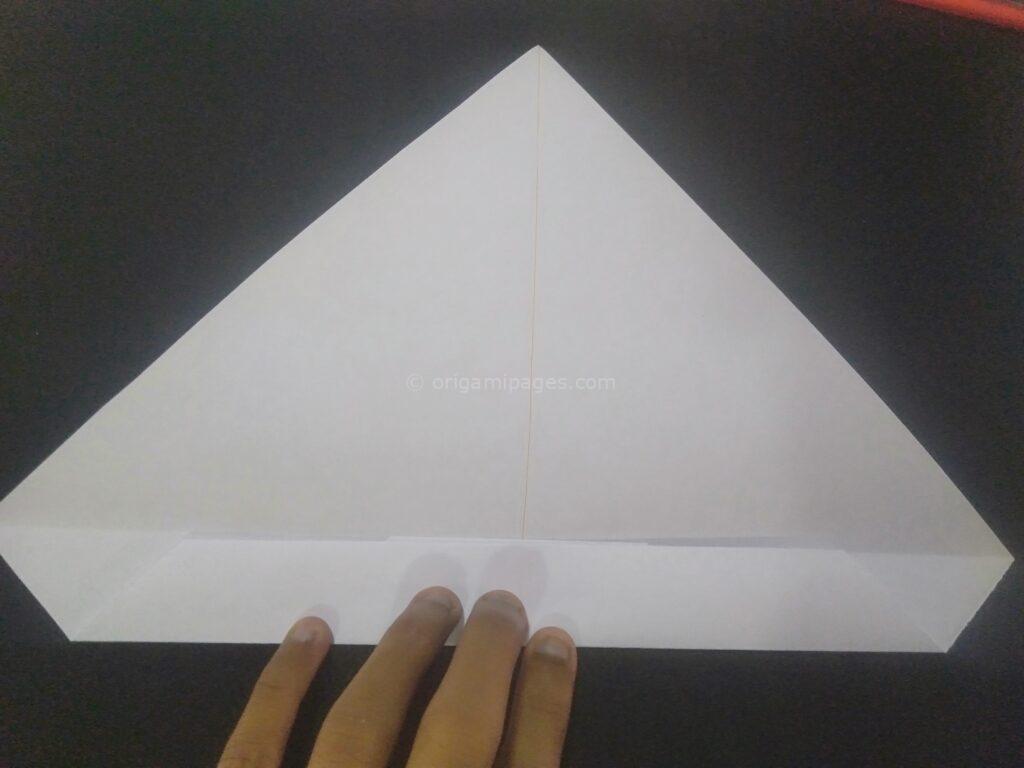
Step 7: Roll the Sides
Roll up both sides of the paper, bringing the edges together.

Step 8: Fold the Bottom Corner
Fold up the bottom corner, securing the sides.
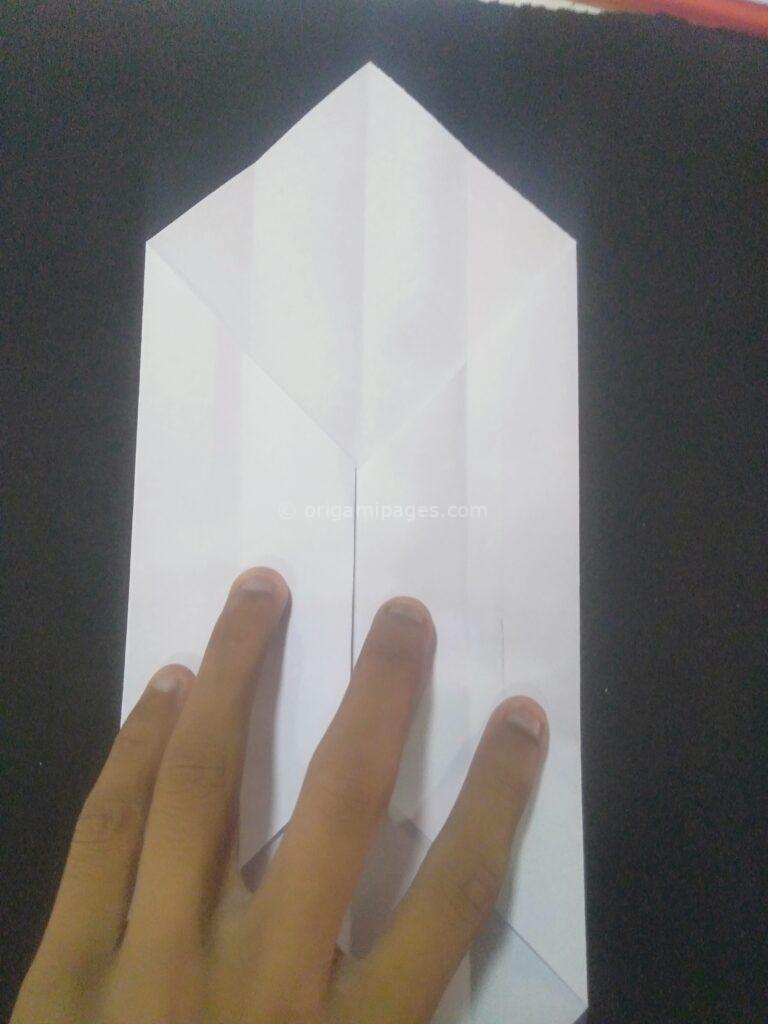
Step 9: Refold the Corner
Refold the corner, folding it up again to the center crease.

Step 10: Shape the Triangular Sections
Fold up the triangular sections, then fold the paper as shown in the instructions.
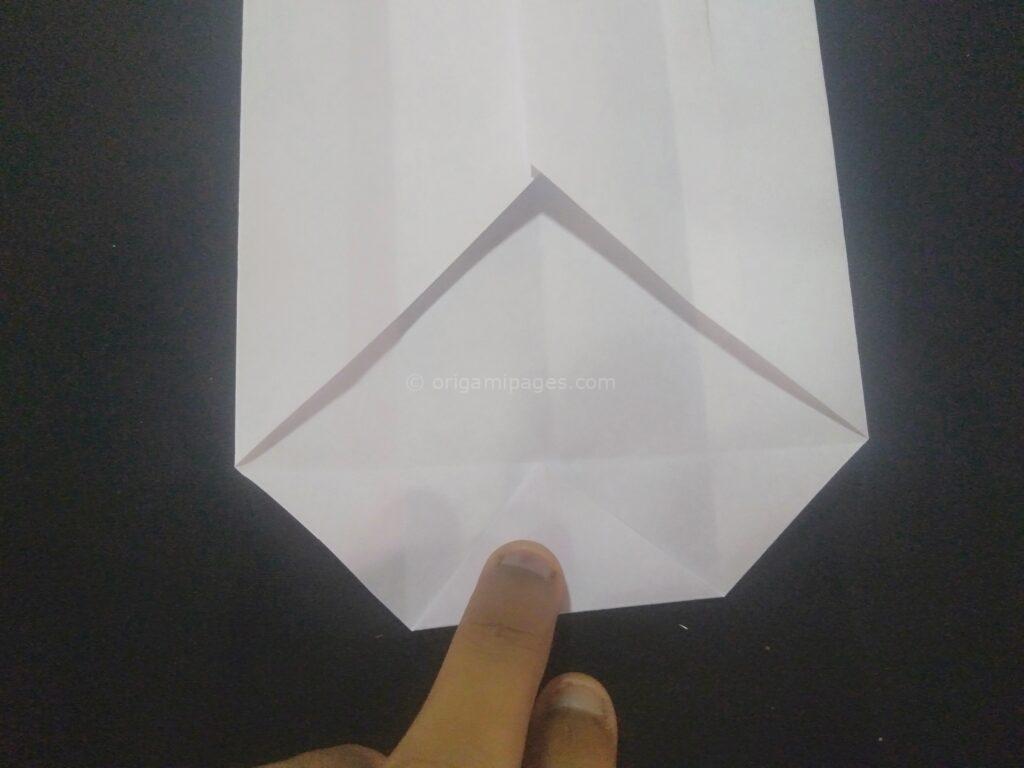
Step 11: Fold the Other Side
Repeat the triangular fold on the opposite side, ensuring symmetry.
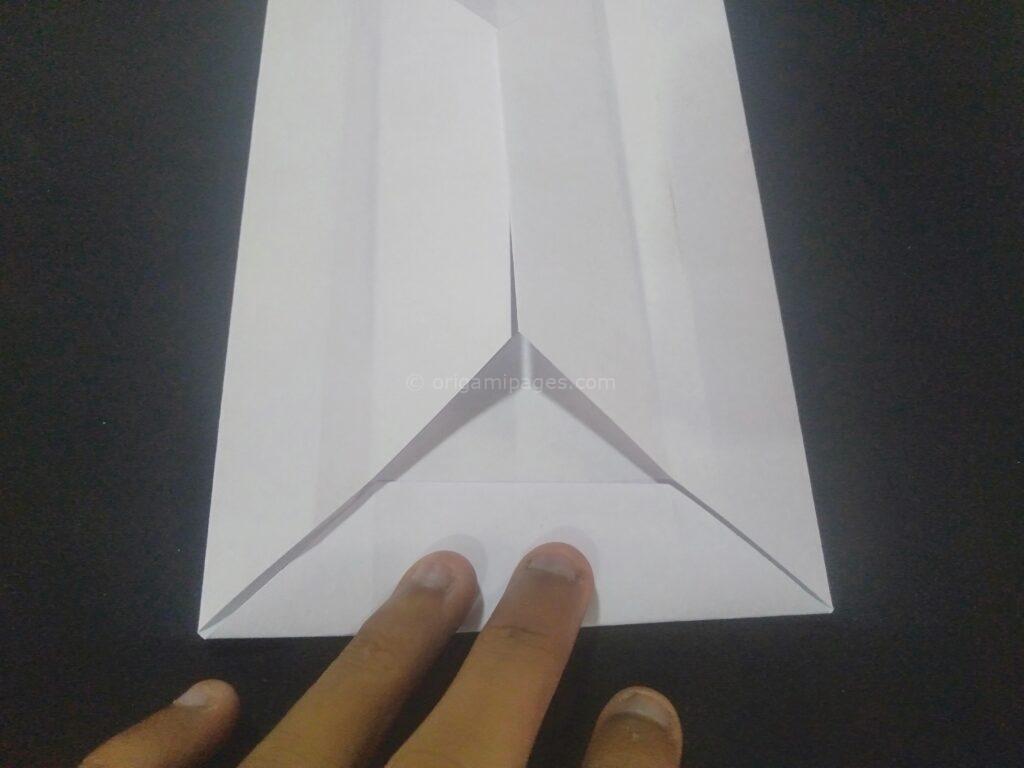
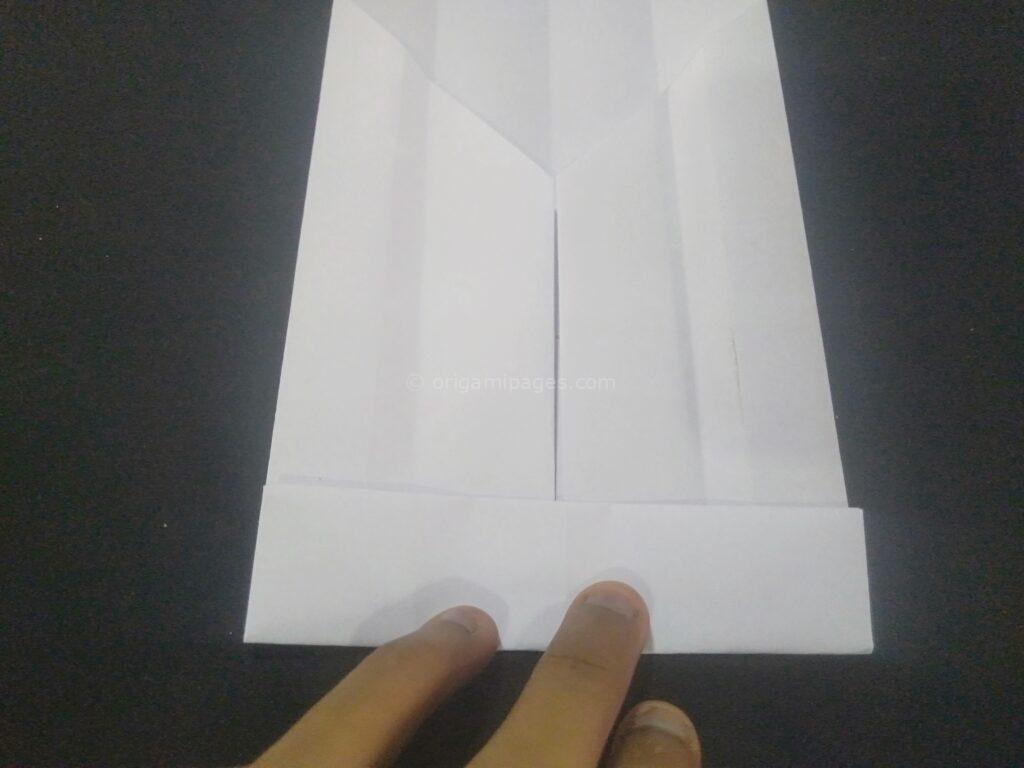
Step 12: Refold the Side Corners
Refold both side corners, making sure they are aligned.

Step 13: Fold Down the Top Part
Fold down the top part of the box.
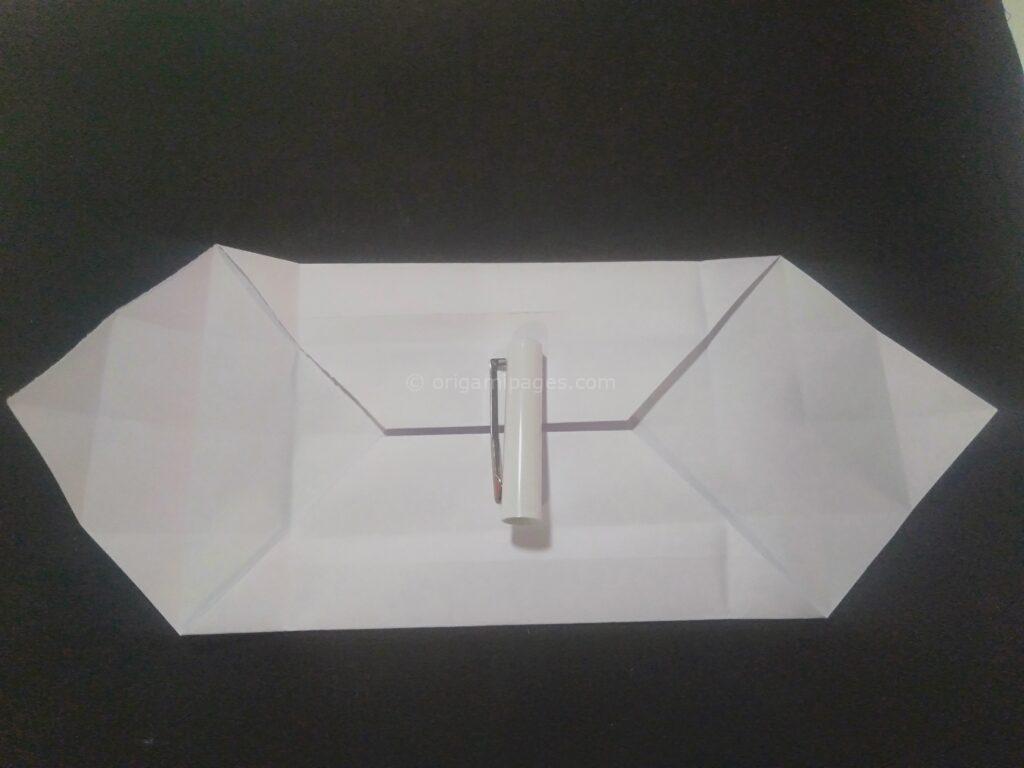
Step 14: Fold Up the Bottom Part
Fold up the bottom part into the center crease, creating the base of the box.
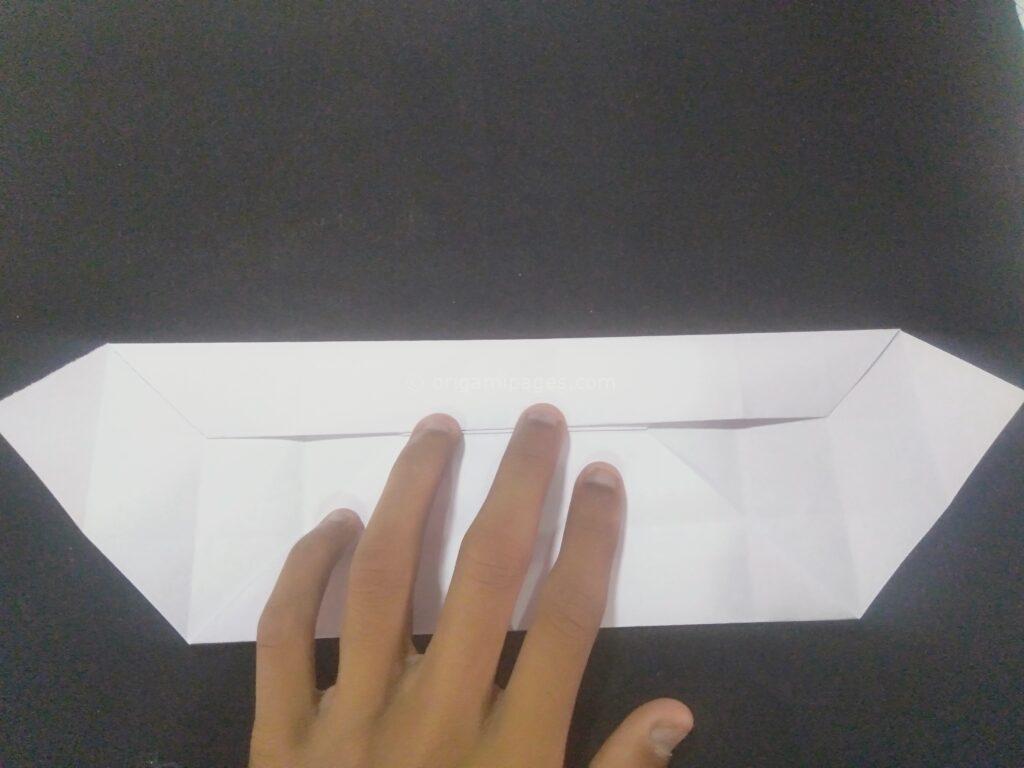
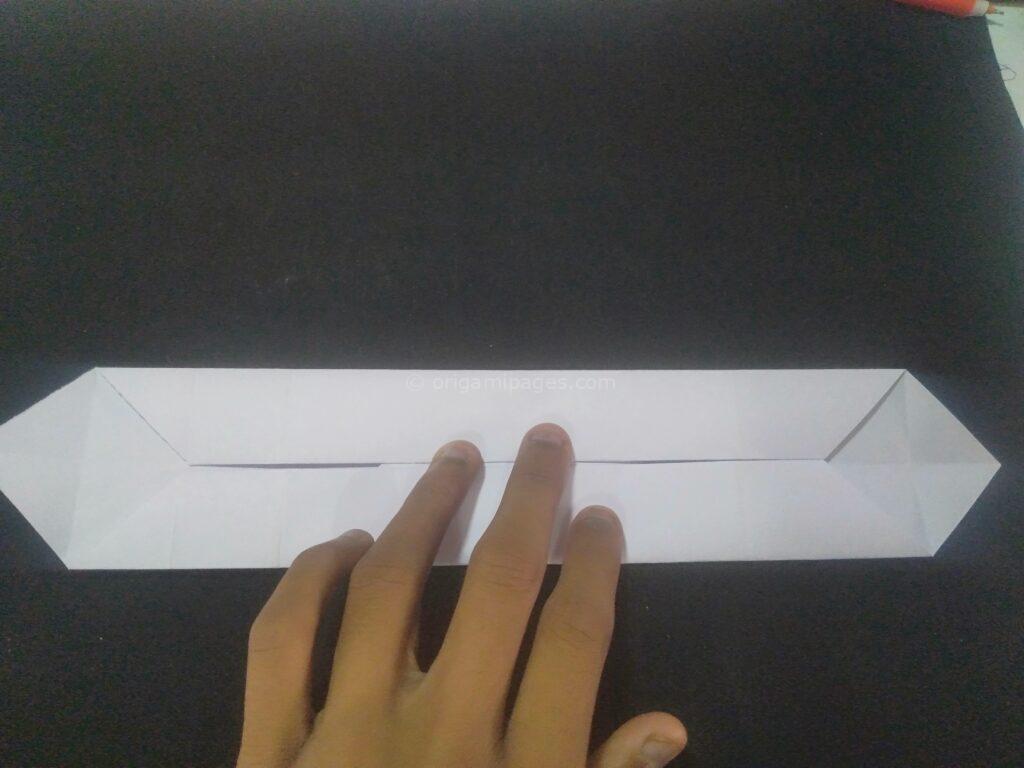
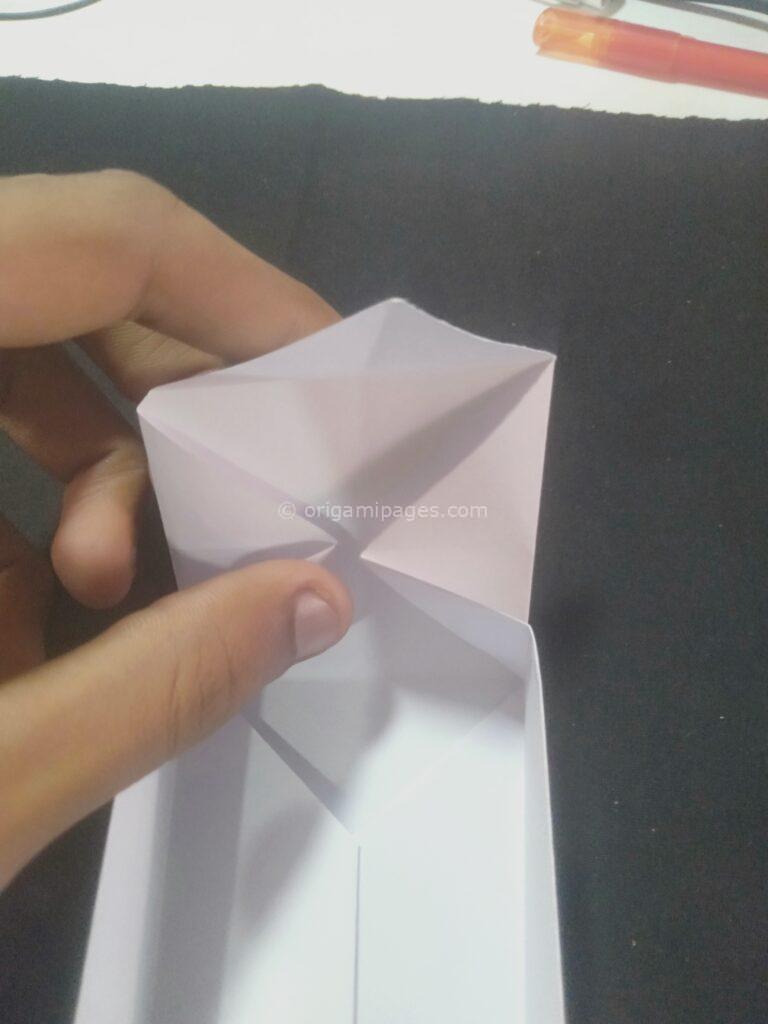
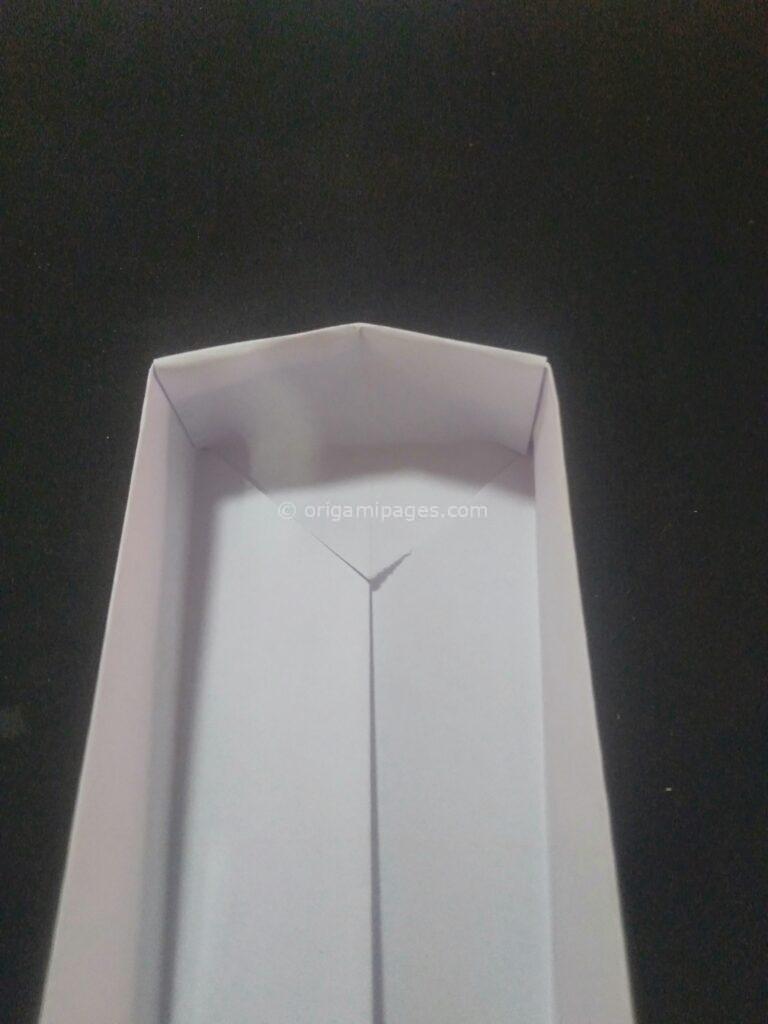
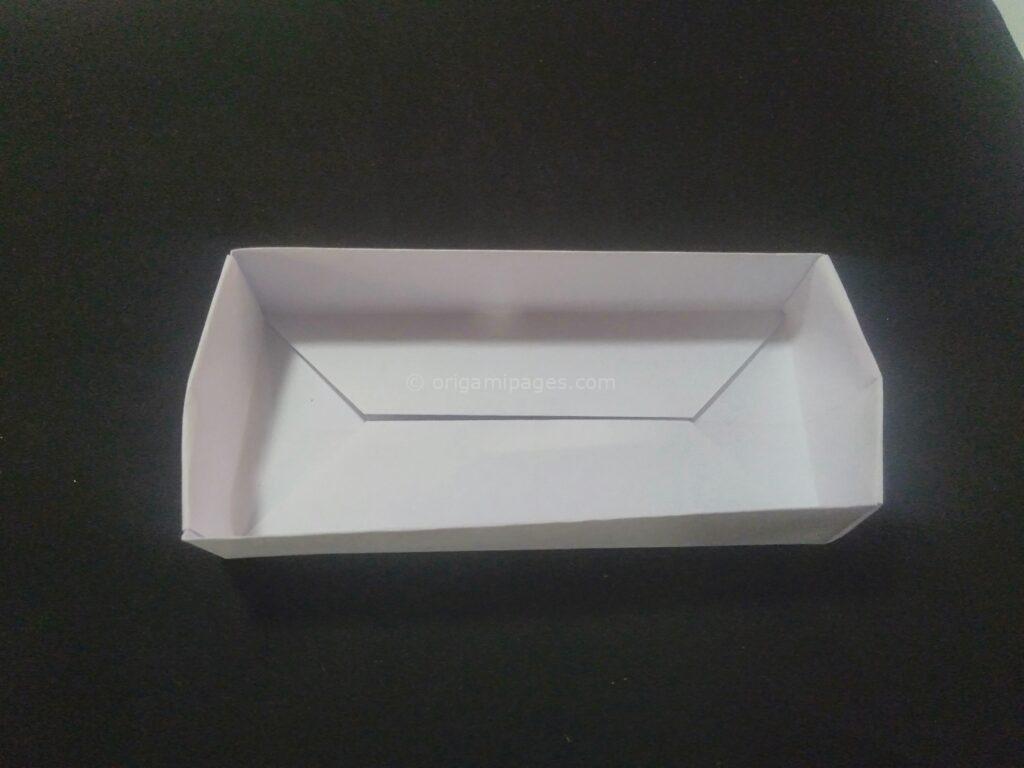
Step 15: Secure the Sides
Push the left and right sides into the center line. Fold down the top corner and insert it.
Step 16: Create a Smaller Box
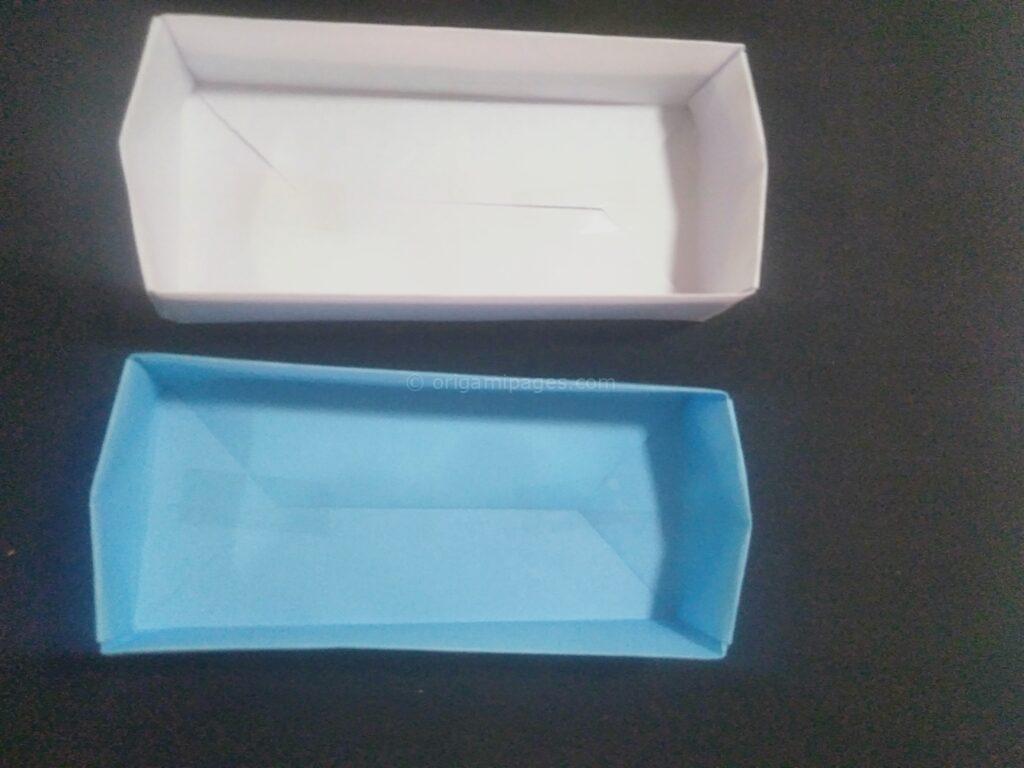
Follow the previous steps (1 to 15) to create a smaller box using a 20×20 cm square paper.
Step 17: Assemble the Sushi Box
Insert the smaller box into the larger one.

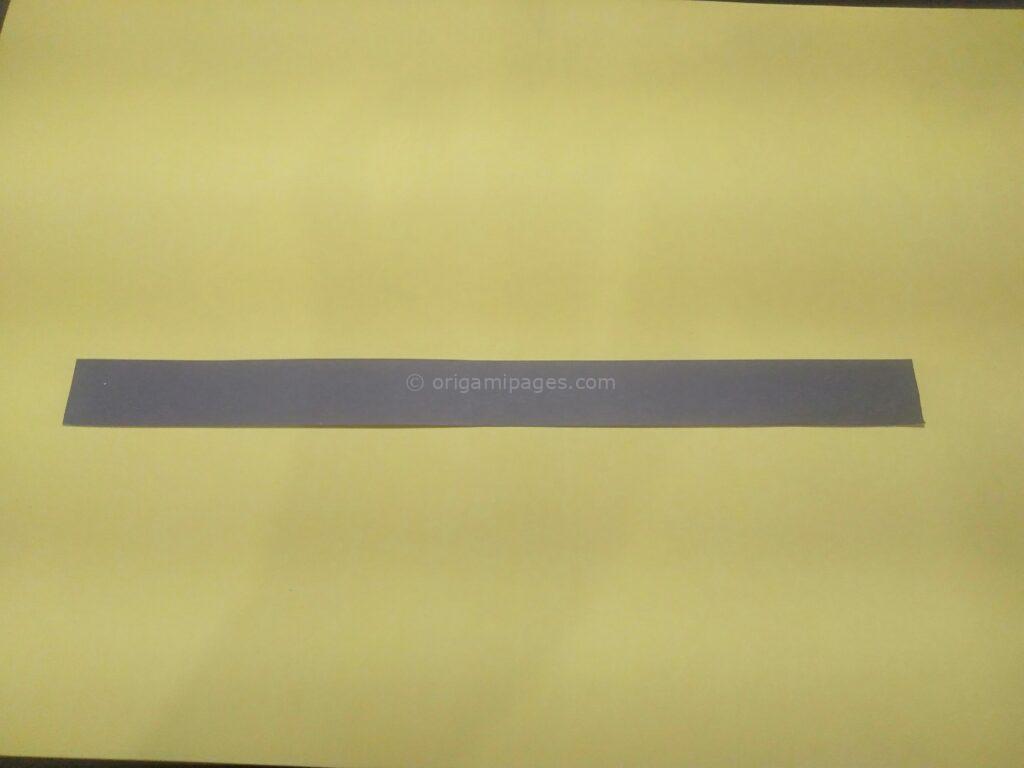
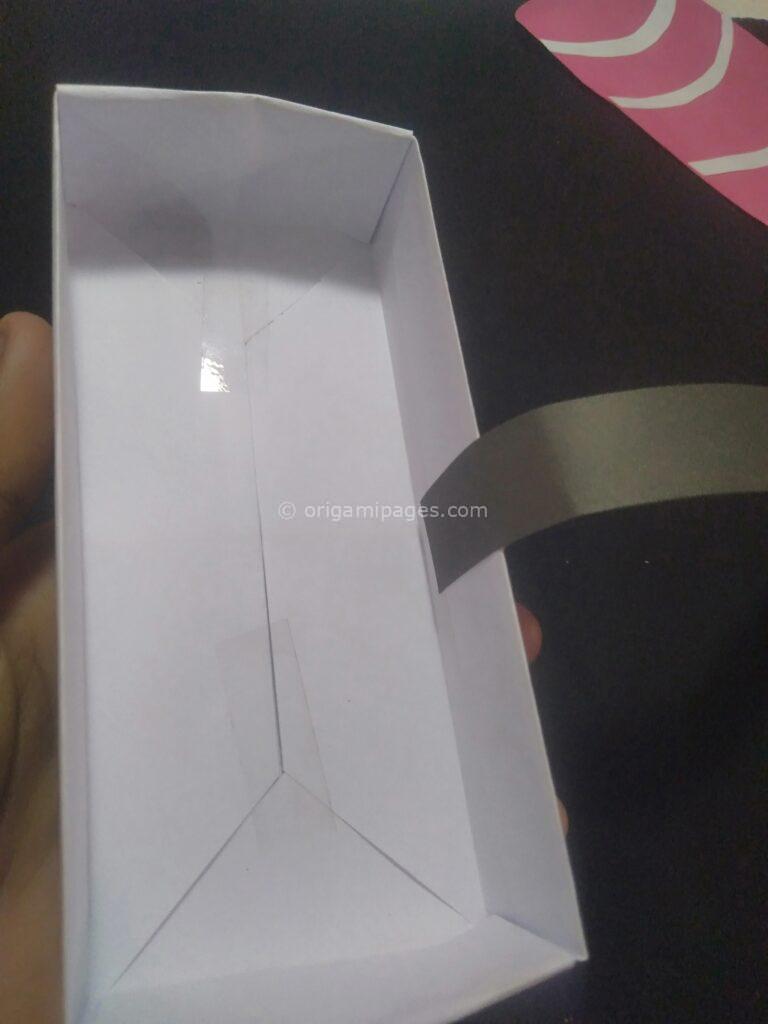
Step 18: Cut Black Paper for Decoration
Cut a strip of black paper measuring 5 cm vertically and 1 cm horizontally.
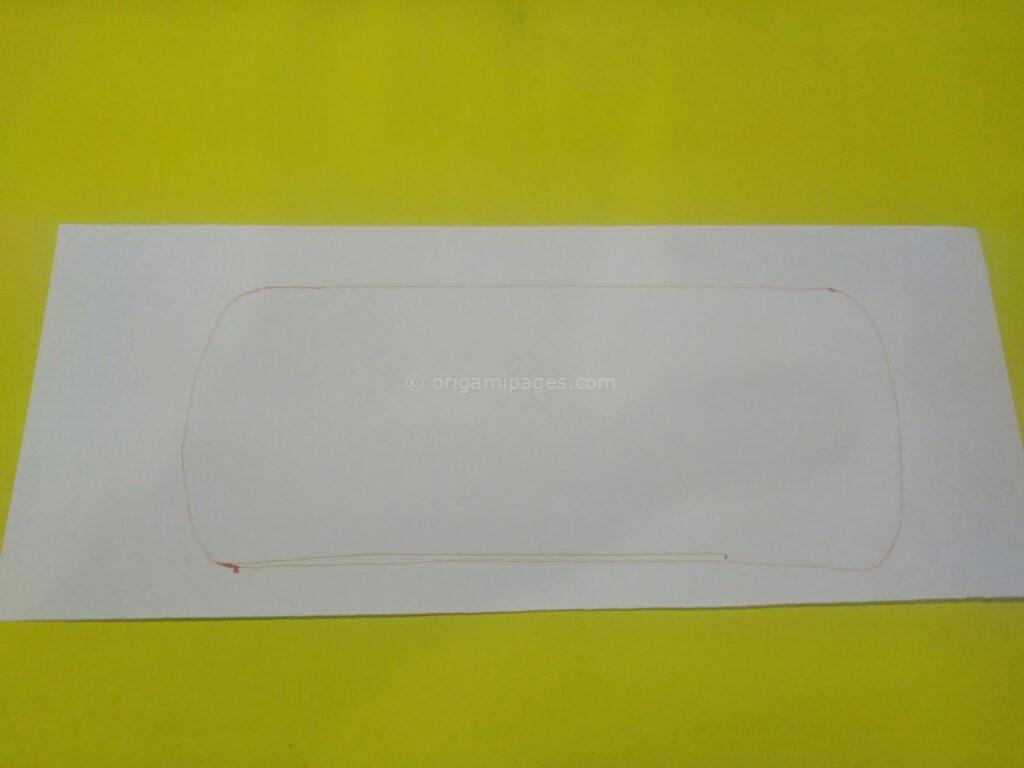
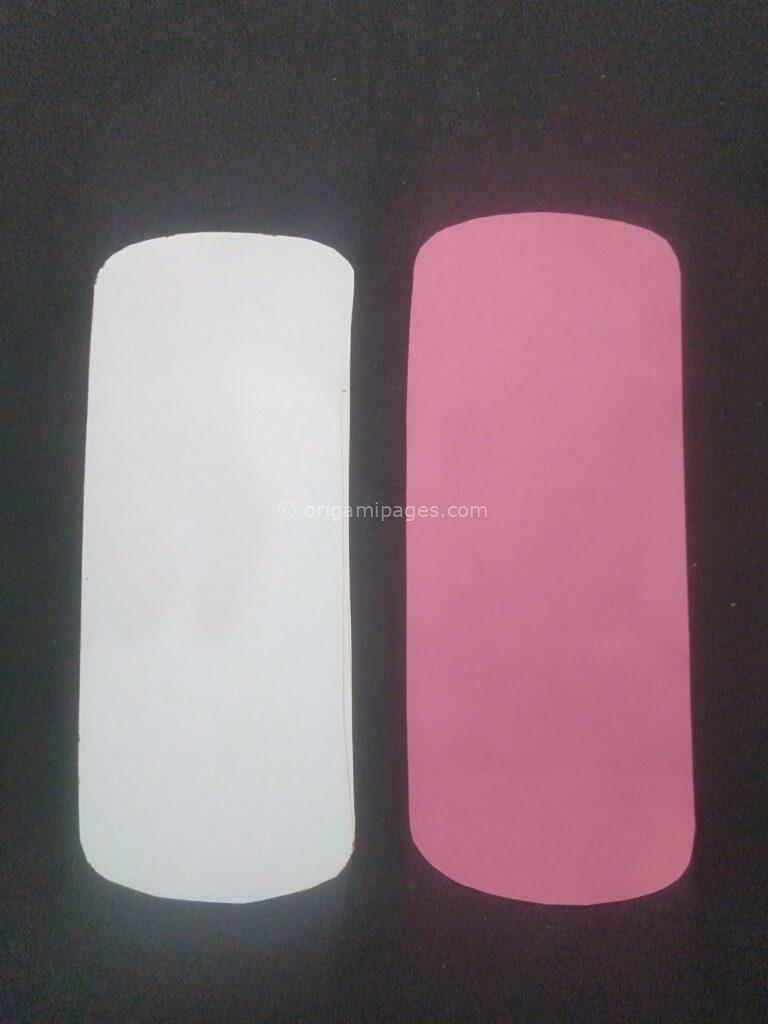
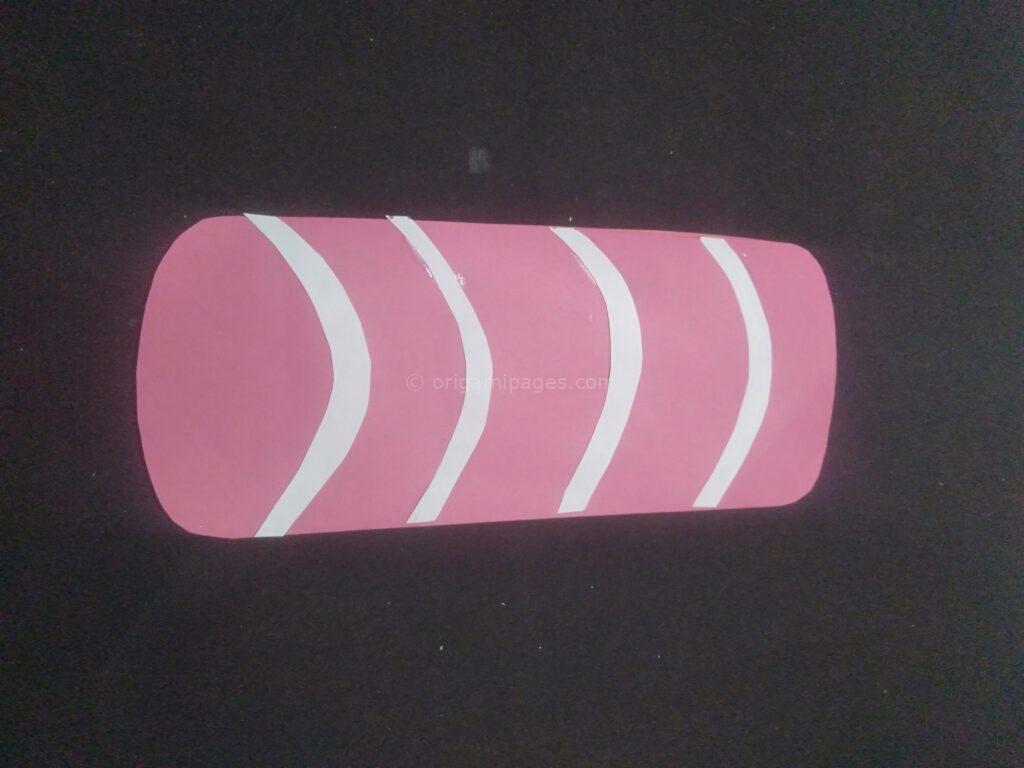
Step 19: Prepare White and Red Paper
Take two papers, one white and one red. Cut these to match the shape of your box.
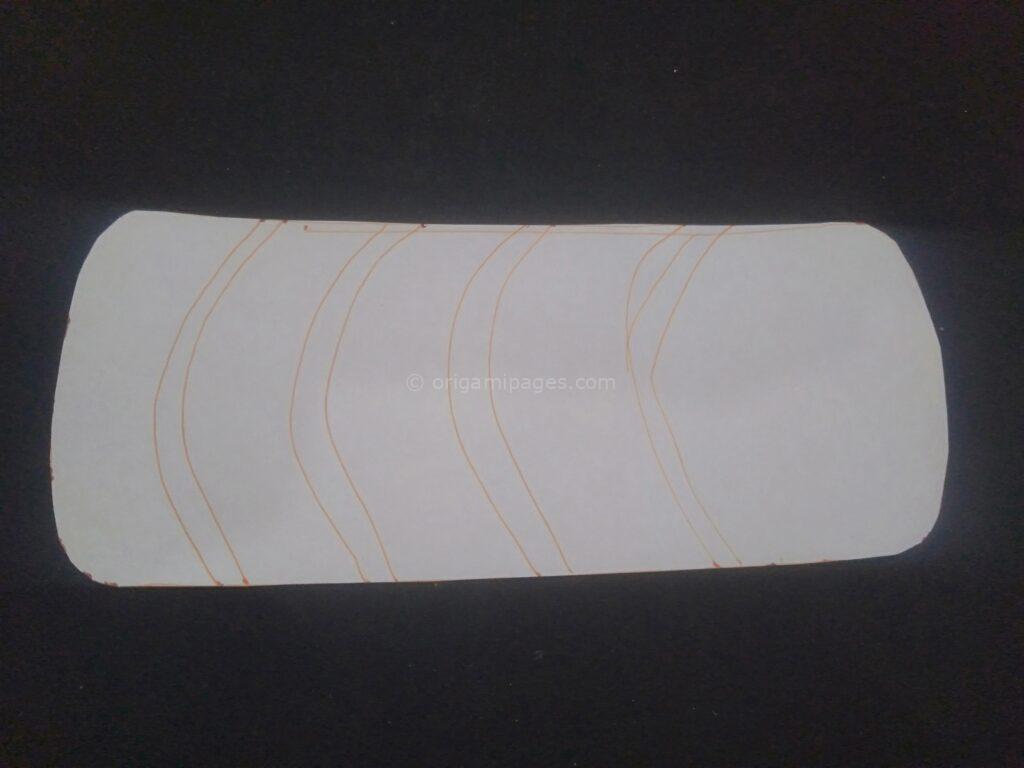
Step 20: Add Decorative Lines
Draw lines on the white paper and cut along them. Attach these pieces to the colorful side of the paper.
Step 21: Attach the Black Paper
Glue the black paper strip to the box as a finishing touch.


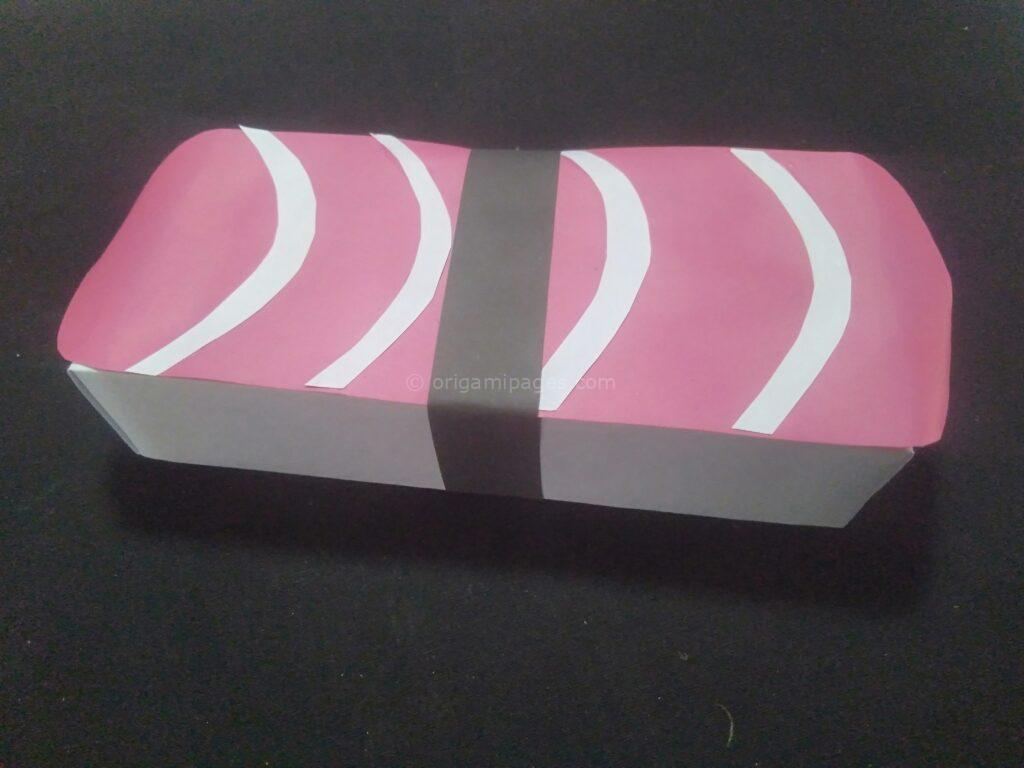
Step 22: Your Origami Sushi Box is Complete!
Congratulations! You’ve completed your Origami Sushi Box.

Conclusion
Making an Origami Sushi Box is a rewarding experience that showcases the beauty and simplicity of paper folding. This guide has provided clear, detailed steps to help you create a functional and attractive sushi box. I encourage you to try this project and share your feedback, as it can help improve this resource for others. Happy folding!


