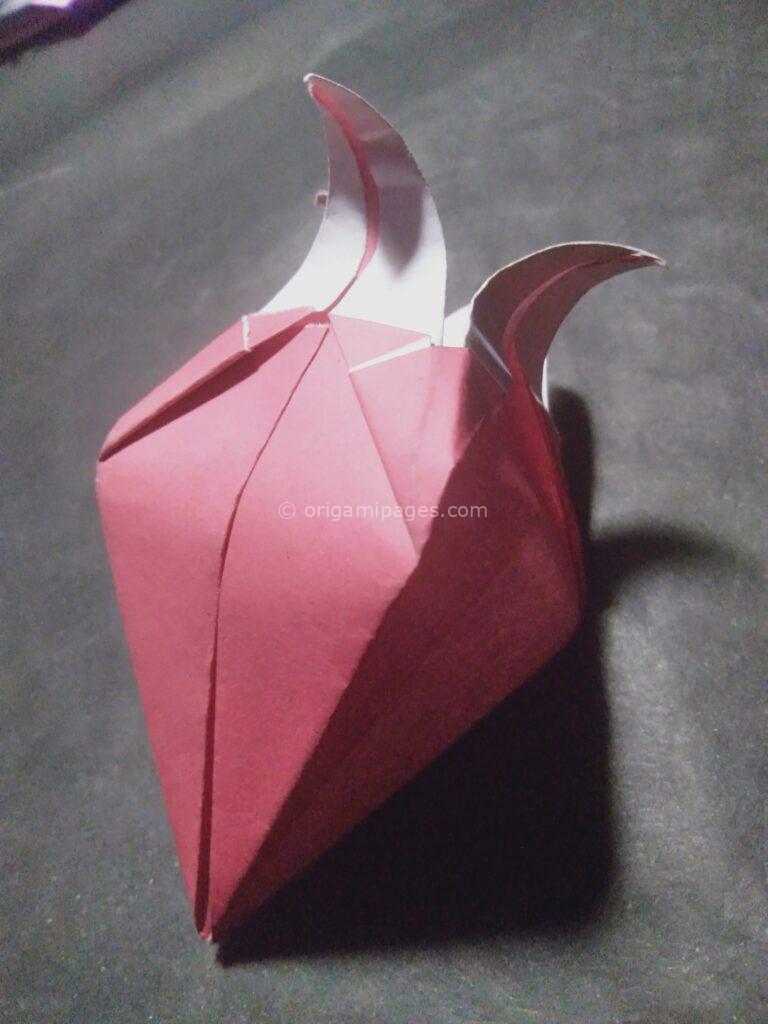
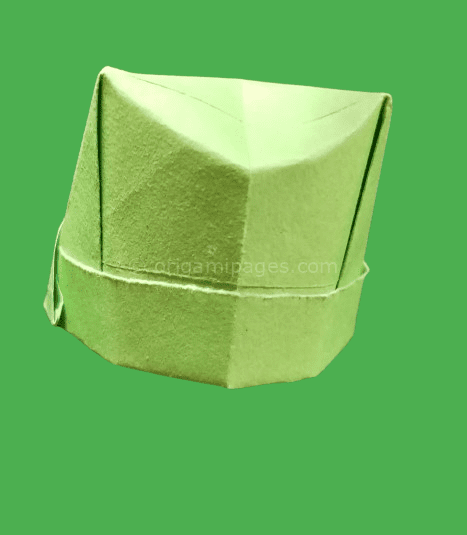
How to Make an Origami 4 Pointed Star
Creating an origami 4 pointed star is a rewarding project that blends simplicity with elegance. Whether you’re new to origami or have some experience, this guide will walk you through each step clearly and concisely.
By following these instructions, you’ll transform a single piece of paper into a stunning 4 pointed star. Let’s get started.
Materials You’ll Need
- A 15cm x 15cm square piece of origami paper
Step-by-Step Instructions
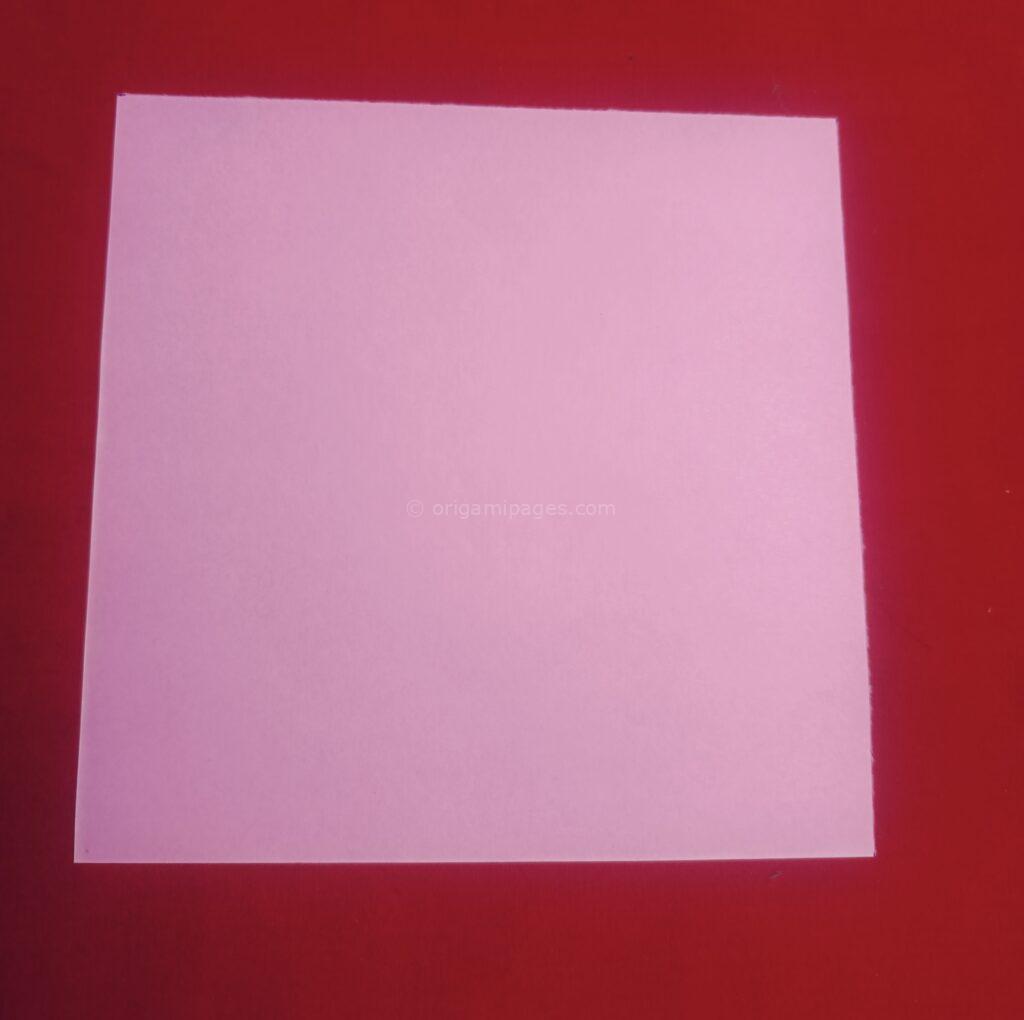
Step 1: Start with the Square Paper
Begin with your 15cm x 15cm square origami paper.
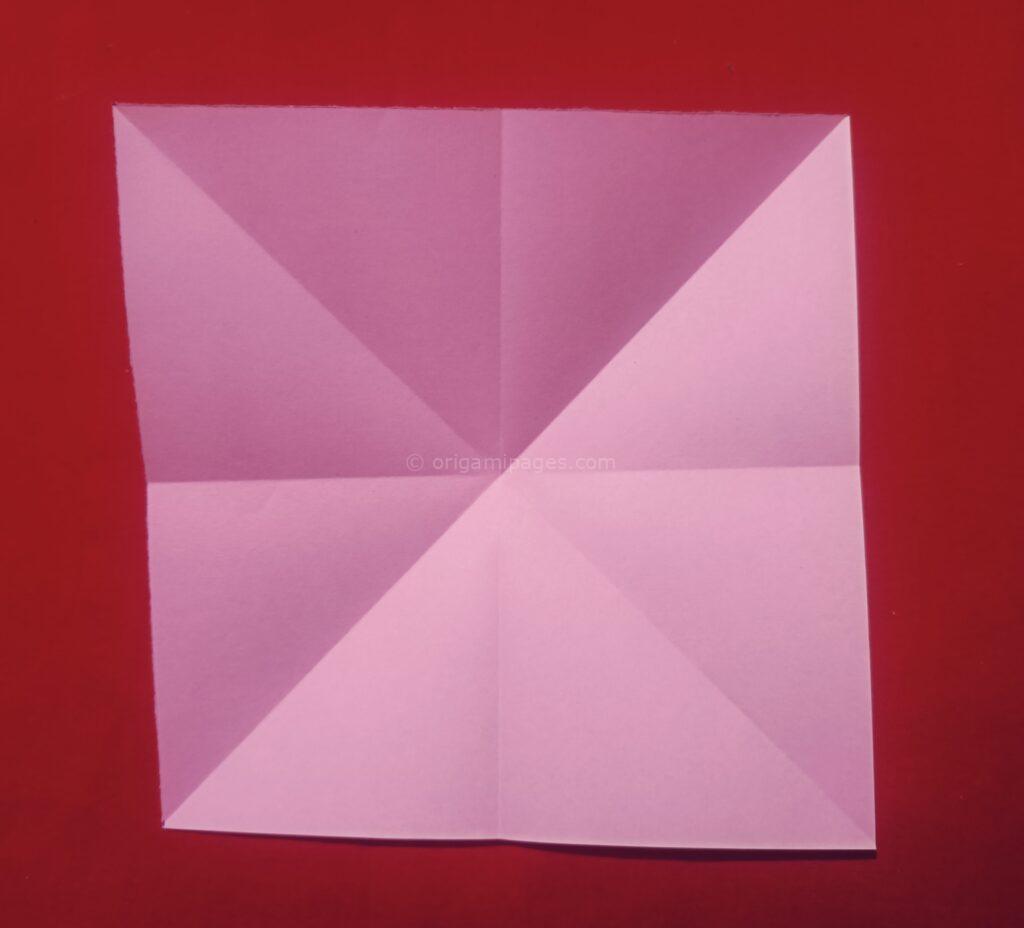
Step 2: Vertical and Horizontal Folds
Fold the paper vertically and horizontally. Unfold each fold.


Step 3: Diagonal Folds
Fold one corner to the opposite corner, and then repeat with the other two corners. Unfold the paper.

Step 4: Make a Diagonal Fold and Unfold
Create a diagonal fold and then unfold it.
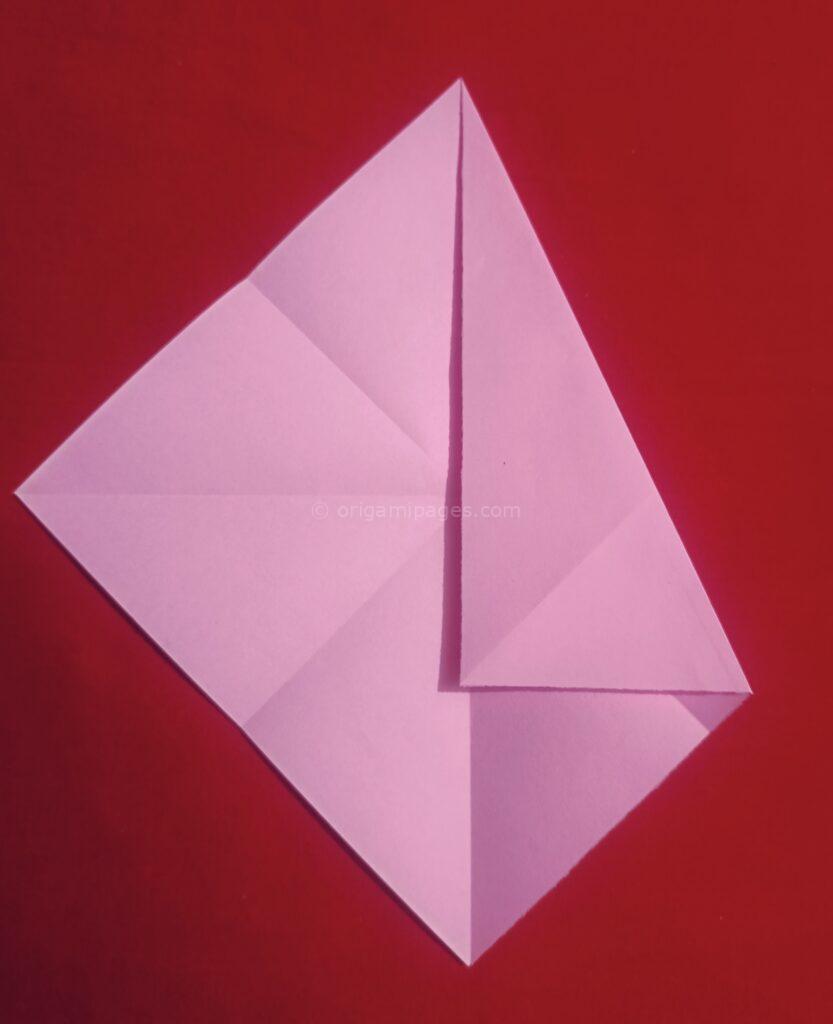
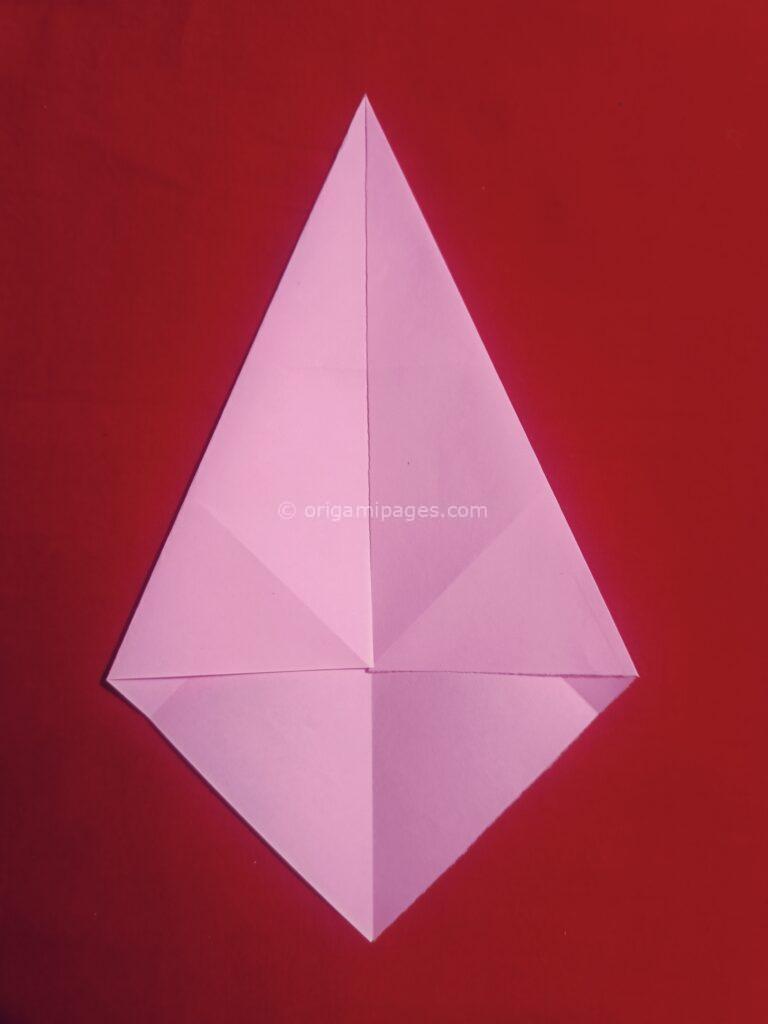

Step 5: Fold the Bottom Part
Take the bottom part of the paper and fold it up to the central point.


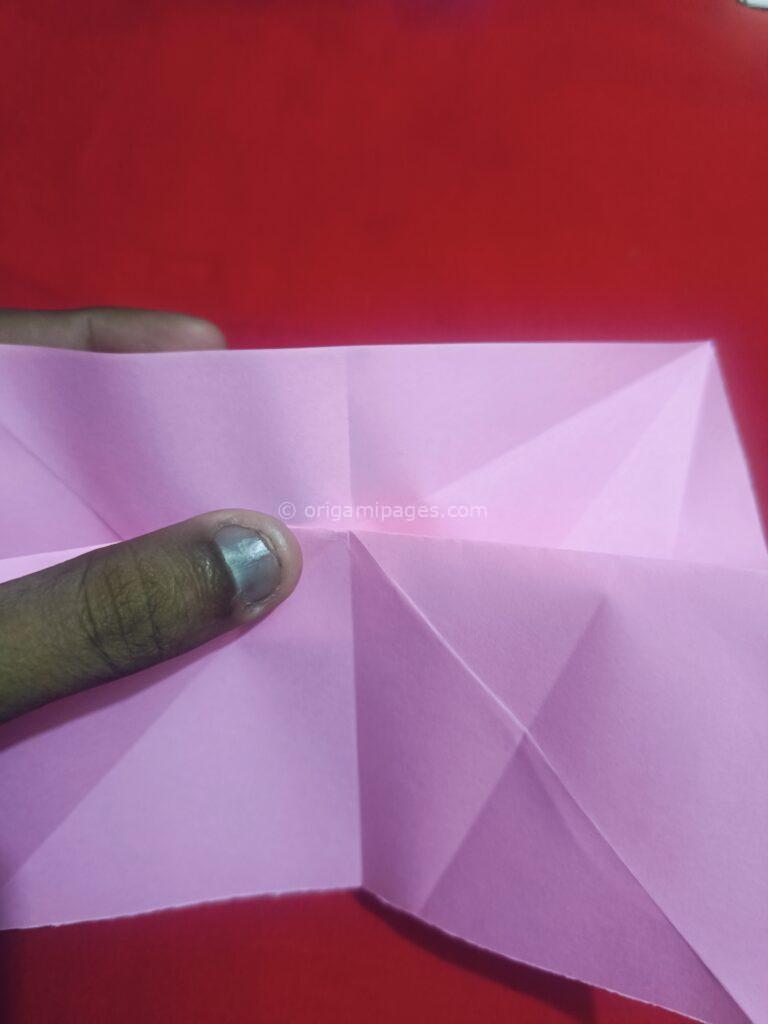
Step 6: Fold the Left Side
Repeat the previous step on the left side, aligning it with the center.
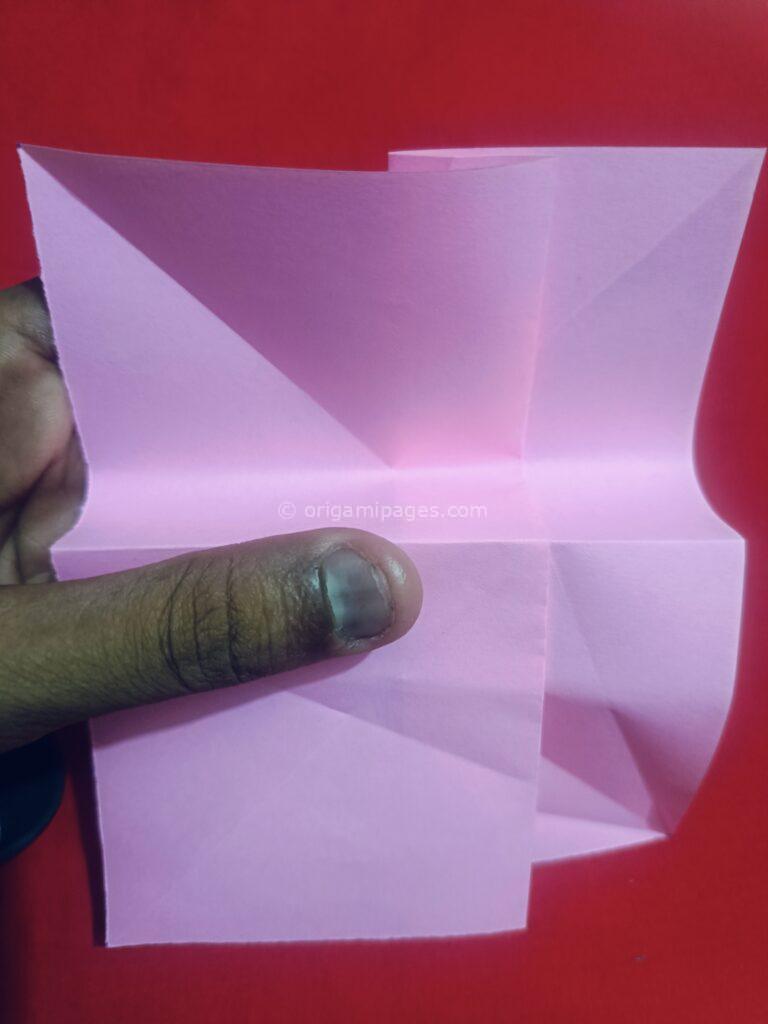
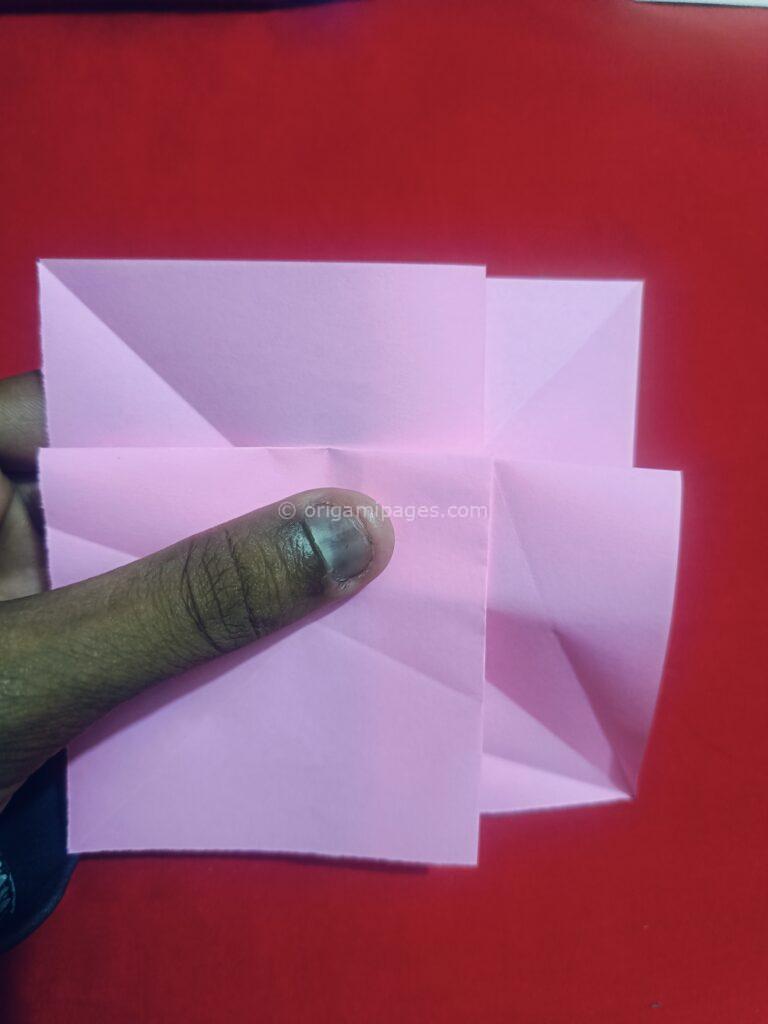
Step 7: Rotate the Paper
Rotate the paper so the previous folds are at the top.

Step 8: Fold the Right Side Upper Flap
Fold the upper flap on the right side toward the center crease, making a squash fold at the top right corner.


Step 9: Repeat for Remaining Corners
Repeat Step 8 for the remaining corners, ensuring each fold aligns properly.
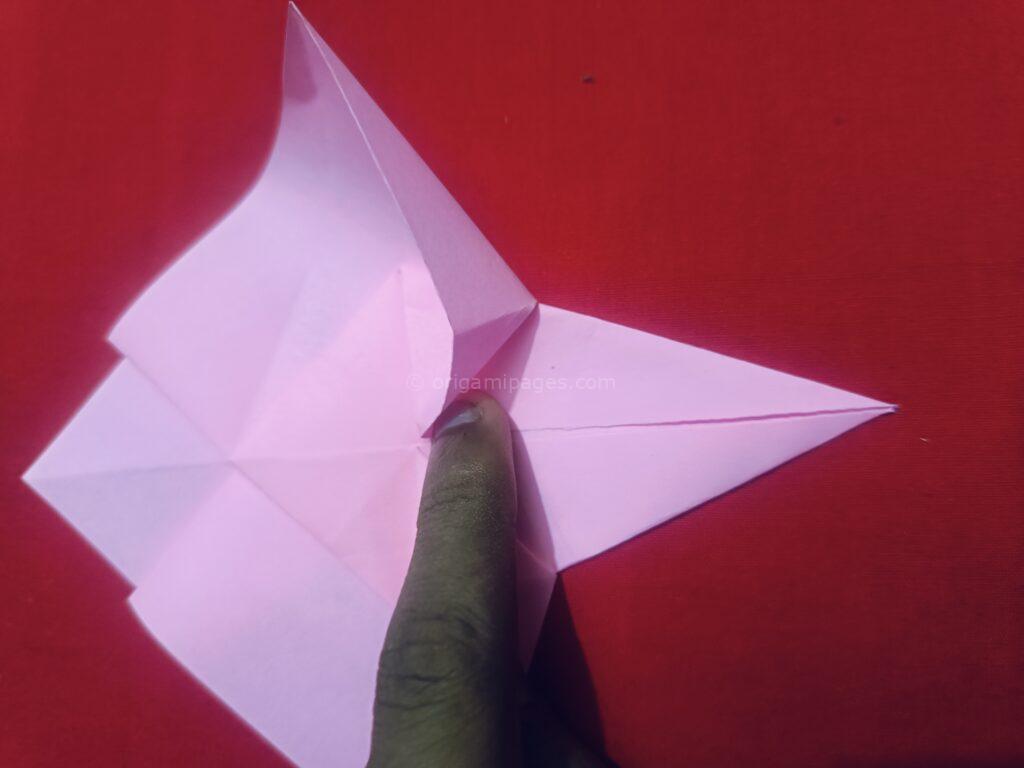



Step 10: Final Crease
Flip the paper over and crease all folds well. Your origami 4 pointed star is now complete.


Summary
You’ve just completed an origami 4 pointed star by following these clear and straightforward steps. This project is a great way to practice precision in paper folding while creating something beautiful. Your feedback is always appreciated, as it helps improve future guides.
Happy folding!


