Origami Container: A Step-by-Step Guide
Have you ever imagined transforming a simple sheet of paper into a beautiful and functional container? Whether you’re an origami novice or a seasoned folder, the process of making an origami container is a rewarding journey. The intricate folds, the geometric precision, and the satisfaction of completing the project combine to create a magical experience.
In this article, I’ll walk you through the origami container instructions, providing clear steps to create your very own container origami masterpiece. Follow along, and by the end, you’ll not only learn how to make an origami container but also feel confident in crafting your very own origami box.
Materials Needed
To begin your journey, you’ll need the following:
- Two square papers (size 10″ × 10″)
These simple materials will be transformed into a delightful origami container through a series of well-explained folds.
Step-by-Step Instructions
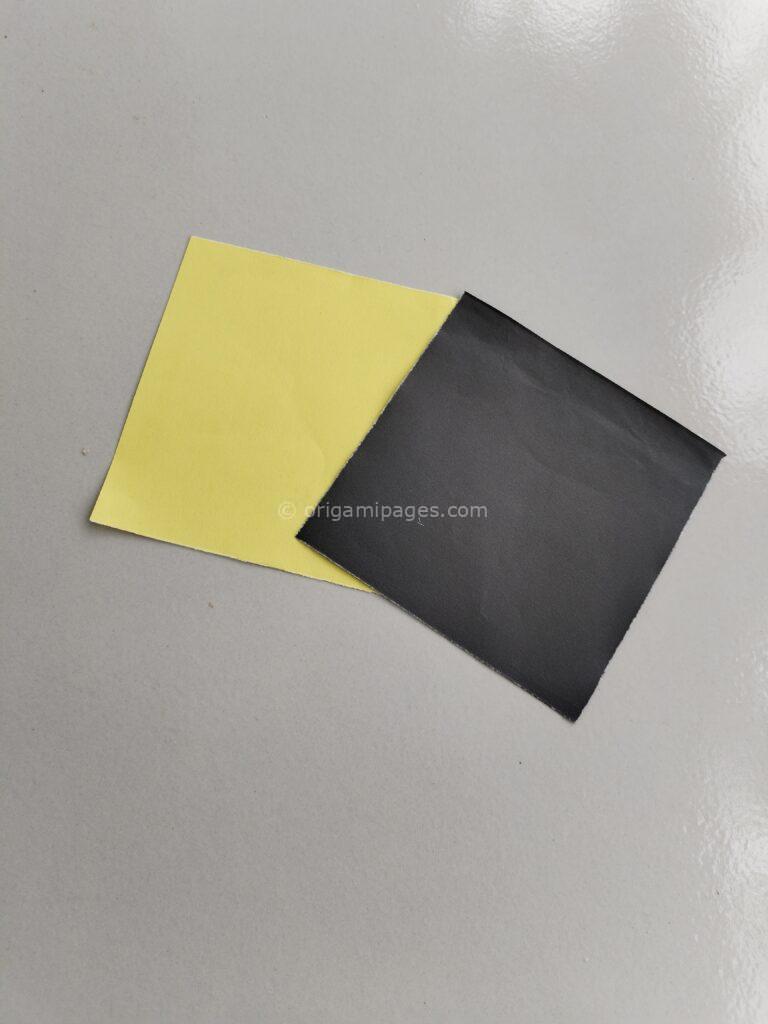
Step 1: Prepare Your Paper
Start by selecting two square-shaped papers. These will form the two halves of your origami box.
Step 2: Initial Folds
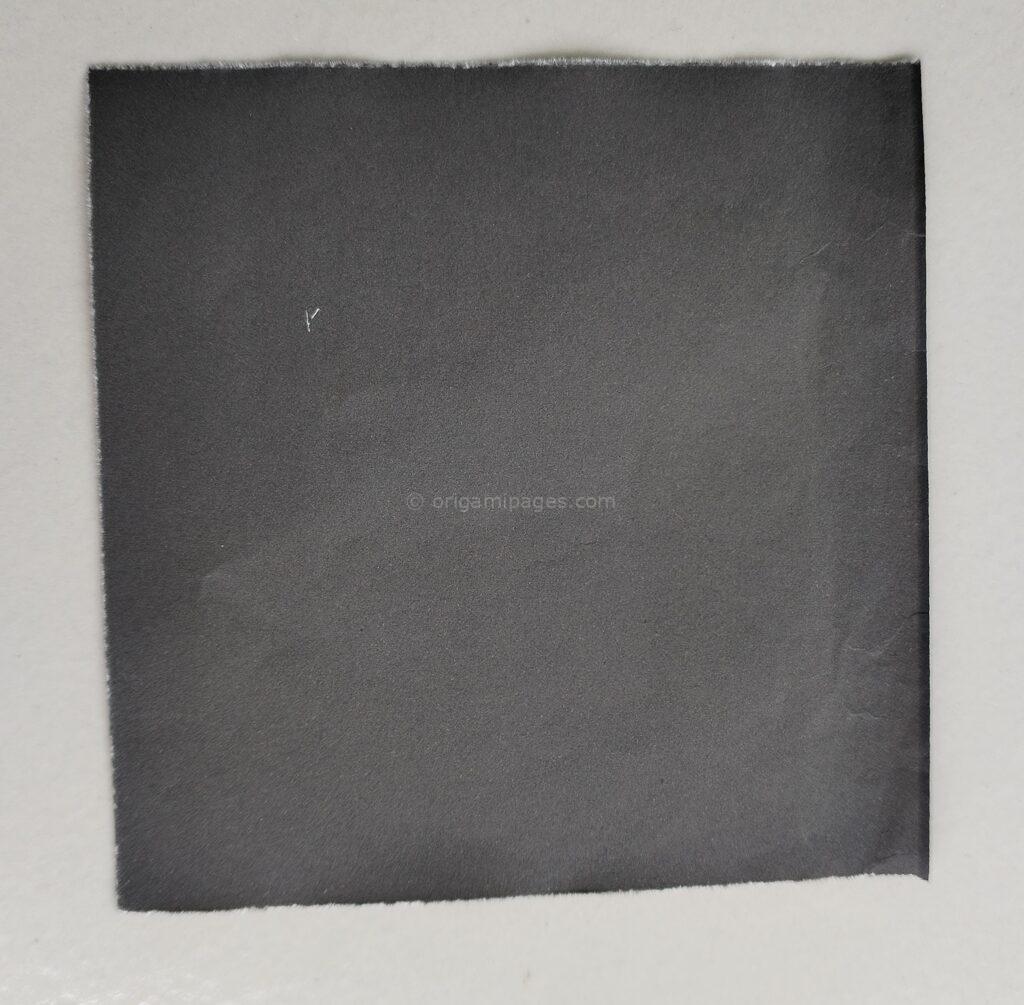
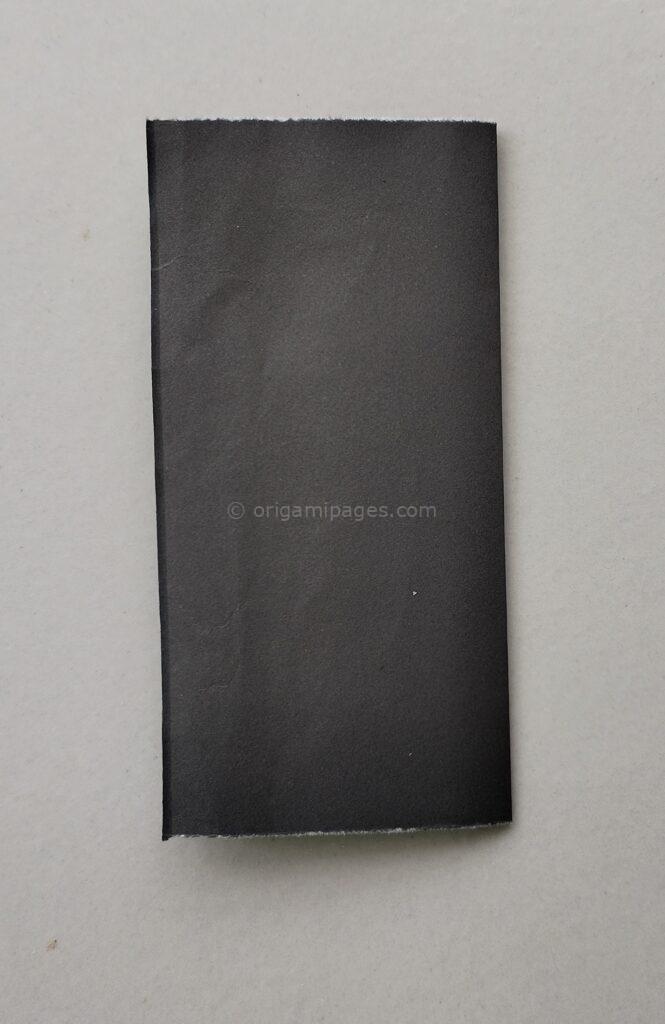
Take one of the square papers. Fold it vertically in half, and then fold it vertically again. Unfold the paper. This creates guidelines for the next steps.
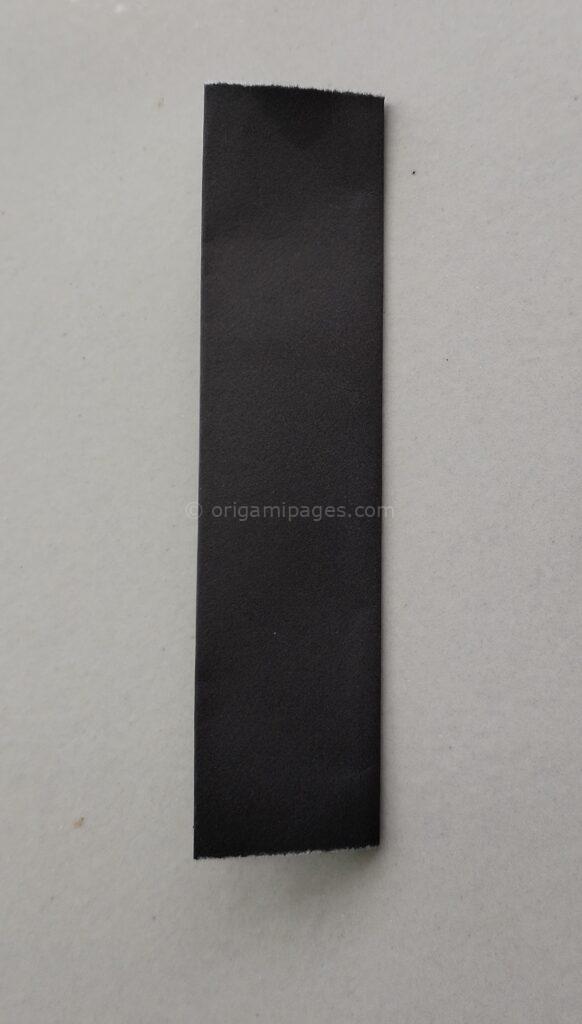
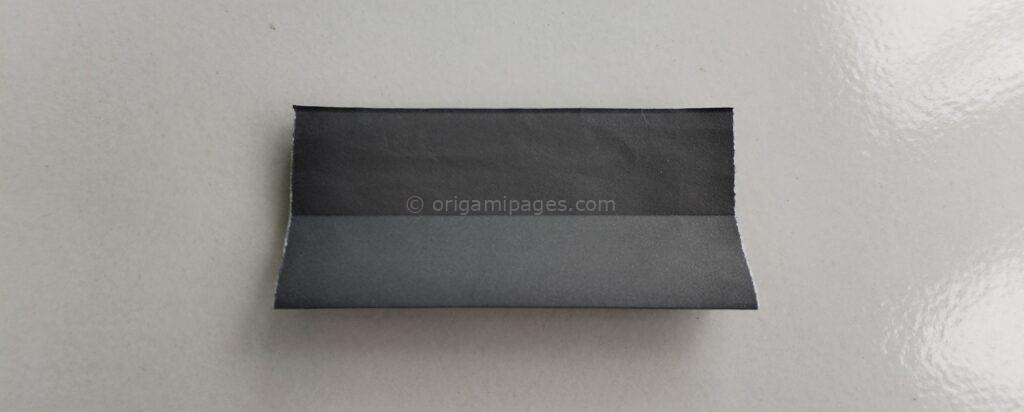
Step 3: Housefold and Folding the Sides
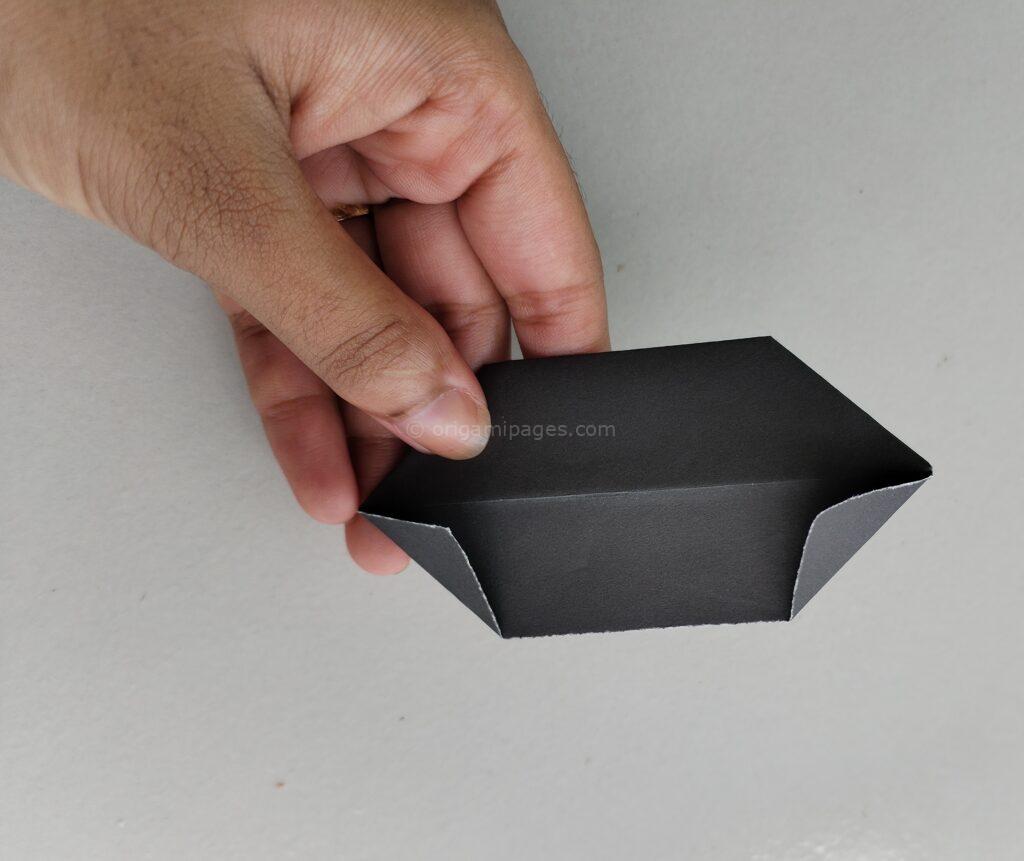
Now, perform a housefold on both sides of the paper. Open one of the folds on the right side and fold it to the opposite side. This will shape the beginning structure of your container.
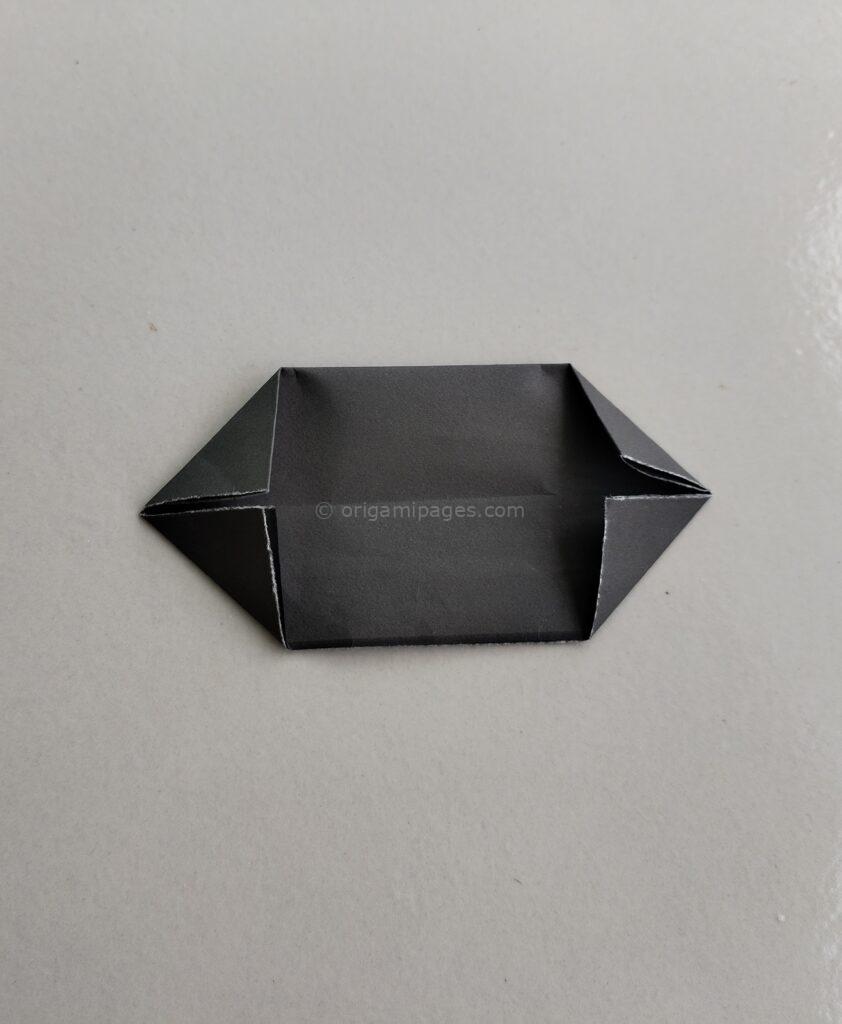
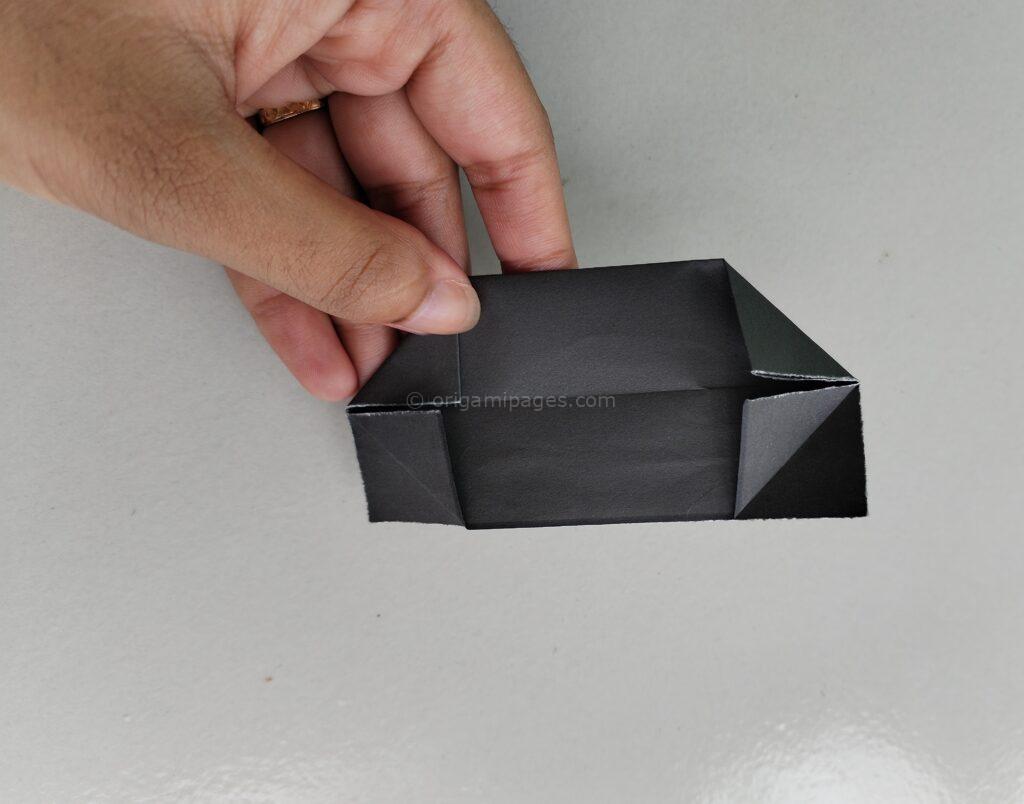
Step 4: Open and Fold
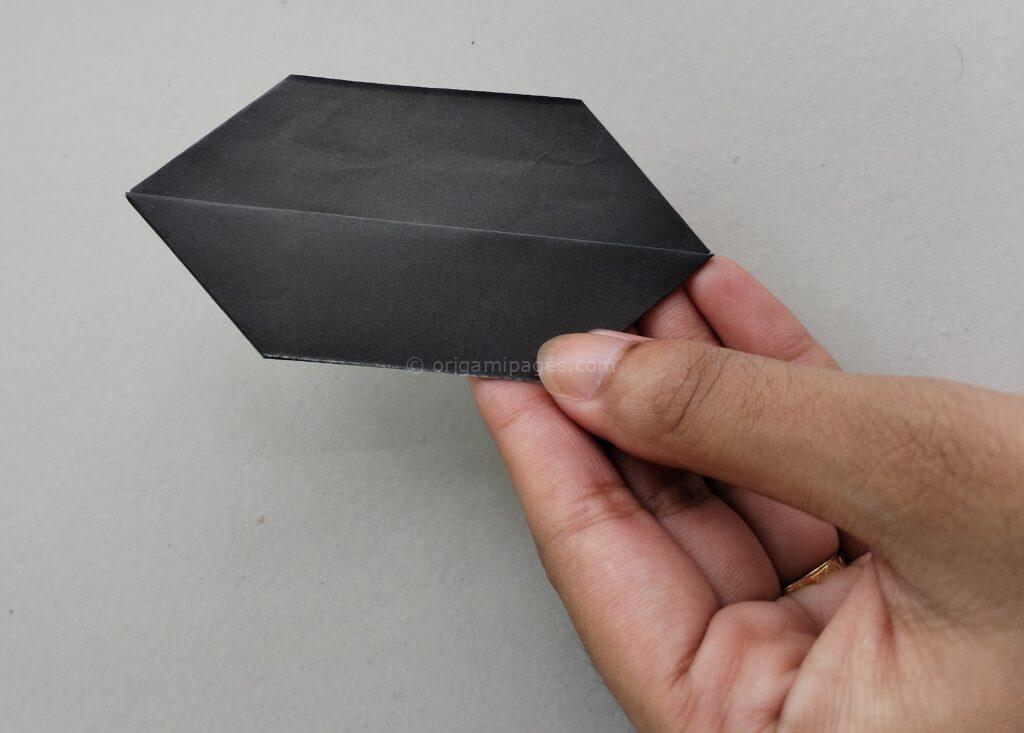
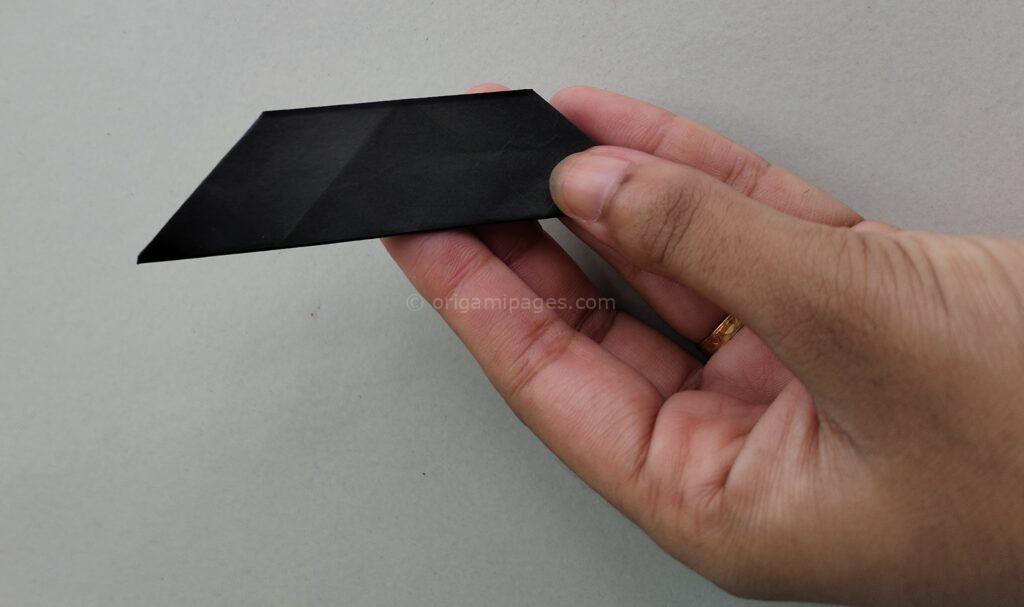
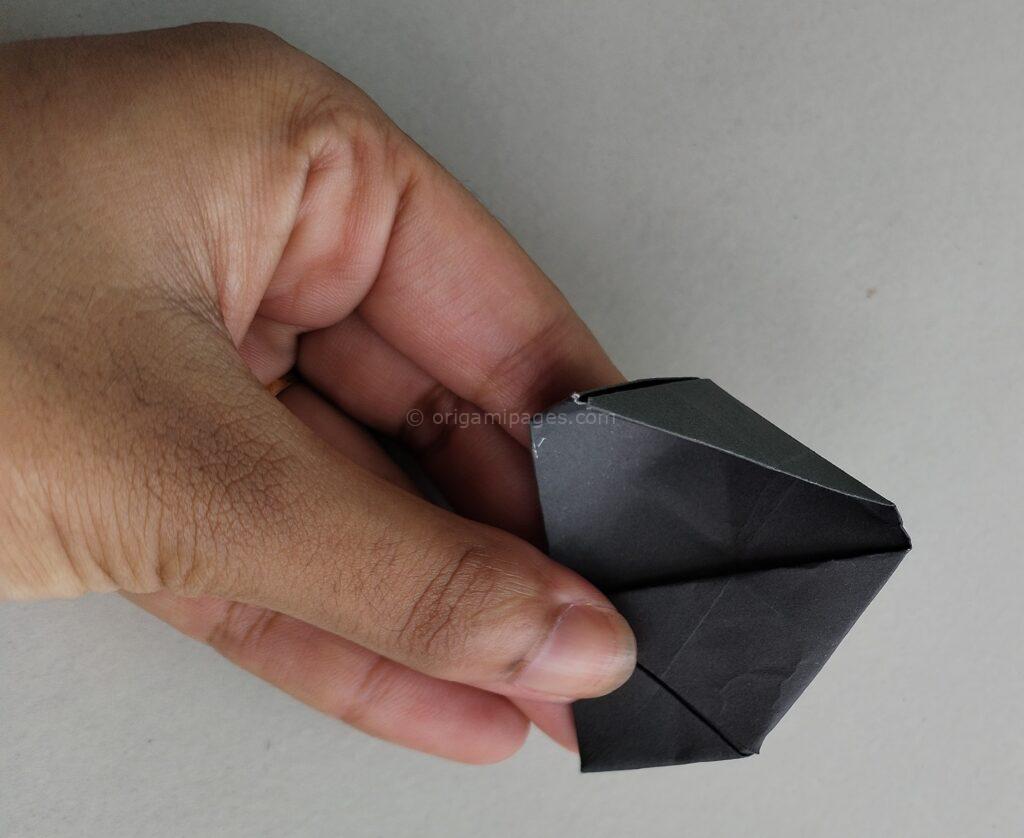
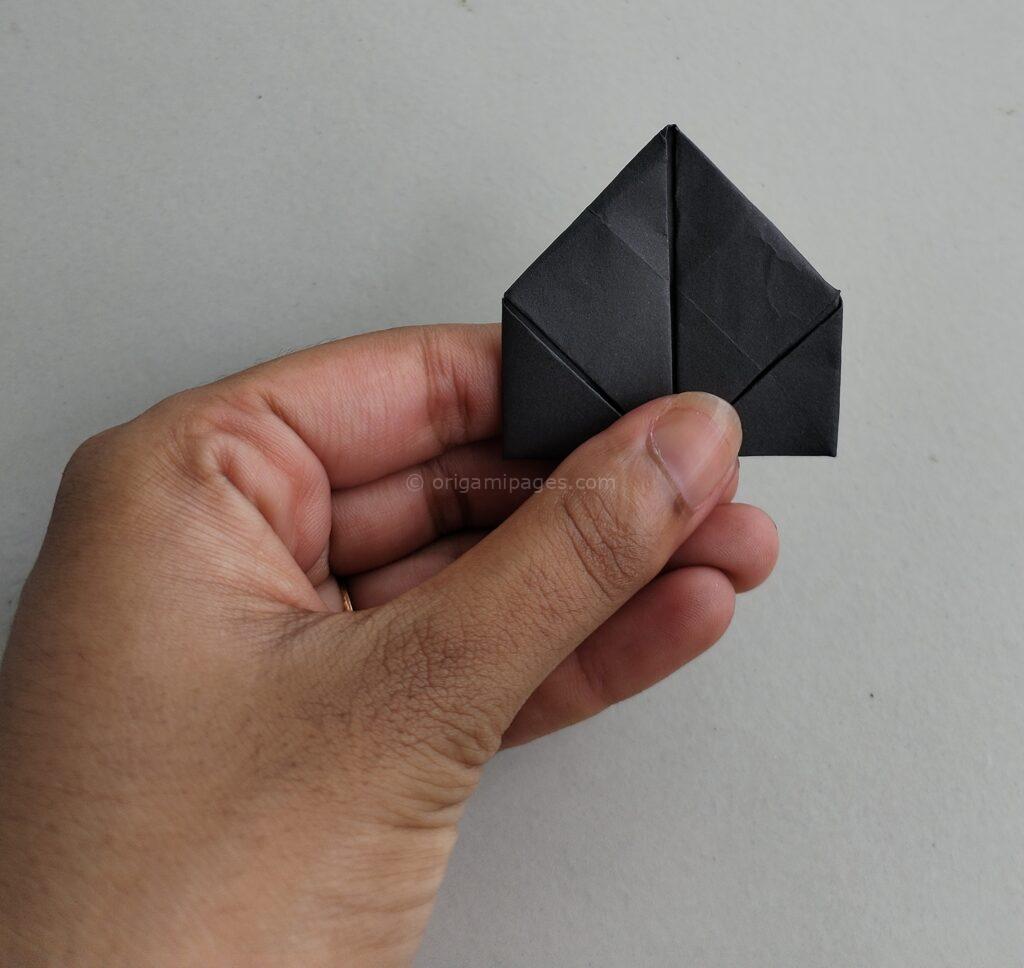
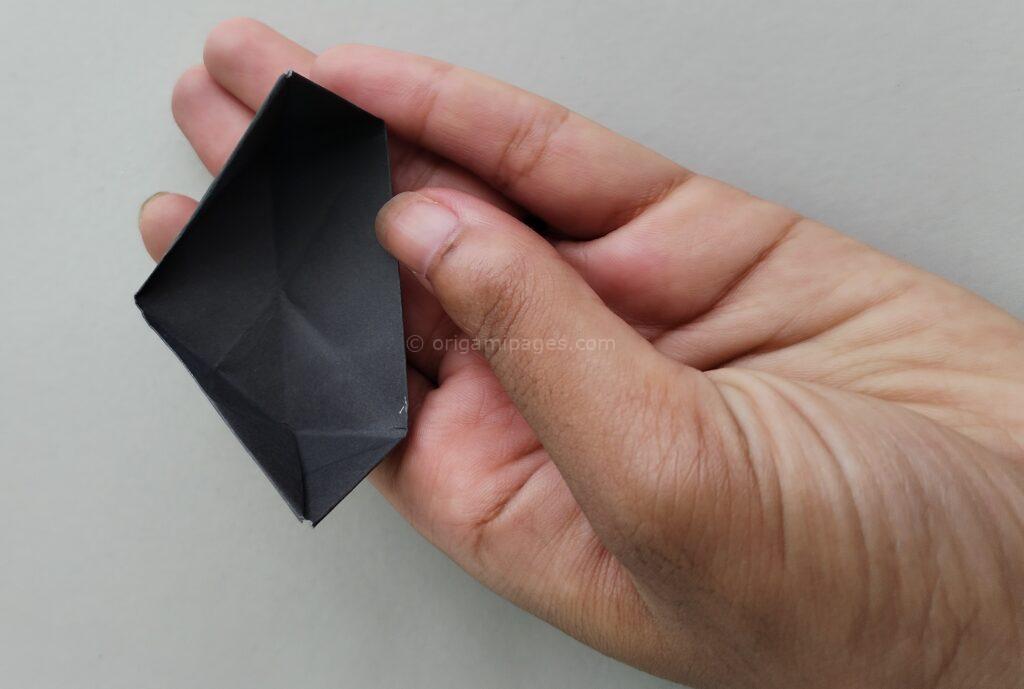
With the open side of the paper facing you, fold the two sides inward, meeting at the center. Then, gently open the middle part to reveal the folded sides. This step adds stability to the structure.
Step 5: Refine the Shape
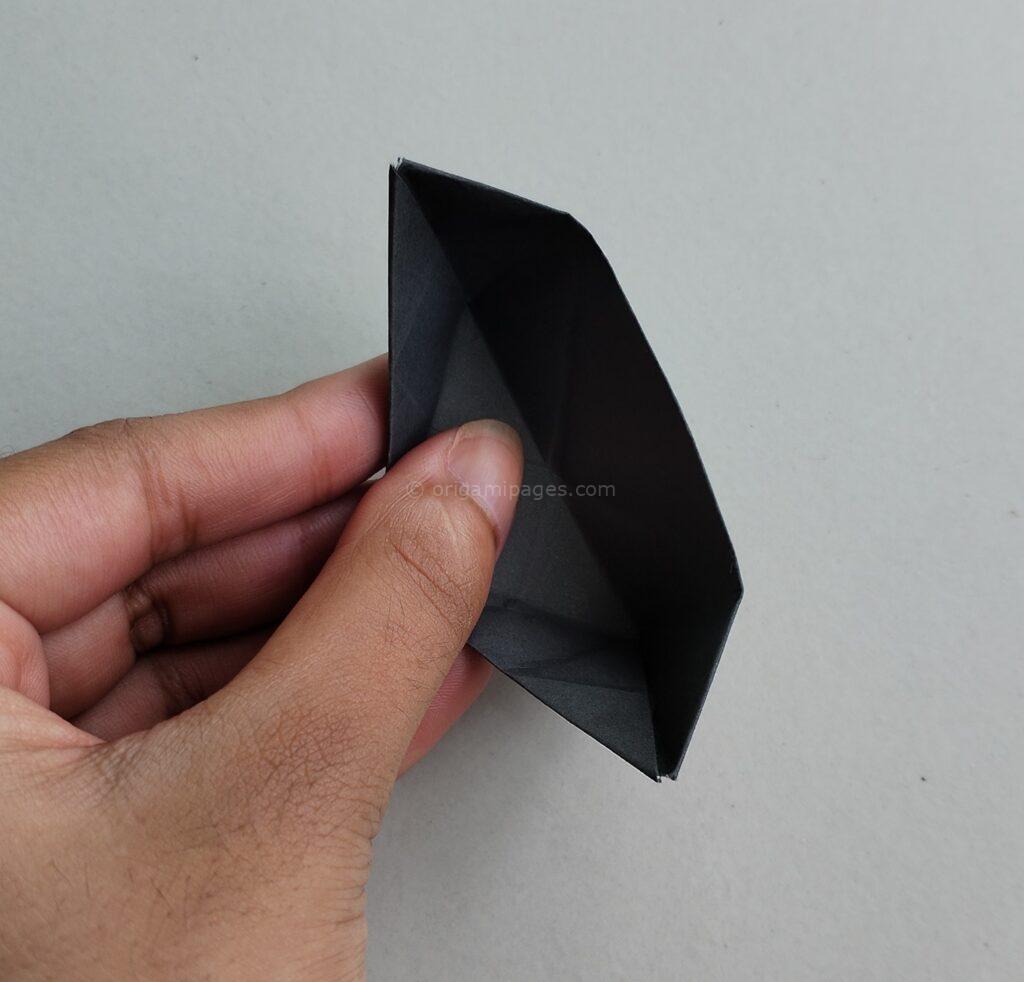
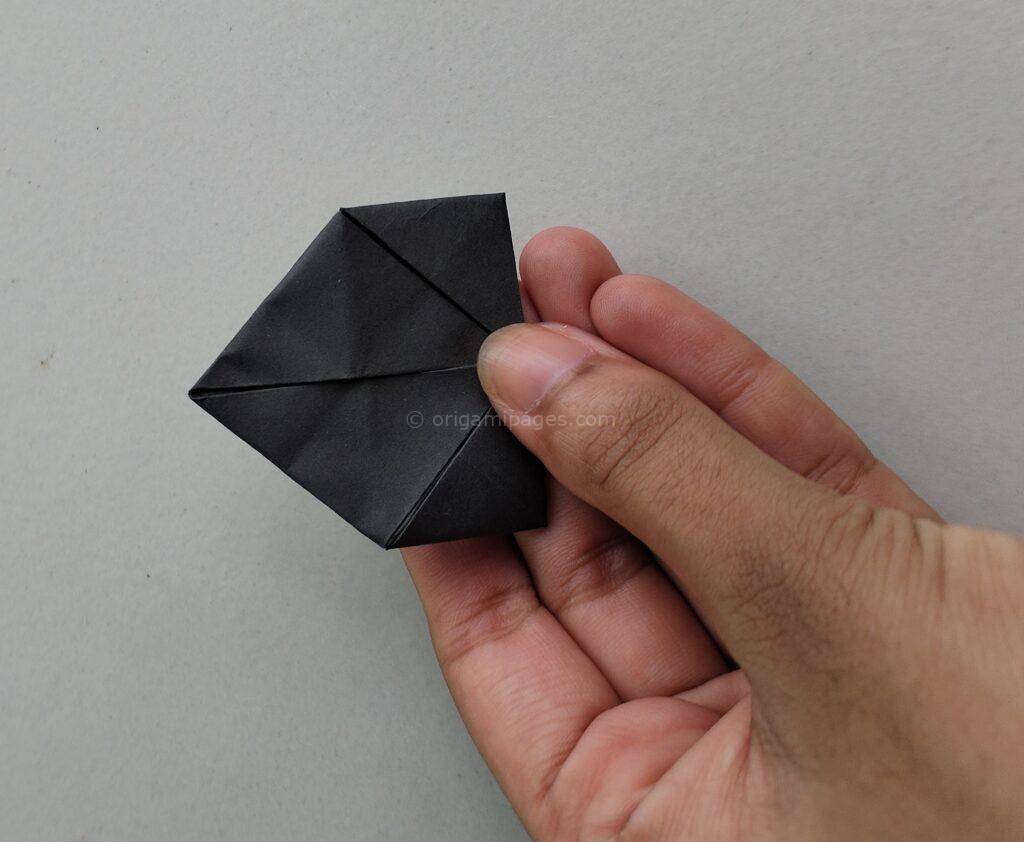
Next, fold both sides as shown in the illustration. This step gives the container its recognizable shape.
Step 6: Repeat for the Second Half
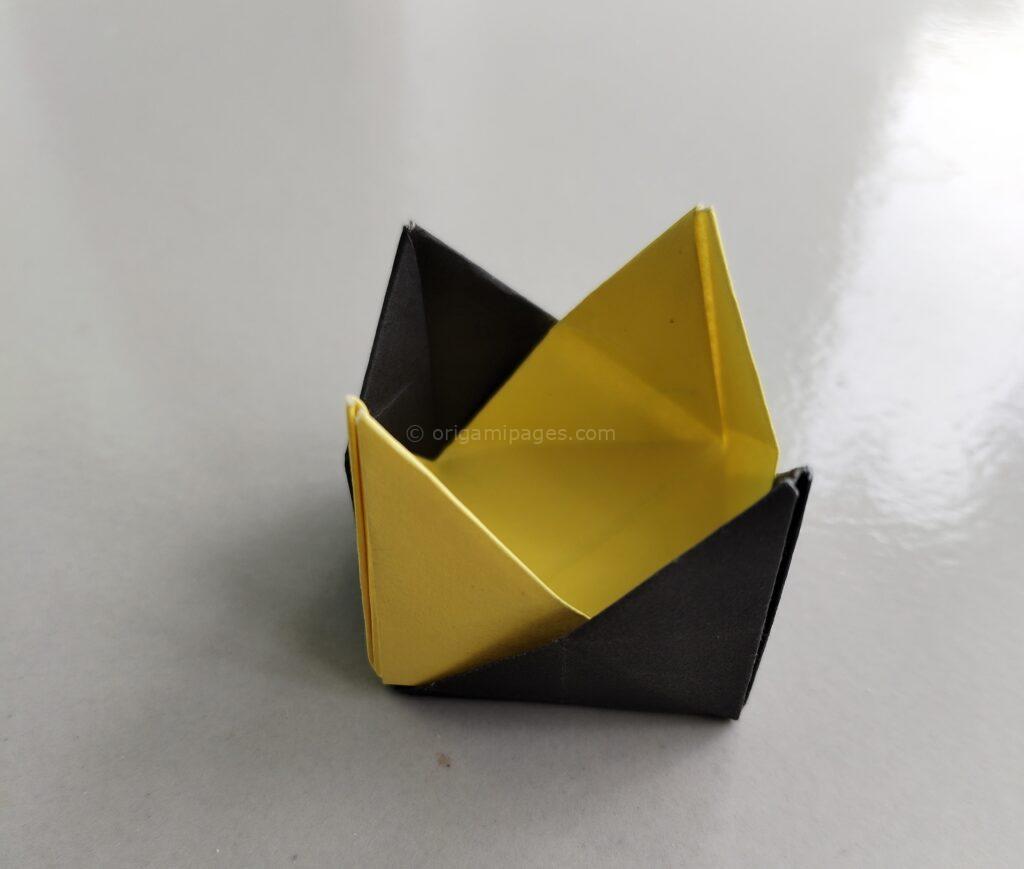
Now, the first half of the container is ready. Repeat the process with the second square paper to form the other half. Once both parts are completed, join one on top of the other to assemble the final container.
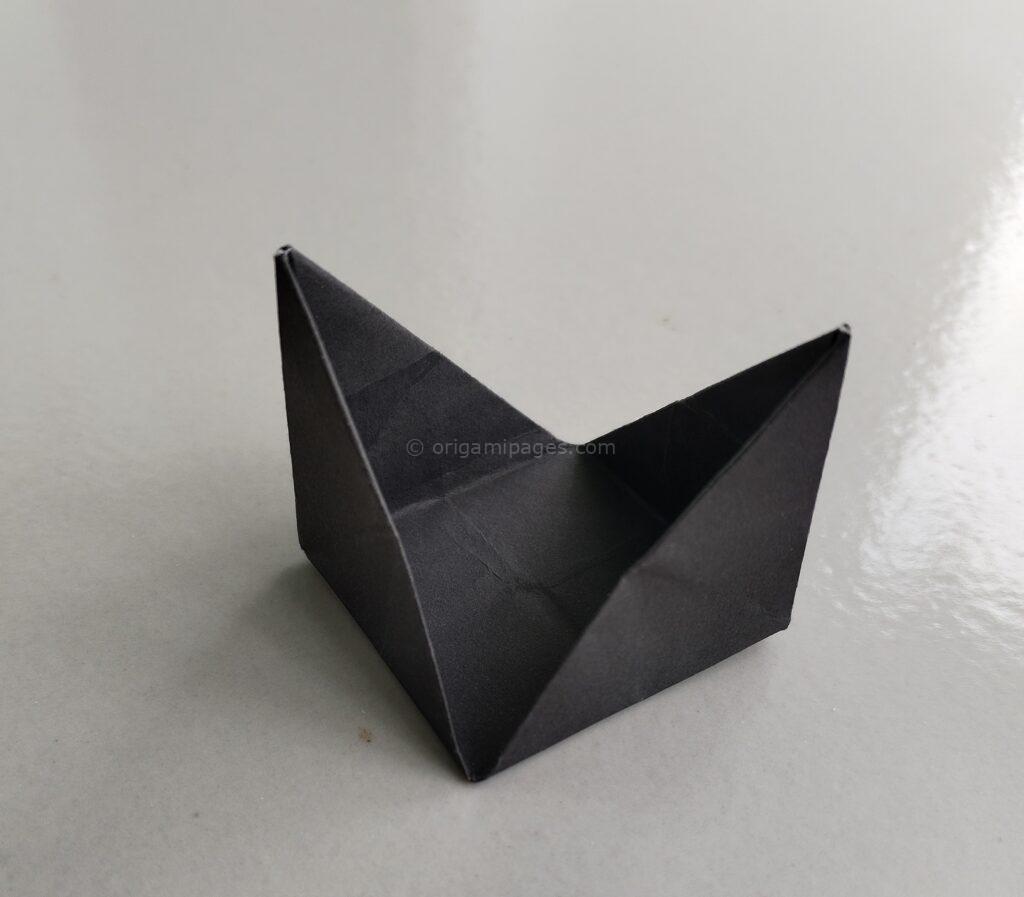
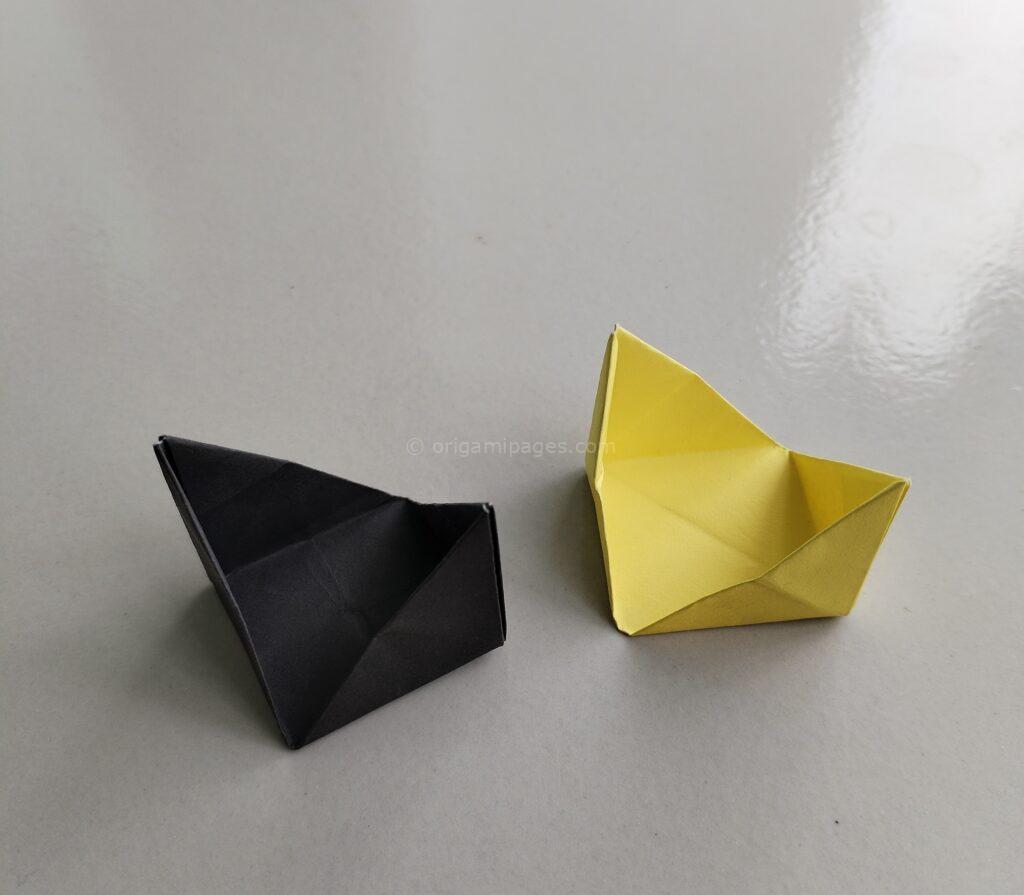


Step 7: Final Assembly
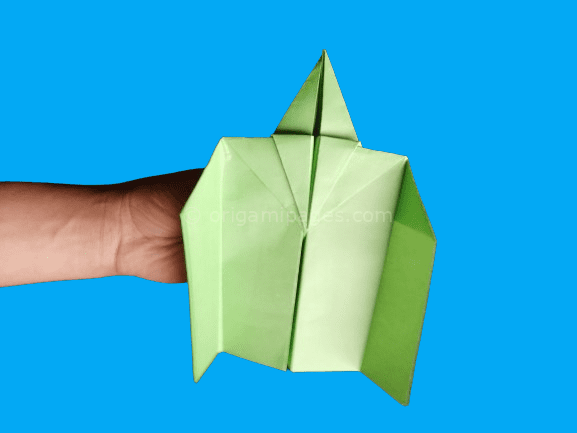
After joining the two parts, your origami container is ready! You can now use it as a box for storing small items, as a decorative piece, or even as a thoughtful handmade gift.
Conclusion
By following these detailed origami container instructions, you’ve learned how to make an origami container from start to finish. With just a few simple folds and some patience, you’ve created a functional and elegant origami box. This project is perfect for both beginners and experienced folders, offering a balance of creativity and precision.
As you continue to explore the world of origami, don’t hesitate to share your creations or ask questions. The feedback you provide can help enhance and refine the resources we create, making them even more helpful for other origami enthusiasts. Happy folding!


