Origami Bell Flowers – Easiest Guide To Follow
Intrigued by the art of origami? Let’s unfold the magic together and craft something extraordinary: Origami Bell Flowers! With just a few folds, you’ll bring to life the charm of these blossoms in vibrant hues. Join us as we delve into this delightful craft, creating beauty one fold at a time.
Step-by-Step Guide to Crafting the Origami Bell Flower
Step 1: Prepare Your Materials
Gather a square sheet of paper, ensuring it’s lightweight and easy to fold. A size around 6×6 inches works well for beginners.

Step 2: Make Initial Folds
Fold the paper diagonally in both directions to create an X-shaped crease. Then, unfold it to reveal the center point.


Step 3: Establish Guidelines
Fold the paper vertically and horizontally, then unfold it. These creases will serve as reference points for subsequent folds.


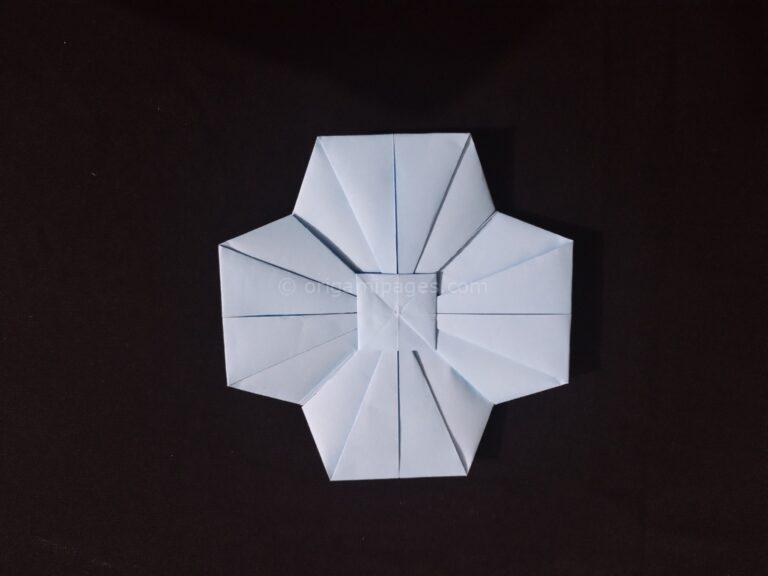
Step 4: Form the Base
Flip the paper over and fold each corner towards the center, creating a smaller square. Make a fold from each midpoint towards the center, then unfold. This establishes the base shape.


Step 5: Shape the Diamond
Fold the edges of the square towards the centerline, creating a diamond shape. Ensure the edges align perfectly.

Step 6: Create Petal Foundation
Fold the bottom corner of the diamond upwards, leaving a small gap at the top. This forms the foundation for the petals.

Step 7: Craft Petals
Fold the top point of the diamond downwards, creating a petal shape. Gently unfold to reveal the crease pattern.

Step 8: Refine Petals
Fold each petal inward along the crease lines, creating defined edges. Repeat for each petal to ensure uniformity.


Step 9: Final Touches
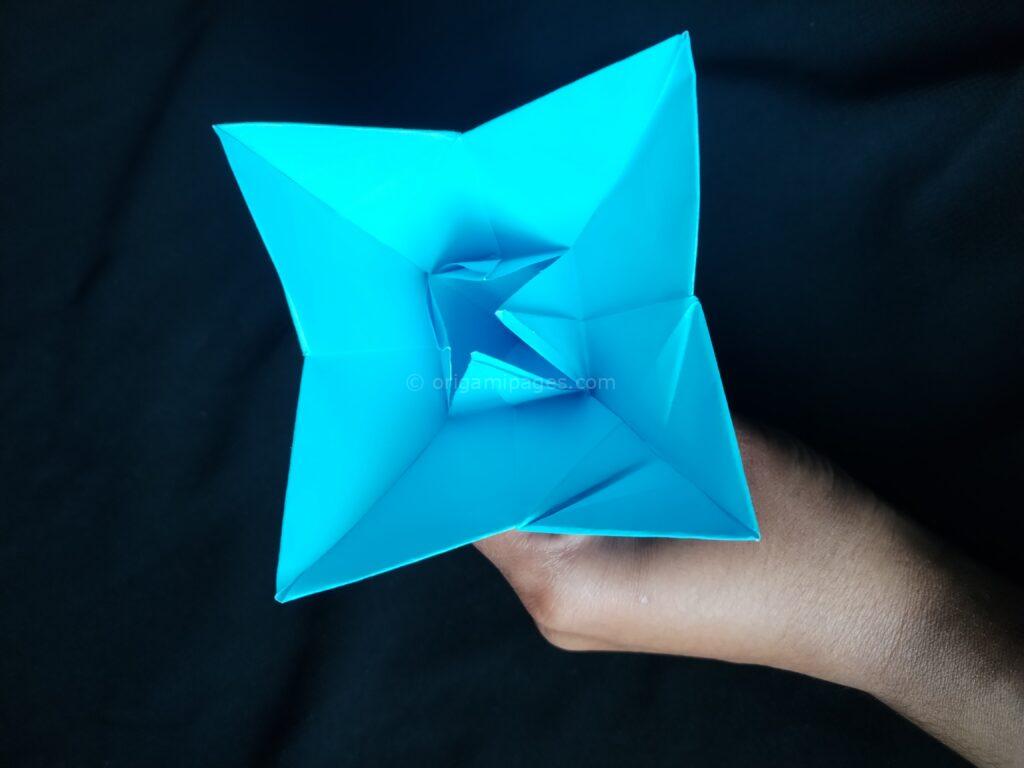
With two corners folded inwards, the bell shape starts to emerge. Fold the sides of the lower part of the flower inward to shape the bell and add dimension to your creation.


Now, the origami bell flower is ready.
Origami Bell Flower: Perfect for Kids and Beginners
With its simple yet elegant design, the Origami Bell Flower is an ideal project for children and novice origami enthusiasts. By following these nine steps, individuals of all ages can experience the joy of creating their own paper masterpiece.
If you are keen on exploring further into the realm of origami floral creations, you may discover our insights on the Origami hibiscus flower and Origami kirigami flower enlightening. Our article on Origami hibiscus flower presents a comprehensive examination and detailed guidance. Meanwhile, our exploration of the Origami kirigami flower unfolds a fresh journey in the realm of paper craftsmanship.Conclusion
In the world of origami, the Origami Bell Flower serves as a symbol of simplicity’s beauty and creativity’s potency. Armed with merely a square sheet of paper and a handful of precise folds, we wield the ability to metamorphose ordinary materials into exquisite art that ignites inspiration and joy. Whether you’re an experienced enthusiast or a novice explorer, allow the Origami Bell Flower to lead your journey through the boundless realm of paper folding