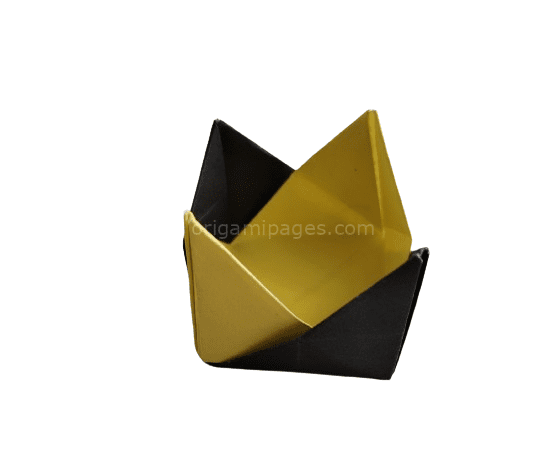
How to Make an Origami Coin Purse: Step-by-Step Instructions for All Skill Levels
If you’ve ever wondered how to combine practicality with the art of paper folding, an origami coin purse is a fantastic project to start with. It’s more than just a craft; it’s a delightful way to create something useful out of a simple piece of paper. Whether you’re completely new to origami or already have some experience, this project promises to guide you on a rewarding journey, resulting in a beautiful and functional coin purse.
In this tutorial, I will walk you through the process step by step. The folding technique might seem intricate at first, but I promise, with a little patience and focus, you’ll be able to fold your very own origami coin purse in no time. So, grab a piece of 9″ x 9″ paper, and let’s begin this enchanting project.
Materials Needed
To create your origami coin purse, you’ll need:
- A 9″ x 9″ piece of paper (not square-shaped)
- A flat surface to work on
Step-by-Step Instructions
Step 1: Prepare the Paper
Start with your 9″ x 9″ paper, which should be slightly rectangular rather than square. Make sure the paper is placed with the shorter edges at the top and bottom, and the longer edges on the sides.
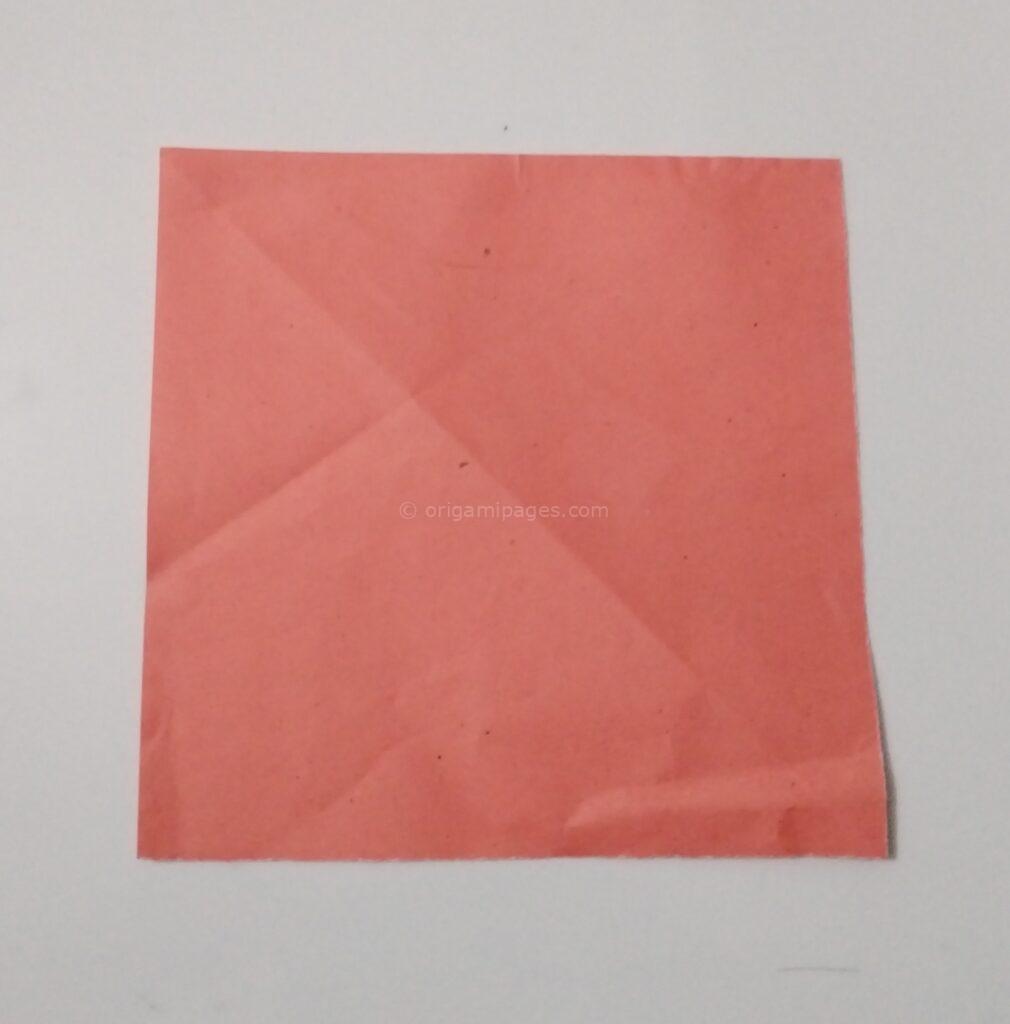
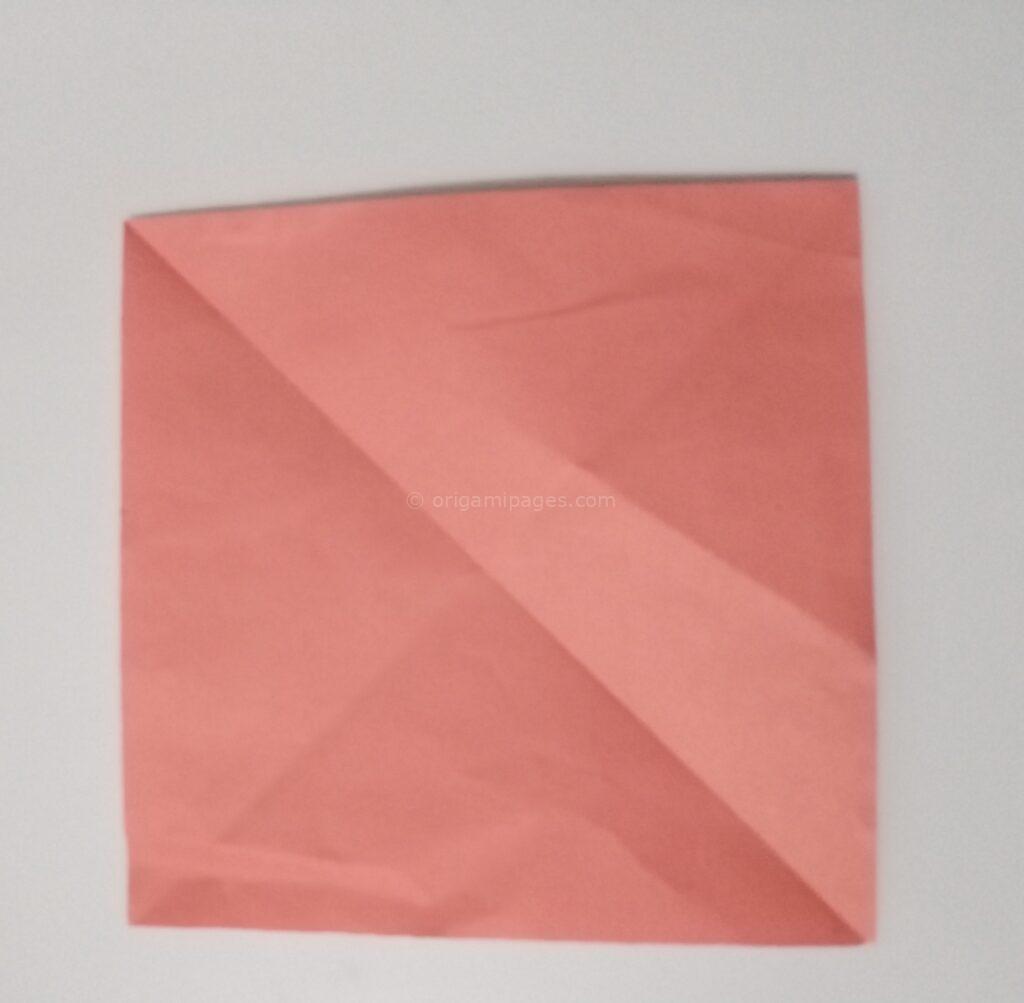
Step 2: Make the X Crease
To form the base folds, begin by folding the paper diagonally from one corner to the opposite corner. Open the fold and repeat with the other two corners. You should now have an X crease on your paper.
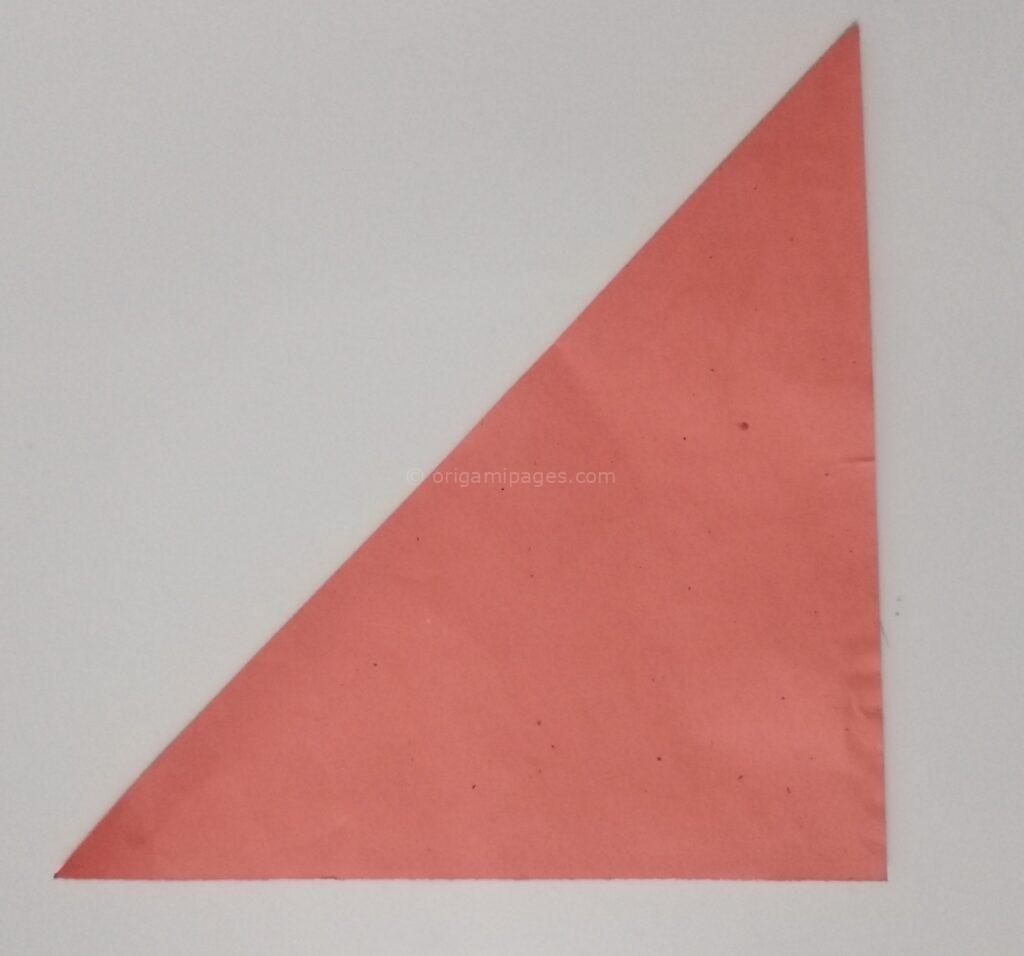

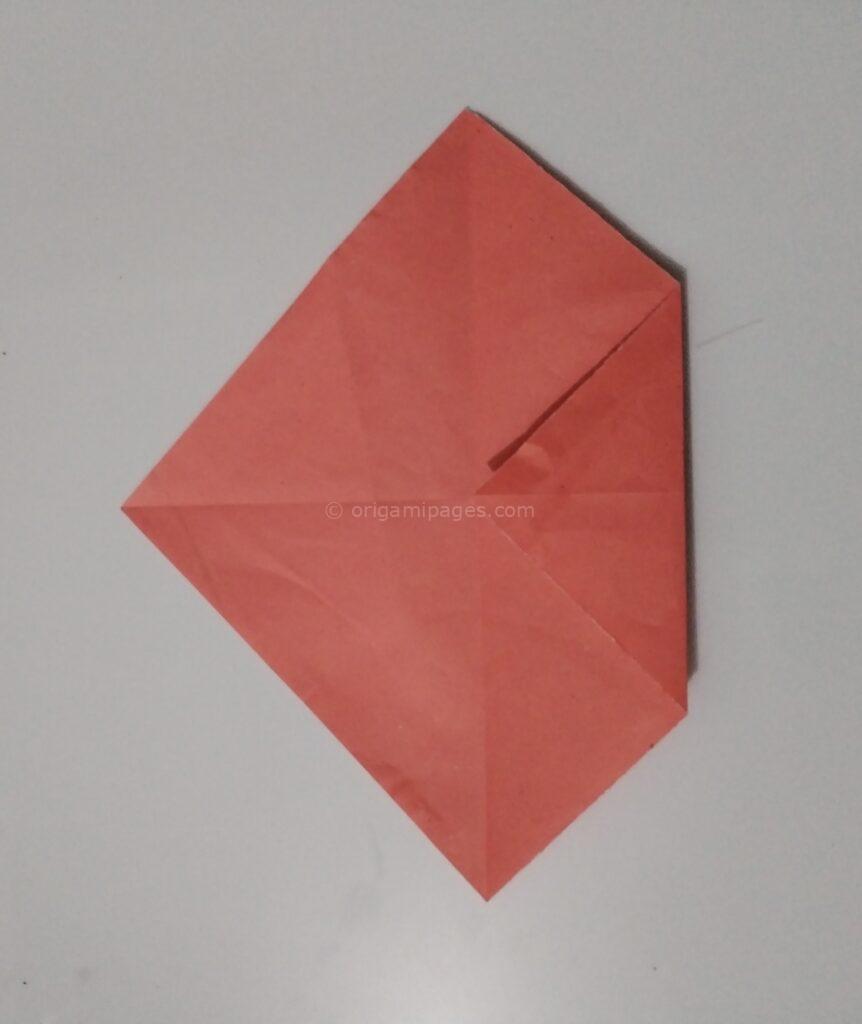
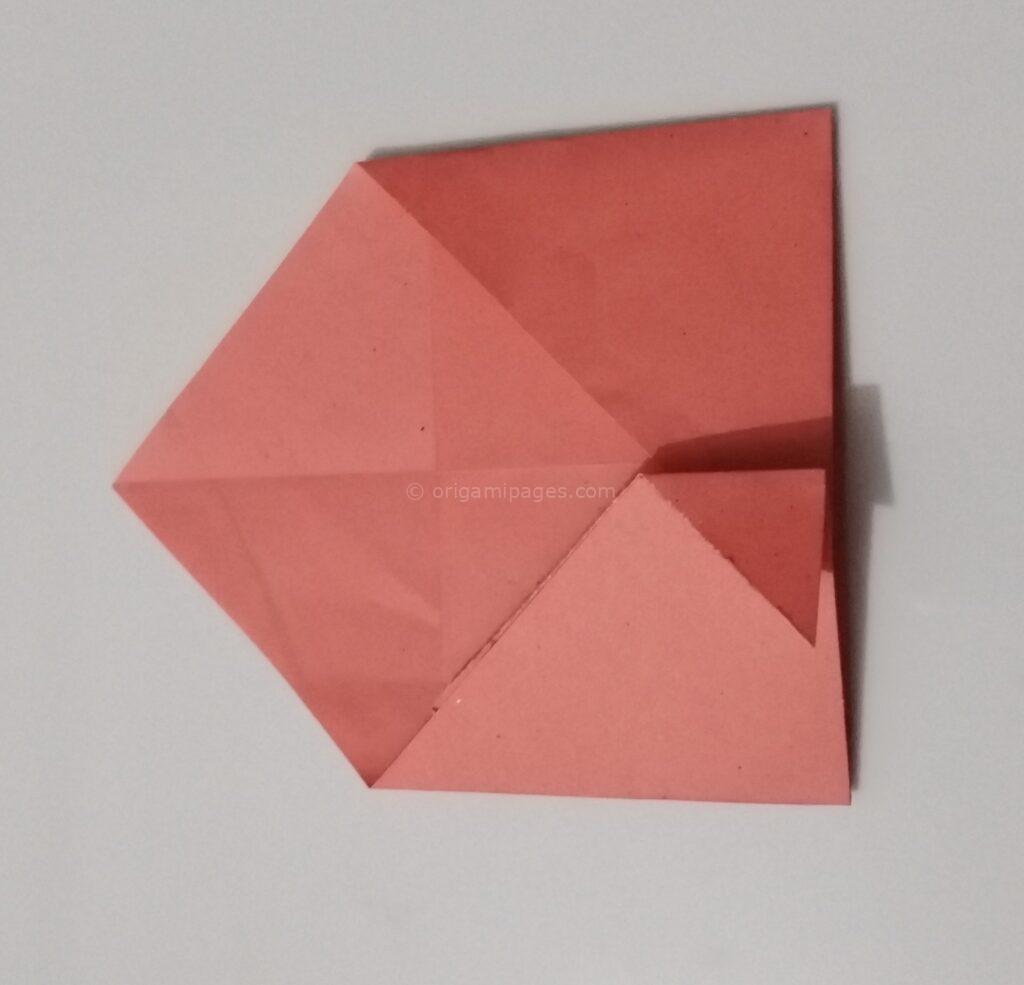
Step 3: Folding the First Corner
Next, take one corner of the paper, which is marked by the X crease, and fold it toward the center of the paper. After this, fold it one more time. This will create a smaller triangular fold on one side of your paper.
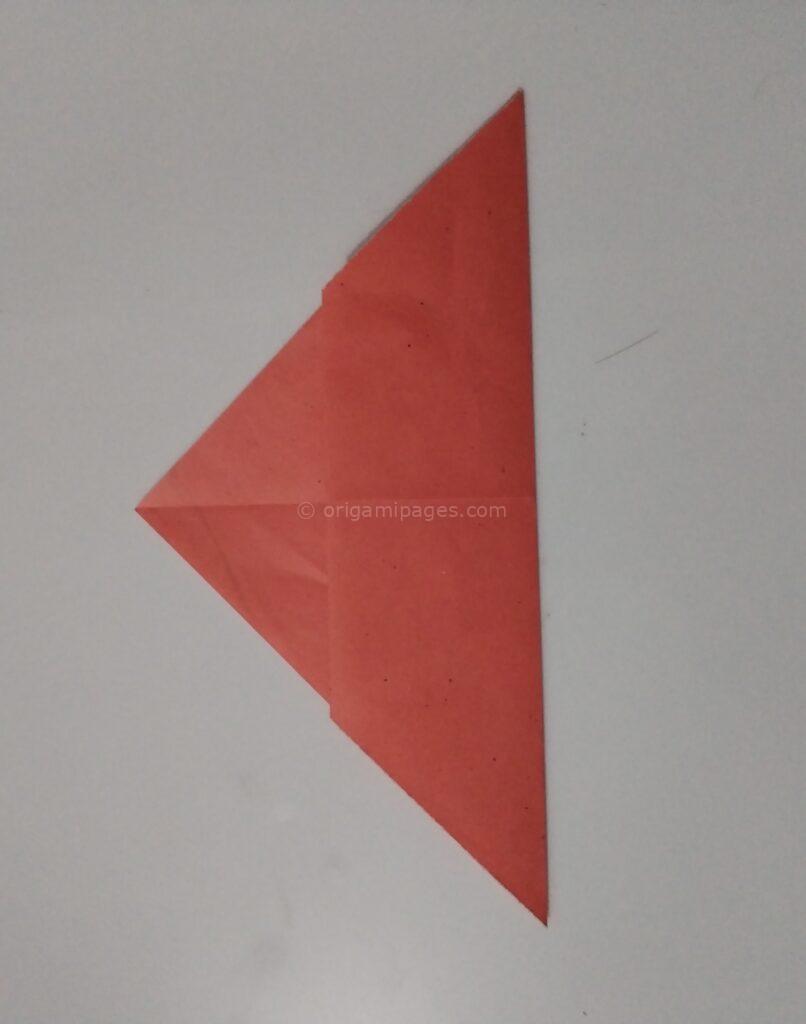
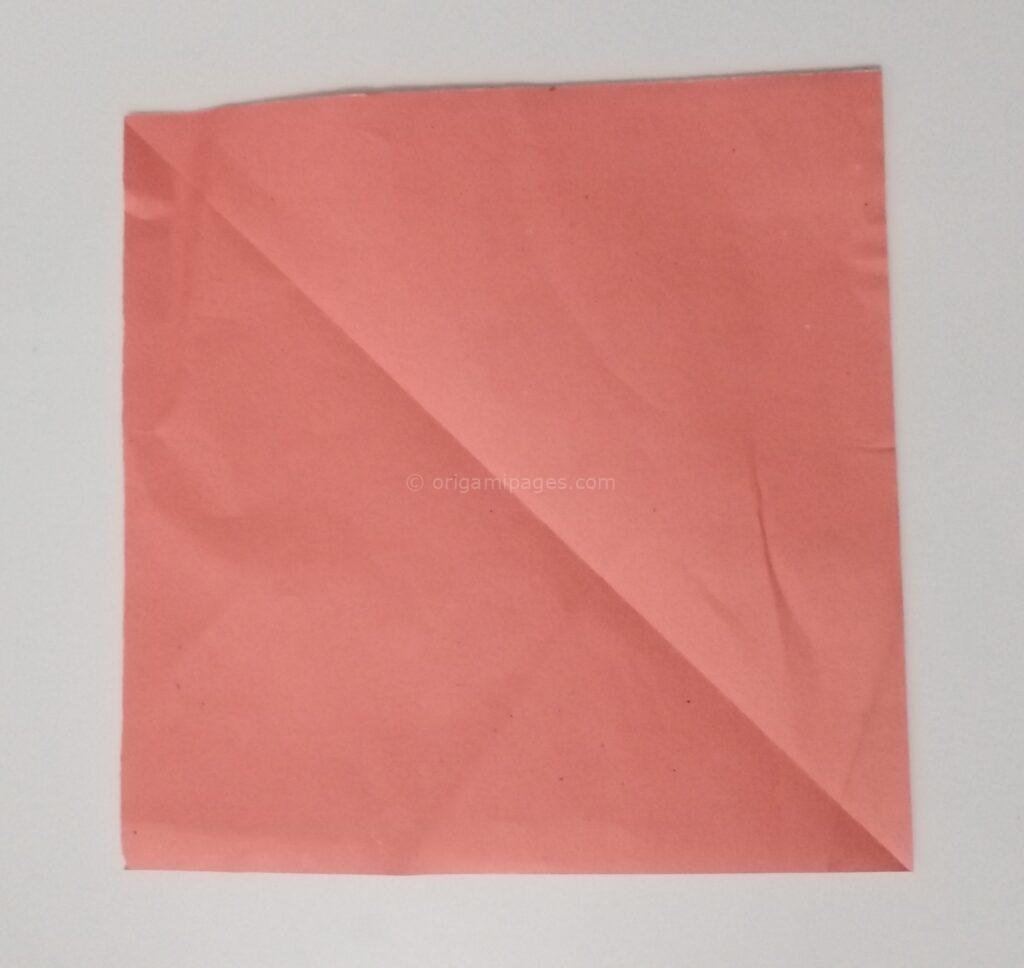
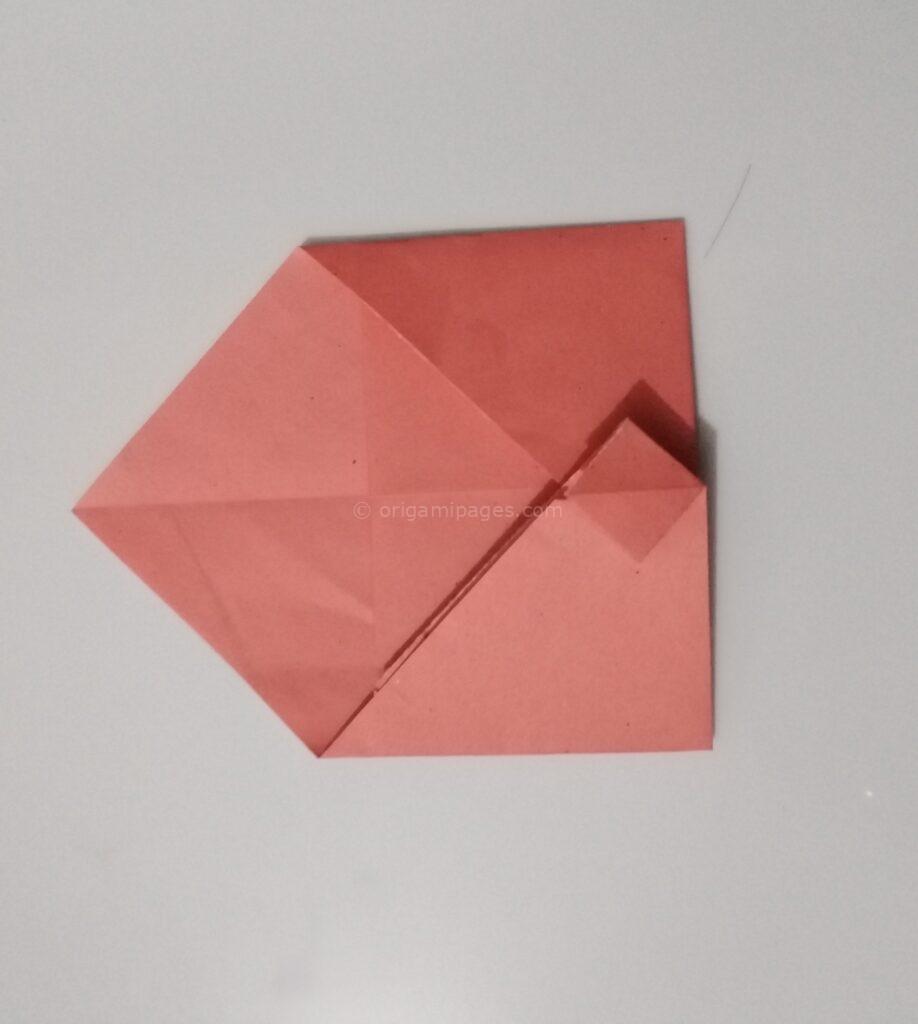
Step 4: Right and Left Side Folds
Now, focus on the right side of the paper. Fold the right side towards the center, using the X crease as your guide. Do the same for the left side of the paper. These folds should mirror each other and create a shape similar to an envelope.
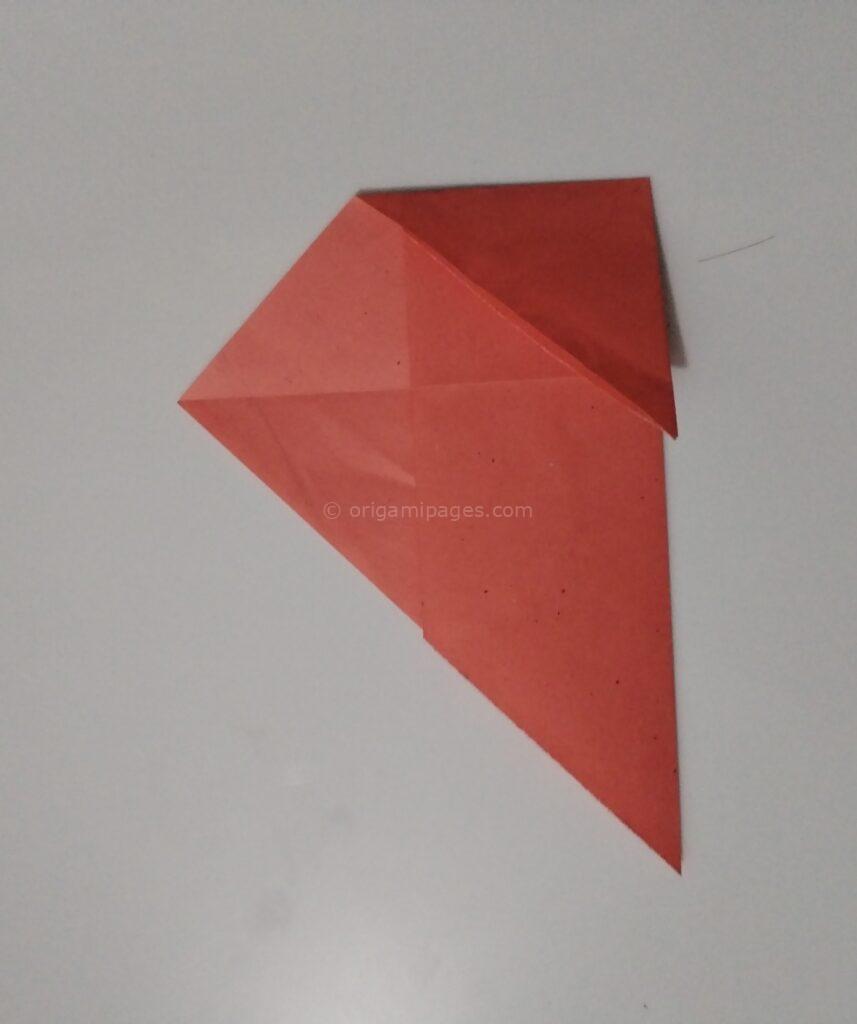

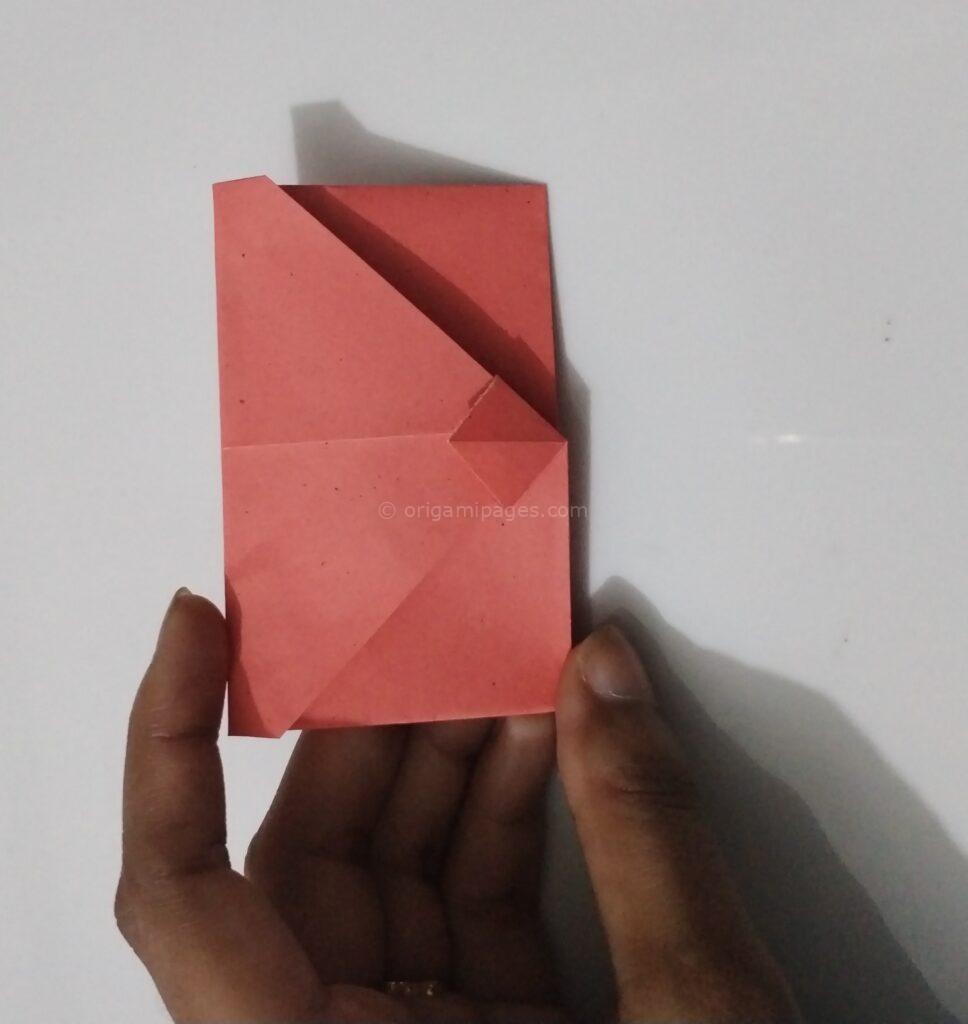
Step 5: Form the Square Shape
Where the right and left folds meet at the center, fold the left side straight and then open it back up. This will create a natural square shape in the middle of your paper. Ensure that the fold lines are crisp and clear, as this is essential for the next step.
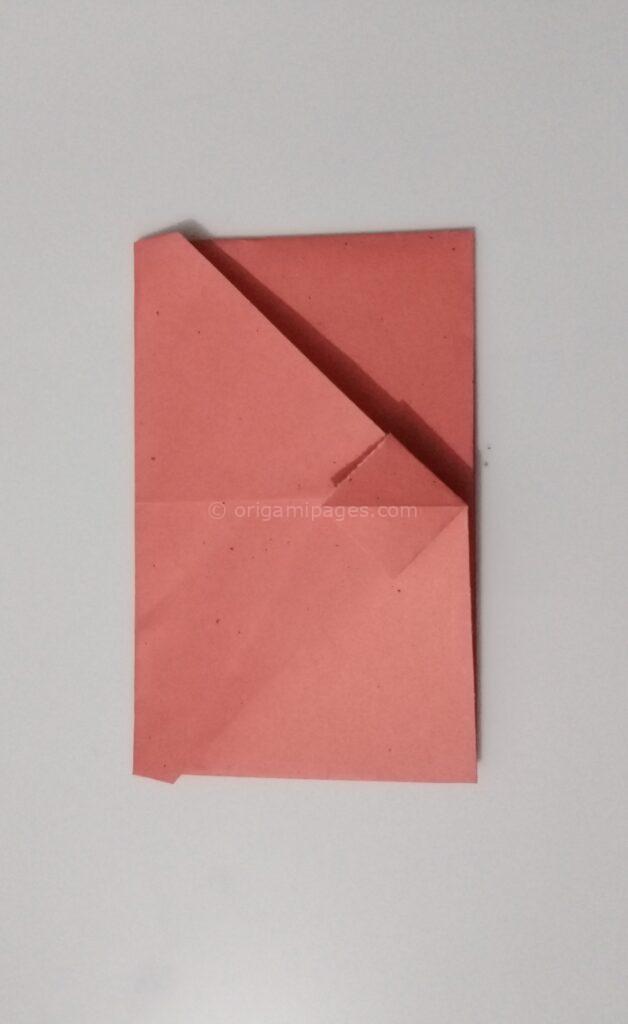
Step 6: Final Folding and Locking
To complete the origami money purse, fold the upper layer of the paper downwards. Insert this upper flap into the square-shaped pocket you just formed. Press firmly to secure the fold and lock the purse into shape.
Step 7: Finished Product
With a few final adjustments, your origami coin purse is complete! You now have a practical and stylish paper folding coin purse that you can use to store small items like coins, paper clips, or even tiny treasures.
Conclusion
In this tutorial, I’ve shown you how to make a coin purse using simple origami techniques. By following these origami coin purse instructions, you’ve created something that is both fun and functional. Whether you plan to use it as a cute accessory or as a gift for someone special, the satisfaction of crafting your own purse is truly rewarding. I encourage you to try different paper colors and patterns to make your origami coin purse uniquely yours.
Thank you for folding along with me! I’d love to hear how your projects turn out and any tips you discovered along the way. Feel free to share your feedback and help me improve this resource for future readers.