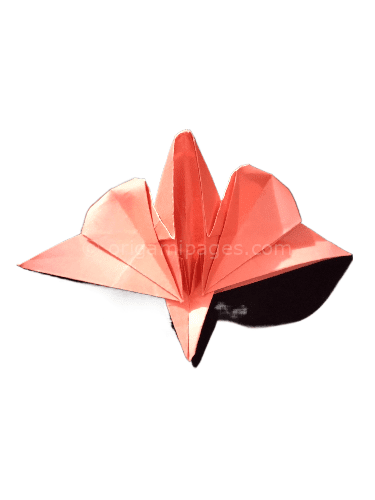
How to Make an Easy Origami Crane: A Simple Guide
The origami crane is a timeless design, perfect for beginners who want to try their hand at this paper-folding art. In this guide, I’ll walk you through how to fold your own crane using easy, step-by-step instructions and visuals. Even if you’re new to origami, these steps are straightforward, so you’ll be able to follow along with ease.
This project not only helps you practice fundamental origami skills but also allows you to create something special. Have suggestions or questions? Feel free to share your thoughts to help improve the guide!
Step-by-Step Instructions
Step 1: Get a Square Piece of Paper
Start with a square sheet of paper, ideally measuring 15″×15″. This size works well for beginners, offering enough space to make each fold manageable.
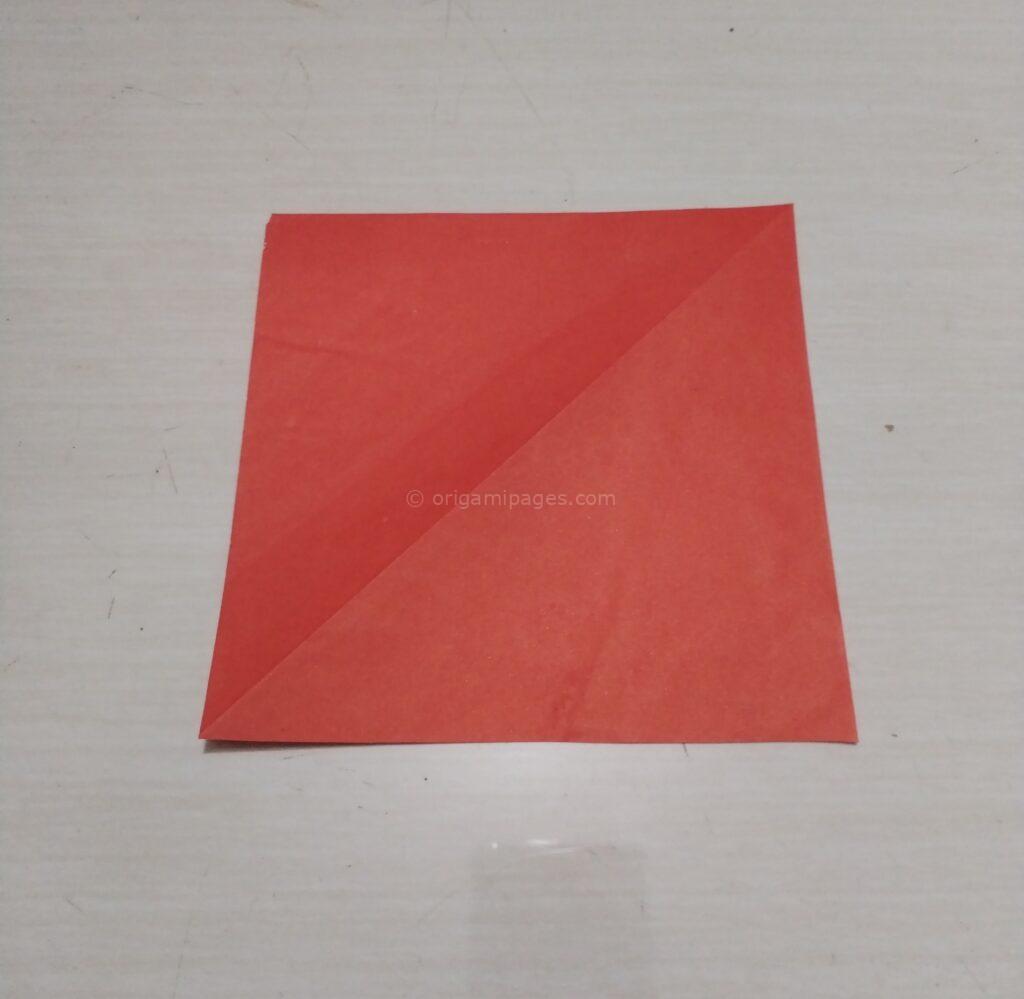
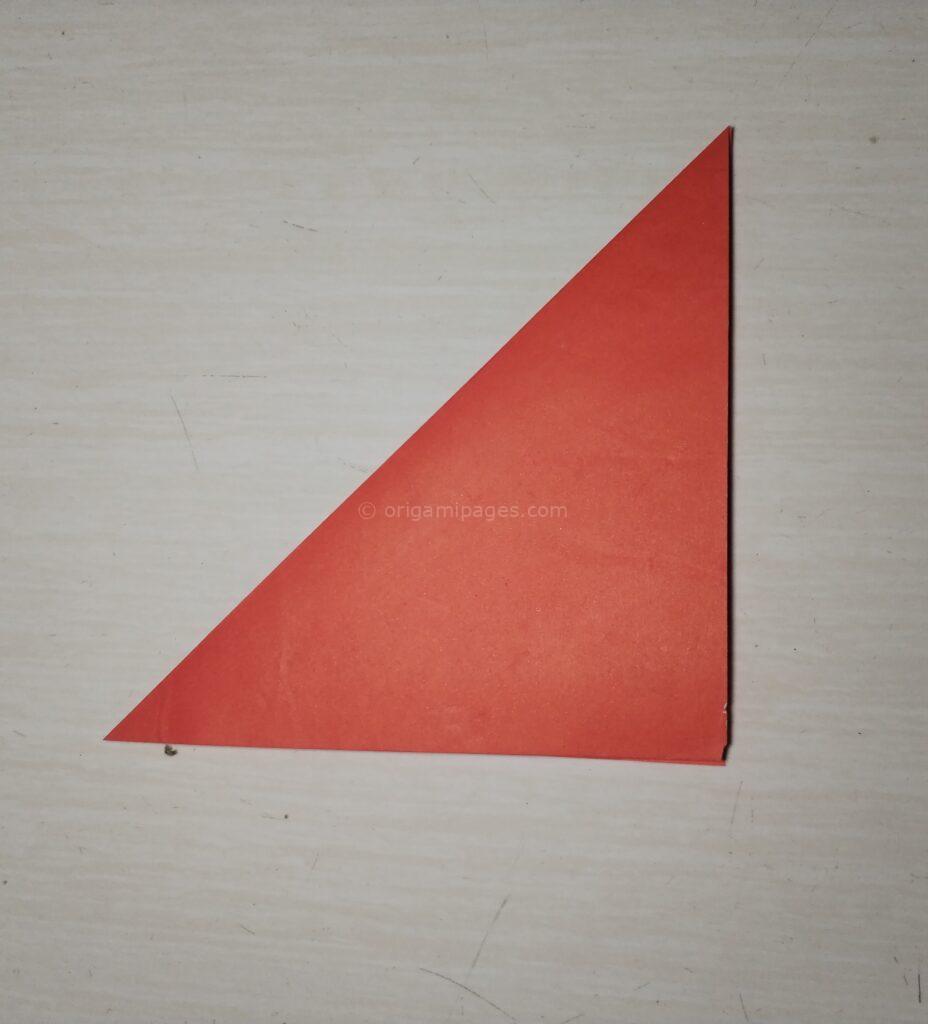
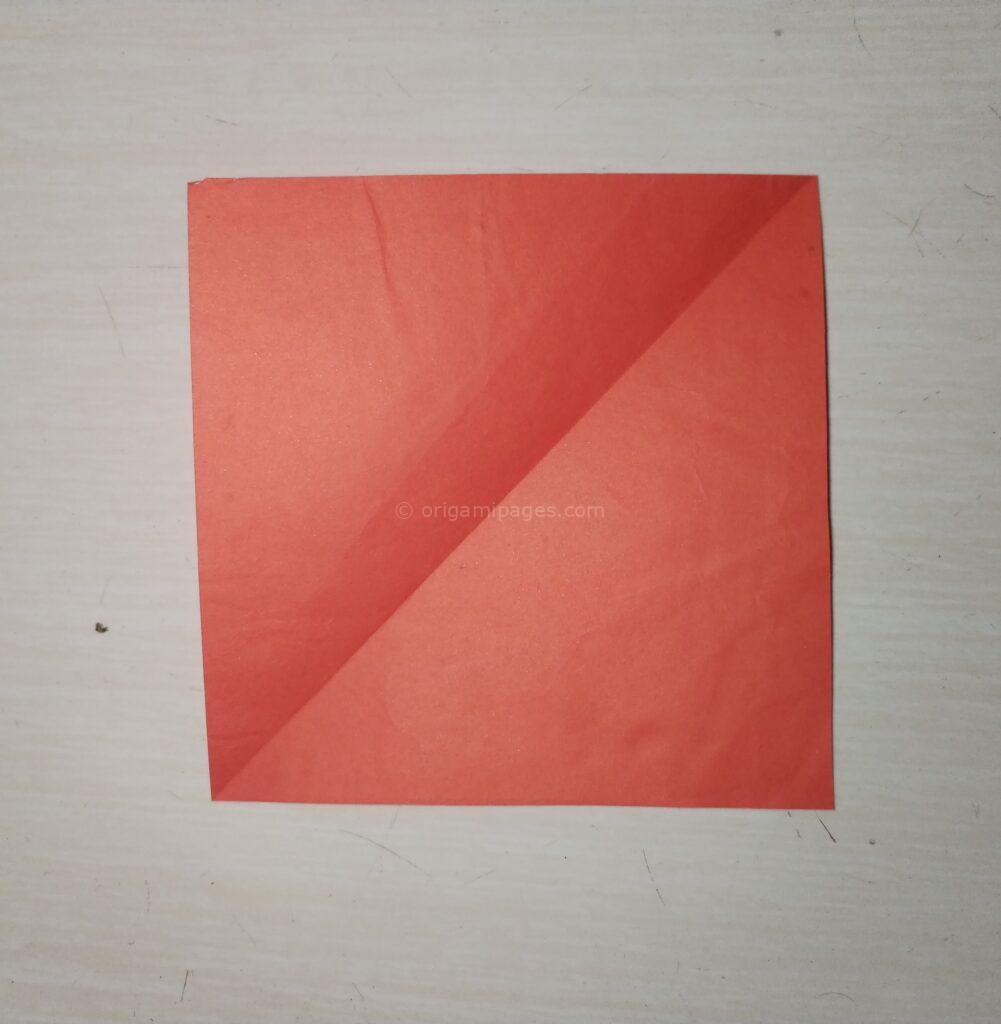
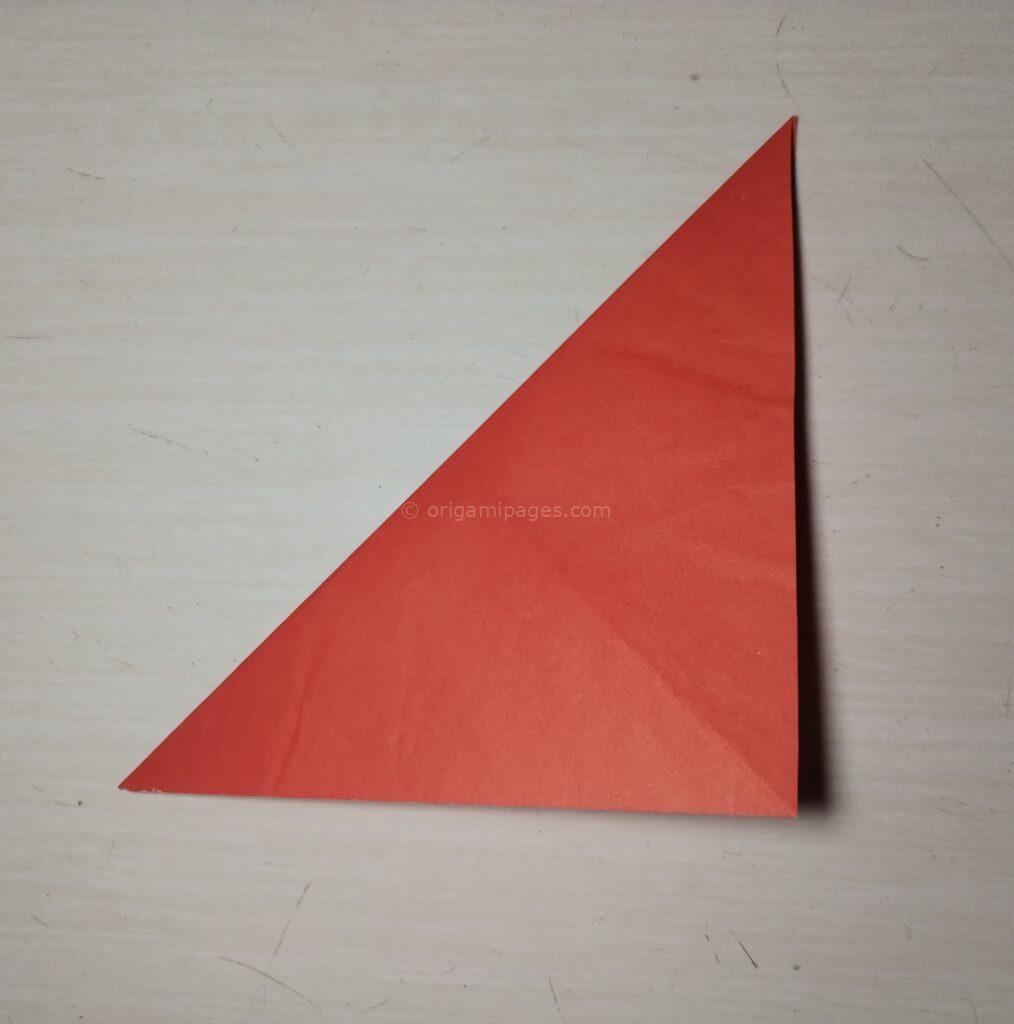
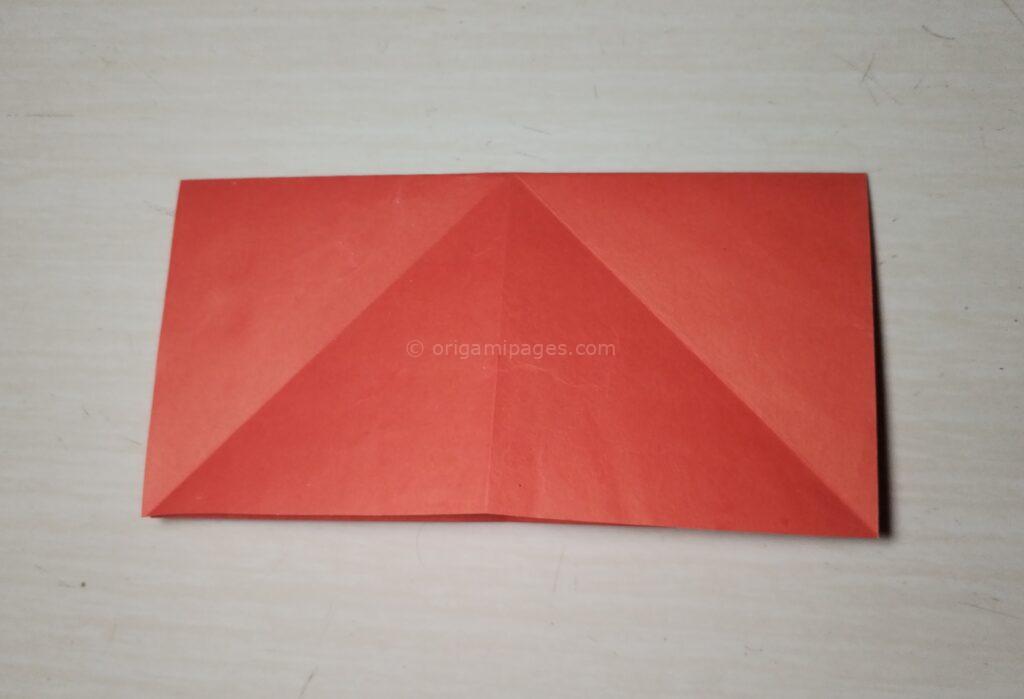
Step 2: Fold Diagonally and Unfold
Fold the paper diagonally from corner to corner, creating two triangle-shaped creases. After each fold, open the paper back up. These creases will be your guides for the next steps.
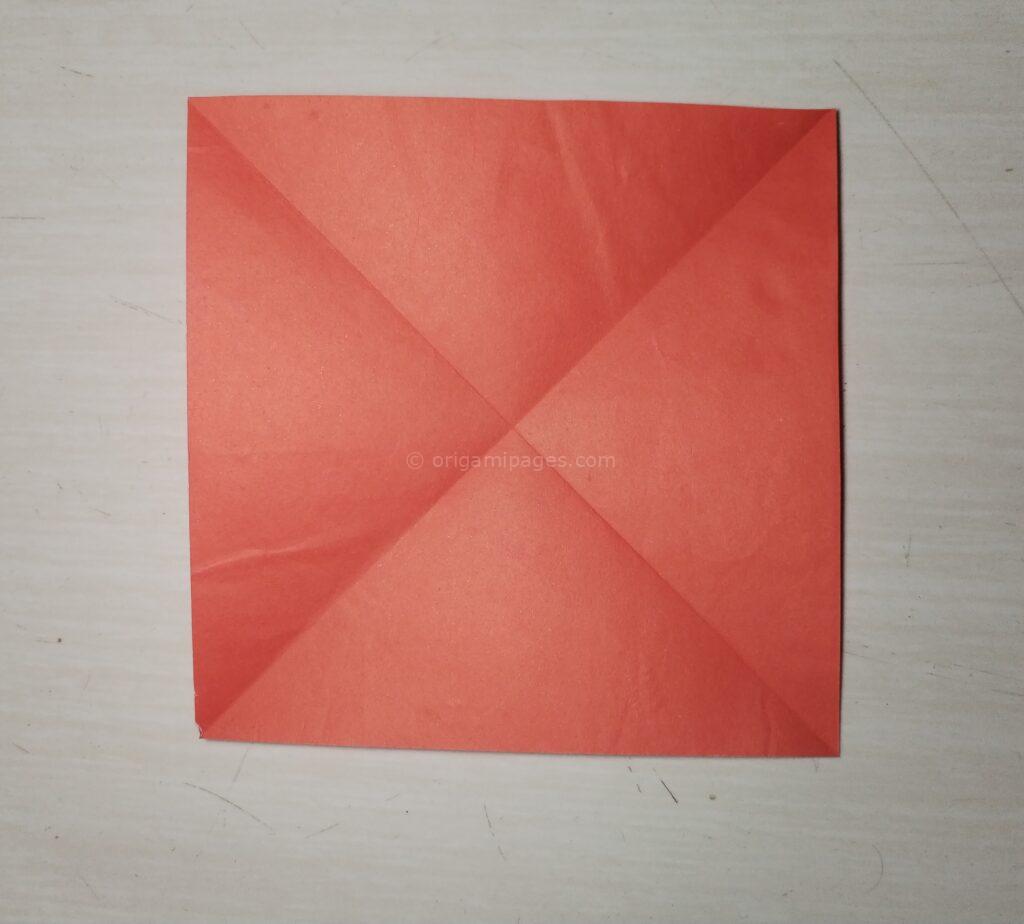
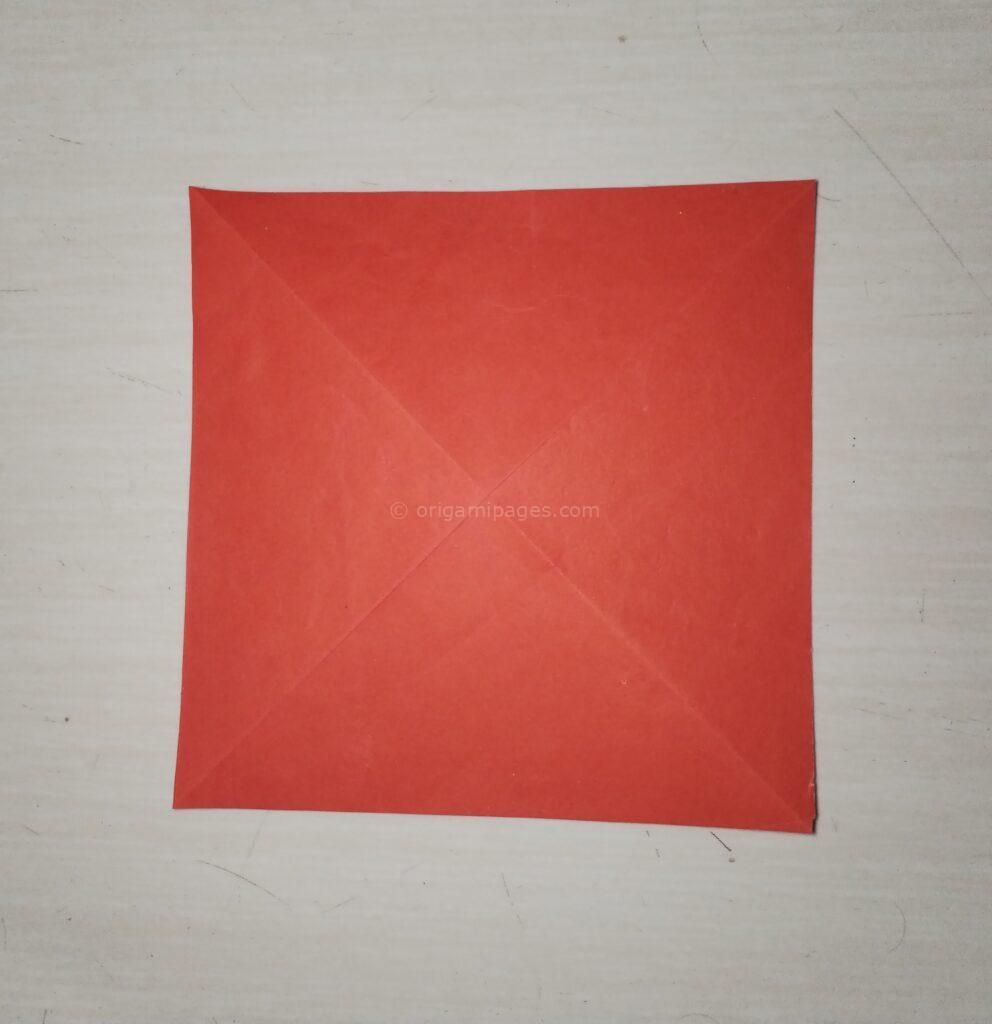
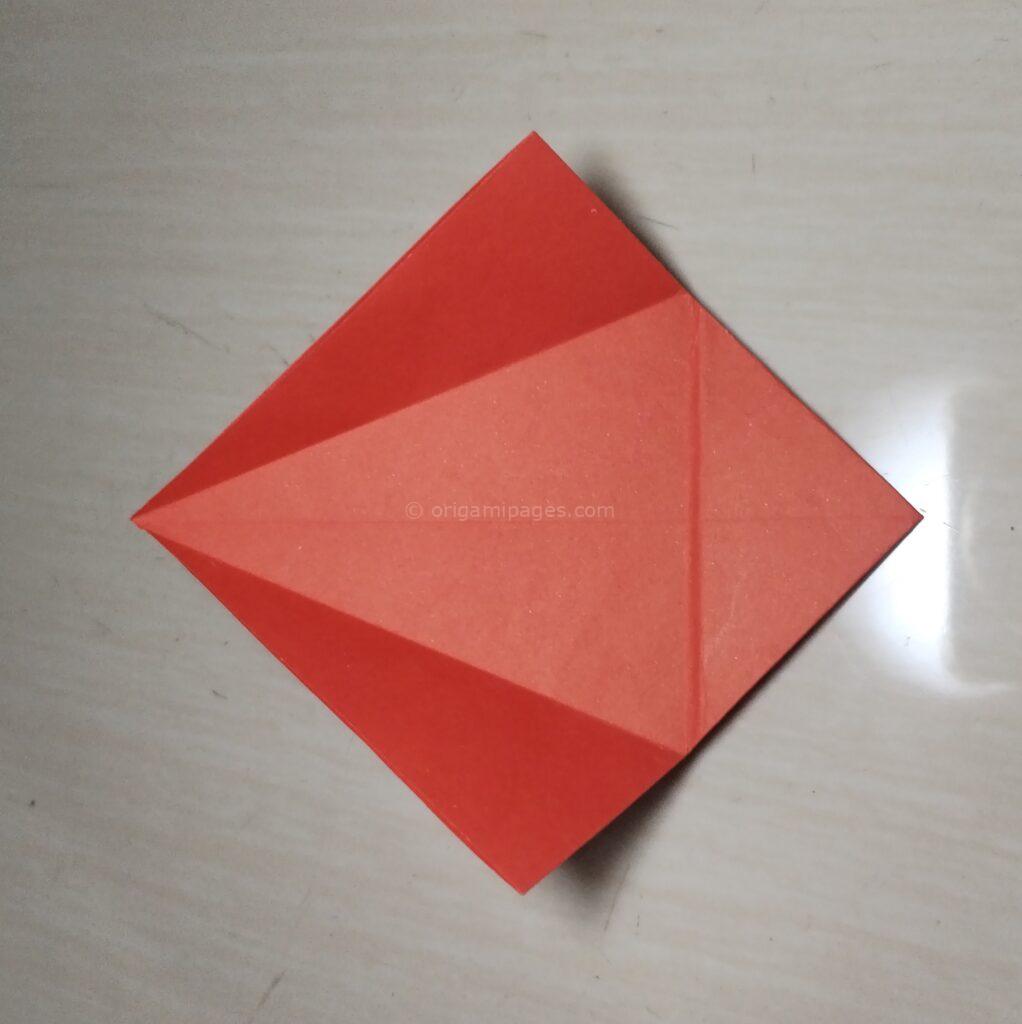
Step 3: Flip and Fold Vertically and Horizontally
Turn the paper upside down, then fold it in half vertically and unfold. Do the same horizontally. You should now see a grid of intersecting creases.
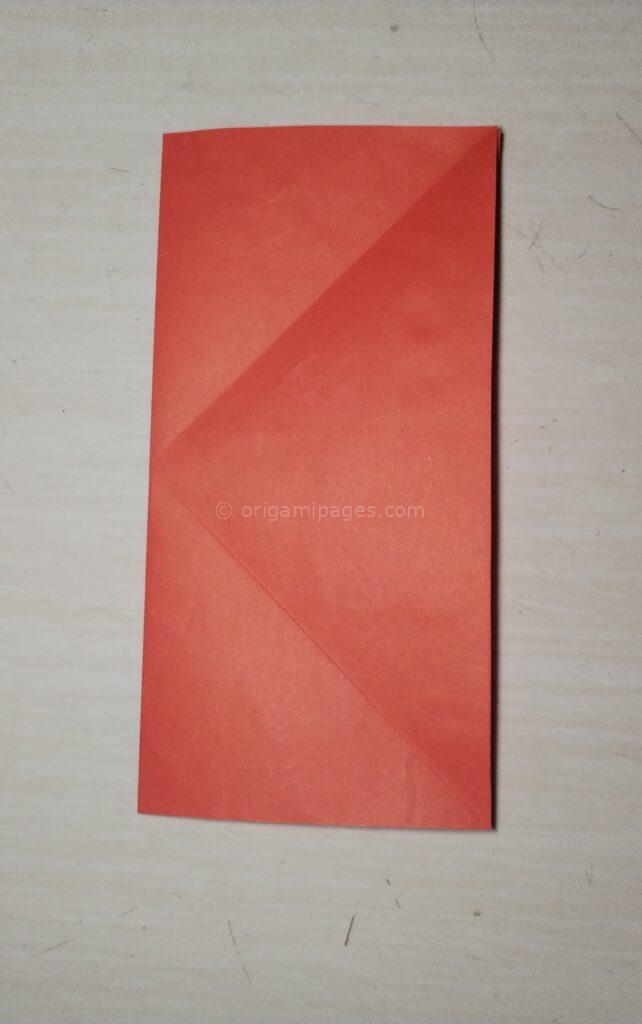
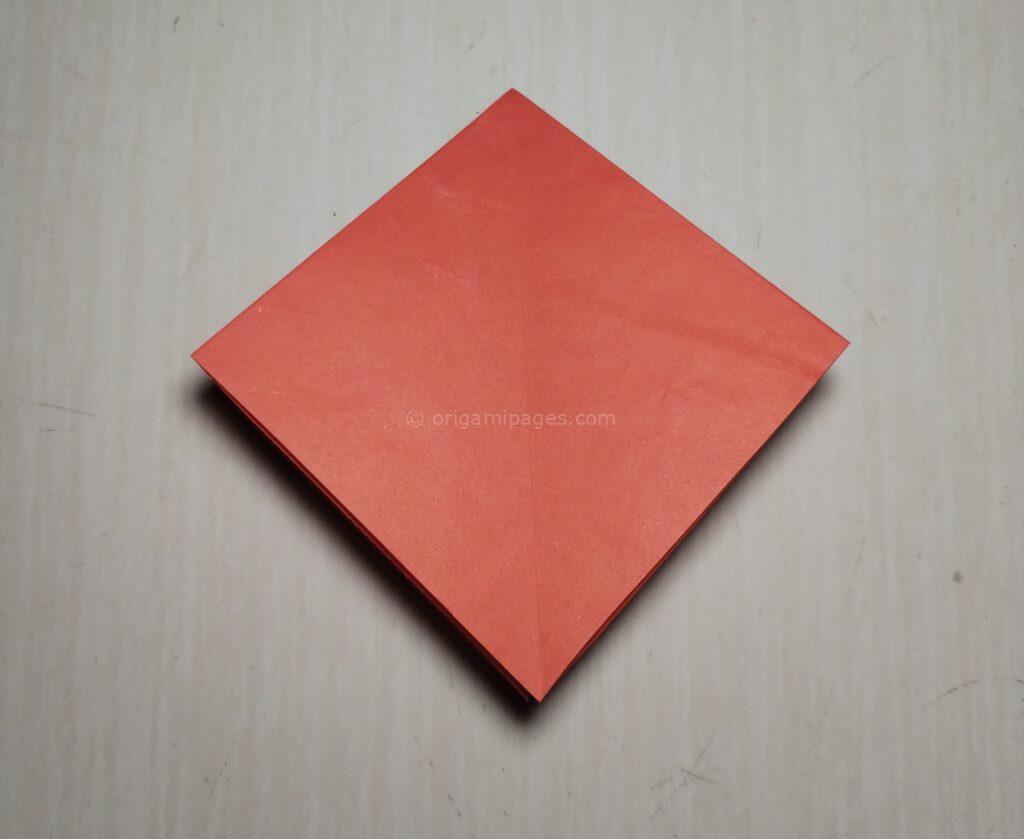
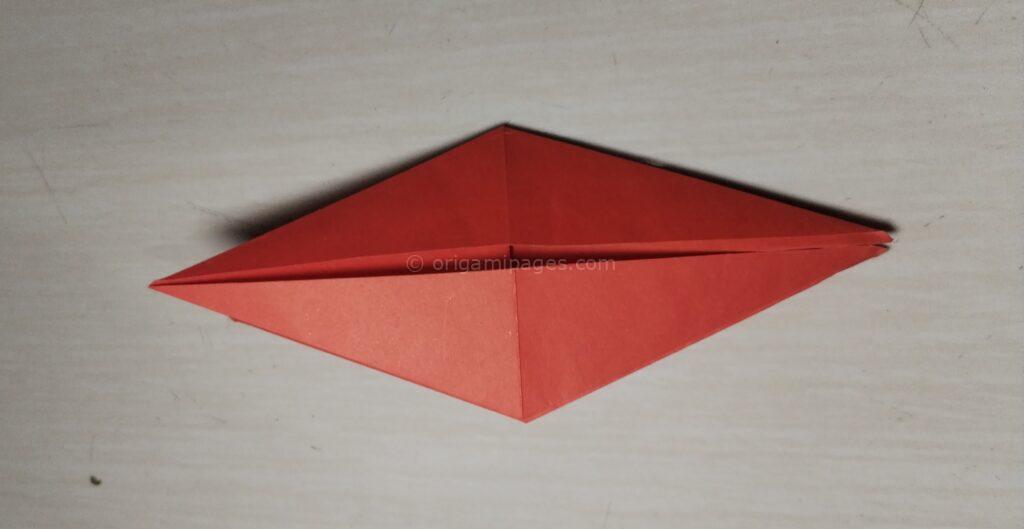
Step 4: Fold the Sides Along the Center Line
Using the existing creases, fold the paper along the center line on both sides, forming a diamond shape. This is the starting base for your crane.
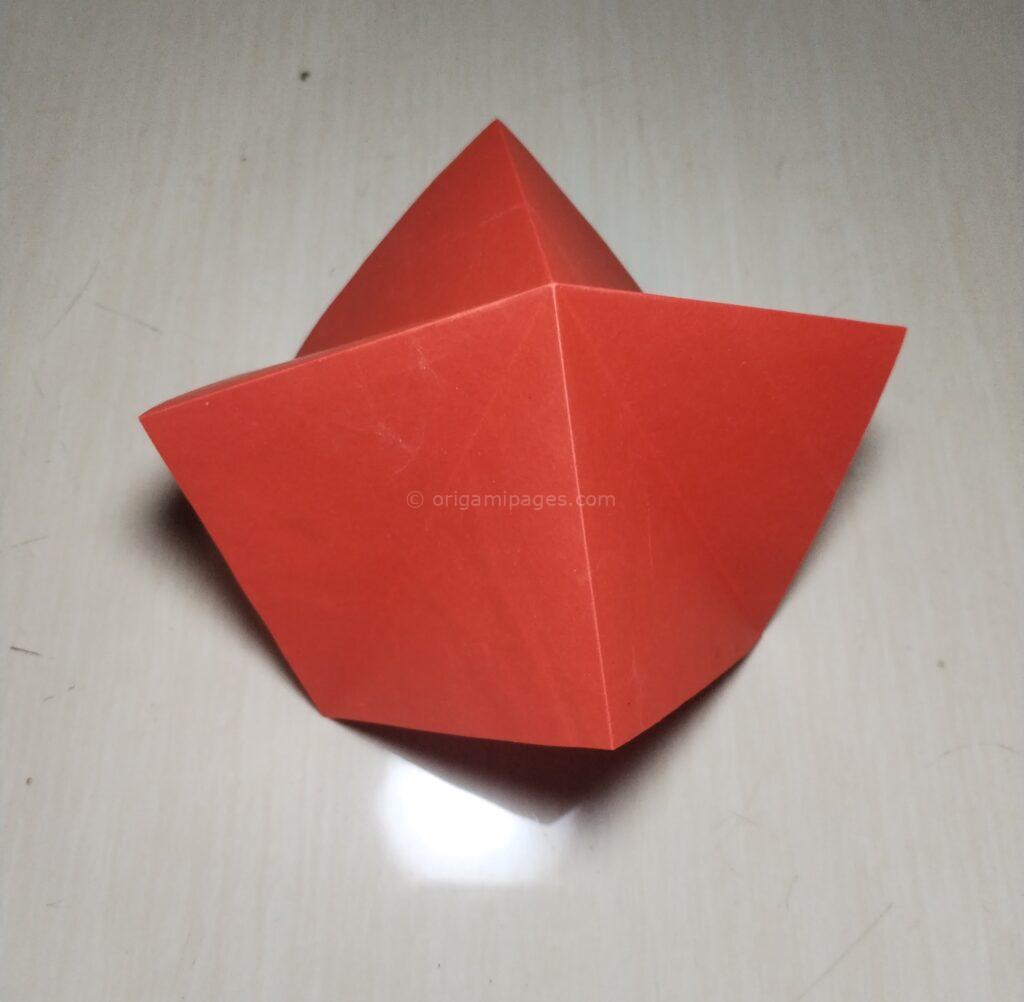
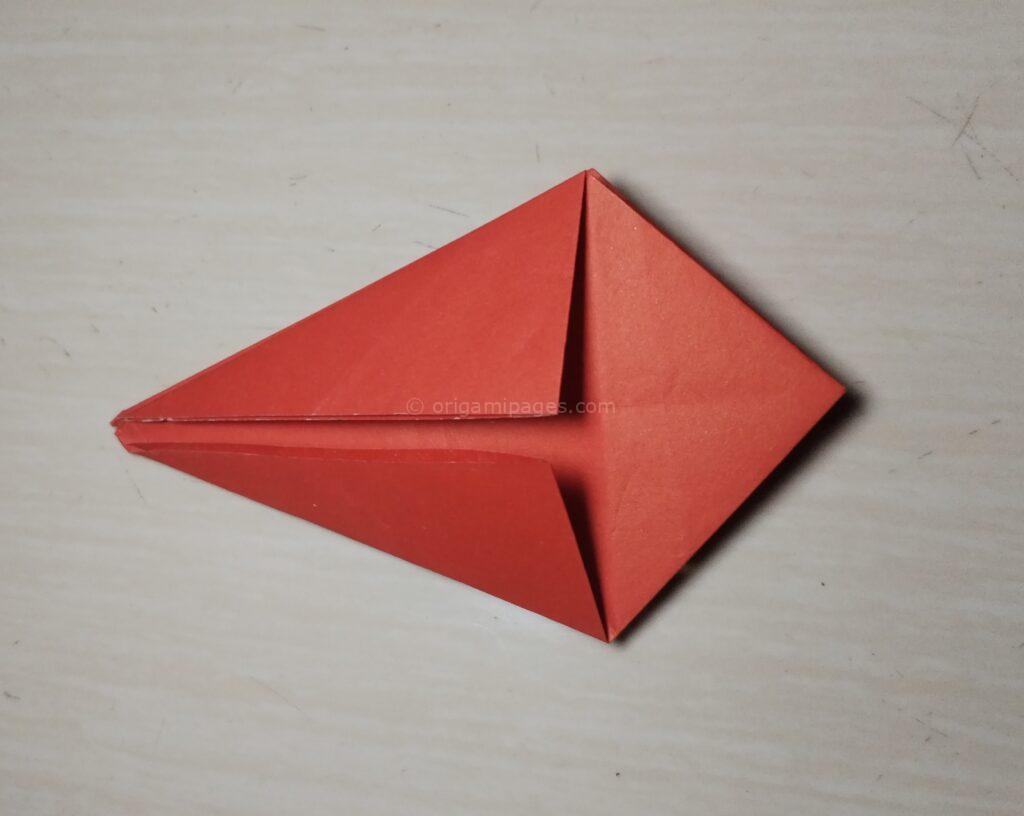
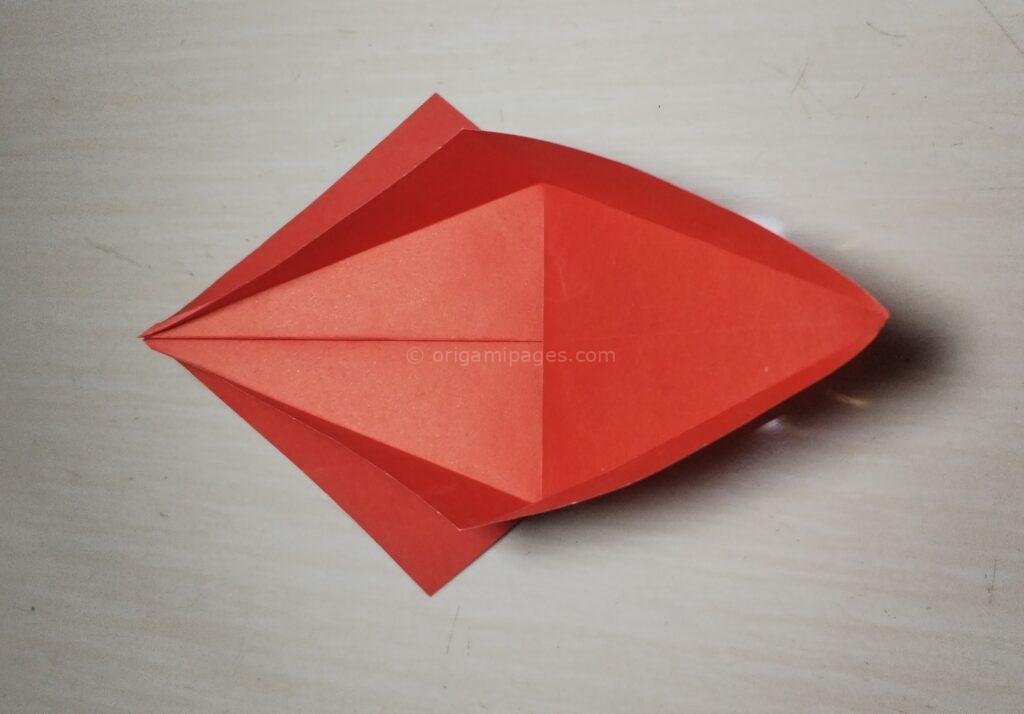
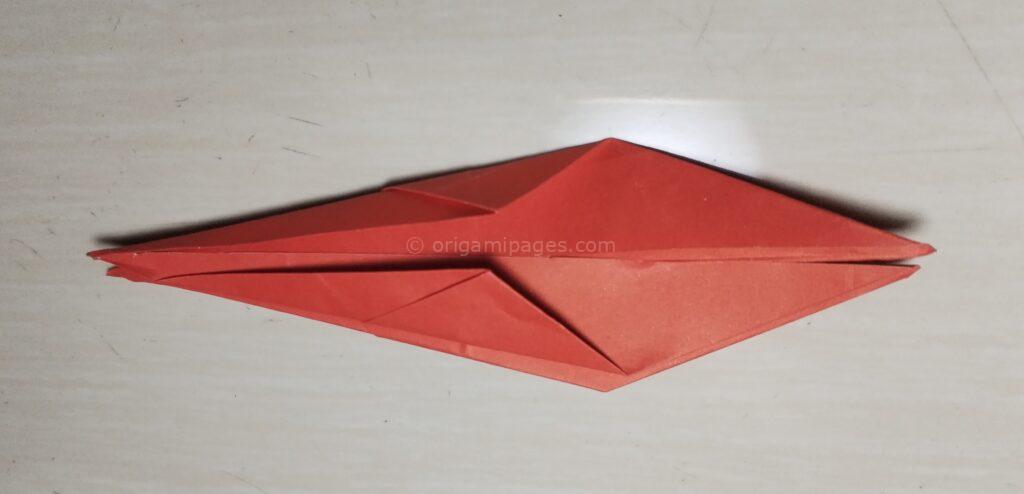
Step 5: Lift the Bottom Edge and Open the Folds
Fold the bottom edge of the paper upward, then carefully open the folds as shown in the guide. This creates the foundational structure for your crane.
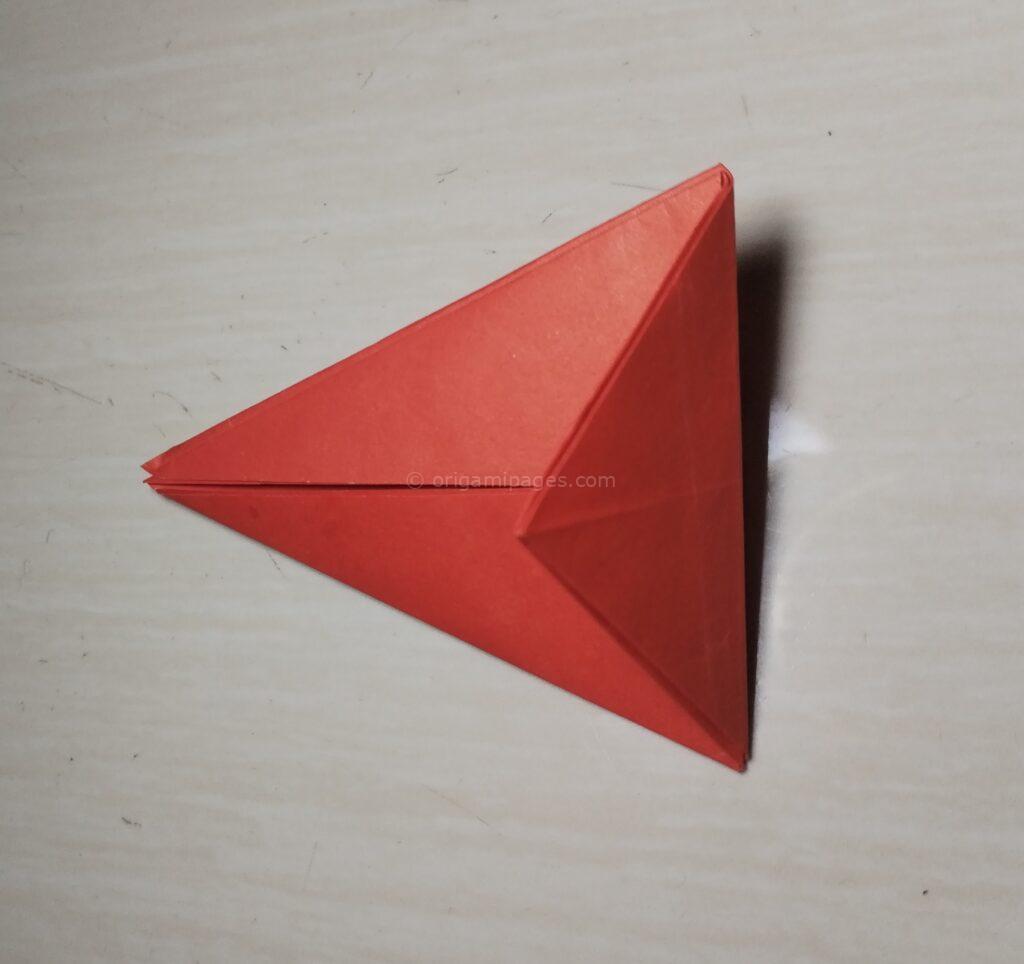
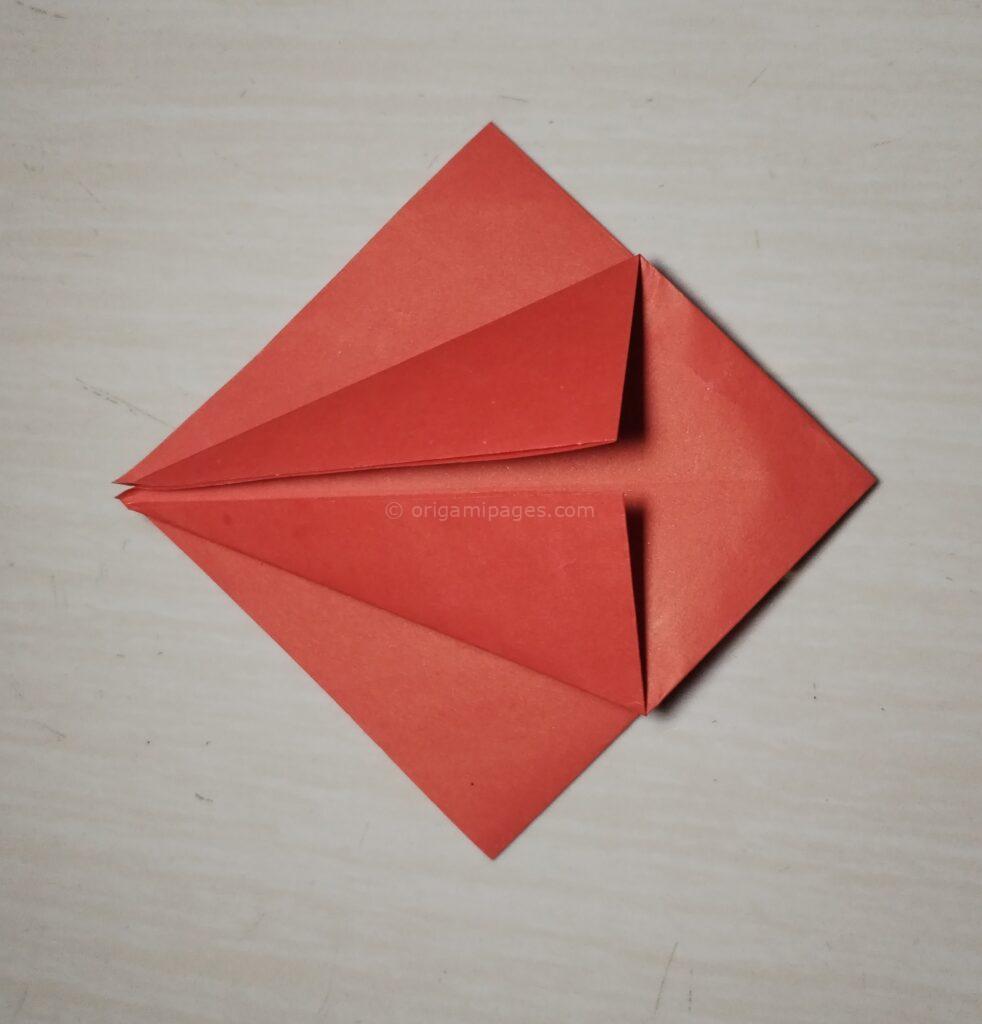
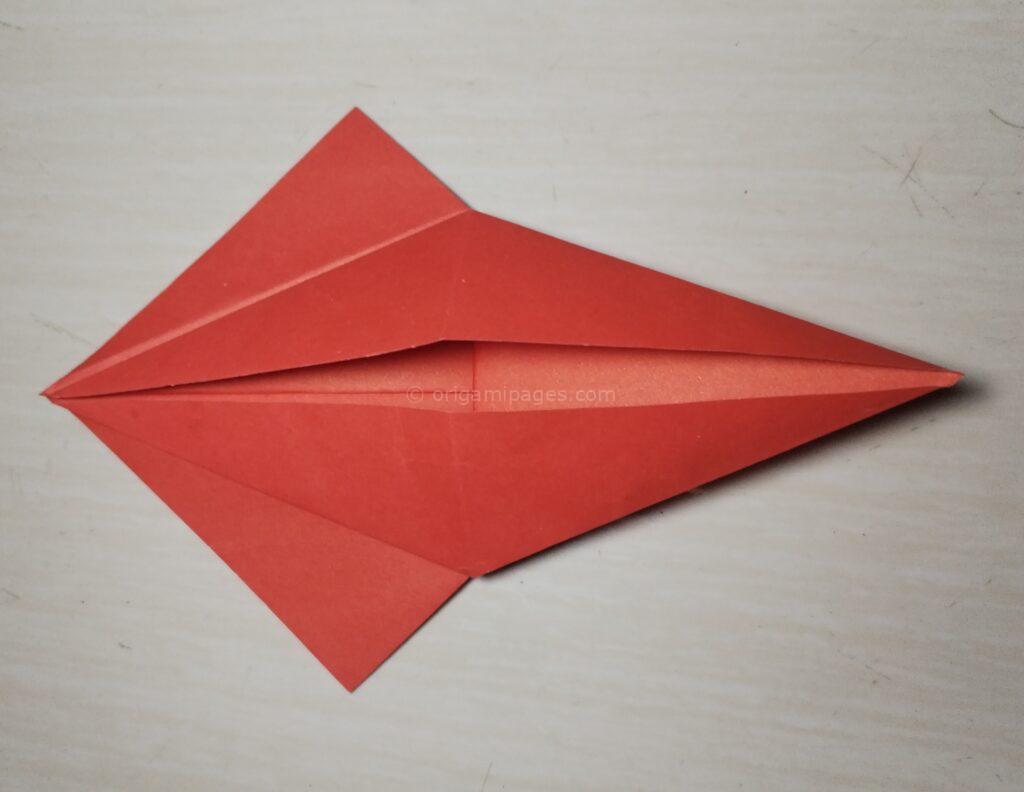
Step 6: Fold the Top Edge Down
Next, fold the top part of the paper down, repeating this fold on both sides. These folds will begin shaping the crane’s head and tail.
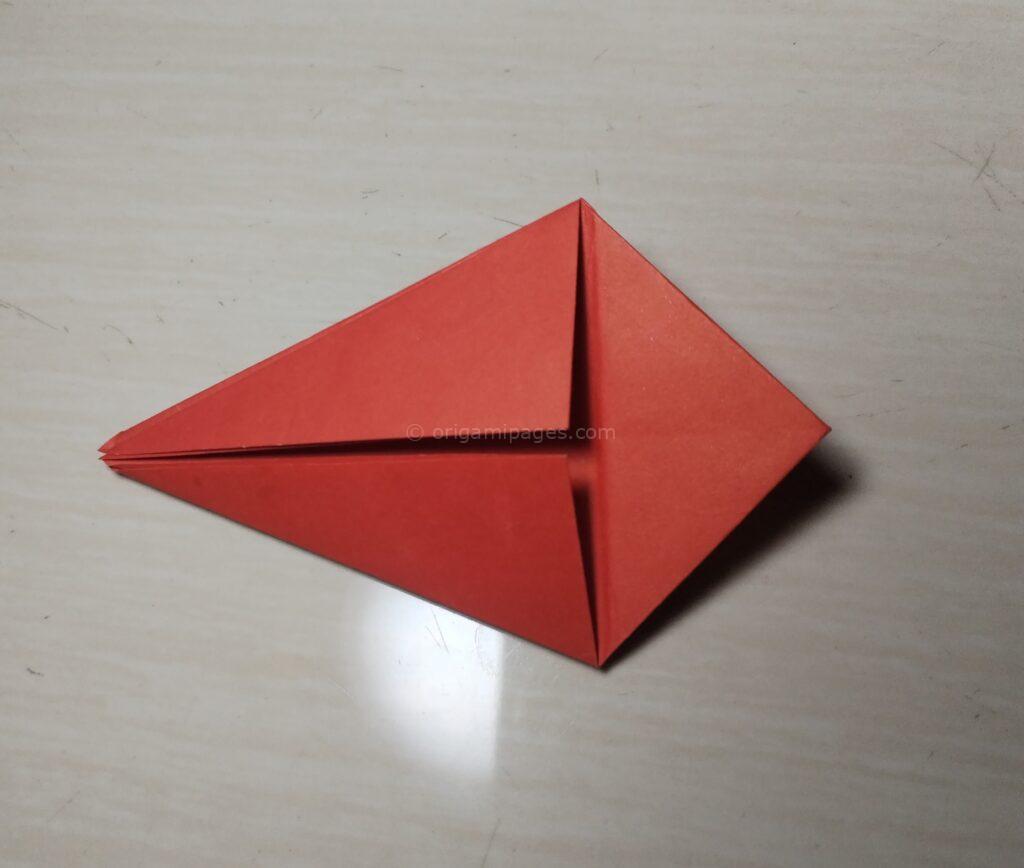
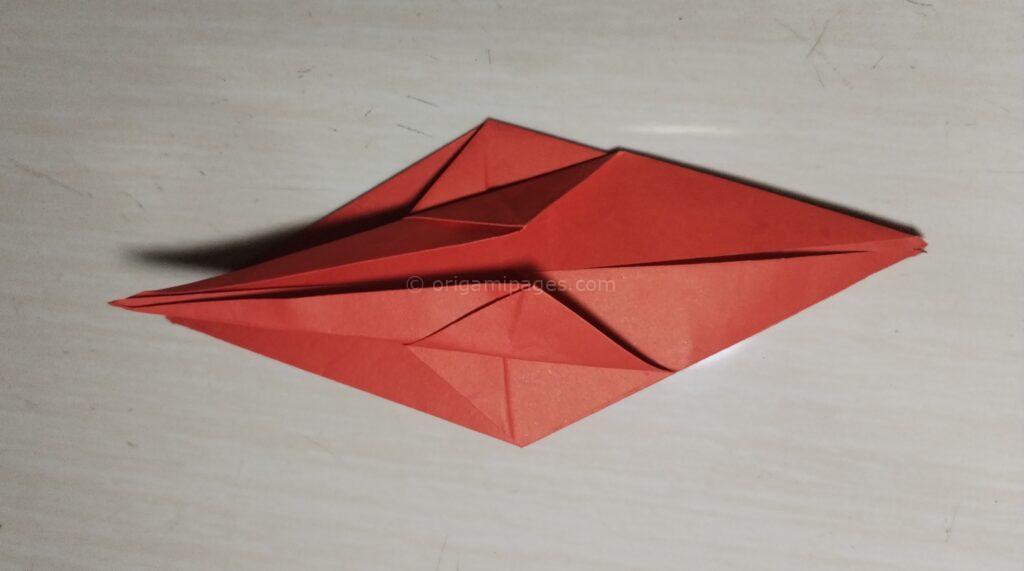
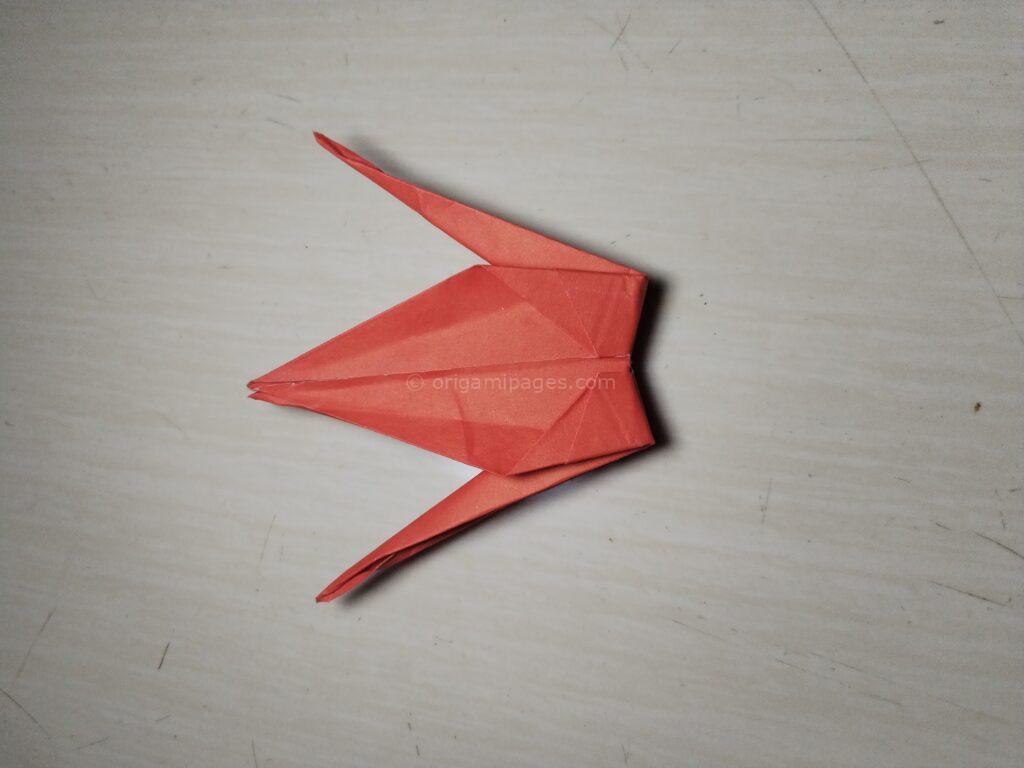
Step 7: Fold the Sides Toward the Middle
Now, fold the sides of the paper inward along the middle line. This step refines the shape and starts to define the wings.
Step 8: Flip and Fold Up
Turn the paper upside down again and fold the bottom part upward as shown. This fold helps finish the crane’s body.

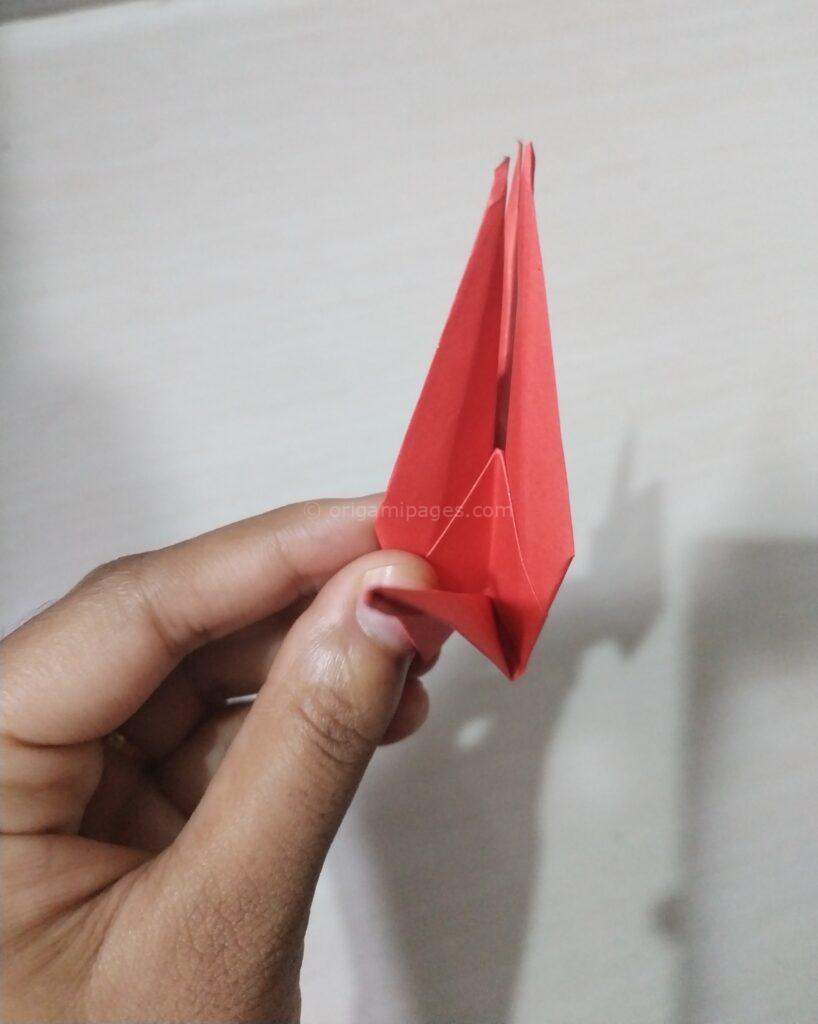
Step 9: Spread the Wings
Gently pull the wings outward from both sides. Be careful not to tear the paper! Once done, you’ll reveal the full form of your crane.

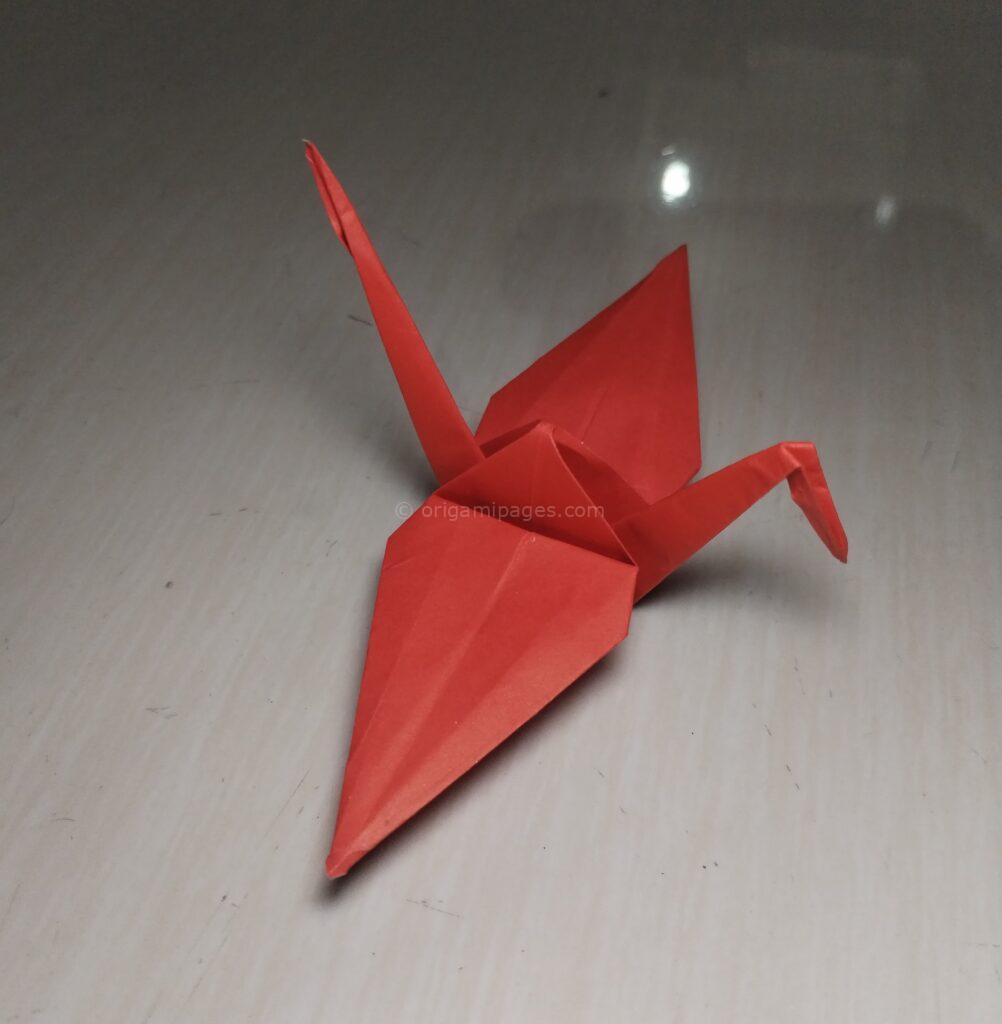
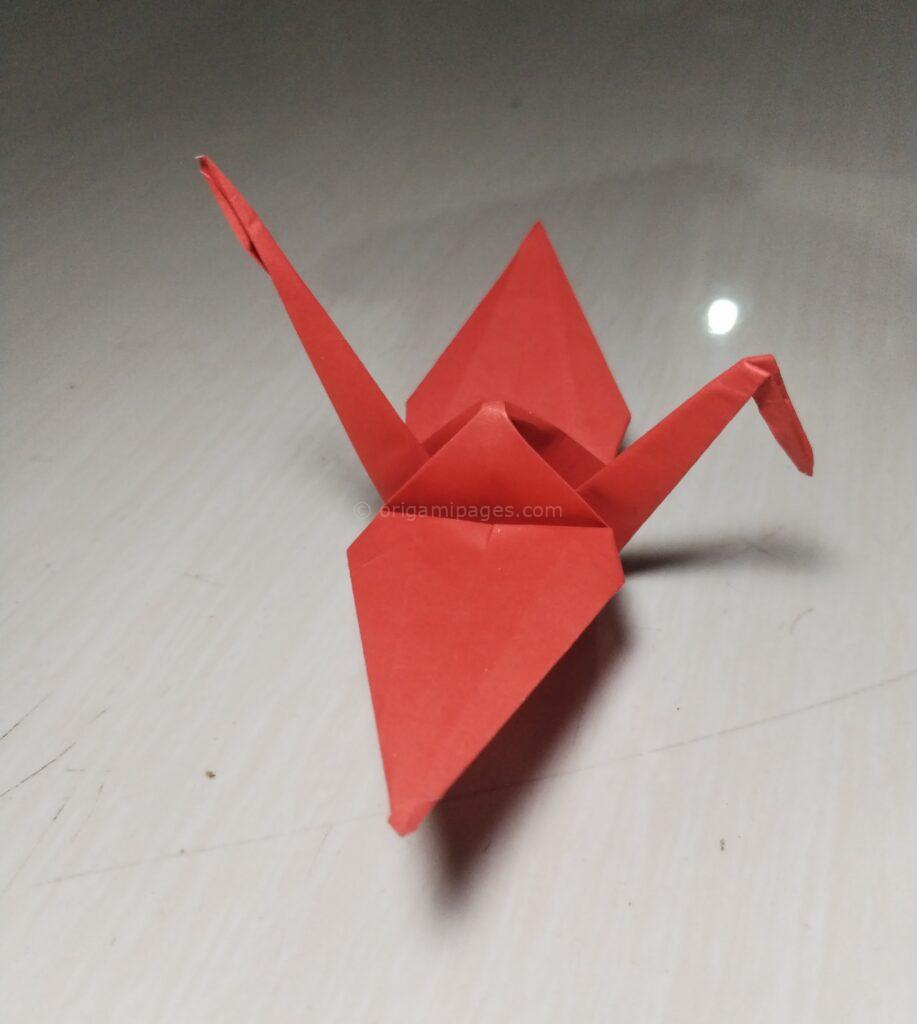
Step 10: Congratulations, Your Crane is Ready!
You’ve now completed your origami crane! If you enjoyed the process, feel free to make more cranes to perfect your technique or even create a decorative display.

Conclusion
Making an origami crane is a fun and rewarding activity. The clear, step-by-step instructions here ensure that even beginners can follow along easily. If you have any feedback or ideas on how to improve these instructions, don’t hesitate to share. Happy folding!