Easy Origami Orchid Flower – A Step by Step Guide
Embarking on the journey of easy flower origami is akin to entering a realm where precision converges with creativity, offering enthusiasts of all levels an opportunity to craft delicate and intricate creations. In this expansive world of paper-folding wonders, the easy flower origami known as the origami flower orchid stands as a testament to the elegance achievable through this ancient art form. Whether you’re a novice excitedly approaching your first fold or a seasoned artist seeking a new challenge, the enchanting process of creating an origami orchid flower promises both fulfillment and joy.

Unveiling the Charm of Origami Orchids
The delicate allure of orchids, with their graceful petals and intricate details, has long captivated the imaginations of artists and enthusiasts alike. Within the realm of origami, these exquisite flowers find expression through a careful dance of folds and creases. The magic isn’t just in the final result; it lies in the meditative process of transforming a flat sheet of paper into a three-dimensional masterpiece. As you embark on the journey of crafting an origami orchid flower using the Origami orchid flower easy technique, visualize each fold as a stroke on an artist’s canvas, gradually bringing forth beauty from simplicity.
A Promise of Guidance and Fulfillment
Fear not if you’re new to the world of origami; creating an origami orchid flower is an accessible endeavor, designed to be enjoyable for beginners. This article will guide you through each step with clarity, providing a roadmap for both novice and seasoned origami enthusiasts. From the foundational folds that set the stage to the meticulous shaping of petals, every step is crafted to be comprehensible and enjoyable. The satisfaction derived from completing this project lies not only in the stunning result but also in the skills acquired and the sense of accomplishment attained.
Step-by-Step Guide: Crafting Your Origami Orchid
Step 1: Begin with the Right Foundation
To initiate your origami orchid journey and make origami orchid flower for kids, procure a 10 cm x 20 cm paper. This standard size strikes a balance between manageability and the ability to showcase the intricate details of the flower.

Step 2: Lay the Groundwork with Symmetry
Fold the top part of the paper in half to the center, and repeat the process on the other side. This symmetrical foundation sets the stage for the orchid’s balanced and harmonious structure.


Step 3: Vertical Fold for Structural Integrity
Unfold the paper and fold it vertically, following the Origami orchid flower step by step technique. This step not only adds structural integrity but also serves as a guide for subsequent folds, ensuring precision in your creation.

Step 4: Create the Orchid Core
Take the right and left edges of the paper, folding them to the centerline. This fundamental step, as per the instruction origami orchid, establishes the core structure of the orchid, laying the groundwork for the intricate folds to follow.

Step 5: Form the Orchid Diamond
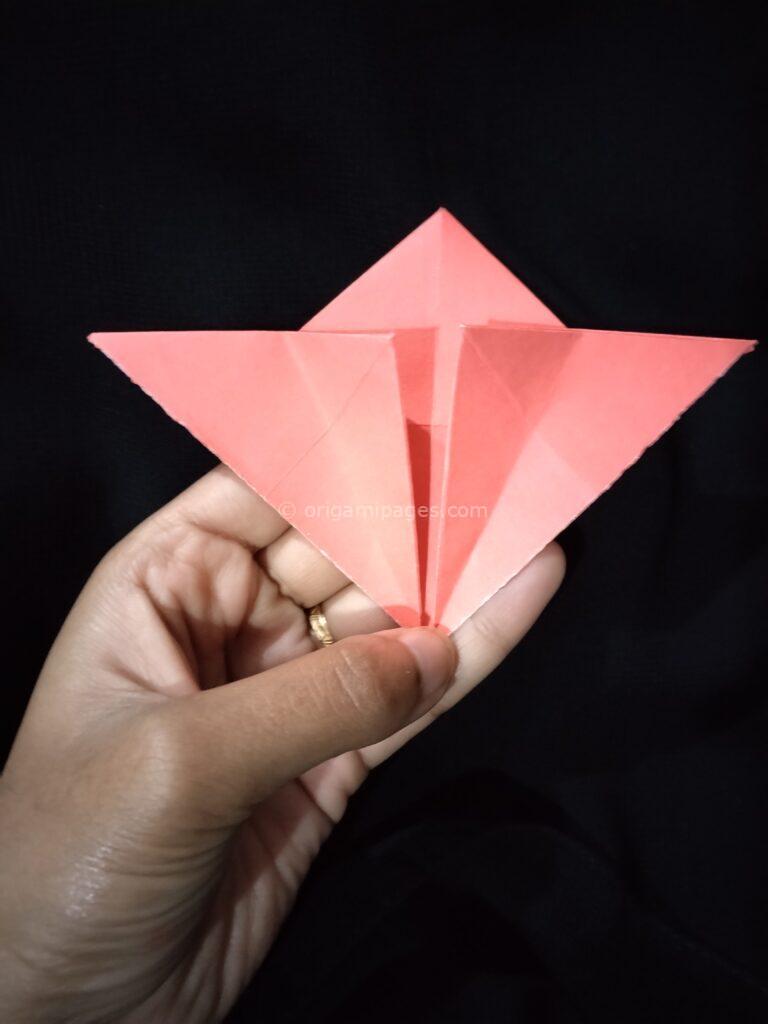
Valley fold the bottom corners, creating a diamond shape by folding along the middle of the two corners. This diamond shape serves as the canvas for the unfolding beauty of the orchid.


Step 6: Tuck and Fold for Elegance
Fold the top point of the diamond down, tucking it behind. This elegant maneuver sets the stage for the orchid’s characteristic layered petals, adding a touch of grace to your creation.


Step 7: Fold Along the Centerline
Fold the entire piece in half along the centerline, securing the foundation and preparing for the final transformation.


Step 8: Unveil the Orchid Petals
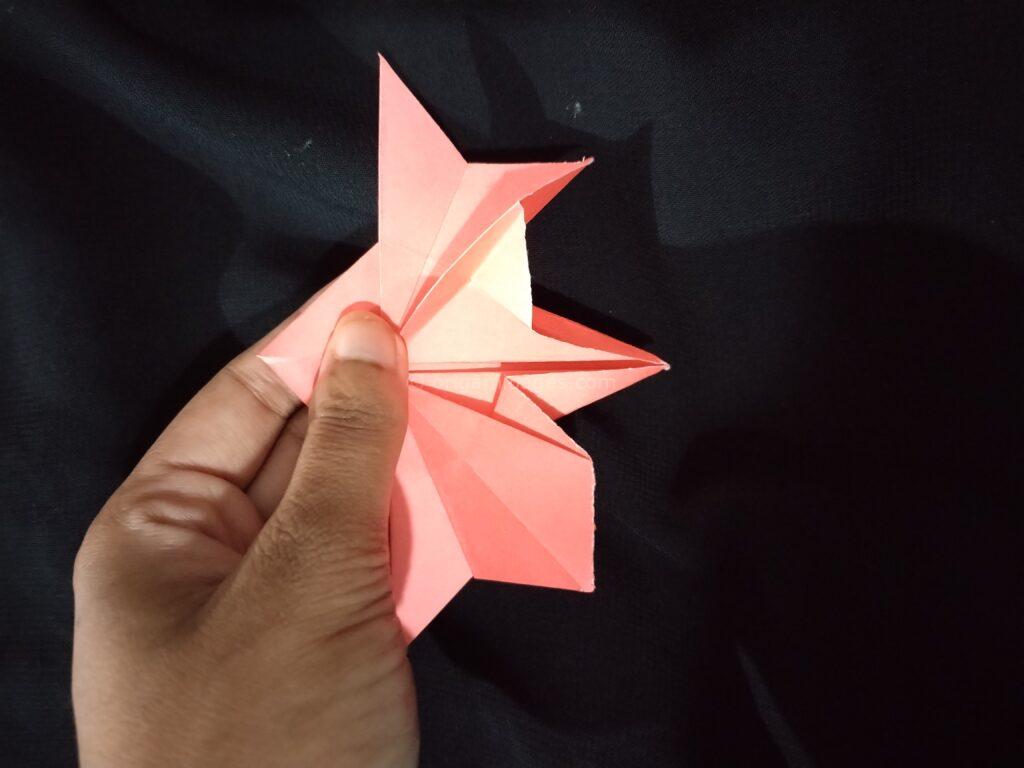
Gently open the sides of the folded piece to create the orchid petals. This unfolding moment reveals the intricate layers, bringing your orchid to life.


Step 9: Refine with Small Folds
Make small folds inside the petals, adding depth and dimension to your origami orchid per the origami orchid flower instructions. These subtle details elevate your creation from a mere folded paper to a botanical masterpiece.


Step 10: Shape to Perfection
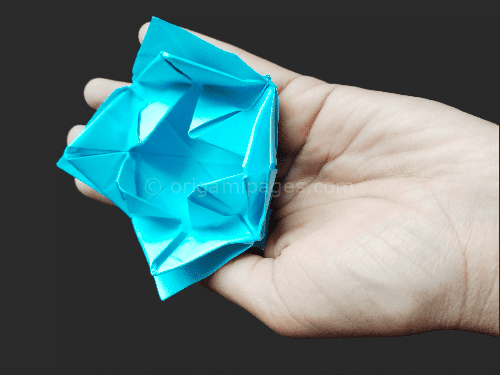
Adjust the folds and shape the orchid as needed to achieve the desired look. This final step allows for personalization, letting your artistic flair shine through in the unique details of your origami orchid flower.

The Culmination of Artistry: Your Origami Orchid Flower
With the completion of these steps, your origami orchid flower stands before you, a testament to your dedication and artistic sensibility. Whether you followed the instructions as a novice or added your own touches as an experienced folder, the result is a captivating masterpiece that captures the essence of nature in the delicate medium of paper.
As you bask in the accomplishment of creating an origami orchid and easy origami flower for kids, take a moment to appreciate not just the final product but the journey itself. The art of origami is not merely about folding paper; it is a transformative experience that fosters patience, precision, and a deep connection with the creative process.
If you have a passion for unraveling the intricacies of crafting exquisite origami floral masterpieces, you’ll undoubtedly appreciate our curated collection of tutorials. Among them, the Origami poppy flower and Origami water lily tutorials stand out as captivating endeavors, each offering a unique journey into the art of paper folding. Our comprehensive article on Origami poppy flower not only provides detailed insights but also meticulous step-by-step instructions, ensuring your foray into the realm of paper artistry is both enlightening and rewarding. Meanwhile, our exploration of the Origami water lily beckons with the promise of a new artistic adventure, inviting you to delve deeper into the enchanting world of origami craftsmanship.Conclusion: A Blooming Affair with Origami Orchids
In the enchanting world of origami, the orchid flower emerges as a symbol of grace and beauty, achievable by enthusiasts of all levels. The step-by-step guide provided here ensures that crafting your own origami orchid using both Origami orchid flower easy and Origami orchid flower hard techniques is not just a goal but a fulfilling journey. As you delve into the folds and creases, let the magic of origami unfold before you, promising not only a stunning creation but a newfound appreciation for the artistry of paper folding. So, gather your paper, embark on this creative adventure, and let the petals of your origami orchid bloom in splendid elegance.


