Professional Paper Airplane – Easy To Follow Guide
Explore the world of professional paper airplanes, where folding meets flying fun! Imagine holding a creation that defies gravity. Each fold reveals secrets to crafting awesome planes. This guide offers step-by-step instructions for beginners and pros alike. From simple folds to cool tricks, you’ll enjoy making these flying marvels. Let’s dive into the exciting world of professional paper airplanes together!

How to Make a Paper Airplane
Step 1: Get Your Stuff Ready
First things first, grab an A4 size paper. It’s the perfect size for your airplane adventure!
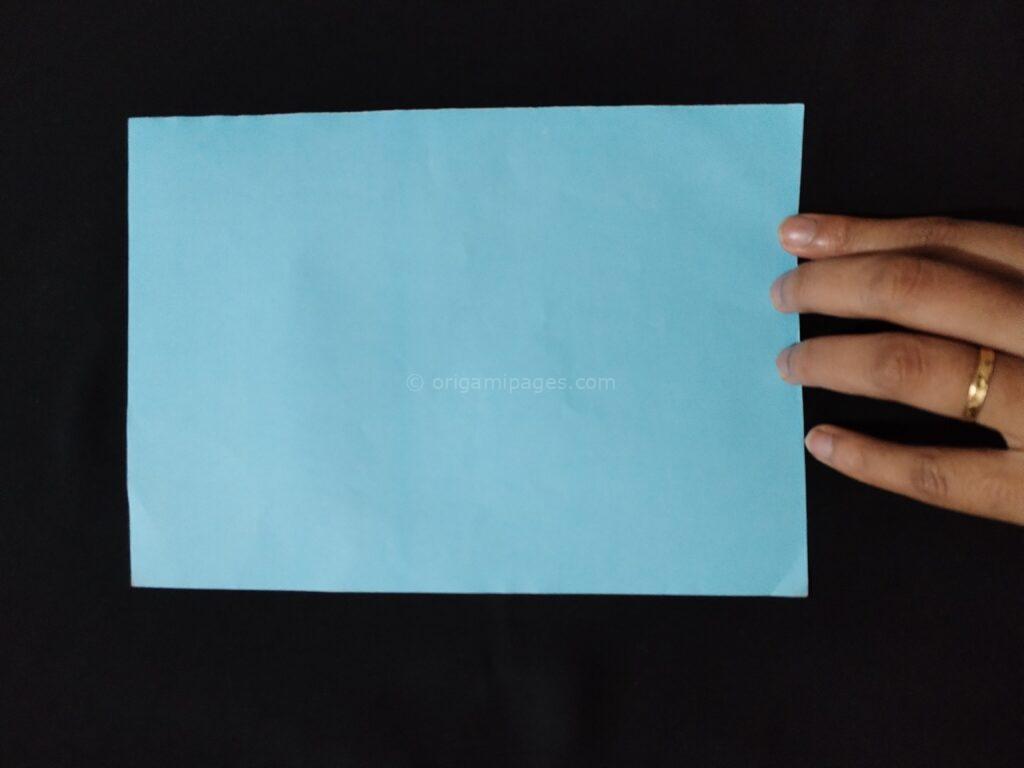
Step 2: Let’s Fold!
Fold your paper in half horizontally. This makes a nice crease down the middle, setting the stage for your airplane.
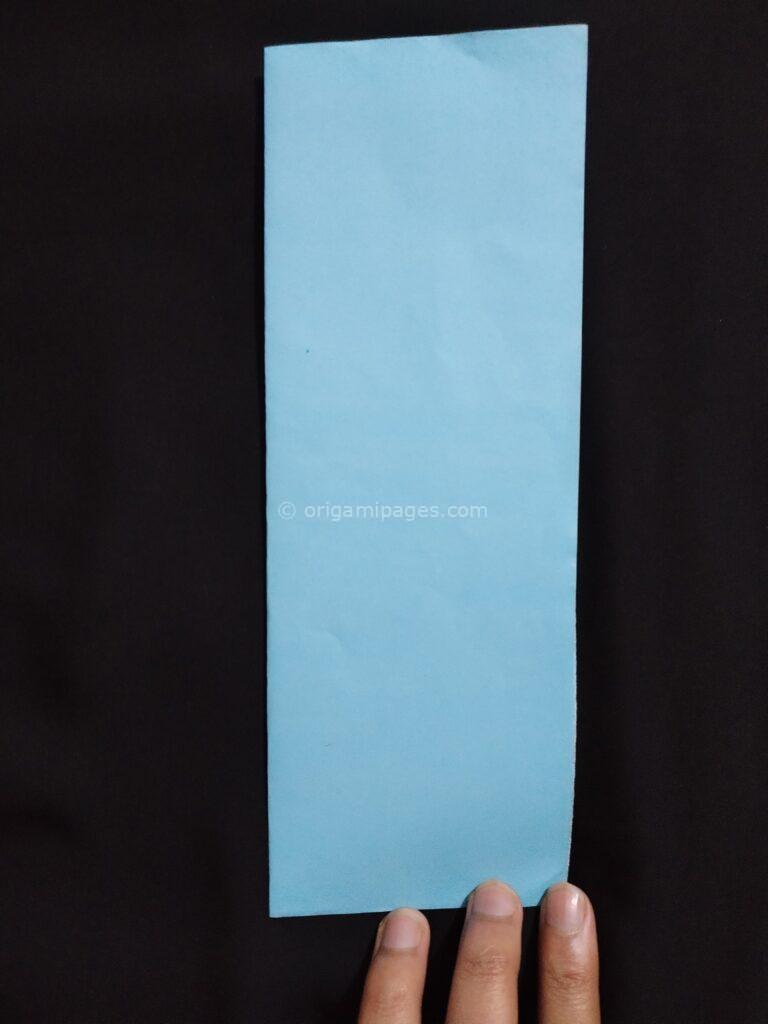
Step 3: Fold Like a House
Now, fold both sides of the paper back to meet the middle crease. It kinda looks like the roof of a tiny house, right?
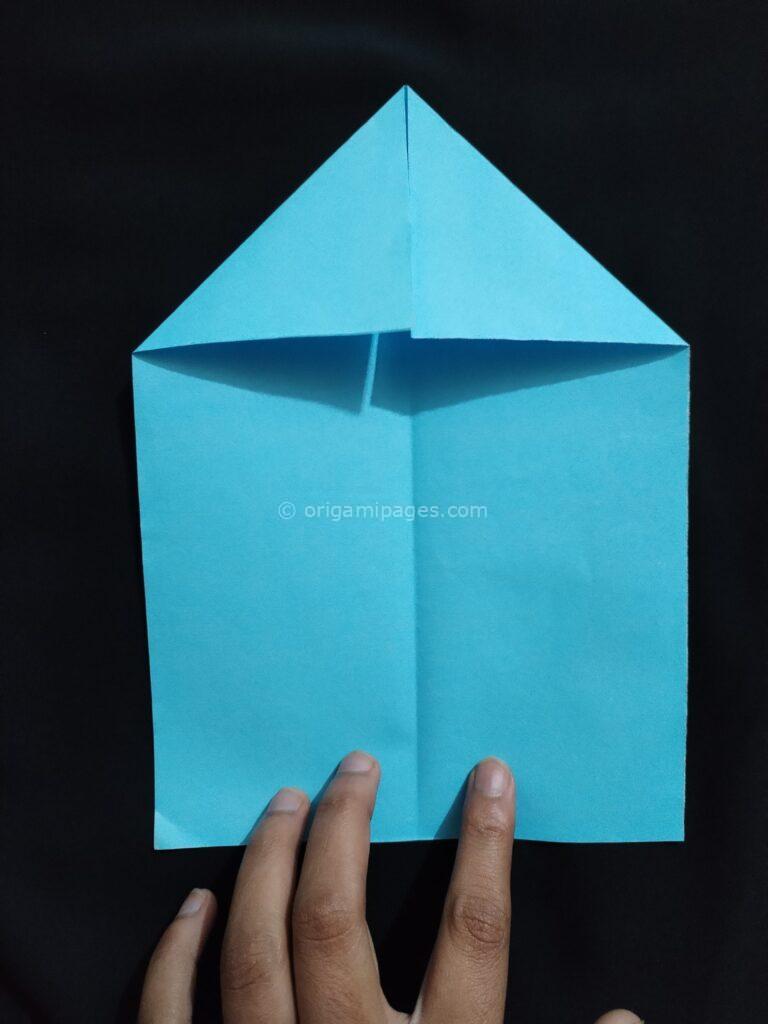
Step 4: Shape It Up
Fold the paper in half again along the middle crease. This helps to refine the shape and make it sturdy.
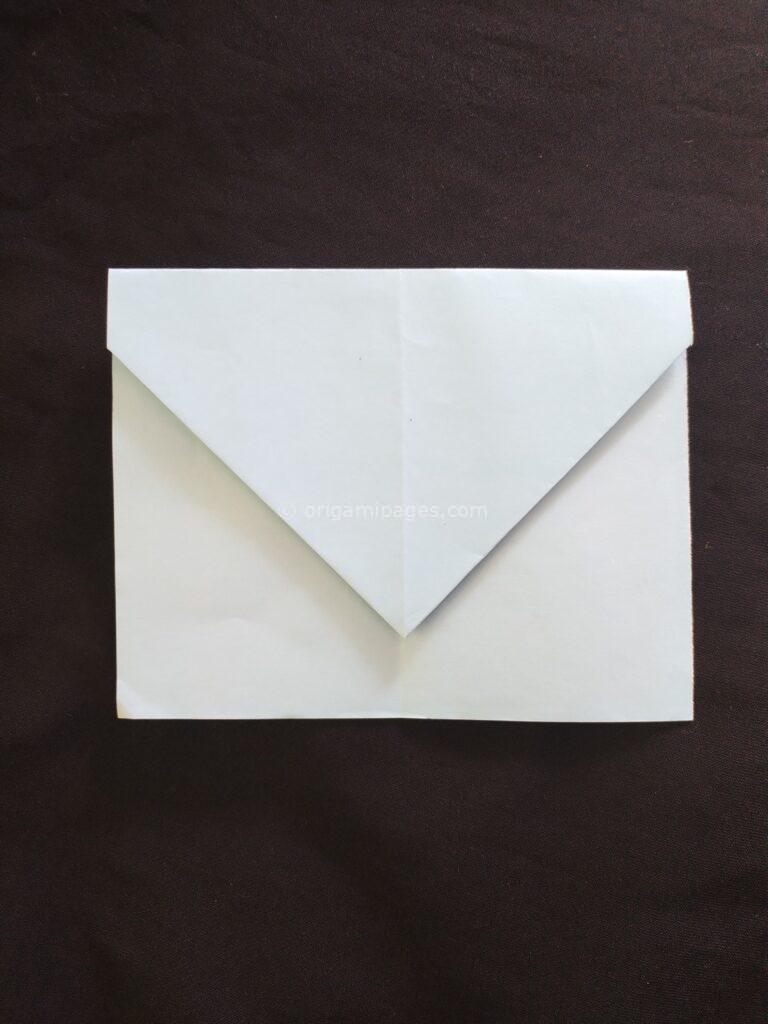
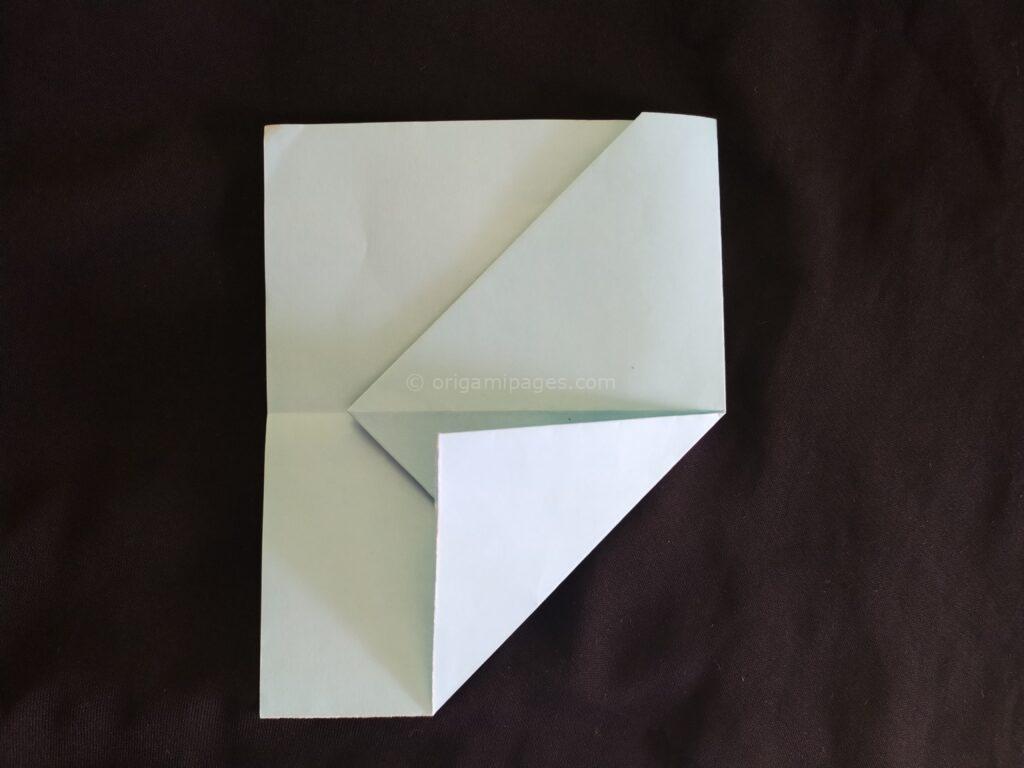
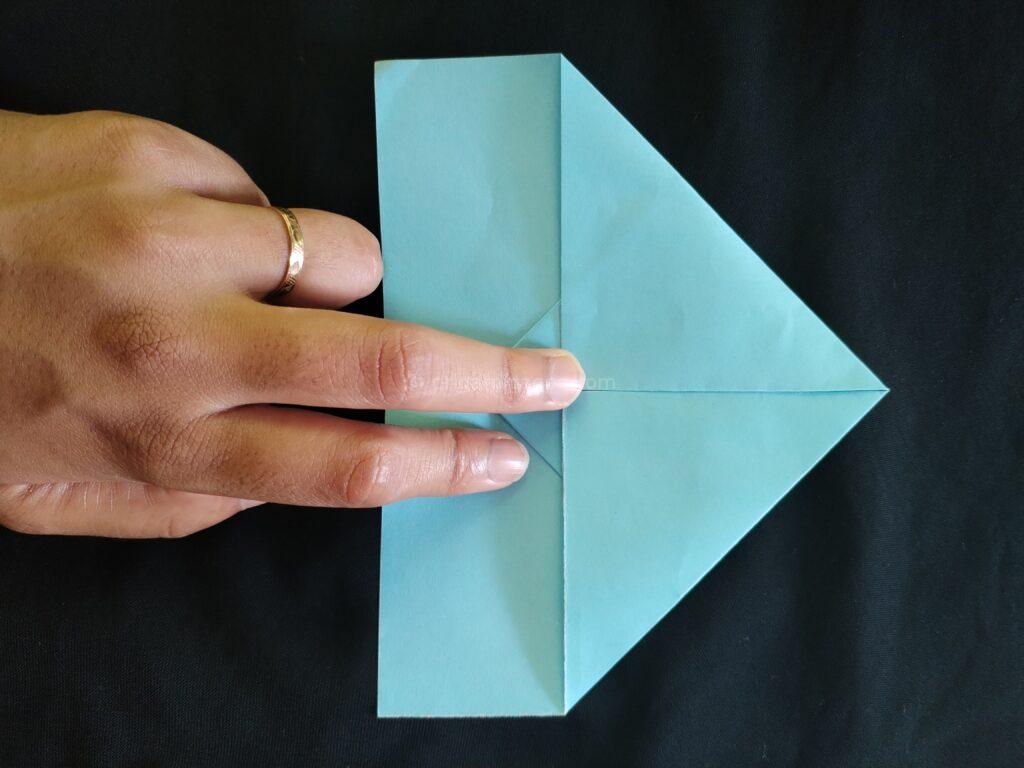
Step 5: Make a Fuselage
Fold the edges of the paper upwards along the middle crease. This makes the body of your airplane look sleek and aerodynamic.
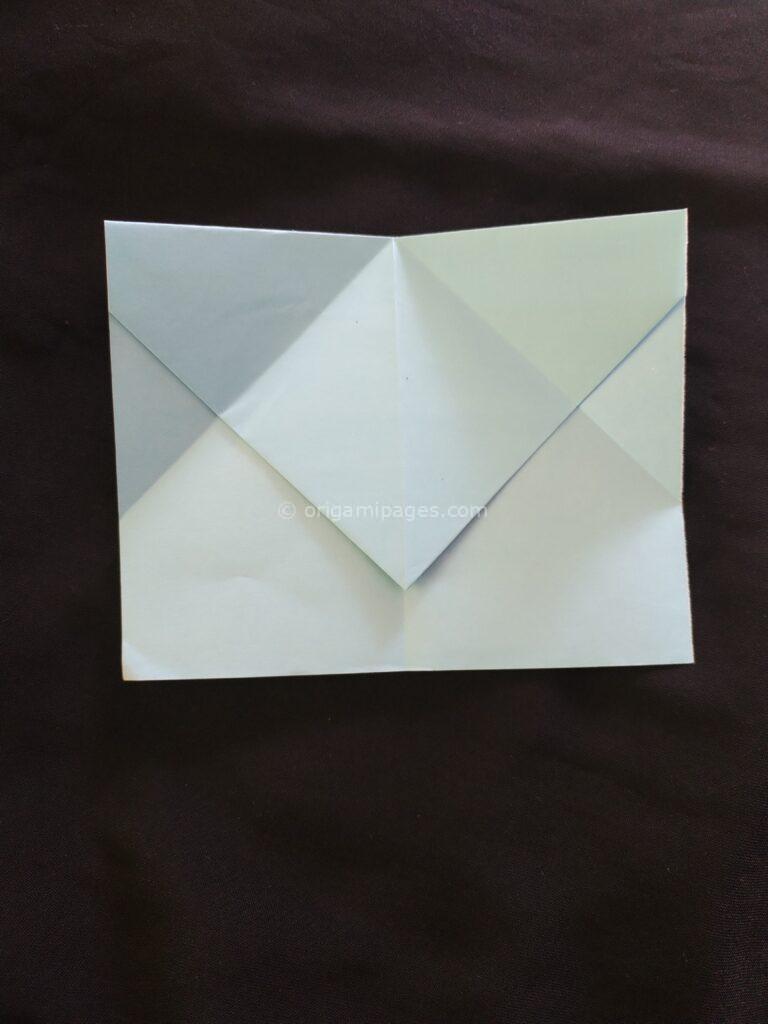
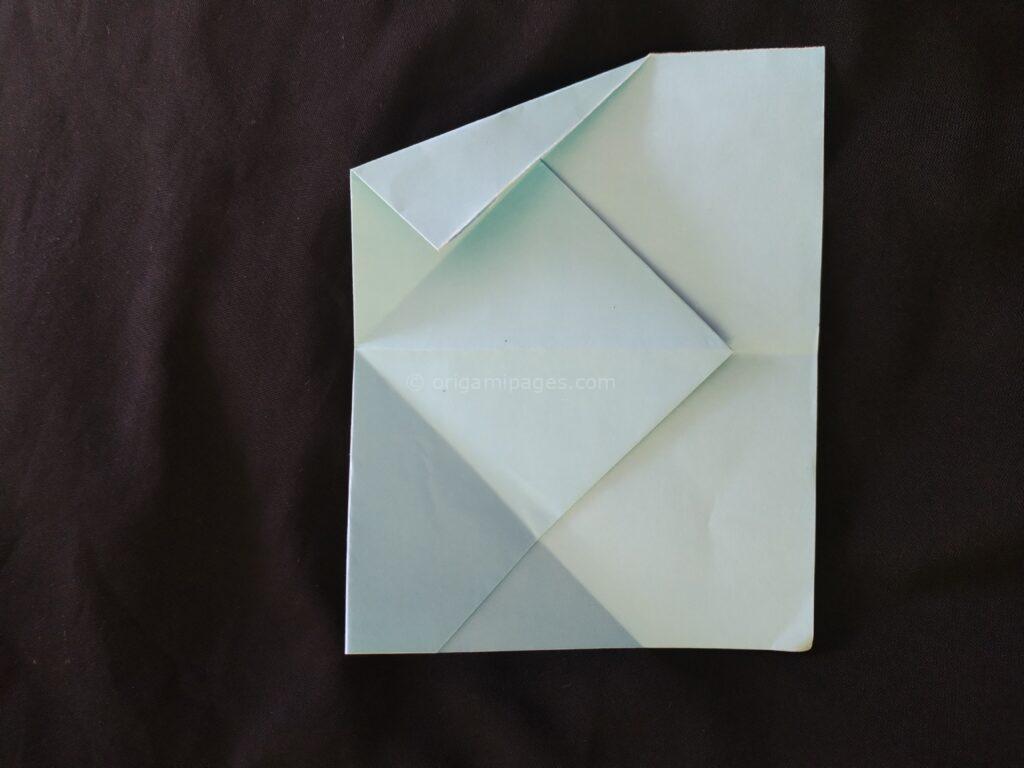
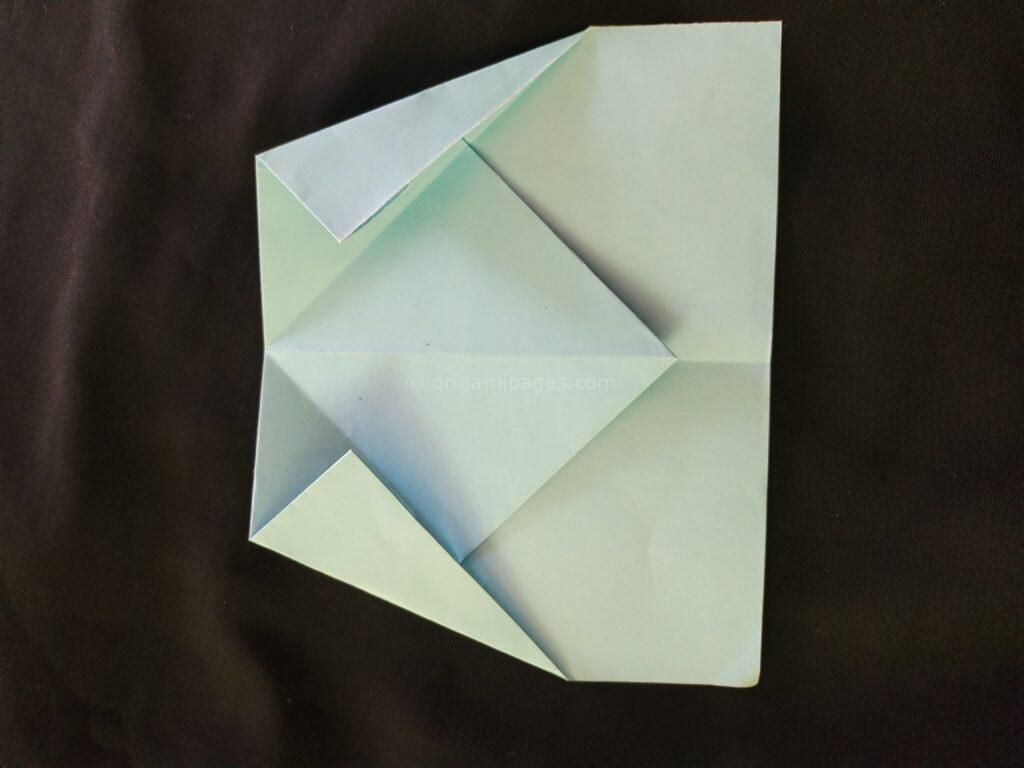
Step 6: Keep It Neat
Fold the paper again like a house. Each fold makes your airplane stronger and cooler!
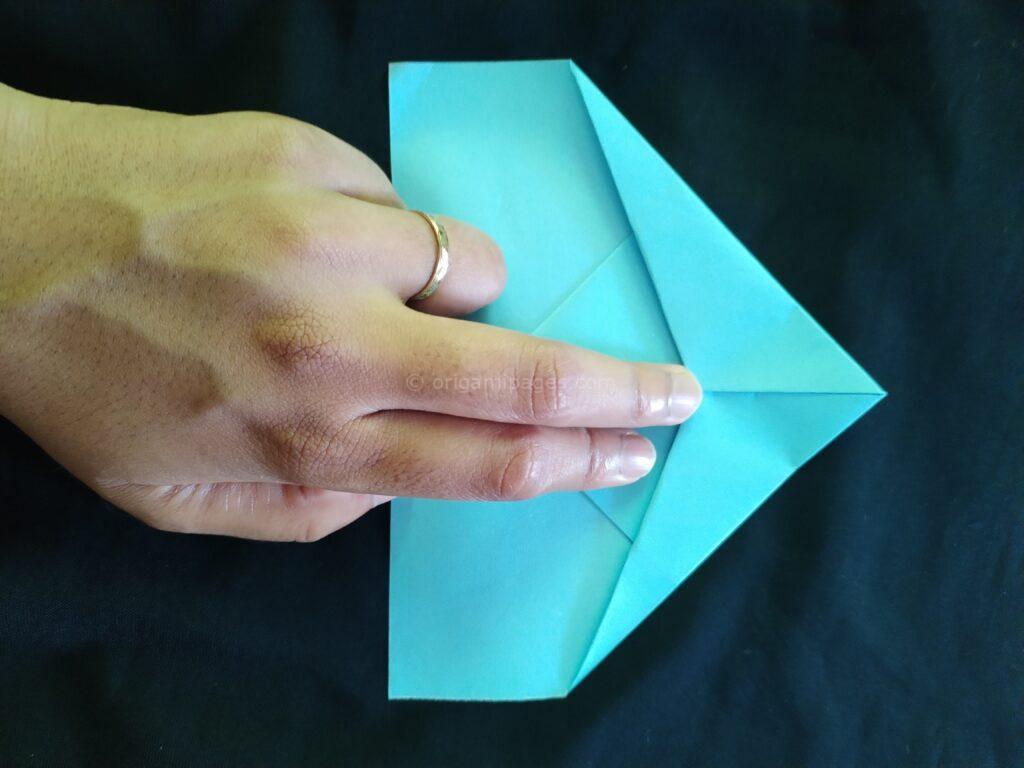
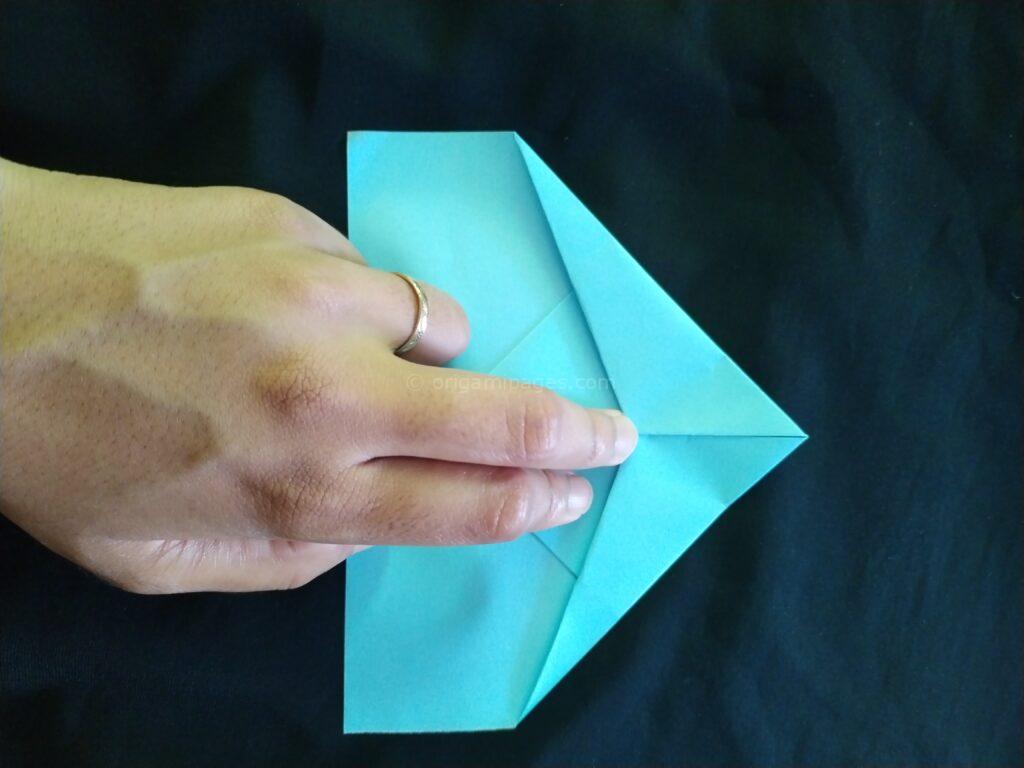
Step 7: Add Wings
Fold down a bit of the top triangle to make wings. Make sure they’re nice and even on both sides.

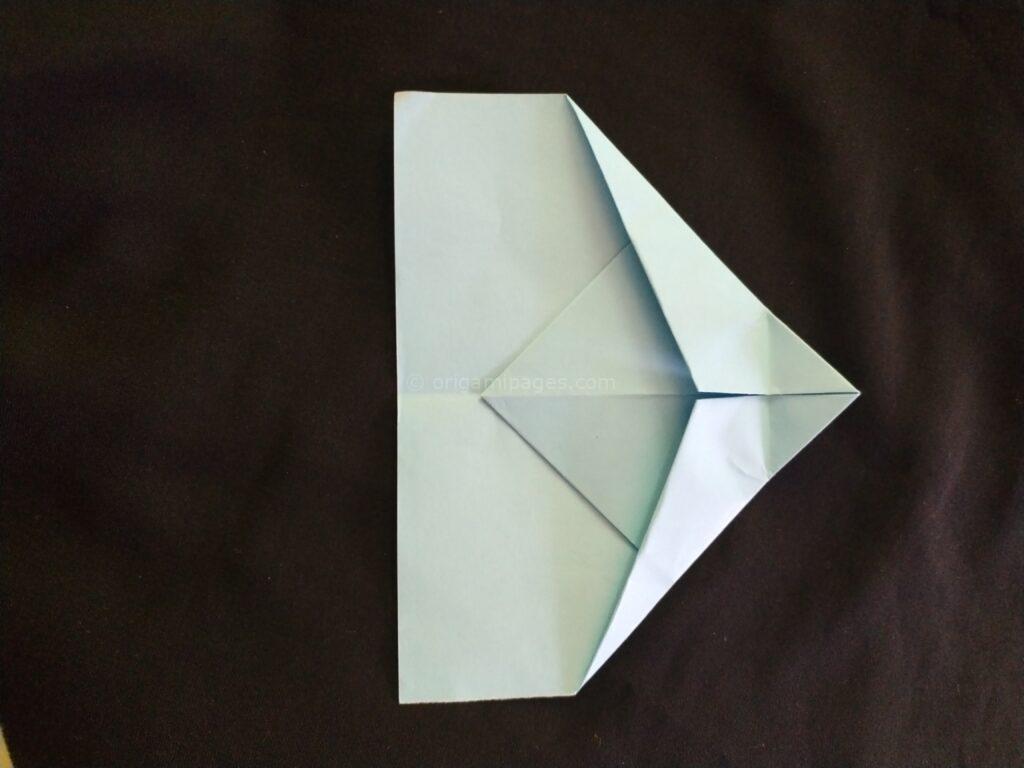
Step 8: Make It Steady
Fold the paper in the middle one more time to keep everything in place. This helps your airplane fly straight and true.
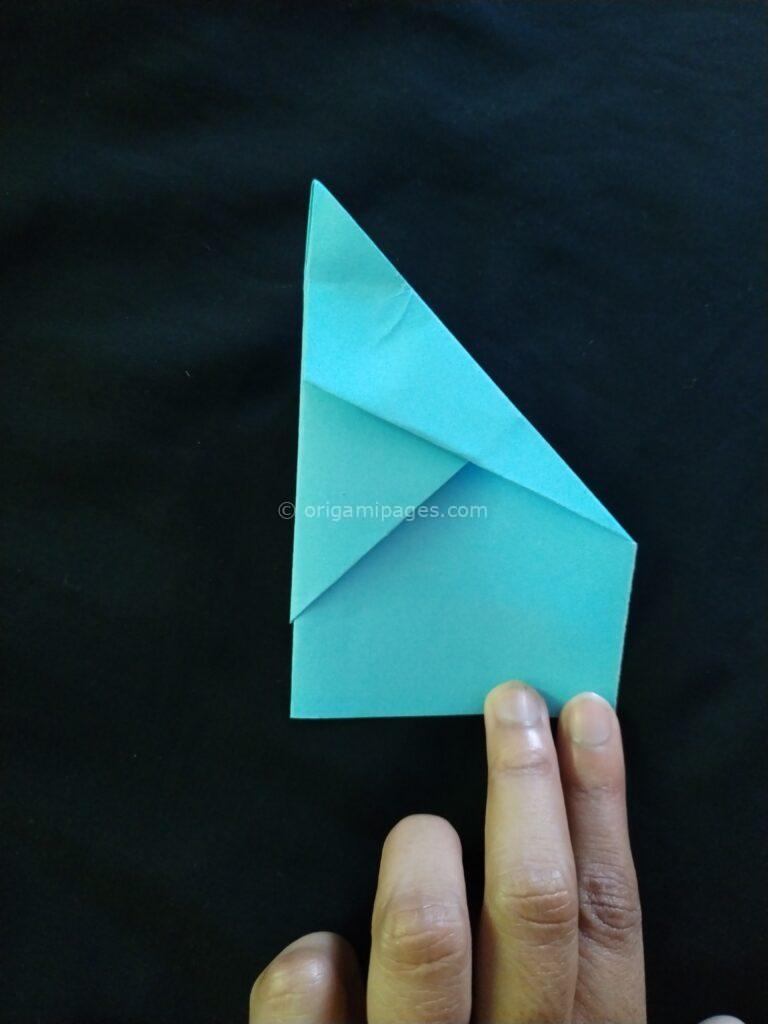
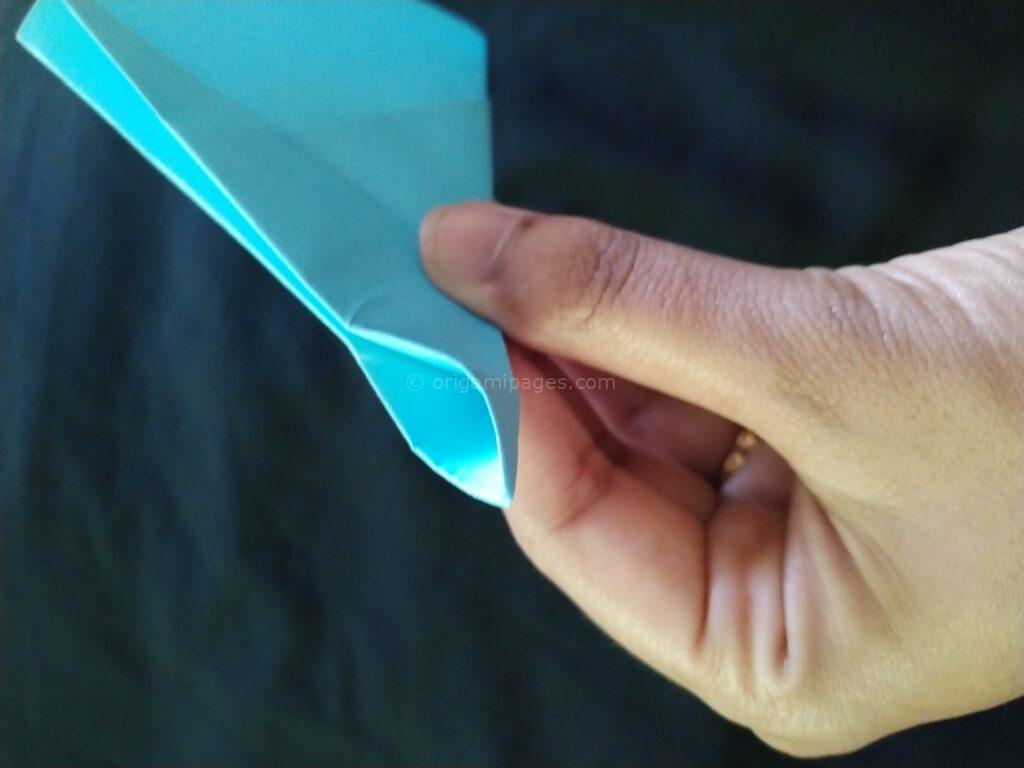
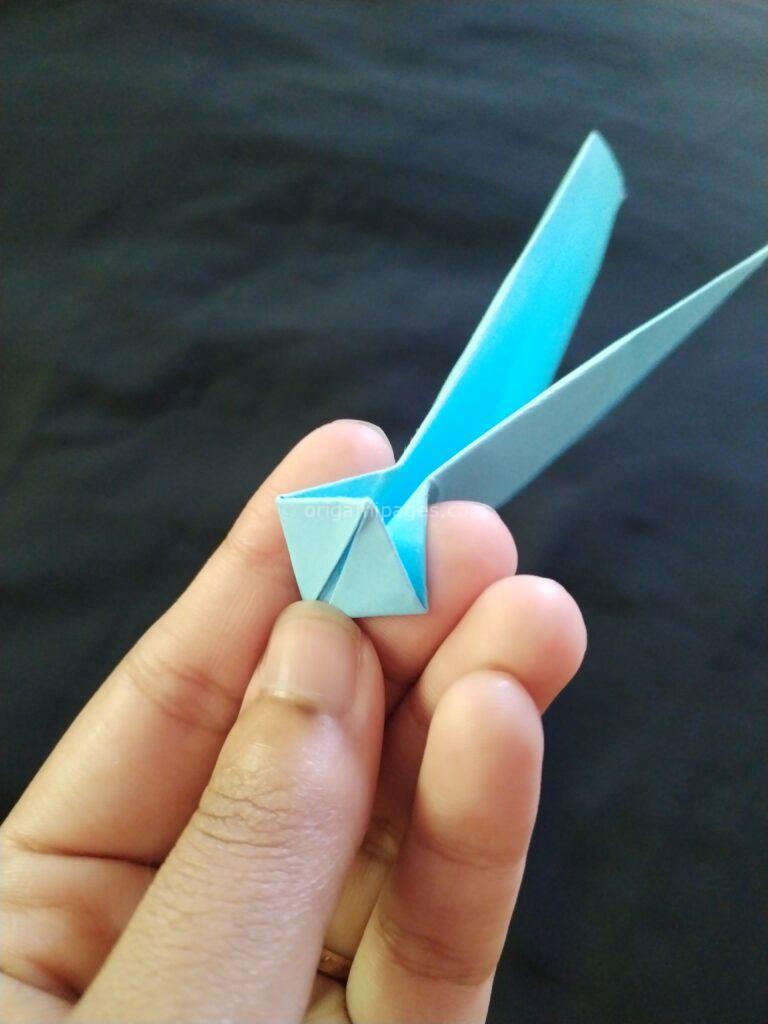
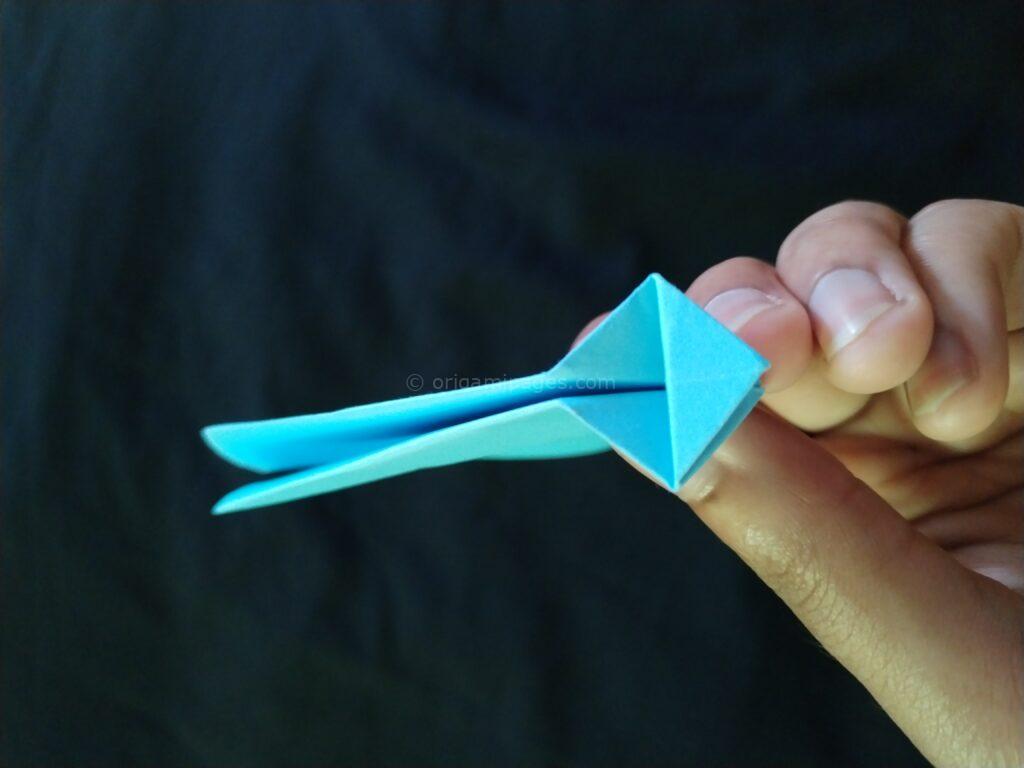
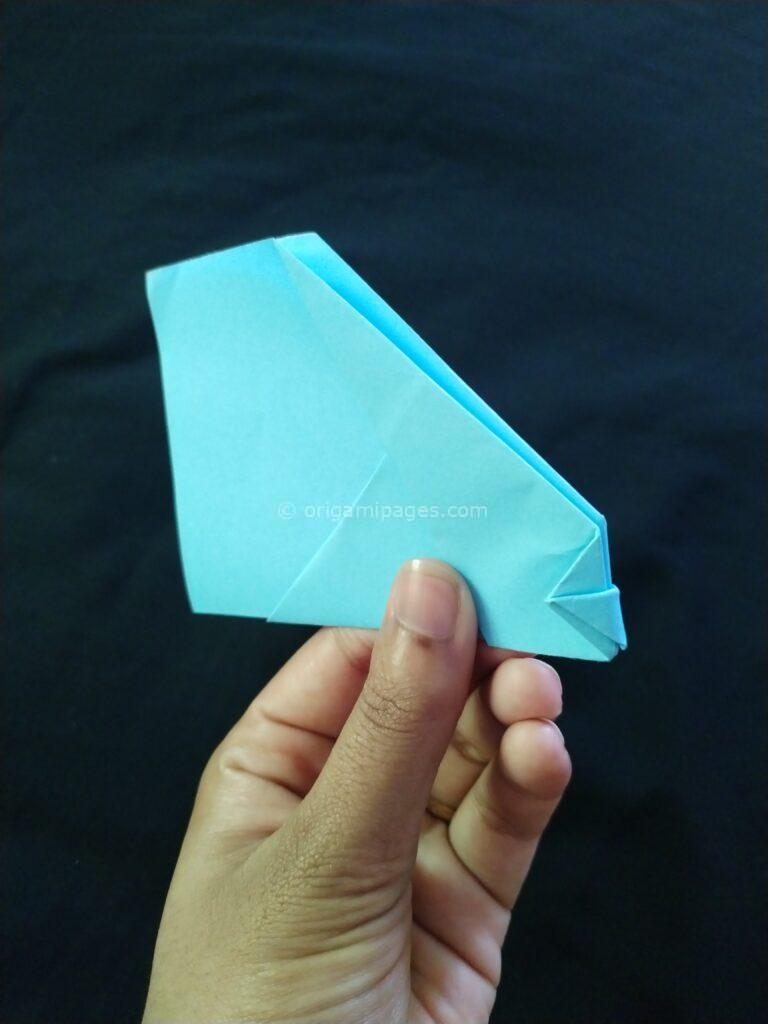
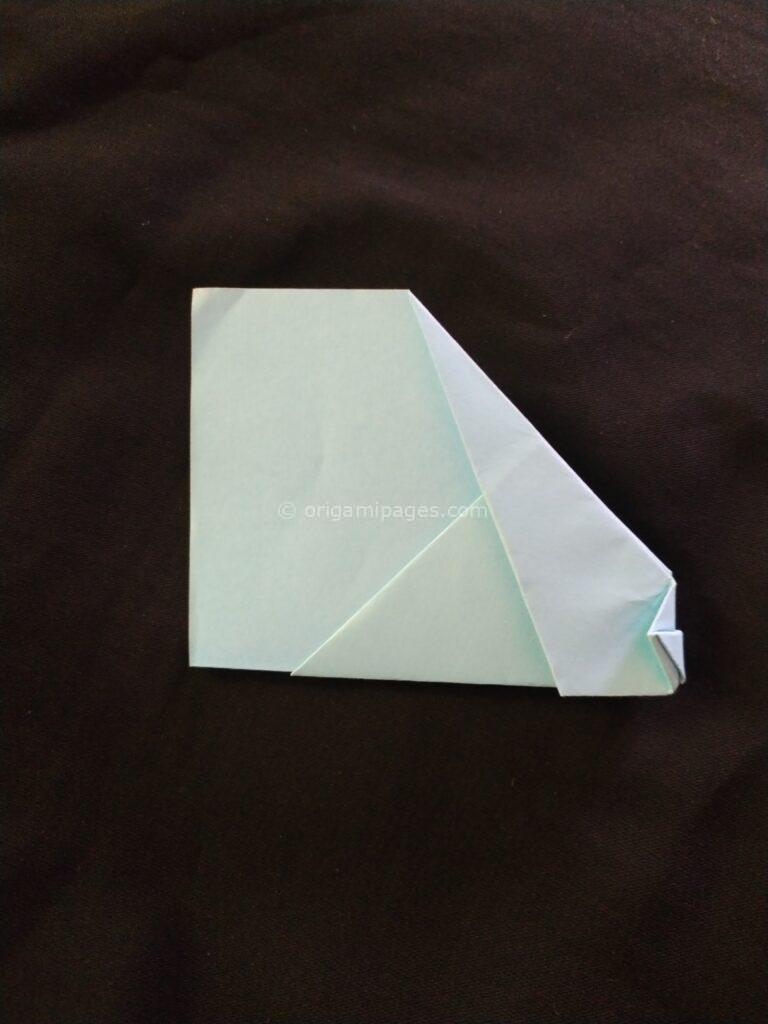
Step 9: Trim It Up
Leave a bit of space on each side of the paper’s fan, then trim the ends a little. This helps your airplane balance and fly farther.
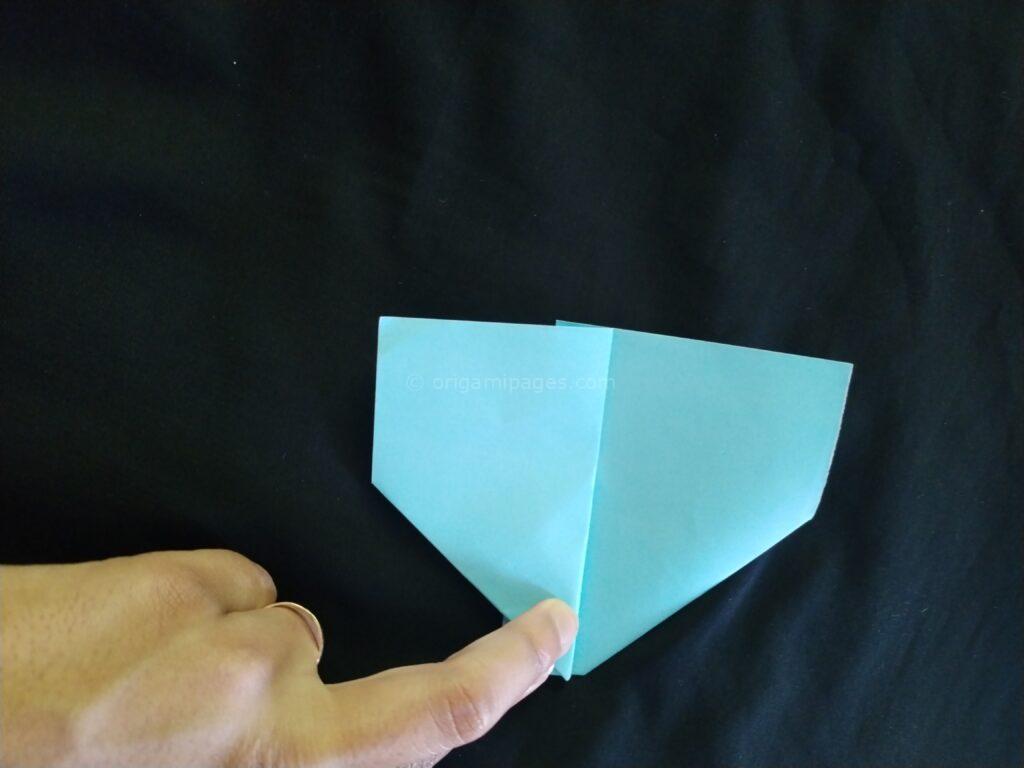
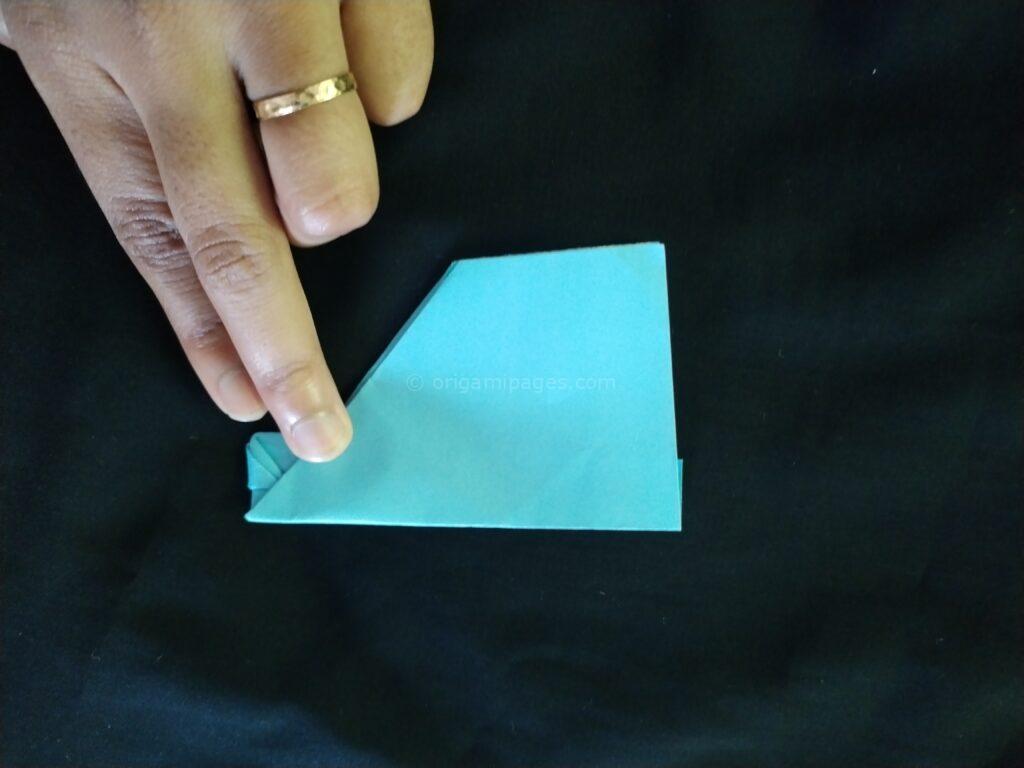
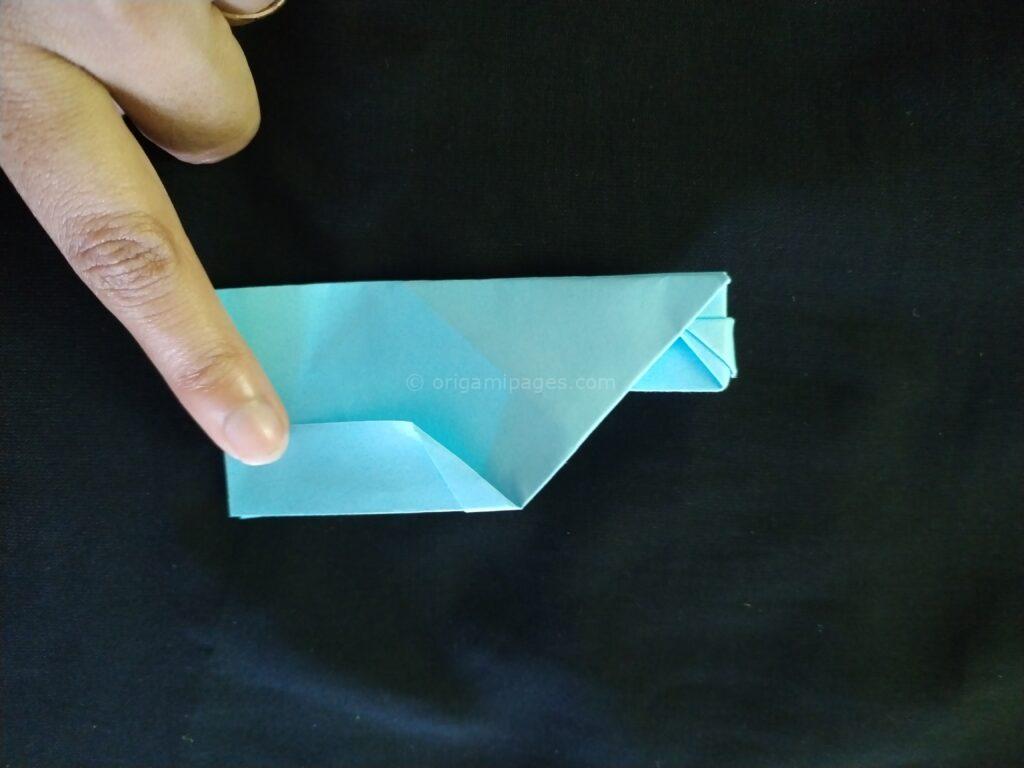
Step 10: Time to Fly!
Gently unfold your paper airplane and get ready to watch it soar! Each fold and crease you made gives it its own special style and helps it fly smoothly through the air.
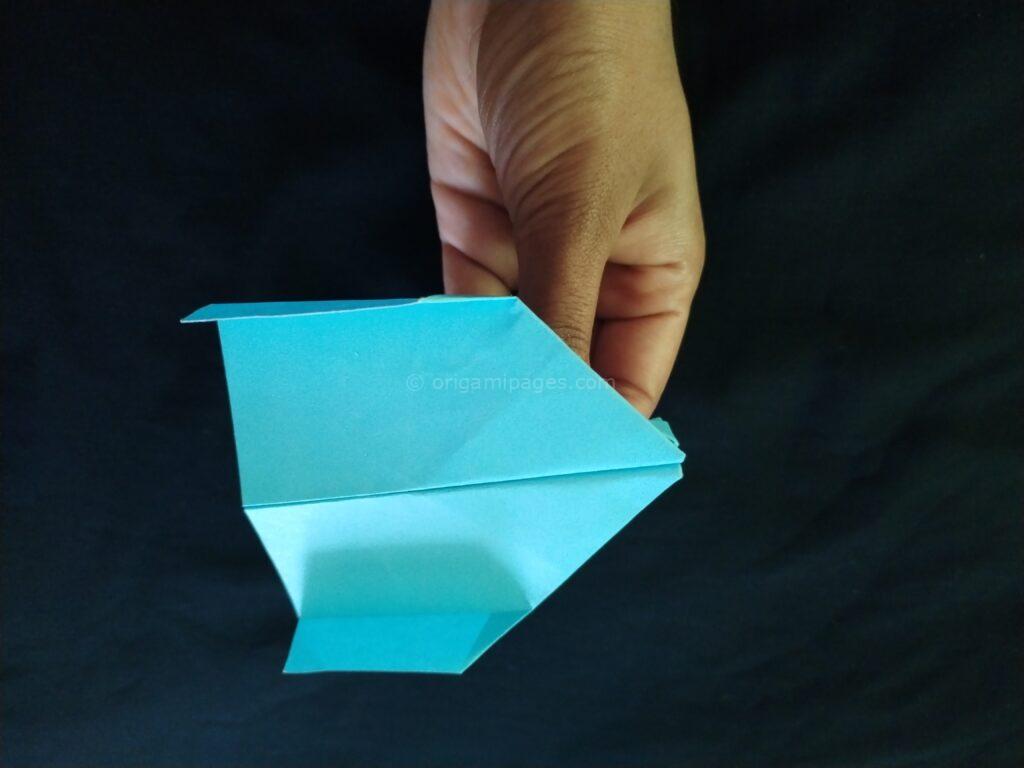
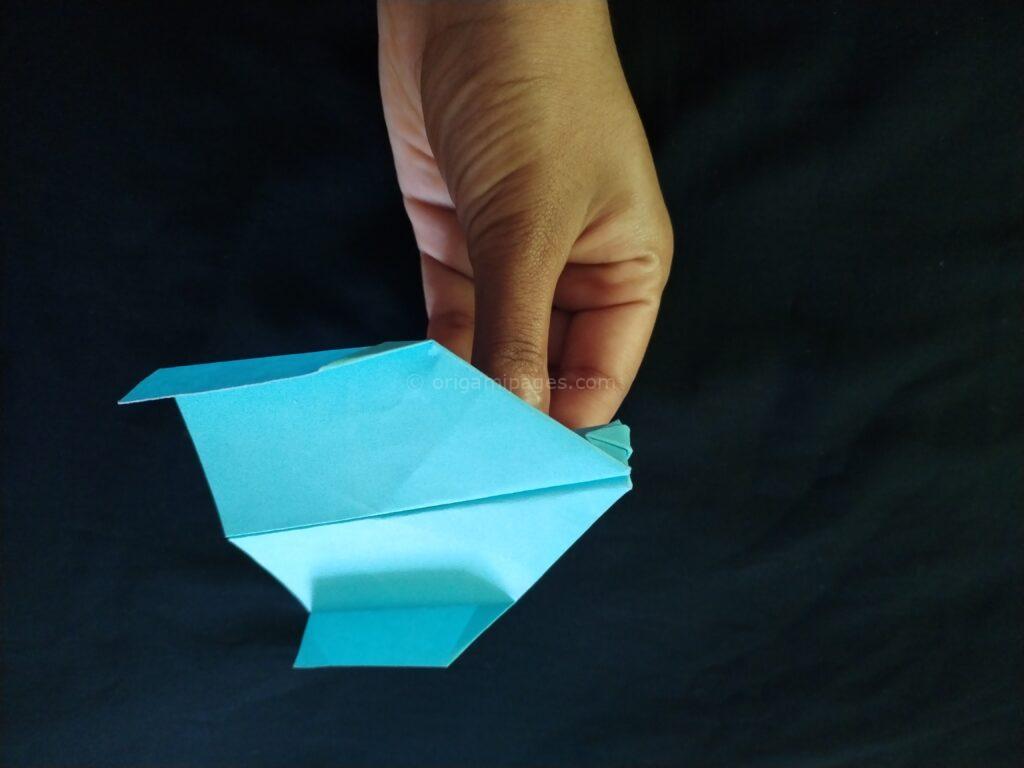
Crafting a paper airplane is all about having fun and letting your creativity take flight. With a little practice, you’ll be making awesome paper airplanes that glide through the air like a pro!
Love making Paper Airplanes? Check out our guides on the Star Crusher Paper Airplane and Pteroplane Paper Airplane for some serious fun! Dive into the star crusher paper airplane for detailed steps. And don’t miss the excitement waiting in our pteroplane paper airplane guide!


