How To Make An Origami Checkered Heart Step By Step.
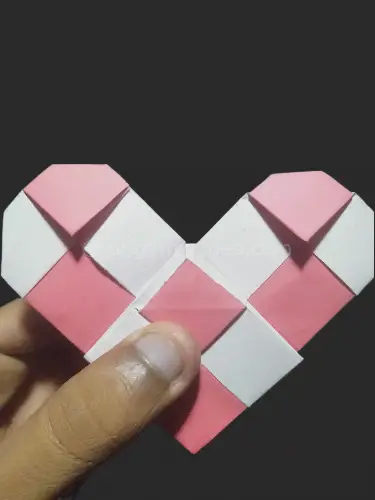
Embark on a whimsical journey into the world of origami with the Origami Checkered Heart—a delightful project that beckons both beginners and experienced artists. The magic unfolds as a simple sheet of paper transforms into a charming checkered heart, offering a playful twist to traditional folding. For beginners, fear not the intricate patterns; our step-by-step guide, complemented by clear visuals, ensures an accessible and enjoyable initiation into the art of paper folding.
For the seasoned origami enthusiast, revel in the challenge of mastering the checkered design. This project goes beyond the basics, providing an opportunity to refine your folding skills and indulge in the artistic intricacies of the craft. Each fold is a step towards creating a unique and visually captivating checkered heart, promising a fulfilling experience for enthusiasts seeking to expand their origami repertoire.
Crafting Your Origami Checkered Heart: Step by Step
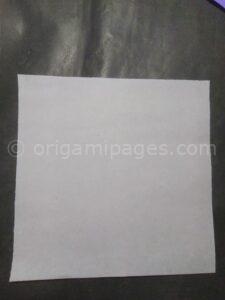
Step 1: Start with a 15×15 cm Square Origami Paper
Initiate your origami adventure with a square sheet of paper, precisely 15×15 cm. This standardized dimension serves as the foundation for the intricate folds that will soon breathe life into a captivating checkered heart.

Step 2: Fold Vertically and Horizontally, Unfold
Lay the groundwork by folding the paper both vertically and horizontally, creating intersecting creases. Unfold the paper, revealing a cross pattern that will guide the subsequent steps of your origami journey.

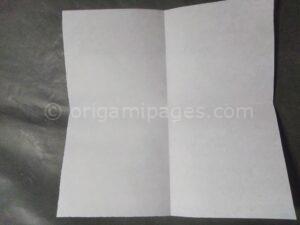
Step 3: Fold All Sides to the Center Vertically and Horizontally, Unfold
Extend your folds to include all four sides, converging at the center of the paper. Once again, unfold, preserving the intricate pattern that will become the hallmark of your checkered heart.
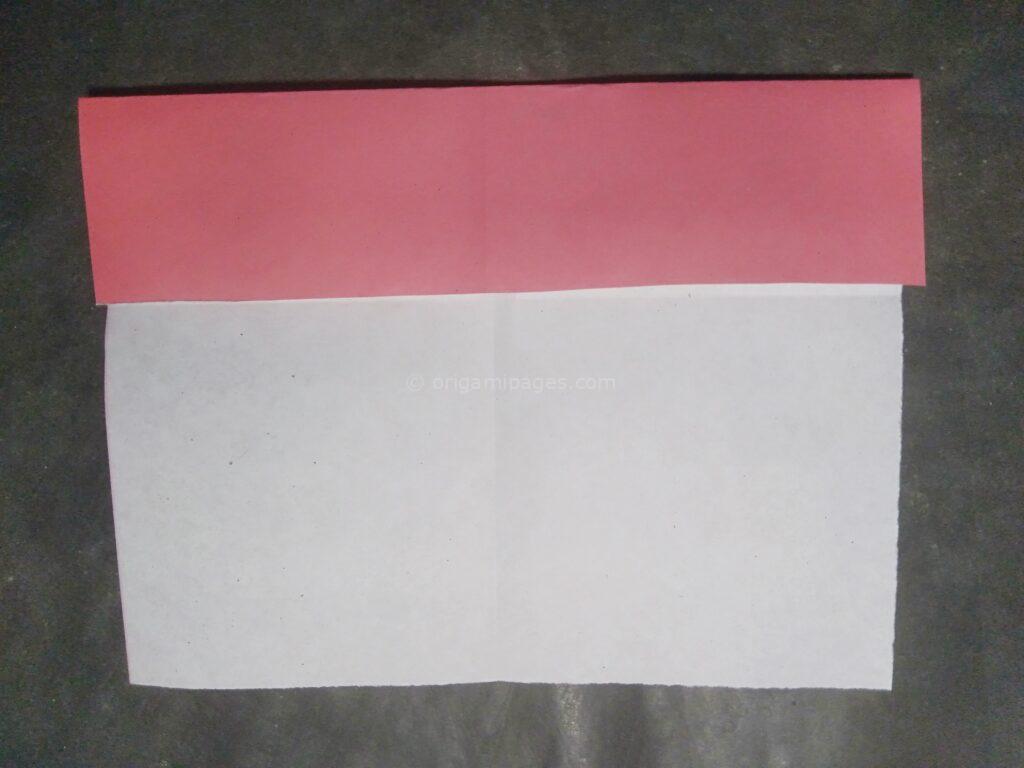


Step 4: Fold Bottom Sides to the Second Line Vertically
Transitioning from the center, fold each bottom side to the second line vertically. This establishes the foundation for the checkered pattern that will infuse your heart with visual depth.


Step 5: Make Diagonal Folds in the Four Corners
Navigate to the corners of your paper canvas and introduce diagonal folds. These folds lay the groundwork for the intricate checkered design, infusing your origami heart with a touch of elegance


Step 6: Make Mountain Folds from All Four Sides
Elevate your paper by implementing mountain folds along all four sides. These folds create dimensionality and set the stage for the dynamic interplay of light and shadow in your final creation.


Step 7: Create Diagonal Folds for the Red Squares
Zone in on the red squares in the corners, executing diagonal folds while tilting them backward. Avoid creasing the red squares, allowing them to stand out, setting the stage for the checkered heart’s distinctive charm.


Step 8: Implement North-South Valley Folds
Enhance the structural integrity of your origami by introducing north-south valley folds. These folds, mirrored on all sides, lay the groundwork for the intricate collapse and transformation that follows.

Step 9: Make a Mountain Fold and Unfold
Engage in the delicate dance of mountain folds, adding an extra layer of intricacy to your origami. Unfold to reveal the intricate groundwork that will facilitate the final steps of your checkered heart’s formation.


Step 10: Collapse the Paper
The culmination of your efforts lies in the artful collapse of the paper. The creases meticulously crafted in the previous steps serve as guides, facilitating the graceful transformation into the checkered heart’s final form.
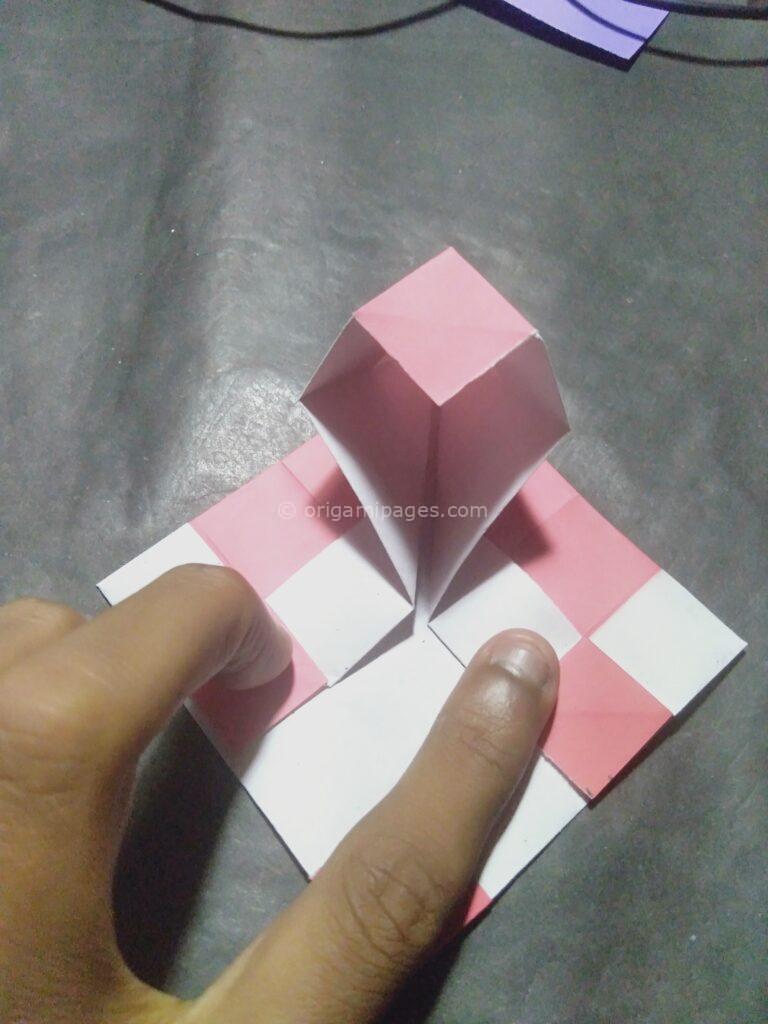


Step 11: Turn Over and Fold the Top Corner Down
Transition to the next phase by flipping the paper over and folding the top corner down. This simple yet pivotal step shapes the upper portion of your checkered heart, bringing it closer to its final form.


Step 12: Shape the Heart
Fine-tune the contours of your origami by folding the left and right corners, sculpting the heart into its quintessential shape. This step adds a touch of personalization, allowing your creativity to shine through.


Step 13: Turn Over
As the finishing touch, turn over your creation to reveal the completed origami checkered heart. Marvel at the intricate pattern, the result of precise folds and thoughtful craftsmanship, encapsulating the essence of origami.

In conclusion, crafting the Origami Checkered Heart blends precision and creativity, showcasing the timeless allure of Japanese origami. The step-by-step guide transforms a flat sheet into a visually striking masterpiece, emphasizing the dynamic play of light and shadow. The final reveal, shaped by careful folds and personal touches, symbolizes the beauty derived from the delicate art of paper folding, capturing the essence of this centuries-old tradition in a harmonious balance of simplicity and sophistication.
If you are interested in learning more about Valentine’s origami tutorials, you might find our articles on the Origami heart with wings and Origami heart place card helpful. Our article on Origami heart with wings provides an in-depth look and step-by-step instruction. Meanwhile, our article on Origami heart place card promises a new adventure awaits in the world of paper artistry.

