How to Make an Origami Ice Cream Cone: Beginner’s Guide
Welcome to the fun world of origami, where folding paper becomes an adventure! Imagine making your own origami ice cream cone—it’s like making a summer treat out of paper! In this guide, we’ll learn how to do it step by step.
With just a few folds and creases, you’ll see something amazing take shape. Whether you’re new to origami or already love it, this project will make you smile. Get ready for a cool journey into origami, where we’ll make something sweet together, all from a piece of paper!
Origami Ice Cream Cone: Step-by-Step Guide
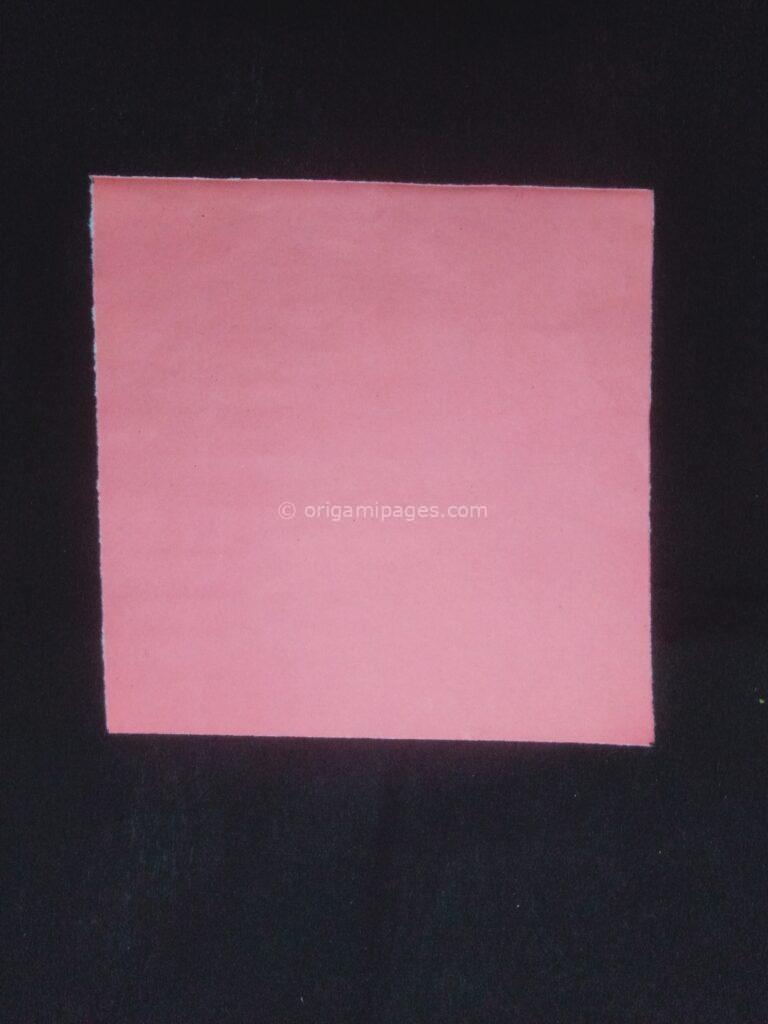
Step 1: Gather Your Materials
To begin, you’ll need a square piece of paper measuring 15cm by 15cm. Make sure your paper is smooth and free from any tears or creases that could interfere with your folding.
Step 2: Fold One Corner to Another
Take your square paper and fold one corner diagonally to meet the opposite corner. This will create a triangle shape.

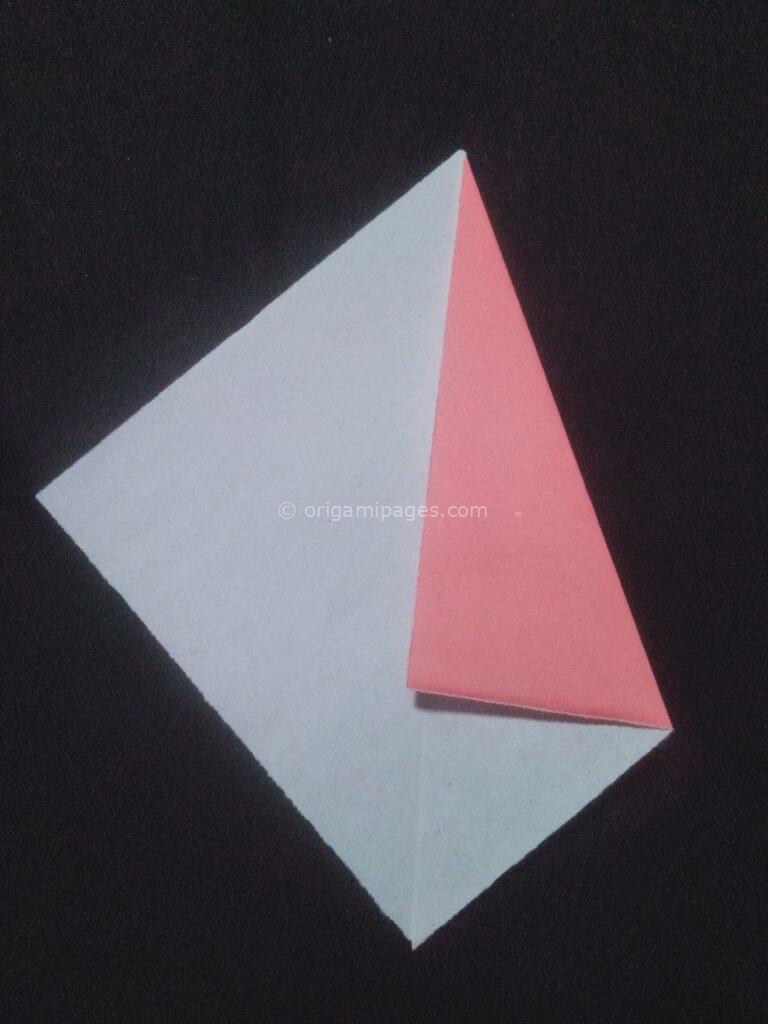
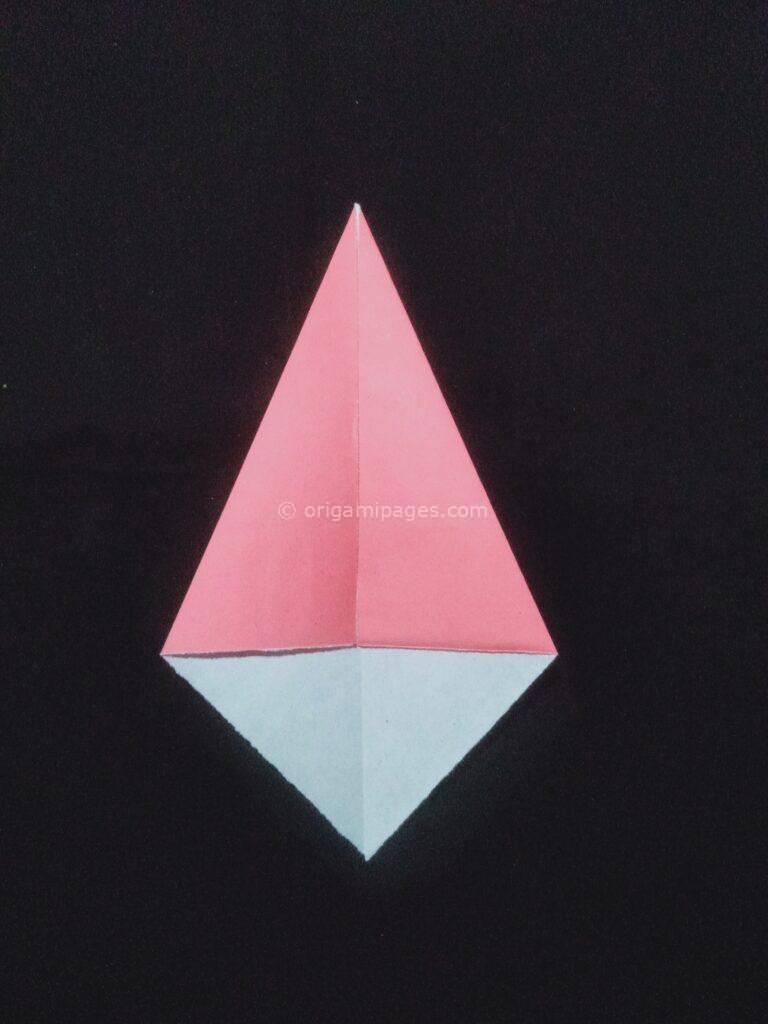
Step 3: Unfold and Fold Both Sides to the Center Crease
Carefully unfold the paper to reveal the square shape again. Then, fold both sides of the square in towards the center crease, creating two smaller triangles.
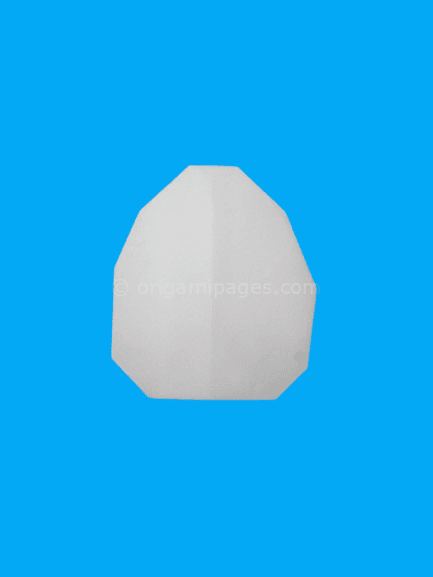
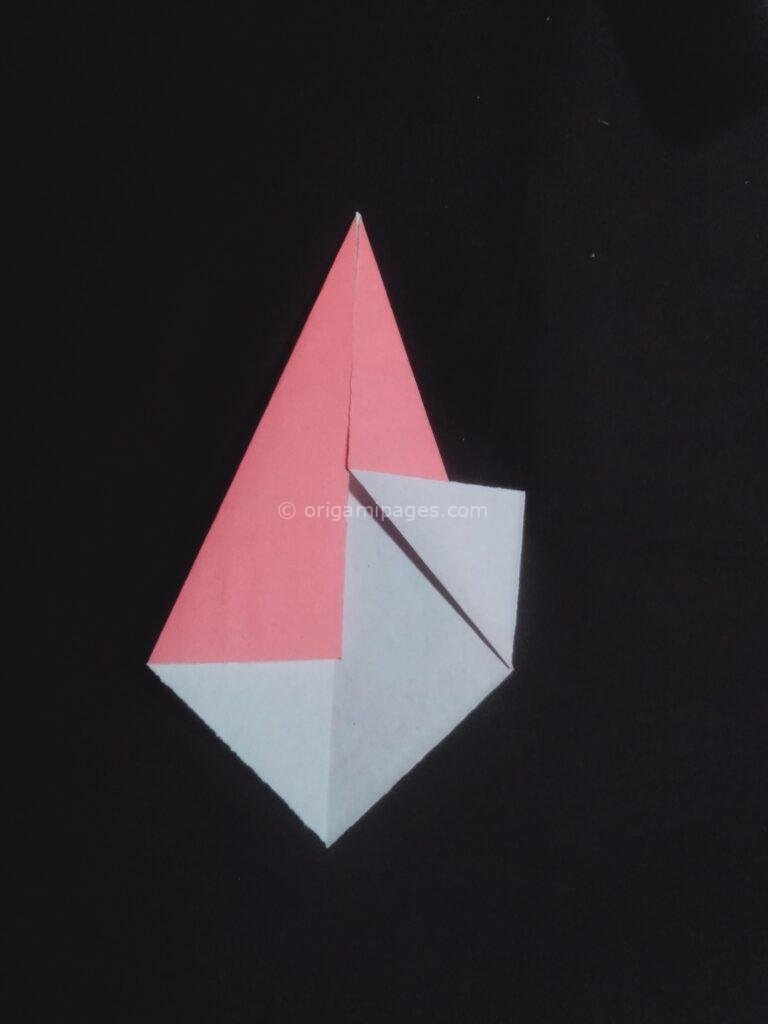
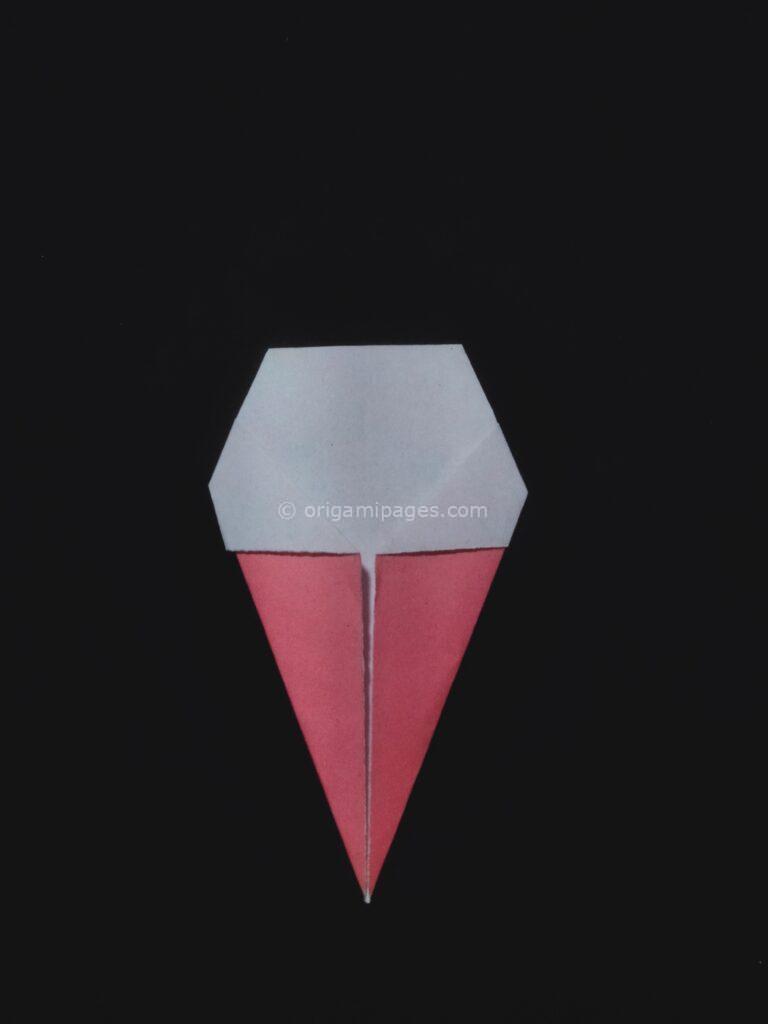
Step 4: Fold the Upper Layers of the Paper Out
Next, gently fold the upper layers of the paper outwards along the top edge, creating a small flap on each side. This will form the top of your ice cream cone.
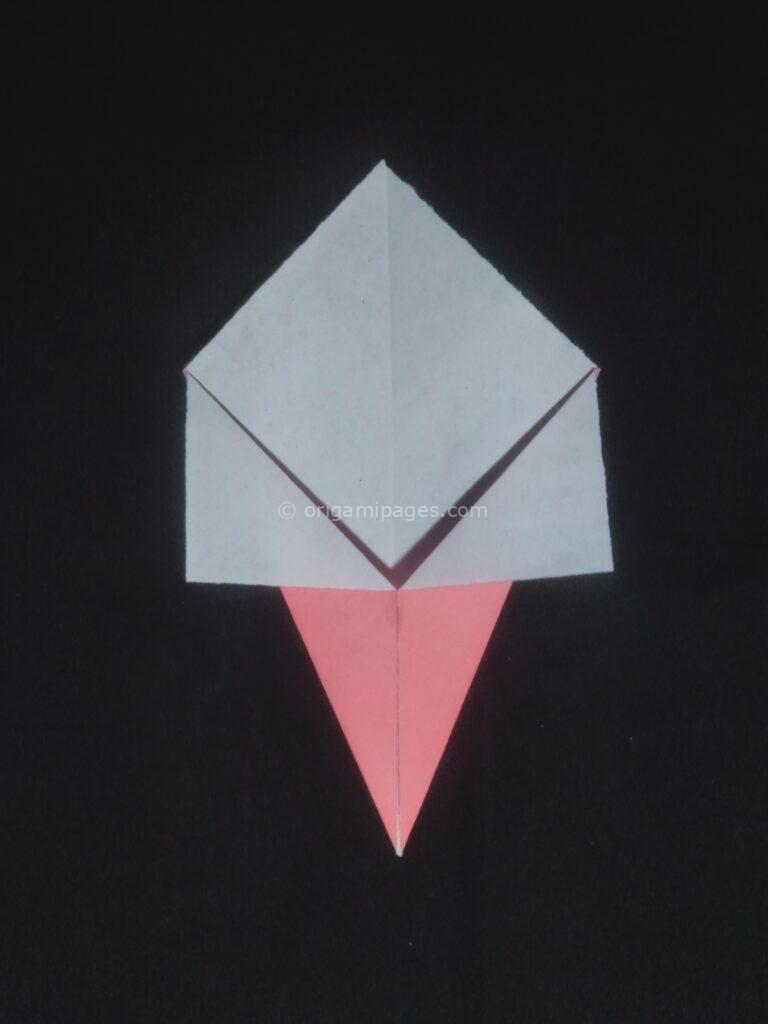
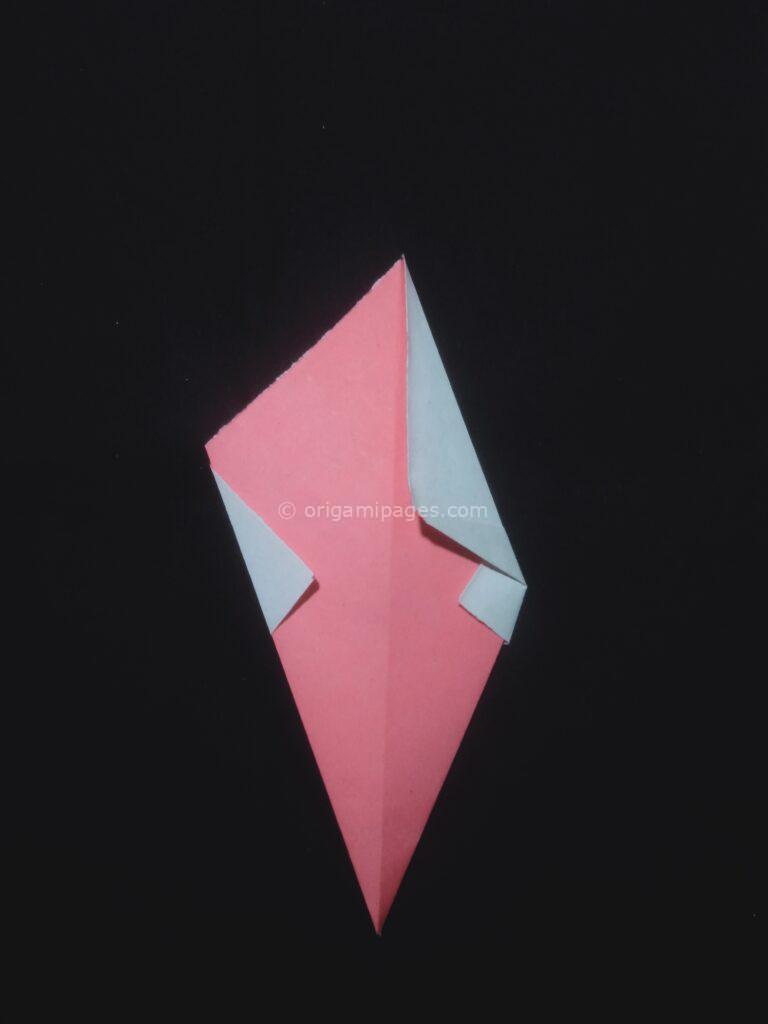
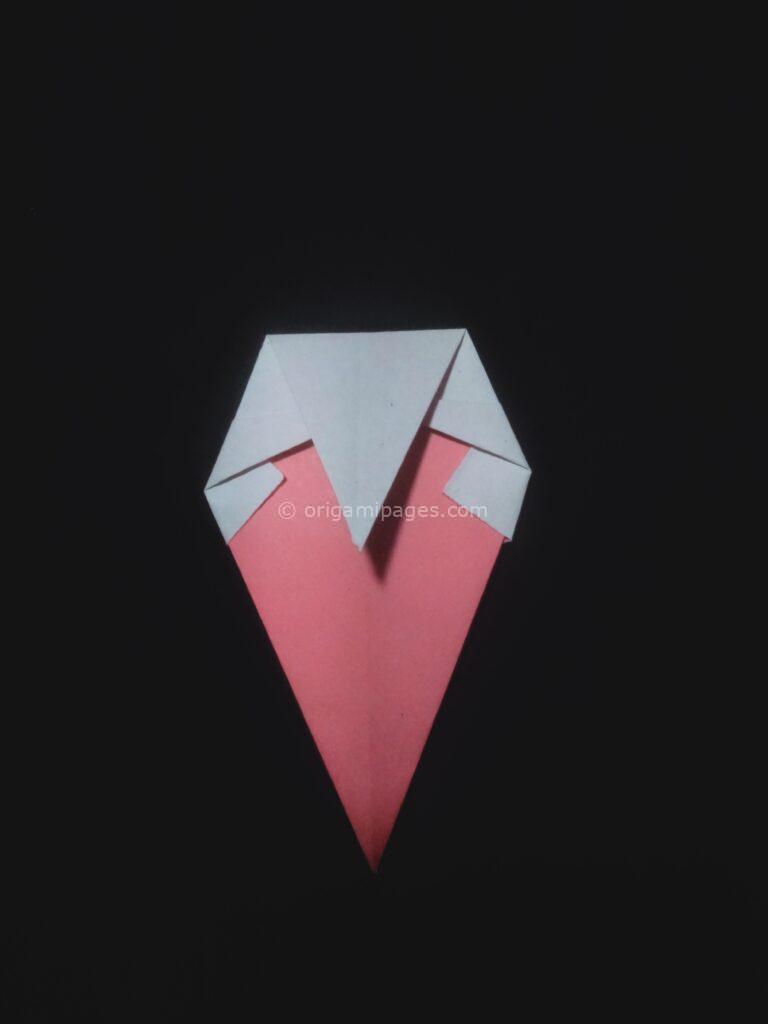
Step 5: Turn Over the Paper and Fold Down Both Extended Corners
Flip the paper over so that the flaps you just created are facing down. Then, fold down both extended corners of the paper to meet at the bottom point, forming the cone shape of your ice cream.

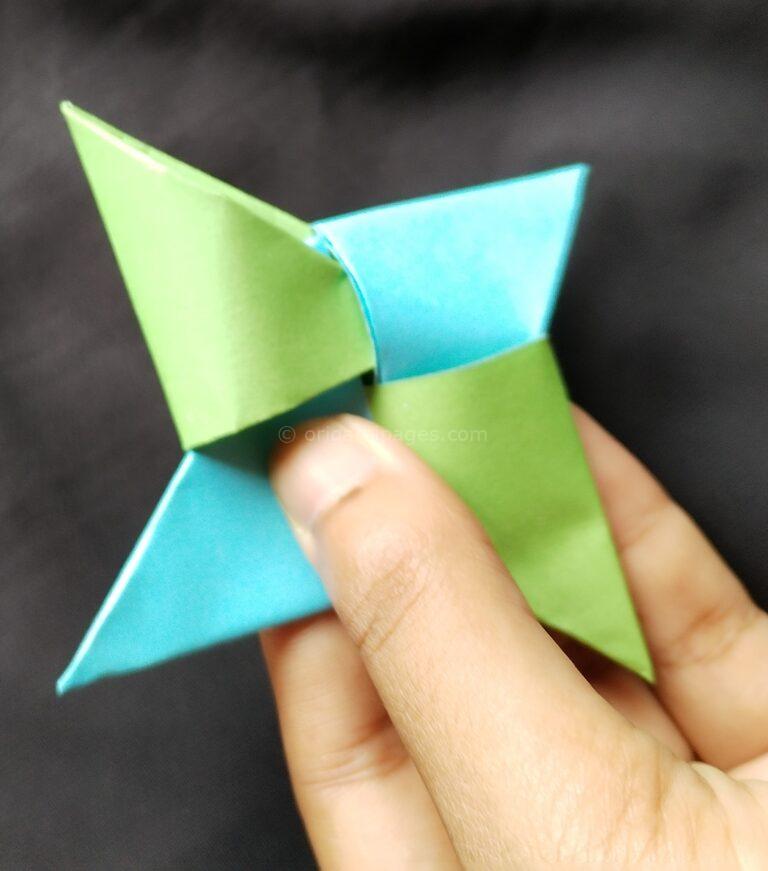
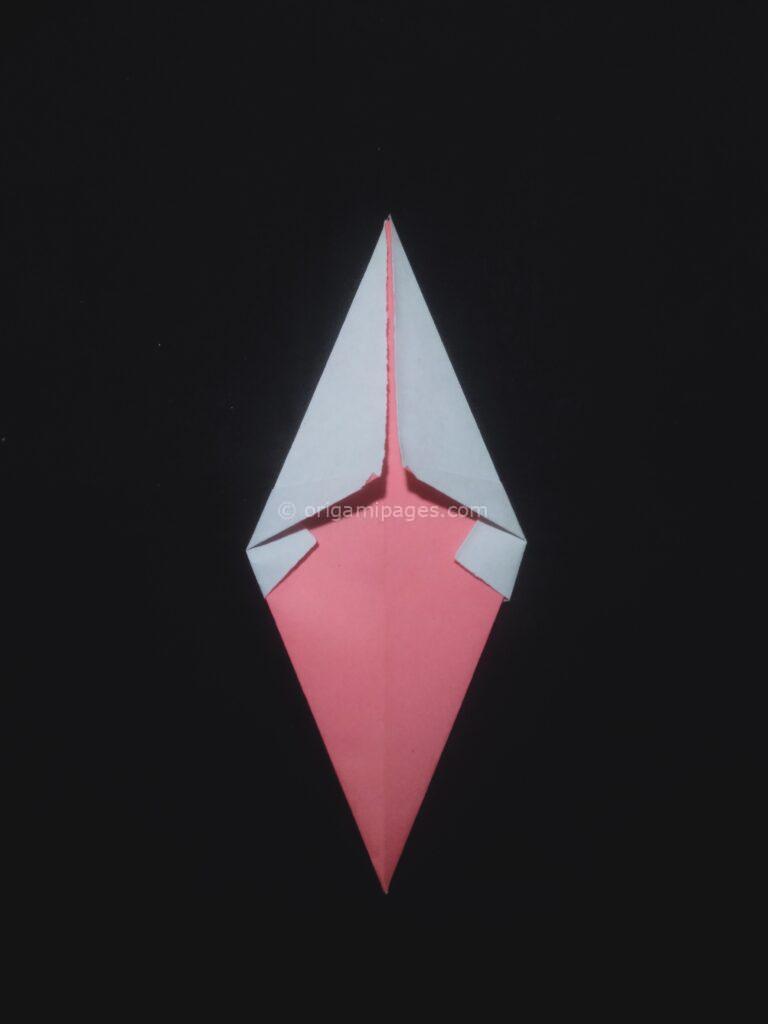
Step 6: Make Two Pleat Folds Along the Center Crease
With the paper still flipped over, create two pleat folds along the center crease. To do this, simply fold the paper accordion-style, alternating between mountain and valley folds. This will add texture to the cone and give it a more realistic appearance.
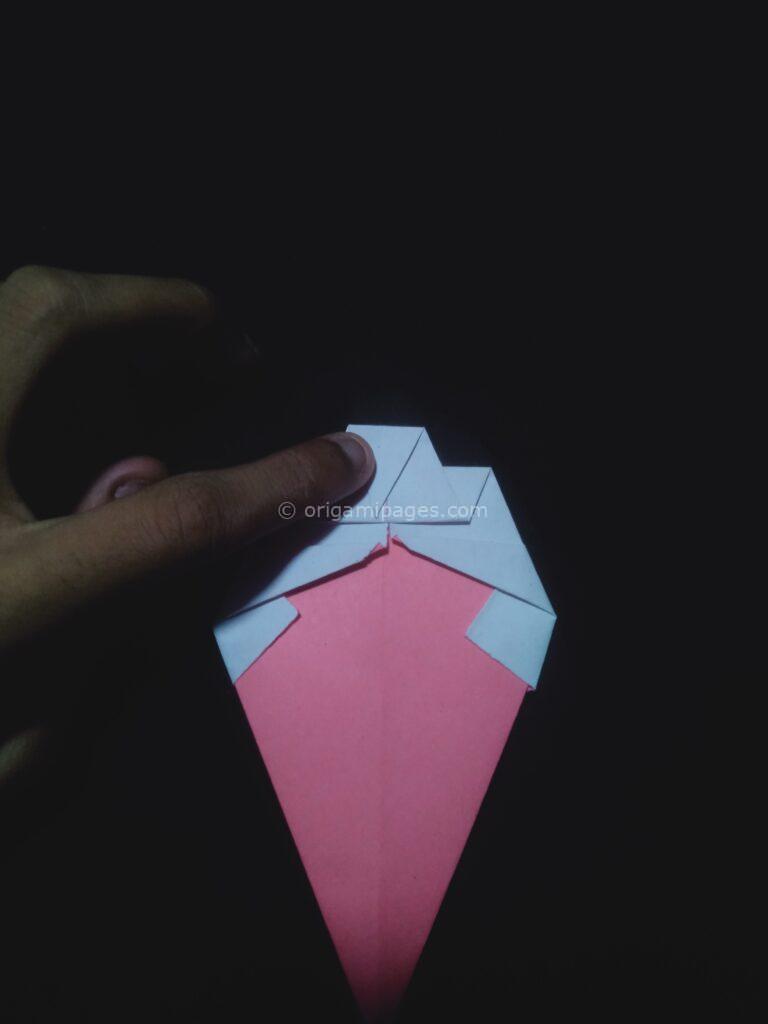
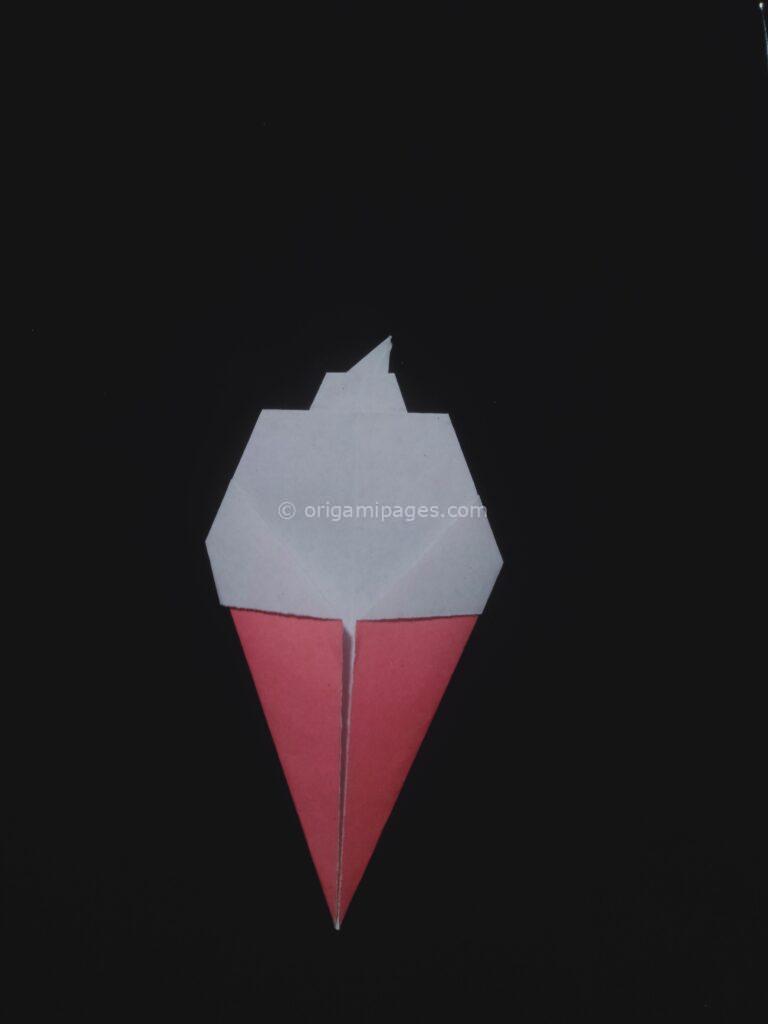
Step 7: Turn Over the Paper
Once you’ve completed the pleat folds, turn the paper back over so that the cone shape is facing upwards.
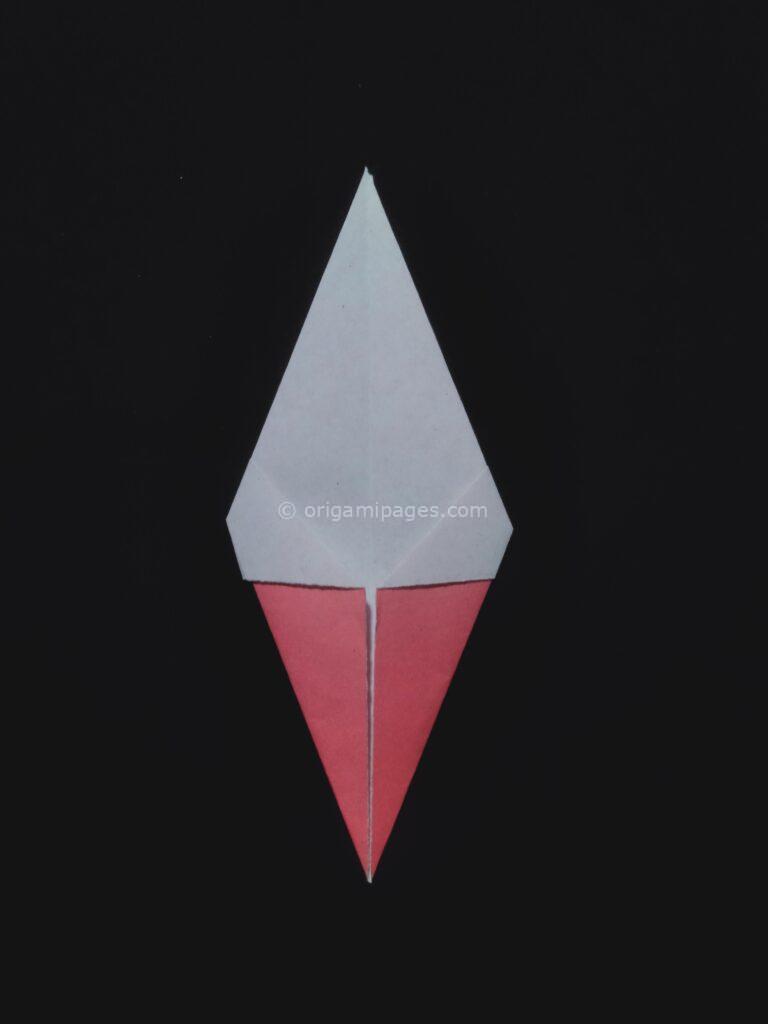
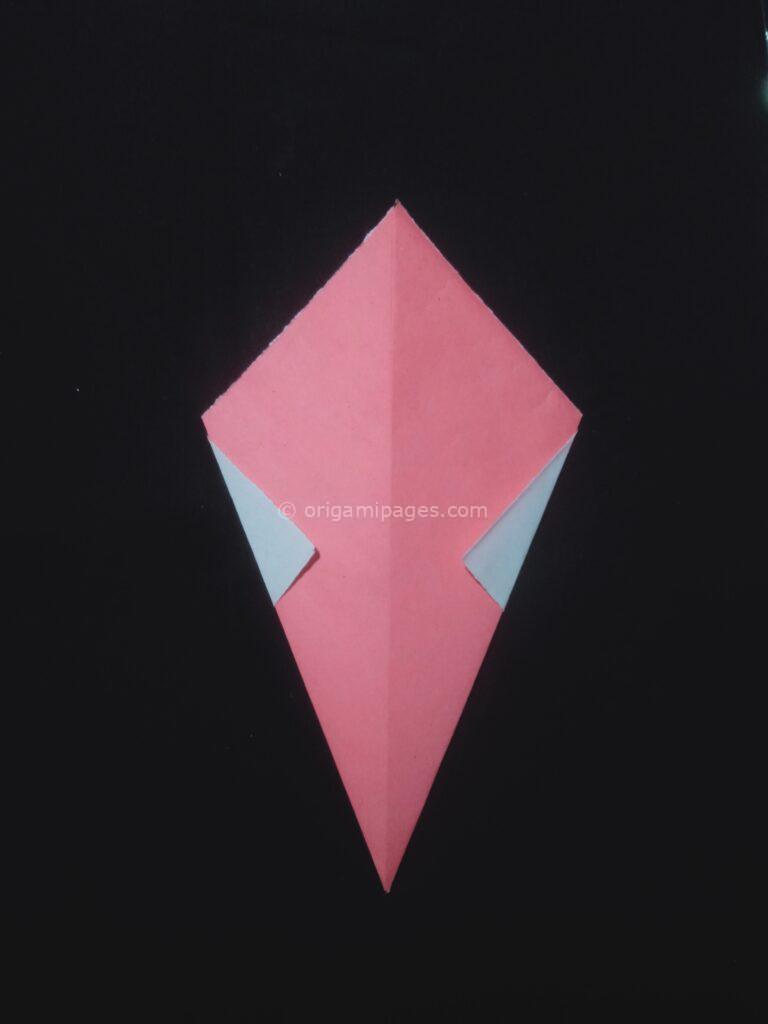
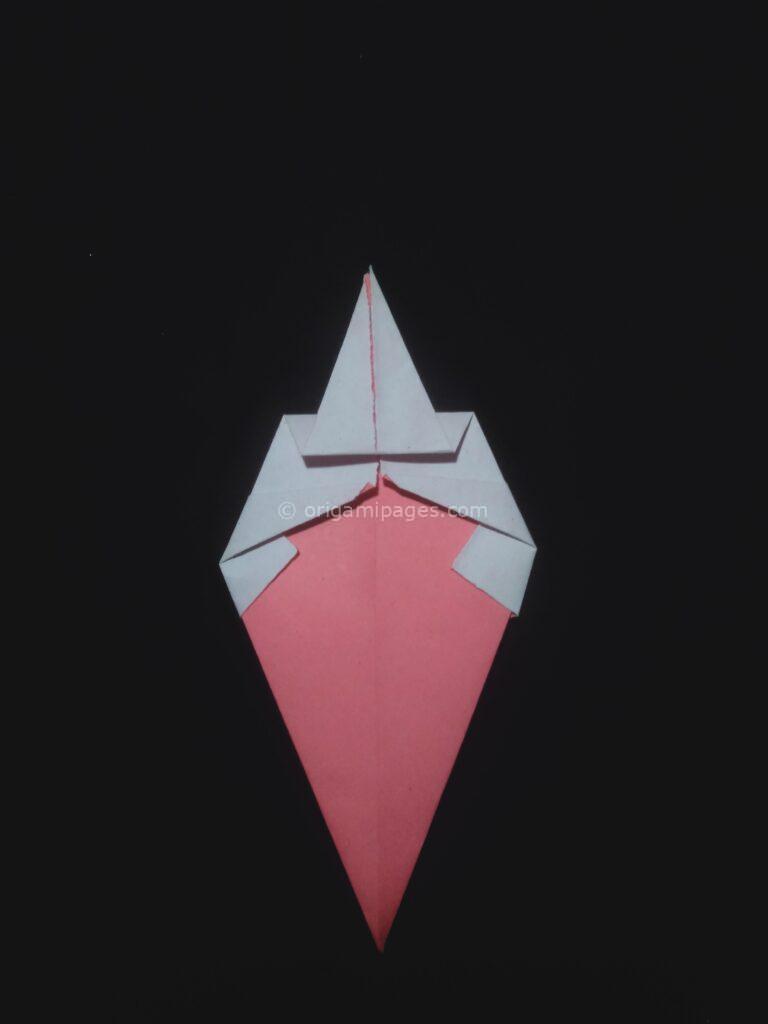
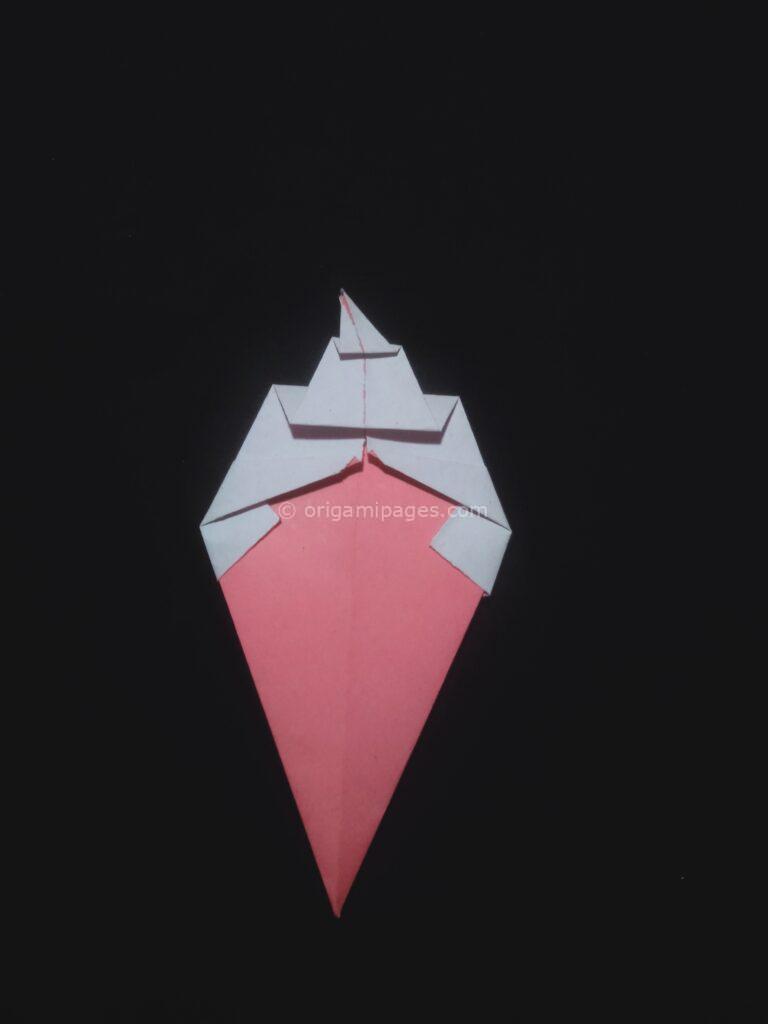
Step 8: Fold the Top Corner Behind the Model
Now, take the top corner of the paper and fold it down and behind the model, tucking it into the folds created by the pleats. This will secure the shape of the cone.

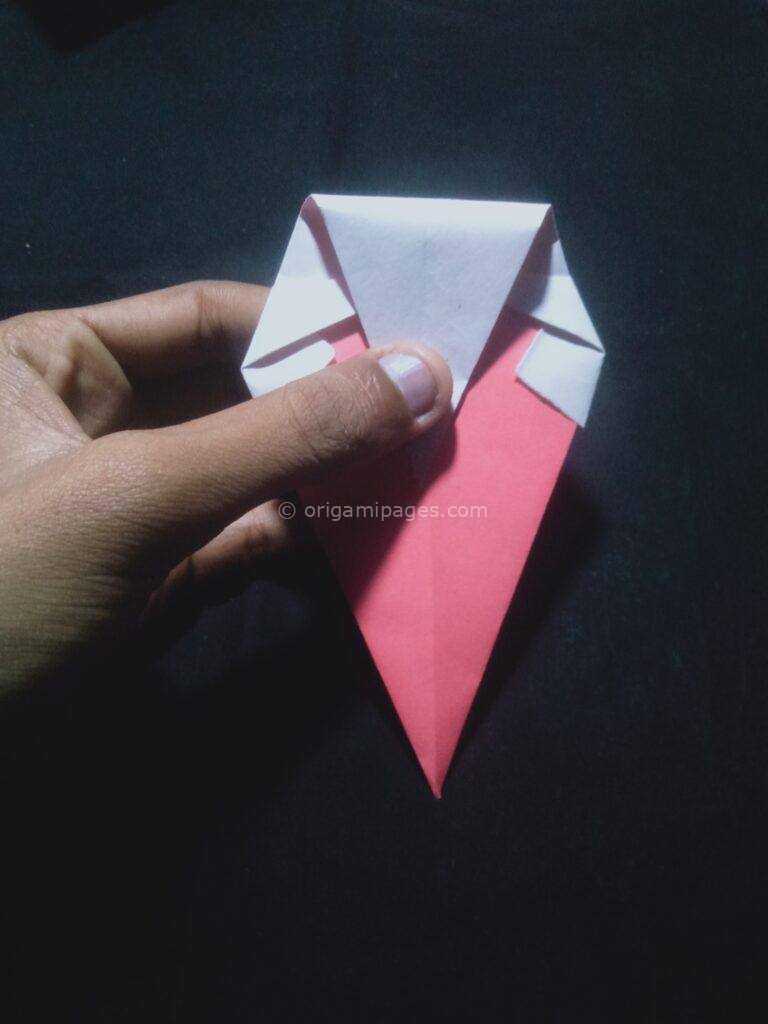
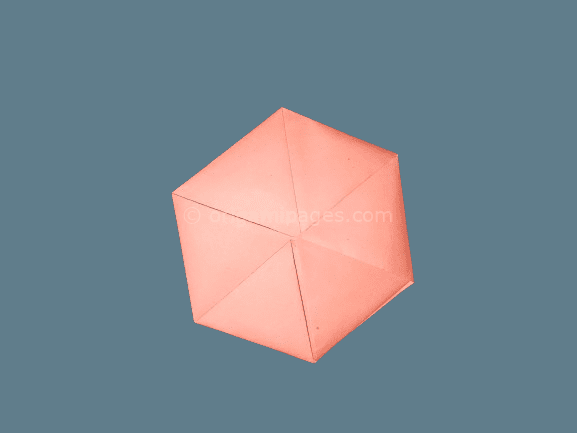
Step 9: Fold the Corner Up, Down, and Up Again
With the top corner tucked behind, fold it up towards the tip of the cone, then down again, and finally back up towards the top. This will create the appearance of a scoop of ice cream on top of your cone.
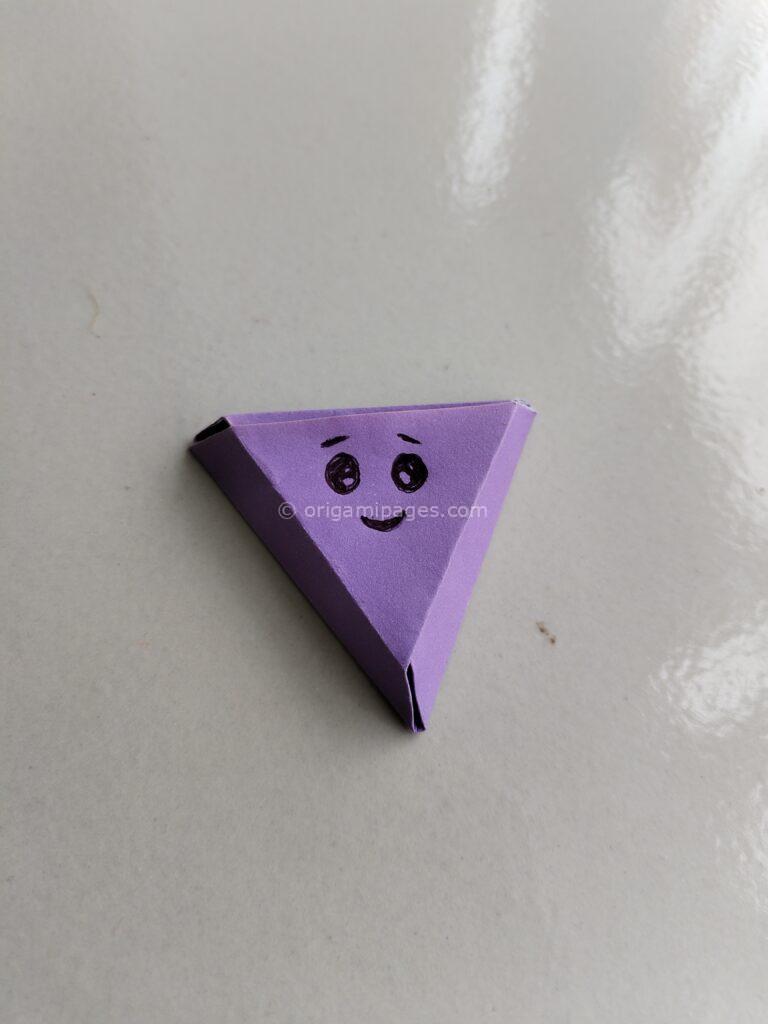
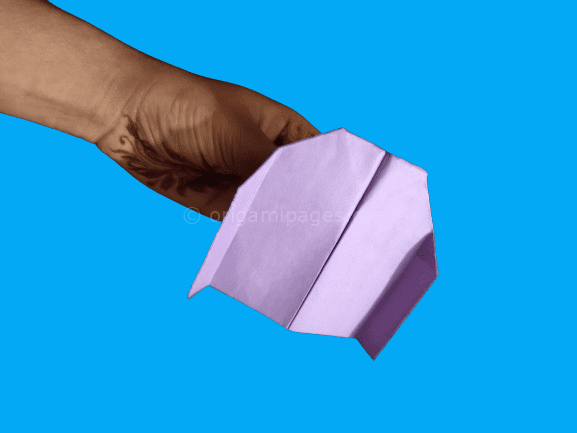
Step 10: Turn Over the Paper and Draw on It
Flip the paper over one final time and use a pen or marker to draw on your ice cream cone. You can add details like sprinkles or a cherry on top to customize your creation.
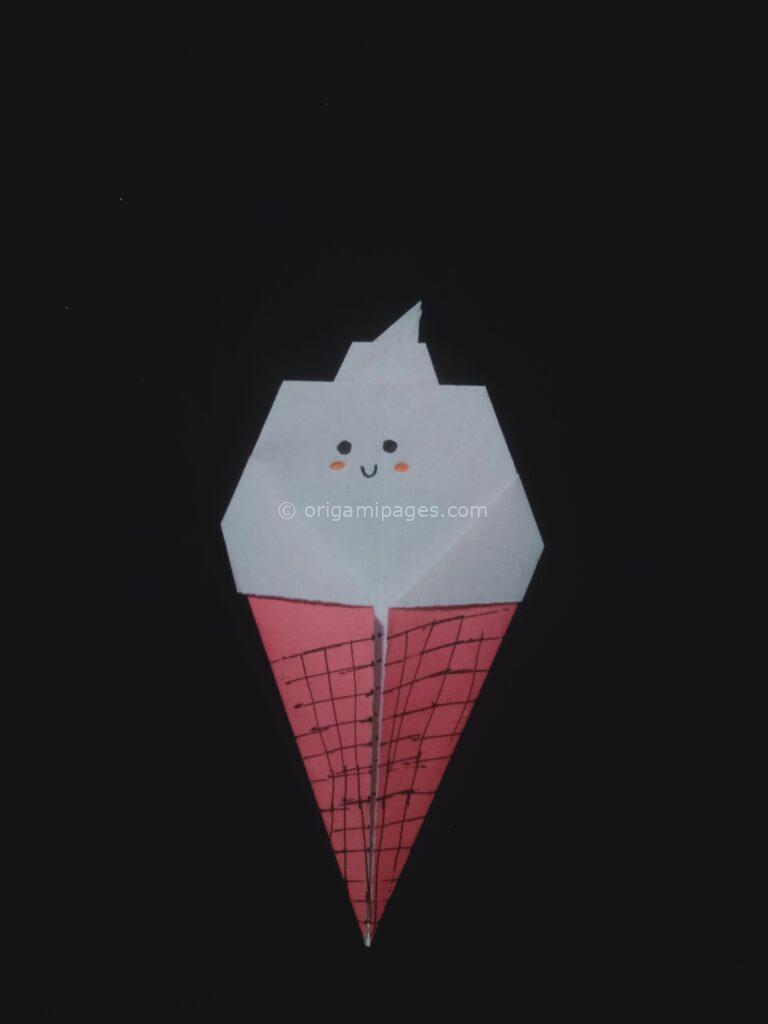
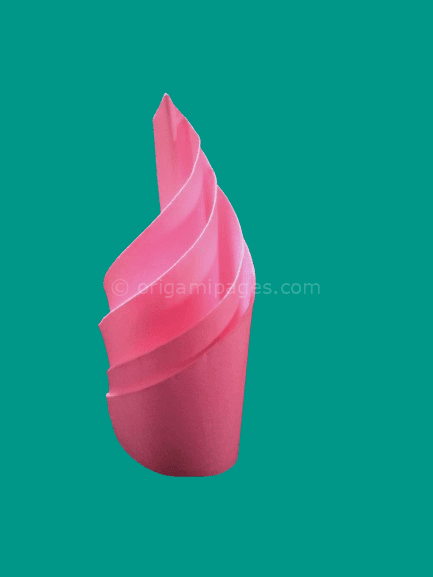
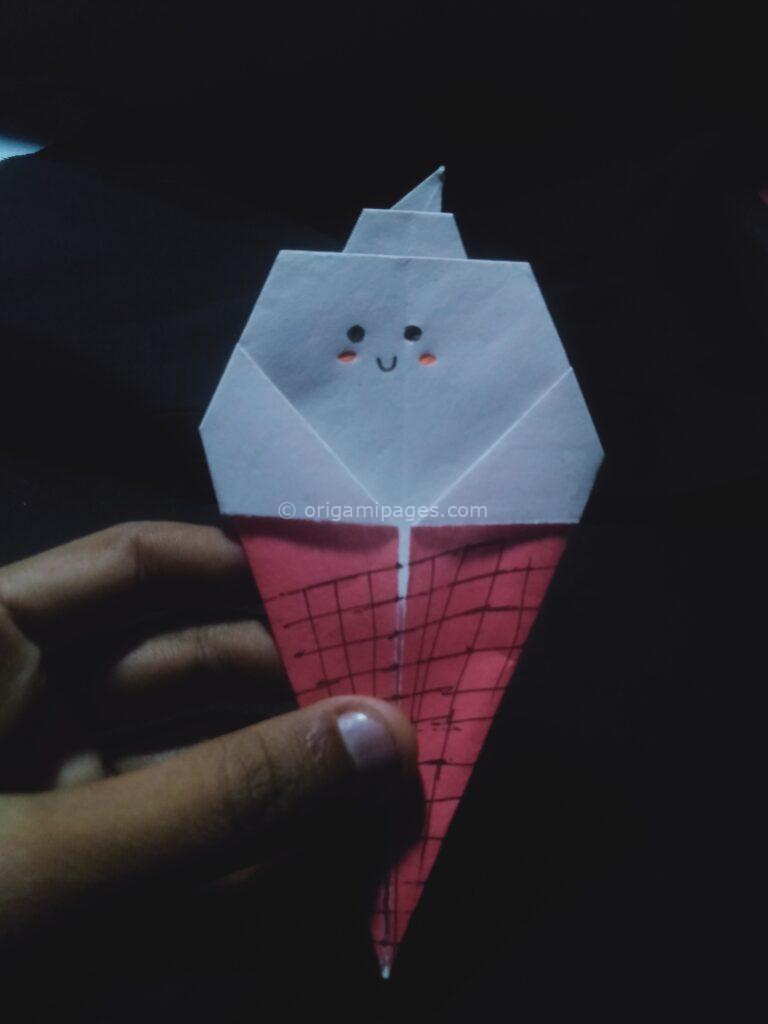
Step 11: Your Origami Ice Cream Cone is Complete!
Congratulations! You’ve successfully folded your own origami ice cream cone. Display it proudly or give it as a thoughtful handmade gift to brighten someone’s day.
Origami is a wonderful hobby that offers endless opportunities for creativity and expression. Whether you’re a beginner or an experienced folder, there’s always something new to learn and explore. We hope you’ve enjoyed this step-by-step guide and that it’s inspired you to continue your origami journey. Happy folding!
If you’re curious about crafting origami versions of your favorite foods, you’ll love our articles on Halloween Origami Pumpkins and Origami Banana. Our guide to Halloween Pumpkins gives you all the details you need, complete with easy-to-follow steps. And for something fresh and fun, check out our piece on banana origami, where a whole new world of creativity awaits!