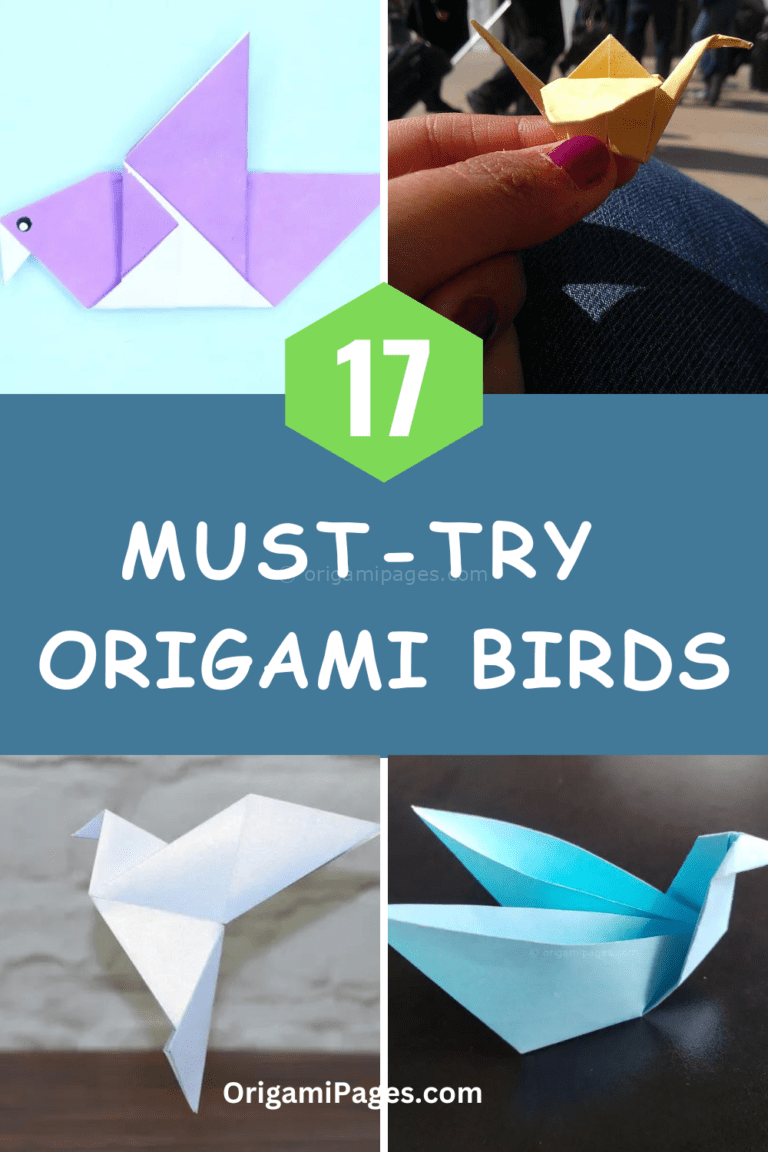
Origami Pelican: A Step-by-Step Guide for Beginners
There’s something magical about transforming a plain piece of paper into a pelican through the art of origami. Whether you’re just starting out or have experience with origami, this project provides a great opportunity to create something beautiful and unique. With clear guidance, anyone can make an Origami pelican that looks graceful and detailed.
In this article, I’ll take you through the Origami pelican step by step, so that by the end, you’ll have your own paper pelican. Let’s get started with a simple and enjoyable journey in origami!

Materials Needed
To make your Origami pelican, all you’ll need is:
- Paper size: 15″ × 15″ square paper.
How to Make an Origami Pelican: Step-by-Step Instructions
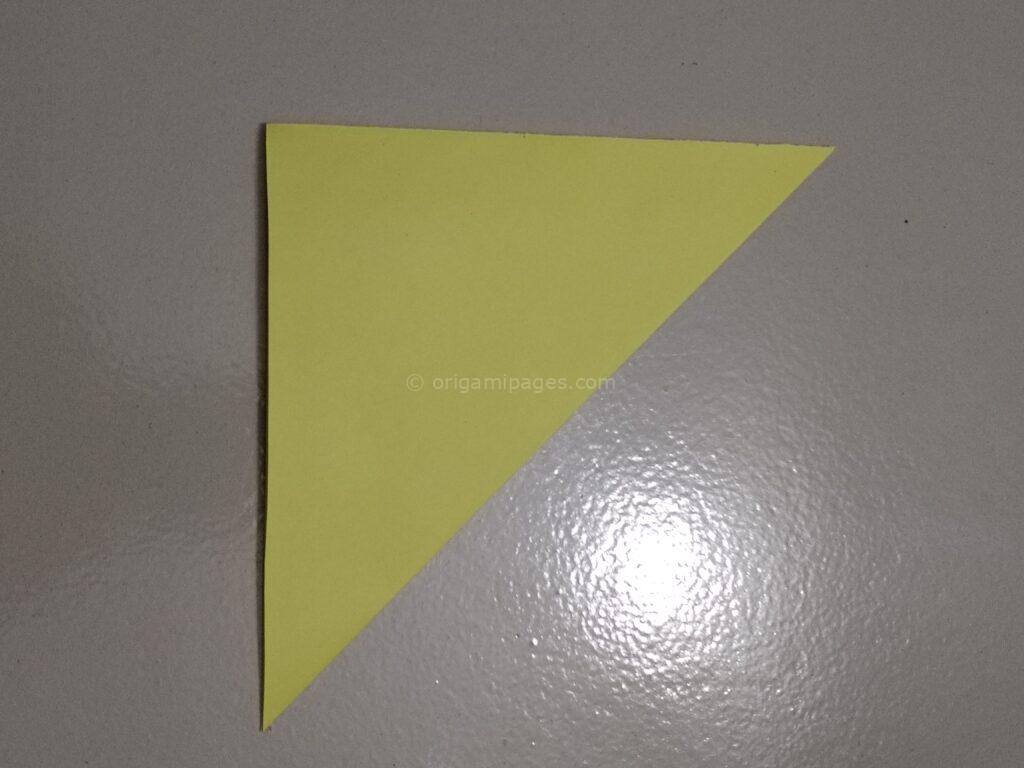
1. Take square paper.
Start by placing the square piece of paper flat on a clean surface, making sure it’s aligned properly.
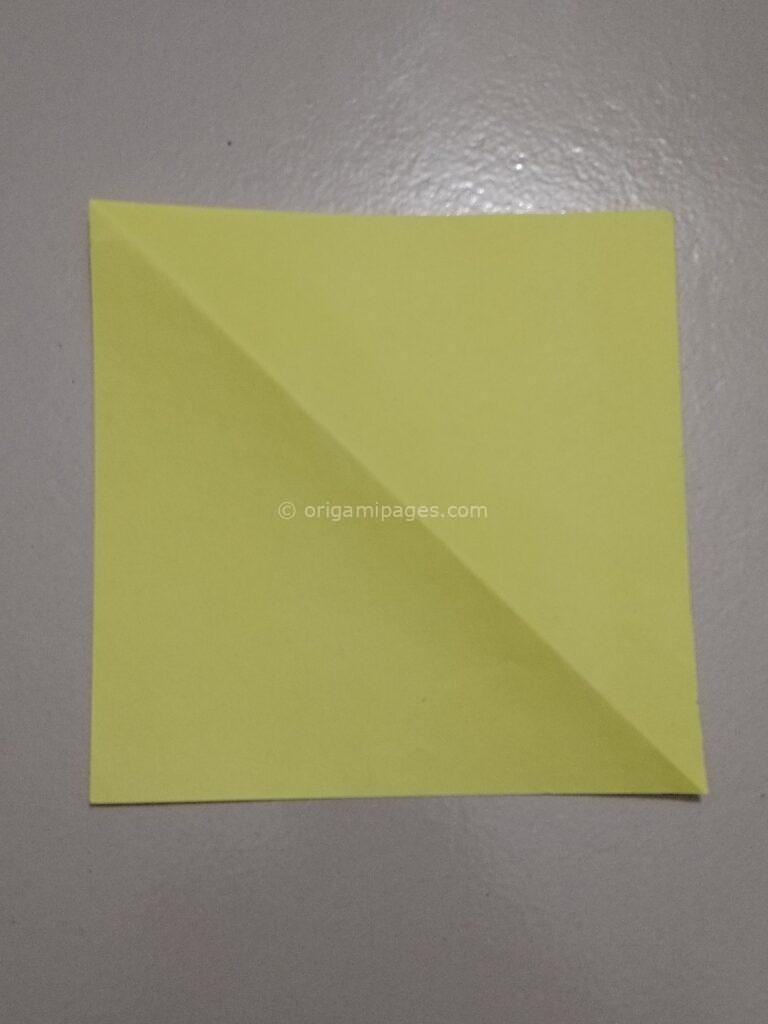
2. Fold and unfold the corners.
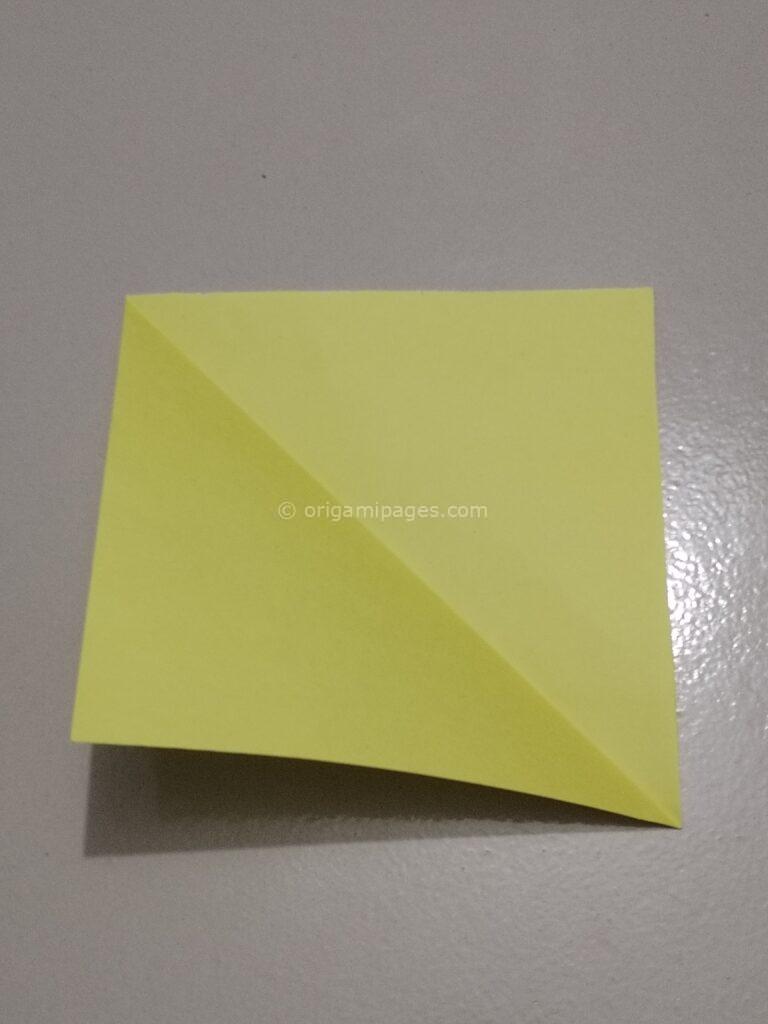
Fold one corner to its opposite corner to create a diagonal crease. Unfold the paper and do the same with the other two corners. This will create an “X” crease on the paper.
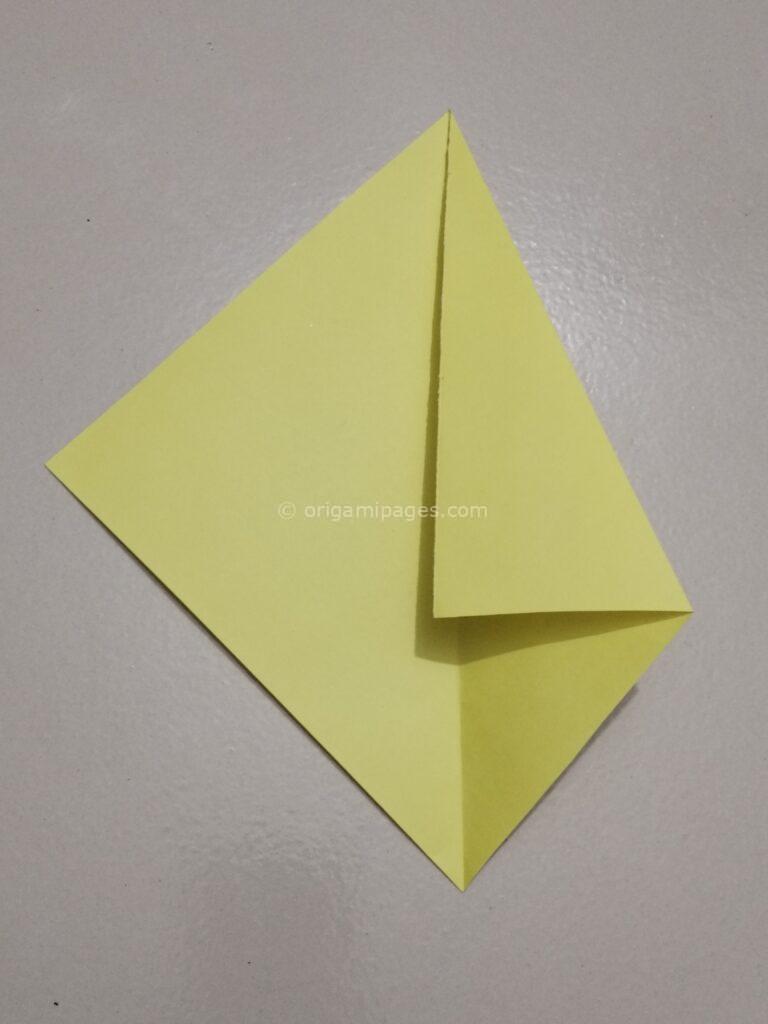
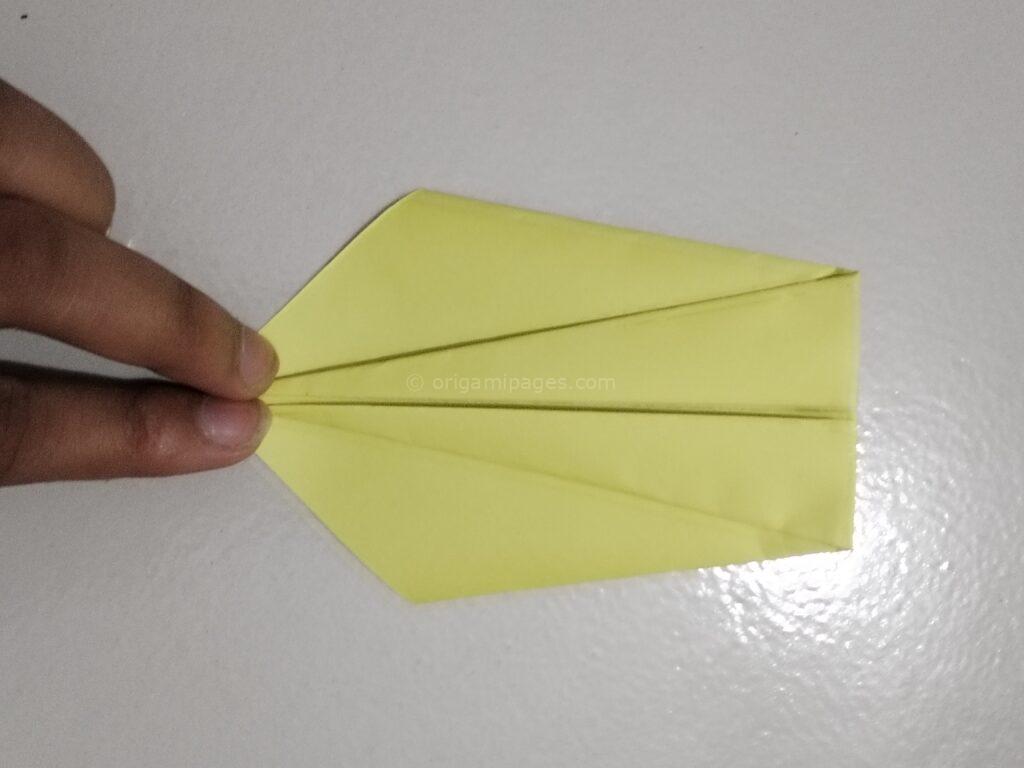
3. Fold the two corners along the middle line. Again, fold along the middle line.
Next, fold the top two corners inward so that they meet at the center crease. Once both corners are folded in, fold the entire paper along the middle line, hiding the previous folds inside.
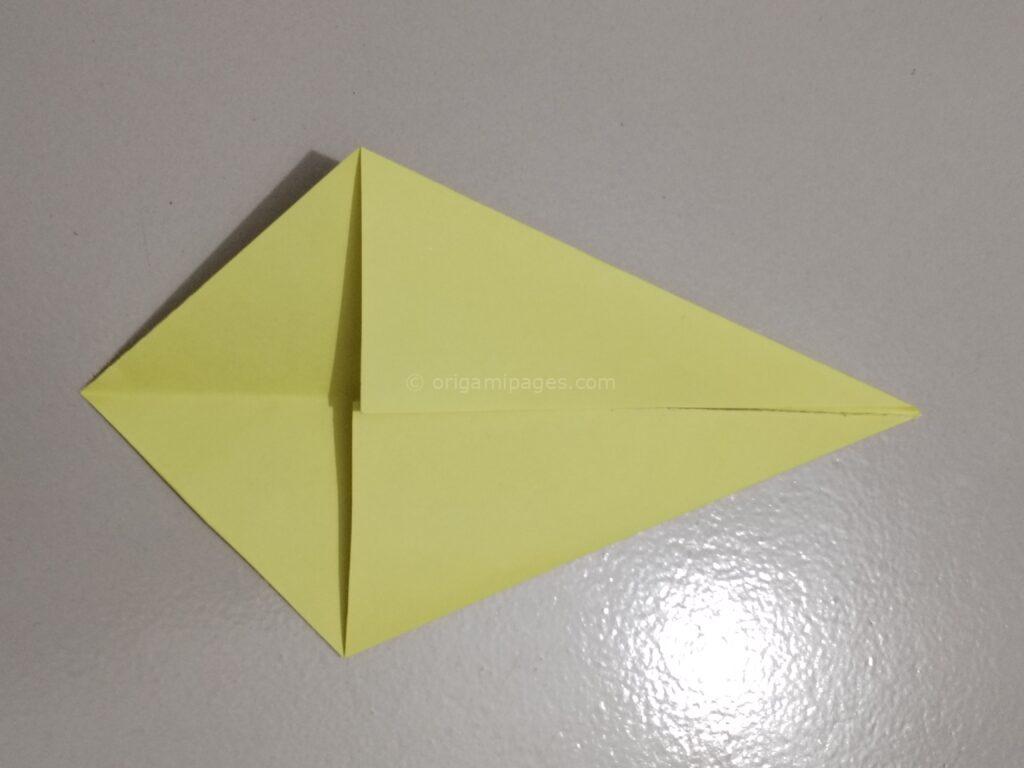
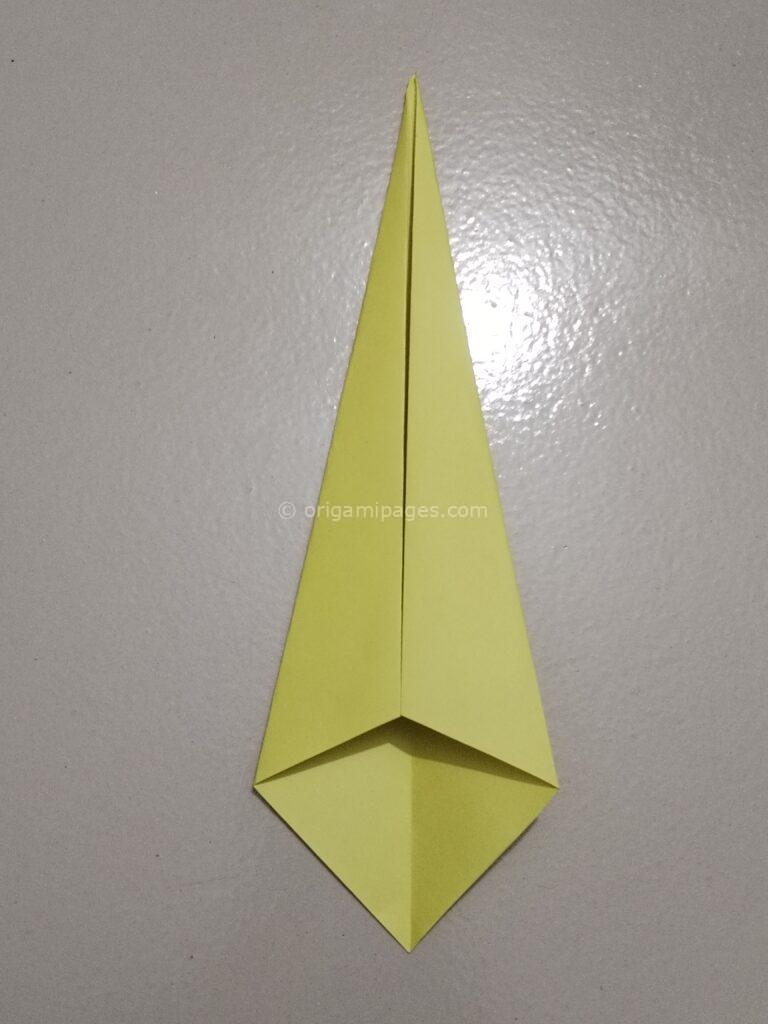
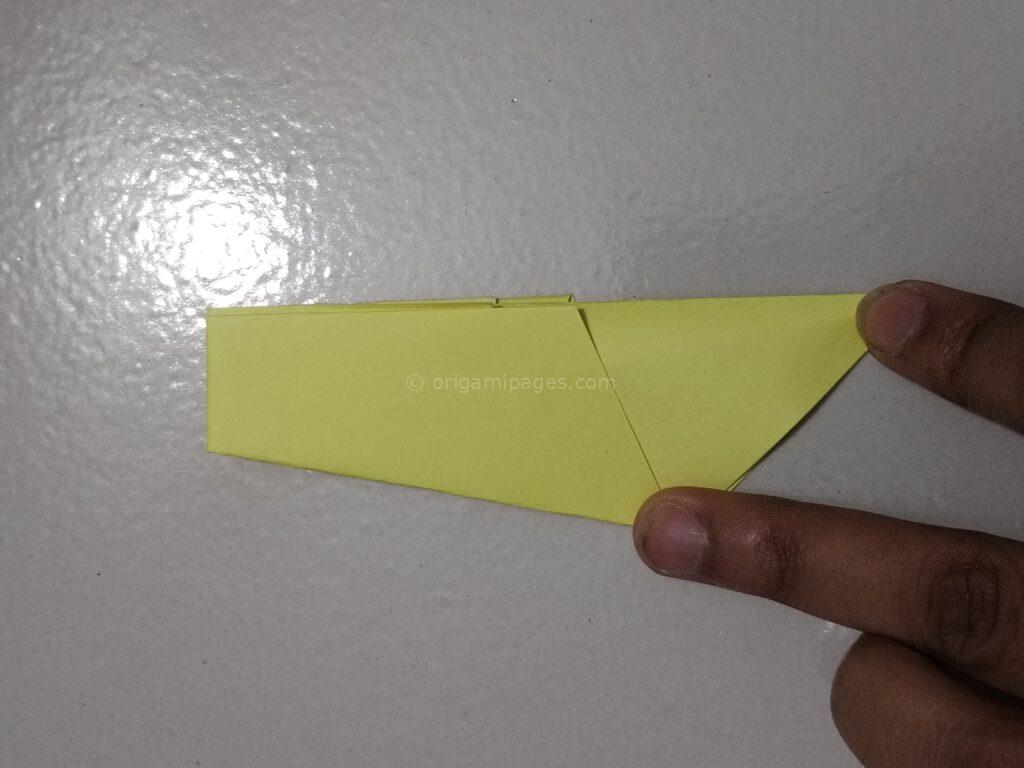
4. Turn the paper upside down. Fold the top paper downwards.
Flip the paper upside down. Then, take the top layer and fold it downwards to meet the middle crease.
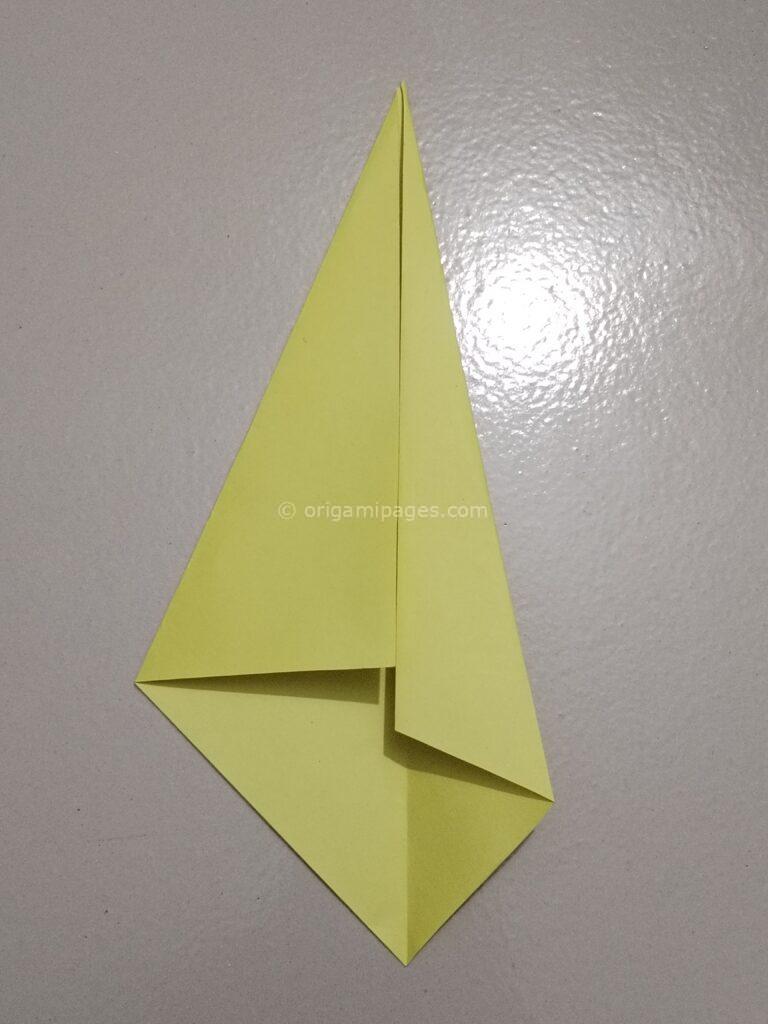
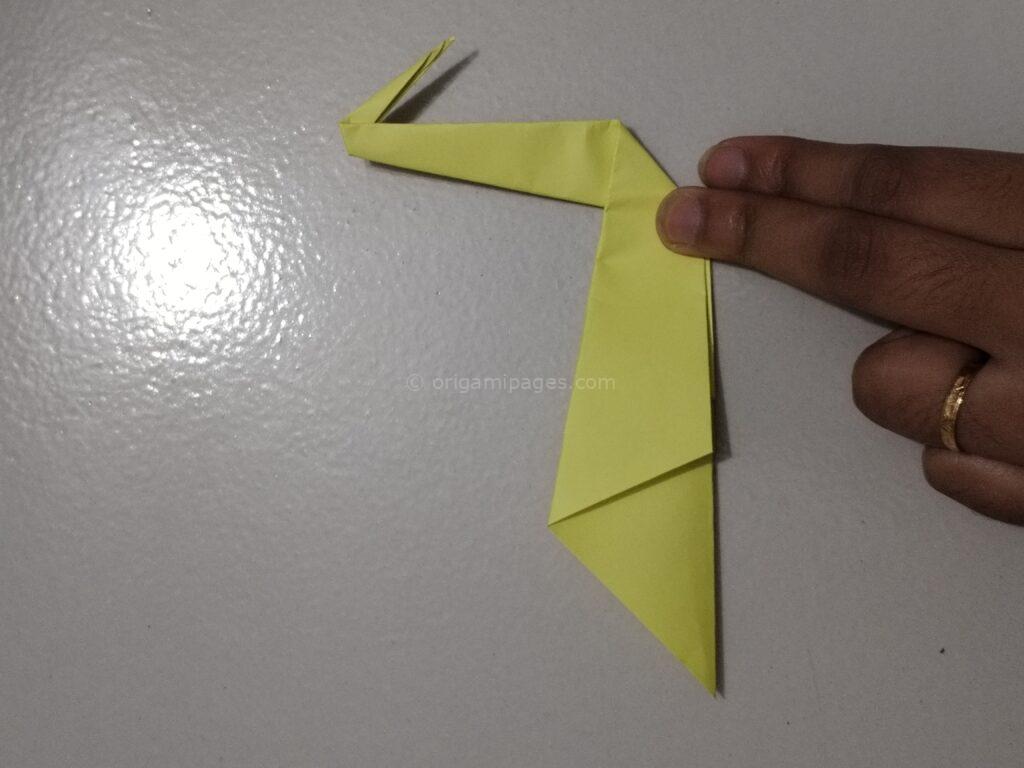
5. Fold along the middle line. Bring the paper from the inside and make the head.
Fold the entire paper along the middle crease again, keeping the folded side on the outside. Carefully pull a small section from the inside and fold it outwards to form the head of the pelican.

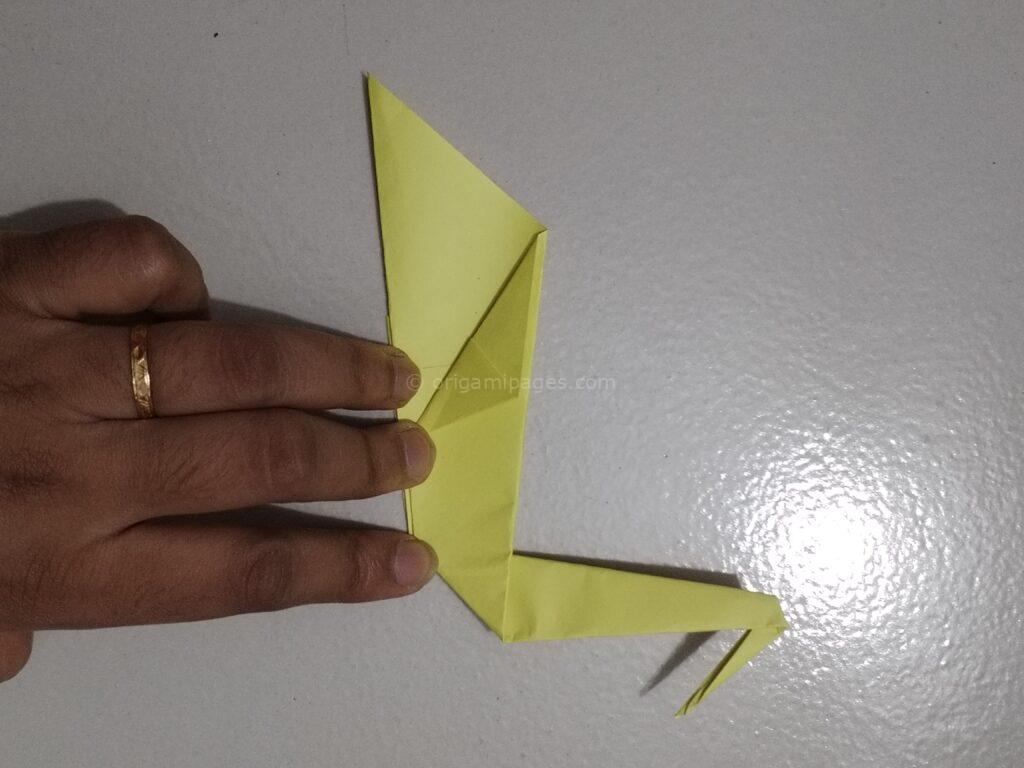
6. Now make a fan by folding the bottom of both sides.
To create the pelican’s tail, fold the bottom part of both sides into pleats, forming a fan-like shape.
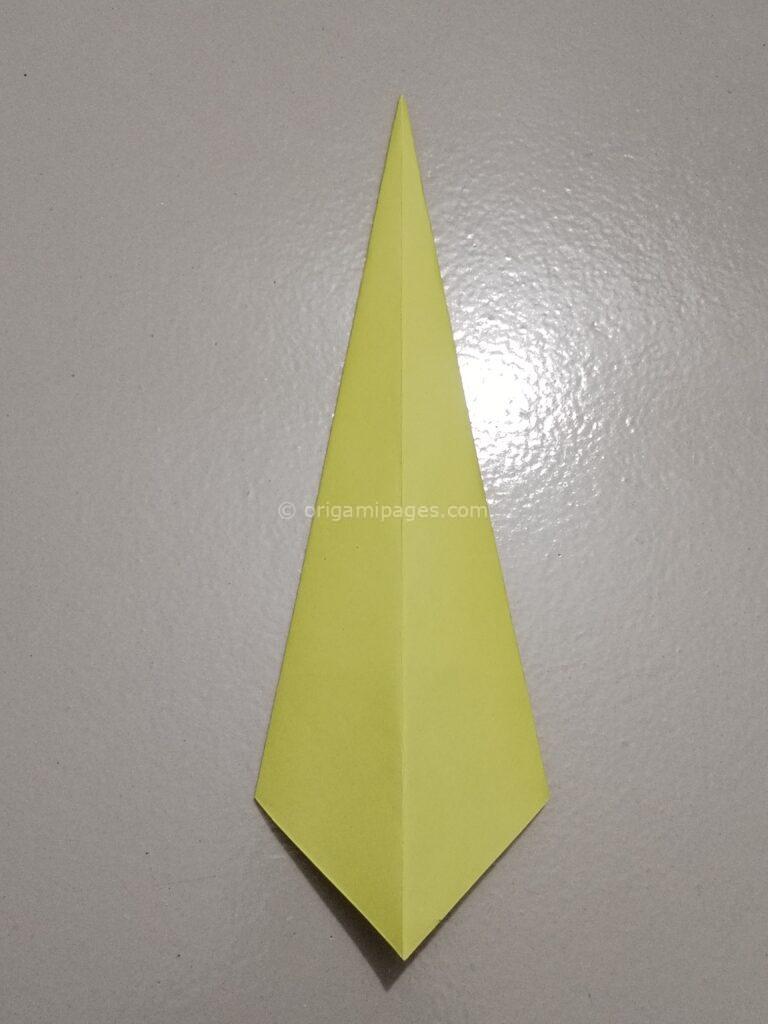
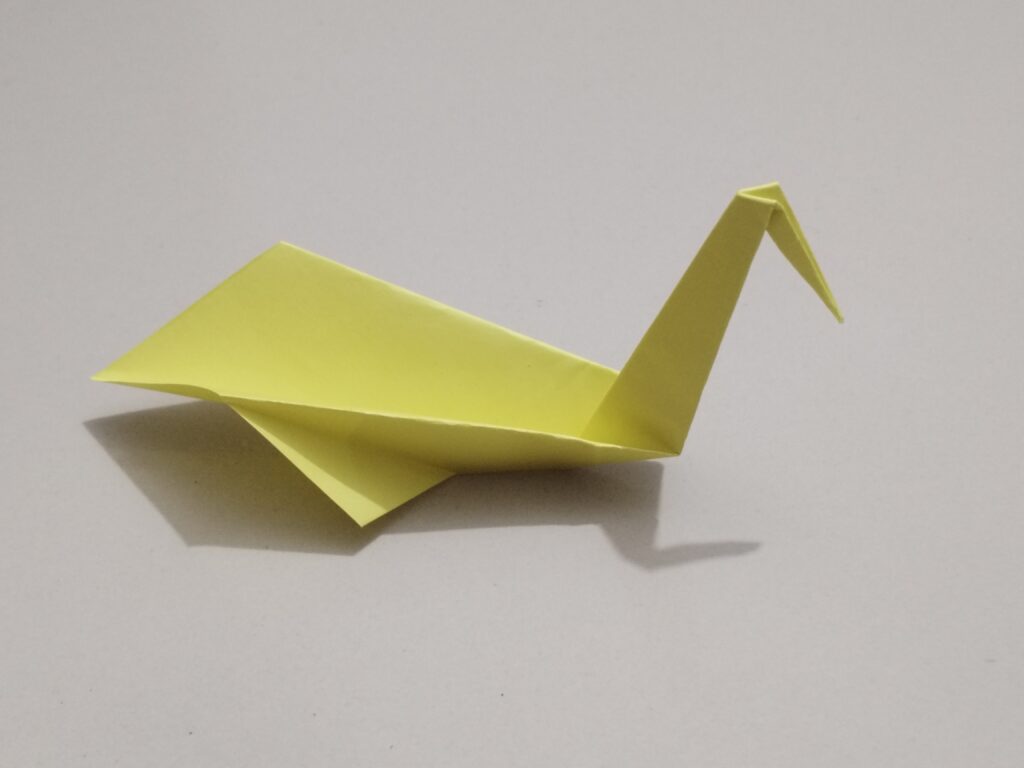
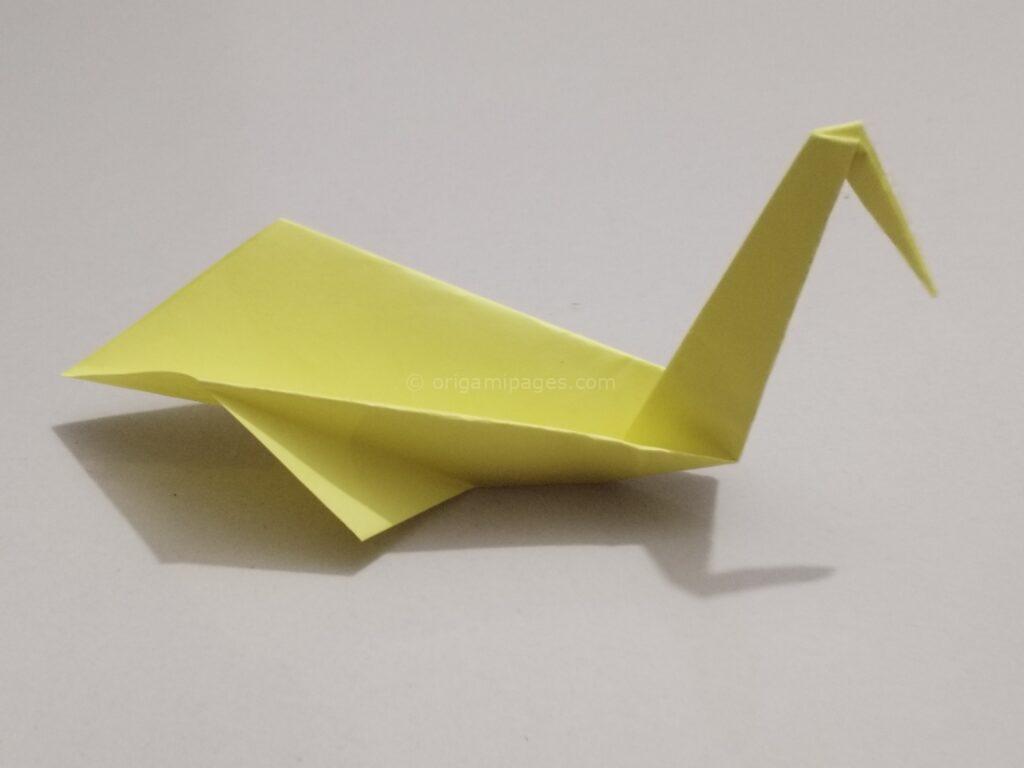
7. Your Origami pelican is now ready.
After completing all the folds, your Origami pelican should be fully formed and ready for display. Make sure to adjust the folds if needed for better definition.
Easy Origami Pelican for Kids
This project is a great introduction to origami for children, as the steps are easy to follow and provide a sense of accomplishment. Following these simple easy origami pelican step-by-step instructions helps kids practice their fine motor skills while engaging their creativity. It’s a fun way to teach them about patience and precision.
Paper Pelican Instructions for All Levels
Whether you’re a novice or an experienced folder, these paper pelican instructions will guide you through the process without difficulty. The simplicity of the project makes it accessible for beginners, yet the result is satisfying for anyone.
Outro
By following these Origami pelican step-by-step instructions, you’ve now crafted your own beautiful paper pelican. I hope you enjoyed the process and feel a sense of pride in your work. Feel free to share your thoughts or any challenges you faced, as feedback helps improve the quality of future guides.