Origami Square Box: A Step-by-Step Journey
Origami has a unique charm that transcends its simplicity, transforming a single sheet of paper into something remarkable. The Origami Square Box is one of the most versatile and practical projects in the art of paper folding. Whether you’re looking for a decorative storage solution or a gift box, this creation is both elegant and functional.
In this article, I’ll guide you through the process of making a square box origami style. From complete beginners to seasoned paper artists, I’ve ensured that these origami square box instructions are easy to follow. You’ll be amazed at how a simple sheet of paper can be turned into a beautiful box with just a few folds. Let’s dive in!
Why Make an Origami Square Box?
Before we begin with the step by step how to make an origami square box, let’s take a moment to appreciate why this project is worth your time. Not only is this easy origami square box a great beginner’s project, but it’s also perfect for kids. In fact, the origami square box for kids is often used as a classroom activity, helping children develop fine motor skills and patience. It’s an art that can be enjoyed by people of all ages.
The box origami design we’ll explore today can be customized for different uses. With just a few folds, you’ll have a sturdy and attractive container. This project also allows for creativity in choosing paper types, sizes, and patterns, making every box unique.
Step-by-Step Origami Square Box Instructions
Now, let’s move on to the instructions. Follow these steps carefully, and you’ll have a perfect beginner easy origami box in no time.
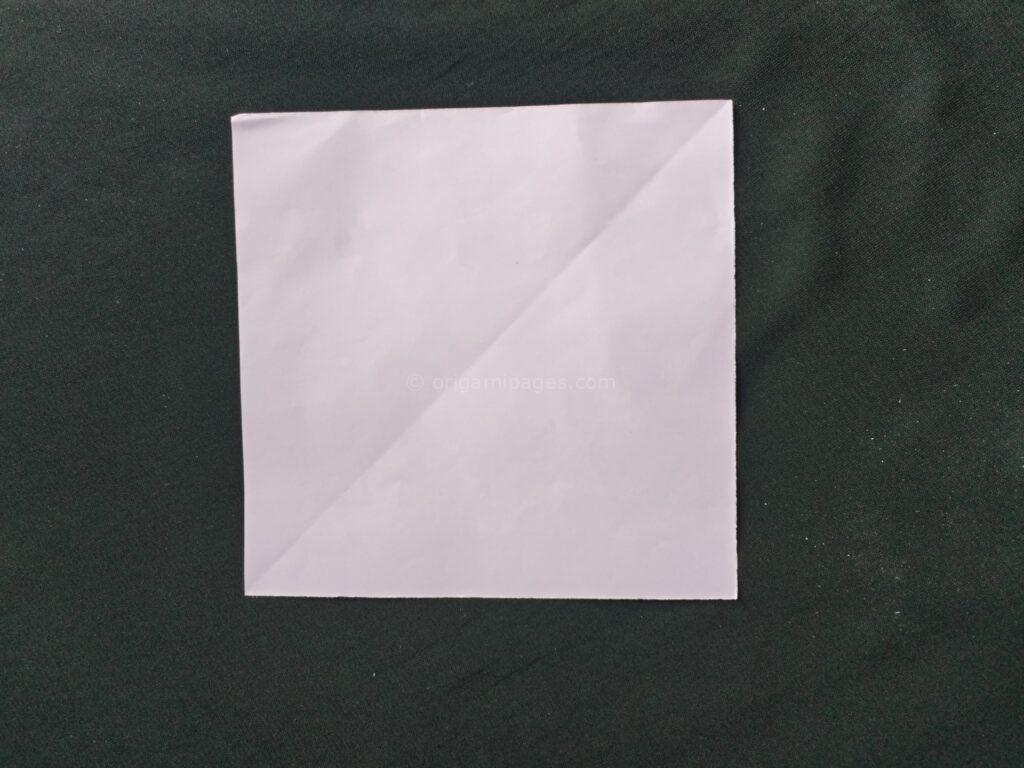
Step 1: Start with a Square Shape Paper
Take a square piece of paper. You can choose any size, but make sure it’s a perfect square. The color and pattern of the paper will give your box a unique look.
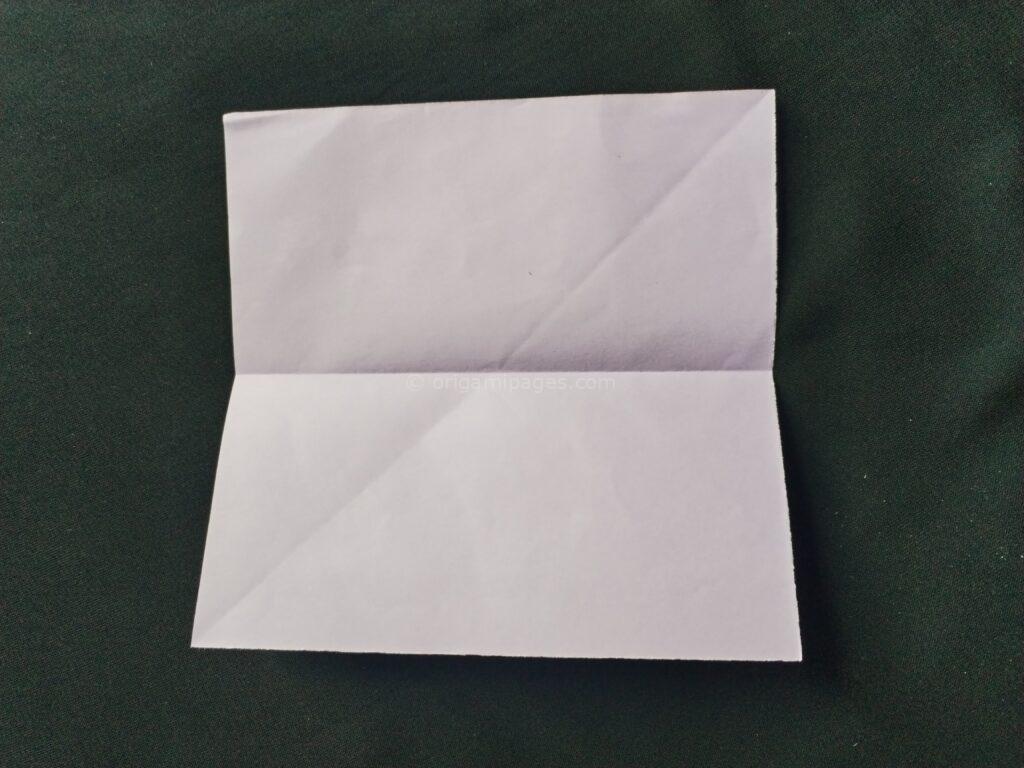
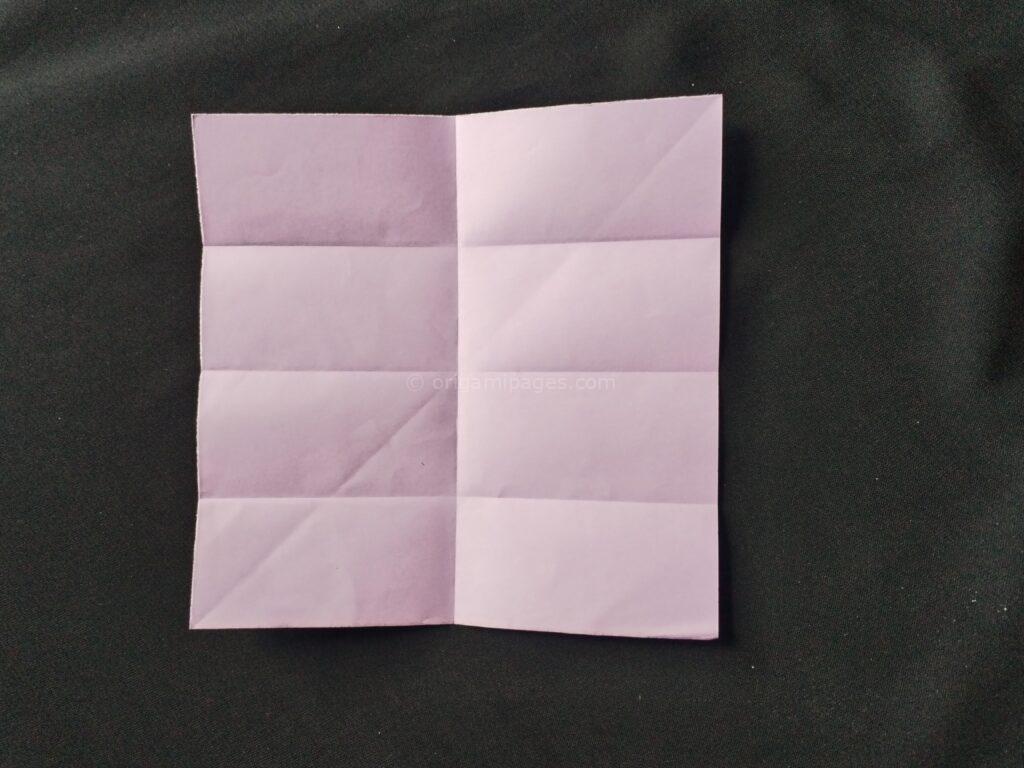
Step 2: Fold Horizontally and Unfold
Fold the paper in half horizontally. Once you’ve made a strong crease, unfold it. This fold helps set up the basic structure of your box.

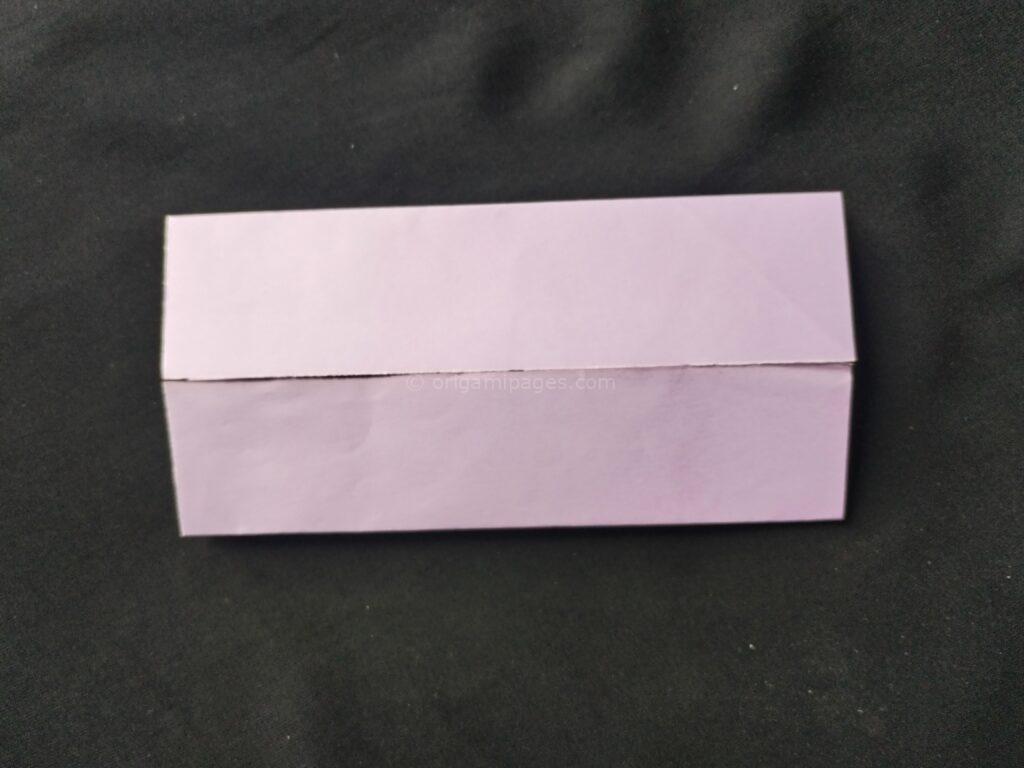
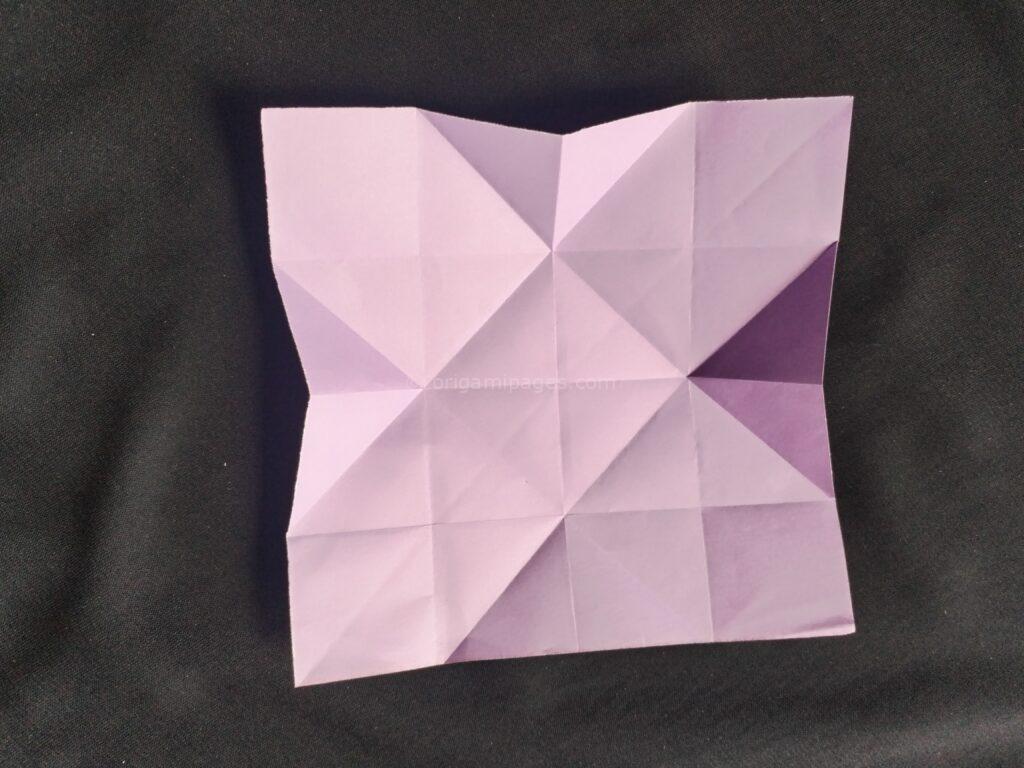
Step 3: Fold Both Sides Along the Middle Line
Next, bring both sides of the paper and fold them towards the middle line, meeting at the center. Unfold it again. Repeat the same process for the other side. These creases are critical to shaping your box.

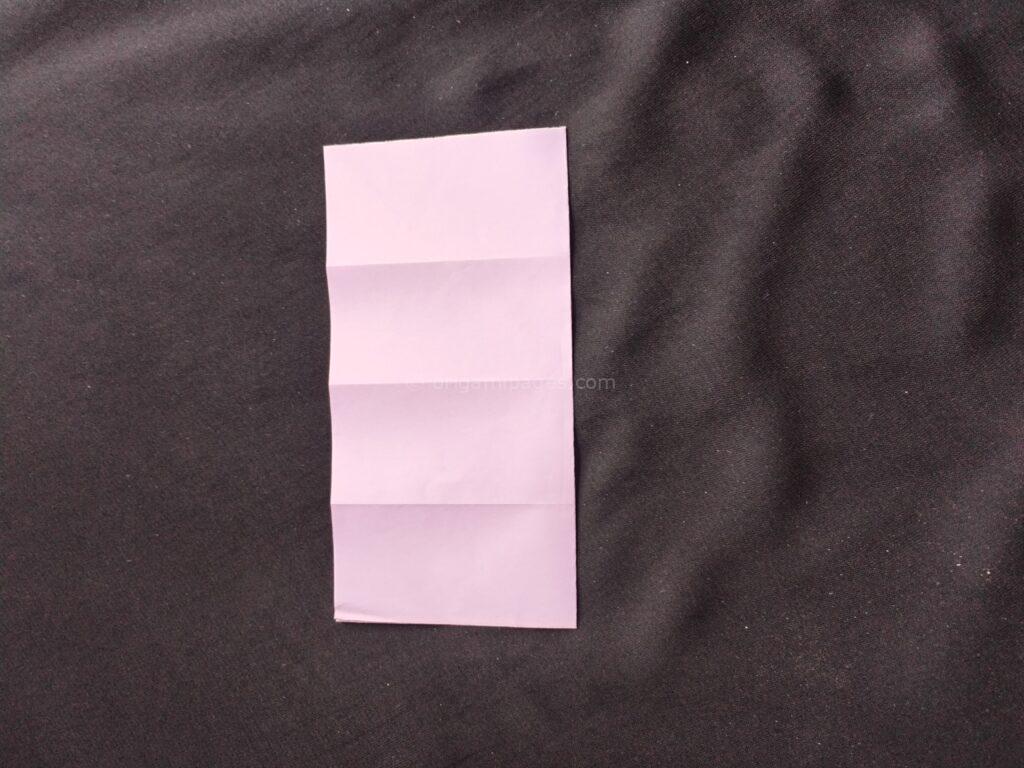
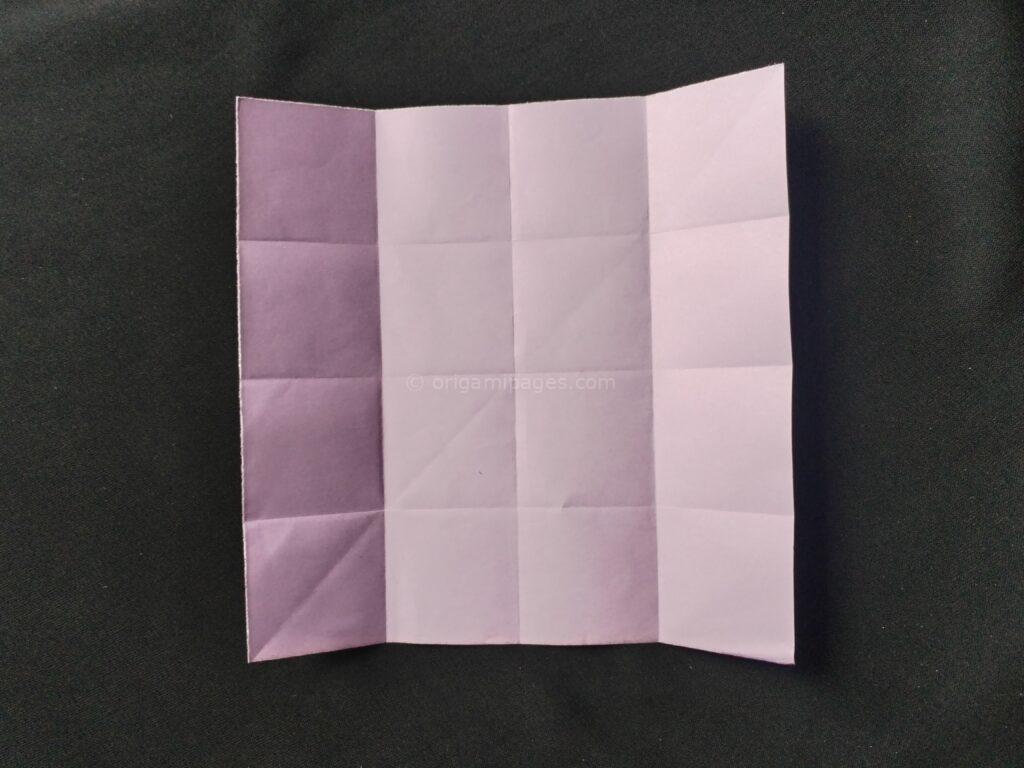
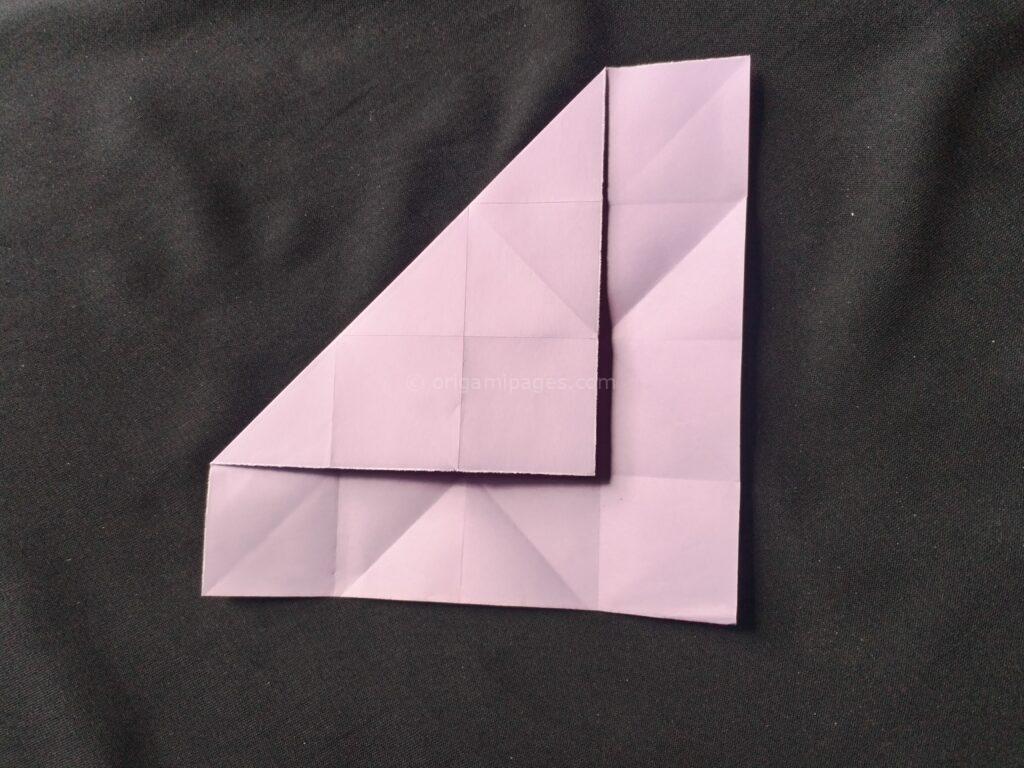
Step 4: Fold All Four Sides
Fold and unfold on all four sides as shown. These folds form the outer edges of your box, providing structure and stability.
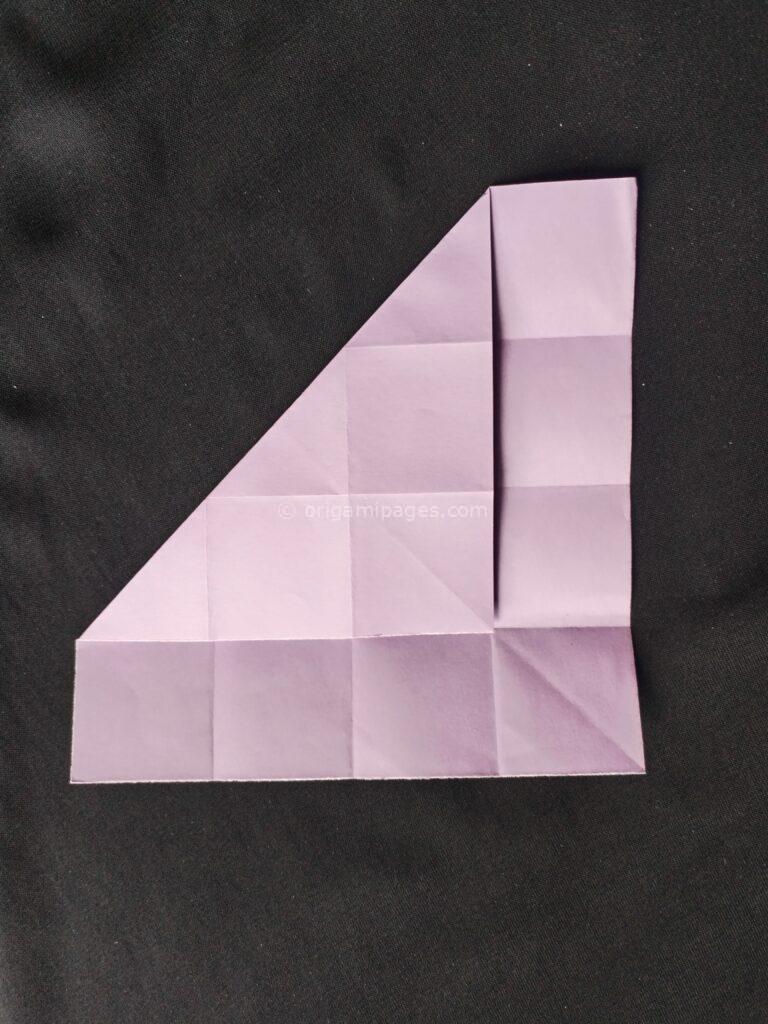
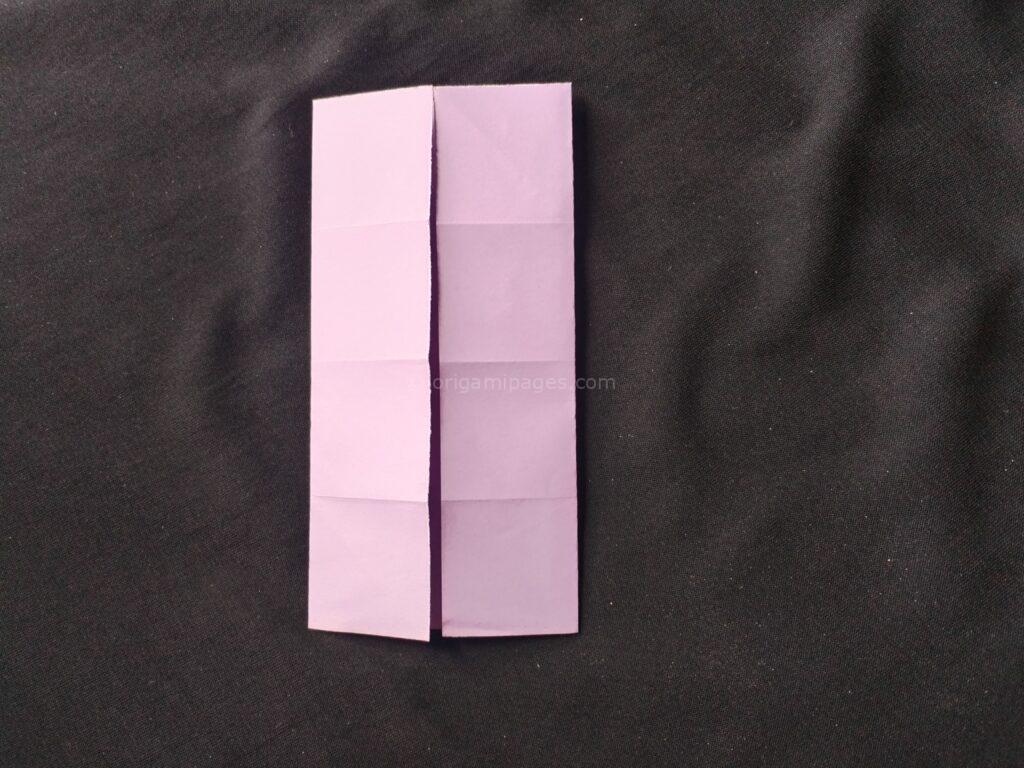
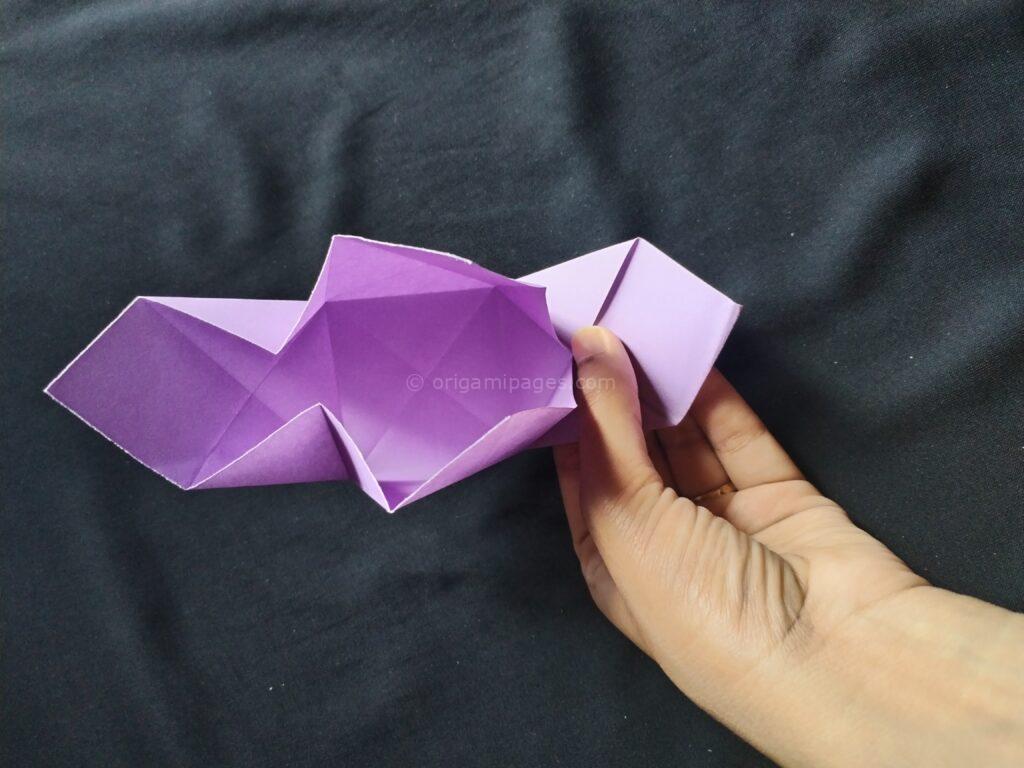
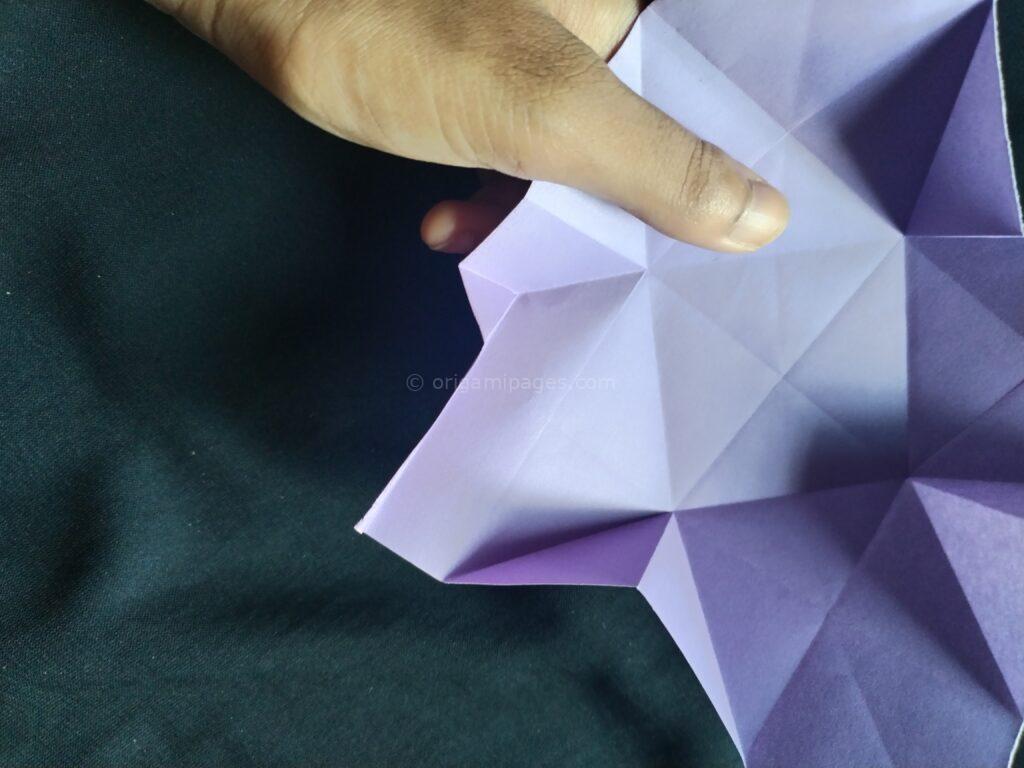
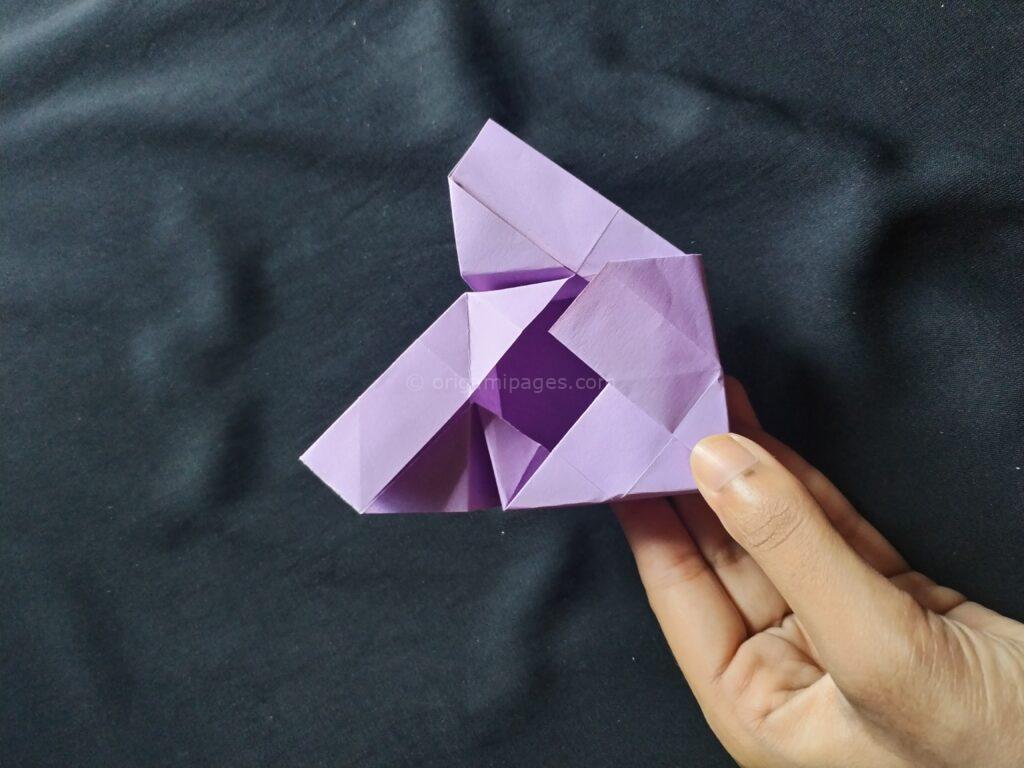
Step 5: Fold Around and Stitch Together
Fold around the creases you’ve made and start stitching the edges together, as shown. This step begins to bring the box shape to life.

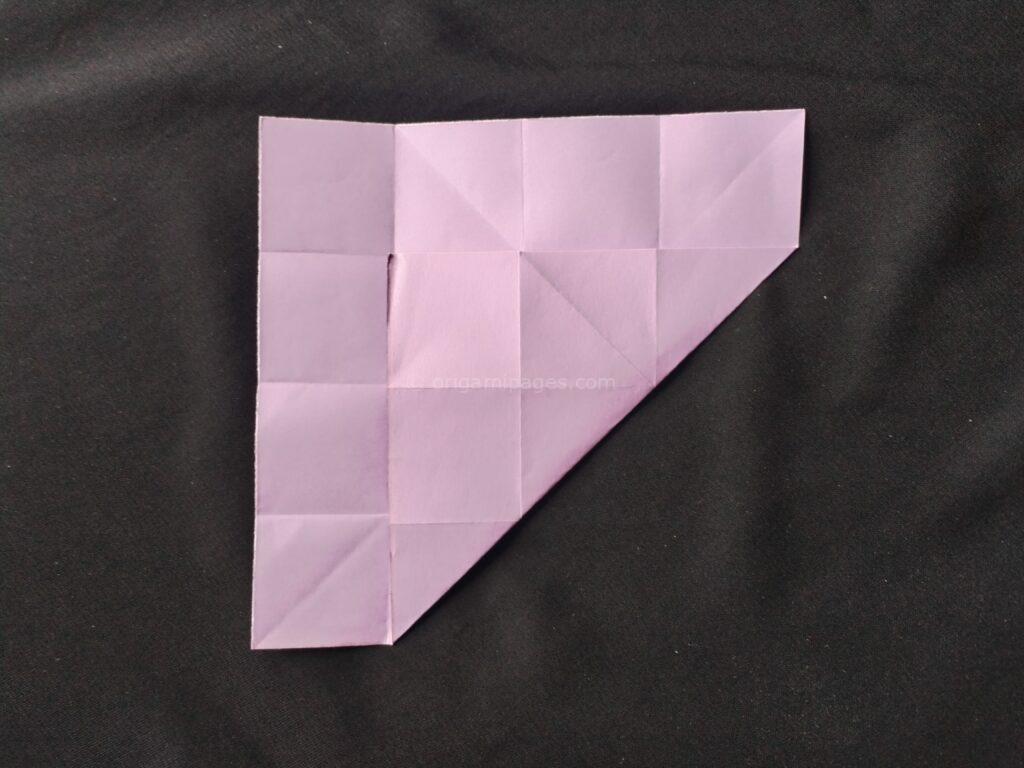
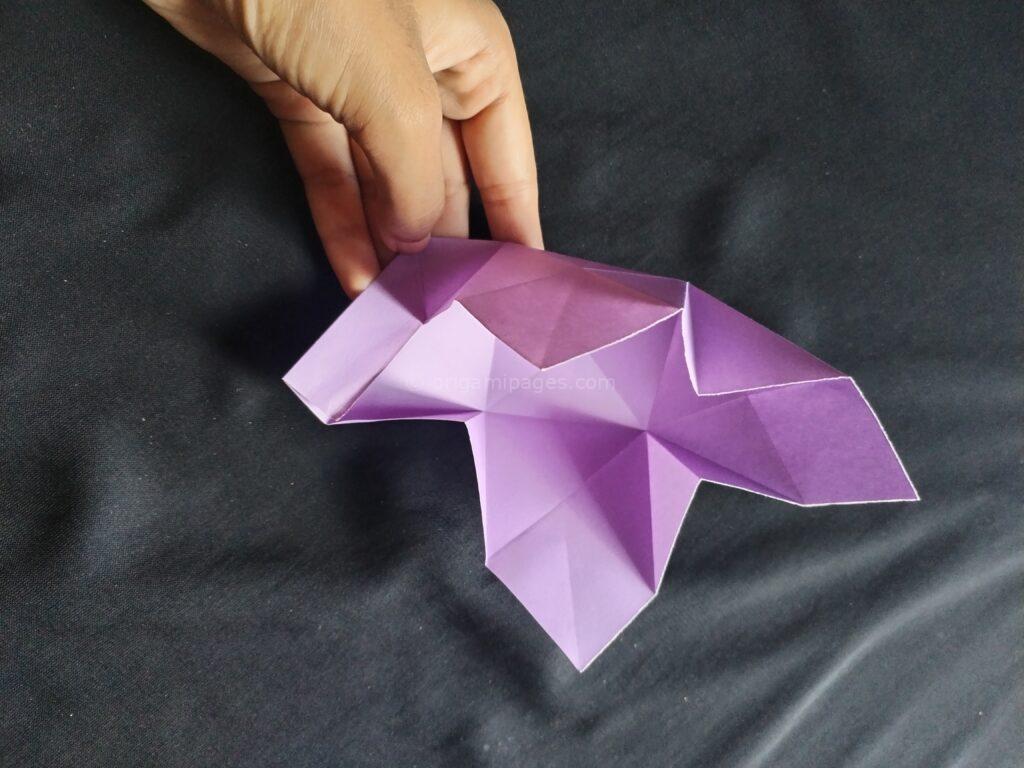
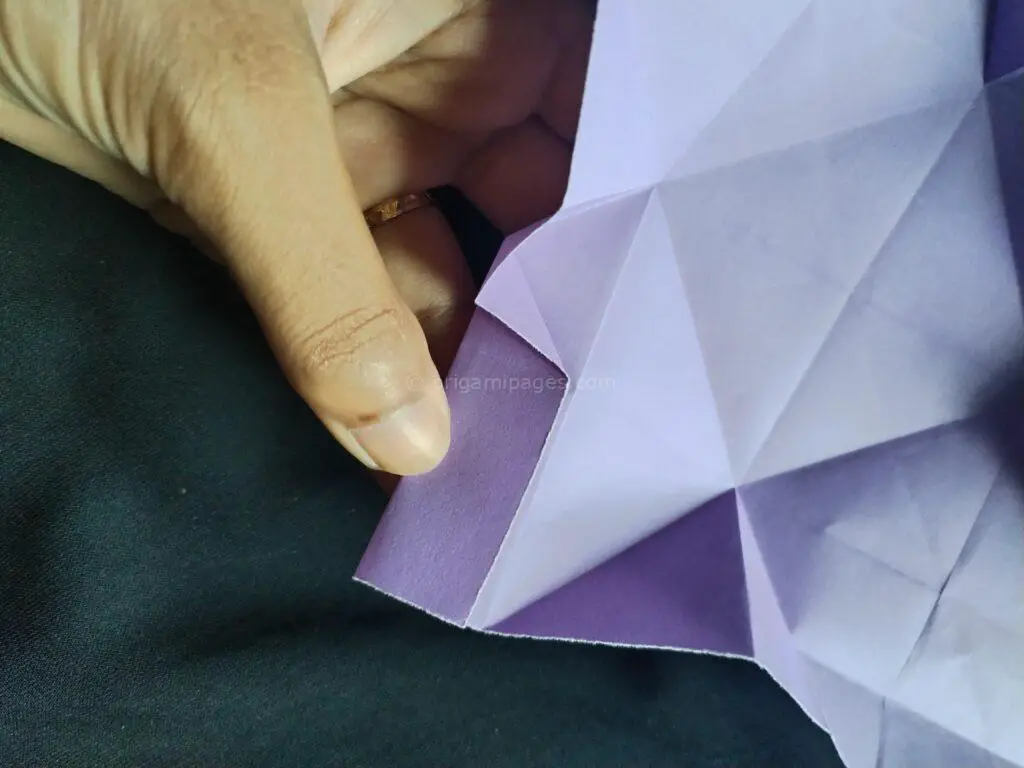
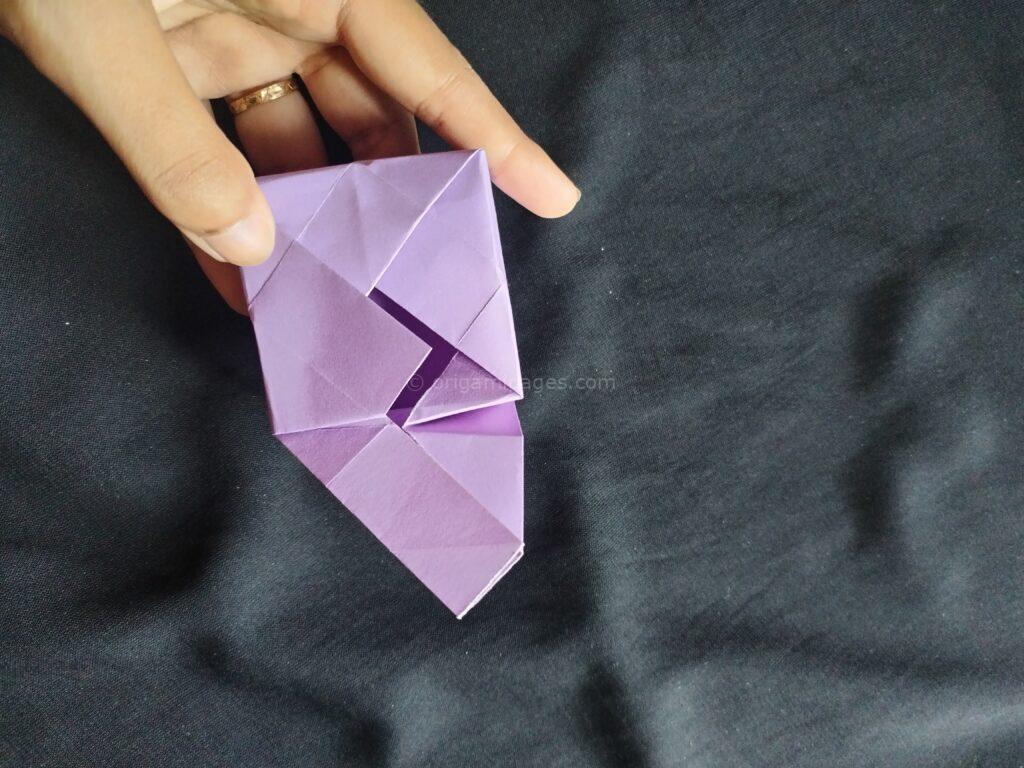
Step 6: Fold One Side and Repeat for All Sides
Now take one side of the paper and fold it as shown in the instructions. Repeat this process for each side. These folds will create the walls of the box.
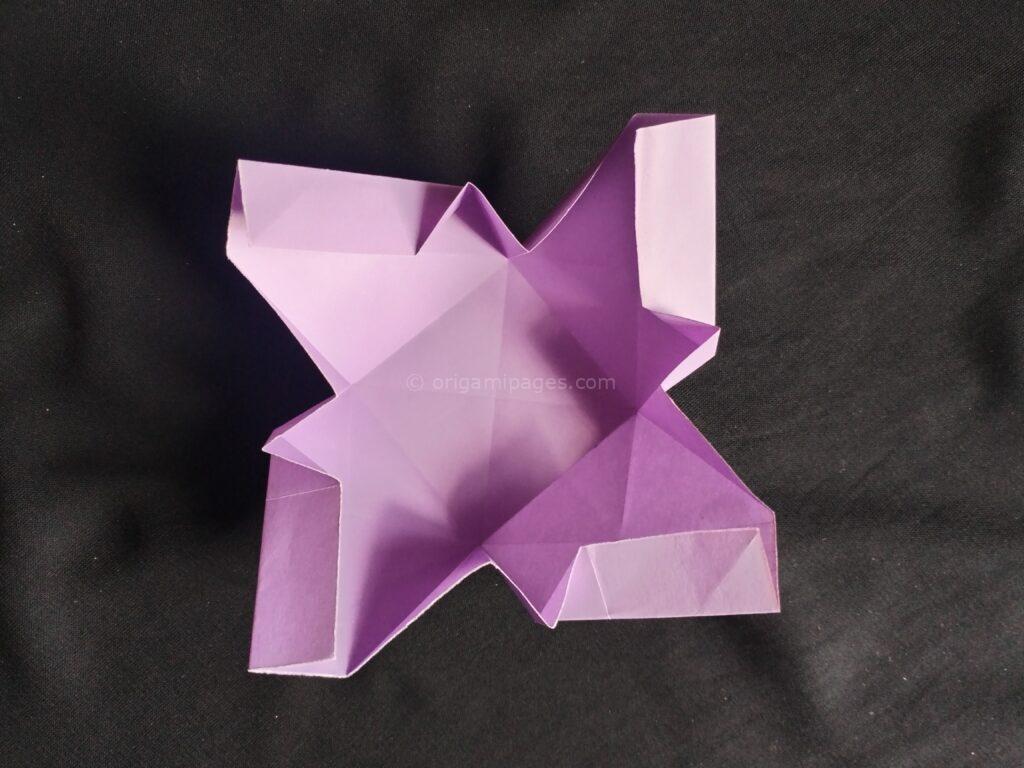
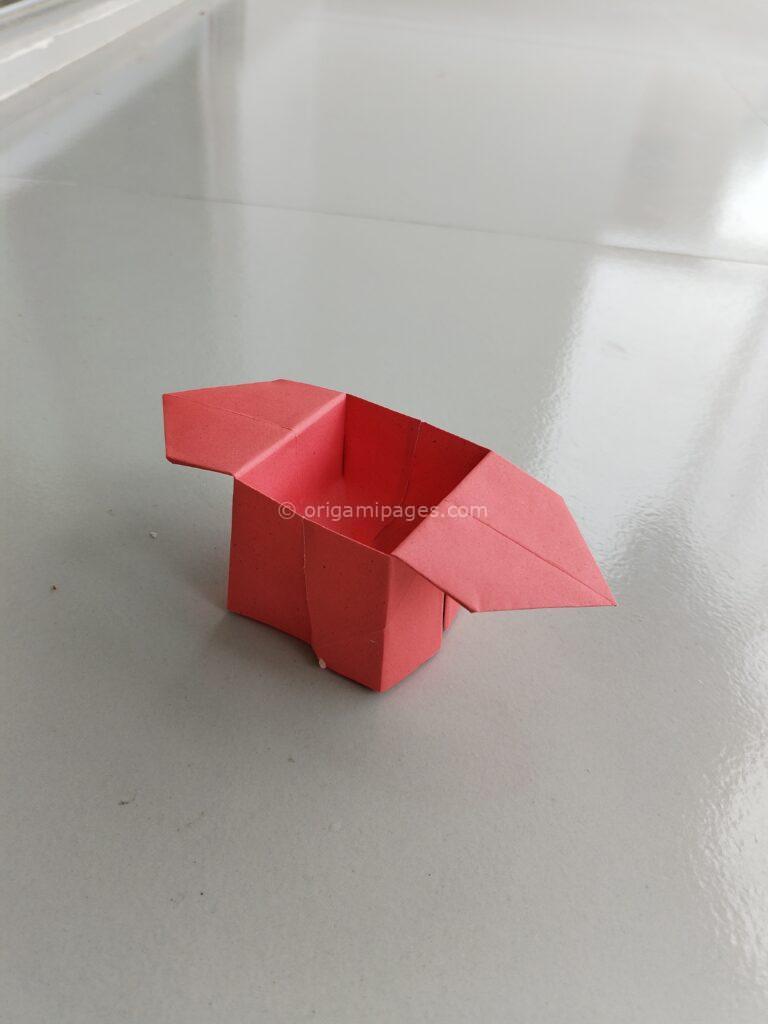
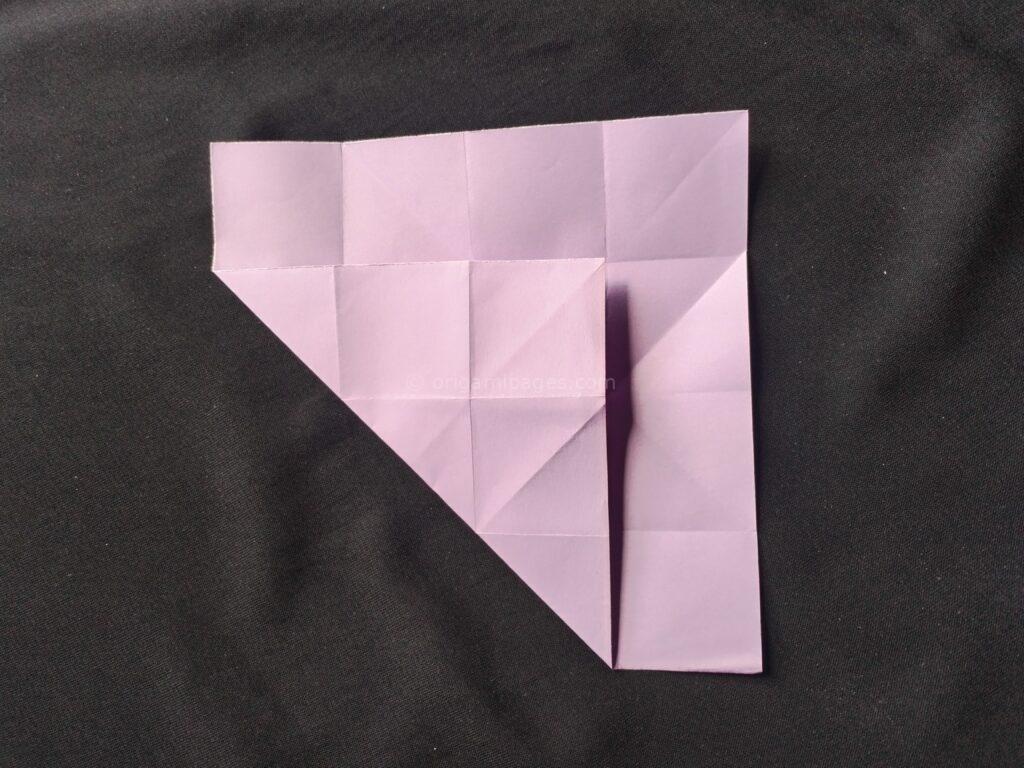
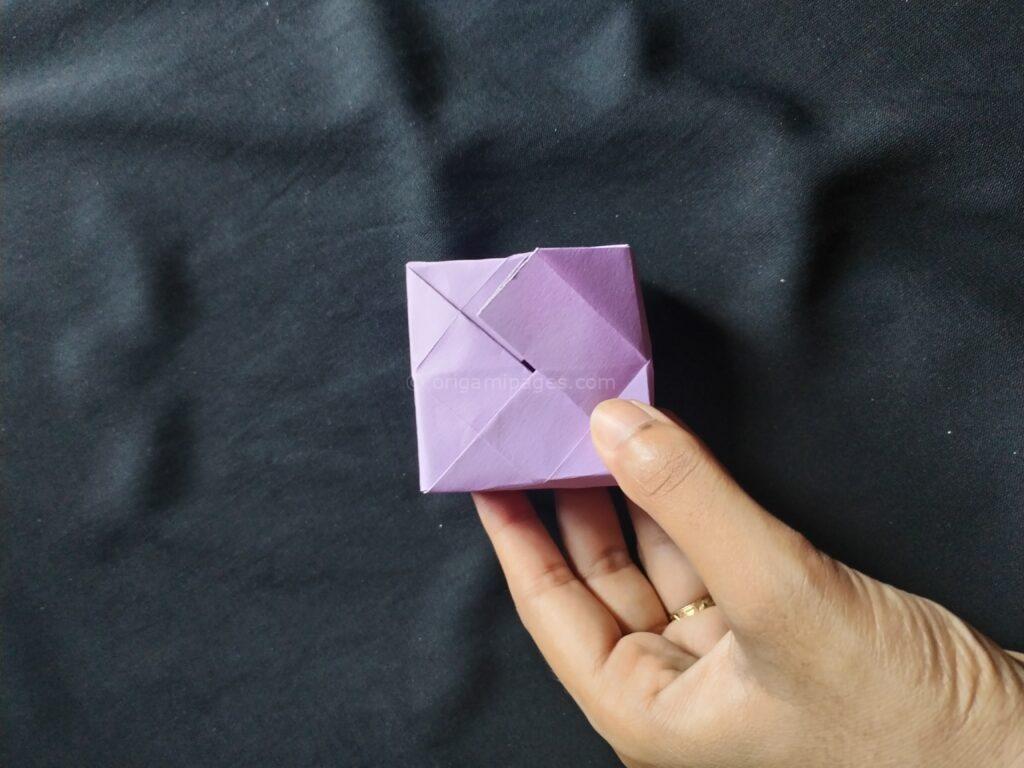
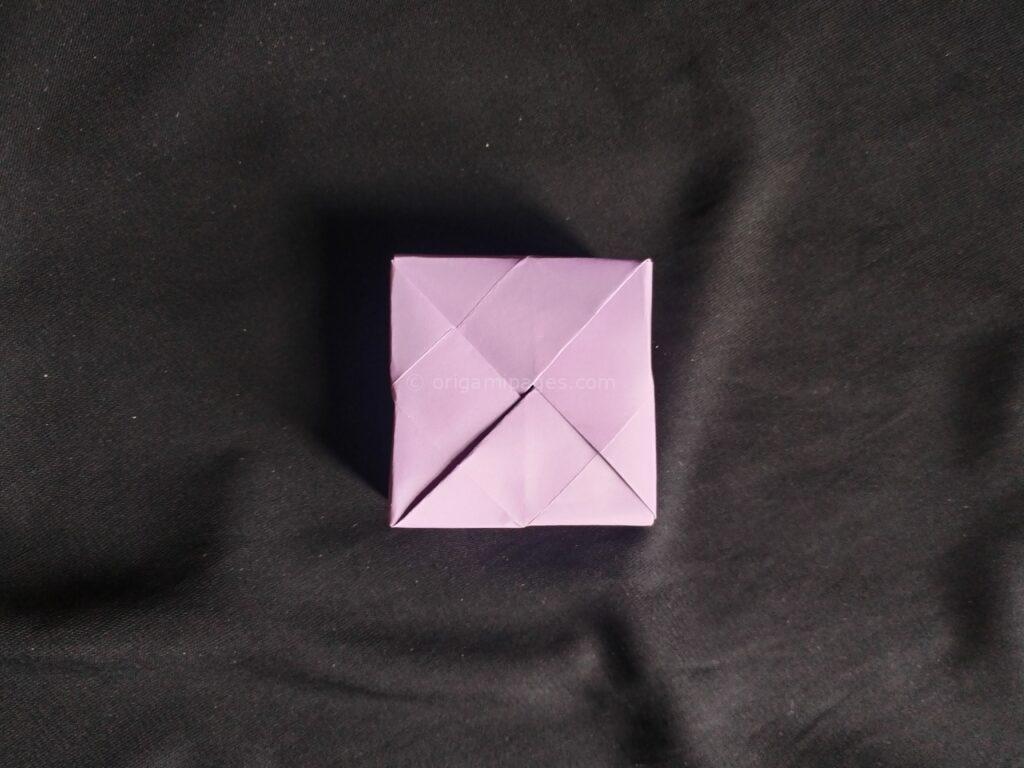
Step 7: Assemble the Box
Now put the box back together by folding the parts one by one. Finally, insert the last part into the first part, locking everything securely in place.
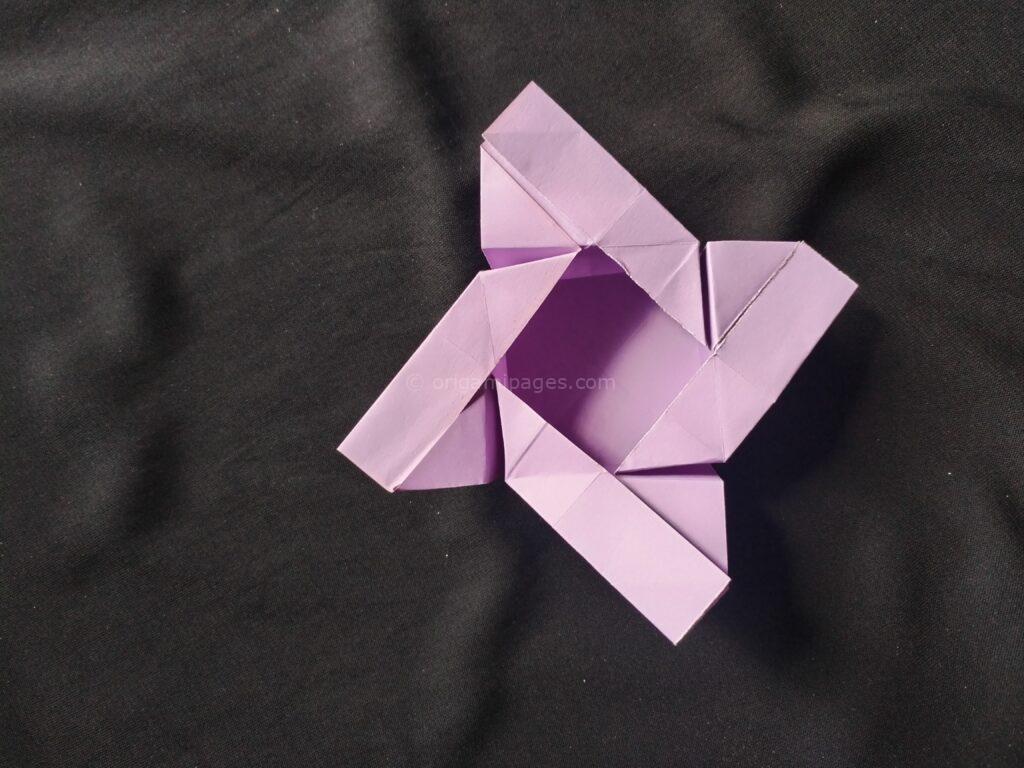

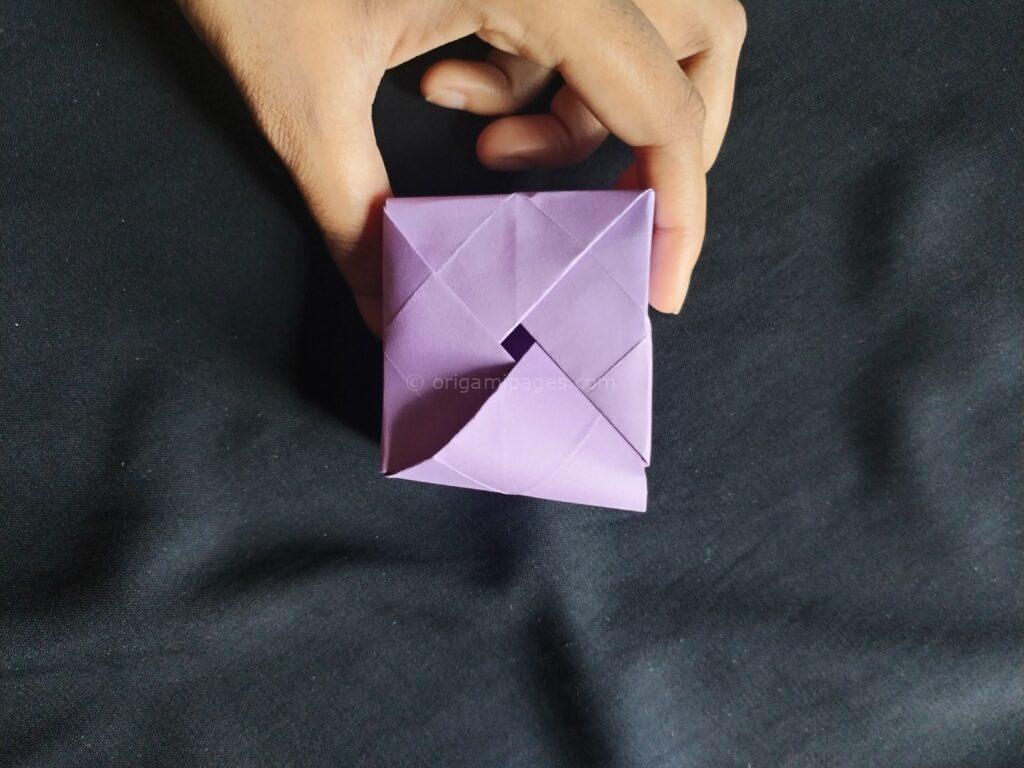
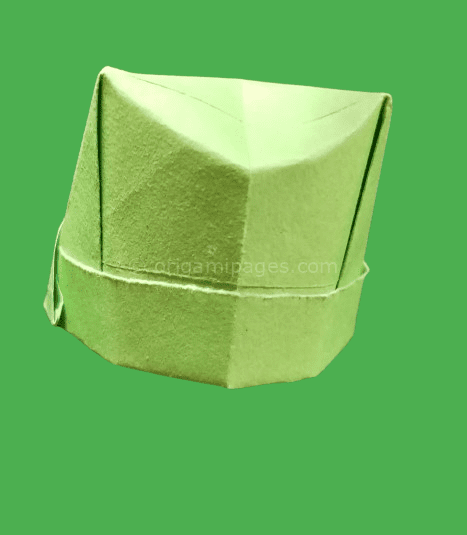
Step 8: Your Origami Square Box is Ready
Congratulations! Your origami square box is now complete. Whether you made this box origami for practical use or simply to enjoy the art of origami, you’ve crafted something that’s both beautiful and functional.

Final Thoughts
Creating an origami square box is a fulfilling project that allows for both creativity and utility. Whether you’re making it for fun or a specific purpose, the process offers a moment of calm and focus. It’s a project that appeals to both children and adults alike, making it a great activity for everyone.
I hope you enjoyed following these origami box instructions as much as I enjoyed sharing them. If you have any questions or want to share your experience, I’d love to hear from you. Origami is a journey, and every fold brings us closer to mastering this beautiful art form.