Infinity Arrow Paper Airplane – Easiest Guide To Follow
Enter the world of paper folding, where novice origami enthusiasts are drawn to a particular creation: the Infinity Arrow Paper Airplane. Its sleek appearance and pointed tip set it apart, inviting exploration for beginners in the art of paper folding.
In our exploration of this remarkable paper airplane, we uncover the secrets behind its impressive flight capabilities. The Infinity Arrow’s design incorporates elements that enhance its aerodynamic properties, enabling it to glide gracefully through the air. Understanding how each fold contributes to the overall performance of the aircraft proves enlightening for those starting their journey in origami.
Let’s Get Started: Crafting the Infinity Arrow
Setting the Scene: Laying the Foundation
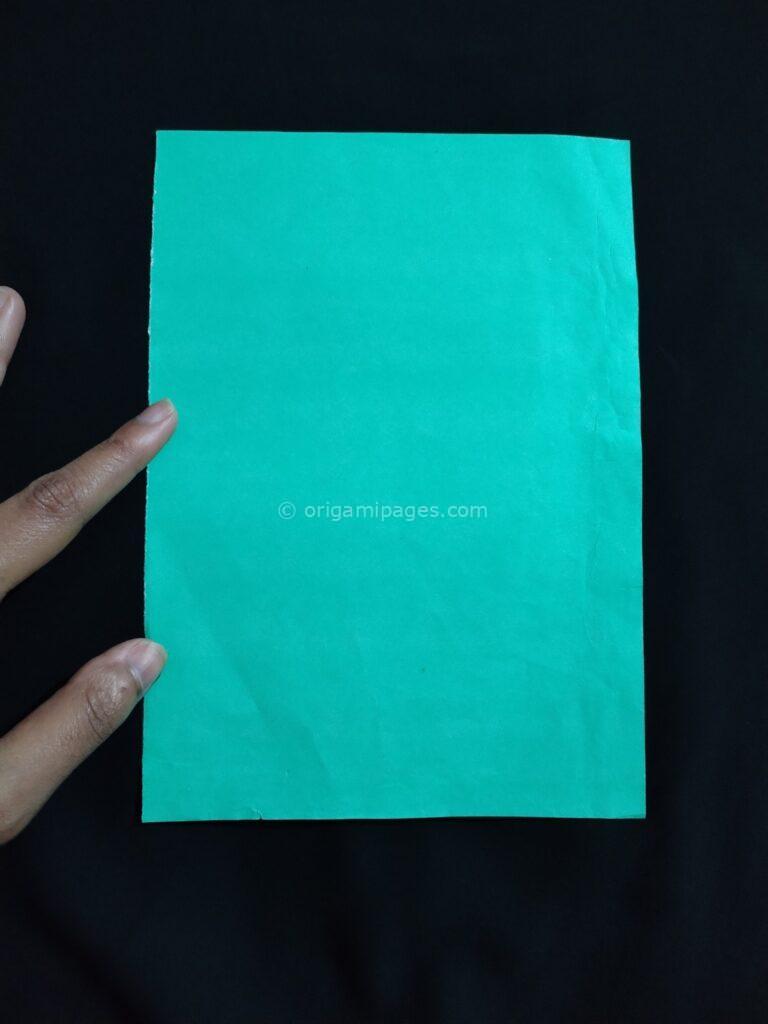
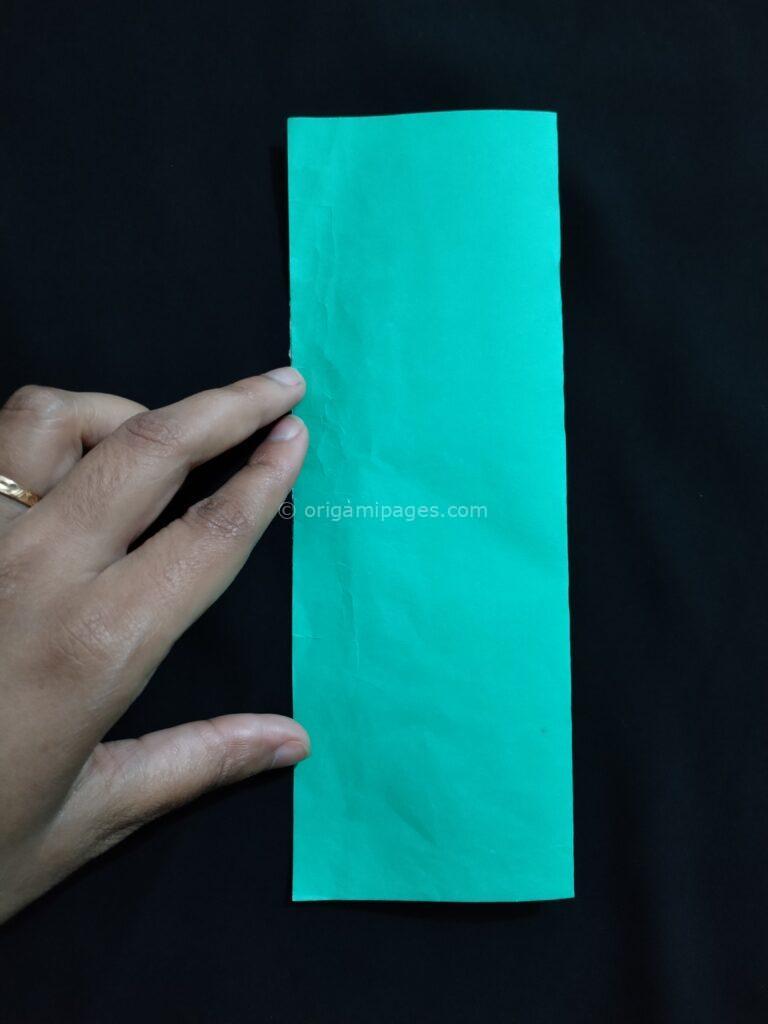
Imagine yourself with a blank sheet of A4 paper in front of you. It’s like a blank canvas, waiting for your touch. We’ll start by making some simple folds, first horizontally and then vertically. These folds set the stage for the magic to unfold.
Building Blocks: Mastering the House Fold
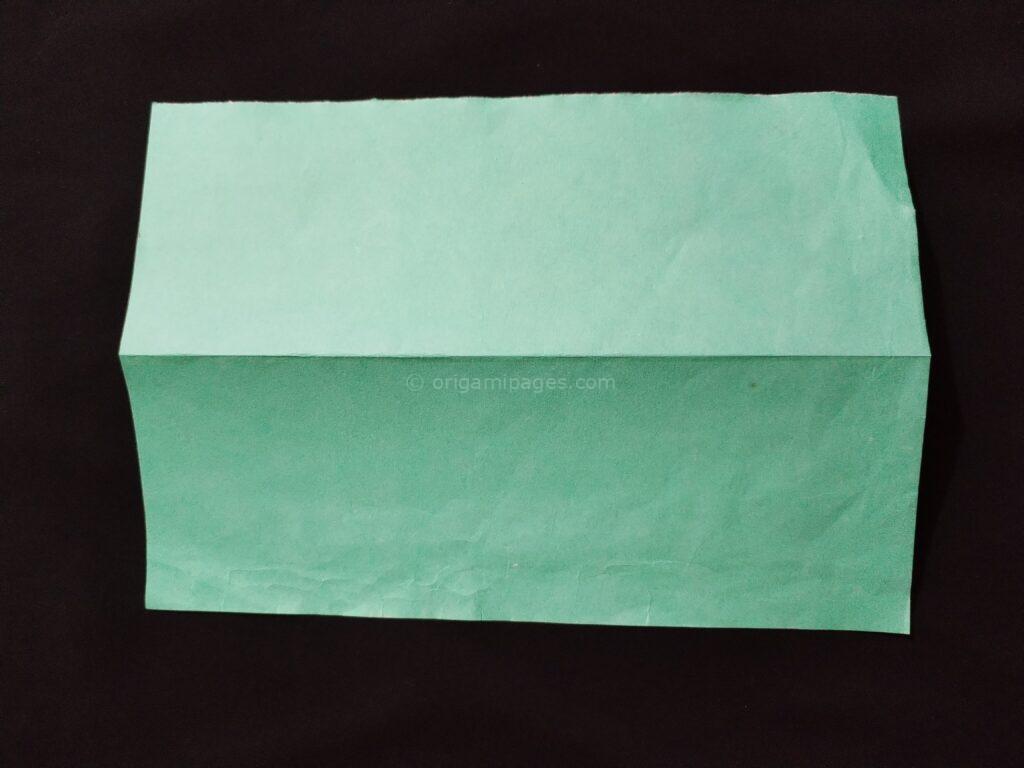
Now, let’s tackle the house fold technique—it’s like the bread and butter of origami. Turn your paper over and fold again, creating a triangular shape. It’s like building the foundation of a tiny house, but instead, we’re building the foundation of our paper airplane.
Guiding You Every Step of the Way: Step-by-Step Instructions
1. Let’s Begin
Grab your paper and fold it horizontally, then vertically. These initial folds are like the first brushstrokes on a canvas, laying down the groundwork for our masterpiece.
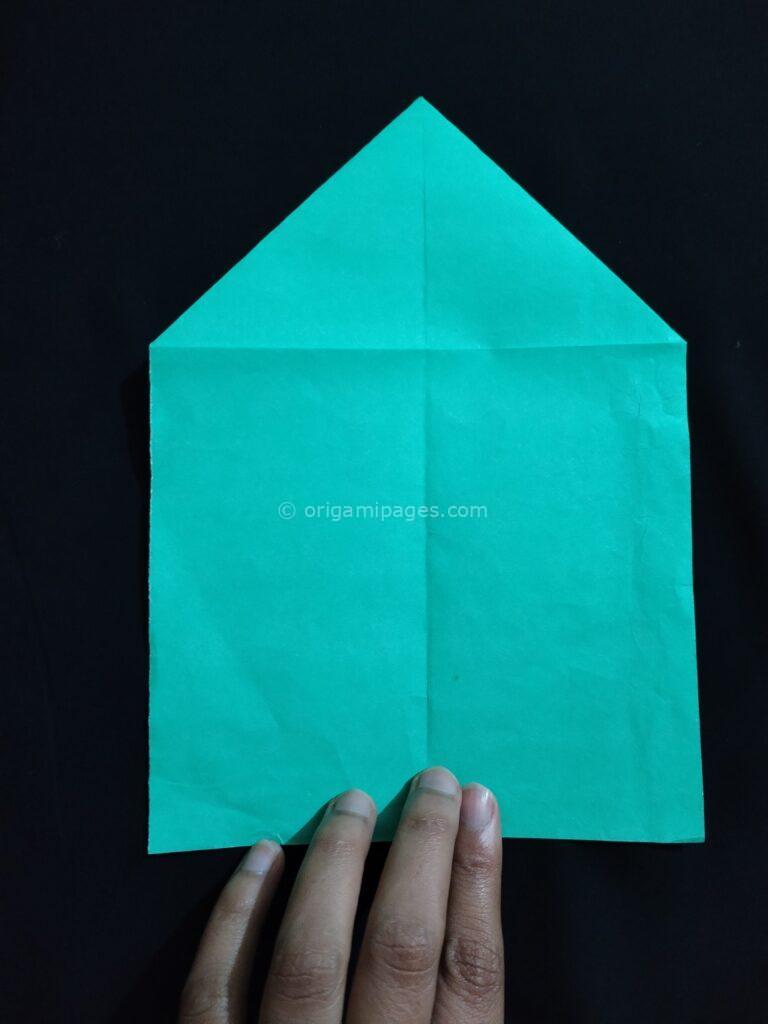
2. Getting Cozy with the House Fold
Now, flip your paper over and fold it again. This time, we’re shaping it into a house-like structure. It might sound complicated, but trust me, it’s as easy as folding a letter.
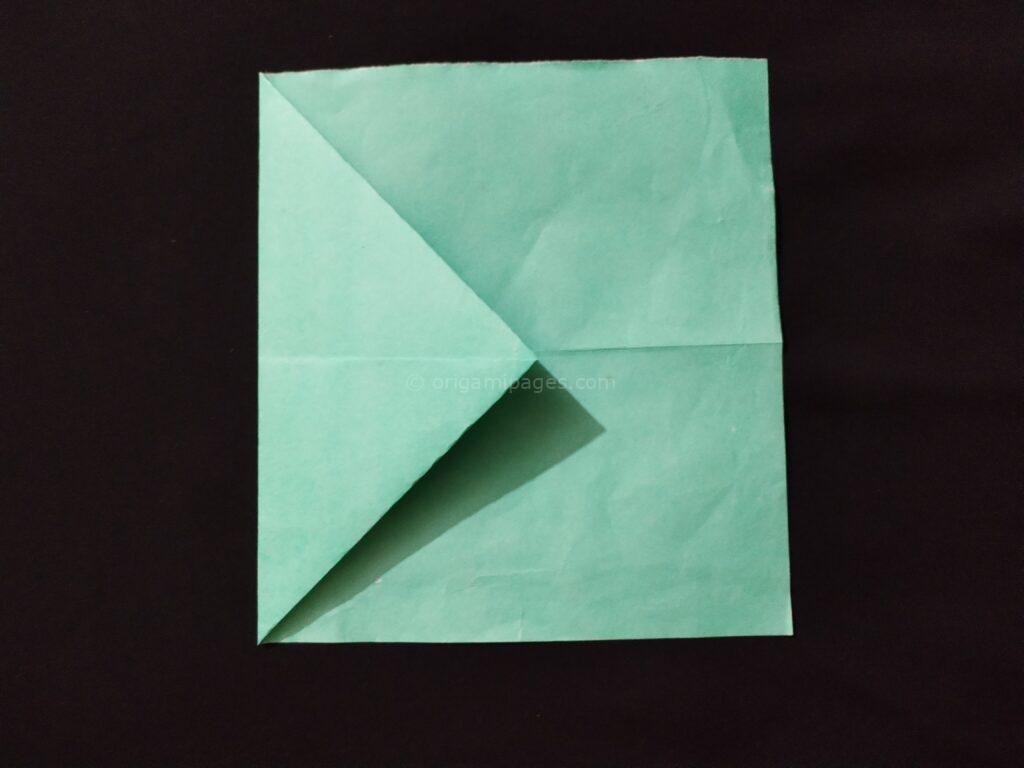
3. Building the Foundation
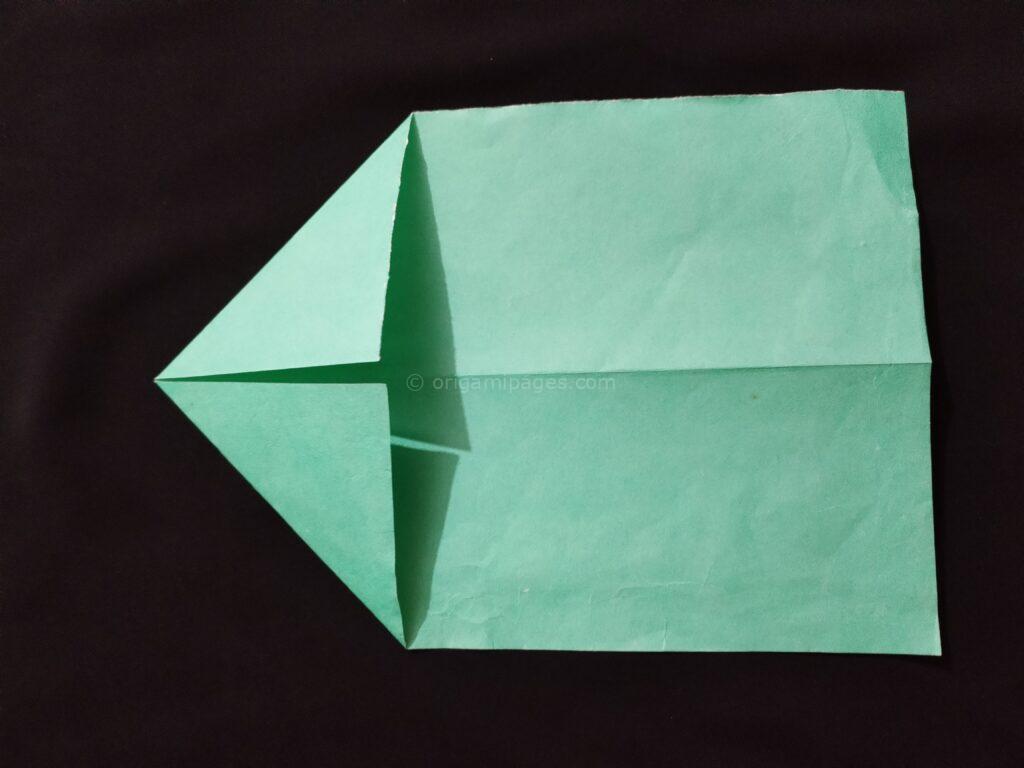
Now, fold the rectangle downwards and unfold it. Repeat the house fold on the opposite side, then shape the triangle into a square. It’s like unfolding a secret compartment, revealing the hidden potential within.
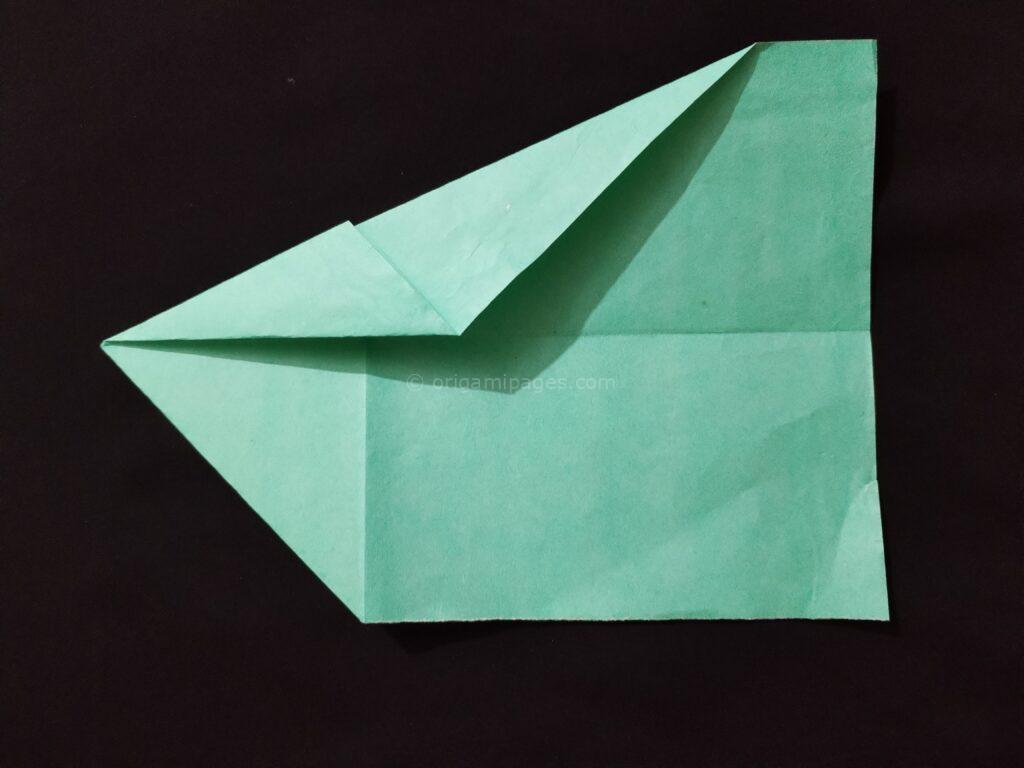
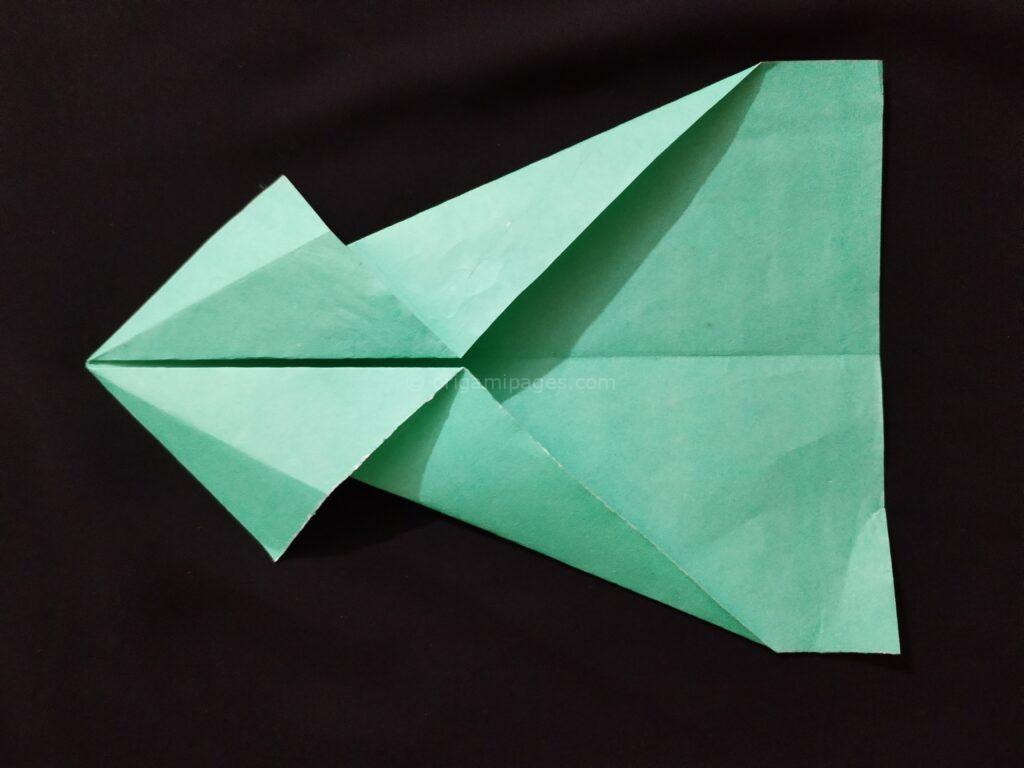
4. Sculpting the Wings
Fold the paper at the midpoint and unfold it, preparing to sculpt the wings. This step ensures your wings are symmetrical and ready to take flight.
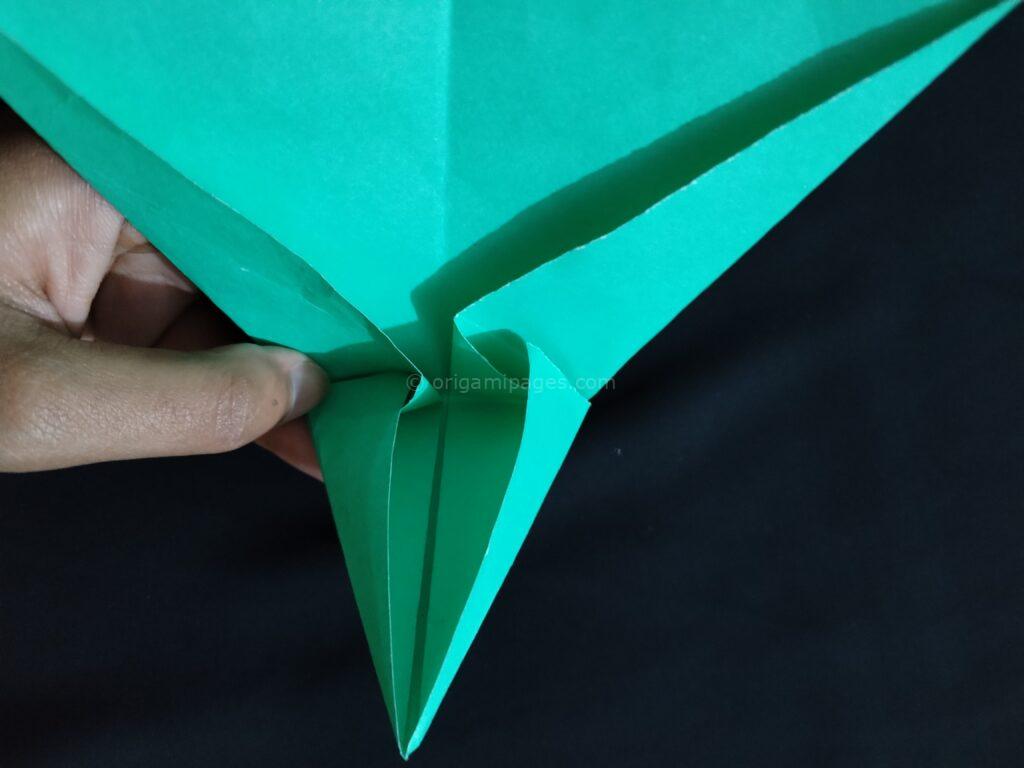
5. Crafting the Wings
Carefully insert the extra paper as shown in the picture, shaping the wings with precision. Think of it as adding feathers to a bird’s wings, ensuring they’re strong and aerodynamic.
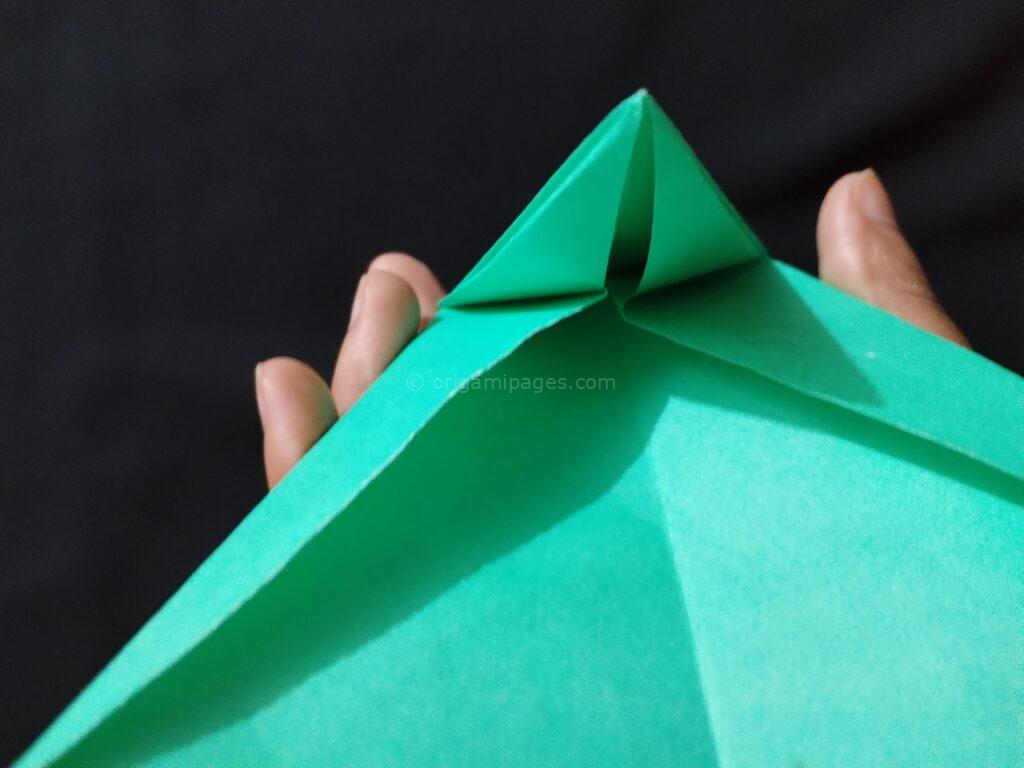
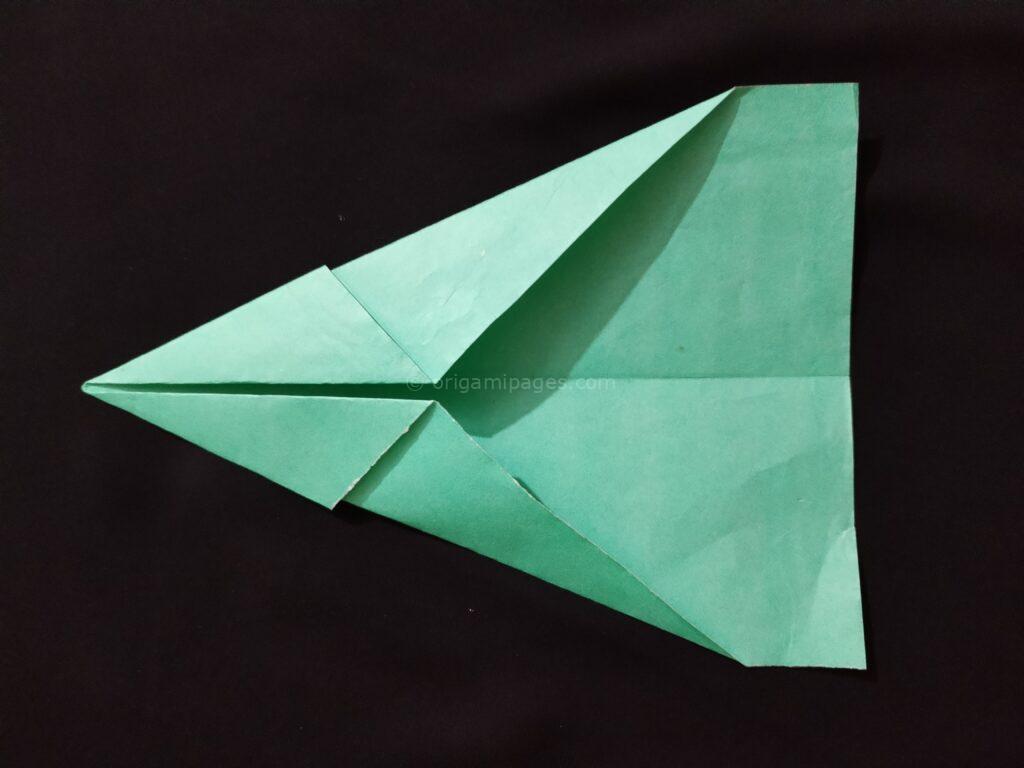
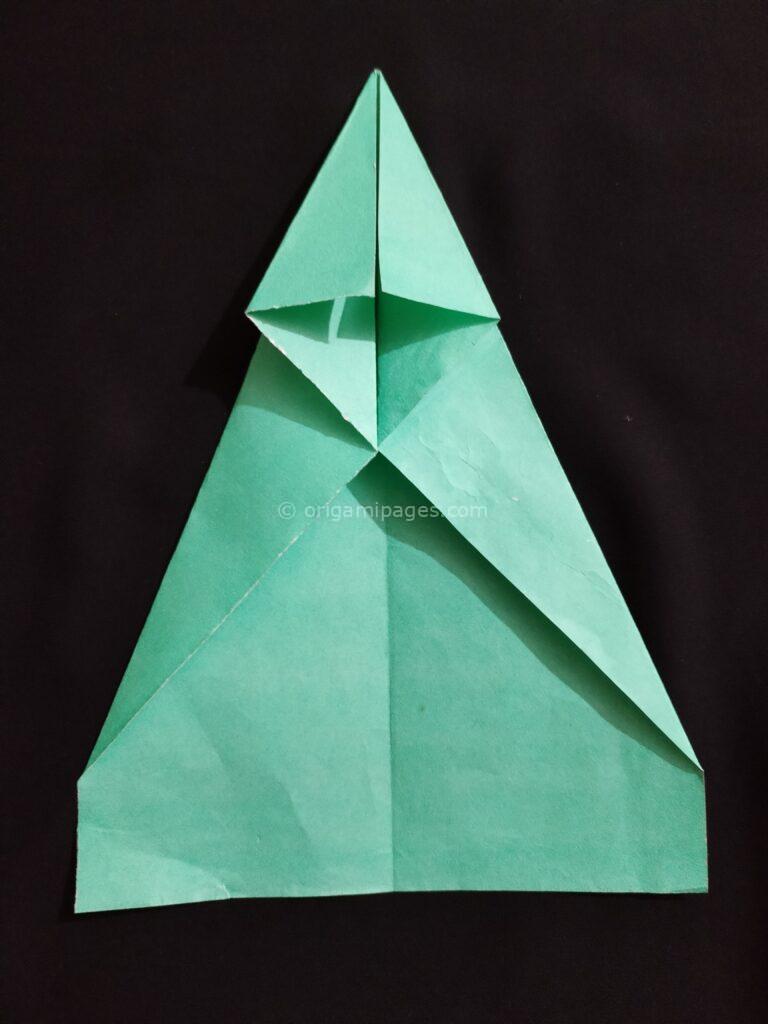
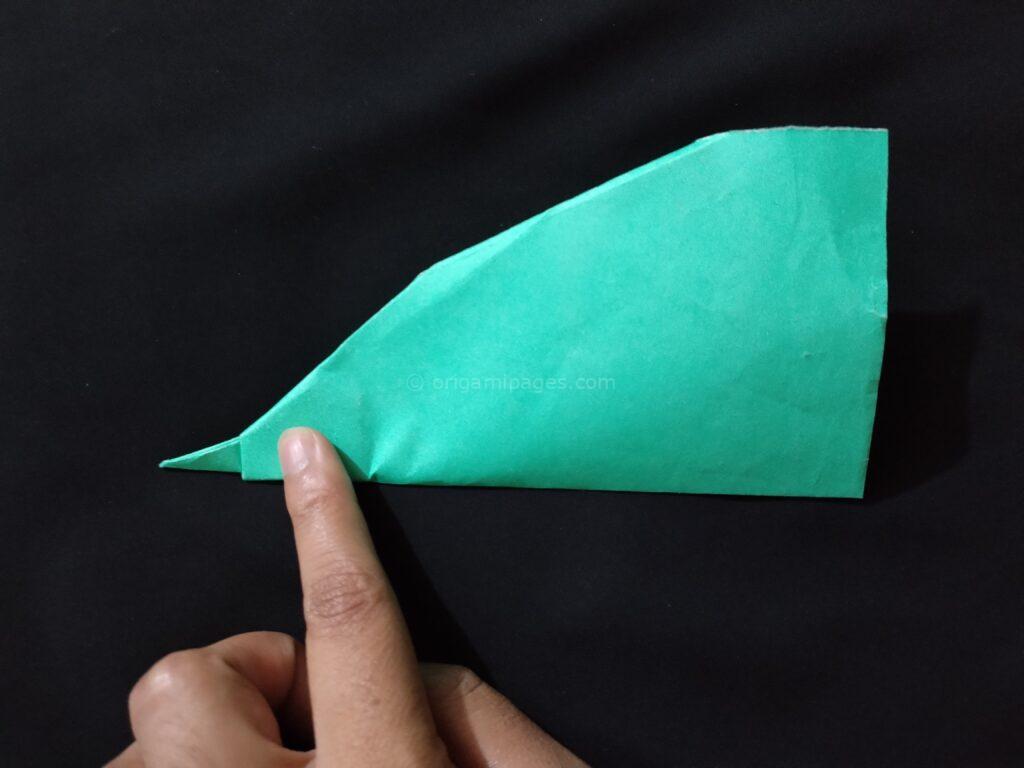
6. Embodying the Infinity Arrow
Fold the triangle upwards from the midpoint, creating the pointed nose of the airplane. It’s like giving your creation a sense of direction, ready to soar through the skies.

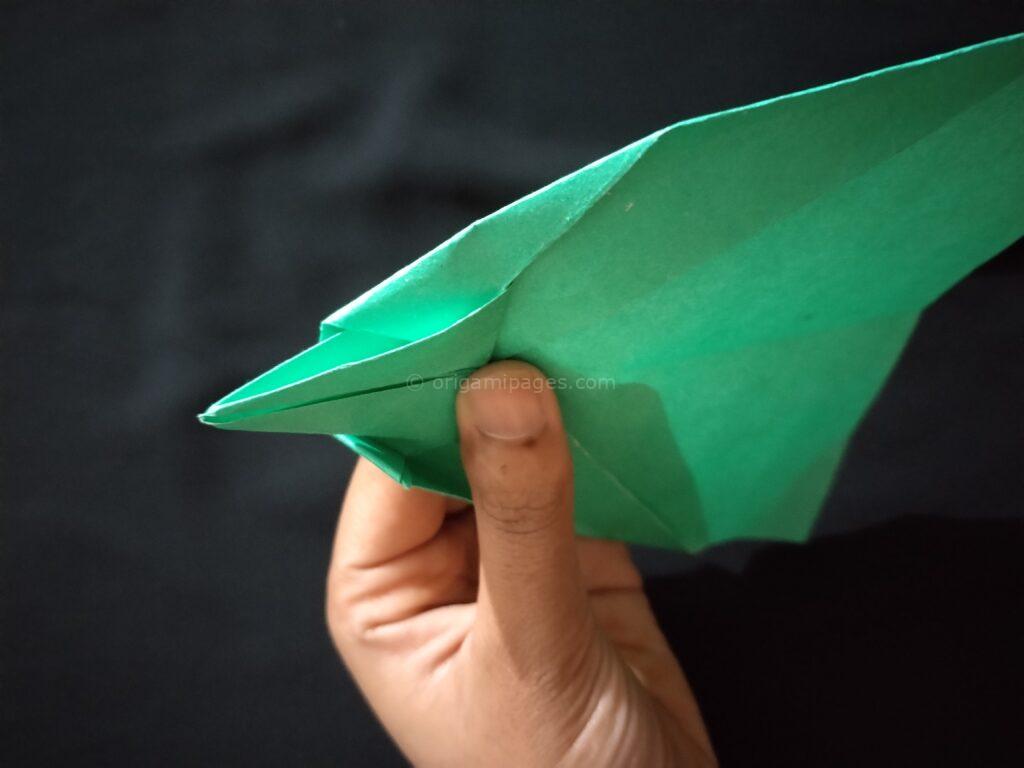
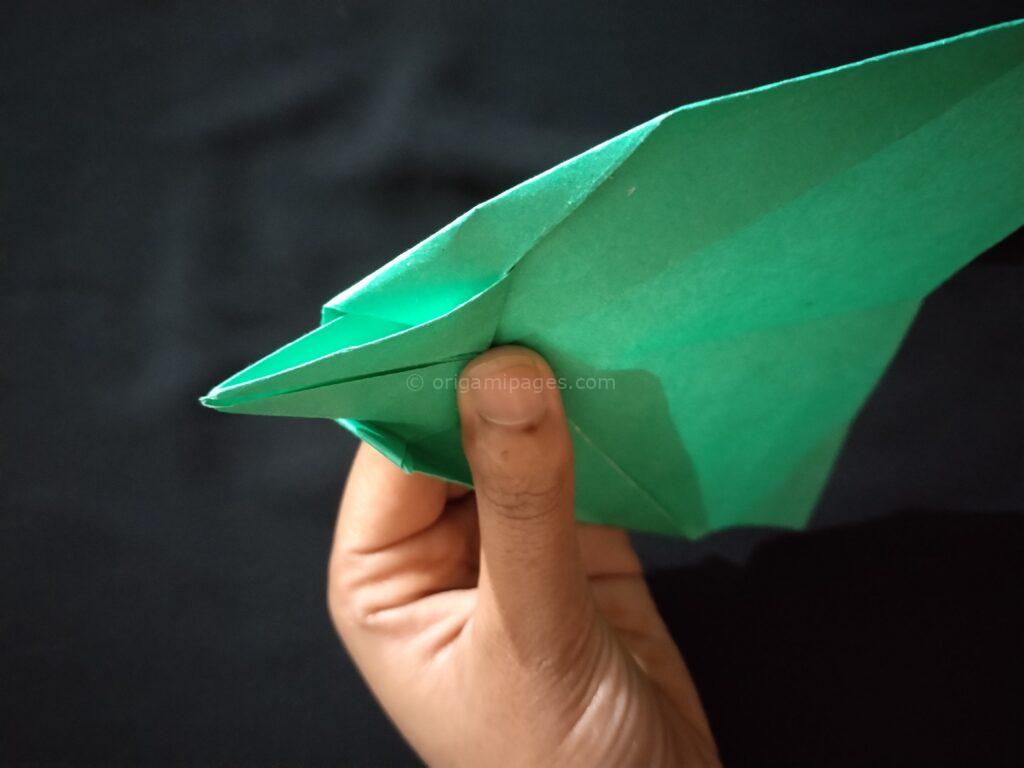
7. Shaping the Fuselage
Now, fold the extra paper around the triangle to shape the fuselage. This step gives your airplane its sleek, aerodynamic profile, essential for smooth flight.
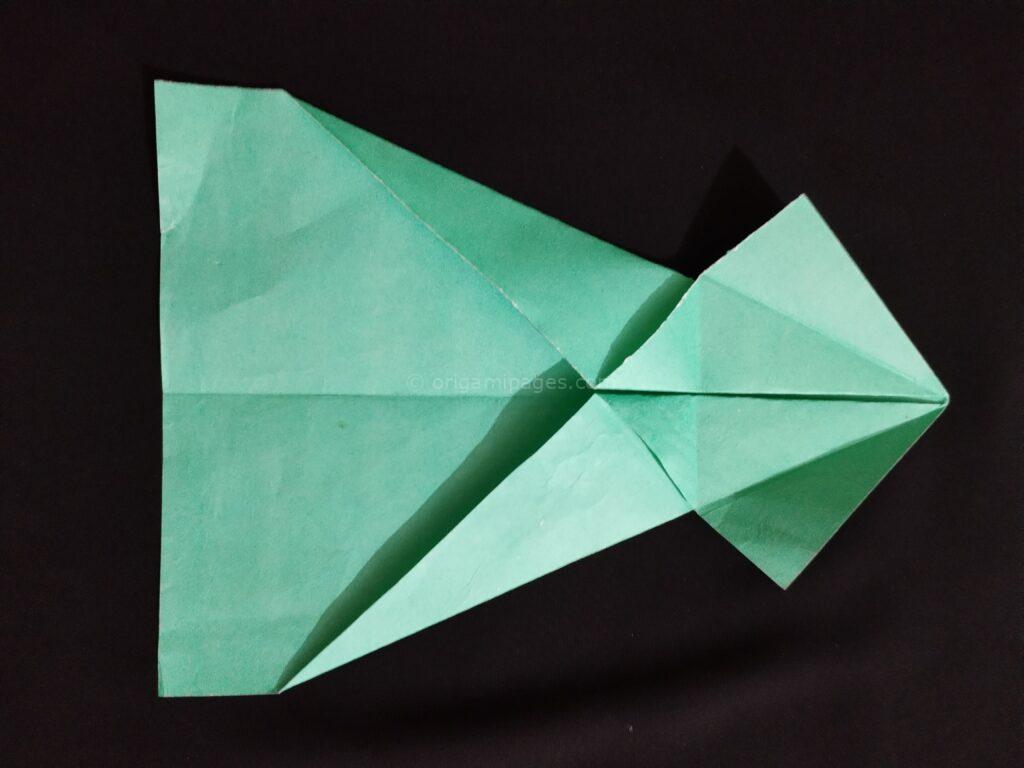
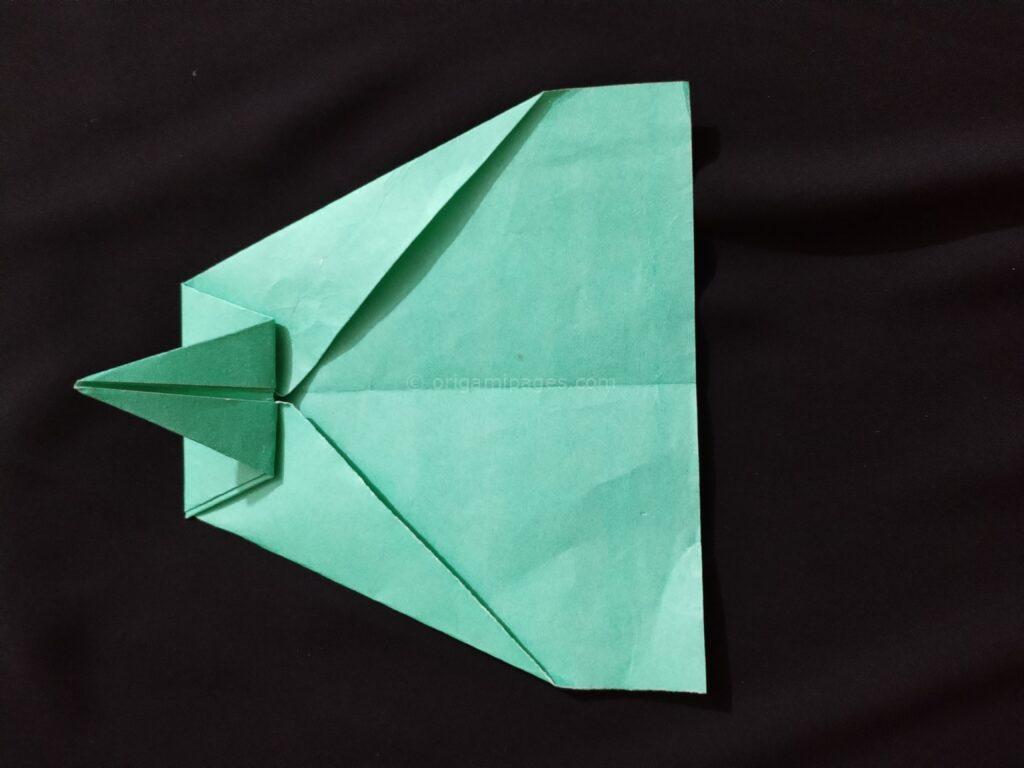
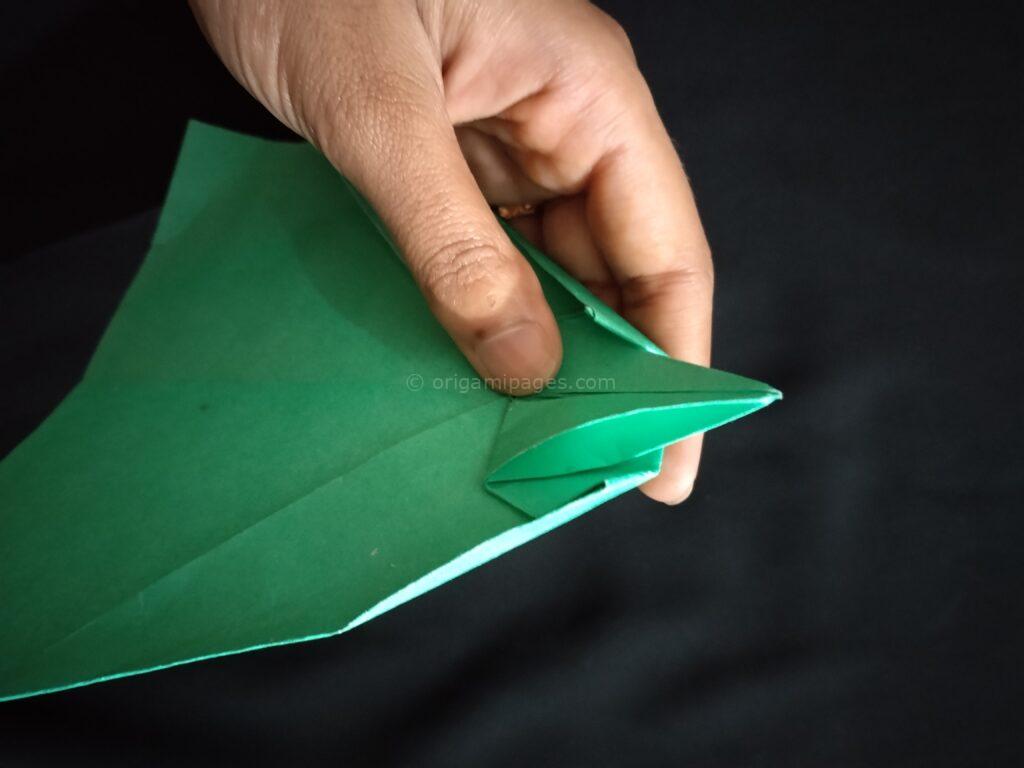
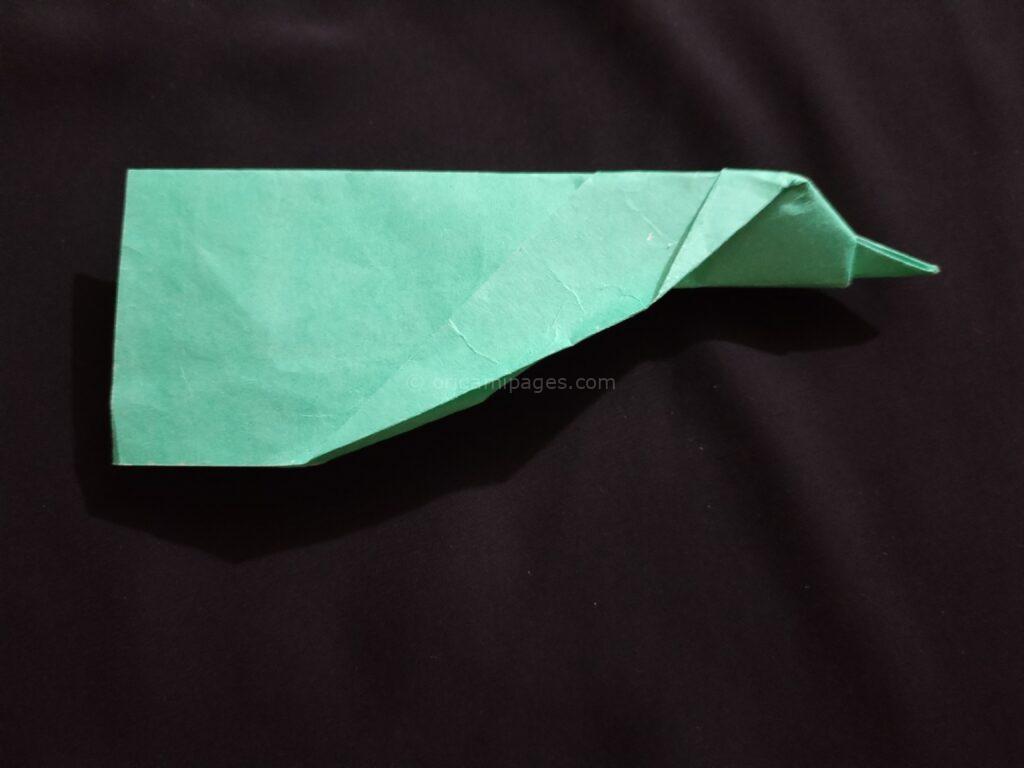
8. Completing the Fuselage
Insert the side folded paper inside the triangle, completing the fuselage with precision. It’s like connecting the dots, ensuring your airplane is sturdy and stable.
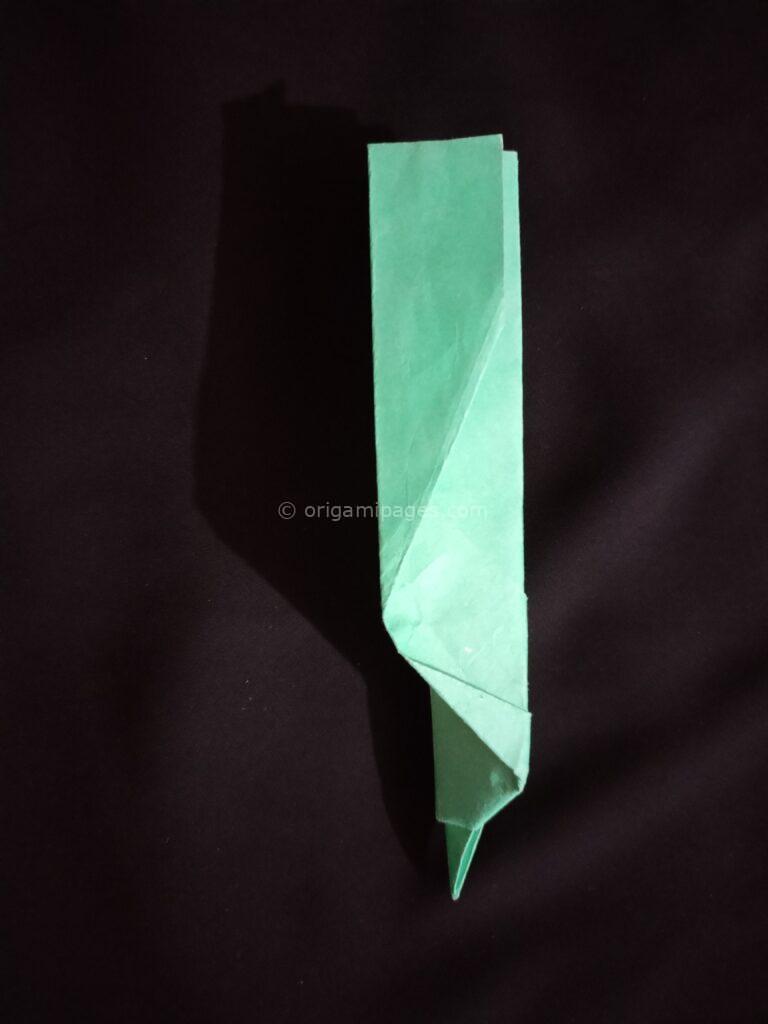
9. Final Touches
Fold the horizontal tile along the middle, refining the airplane’s design. This step adds the finishing touches, making sure every detail is just right.
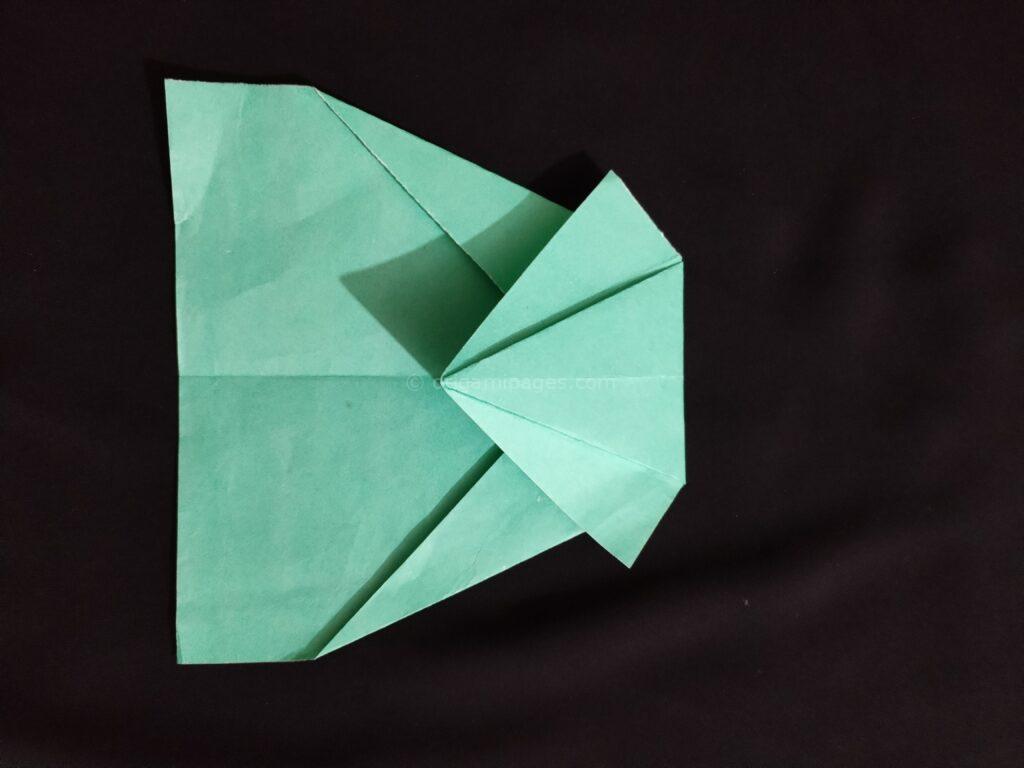
10. Perfecting the Design
Make another half-inch fold on the fan itself, perfecting the design with subtle adjustments. It’s like adding the final brushstroke to a masterpiece, ensuring your airplane is ready for its maiden flight.
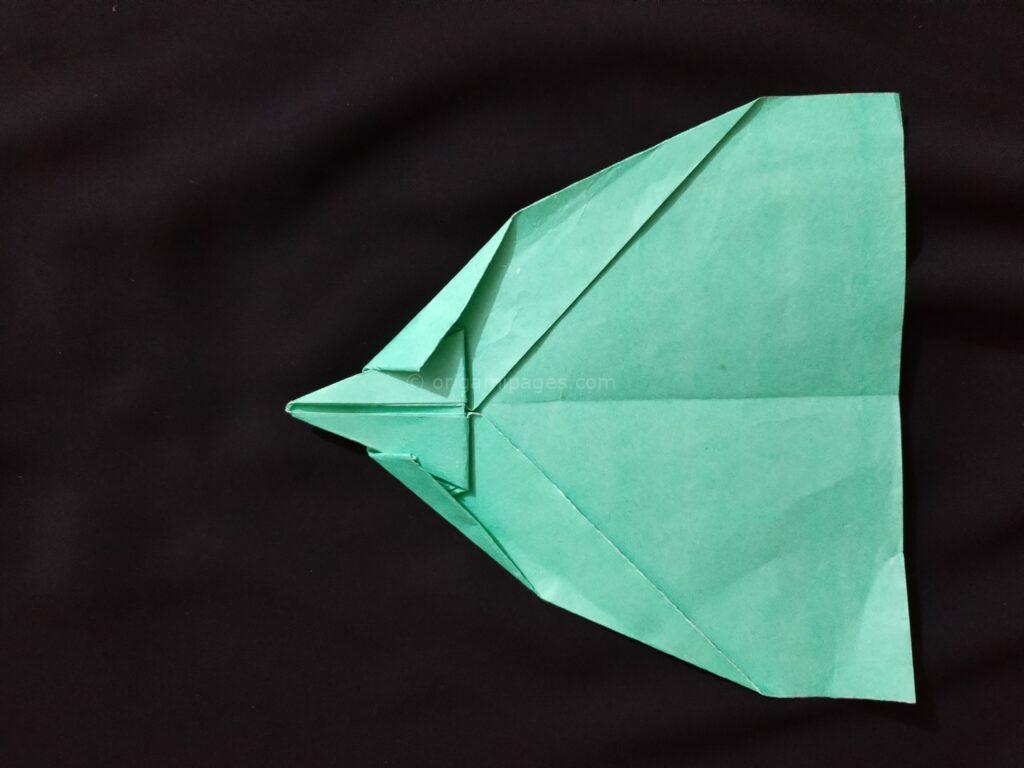
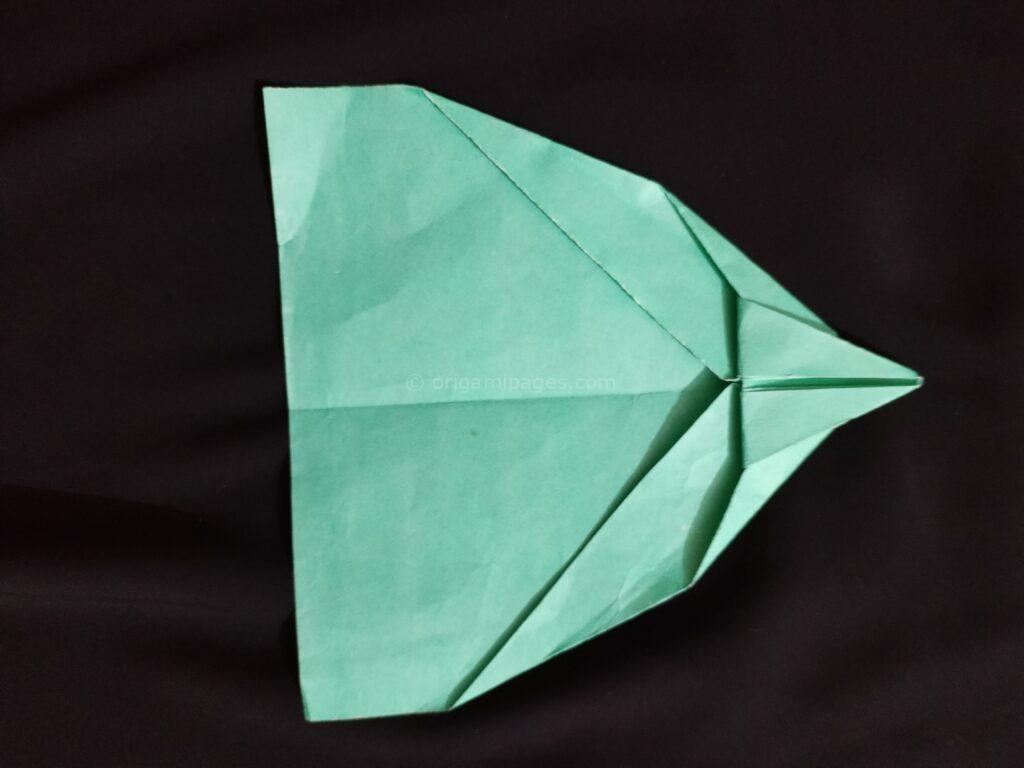
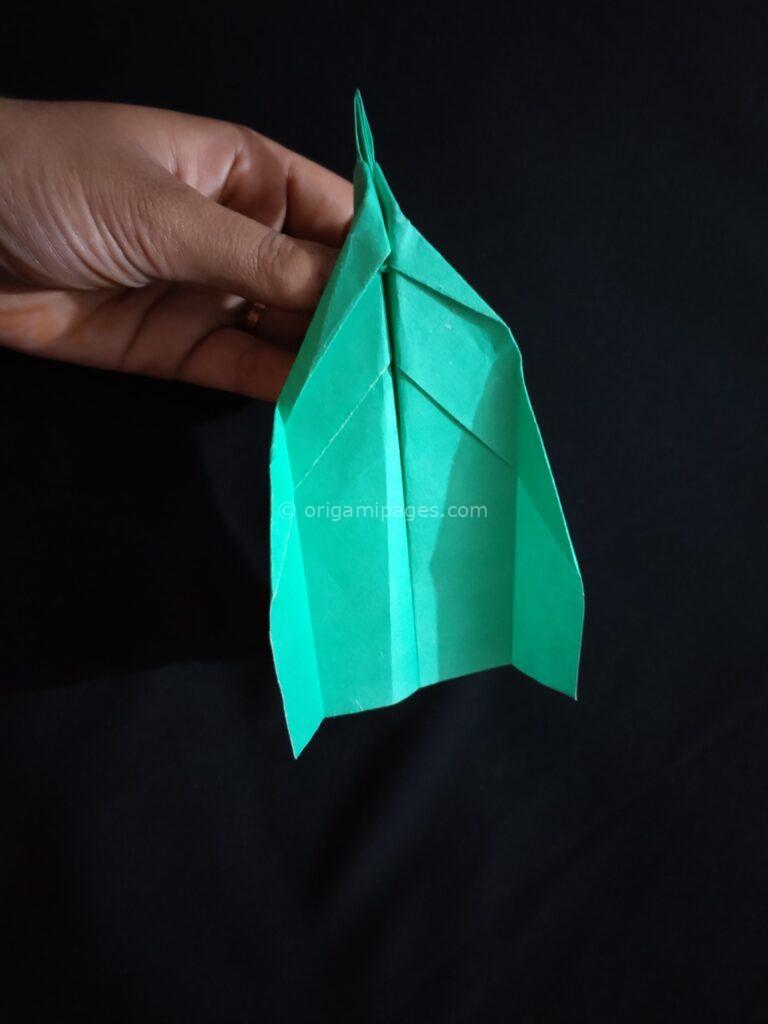
11. Ready for Flight
Now, open the fan and watch as your Infinity Arrow paper airplane comes to life. With a gentle toss, let it soar through the air, a symbol of your creativity and skill in the art of paper folding.
Ready for Paper Airplane adventures? Explore our tutorials on the Pteroplane Paper Airplane and Professional Paper Airplane. Master the pteroplane paper airplane with easy-to-follow steps. And discover the professional paper airplane for endless creativity!
Conclusion
Creating your own paper airplane is more than just a craft project—it’s a journey of discovery and creativity. With the Infinity Arrow Paper Airplane as your guide, you’ll unlock a world of possibilities. So, grab some paper, follow these simple steps, and let your imagination take flight. Who knows where your paper airplane adventures will take you?