How to Make an Origami Bag: A Step-by-Step Guide for Beginners
Creating an origami bag is a journey into the enchanting world of paper folding. Imagine taking a simple square of paper and transforming it into a beautiful and functional bag with just a few folds. This project is perfect for both beginners and experienced origami artists, offering a delightful mix of challenge and reward. In this article, I will guide you through each step of the process, ensuring that you can create your very own origami bag with ease and confidence.
With clear instructions and a focus on simplicity, this origami bag tutorial will help you understand how to make an origami bag from start to finish. Whether you’re looking to create a simple origami bag for a gift or an easy origami bag for practice, you’ll find everything you need right here. So, let’s embark on this creative adventure together and discover the joy of making a paper origami bag.
Materials Needed
Before we begin, let’s gather the materials needed for this step by step origami bag project:
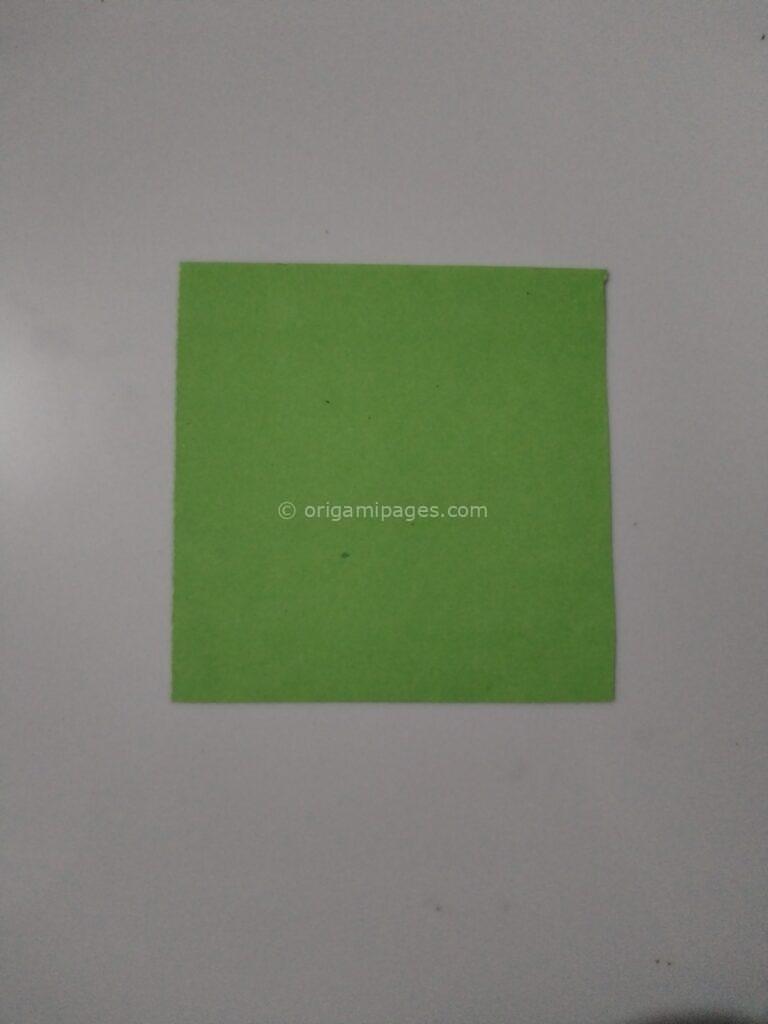
- Square paper (10cm x 10cm)
- Patience and enthusiasm
Step-by-Step Origami Bag Instructions
Step 1: Preparing Your Paper
Start with a square-shaped paper of size 10cm x 10cm. It’s essential to use a perfectly square piece to ensure symmetry in your origami bag.
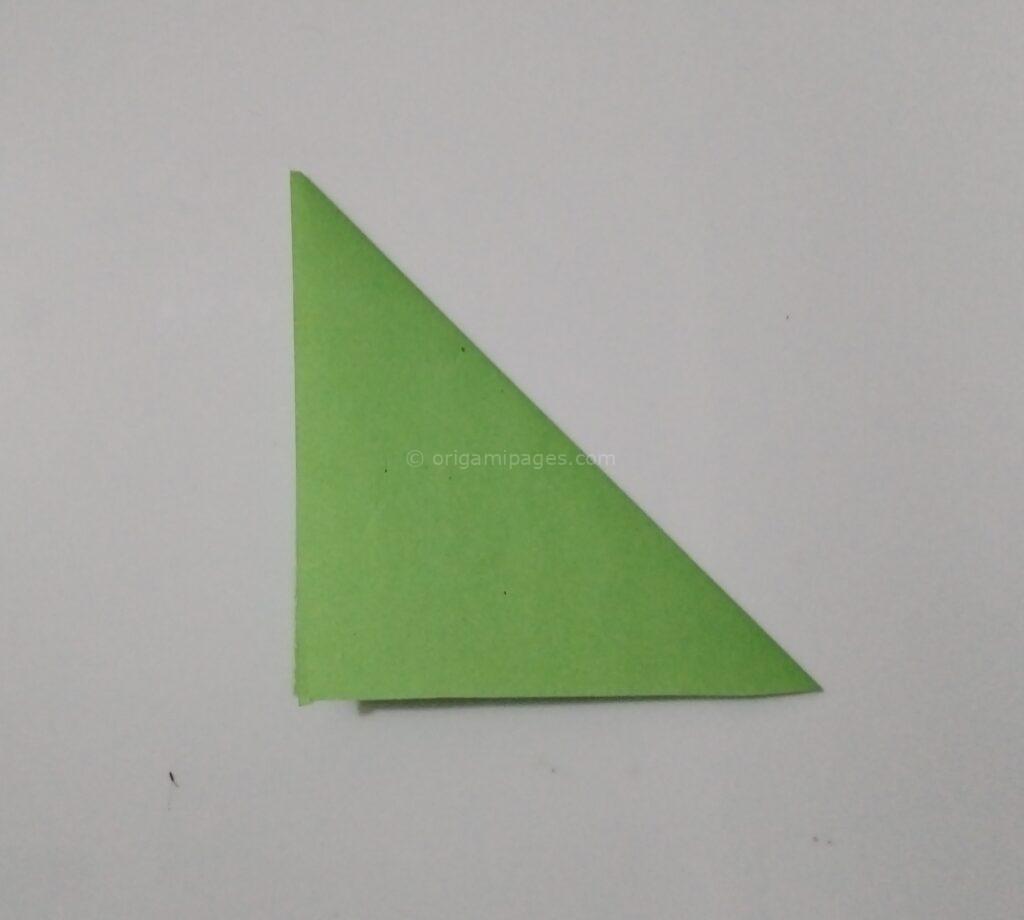
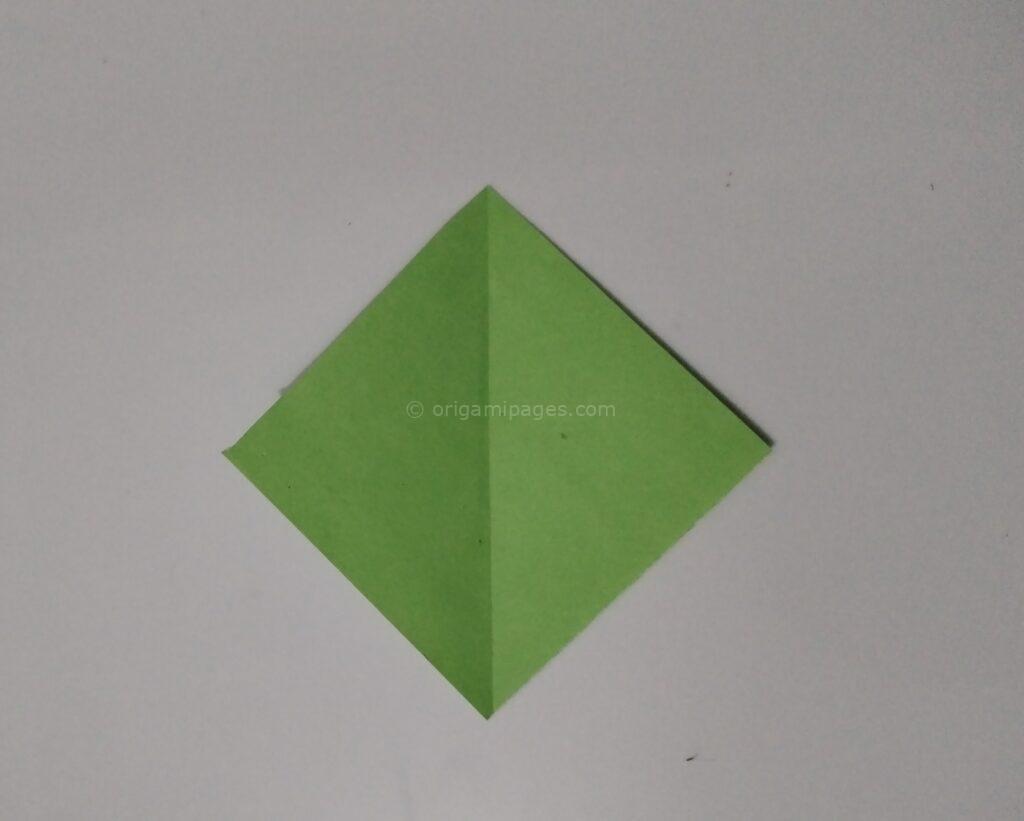
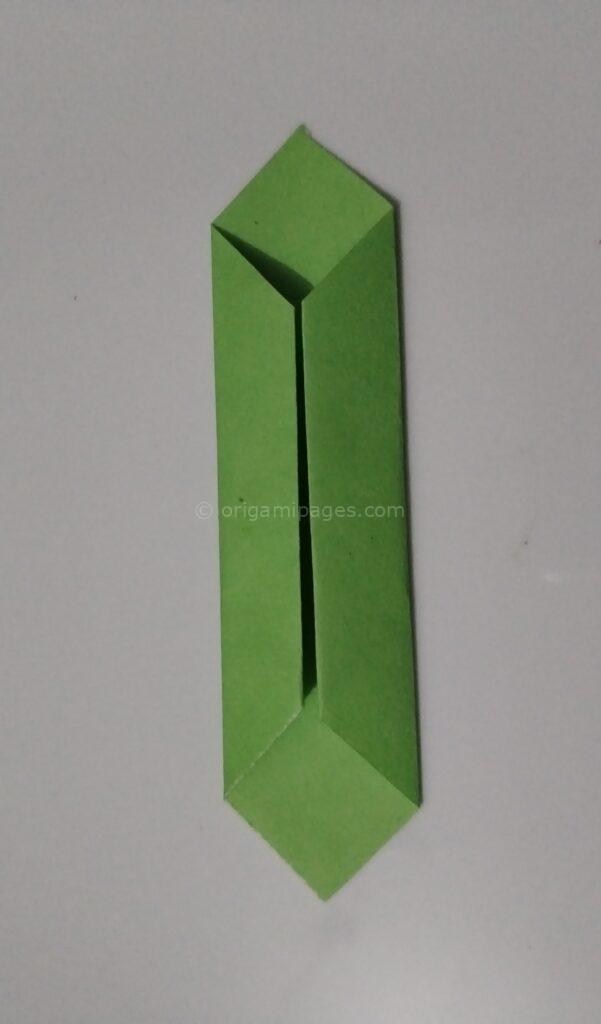
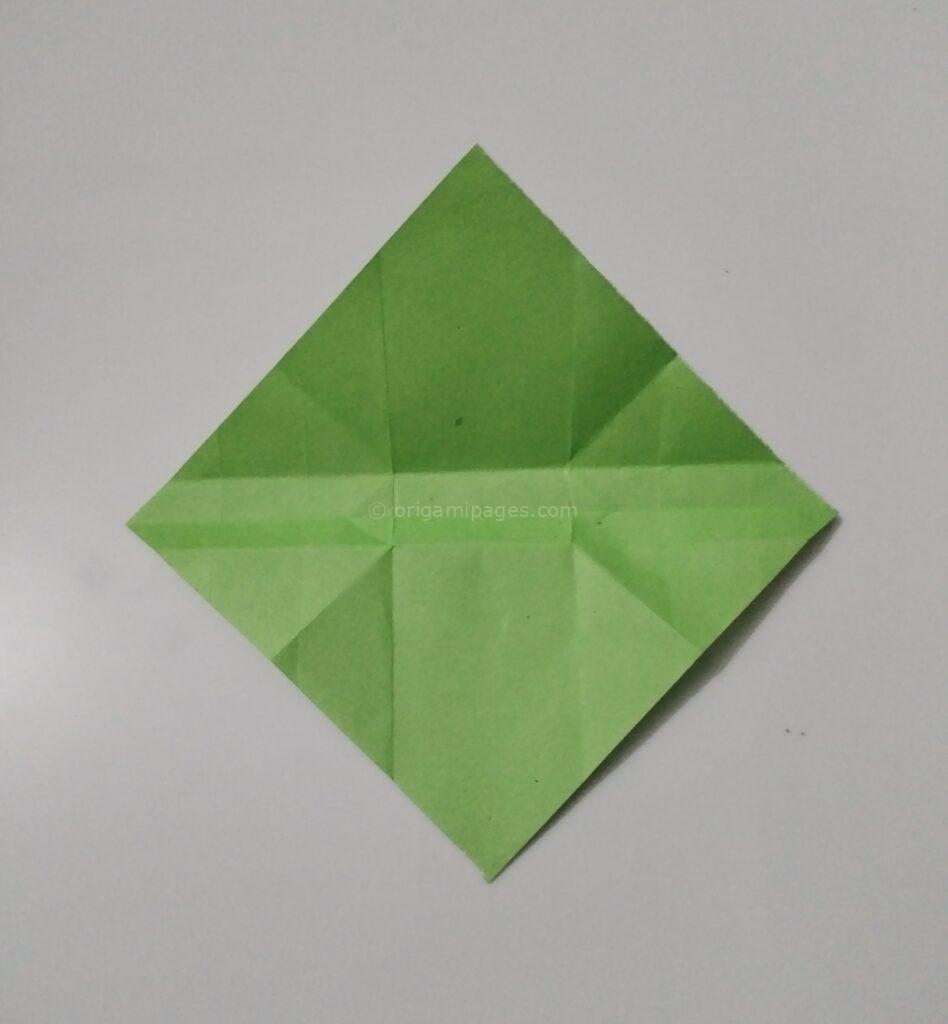
Step 2: Making the X Crease
Fold the paper diagonally from one corner to the opposite corner. Unfold, and then fold diagonally from the other corner to the opposite corner. This will create an X crease on your paper.
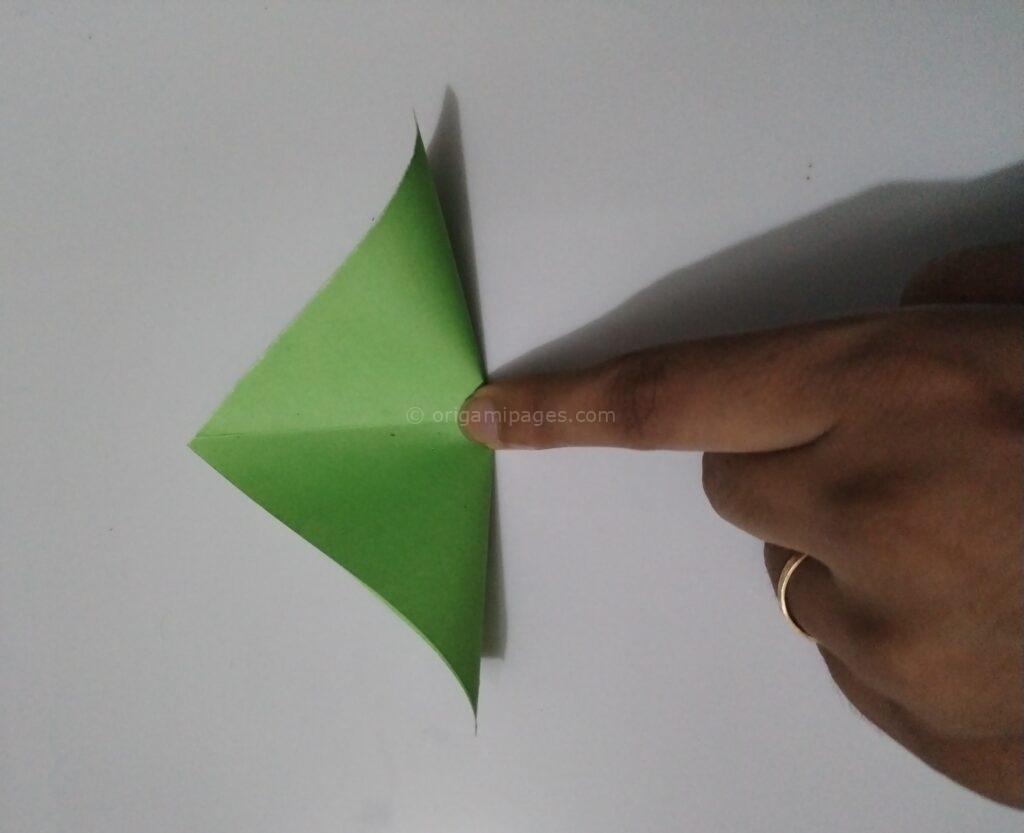
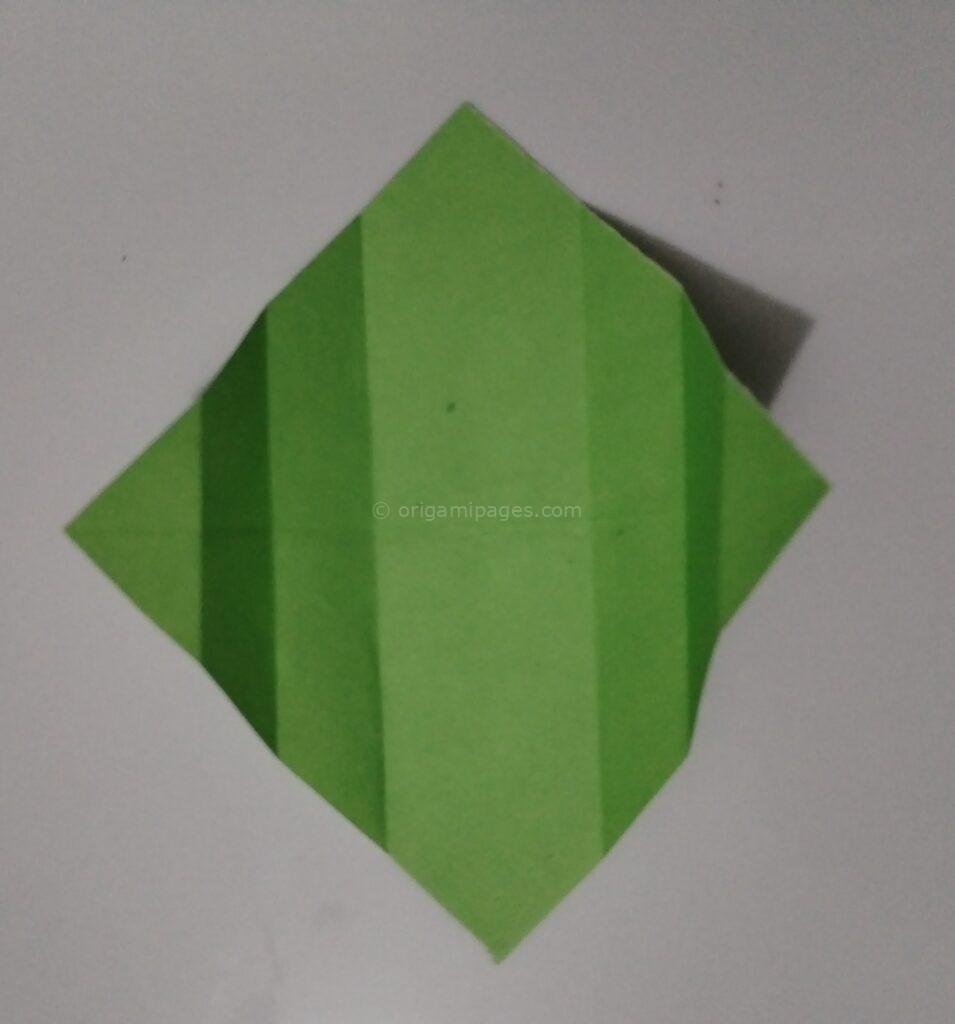
Step 3: Creating the Middle Fold
Bring two corners of the paper to the center point where the X creases intersect. Fold along the middle line to create a horizontal crease and then unfold.
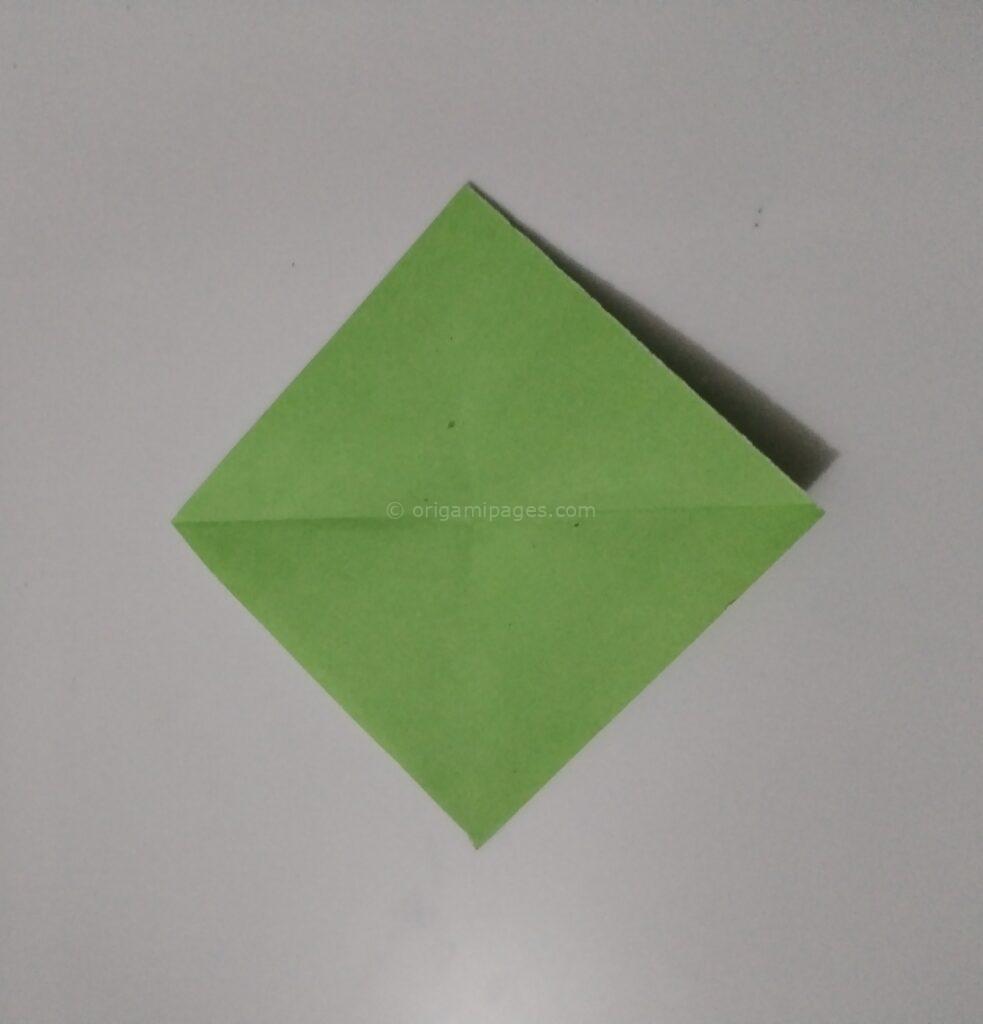
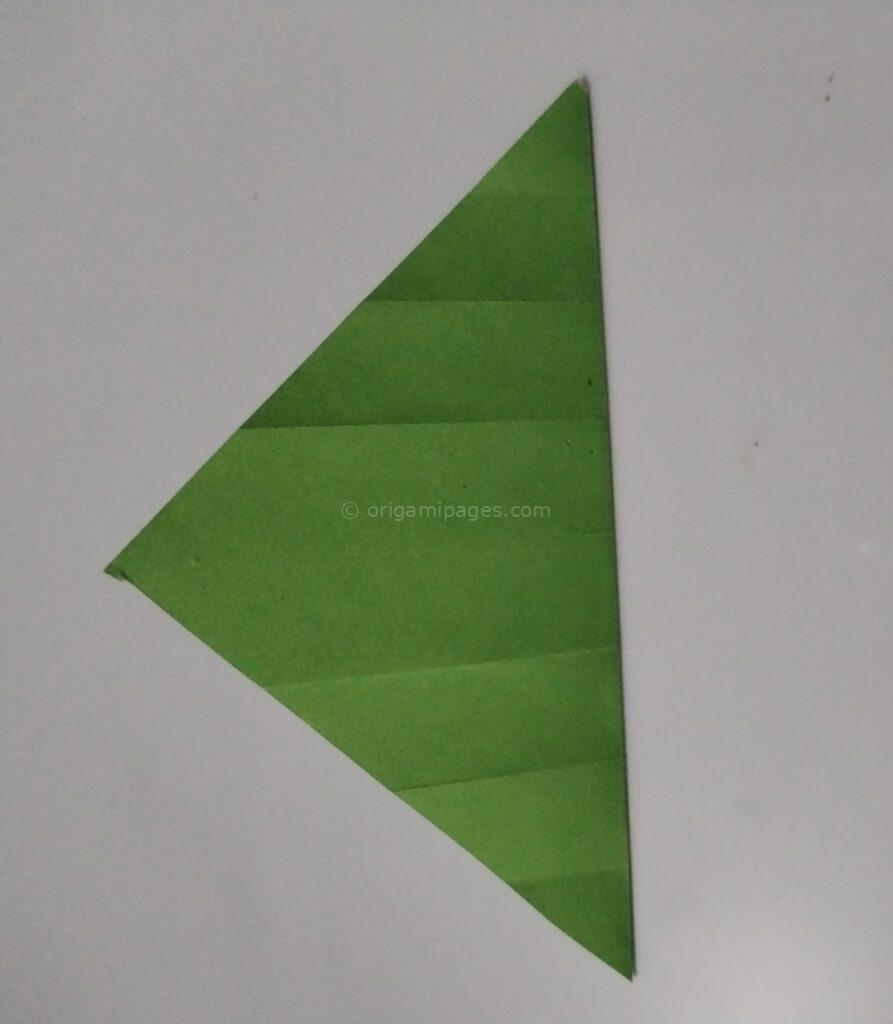
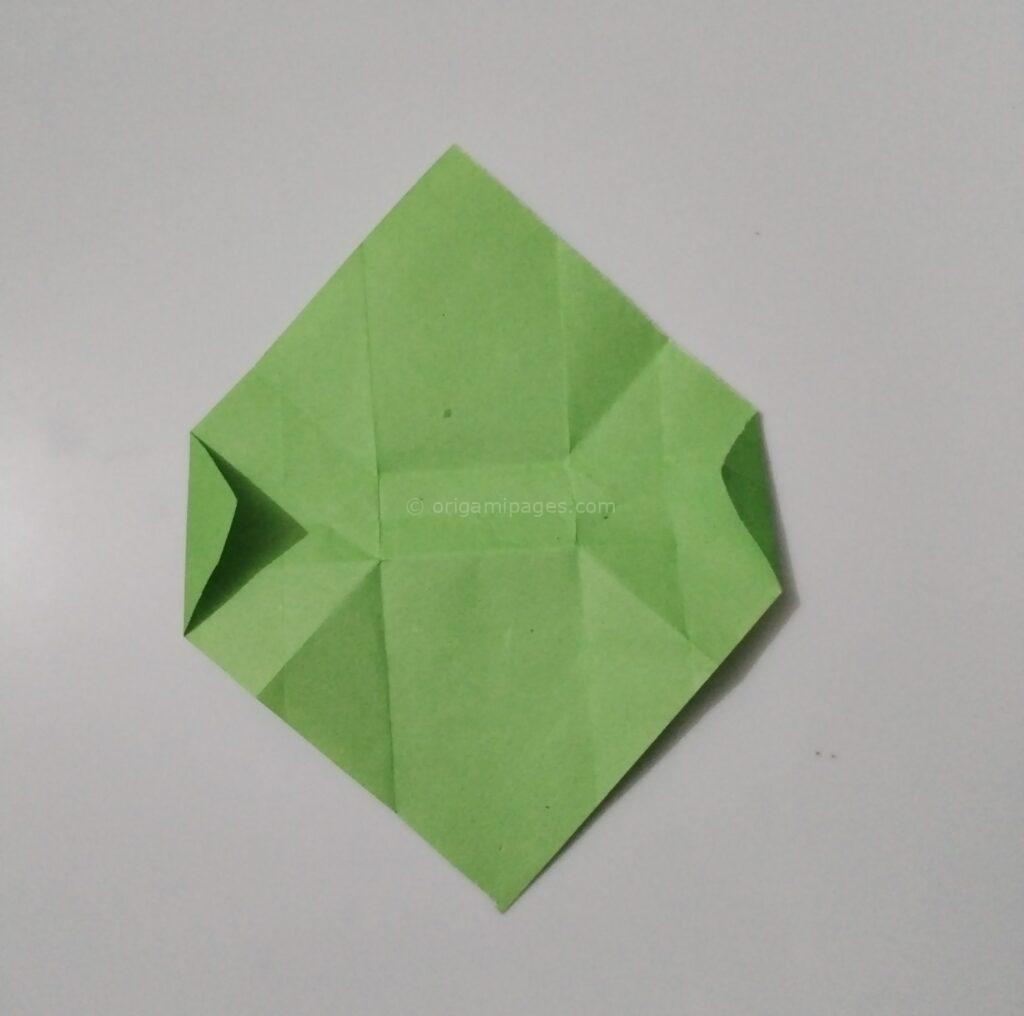
Step 4: Folding the Bottom and Corners
Fold the remaining corner to the center. Make a thin fold at the bottom of the paper. Then, fold the two bottom corners up to the center line as shown in the diagram, and unfold these folds to leave crease marks.

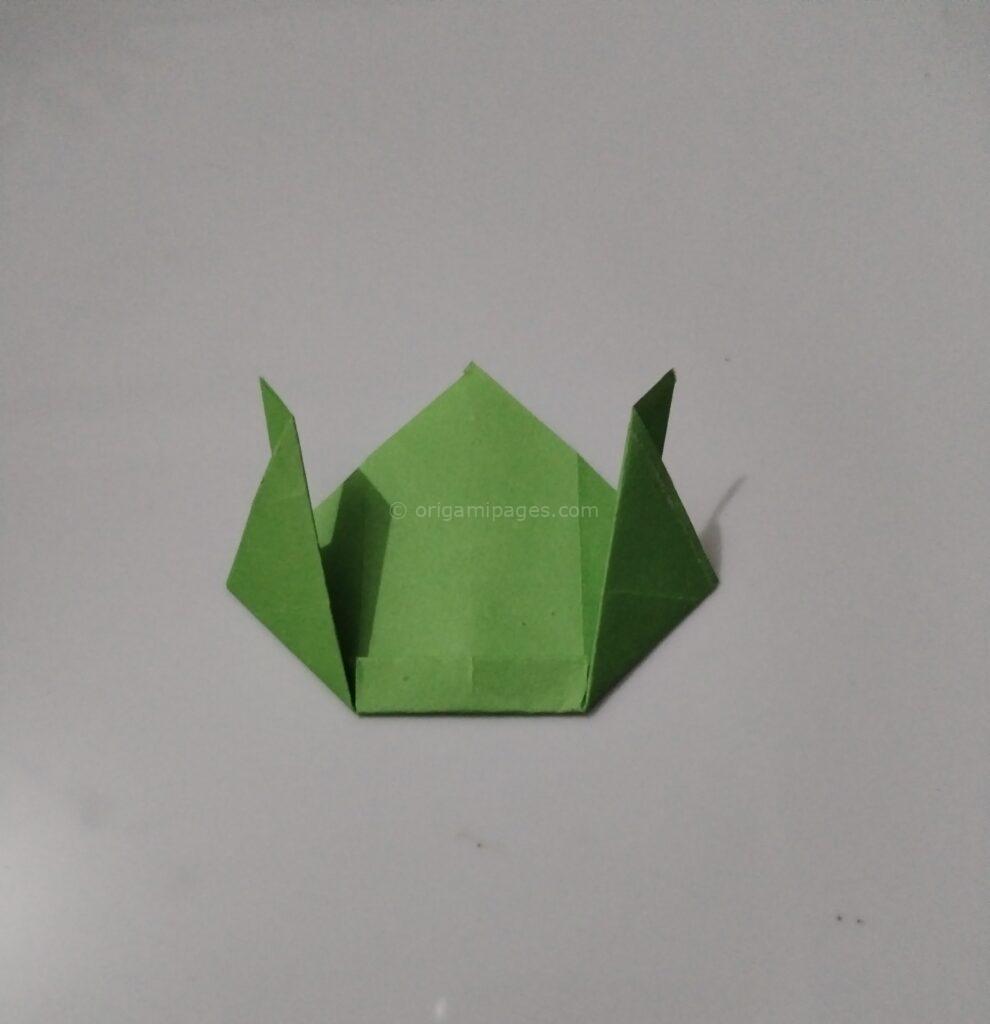
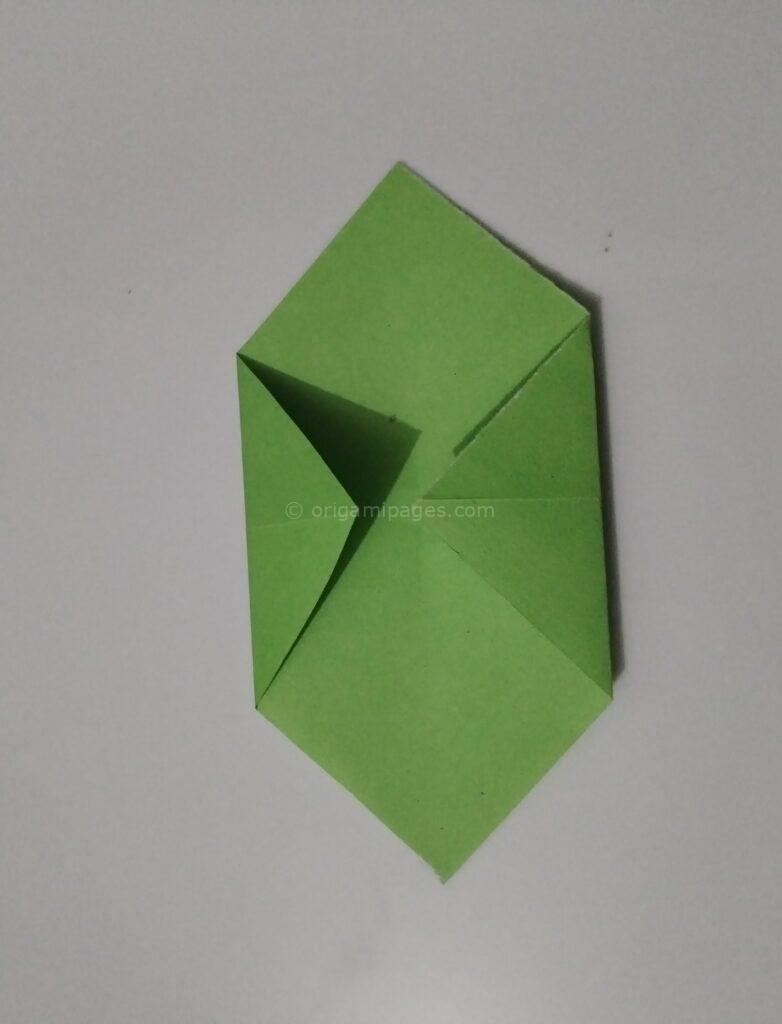
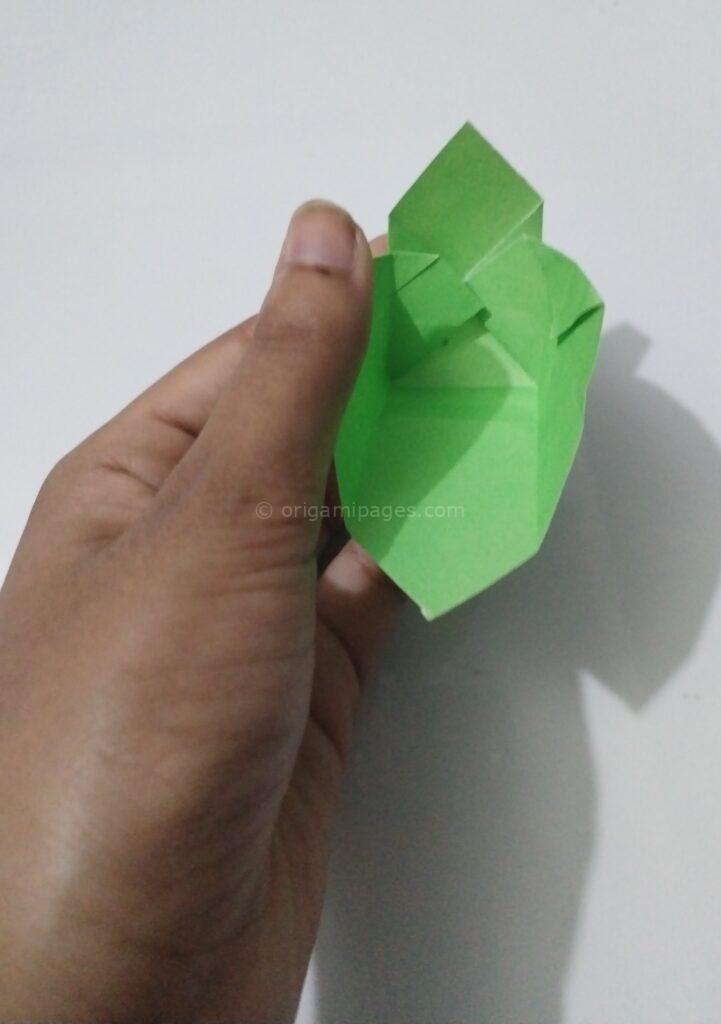
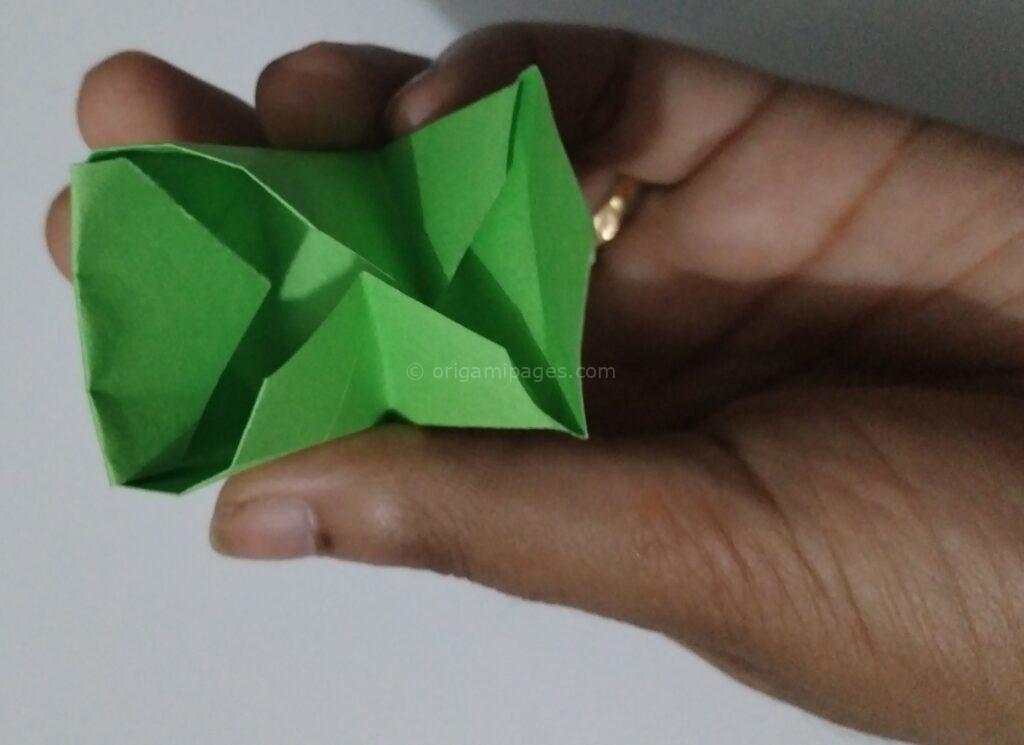
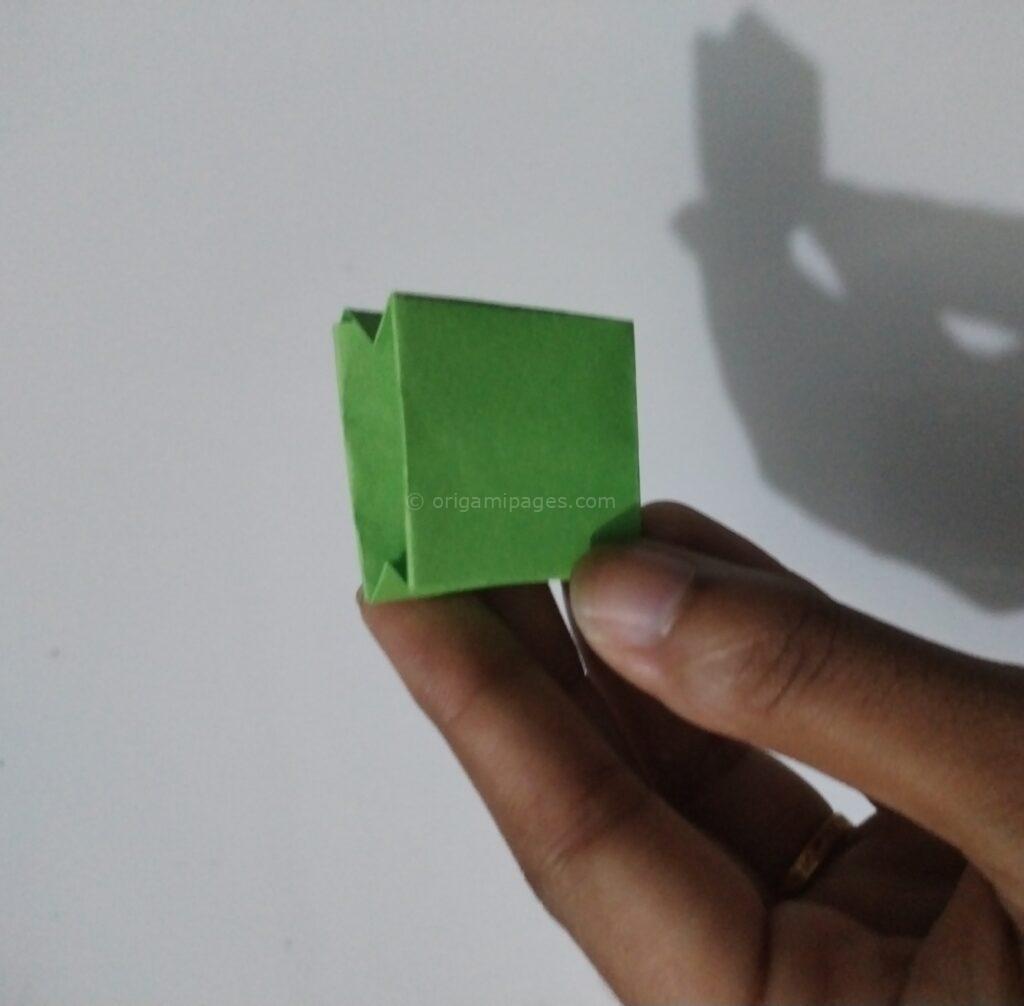
Step 5: Shaping the Bag
Fold the right and left corners inward along the creases you just made. Shape the bag by adjusting the folds until it resembles a small bag structure.
Step 6: Adding Handles
To complete your paper origami bag, create two small paper strips to serve as handles. Attach these handles to the top of the bag.

Step 7: Final Touches
Ensure all creases are sharp and the bag is well-formed. Your origami bag is now complete!

Personal Experience and Challenges
When I first attempted to make an origami bag, I found it quite challenging to get the folds precise and symmetrical. The thin fold at the bottom was particularly tricky, but with practice, I learned to be more accurate. The key is to be patient and to make sure each fold is crisp and well-defined.
Conclusion
Creating an origami bag is a rewarding and enjoyable project that combines creativity with precision. This origami bag tutorial has provided a comprehensive guide on how to make an origami bag, from the initial folds to the final touches. Whether you are making a simple origami bag or an easy origami bag for a special occasion, the steps outlined here will help you achieve a beautiful result.
I hope you found this step by step origami bag guide helpful. Please share your experiences and any challenges you faced in the comments below. Your feedback is invaluable and helps us continuously improve our resources.
Happy folding!