Origami Bat: A Step-by-Step Guide
Origami is a fascinating craft that turns a simple sheet of paper into various forms, including a bat. This guide will show you how to make an easy origami bat, perfect for beginners or a quick Halloween decoration.
In just a few simple folds, you’ll be able to create a bat with a spooky yet fun design. This tutorial offers clear instructions and is suitable for kids and adults alike.
Materials Needed
- Square paper (15″ × 15″)
Origami Bat Step by Step Instructions
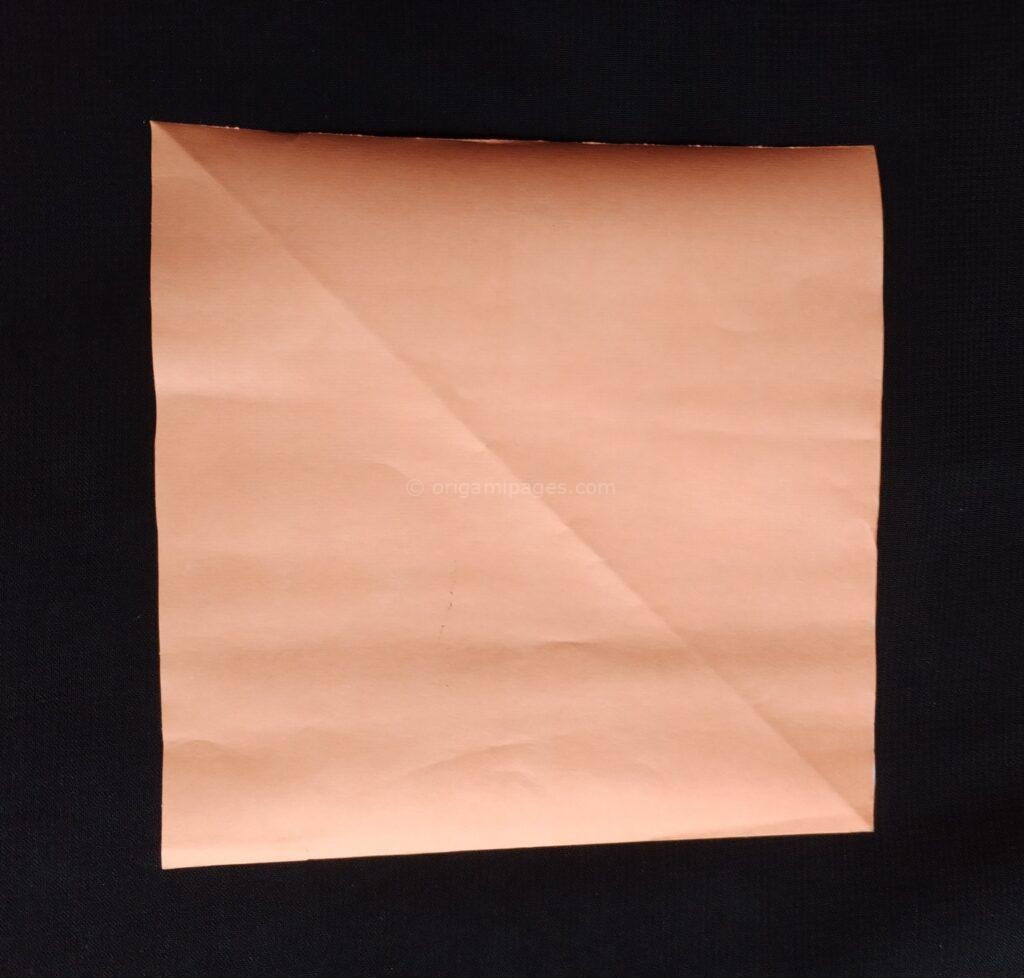
Step 1: Take Your Square Paper
Start with a square piece of paper measuring 15″ × 15″. This size is ideal for creating a well-proportioned origami bat.
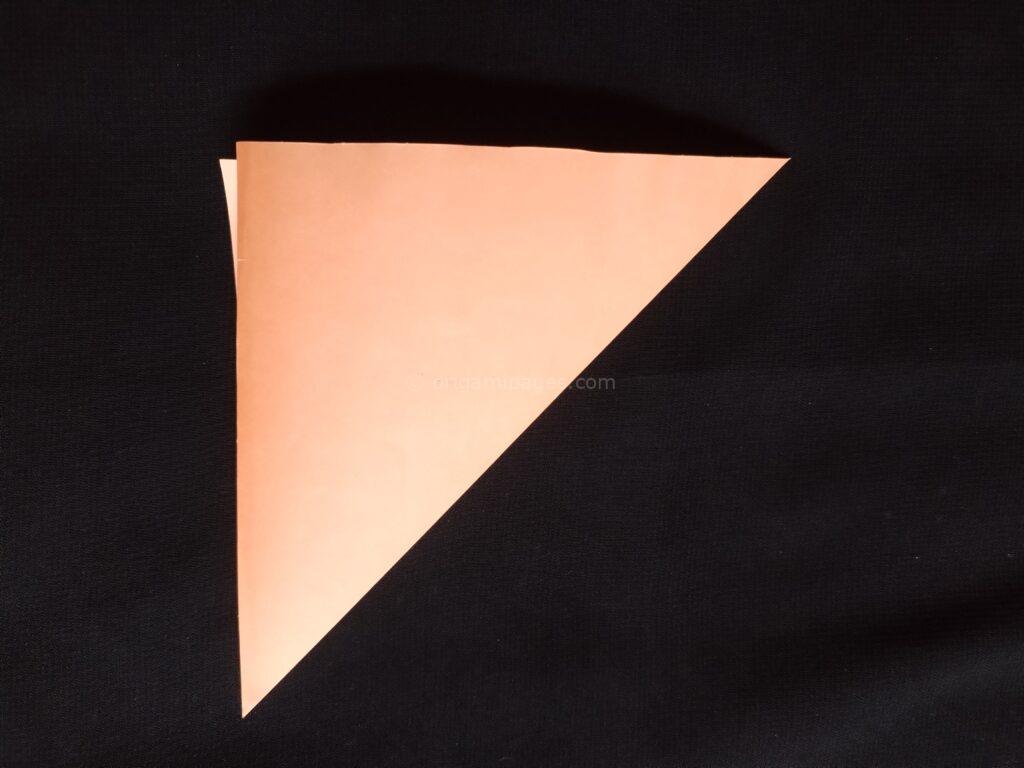
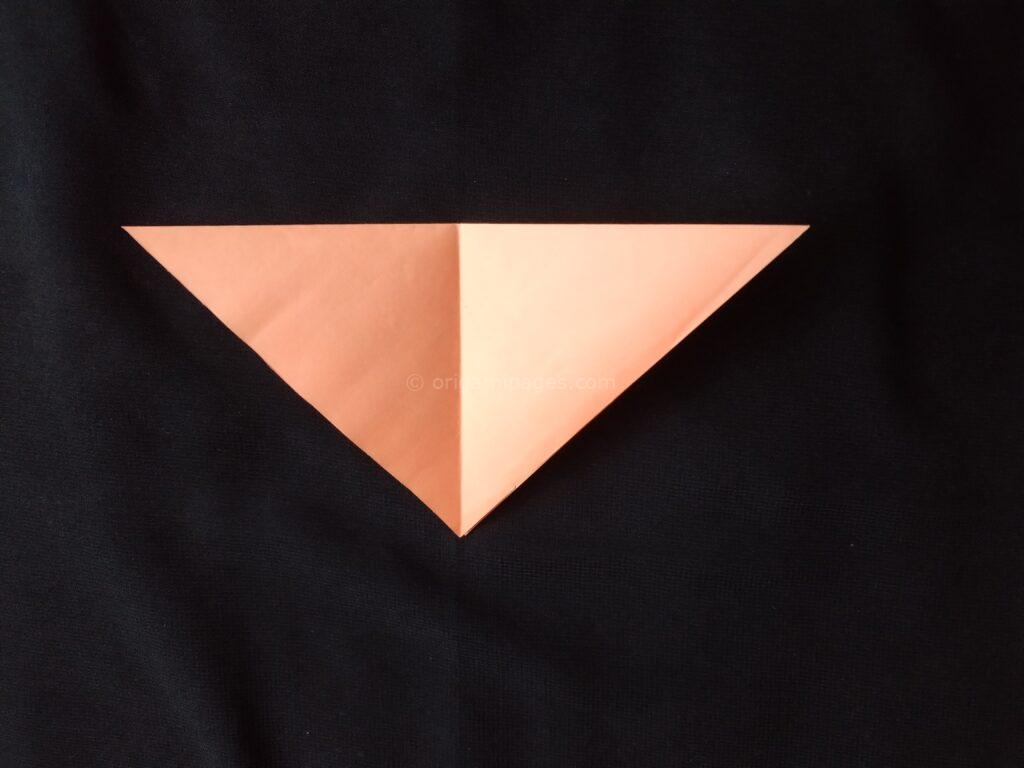
Step 2: Fold the Corners and Middle
Fold the corners of the paper together to form a triangle. Then, fold the triangle in half and unfold it. This crease will help guide the next steps.

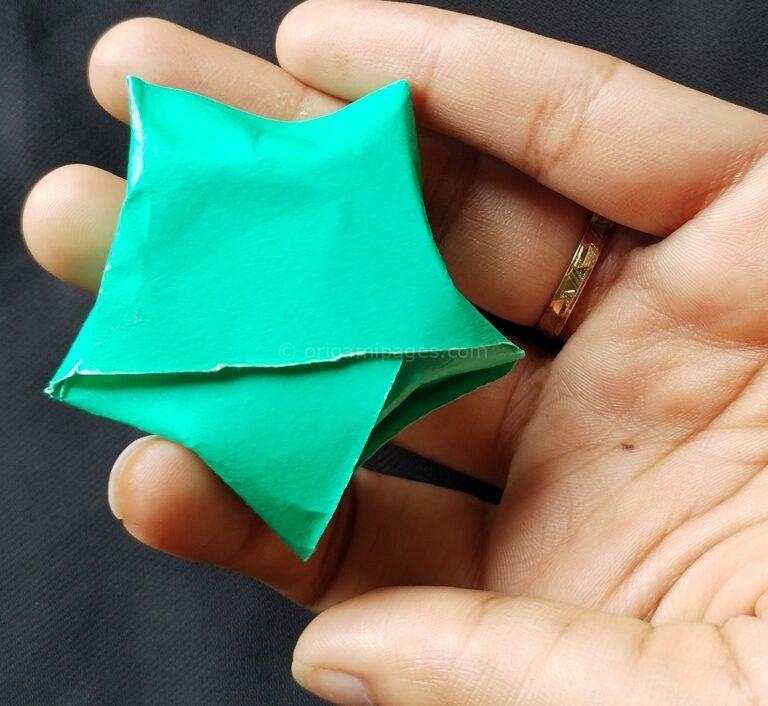
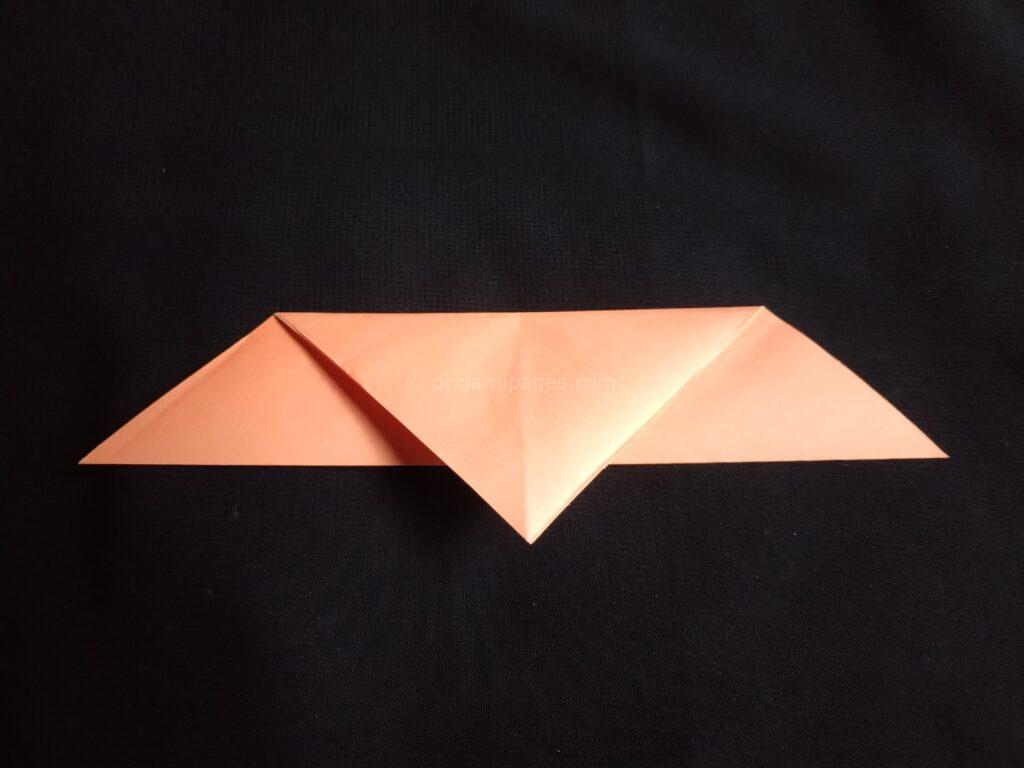
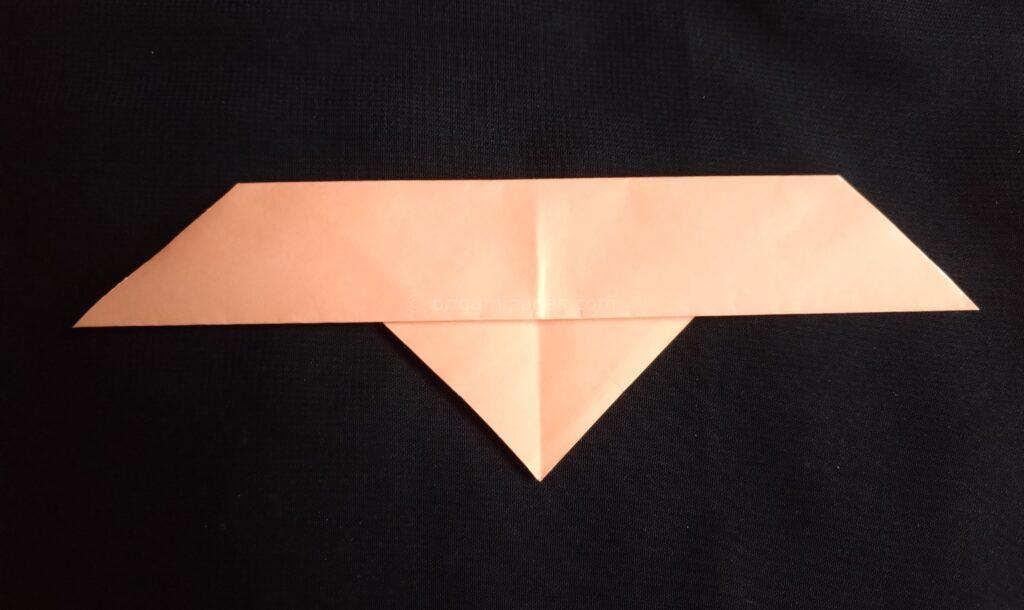
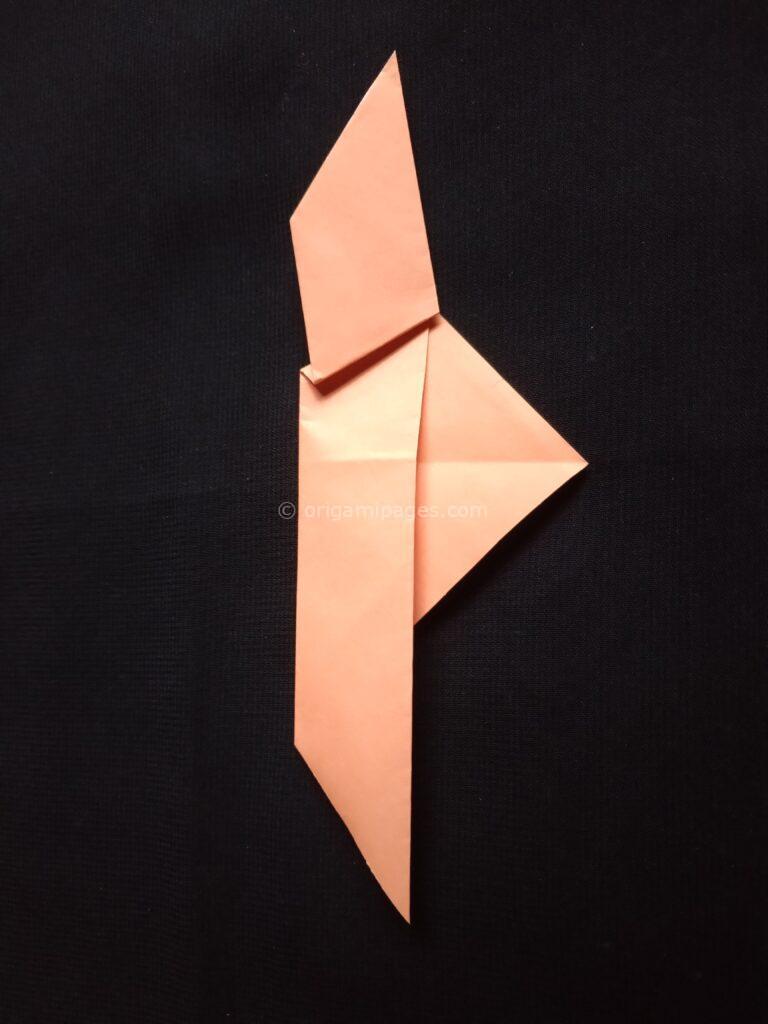
Step 3: Fold the Bottom Upwards and Flip the Paper
Fold the bottom of the triangle upwards as shown in the instructions. After folding, flip the paper upside down.
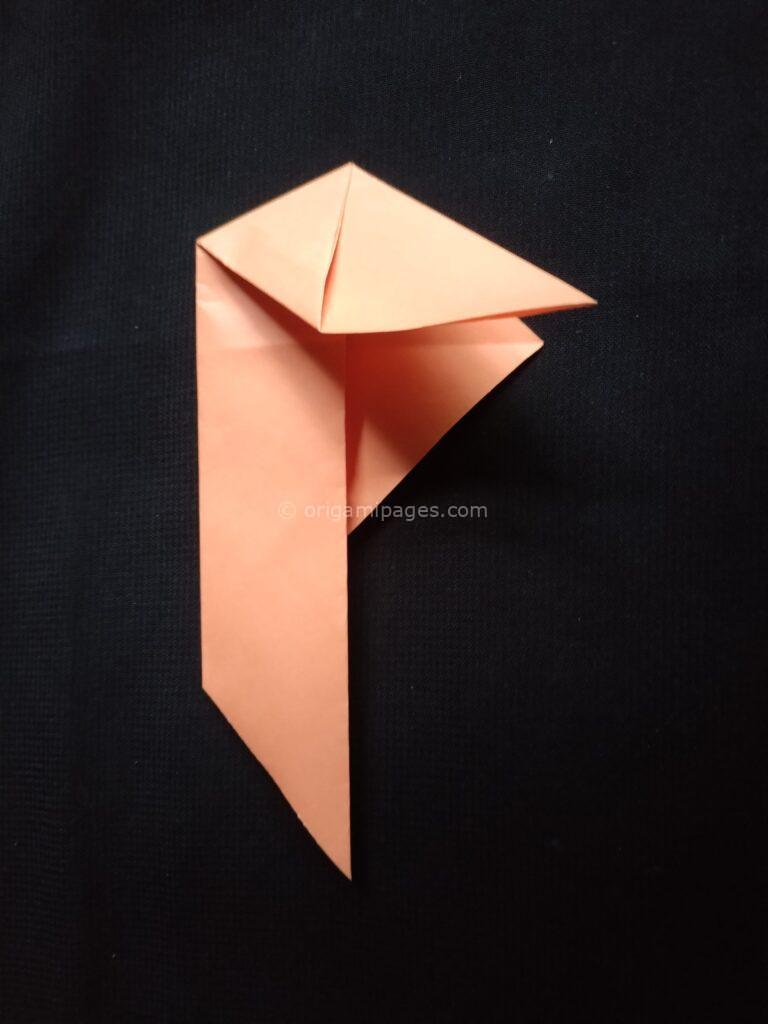
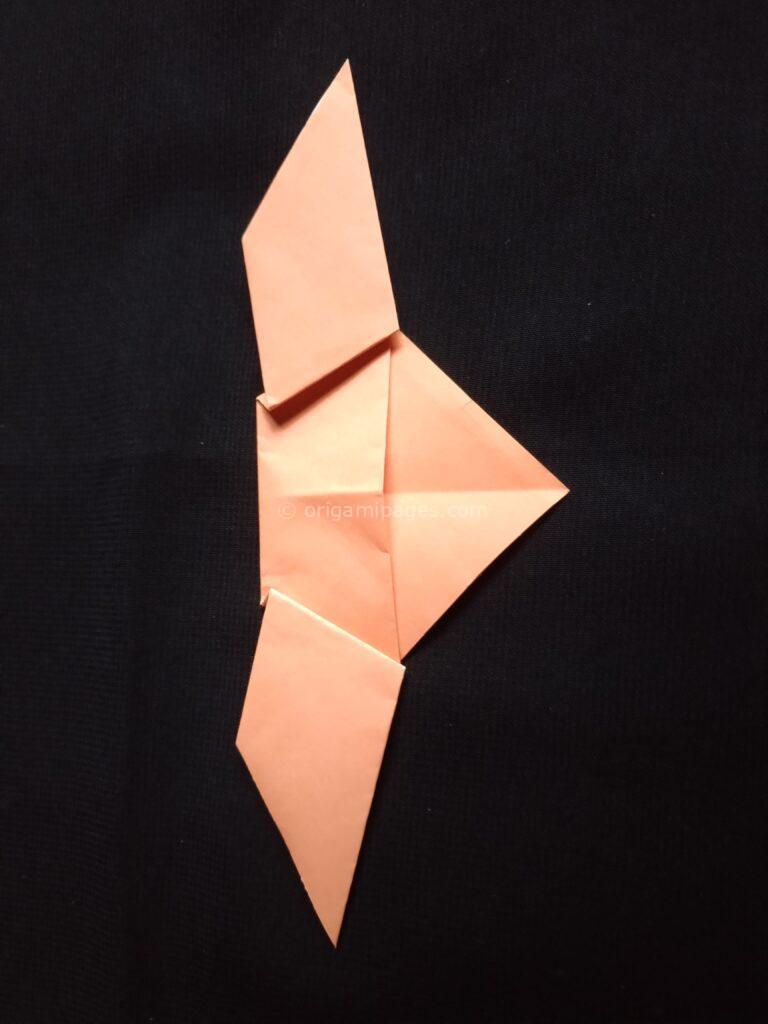
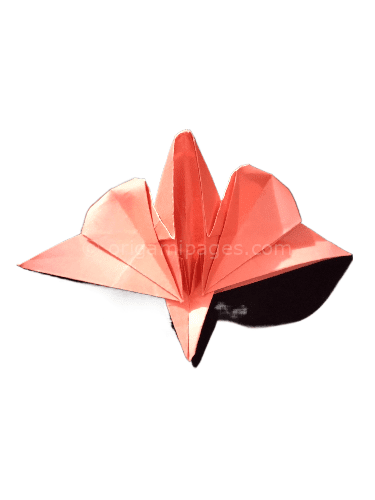
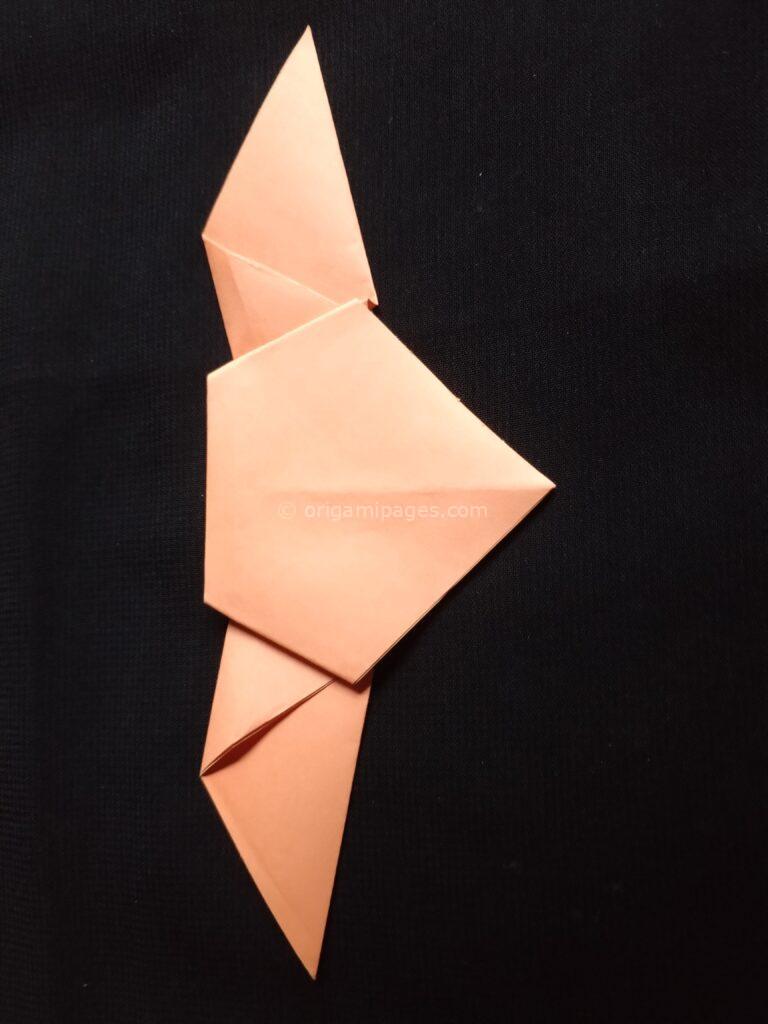
Step 4: Fold the Sides and Shape the Wings
Fold both sides inward to form the wings. Use scissors to shape the top and wings of the bat for a more detailed finish.

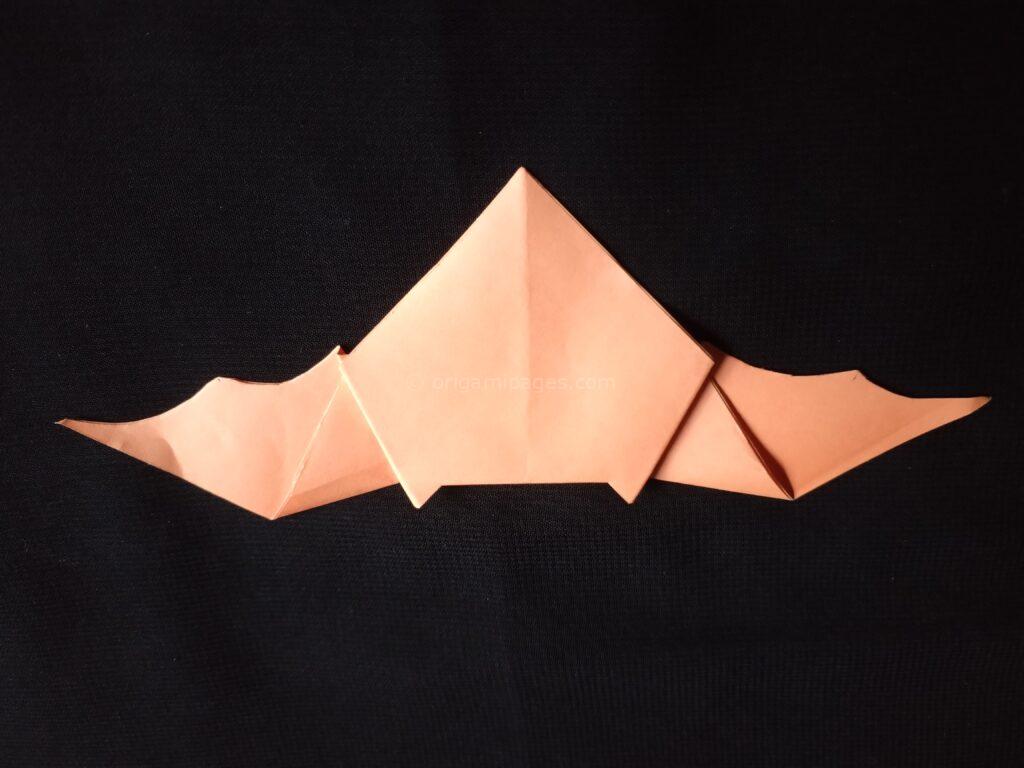
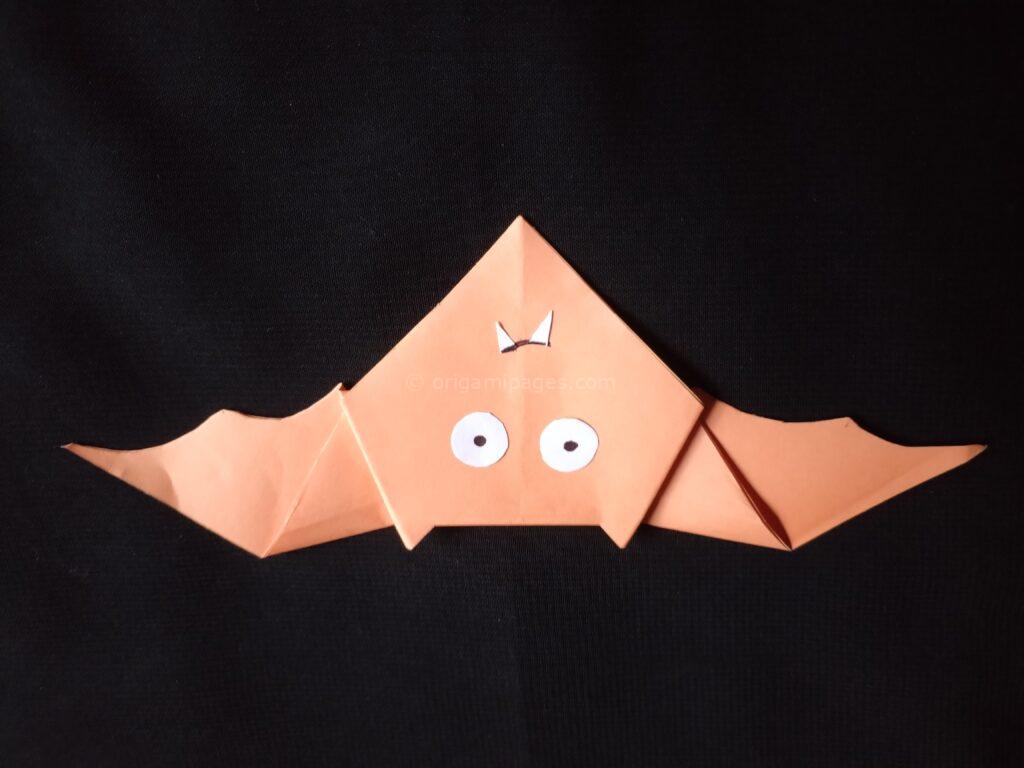
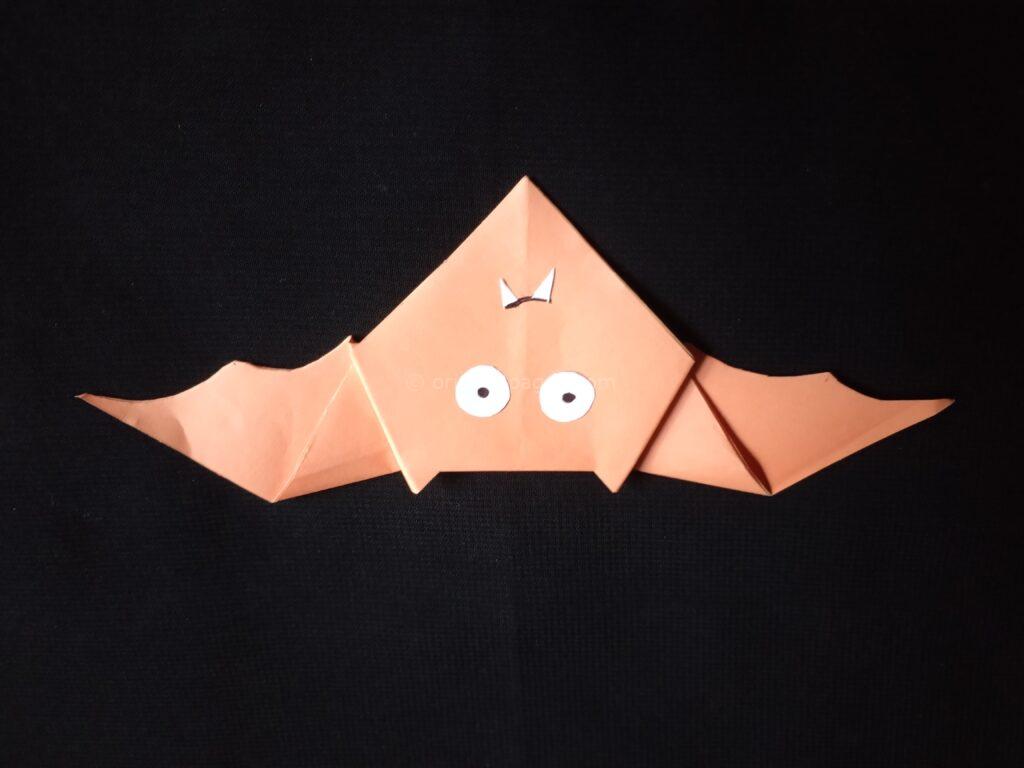
Step 5: Complete Your Origami Bat
In just a few steps, your Halloween origami bat is ready! It’s a simple yet effective decoration that can be made in minutes.
Conclusion
Now that you’ve completed your origami bat, you can use it as a Halloween decoration or just as a fun project. The process is easy, and with practice, you’ll be able to create multiple bats quickly. I hope you enjoyed following these paper bat instructions, and I look forward to seeing how you use this craft in your own projects. Feel free to share feedback and suggestions to help improve this guide!