Origami Heart With Wings – Easiest Guide To Follow

Unfold the artistry of origami with the Origami Heart with Wings—an enchanting project that captivates novices and challenges seasoned artists. Discover the joy of precision folding in this step-by-step guide. For beginners, embrace simplicity and creativity; follow our clear instructions, supplemented with visuals, to ensure a delightful initiation.
For experienced artists, delve into intricate techniques and personal expression. Elevate your craft by shaping delicate wings and mastering intricate folds. This guide serves as a bridge, uniting the curious novice and the skilled artist in the magic of paper transformation, promising a rewarding journey where every crease leads to a unique and captivating masterpiece.
Step-by-Step Guide to Crafting Your Origami Heart With Wings
Step 01: Setting the Foundation
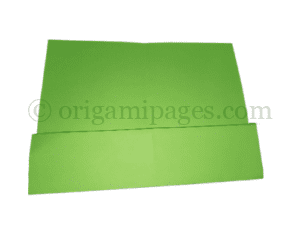
To embark on our origami journey, we need a square paper sheet measuring 15cm×15cm. Lay it flat on your workspace and let’s begin.
Fold the paper in half and then unfold it. This initial step creates a central crease, providing a guideline for the folds to come.


Step 02: Building Symmetry
Rotate the paper 90 degrees and repeat the folding process by creasing it in half and then unfolding. This step ensures symmetry, a crucial aspect of origami.


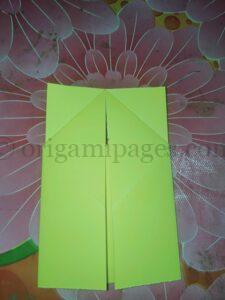
Step 03: Aligning Edges
Fold the bottom edge of the square up to meet the central crease. This forms a triangle with the base along the center line.
Step 04: Converging Corners
Flip the paper over, and fold both upper corners down to meet the central line. You’ll now have a diamond shape.


Step 05: A Top Fold
Turn the paper over once more and fold the top down, creating a smaller triangle within the diamond.

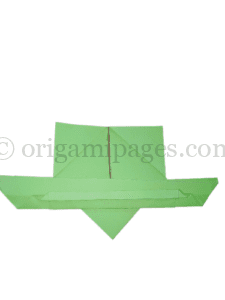
Step 06: Flattening the Foundation
Turn the paper over again. Open and flatten both sides of the triangle, ensuring the folds are crisp. This establishes the foundation for the heart.
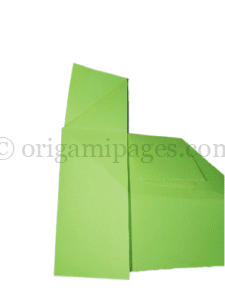
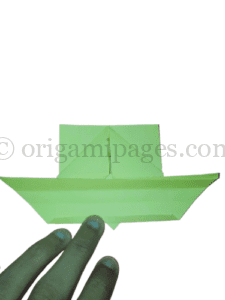
Step 07: Centralizing Edges
Fold both edges of the triangle towards the center line, creating a narrower triangle.
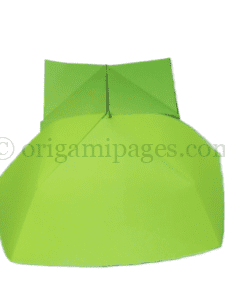
Step 08: Opening the Core
Open and flatten this newly formed structure, refining the shape of the heart.
Step 09: Iterative Folding
Fold this extended structure in half several times, refining the details and reinforcing the symmetry.
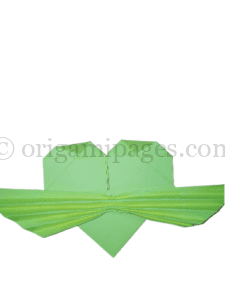
Step 10: Division and Precision
Unfold the paper and fold each part in half individually, enhancing the precision of your heart.
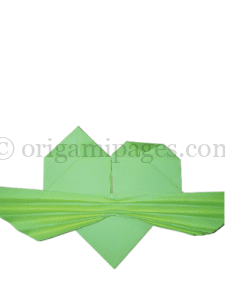
Step 11: Iterative Refinement
Repeat the process of folding and unfolding each part in half multiple times. This iterative refinement adds intricacy to the heart.
Step 12: Final Touch
Fold the top down on both parts, closing in the heart shape and completing the intricate folds.
Step 13: Revel in the Accomplishment
With the final fold, your origami heart with wings is complete. Take a moment to appreciate your creation and the craftsmanship involved in transforming a simple sheet of paper into a symbol of love and freedom.
In summary, the Origami Heart with Wings project extends an enchanting invitation to novices and seasoned artists alike. The step-by-step journey, carefully outlined in this guide, transitions from foundational folds to intricate techniques, providing a delightful initiation for beginners and a platform for artistic expression for experienced hands.
For beginners, the emphasis on simplicity and creativity ensures a fulfilling experience. The clear instructions, complemented by visuals, guide novices through each fold, fostering a sense of accomplishment. On the other hand, experienced artists find a canvas for personal expression, delving into intricate techniques to shape delicate wings and master complex folds.