Easy Origami Rectangle Box: A Step-by-Step Guide
Creating an Origami Rectangle Box is not only a delightful craft but also a practical project that rewards you with a functional and beautifully folded piece of art. Whether you’re new to origami or have experience, the process of folding a rectangle box from a simple square sheet of paper will enchant you. It offers a perfect balance between creativity and precision, inviting you to explore the satisfying journey of paper folding.
In this guide, I’ll walk you through the origami rectangle box instructions step by step. From carefully folding the corners to crafting sharp edges, I’ll help you turn your square paper into a rectangle box origami masterpiece. Let’s dive into the world of origami and create something beautiful together.
How to Make an Origami Rectangle Box
The easy origami rectangle box is a great project for both beginners and more experienced origami enthusiasts. Below, I’ll share the exact process I followed to create this wonderful box, using a 15″ × 15″ square of paper. With these clear instructions, you’ll be able to fold your own traditional rectangular origami box in no time.
Materials Needed
- One square piece of paper (15″ × 15″)
Step-by-Step Origami Rectangle Box Instructions
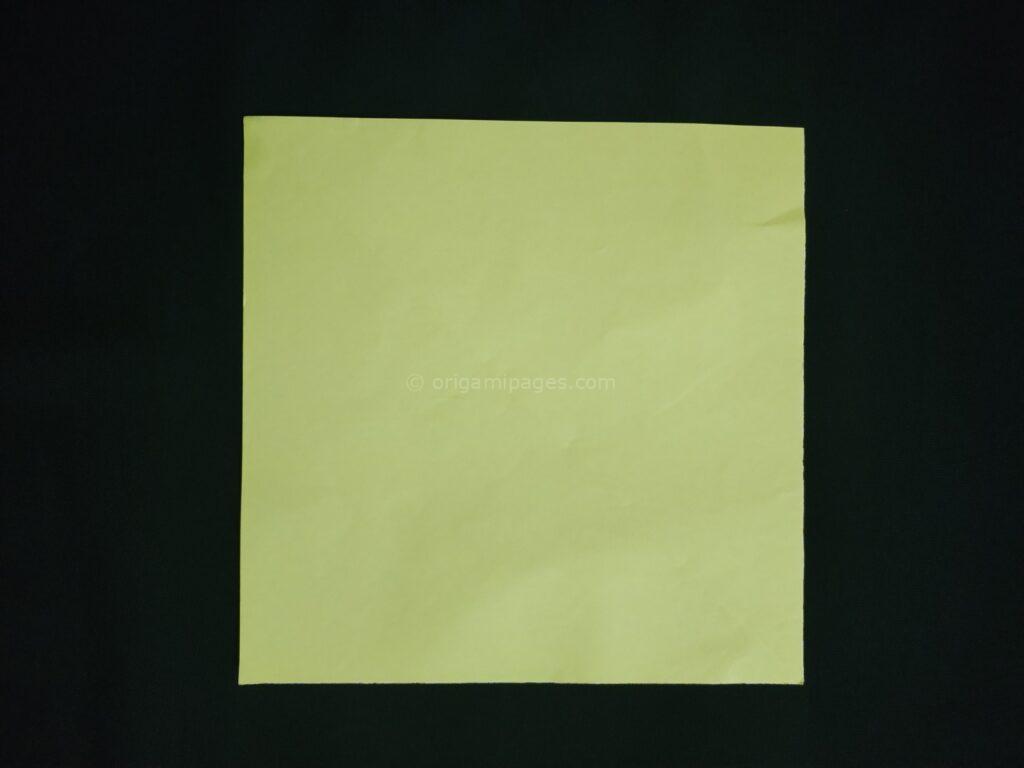
Step 1: Prepare the Square Paper
The first step is to take your square-shaped paper and lay it flat on a clean surface. I love using vibrant, patterned paper for this step because it adds a special touch to the final box.
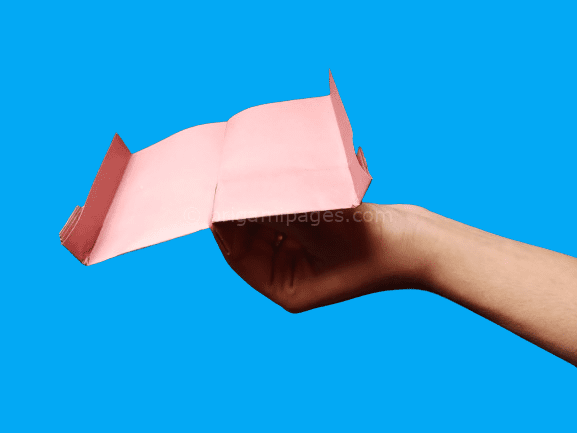
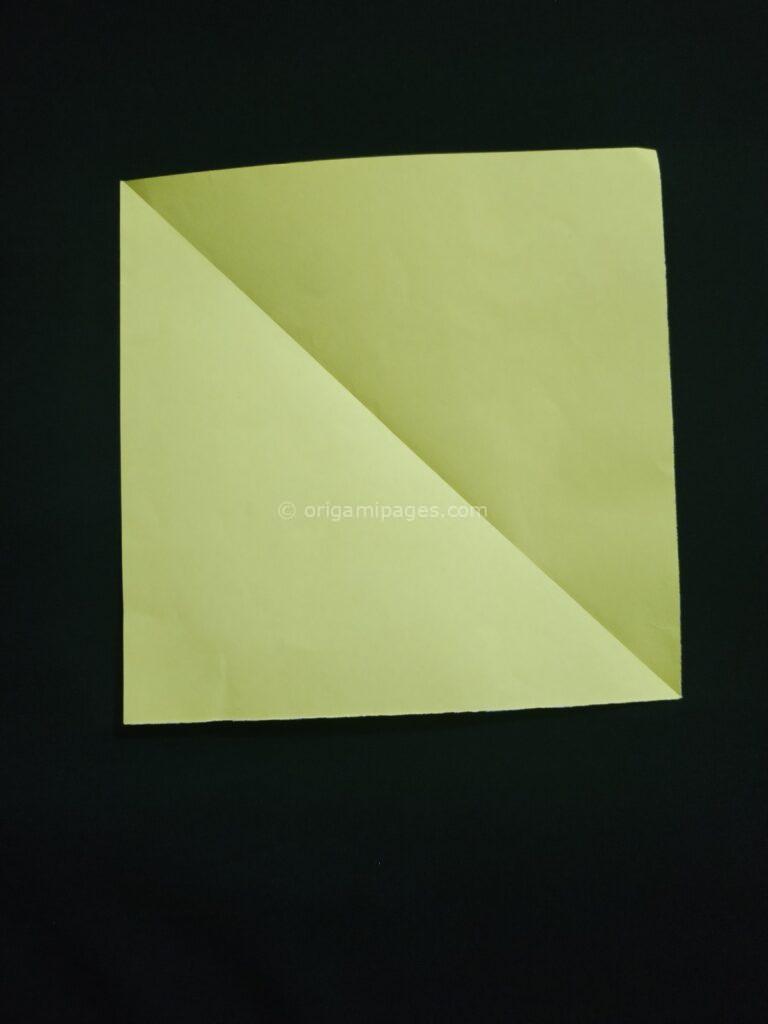
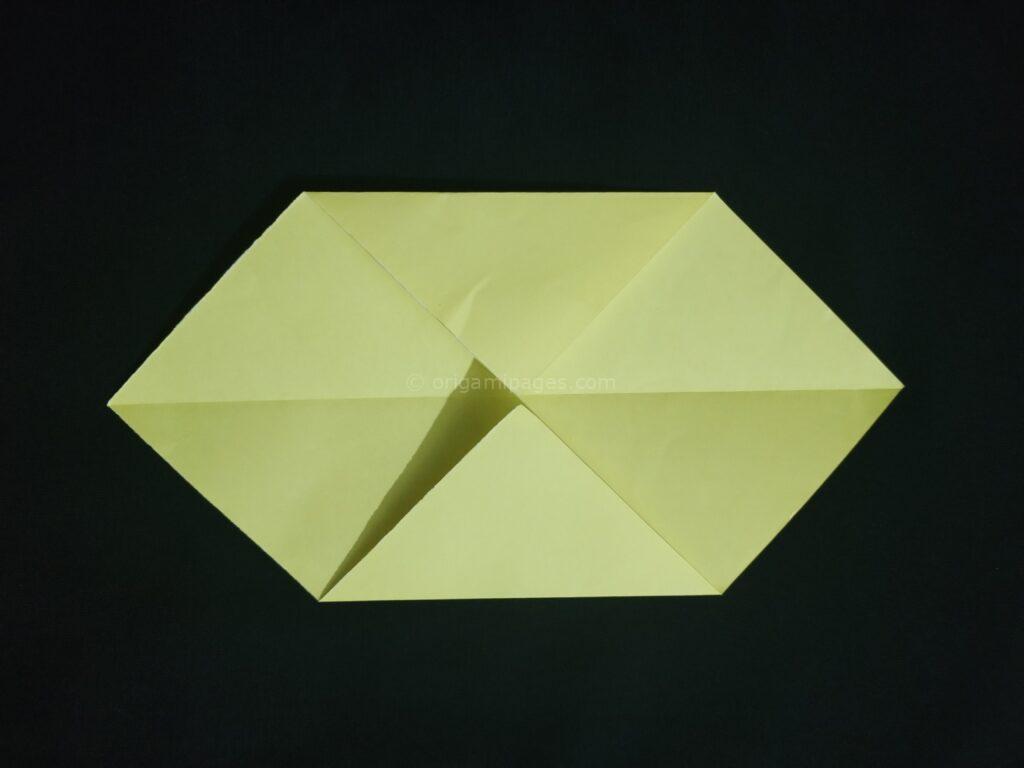
Step 2: Fold the Corners and Unfold
Next, fold the corners of the paper inward, matching the points at the center. Once you’ve made the folds, unfold them. This process creates helpful guidelines that will be essential for the subsequent folds.
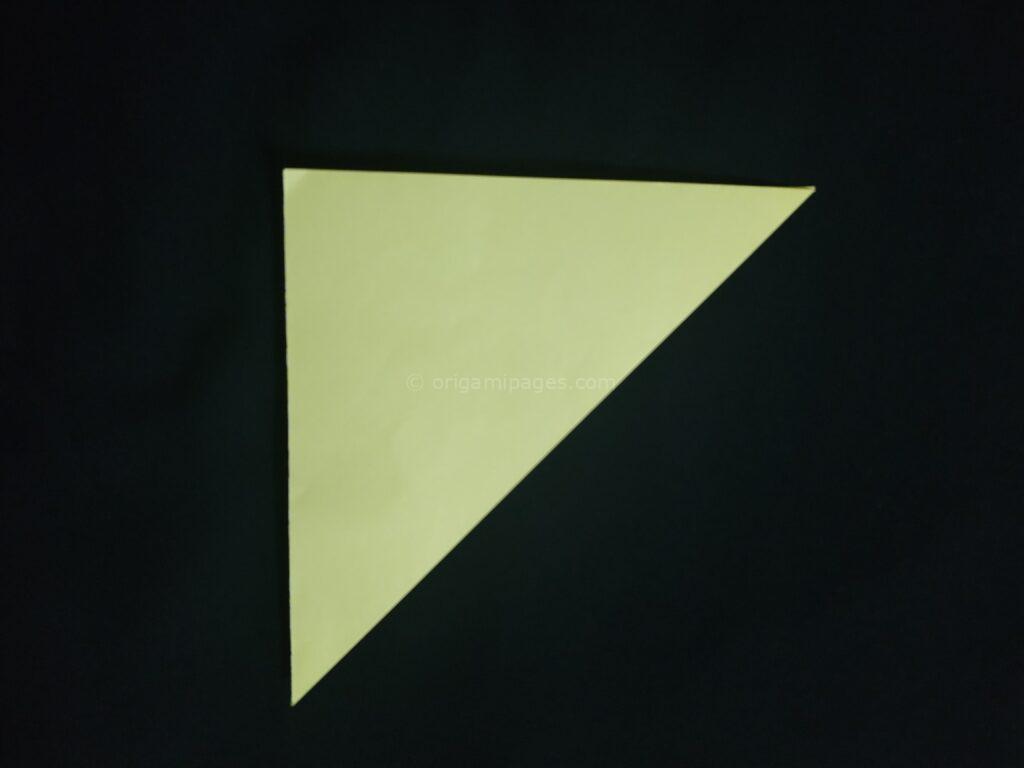
Step 3: Fold Along the Middle Line and Unfold
Fold the paper along the middle line by bringing two corners together on opposite sides. This step is crucial in making sure your rectangle box origami will have the necessary symmetry. After you fold it, go ahead and unfold.
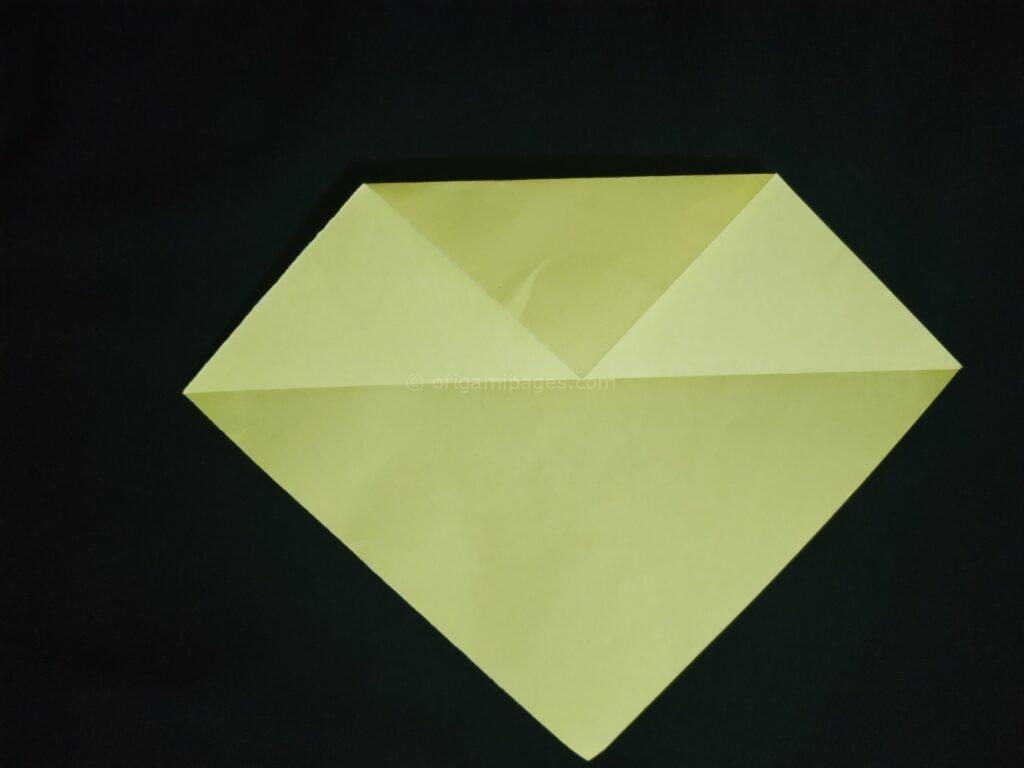
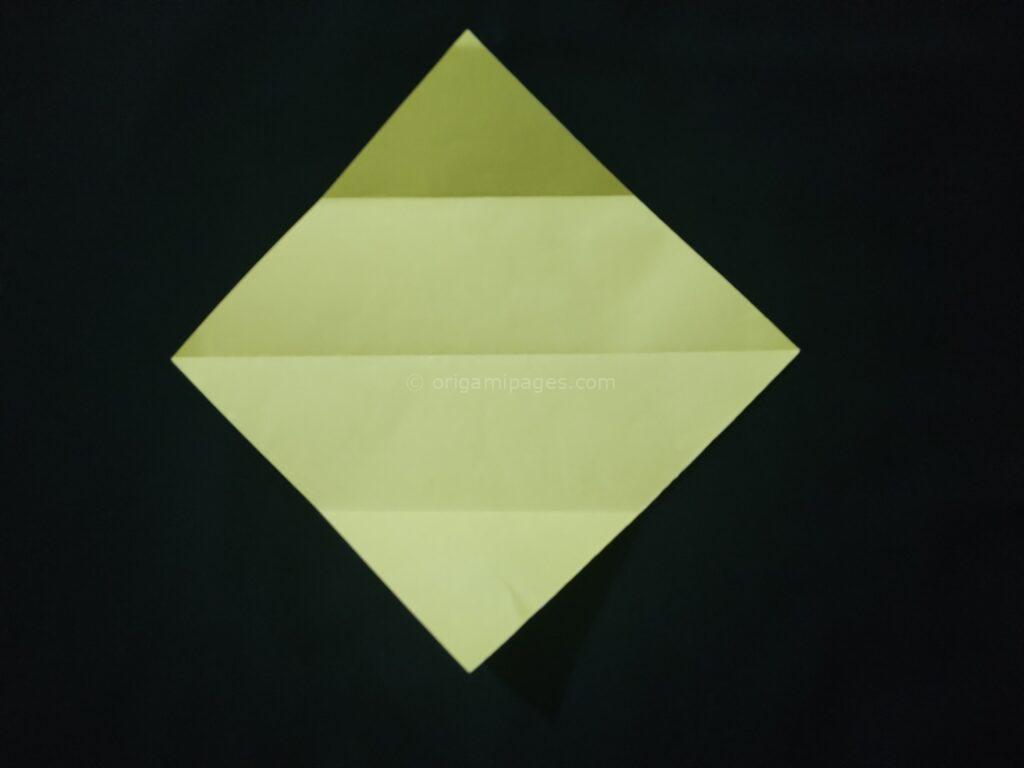
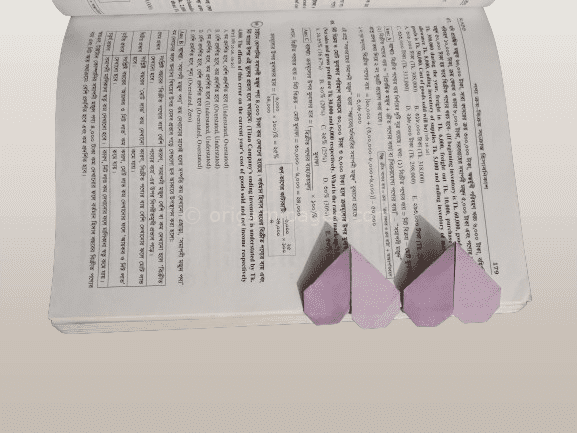
Step 4: Fold the Two Corners and Along the Middle Line Again
Now, fold the two corners inward as shown in diagrams. After that, fold along the middle line again. These layers will give your box its form and help reinforce the sides.
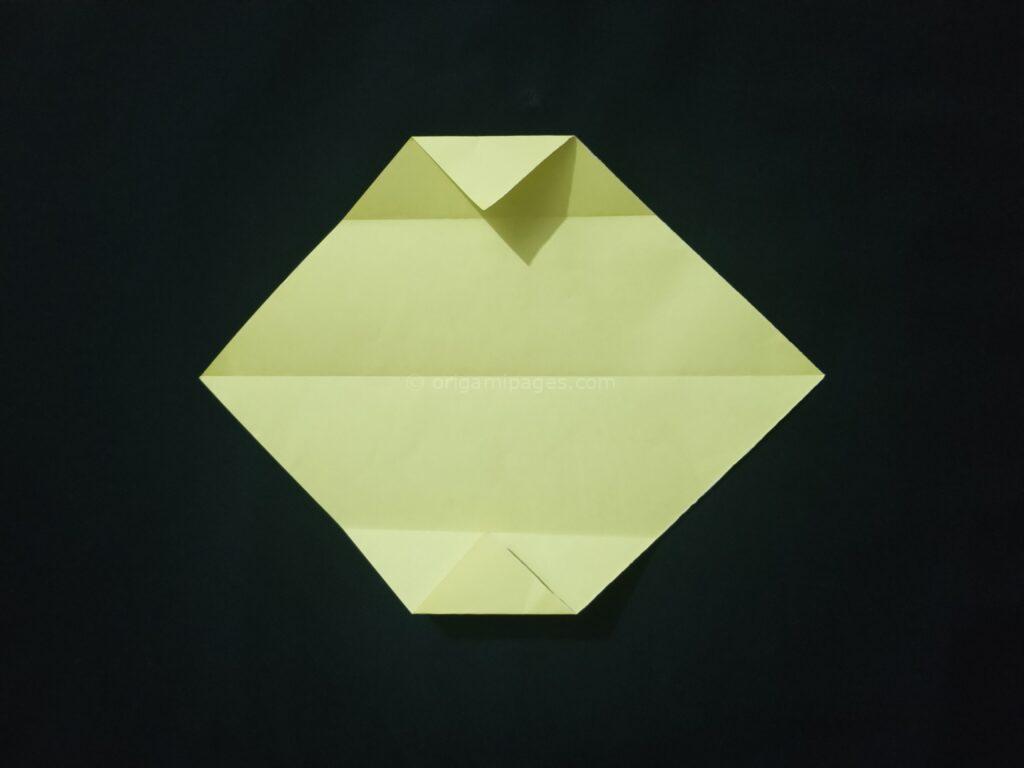
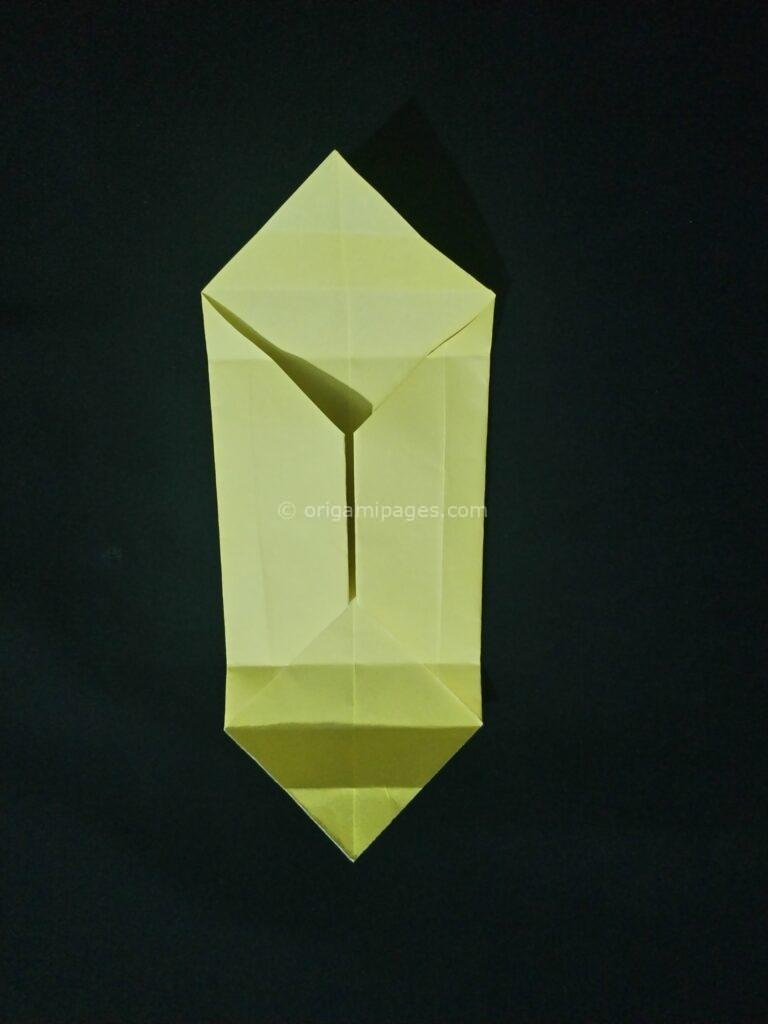
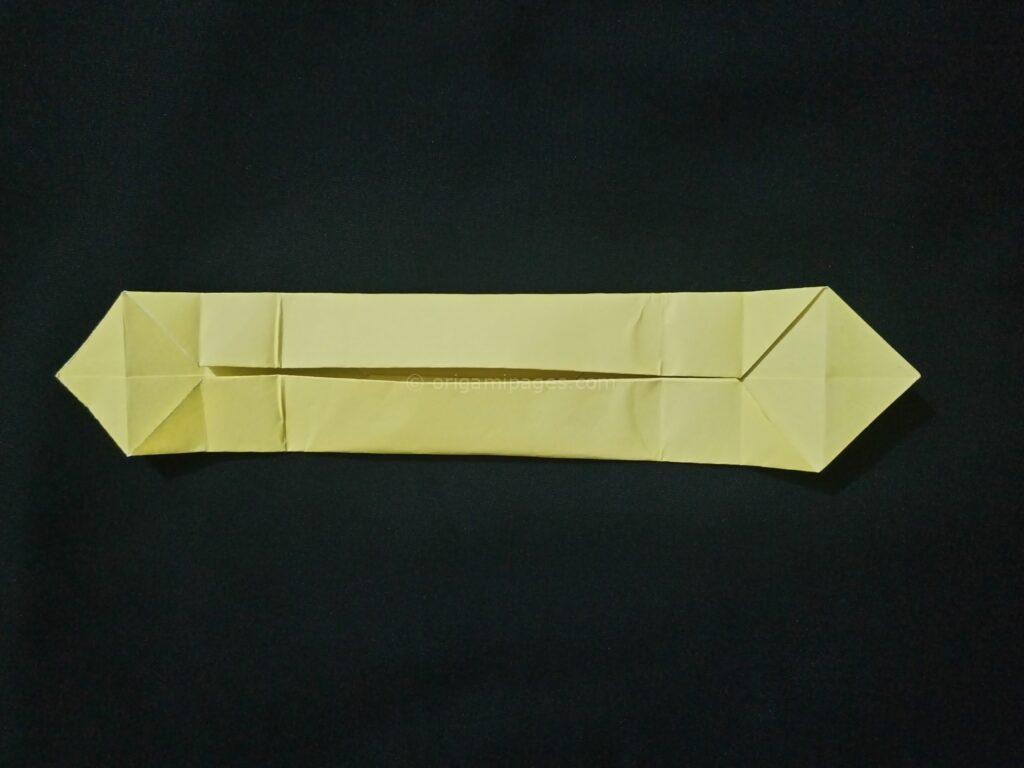
Step 5: Fold the Other Two Sides and the Middle of the Folded Part
For the next fold, focus on the paper’s remaining two sides. Fold these edges inward as shown in your instructions, and fold one more time along the middle of the folded part. Once done, unfold this part.
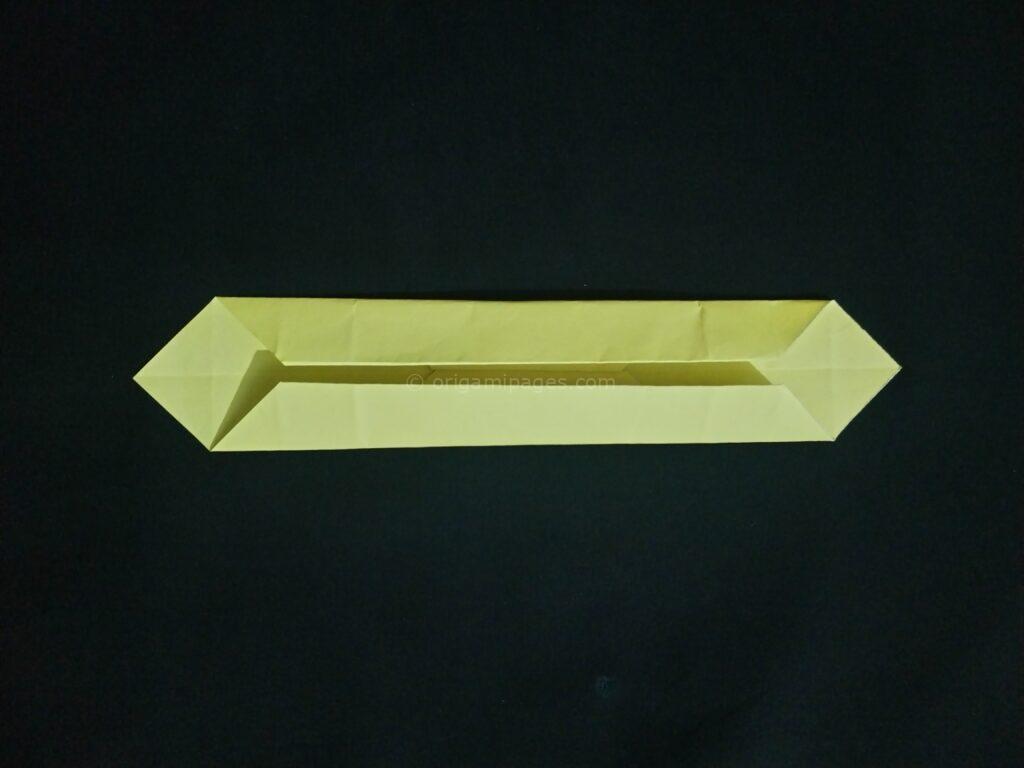
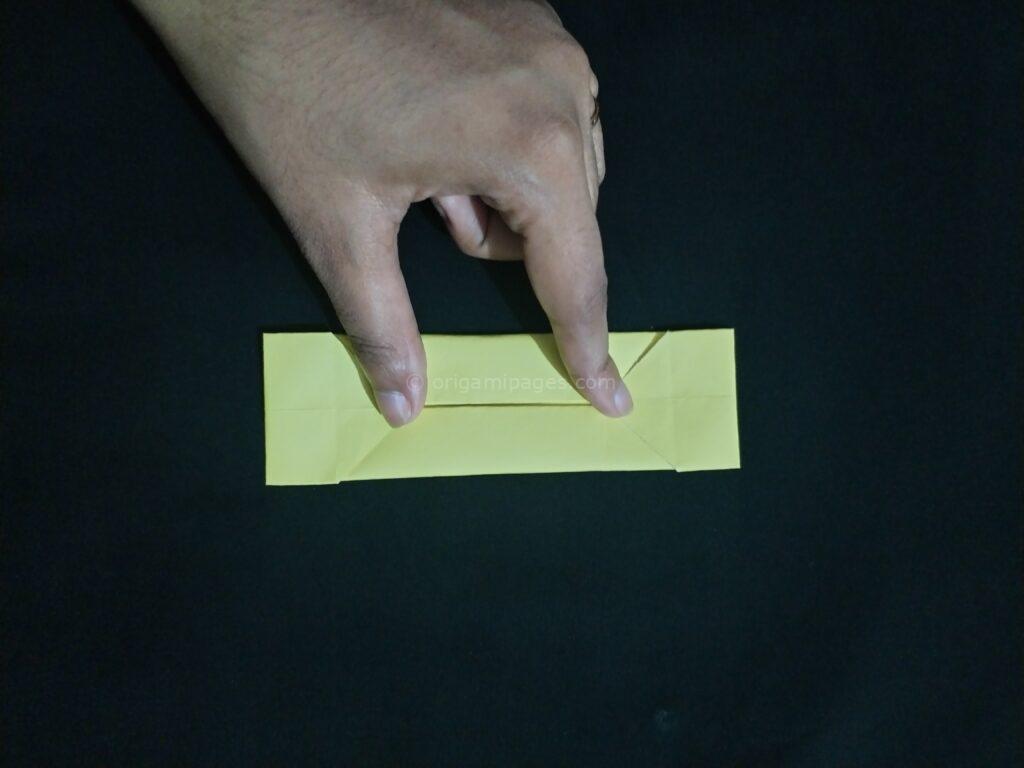
Step 6: Fold the Right and Left Sides and Unfold
Bring the paper back to the middle line fold. Next, fold the right and left sides of the paper inward, following the visual guidelines. Unfold again to create more of the foundational lines.
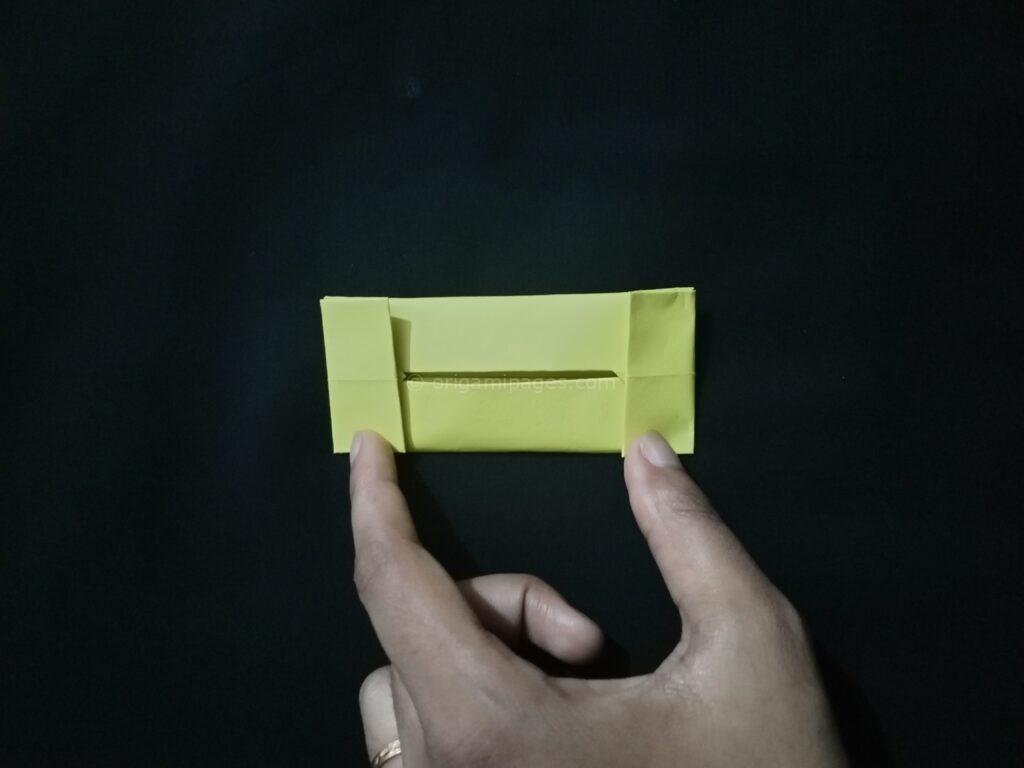
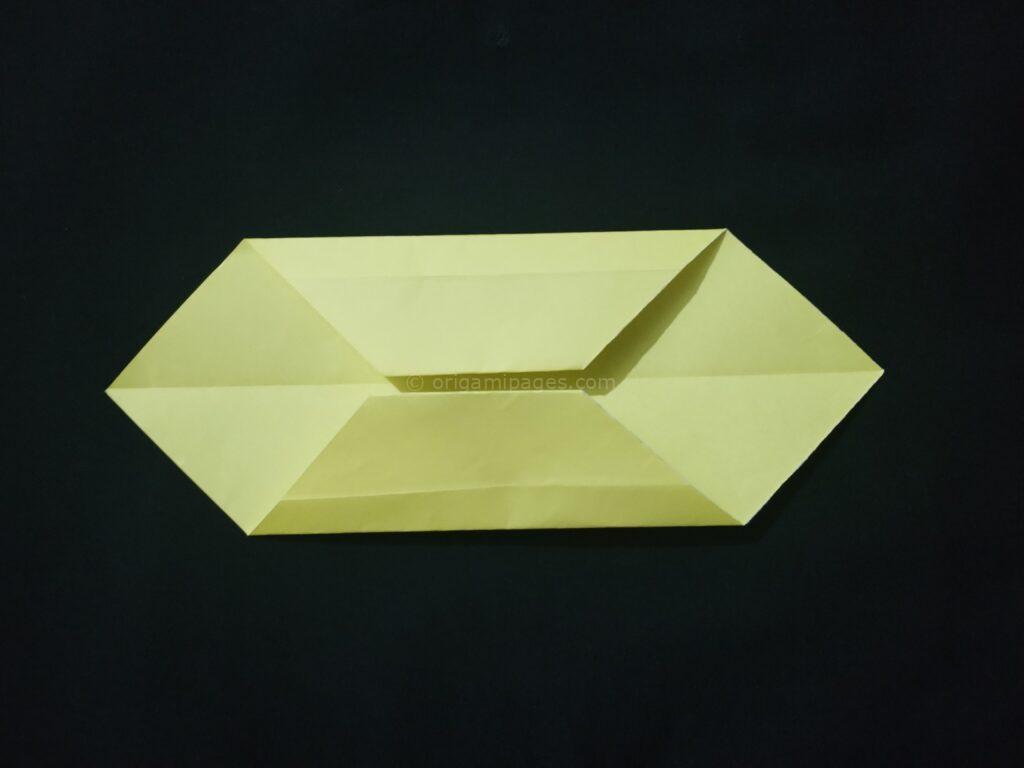
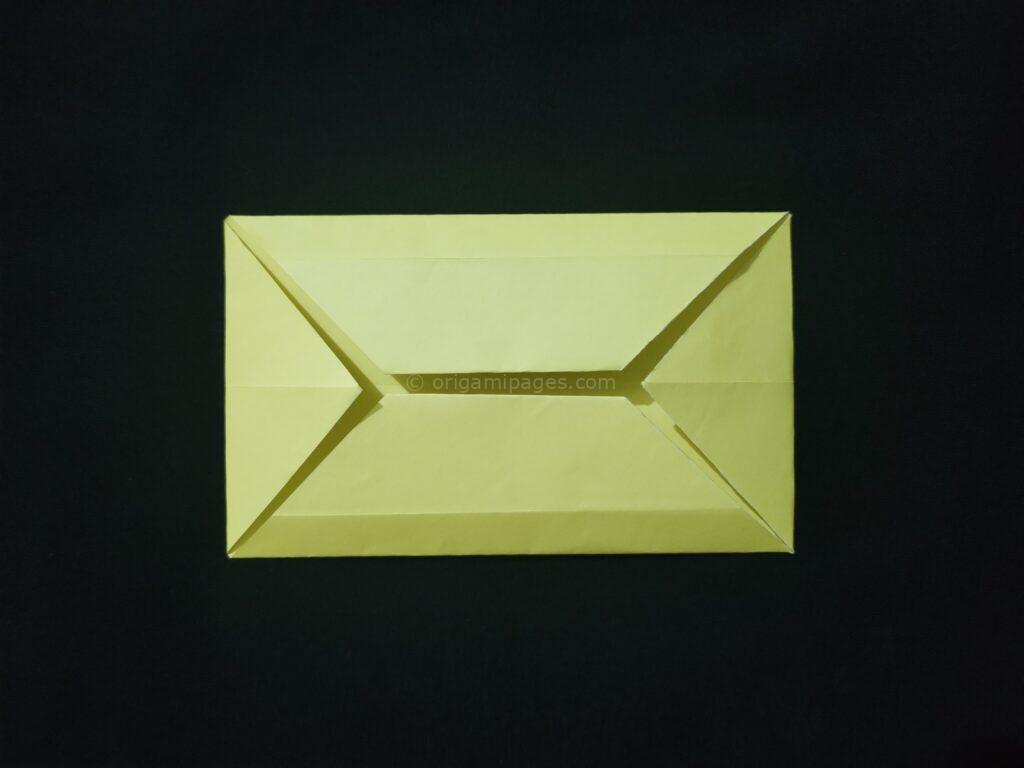
Step 7: Fold the Corners and Unfold the First Part
Here, we’re adding detail by folding the corners on both sides. Once this is complete, unfold the first part of your rectangle box origami to prepare it for the final steps.
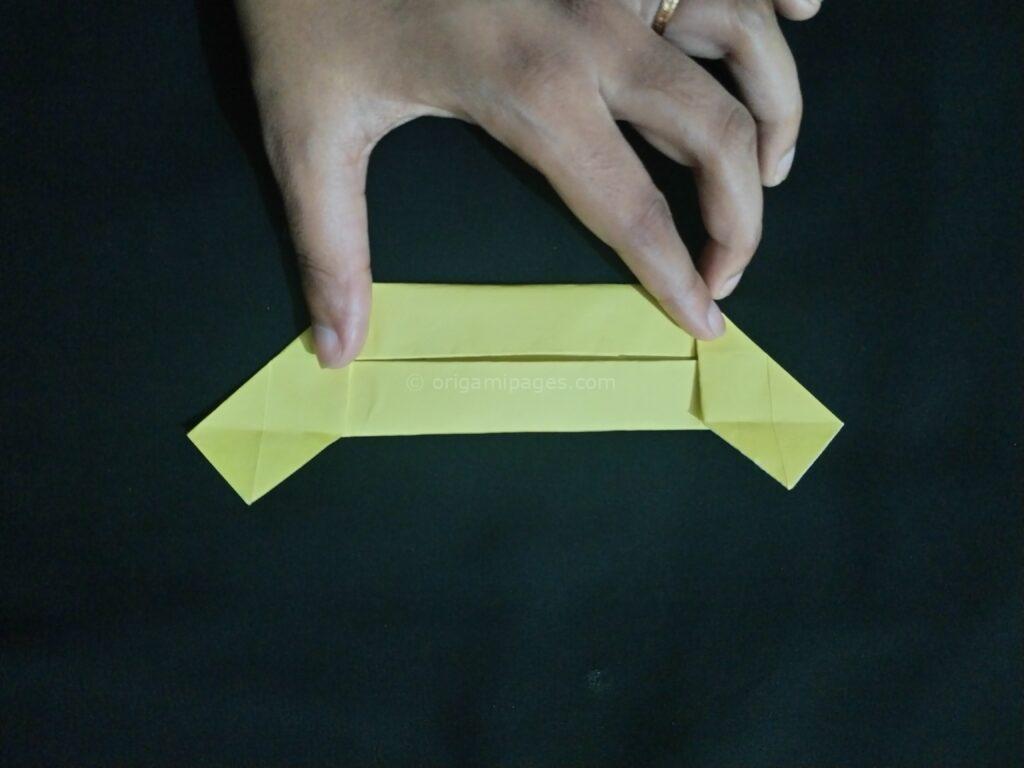
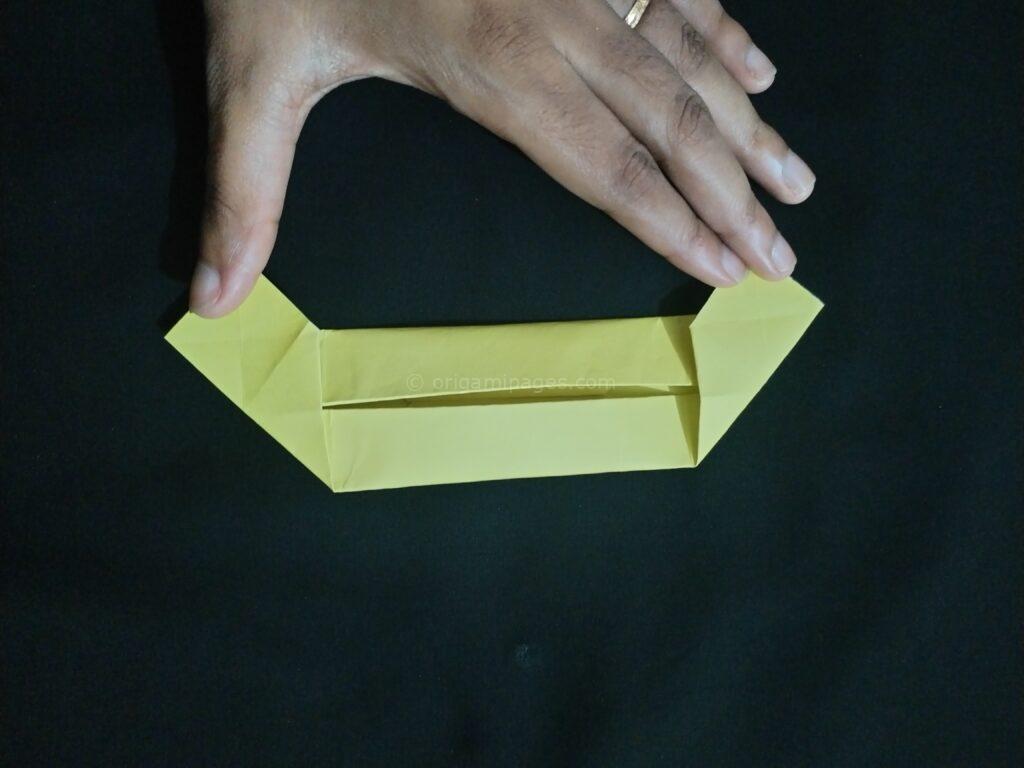
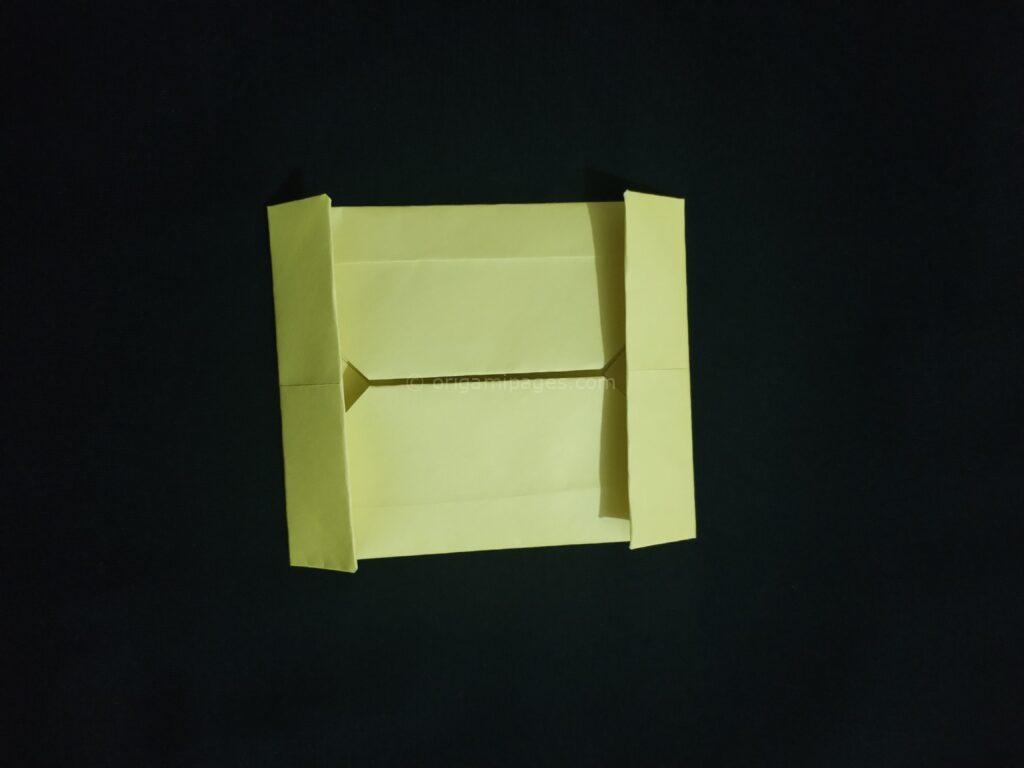
Step 8: Fold Both Sides Inward
Now, fold both sides of the paper inward once more, making sure everything is aligned perfectly. This is where your Traditional Rectangular Origami Box truly starts to take shape.
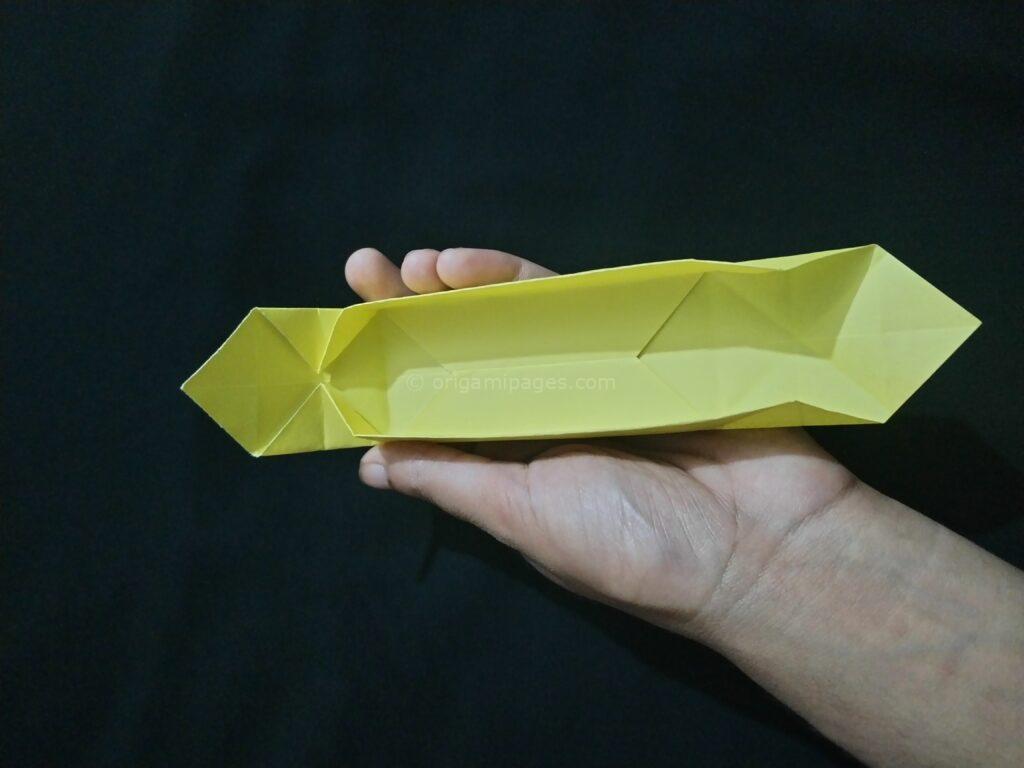
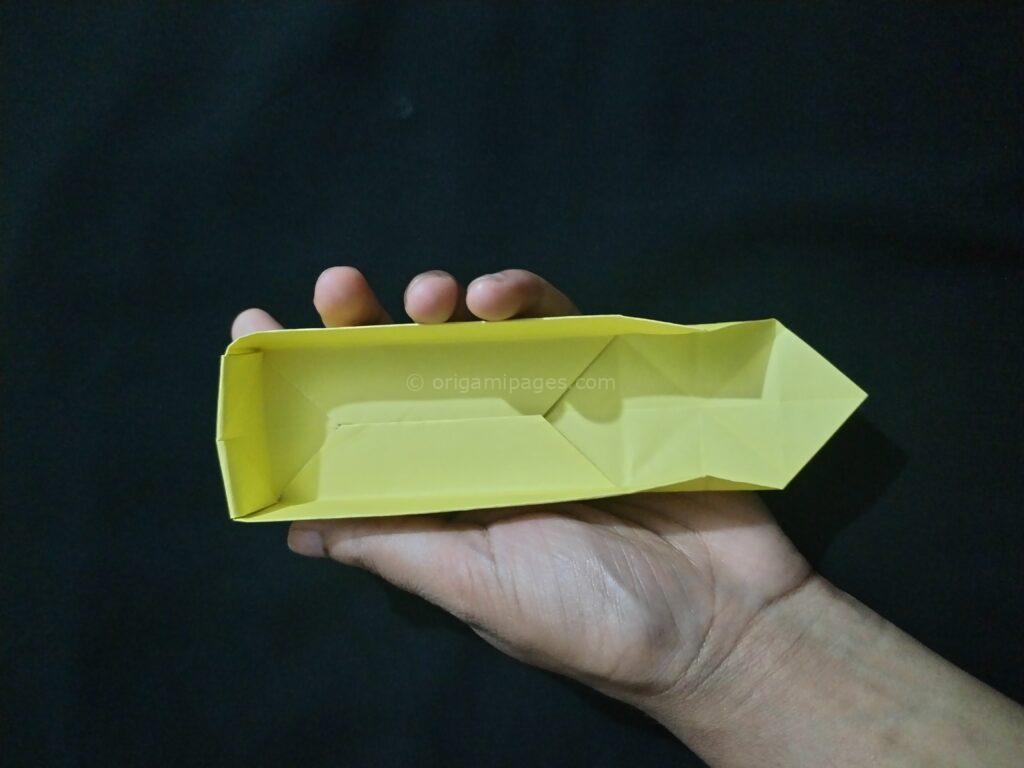
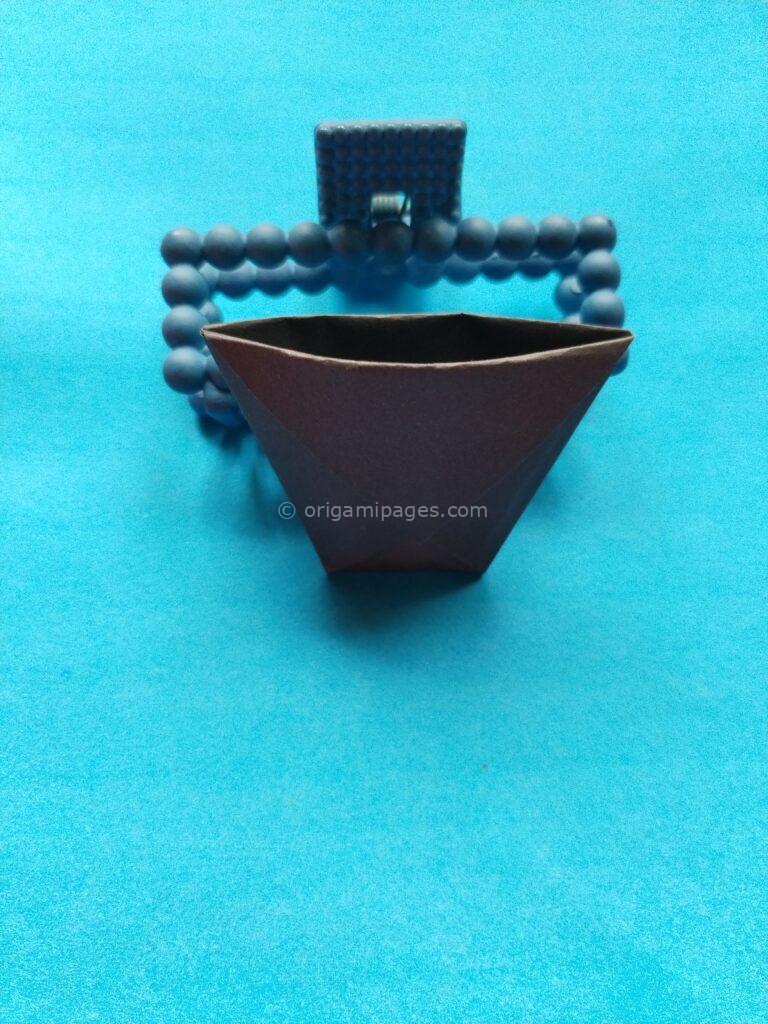
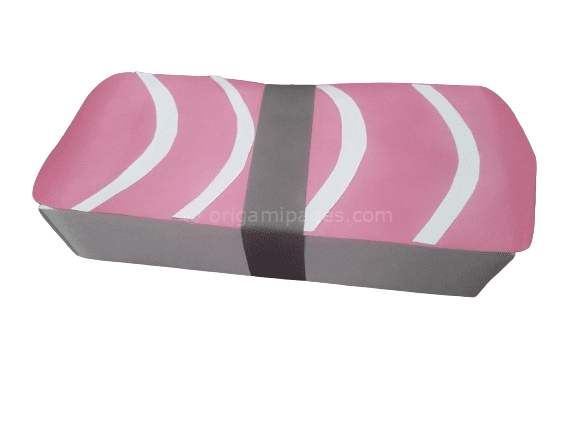
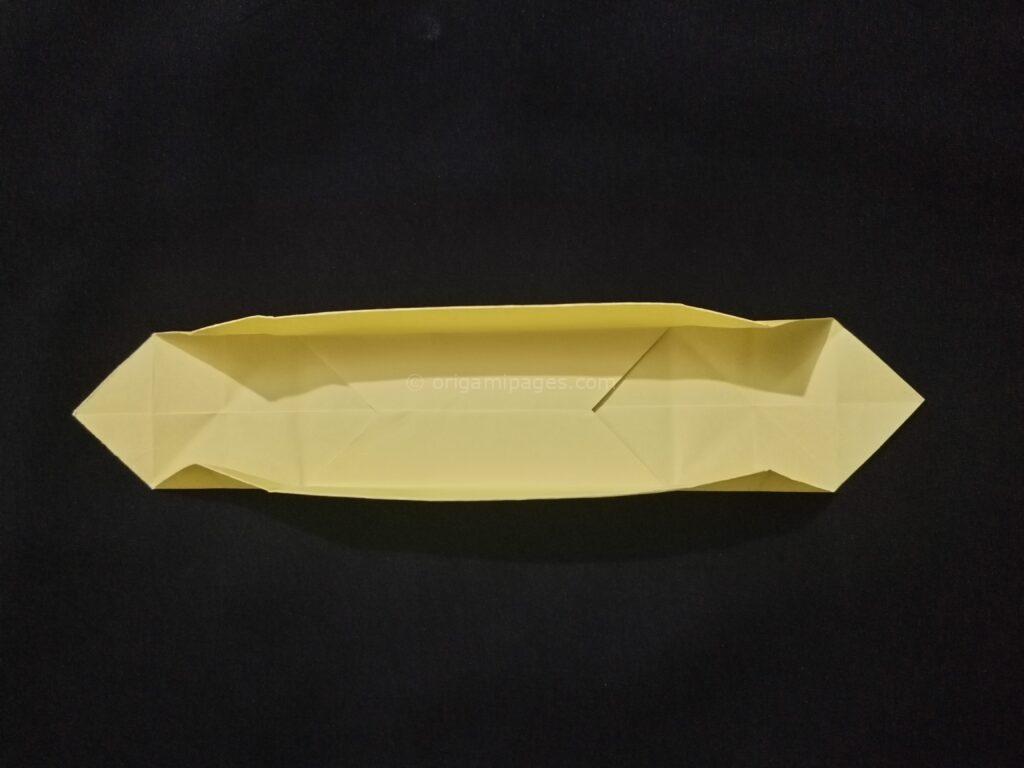
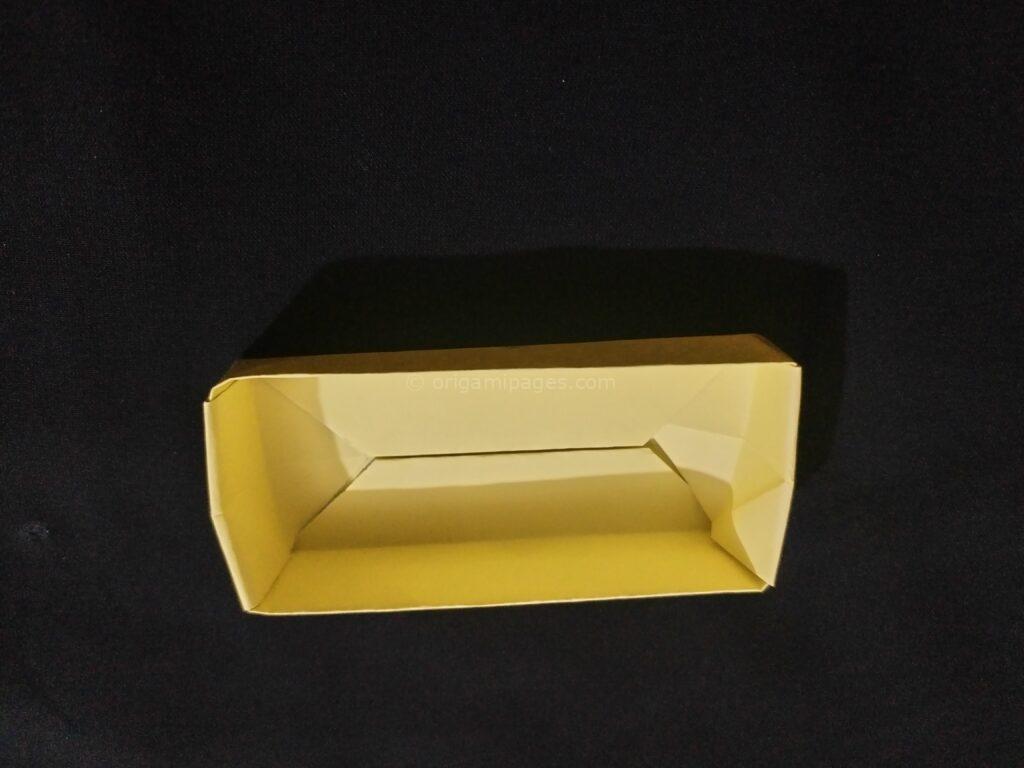
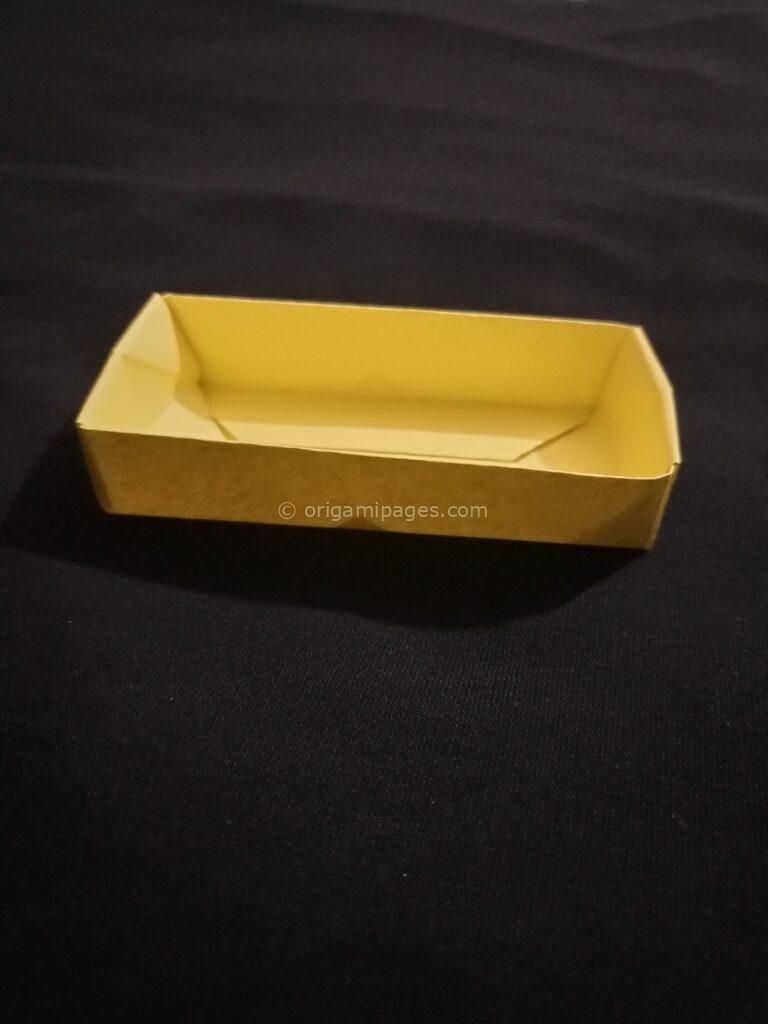
Step 9: Completing the Rectangle Box
Finally, after folding both sides as instructed, your Origami Rectangle Box is complete! You’ve now created a sturdy and visually appealing box that can hold small items or be used as a decorative piece.

Tips for Success
Making an origami rectangle box requires patience and precision, but with practice, you’ll find it becomes second nature. I found that working slowly and ensuring each fold is neat helped produce a more polished result. If you need a larger or smaller box, simply adjust the size of your square paper.
Conclusion
Mastering the Origami Rectangle Box instructions is not only a great way to improve your paper-folding skills, but it’s also a rewarding project that results in something practical and beautiful. The box origami process allows for endless creativity, from color combinations to paper types.
If you followed along and successfully created your rectangle box, I’d love to hear your feedback! Let me know how your project turned out and if you encountered any challenges. With practice, you’ll be folding boxes with ease and confidence in no time.
Happy folding!