Origami Swan: Step-by-Step Guide for Beginners
Origami swans are simple yet elegant projects that introduce beginners to the art of paper folding. Whether you’re new to origami or teaching kids, this guide provides clear, easy-to-follow steps to create your own paper swan. All you need is a square sheet of paper and a few minutes.

Materials
- Paper size: 15″ × 15″
Origami Swan Step-by-Step Instructions
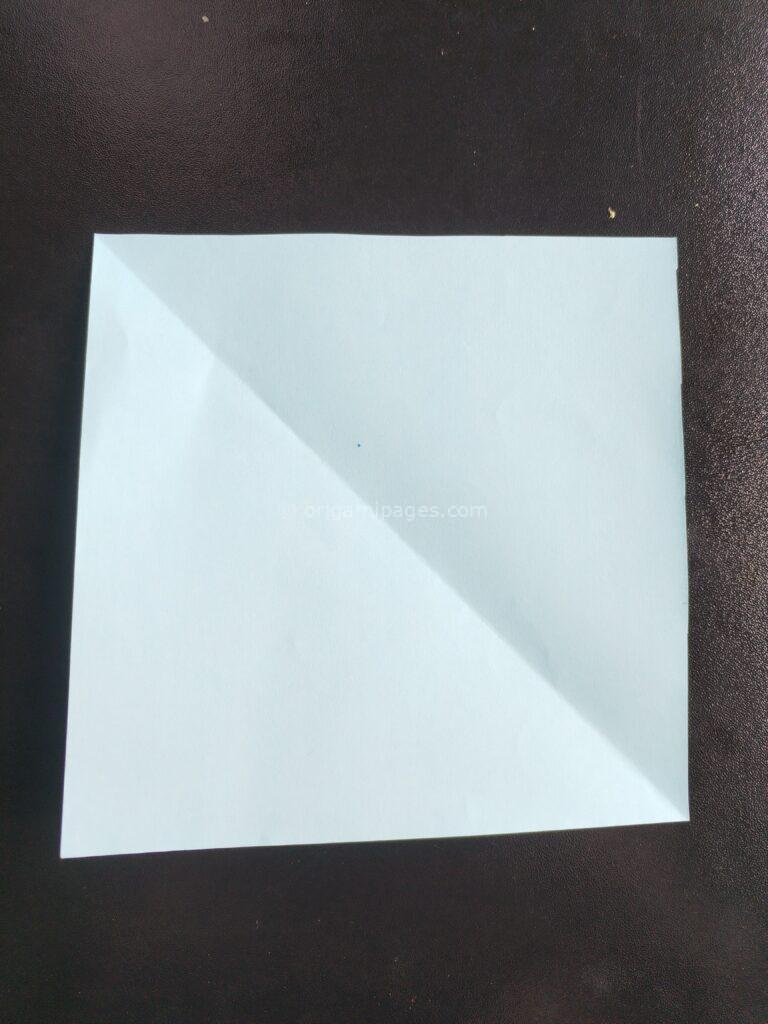
Step 1: Take a Square Paper
Start with a square piece of paper. For this project, we are using a 15″ × 15″ sheet.
Step 2: Fold the Corners and Unfold
Fold the corners so they meet at the center of the paper, then unfold. Next, fold the paper in half along the middle and unfold it again to create crease lines.


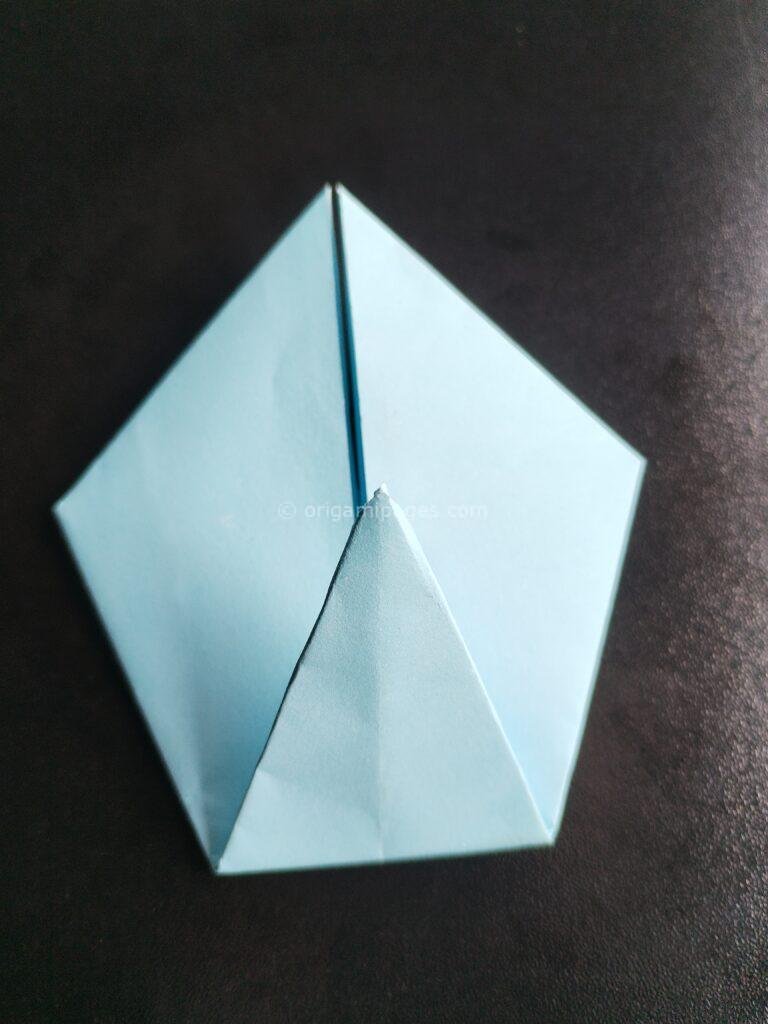
Step 3: Fold Two Corners Along the Middle Line
Take two opposite corners and fold them inward, aligning them with the middle crease.

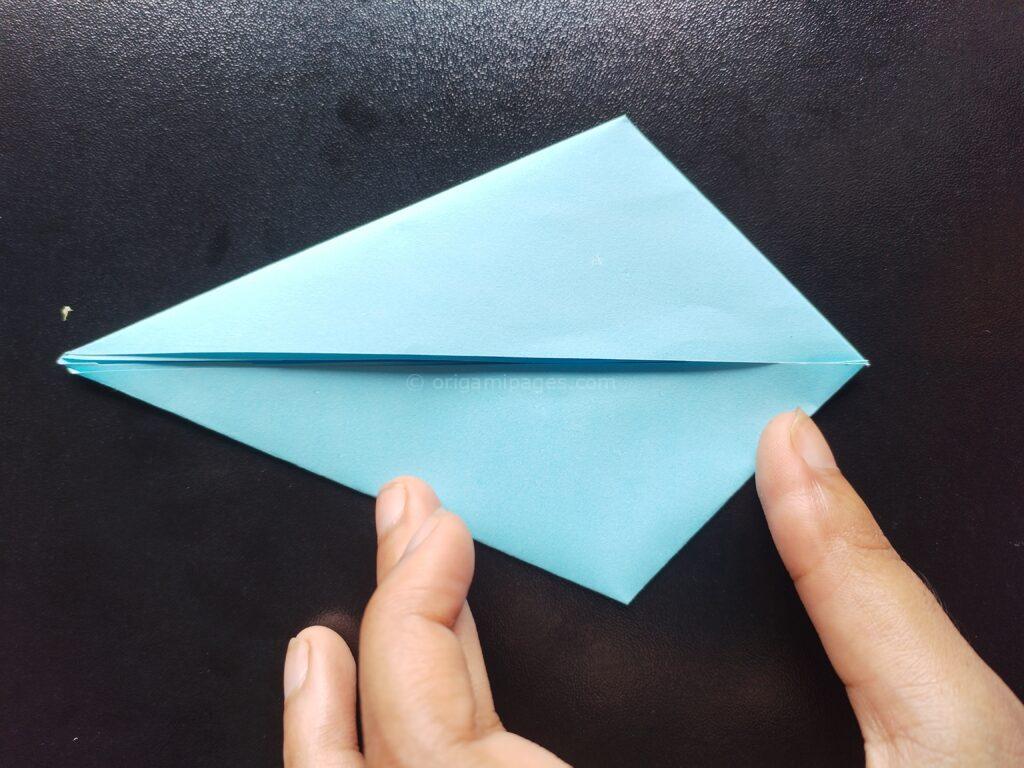
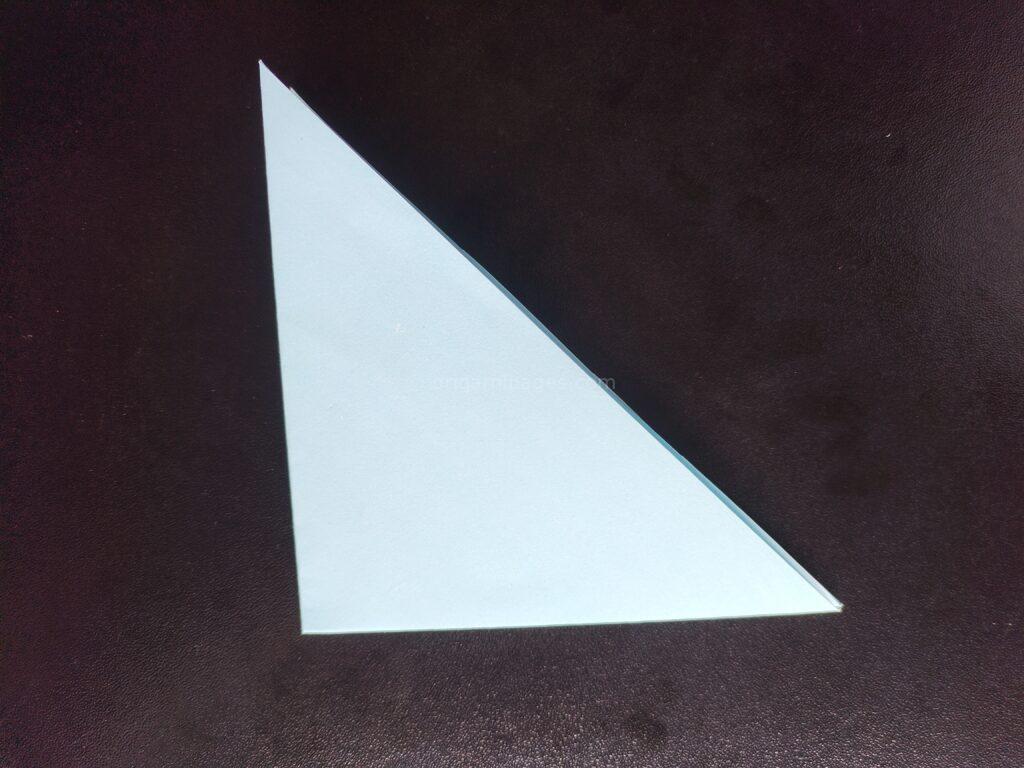
Step 4: Fold Again and Fold in the Middle
Fold the paper again as shown, then fold it in half down the middle to form a slim triangle.
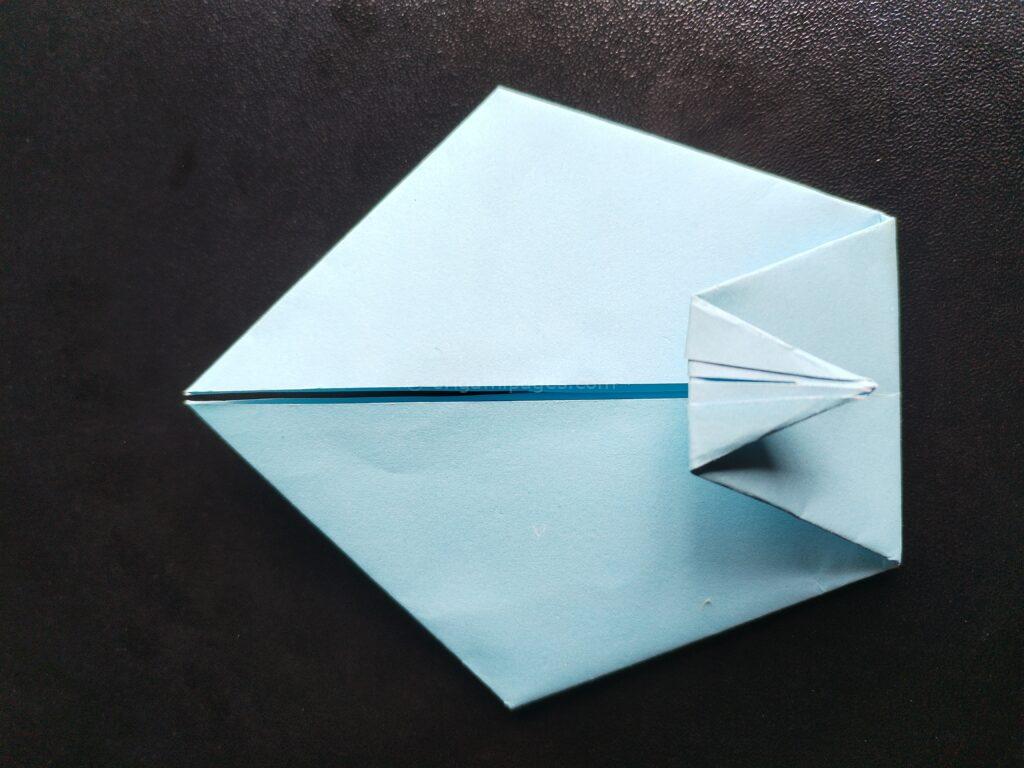

Step 5: Create the Head and Open the Back
Gently pull the tip of the paper upward to form the swan’s head. Open the back of the paper to complete the body.
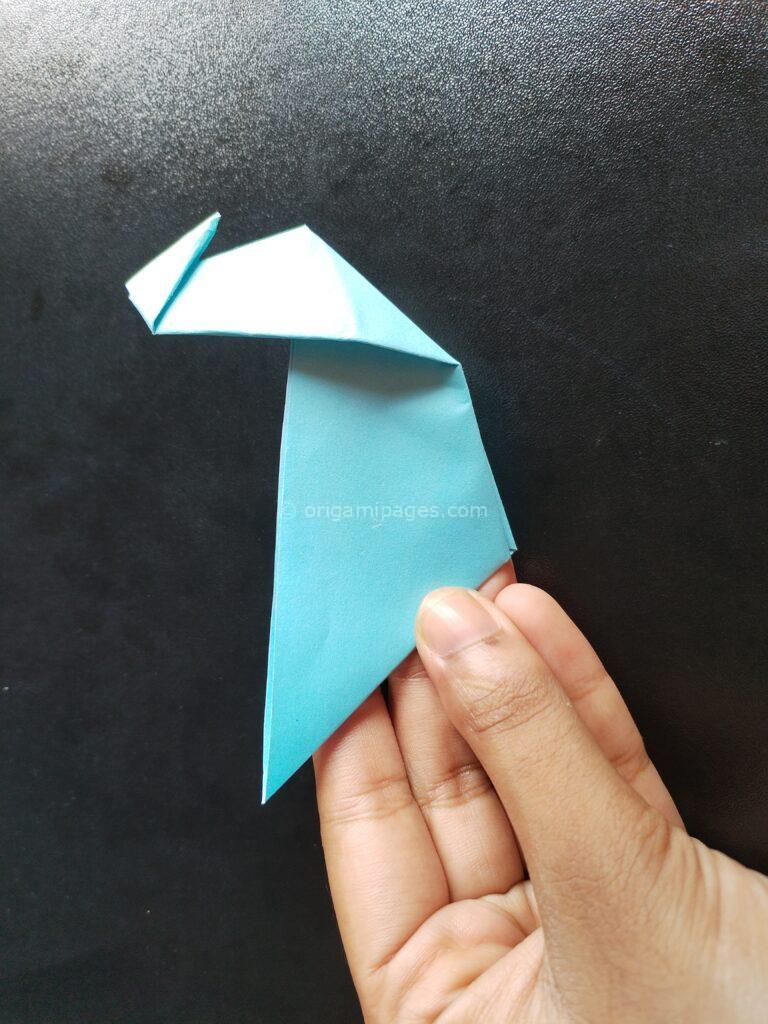

Step 6: Origami Swan Complete
You have successfully created an origami swan. It’s a simple project that’s perfect for beginners.


Conclusion
Creating an origami swan is a straightforward project, making it a great introduction to paper folding. By following these simple steps, you’ll quickly master how to make an origami swan. Feel free to experiment with different paper sizes and colors.