A Step-by-Step Guide to Origami Flower Bookmarks
Origami, the Japanese art of paper folding, is a wonderful way to unleash your creativity and create beautiful crafts. In this step-by-step guide, we will walk you through the process of making a charming origami flower bookmark. Perfect for beginners, this project requires only a square sheet of 10cm×10cm paper and a dash of enthusiasm.
Step-by-Step Guide

Step 1: Gather Your Materials
To begin this delightful journey into the world of origami, ensure you have a square sheet of paper measuring 10cm×10cm. This standard size is perfect for beginners and sets the foundation for a beautifully crafted bookmark.


Step 2: The Initial Folds
Fold the paper both horizontally and vertically, creating clear lines that will guide you through the subsequent steps. This basic folding provides the structure for the intricate design that will soon unfold.

Step 3: Triangular Transformation
Turn the paper over and fold one corner down to the opposite corner. Repeat this process with the remaining two corners, creating a neat triangle. These initial folds lay the groundwork for the elegant flower bookmark taking shape.


Step 4: Precision and Symmetry
Take the inside corners along the folds you’ve created and bring them to the center. Gently flatten the top part, ensuring precision and symmetry in your origami masterpiece.


Step 5: Folding Finesse
Focus on the left side corner, folding it to the top, and repeat the same on the right side. This adds layers and depth to your bookmark, bringing the flower design to life.


Step 6: Completing the Petals
Once again, fold the remaining part to the top, mirroring the previous step. This repetition adds intricacy to your creation, forming the delicate petals of the origami flower.

Step 7: Refinement
Refold the entire paper, smoothing out any creases and refining the overall shape. This step is crucial in ensuring your origami flower bookmark maintains its elegance and precision.


Step 8: The Finishing Touch
Fold the top corner to the back, repeating this action several times. This process enhances the durability of your bookmark, ensuring it withstands regular use.


Step 9: Inner Beauty
Turn the paper over and once again, bring the inside corners to the center. This step adds depth and symmetry to the inner folds, creating a visually appealing contrast.


Step 10: Bringing it Together
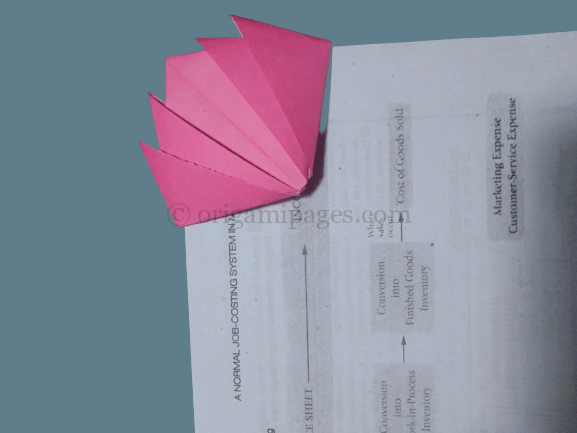
Finally, take the second folding part and carefully push it into the first fold corners. Repeat this action on the opposite side. With these final touches, your origami flower bookmark is complete – a testament to your newfound origami skills.
Crafting an origami flower bookmark is a delightful journey into the world of paper folding. With these clear and concise steps, even novice origami enthusiasts can create a charming and functional piece of art. So, grab your square paper and let your creativity blossom with this beautiful origami project!
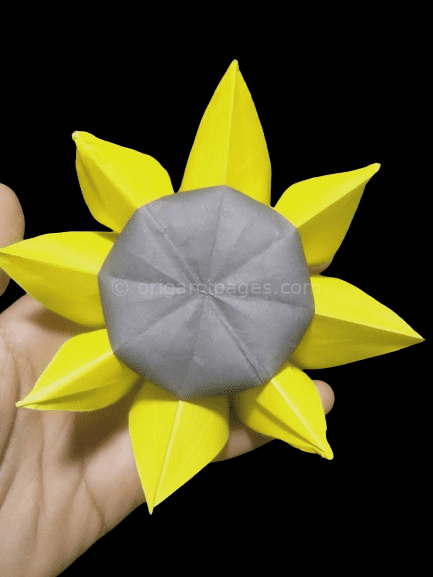
If you’re captivated by the artistry of crafting origami blossoms, explore further into our selection of tutorials. You may discover our articles on the Origami plumeria flower and Origami 8 petal flower particularly informative. Our piece on the Origami plumeria flower offers a detailed exploration and step-by-step instructions. Meanwhile, our feature on the Origami 8 Petal Flower beckons you to embark on a new journey in the realm of paper artistry.Made this origami? Leave a comment & submit your photo at the end of this page